Setting Up OpenWrt on Raspberry Pi 5 with a 4G LTE Module
Introduction
The Raspberry Pi 5, paired with OpenWrt and a 4G LTE HAT , offers a powerful and flexible solution for creating a portable hotspot. This setup is ideal for providing internet access in remote locations, supporting IoT devices, or creating a personal wireless network on the go. OpenWrt’s customizability ensures seamless integration with 4G LTE modules, allowing users to harness the full potential of Raspberry Pi 5 as a reliable and high-performance wireless router. Whether for home, travel, or professional use, this guide will help you transform your Raspberry Pi 5 into a fully functional hotspot powered by OpenWrt and 4G LTE connectivity.
Prerequisites
Hardware Requirements
| Raspberry Pi 5 | Raspberry Pi 4G LTE CAT4 HAT |
|---|---|
 |  |
Build the OpenWrt Image
Choose the OpenWrt Snapshot
To work with a 4G LTE module, certain dependencies are required. The OpenWrt Firmware Selector provides the flexibility to include these dependencies during the image creation process, allowing you to compile a customized firmware. Without this approach, you would need an alternative internet source to install the dependencies on the Raspberry Pi after setup. Therefore, it is recommended to build a firmware image that already includes the necessary dependencies.
-
Go to the OpenWrt firmware selector and choose the snapshot version.
-
Snapshots are updated frequently and are ideal for advanced users.
-
Click the
Customize installed packages and/or first boot script.
Ensure the following packages are included during the custom build process:
- kmod-usb-net-cdc-ether
- kmod-usb-serial-option
- picocom
- minicom
Steps to Build
- Add the required packages to your configuration file.
- Compile the OpenWrt firmware.
- Download the generated factory image after compilation.
Install OpenWrt on Raspberry Pi 5
- Burn the compiled image to an SD card using tools like Balena Etcher.
- Insert the SD card into the Raspberry Pi 5.
- Connect your Raspberry Pi to a 4G LTE modul
Check Device Connection
Access the Raspberry Pi using SSH:
Verify Device Details
- Use dmesg to check for connected devices:
dmesg | grep usb
- View USB details:
cat/sys/kernel/debug/usb/devices
This will display information about the manufacturer, product, and other device-specific details.Please ensure the module is powered on.
Configure the LTE Module
Use Minicom to Adjust Settings
Open Minicom
minicom -s
You will be find this kind of interface . Select Serial port setup by arrow keys
Configure settings:
- Set the baud rate to match your 4G module (e.g., 9600).
- Select the correct COM port (e.g., /dev/ttyUSB2).
- And Save setup as default
Enable ECM / Dial-Up Mode
Send the following AT commands to configure the USB networking mode:
minicom -D /dev/ttyUSB2
AT+QCFG="usbnet"
AT+QCFG="usbnet",1
Add a New Network Interface
- Log in to the OpenWrt LuCI web interface via web browser 192.168.1.1.
- Go to Network > Interfaces > Add New Interface.
- Set up the interface:
- Select the detected device (eth1 or usb0).
- Use the DHCP Client protocol.
- Name the interface (e.g., USB_Modem).
- Configure firewall settings:
- Assign the interface to the WAN zone.
- Under DHCP Server, enable Ignore Interface.
Set Up a Wireless Access Point
- In the LuCI web interface, navigate to Network > Wireless > Add.
- Configure the new wireless interface:
- SSID: Keep the default or customize it.
- Mode: Access Point.
- Network: LAN.
- For Wireless Security
- Set encryption to WPA2.
- Create a strong password.
- Reboot the device.
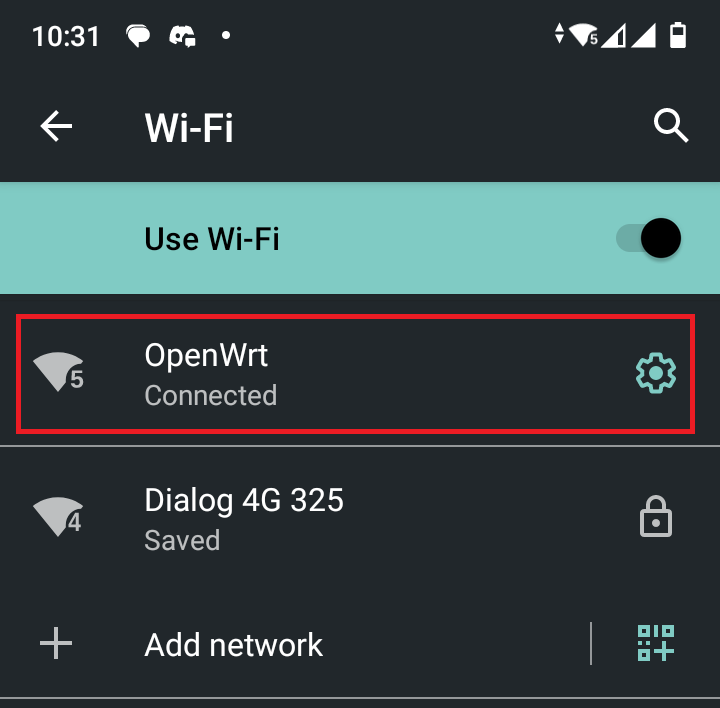
Test the Wireless Network
- Your wireless SSID should now be visible on nearby devices.
- Connect using the configured password to access the 4G LTE internet.

Resources
-
[Web Page] LTE EG25-G
-
[Web Page] OpenWRT Uses cdc_ether driver based dongles for WAN connection
Tech Support & Product Discussion
Thank you for choosing our products! We are here to provide you with different support to ensure that your experience with our products is as smooth as possible. We offer several communication channels to cater to different preferences and needs.