Getting Started with Allxon on NVIDIA® Jetson Devices

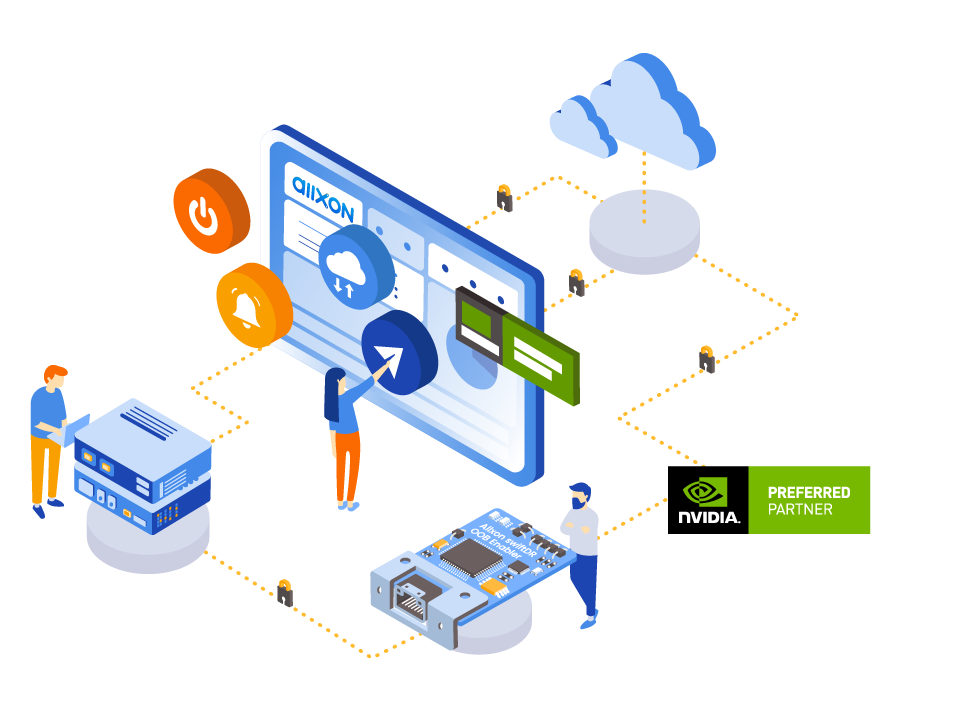
Allxon is an essential edge device management solution that simplifies and optimizes business operations management by bonding together the AI/IoT ecosystem: hardware (IHV), software (ISV), and service providers (SI/MSP). As an ecosystem bonder, Allxon is the spark that ignites fast, seamless connectivity to keep all systems ON.
You can securely manage NVIDIA® JetPack 4.6 onward versions with Cyber Security at the Edge protecting all networks and hardware. Allxon integrates exclusive threat intelligence by Trend Micro IoT Security™ (TMIS) to ensure you receive multi-layered protection.
Allxon brings in-band and out-of-band remote device management services to all edge devices to help businesses save on time and cut out exponential labor costs. By simply navigating on an easy-to-use single cloud portal, businesses can effortlessly optimize and streamline their services.
Hardware Supported
Prerequisites
- Any of the above Jetson Devices
- Latest Jetson OS already installed on the Jetson Device
- Monitor, keyboard, mouse (optional)
Getting Started
Getting started with Allxon only takes a couple of minutes!
- Hardware Wiring Introduction
- Sign Up for Allxon Account
- Install Allxon DMS Agent on Jetson Device
- Get Device Pairing Code
- Add Jetson Device to Allxon DMS Portal
Hardware Wiring Introduction
Pin Define for OOB Enabler main board and the corresponding color of the cable.

Here, we will use the wiring diagram of OBB and Jetson Orin Nano as an example. The following information provides wiring examples for the NVIDIA® Jetson™ Orin Nano Dev Kit.

We have also provided a schematic diagram of the wiring.

Sign Up for Allxon Account
-
Step 1. Visit this page to sign up for an Allxon account
-
Step 2. Enter your email address and proceed
-
Step 3. Verify the account from the activation email you receive and create a password
Install Allxon DMS Agent on Jetson Device
Installing Allxon DMS Agent is a very easy process. You only need to execute one command!
- Step 1. Access the Jetson Device, open terminal and execute the following
sudo wget -qO - "https://get.allxon.net/linux/standard" | sudo bash -s

Note: The above command will install Allxon DMS Agent and the related packages
- Step 2. At the end of the installation, it will ask whether you want to install Trend Micro IoT Security™ as an add-on edge security services and agree to the TMIS EULA. You can enter Y to proceed with this installation

Note: Trend Micro IoT Security™ will be installed as a 3-month free trial
After installation, The Allxon DMS Agent will start automatically.
Note: If you have connected the Jetson Device to a display, you will see Allxon DMS Agent window pop up. If it does not show up, press Ctrl + Shift + B to start the agent.
Get Device Pairing Code
First we need to get a device pairting code from our Jetson Device. You can either obtain this code from the GUI or command-line
Using GUI
-
Step 1. Open Allxon DMS Agent by pressing Ctrl + Shift + B on the Jetson Device
-
Step 2. Click Get device pairing code to obtain the code

Using Command-line
- Step 1. Execute the following to obtain the code
dms-get-pairing-code
Add Jetson Device to Allxon DMS Portal
-
Step 1. Login to Allxon DMS Portal with the previosly used credentials
-
Step 2. Click Devices from the left navigation panel and click on + Add Device

- Step 3. Click Next, enter previously obtained device pairing code and click Next

- Step 4. You will see the following window if the pairing is successful

Note: If you have a promotion code, you can click Next and redeem it. Otherwise, you can press Skip to finish the setup.
Allxon DMS Portal
After that Jetson Device is paired with Allxon DMS Portal, you will see the connected device under Devices page

If you click on the device, you will see more information for your device. Now you can remotely monitor and manage your device with Allxon DMS Portal!

Resources
-
[Web Page] Allxon Resource Center
-
[Web Page] NVIDIA Learn
Tech Support & Product Discussion
Thank you for choosing our products! We are here to provide you with different support to ensure that your experience with our products is as smooth as possible. We offer several communication channels to cater to different preferences and needs.