Setup and Configure OpenDisplay firmware with the OpenDisplay Kit
| XIAO ePaper Display Board EN04 |
|---|
 |
Introduction
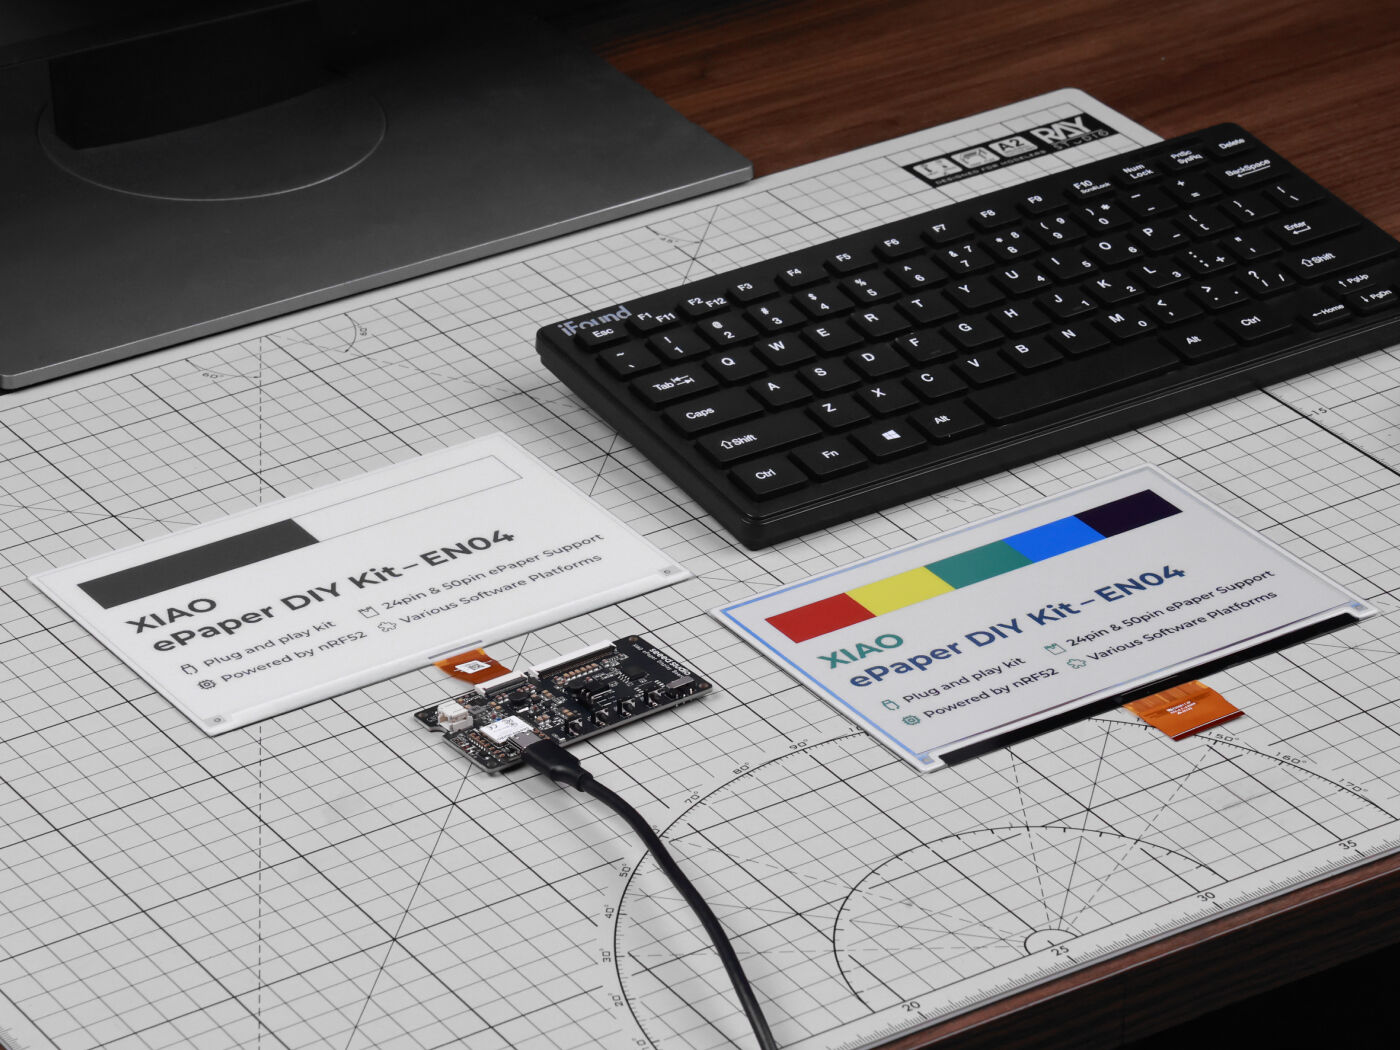
Powered by XIAO nRF52840 Plus, the XIAO EN04 ePaper Display Board is the easiest way to get started with Bluetooth-enabled e-paper displays using the OpenDisplay firmware. Unlike traditional systems that require dedicated Access Points with 802.15.4 radios, this board uses Bluetooth Low Energy for direct wireless control from your phone, computer, or Home Assistant.
Application
- Smart Home Dashboard: Display real-time information such as weather updates, calendar events, and notifications from various smart home devices.
- Energy Monitoring: Show energy consumption data from smart meters, helping homeowners track and manage their energy usage more efficiently.
- Security Alerts: Display alerts and notifications about security events, such as motion detection or door/window sensor activation.
- Smart Thermostat Display: Show temperature and humidity levels, as well as control settings for your smart thermostat.
What is OpenDisplay?
OpenDisplay is an open-source project that provides firmware and protocols for e-paper displays. It is designed specifically for custom hardware builds using microcontrollers like the nRF52840 and ESP32.
The OpenDisplay firmware enables:
- Bluetooth Low Energy (BLE) Communication: Direct wireless control without requiring dedicated access points
- Dedicated Hardware Support: Works with purpose-built boards like the XIAO ePaper Board EN04, EE04, and others
- Web-based Flashing and Configuration: Easy setup and image upload through web interface at https://opendisplay.org/firmware/install
- Multiple Display Support: Compatible with various e-paper sizes and controllers
Why use OpenDisplay firmware?
The OpenDisplay firmware offers several advantages for custom e-paper display projects:
- No Access Point Required: Uses Bluetooth Low Energy for direct communication - no additional hardware needed
- Web-based Tools: Easy firmware installation, configuration, and image upload through browser-based tools
- Purpose-built Hardware: Designed for boards like the EN04, not limited to commercial ESL tags
- Open Source & Free: Completely open-source project with active development on GitHub
- Multiple Microcontroller Support: Works with nRF52840, ESP32-S3, ESP32-C6, and ESP32-C3
- Simple Setup: Upload firmware via drag and drop a single file to your board, configure via web interface, no complex programming required
- Battery Efficient: Optimized for low-power operation with e-paper displays
- Active Community: Support and development through OpenDisplay Discord
Getting Started with OpenDisplay firmware
Hardware Assembly
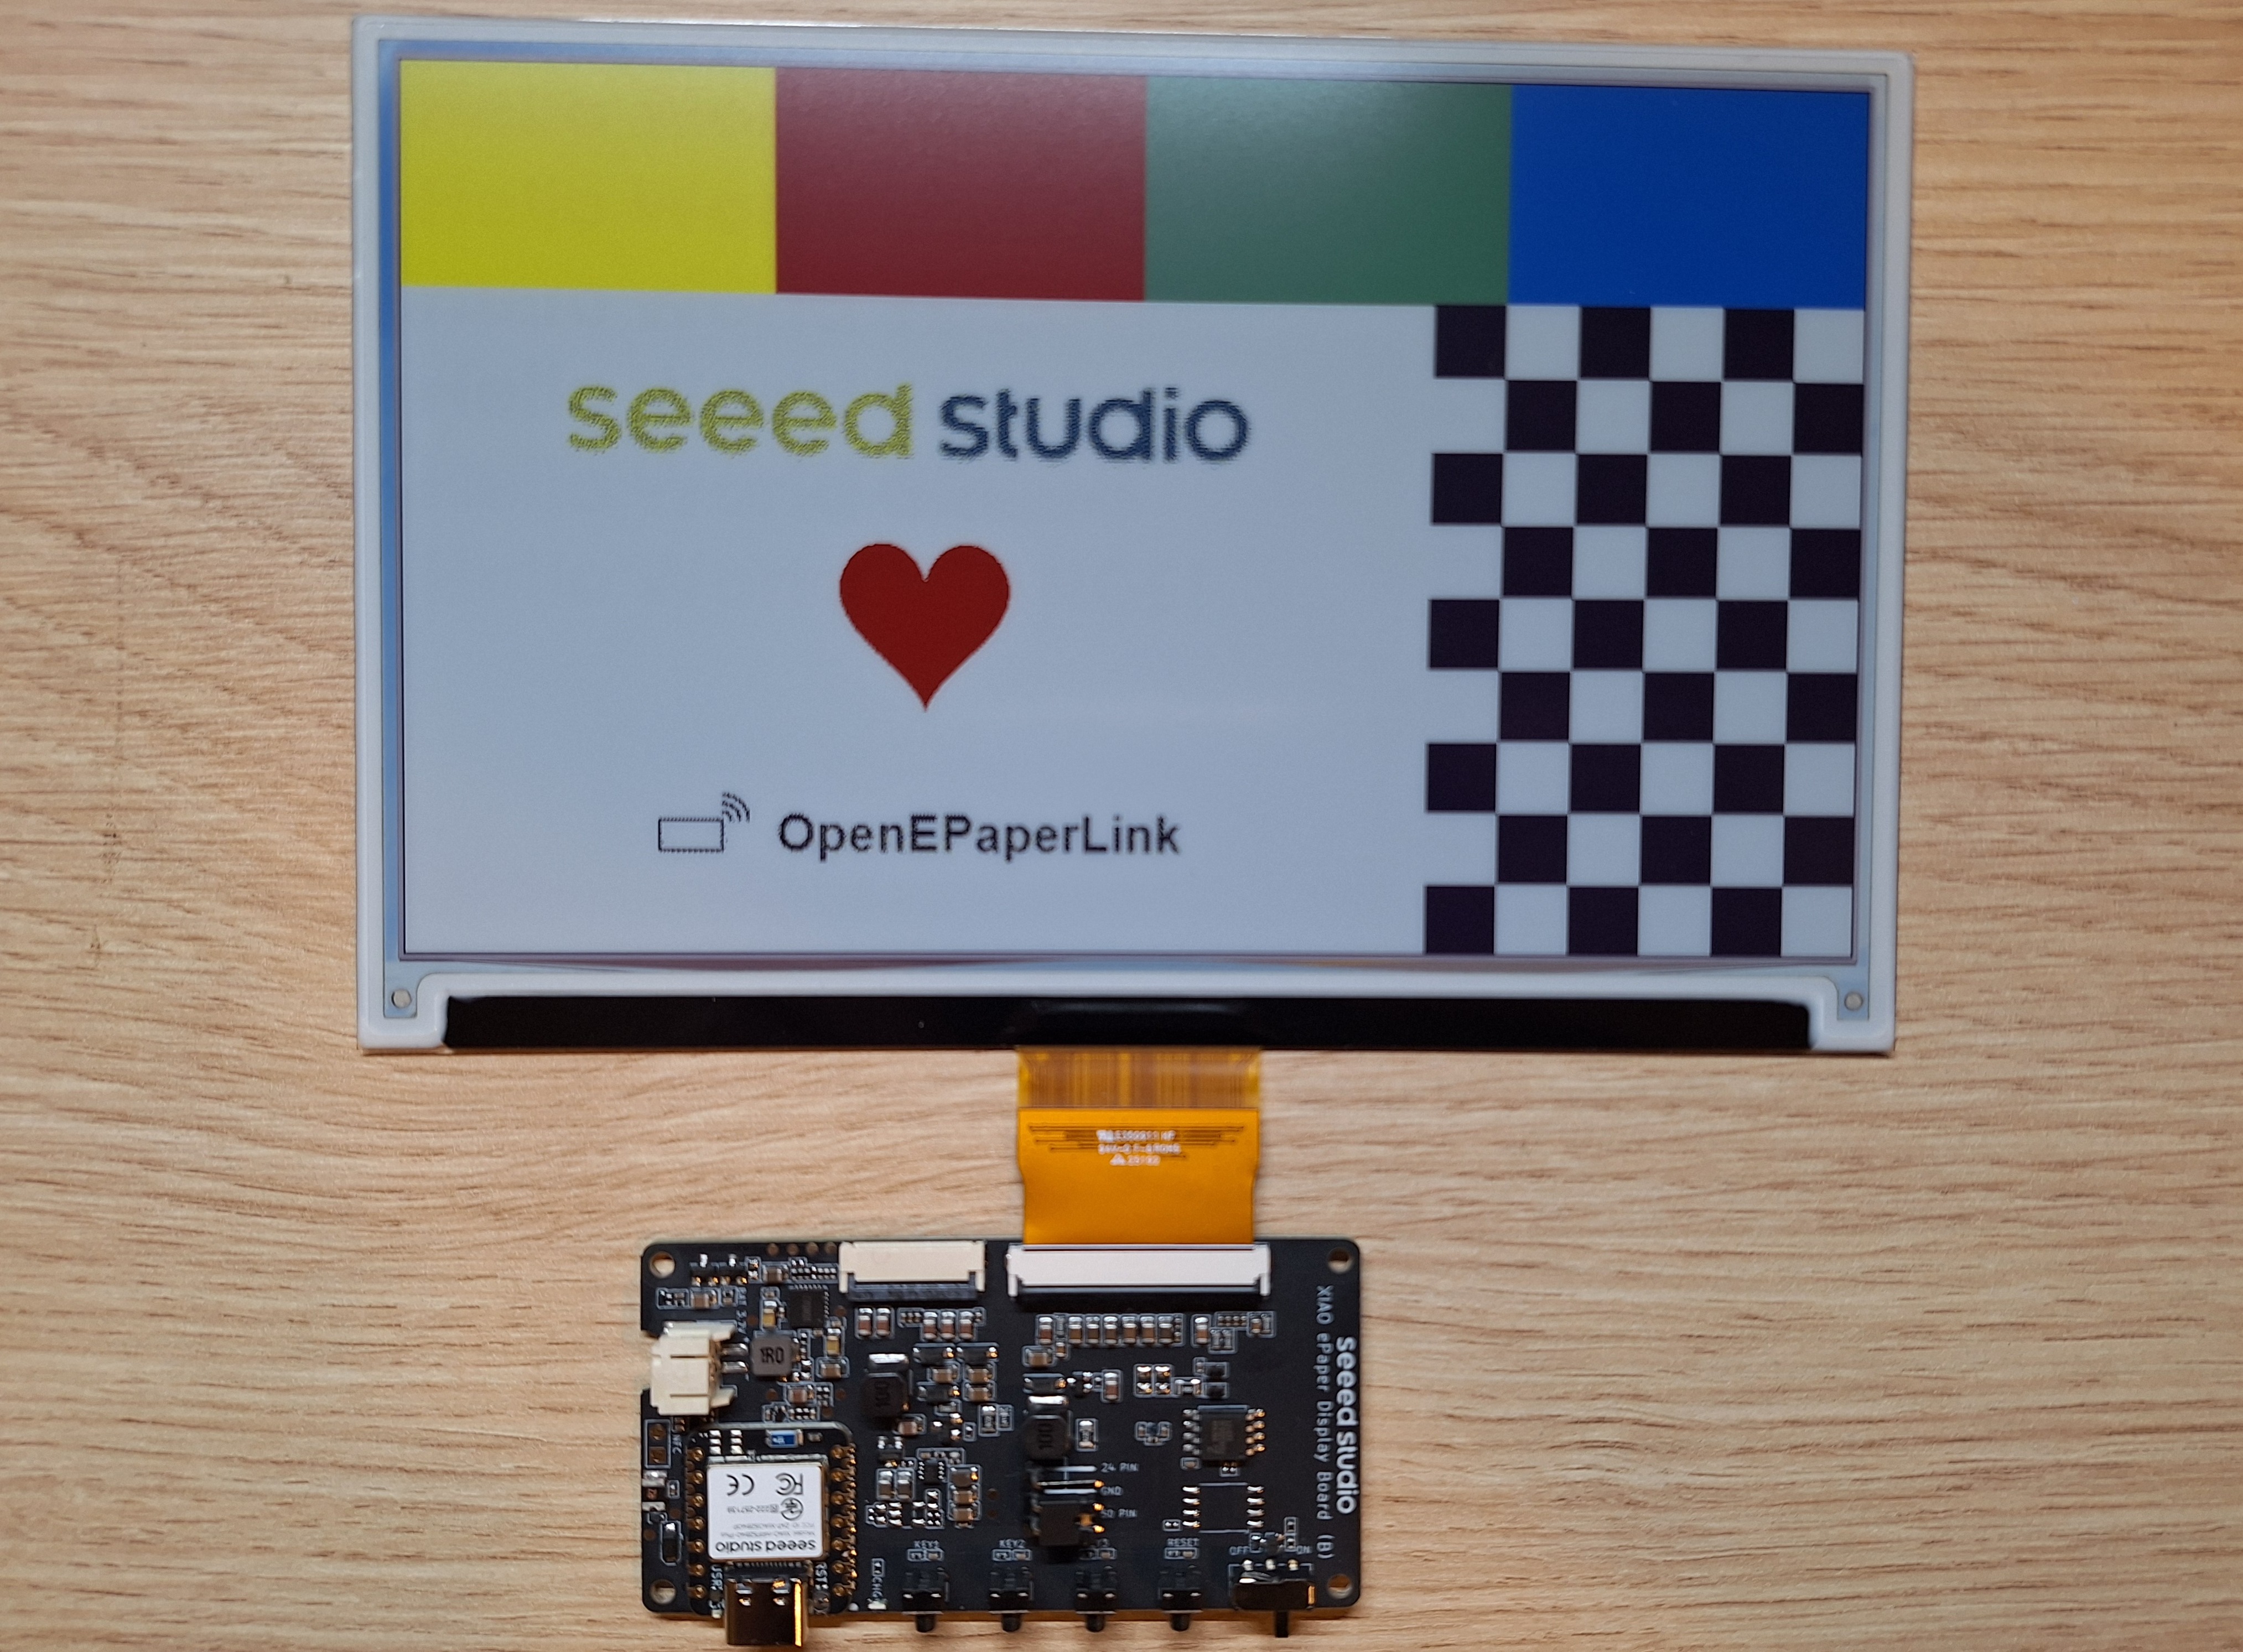
Step 1. Connect Display to Driver Board
Align the FPC cable with the connector on the XIAO EN04 Board, then secure the latch to ensure a firm connection.
The metal side of the FPC cable should face upwards, otherwise, no content will be displayed. Most displays have 1 and 50 on FPC cable, those numbers must align with the ones on the board!
Please follow the installation tutorial below, many people get it wrong.
Step 2. Attach the Battery
Connect the battery cable to the JST connector on the driver board, ensuring correct polarity (red wire to +, black to -).
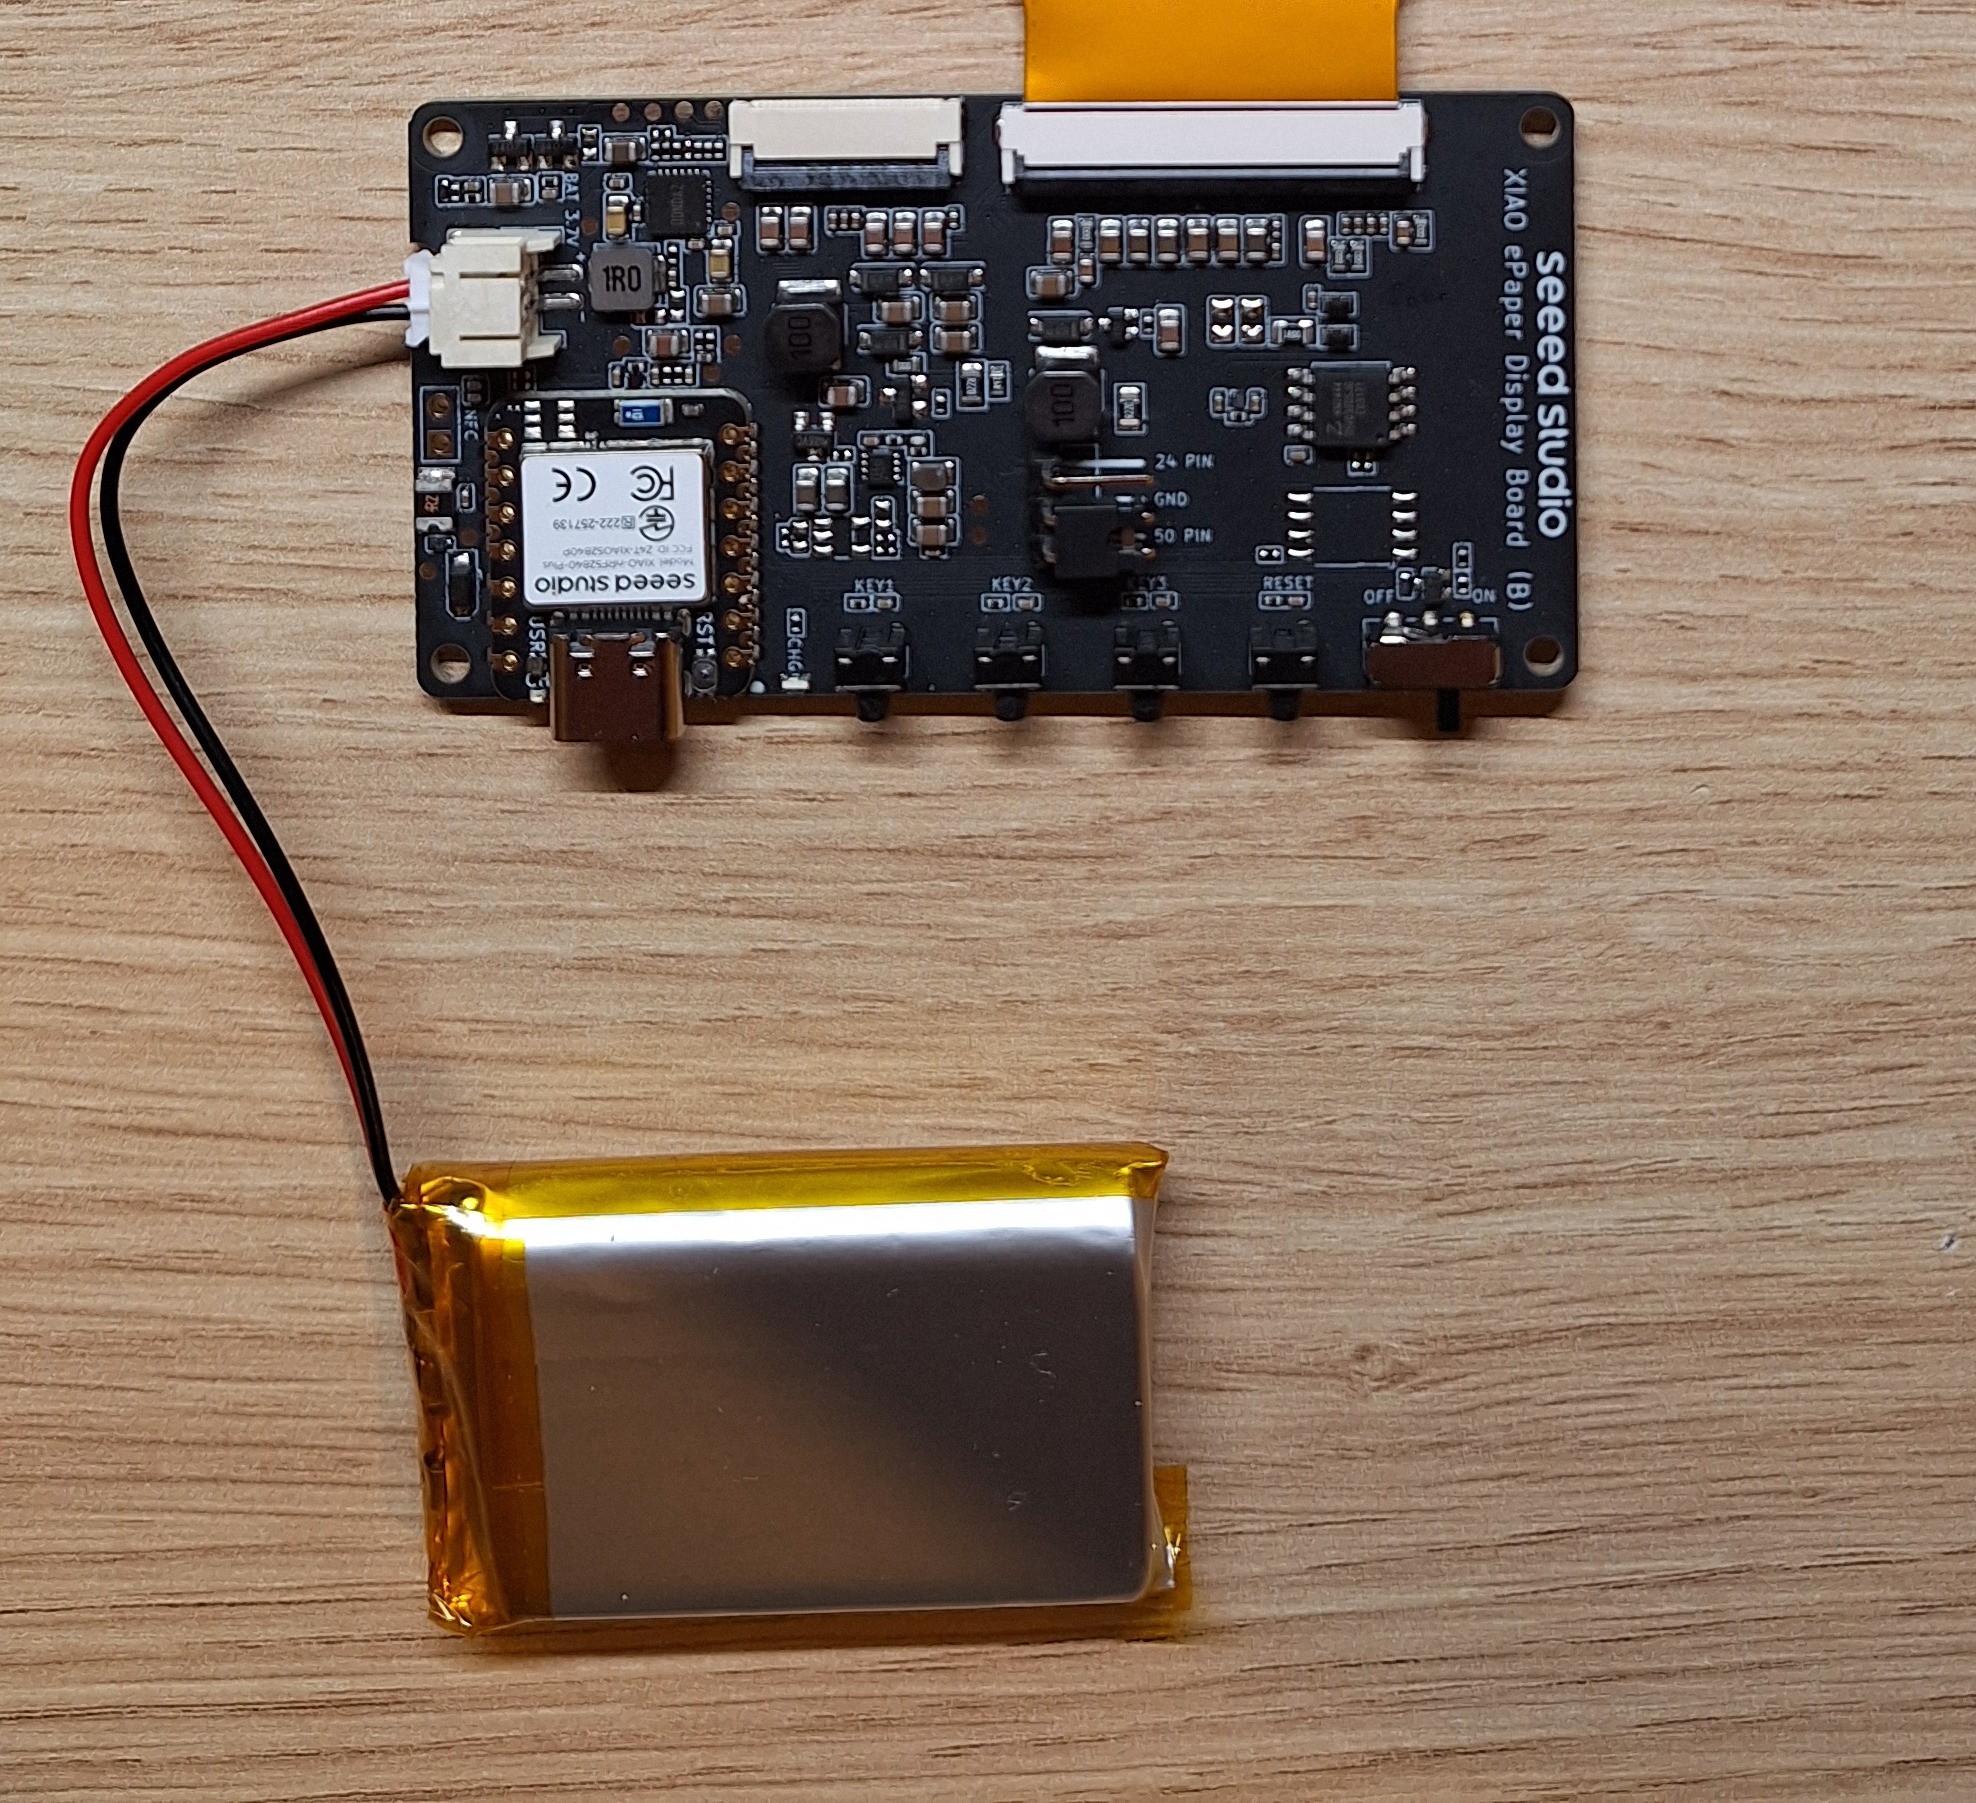
Double check the polarity, different batteries can have mixed wiring. If the red and black are misaligned, they can be easily removed from JST connector using a needle and then positioned correctly.
Installing OpenDisplay Firmware
Web Installer Method (Recommended)
The easiest way to install the OpenDisplay firmware is using the web-based installer.
Step 1. Open Web Installer
Visit the OpenDisplay Web Installer in a browser.
Step 2. Select Your Board
Choose "Seeed EN04 4.26" or "Seeed EN04 7.3" (or any preset that suits your hardware) from the device list (based on the display size in your kit).
Step 3. Download the firmware
Click the "Download Firmware" button and save the "NRF52840.uf2" on your hard drive.
Step 4. Connect Your Board
Connect the XIAO ePaper Board EN04 to your computer using a USB-C cable.
Step 5. Install Firmware
Press the reset button twice consecutively. You will see a file manager pop up on your PC. Copy the downloaded "NRF52840.uf2" file to the USB drive that appears (the USB drive is the EN04 board in DFU mode)
If the installation fails, try:
- Using a different USB cable (some cables are power-only)
- Pressing the reset button twice on the EN04 board
- Using a different USB port
Step 6. Configure the Board
Open the OpenDisplay Configuration Page and connect to your board.
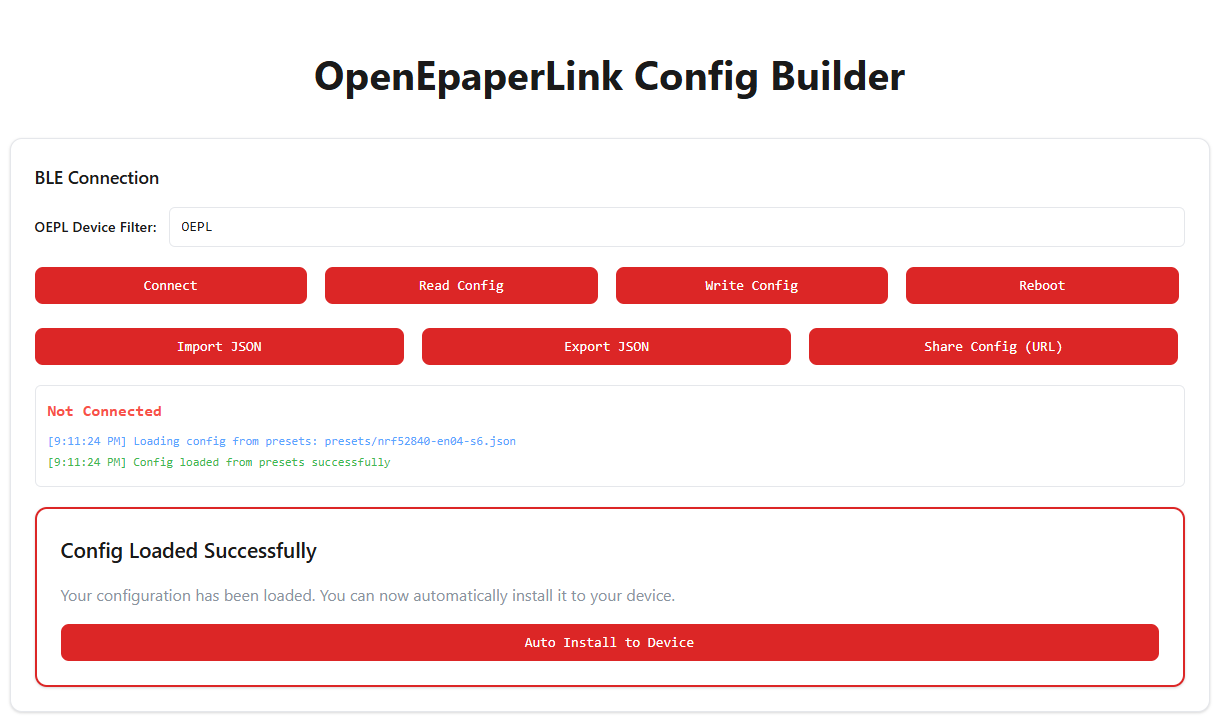
If you selected "Seeed EN04 4.26" or "Seeed EN04 7.3", you will see "Auto Install to Device". This is the easiest way to configure your Kit.
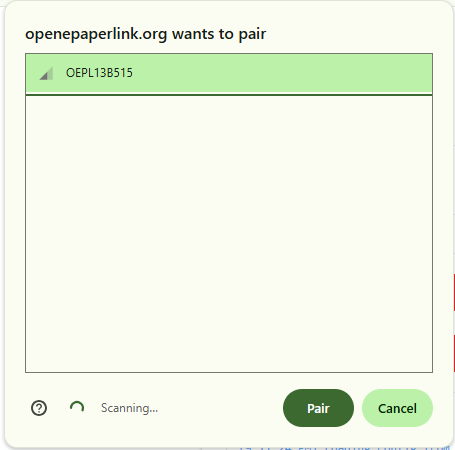
Step 7. Connect to the Board Press the ""Connect button on the page. You should see a window showing available OpenDisplay devices, select the new device and press "Pair"
Step 8. Save the configuration to the Board
The last thing to do is to press the "Auto Install to Device" button, this will save the configuration to the device.
Verify Configuration
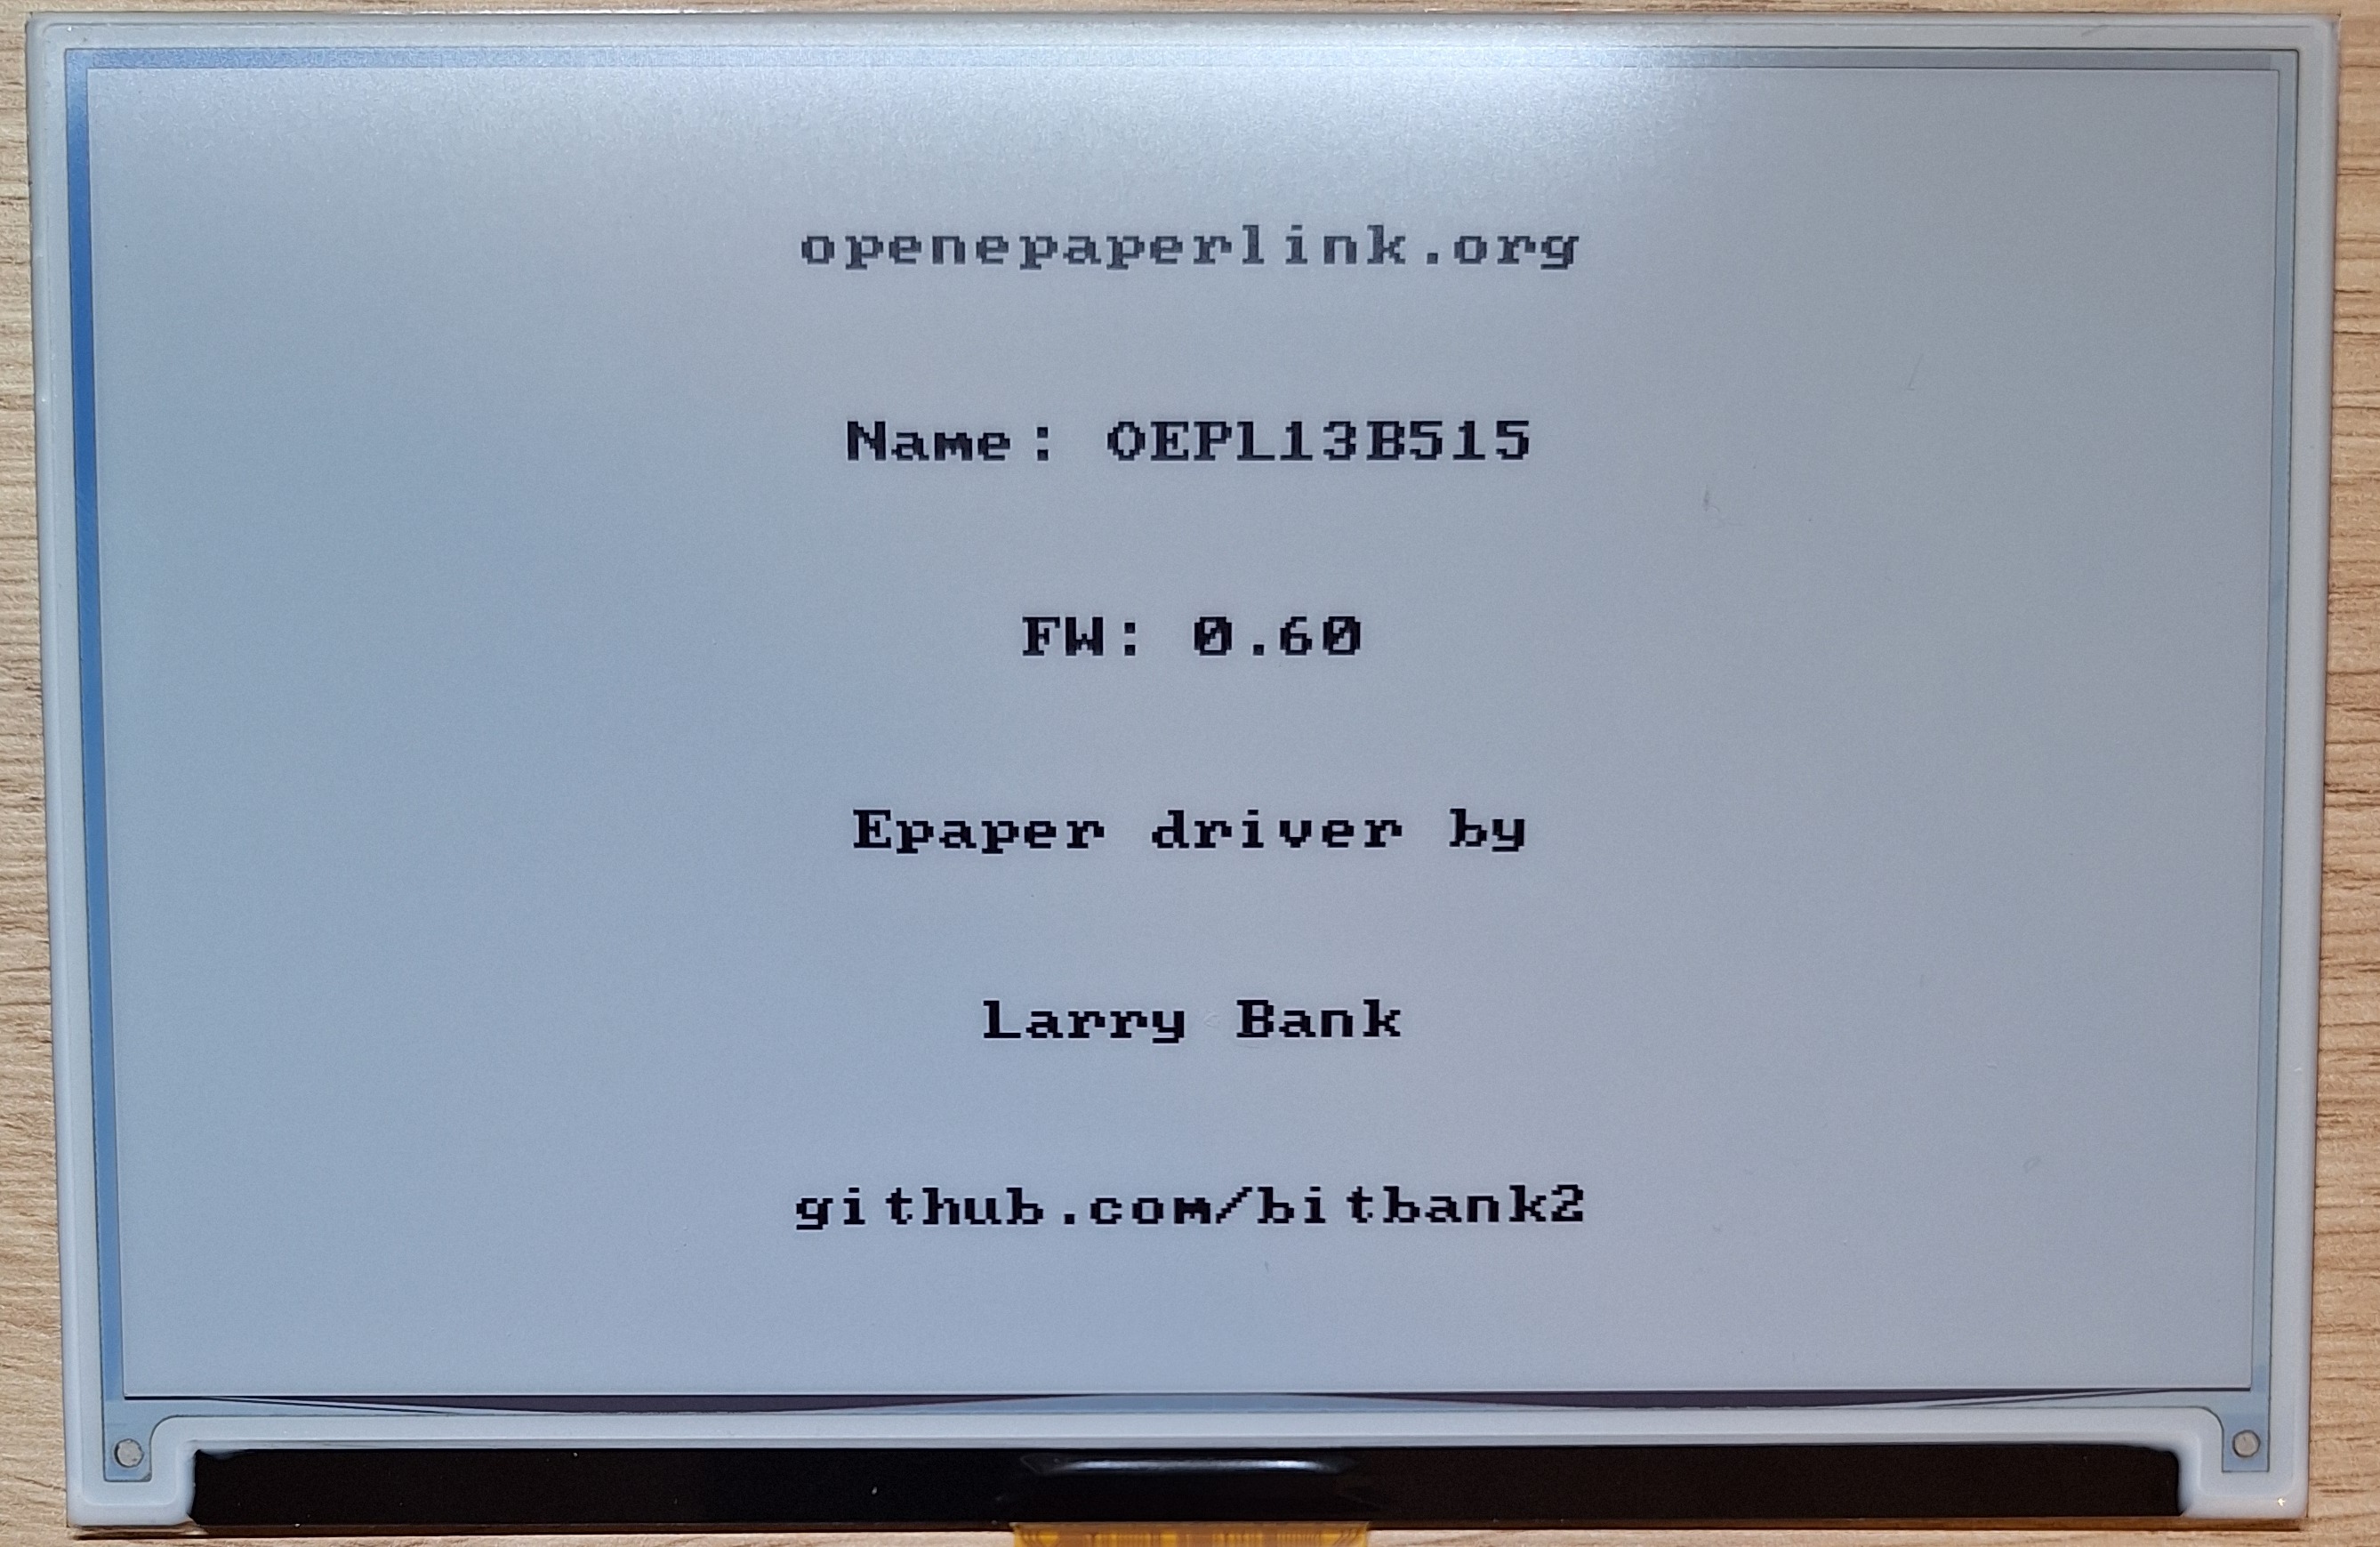
After installation and configuration, the display should show a startup screen. The device is now ready to display content via Bluetooth.
Uploading Images to Display
Using the Web Display Tool
Step 1. OpenDisplay Tool
Visit OpenDisplay BLE Tester in your browser.
Step 2. Connect to Device
Click "Connect" and select your OpenDisplay device from the Bluetooth pairing dialog.
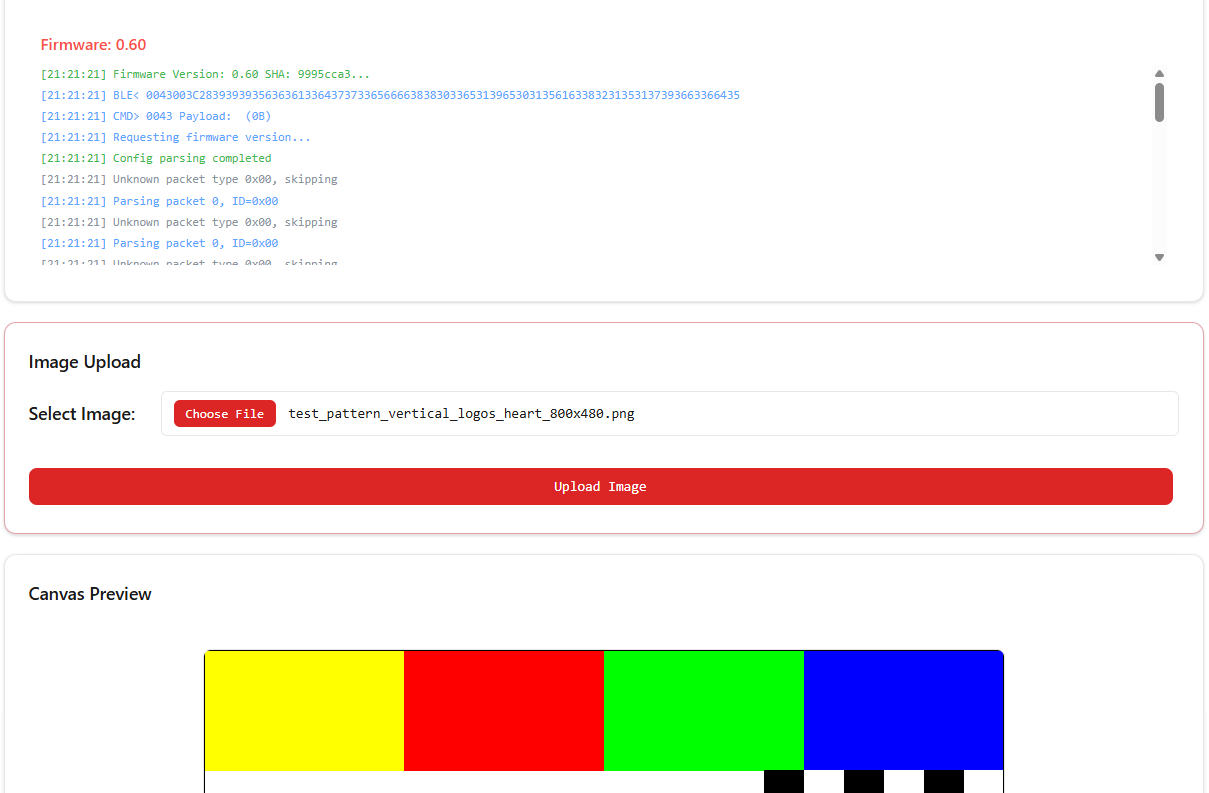
Step 3. Select Image
Click "Select Image" and choose an image file from your computer.
For best results:
- Use images that match your display resolution (7.3" display is 800x480 pixels)
- Black and white images work best on monochrome displays
- The tool will automatically convert and dither color images
Step 4. Upload Image
Click "Upload Image" to send the image to your display. The e-paper will refresh and show your image.
Creating Custom Content
You can create custom display content using:
- Image editing software (GIMP, Photoshop, etc.)
- Python scripts with PIL/Pillow library
- Web-based image generators
- Home Assistant integration
Home Assistant Integration
To integrate with Home Assistant, you need a Bluetooth-capable setup:
- Home Assistant Green (built-in Bluetooth)
- Home Assistant OS/Supervised on hardware with Bluetooth support
- ESPHome Bluetooth Proxy (recommended for better range)
Note: Shelly devices acting as Bluetooth proxies do not support active connections required by OpenDisplay, so they cannot be used for this integration.
Step 1. Install Integration
For detailed installation instructions, please refer to the OpenDisplay Home Assistant Integration Repository.
The easiest way to install the integration is via HACS (Home Assistant Community Store). Click the button below to open the repository directly in HACS:

After installing the custom integration via HACS, you must restart Home Assistant for the changes to take effect.
Step 2. Add Discovered Device
Once Home Assistant has restarted:
- Navigate to Settings > Devices & services.
- You should see your OpenDisplay device listed under Discovered.
- Click onAdd.
- A dialog will appear allowing you to set the device Name and Area.
- Click Finish. You will be redirected to the device details page where you can manage your e-paper display.
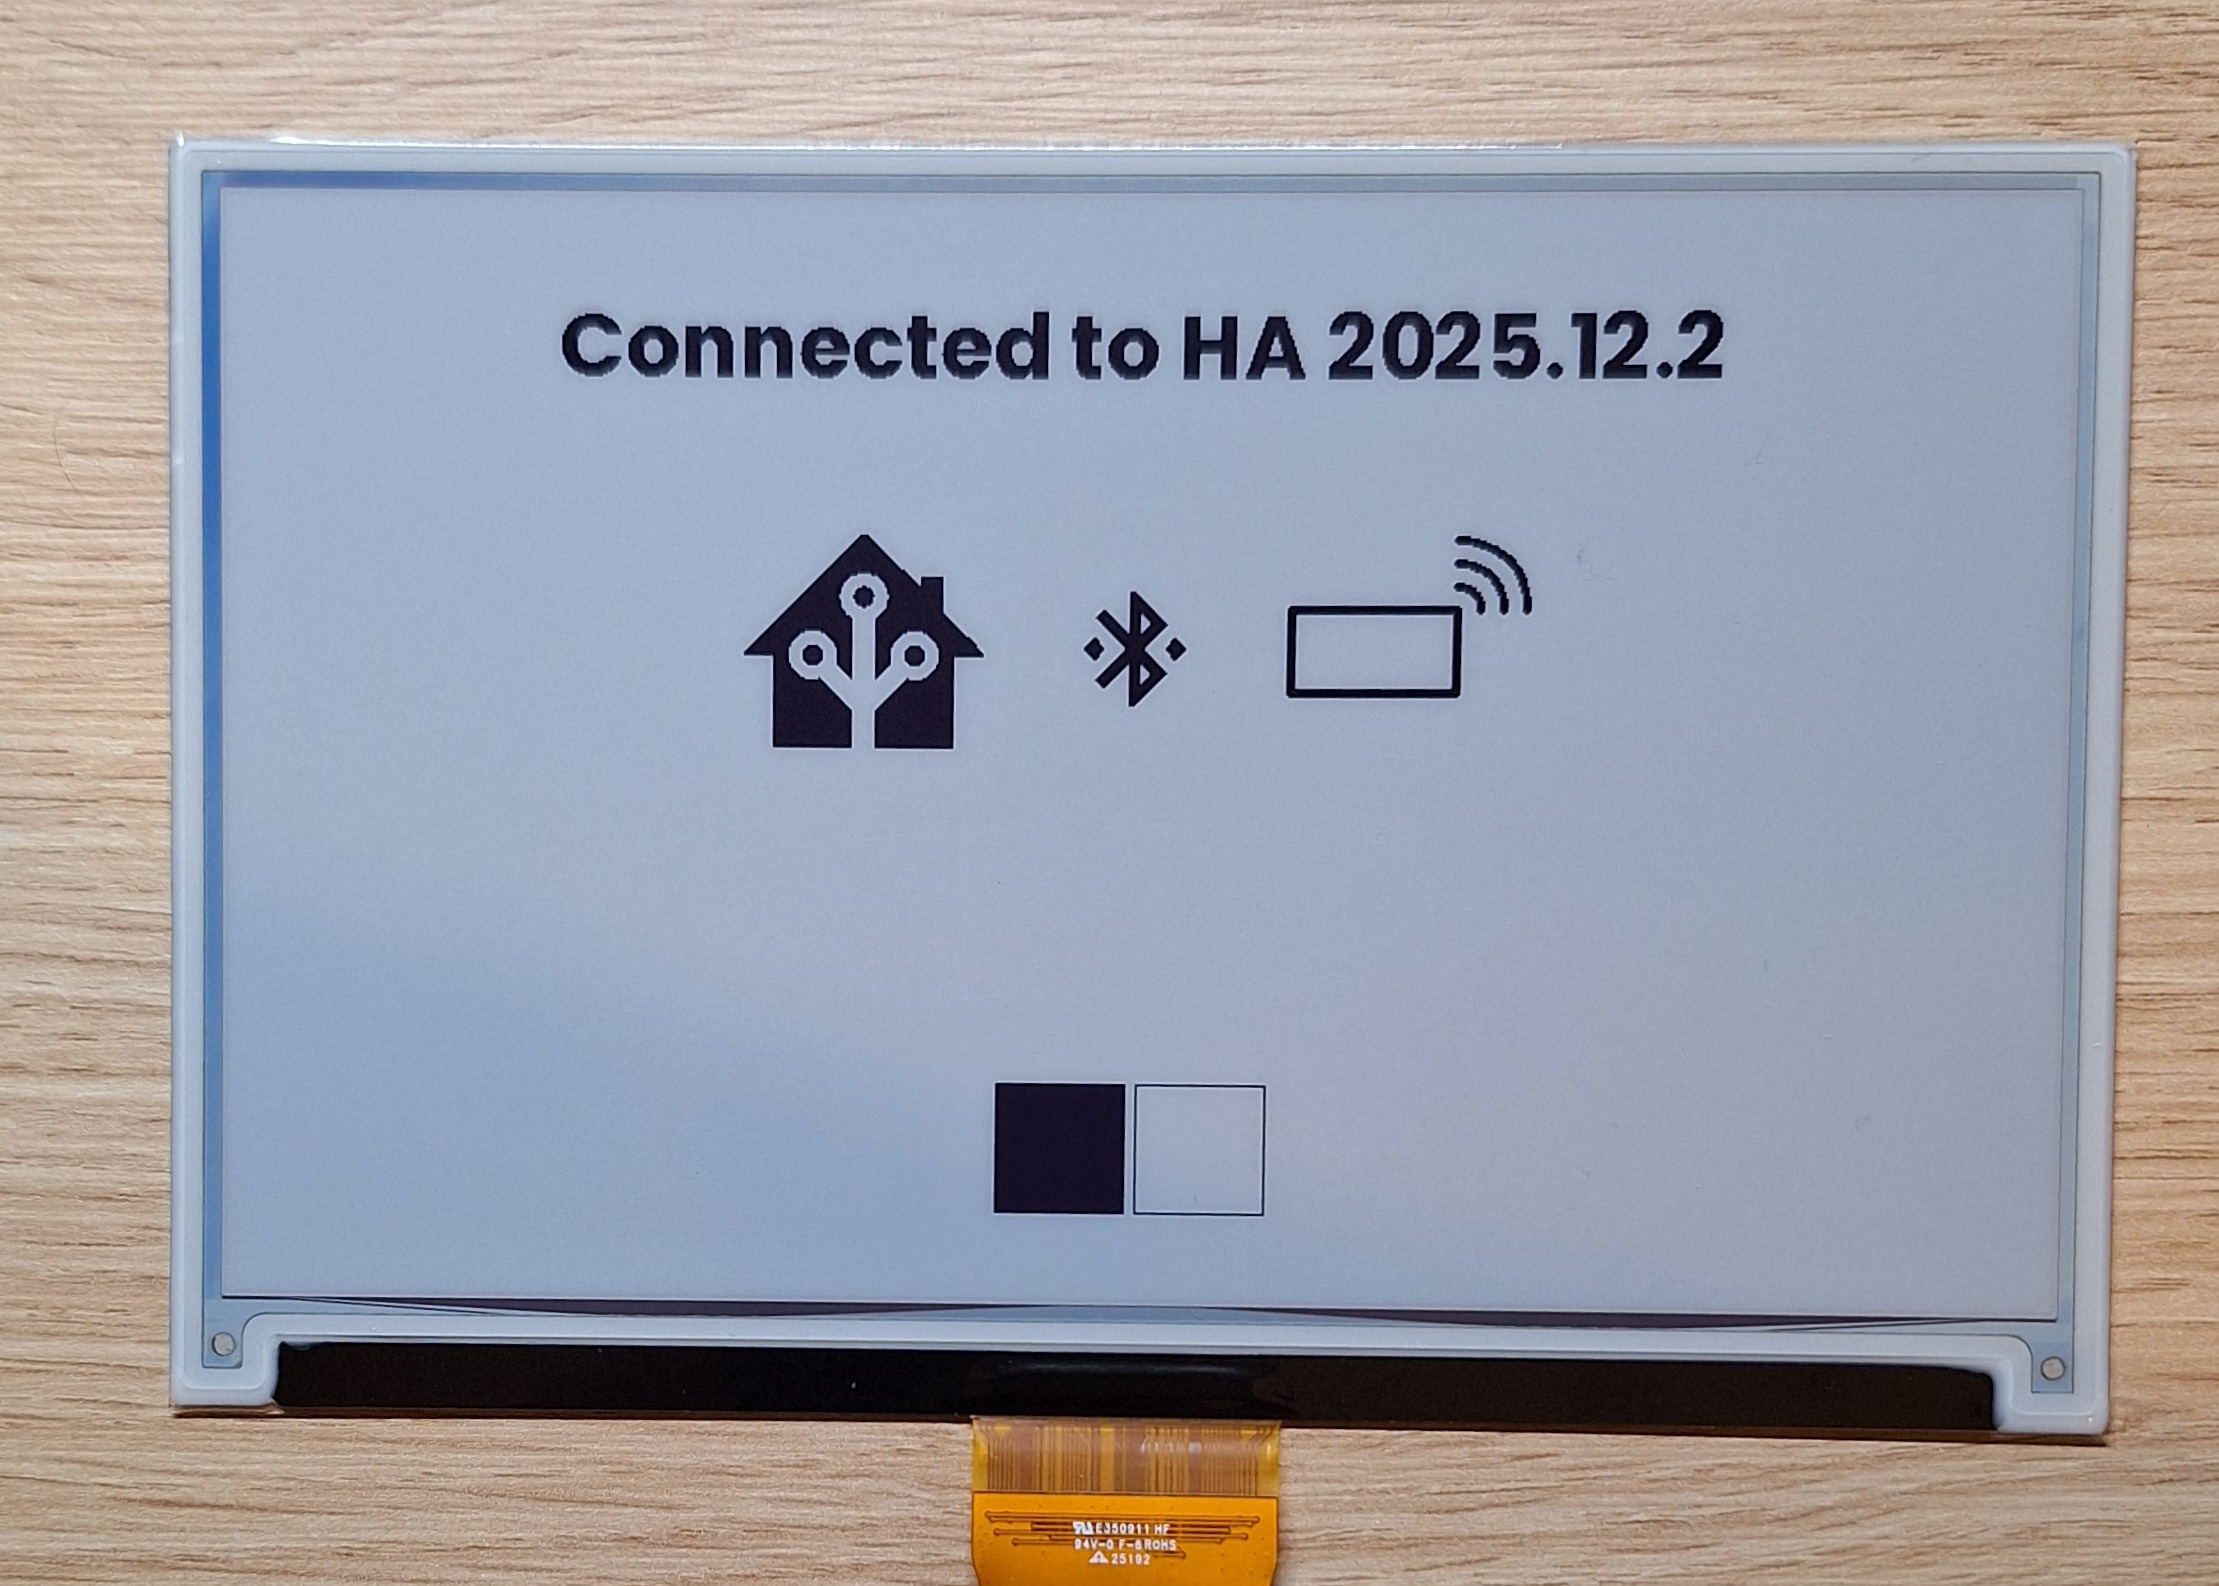
You will see a new image displayed on the display, showing that the device is connected to Home Assistant.
Using with Home Assistant
Once you have integrated your OpenDisplay device with Home Assistant, you can create automations to dynamically update the display content based on sensor data, time, or other events.
Automating Display Updates
The primary service for updating the display is open_epaper_link.drawcustom. This service allows you to draw text, icons, images, and shapes on the display. For a full list of supported types and parameters, please refer to the drawcustom documentation.
You can create automations in Home Assistant using either the Visual Editor or by writing YAML code directly. Below are examples of both methods.
Example 1: Display Sensor Data (Visual Editor)
- Go to Settings > Automations & Scenes and click Create Automation.
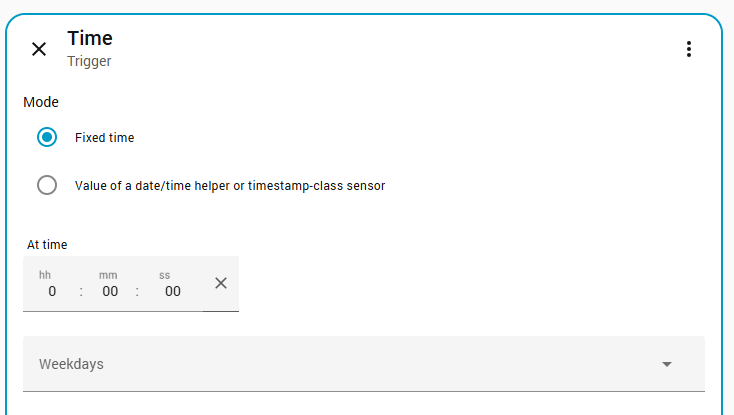
- Add a Time Pattern trigger (e.g., every 10 minutes).
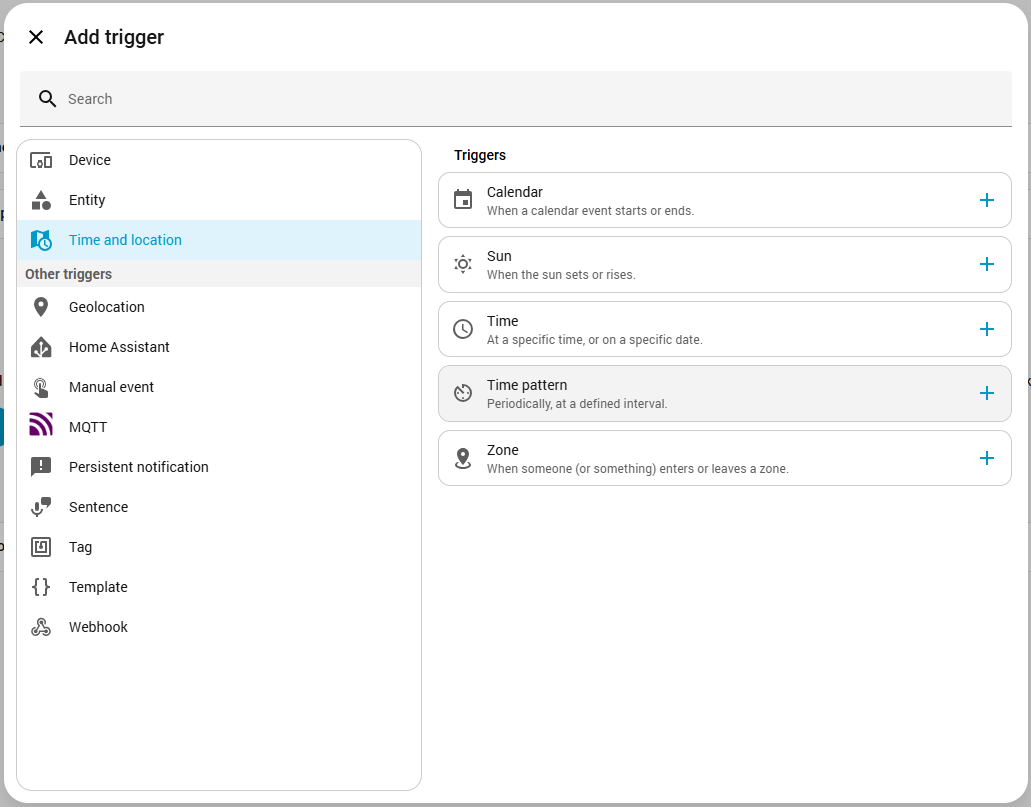
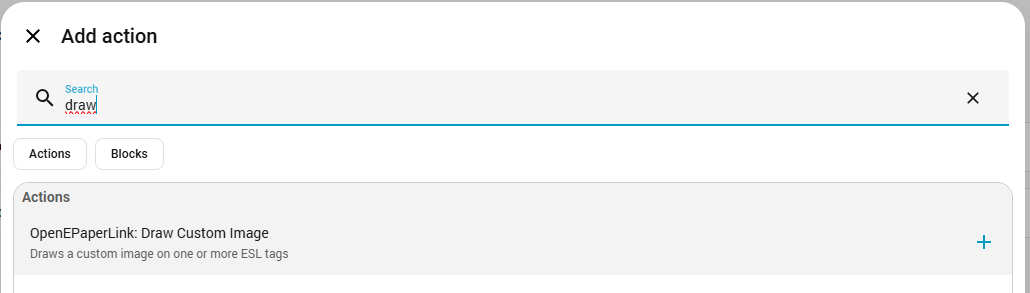
- Add an Action and select OpenDisplay: Draw Custom Image.
- Select your target device.

- In the Payload field, enter the configuration for your display elements.
Payload Configuration:
- type: "text"
  value: "Living Room"
  x: "50%"
  y: 50
  anchor: "mm"
  size: 70
  color: "red"
- type: "icon"
  value: "mdi:thermometer"
  x: "35%"
  y: 200
  anchor: "mm"
  size: 100
  color: "black"
- type: "text"
  value: "{{ states('sensor.living_room_temperature') }}°C"
  x: "65%"
  y: 200
  anchor: "mm"
  size: 100
  color: "black"
- type: "icon"
  value: "mdi:water-percent"
  x: "35%"
  y: 350
  anchor: "mm"
  size: 100
  color: "black"
- type: "text"
  value: "{{ states('sensor.living_room_humidity') }}%"
  x: "65%"
  y: 350
  anchor: "mm"
  size: 100
  color: "black"
The entity IDs used in the payload above (e.g., sensor.living_room_temperature, sensor.living_room_humidity) are examples. You must replace them with the actual Entity IDs of your sensors in Home Assistant.
Example 2: Countdown Timer (YAML)
For advanced users, you can edit the automation in YAML mode. This automation calculates the days remaining until a specific date (e.g., Christmas) and displays it.
alias: Update ePaper Display - Countdown
description: Displays days until Christmas
triggers:
  - at: "00:00:00"
    trigger: time
actions:
  - variables:
      days_left: "{{ (as_datetime('2025-12-24').date() - now().date()).days }}"
  - action: open_epaper_link.drawcustom
    data:
      background: white
      payload:
        - type: text
          value: "{{ 'Christmas Countdown' if days_left > 0 else '' }}"
          x: 50%
          "y": 50
          anchor: mm
          size: 60
          color: black
        - type: text
          value: "{{ days_left if days_left > 0 else '' }}"
          x: 50%
          "y": 240
          anchor: mm
          size: 250
          color: red
        - type: text
          value: >-
            {{ 'Day Left' if days_left == 1 else ('Days Left' if days_left > 0
            else '') }}
          x: 50%
          "y": 430
          anchor: mm
          size: 60
          color: black
        - type: text
          value: "{{ 'It''s Christmas!!!' if days_left == 0 else '' }}"
          x: 50%
          "y": 50%
          anchor: mm
          size: 100
          color: red
    target:
      device_id: 2ad706d4aa7c657b6fe99a733cef2253
The device_id shown in the example above (2ad706d4aa7c657b6fe99a733cef2253) is just an example. You must replace it with the actual Device ID of your own OpenDisplay display.
To find your Device ID:
- Create a new automation in Home Assistant using the Visual Editor.
- Select your OpenDisplay device in the action settings.
- Switch to YAML mode (click the three dots in the top-right corner of the action card).
- Copy the
device_idfrom the YAML code and paste it into your automation.
Bonus
If you are looking for a stylish way to mount your display, check out this 3D printed insert for the IKEA RODALM frame. It allows for easy mounting of the display.
- [MakerWorld] Seeed 7.3" Spectra Insert for IKEA RODALM Frame
Troubleshooting
Firmware Installation Issues
Problem: PC doesn't detect a new USB drive after connecting the EN04 board
- Solution:
- Try a different USB cable (data cable, not power-only)
- Press the reset button twice after connecting the board
Configuration Issues
Problem: The EN04 board isn't discovered
- Solution:
- Verify the LED on the board blinks - this confirms the device is powered
- Try rebooting the board
- Verify the firmware installation or copy the file again
Problem: Display shows nothing after firmware installation
- Solution:
- Verify the FPC cable is inserted correctly (metal contacts facing up)
- Check that the cable is fully inserted and latched
- Verify if the configuration is correct (you can connect to the board via the configurator and read the configuration)
Bluetooth Connection Issues
Problem: Cannot find OpenDisplay device in Bluetooth pairing
- Solution:
- Ensure device is powered on and firmware is installed
- Move closer to the device (within 2-3 meters)
- Check that Bluetooth is enabled on your computer/phone
Problem: Connection drops during image upload
- Solution:
- Stay close to the device during upload
- Ensure battery is sufficiently charged or power the device via USB
- Avoid uploading very large images
- Try again with a more stable Bluetooth environment
Battery and Power Issues
Problem: Short battery life
- Solution:
- Configure longer sleep intervals in the configurator
- Always use the latest version of the firmware; each version optimizes battery usage
- Reduce display refresh frequency
- Verify battery is fully charged (4.2V for Li-Po)
Problem: Device won't charge
- Solution:
- Check battery polarity (red: +, black: -)
- Verify charging cable provides sufficient current (min. 500mA)
- Ensure power switch is in ON position
- Test with different USB power source
Resources
- [GitHub] OpenDisplay Firmware Repository
- [Web Tool] Firmware Web Installer
- [Web Tool] Configuration Builder
- [Web Tool] Display Tester
- [Discord] OpenDisplay Community
- [Website] OpenDisplay Official Site
Tech Support & Product Discussion
Thank you for choosing our products! We are here to provide you with different support to ensure that your experience with our products is as smooth as possible. We offer several communication channels to cater to different preferences and needs.