Work with OpenEPaperLink / OpenDisplay
OpenDisplay and OpenEPaperLink (OEPL) are open-source ecosystems for driving ePaper displays over Bluetooth Low Energy (BLE). A phone, computer, or Home Assistant host can connect to the display directly, so the basic workflow does not require an 802.15.4 access point.
This guide covers two Seeed hardware paths:
- OpenDisplay Toolbox path — recommended for ready-to-use OpenDisplay firmware on reTerminal E1001, reTerminal E1002, reTerminal E1003, and XIAO ePaper Display Board EN04.
- OEPL_BLE path — useful for a modular DIY setup with ePaper Breakout Board for Seeed Studio XIAO and a XIAO nRF52840 series board.
The user experience is similar in both paths: install firmware, configure the device over BLE, then upload an image. The tools and supported presets differ, so follow the tab that matches your hardware.
Compatible Hardware
- reTerminal E Series
- XIAO ePaper Display Board EN04
- ePaper Breakout Board + XIAO nRF52840
The OpenDisplay Toolbox includes presets for reTerminal E1001, reTerminal E1002, and reTerminal E1003.
| reTerminal E1001 | reTerminal E1002 | reTerminal E1003 |
|---|---|---|
 | | 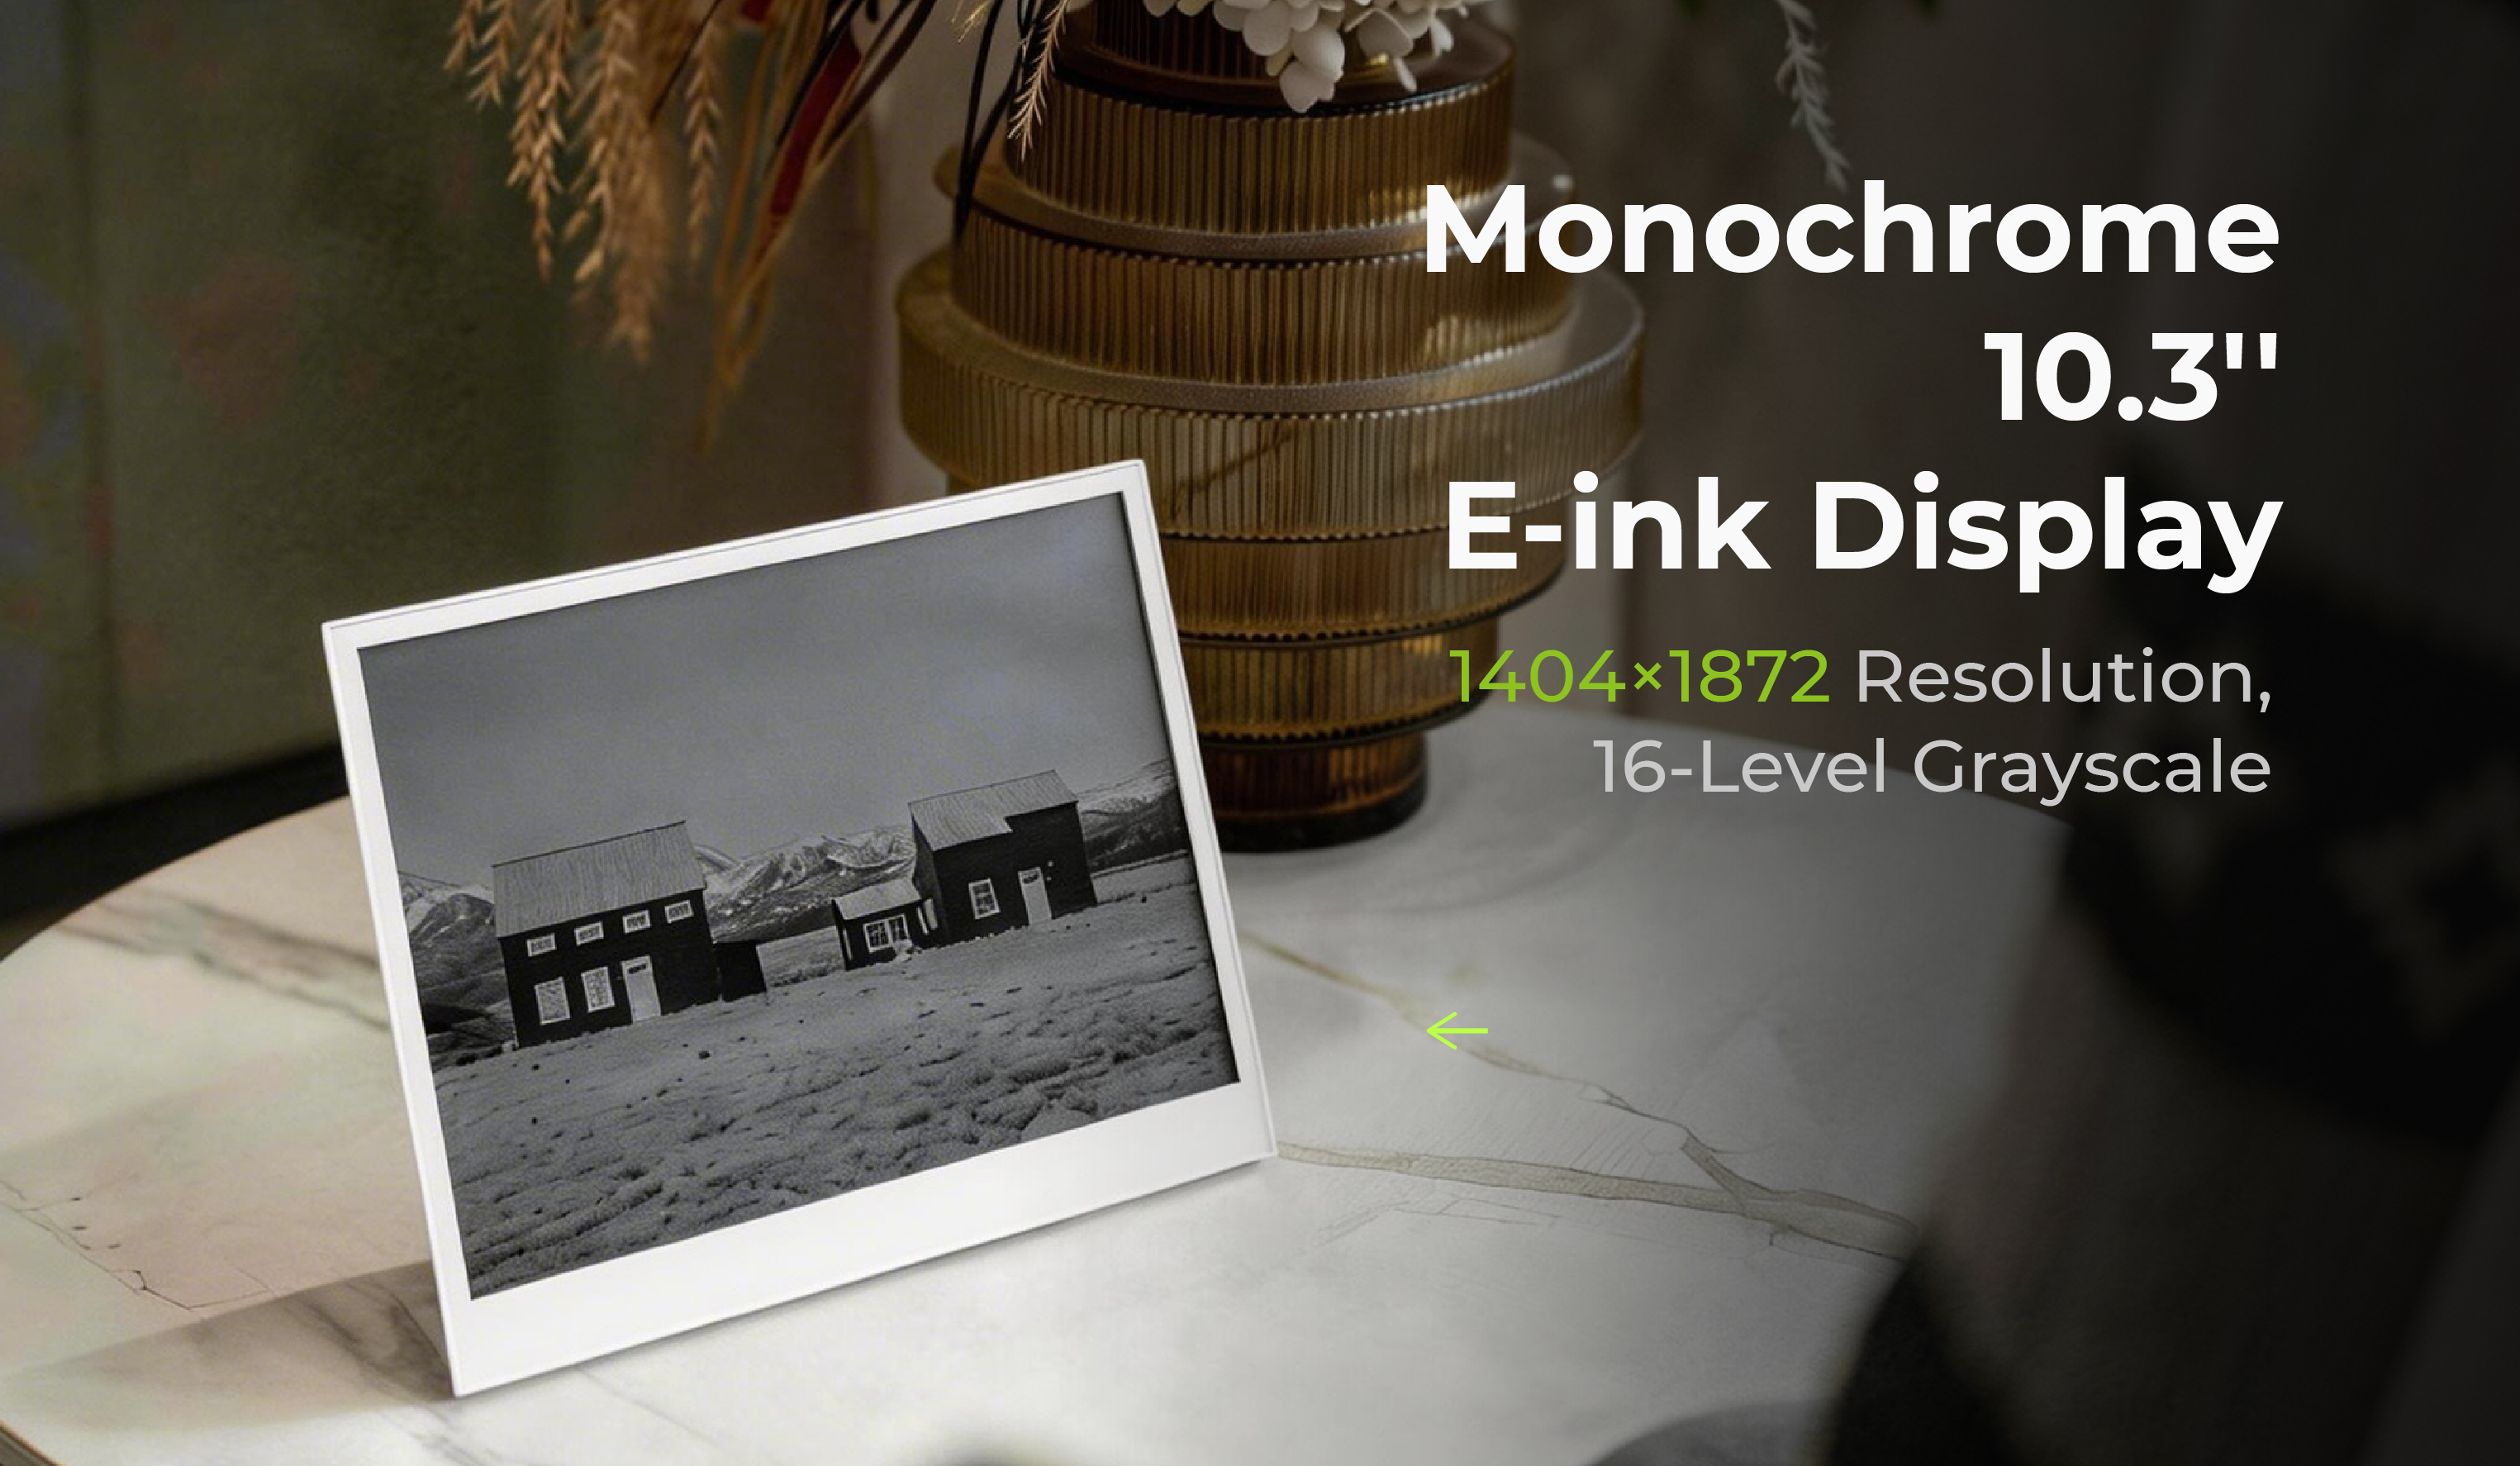 |
| 7.5" monochrome, 800 × 480 | 7.3" Spectra 6 color, 800 × 480 | 10.3" monochrome, 1404 × 1872, touch |
| Open in Toolbox | Open in Toolbox | Open in Toolbox |
Use this path when you want to run OpenDisplay firmware directly on a finished reTerminal E Series device.
Installing OpenDisplay firmware replaces the firmware currently running on the device. Keep a restore path ready by using the official reTerminal E-Series Firmware Hub or the firmware package recommended by your product Wiki.
| XIAO ePaper Display Board EN04 |
|---|
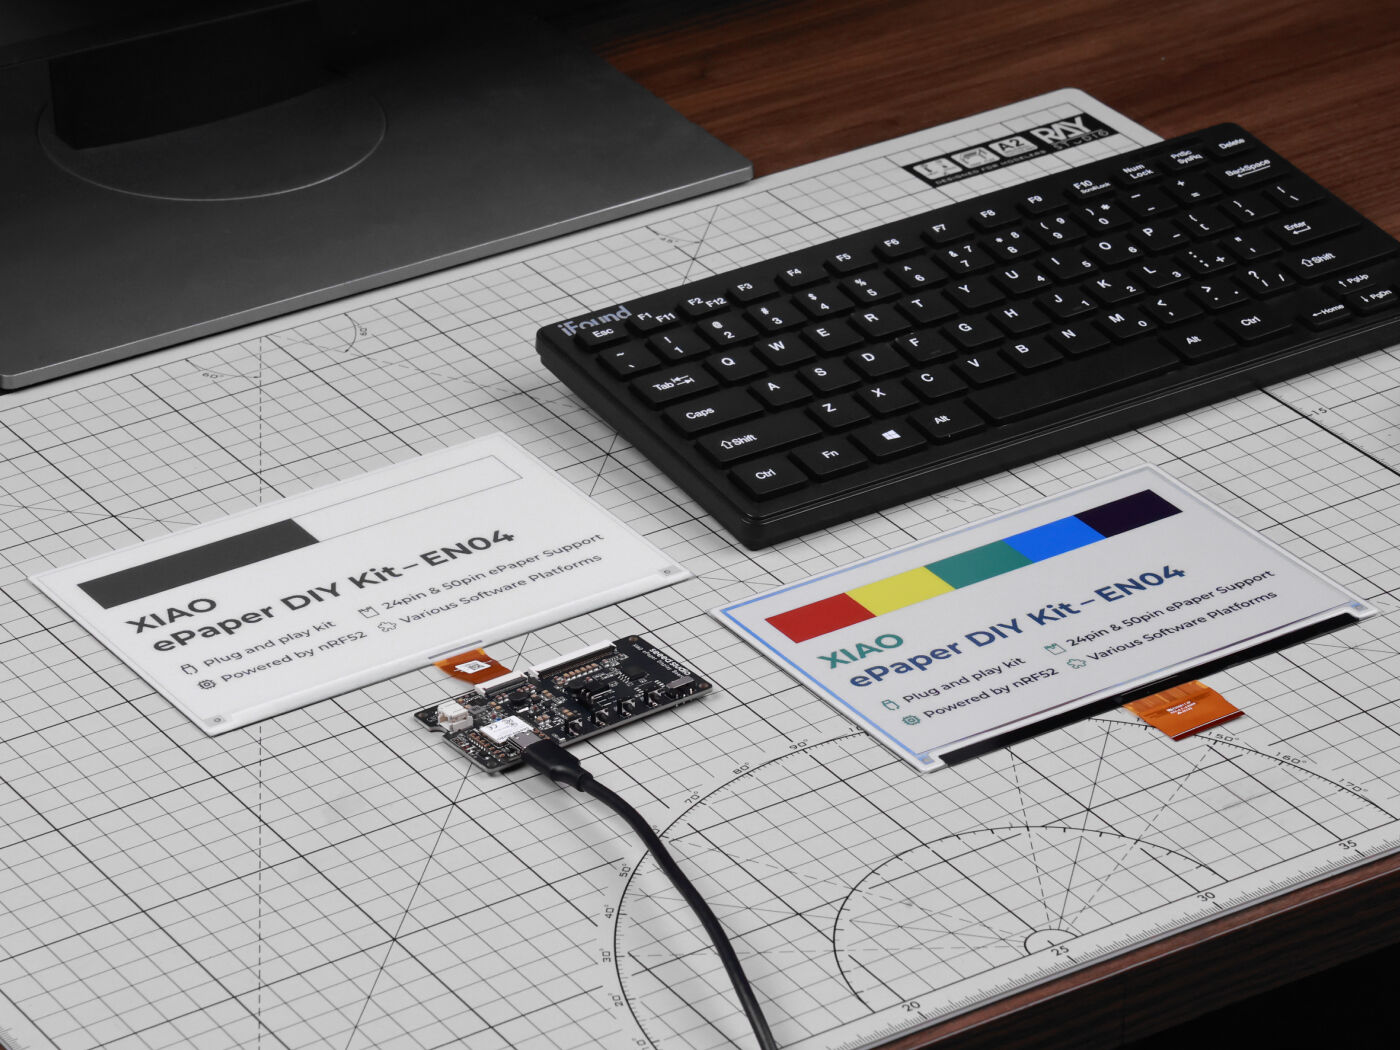 |
| Open EN04 in Toolbox |
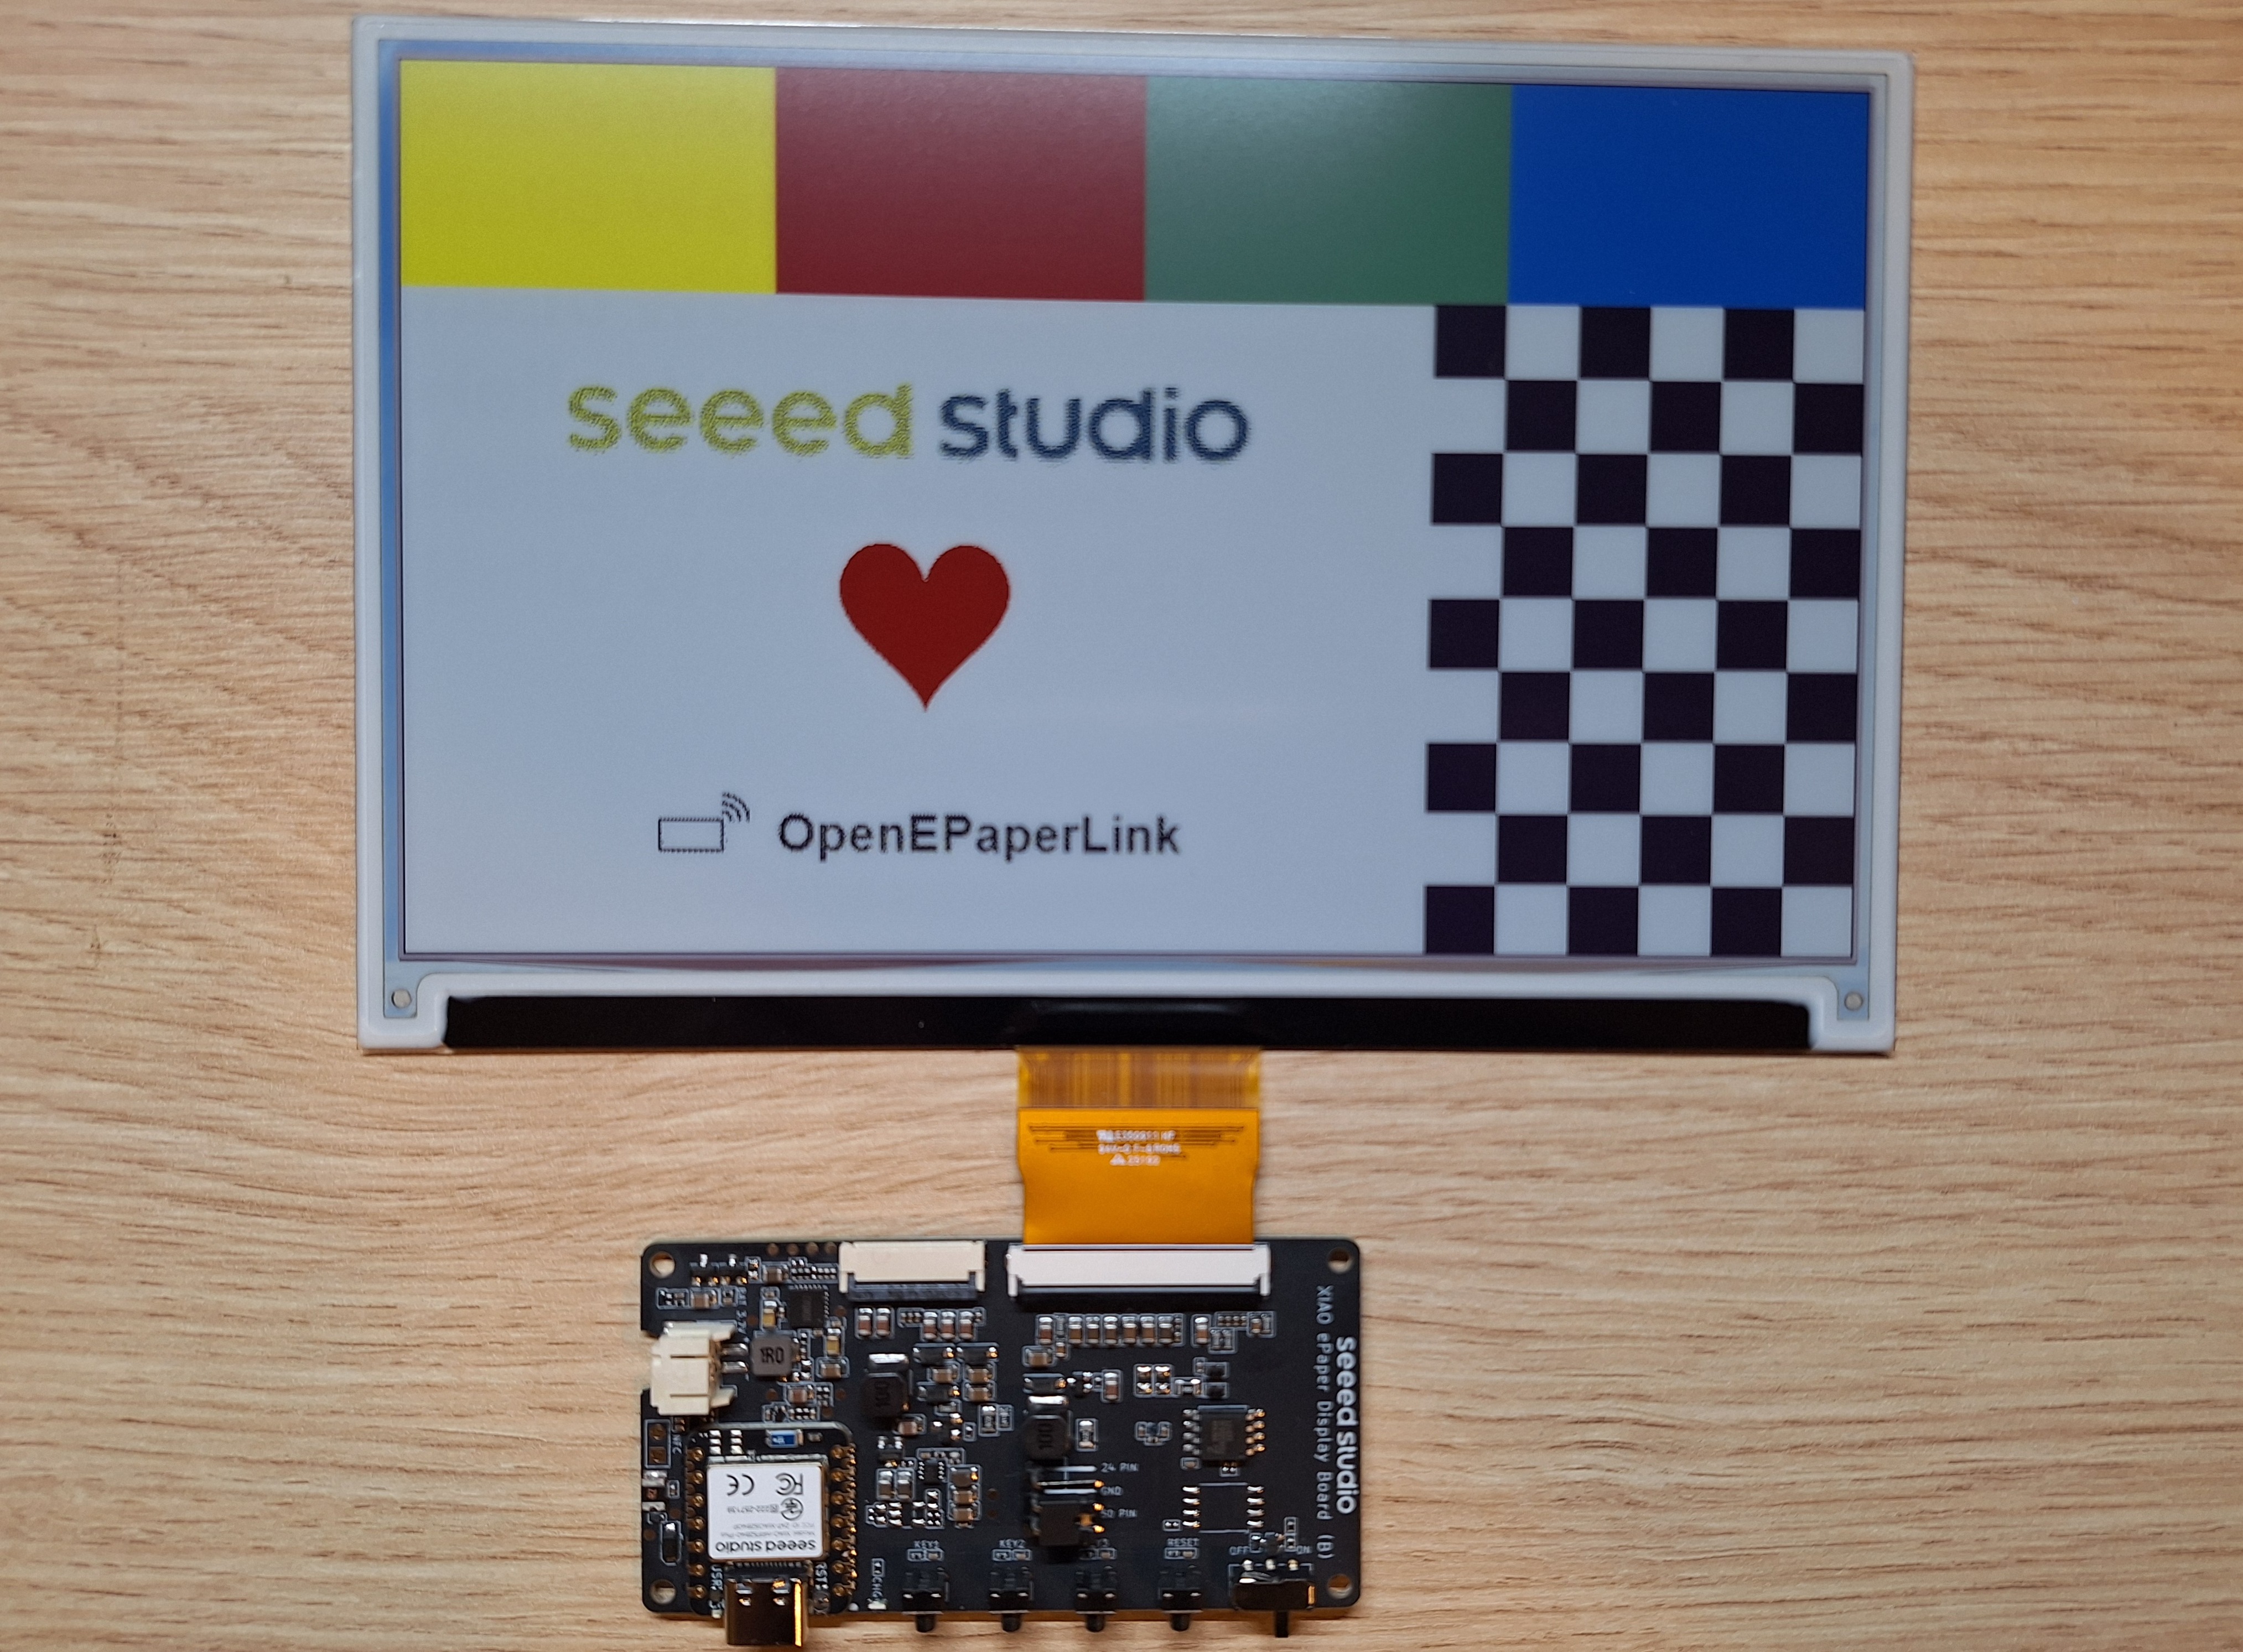
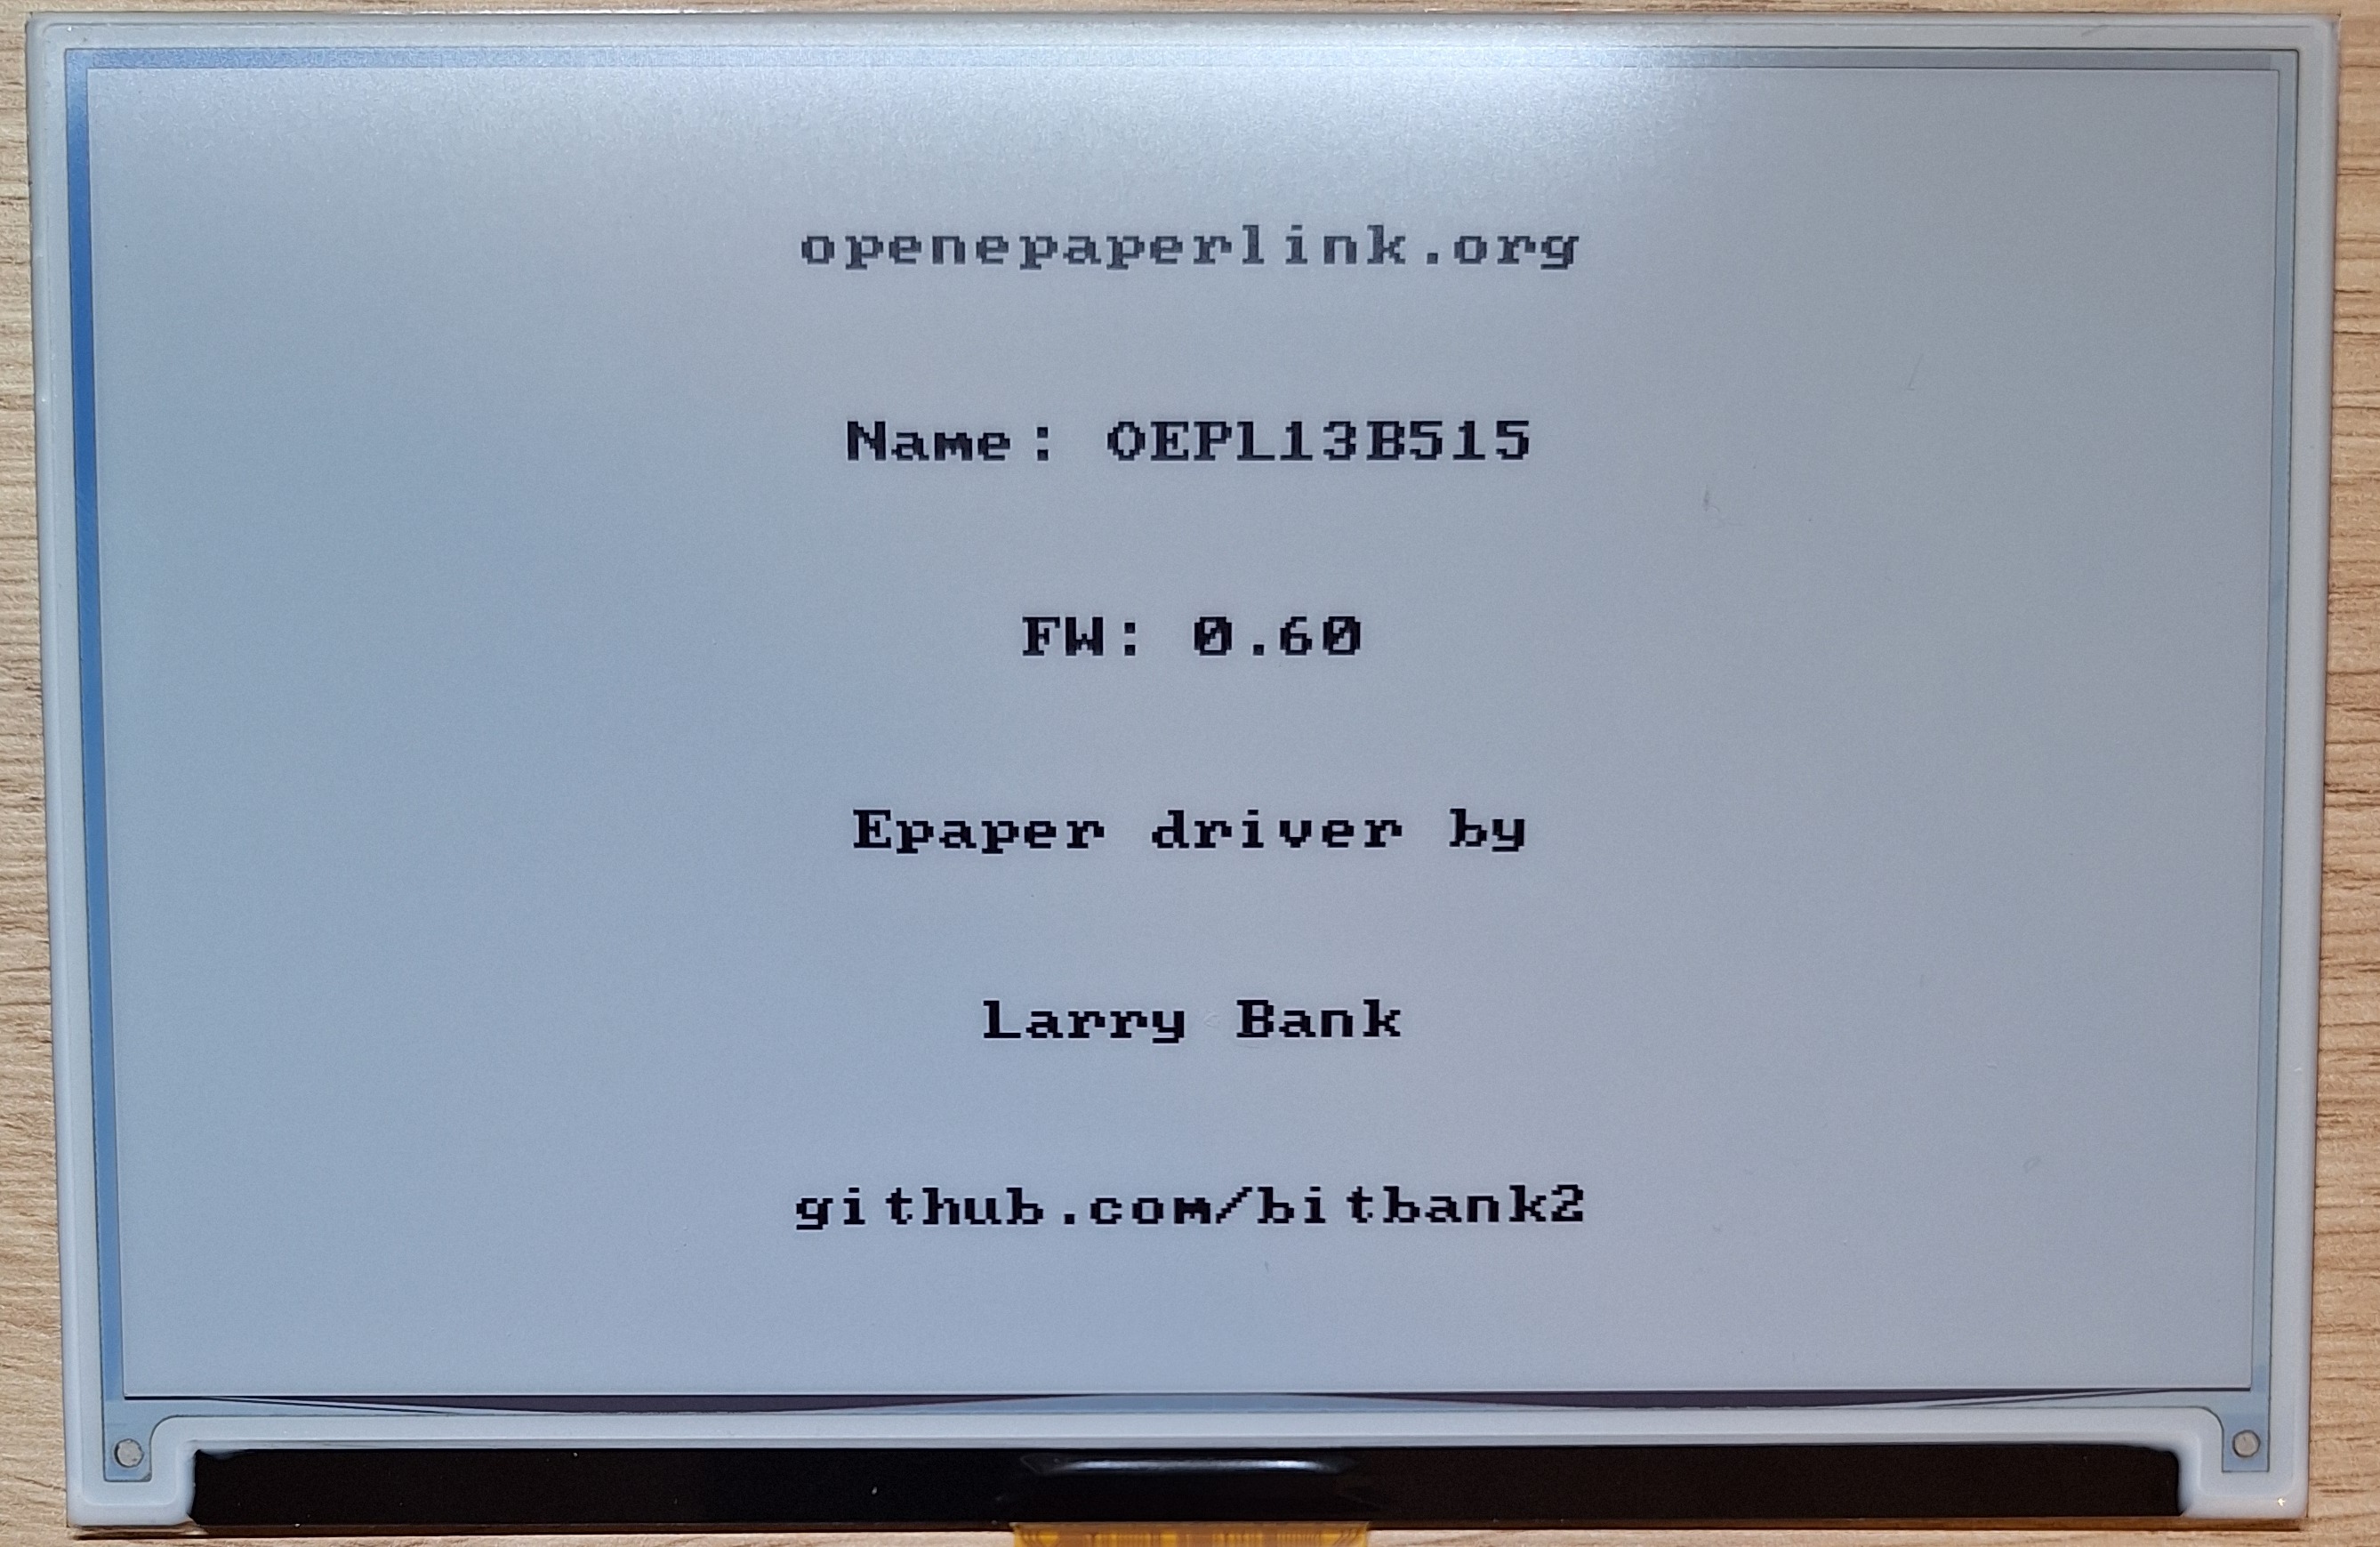
EN04 is an nRF52840-based ePaper driver board. It is the most direct DIY path for OpenDisplay when you want to pair a supported ePaper panel with a BLE-focused controller.
| 4.26" Monochrome ePaper Display | ePaper Breakout Board for Seeed Studio XIAO | Seeed Studio XIAO nRF52840 Sense Plus |
|---|---|---|
 |  |  |
Use this path when you want a modular OEPL_BLE build. The XIAO nRF52840 series can drive this DIY kit, and the community OEPL workflow provides separate tools for configuration and image upload.
Why Use OpenDisplay / OpenEPaperLink?
- BLE-first workflow — configure and upload images without a dedicated 802.15.4 access point.
- Browser-based tools — install firmware, select presets, configure devices, and upload images from a supported browser.
- Seeed hardware presets — OpenDisplay Toolbox includes presets for reTerminal E1001, E1002, E1003, and EN04.
- Home Assistant support — OpenDisplay devices can be added through Home Assistant's official OpenDisplay integration.
- Open-source ecosystem — firmware, tools, and integrations are developed in public repositories.
Step 1: Hardware Setup
- reTerminal E Series
- XIAO ePaper Display Board EN04
- ePaper Breakout Board + XIAO nRF52840
Step 1. Connect the reTerminal E Series device to your computer with a USB-C data cable.
Step 2. Turn the device on and keep it close to the computer. The browser will use USB for firmware installation and BLE for configuration.
Step 3. Match your hardware to the correct OpenDisplay Toolbox preset:
| Device | Toolbox Preset | Display |
|---|---|---|
| reTerminal E1001 | reterminal-e1001 | 7.5" monochrome, 800 × 480 |
| reTerminal E1002 | reterminal-e1002 | 7.3" Spectra 6 color, 800 × 480 |
| reTerminal E1003 | reterminal-e1003 | 10.3" monochrome, 1404 × 1872 |
Step 1. Insert the ePaper panel FPC cable into the EN04 connector and lock the latch.
For the 50-pin connector, align the printed 1 and 50 marks on the FPC with the matching marks on the board. On the EN04 kit shown below, the metal contact side of the FPC faces upward.
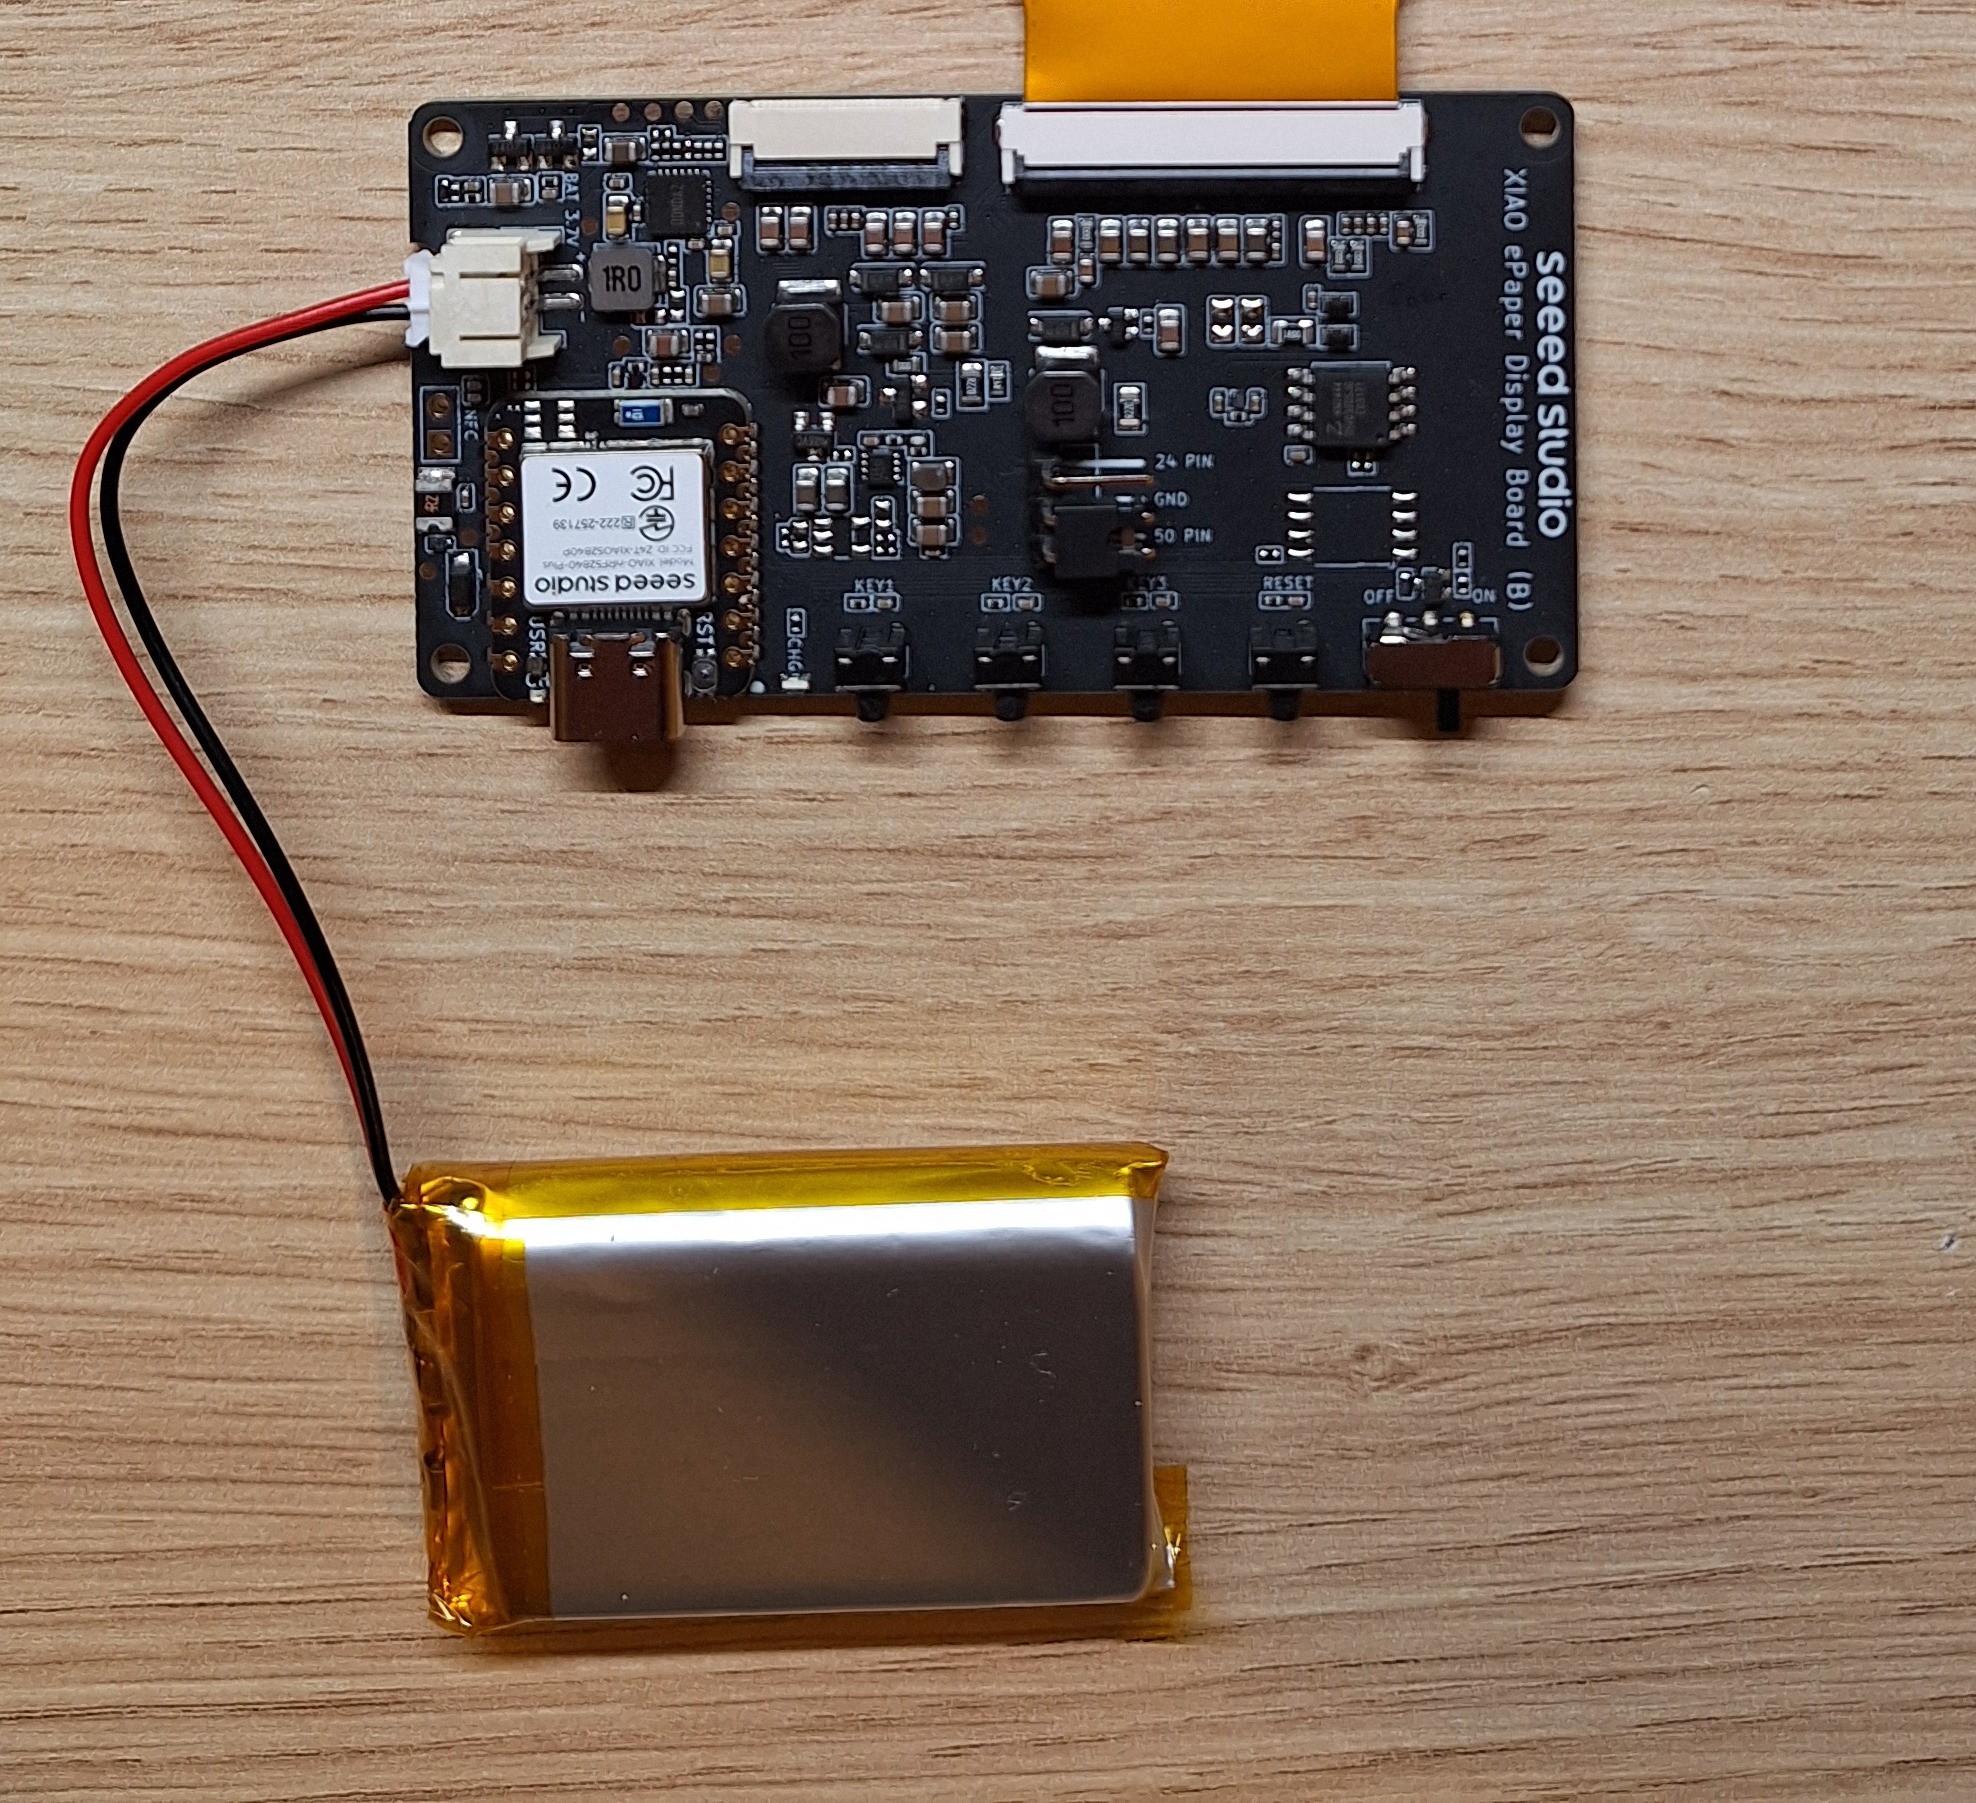
Step 2. Connect the battery to the JST connector. Red wire goes to +, black wire goes to -.
Step 3. Connect the EN04 board to your computer with a USB-C data cable.
Check battery polarity before powering the board. A battery connector with reversed polarity can damage the hardware.
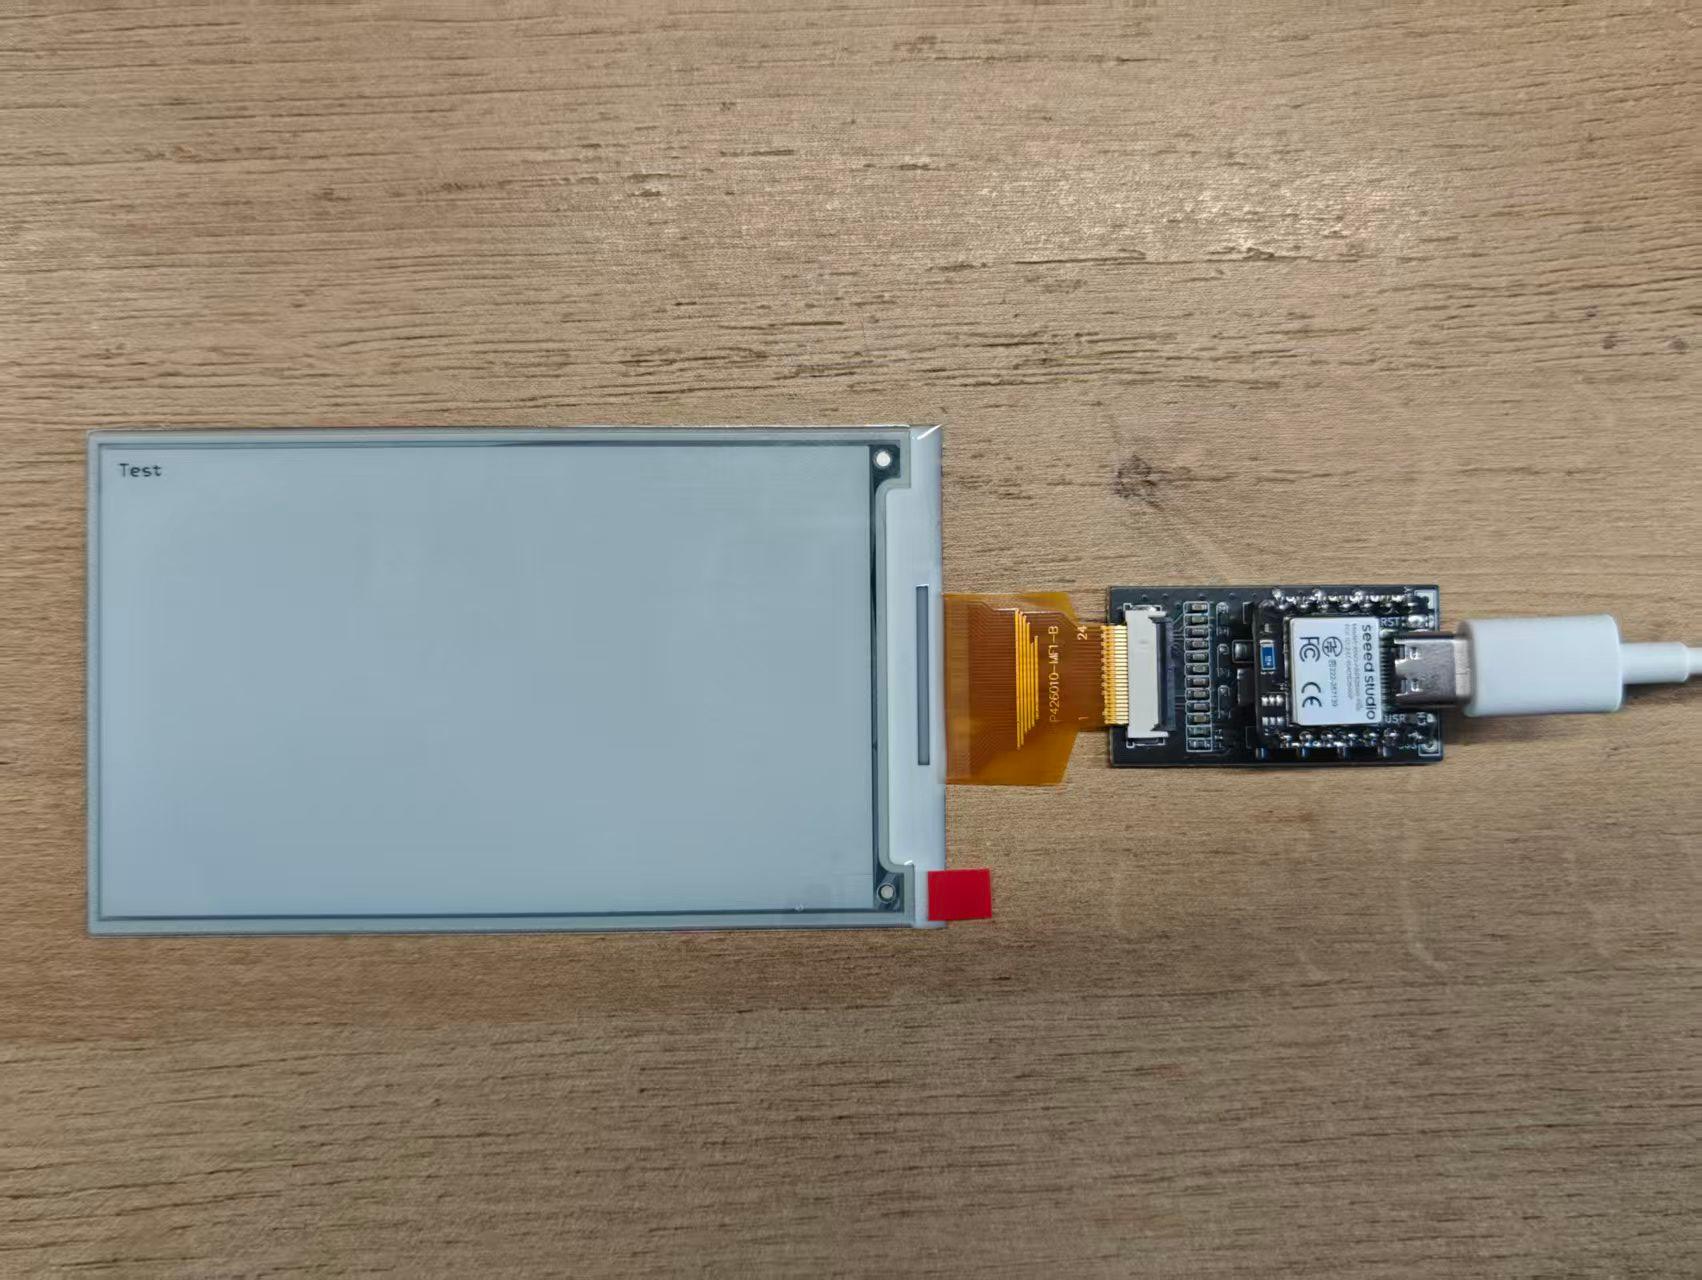
Step 1. Mount the XIAO nRF52840 series board on the ePaper Breakout Board.
Step 2. Insert the ePaper panel FPC cable into the breakout board connector and lock the latch.
Step 3. Connect the XIAO to your computer with a USB-C data cable.
Step 2: Install Firmware
- reTerminal E Series
- XIAO ePaper Display Board EN04
- ePaper Breakout Board + XIAO nRF52840
OpenDisplay provides direct Toolbox presets for the reTerminal E Series.
Step 1. Open the matching Toolbox preset in Chrome or Edge:
Step 2. Confirm that the selected preset matches your device.
Step 3. Click Install firmware (USB).
Step 4. In the browser pairing dialog, select the USB serial device that appears when the reTerminal is connected.
Step 5. Wait until the installer finishes and the device reboots.
After installation, continue with BLE configuration in the next step.
The current OpenDisplay flow uses the Toolbox for EN04 setup.
Step 1. Open OpenDisplay Toolbox for EN04 in Chrome or Edge.
Step 2. Select the panel that matches your connected ePaper display.
Step 3. Click Install firmware (USB) and follow the browser prompt.
Step 4. If the browser asks for bootloader mode, double-press the reset button on the EN04 board, then select the newly detected USB device.
Step 5. Wait for the firmware installation to finish.
The EN04 will reboot into OpenDisplay firmware and can then be configured over BLE.
The XIAO nRF52840 + Breakout Board path uses OEPL_BLE firmware before the OEPL Config Builder can connect to it.
Step 1. Open the OEPL_BLE release page and download the firmware package that matches your XIAO nRF52840 board.
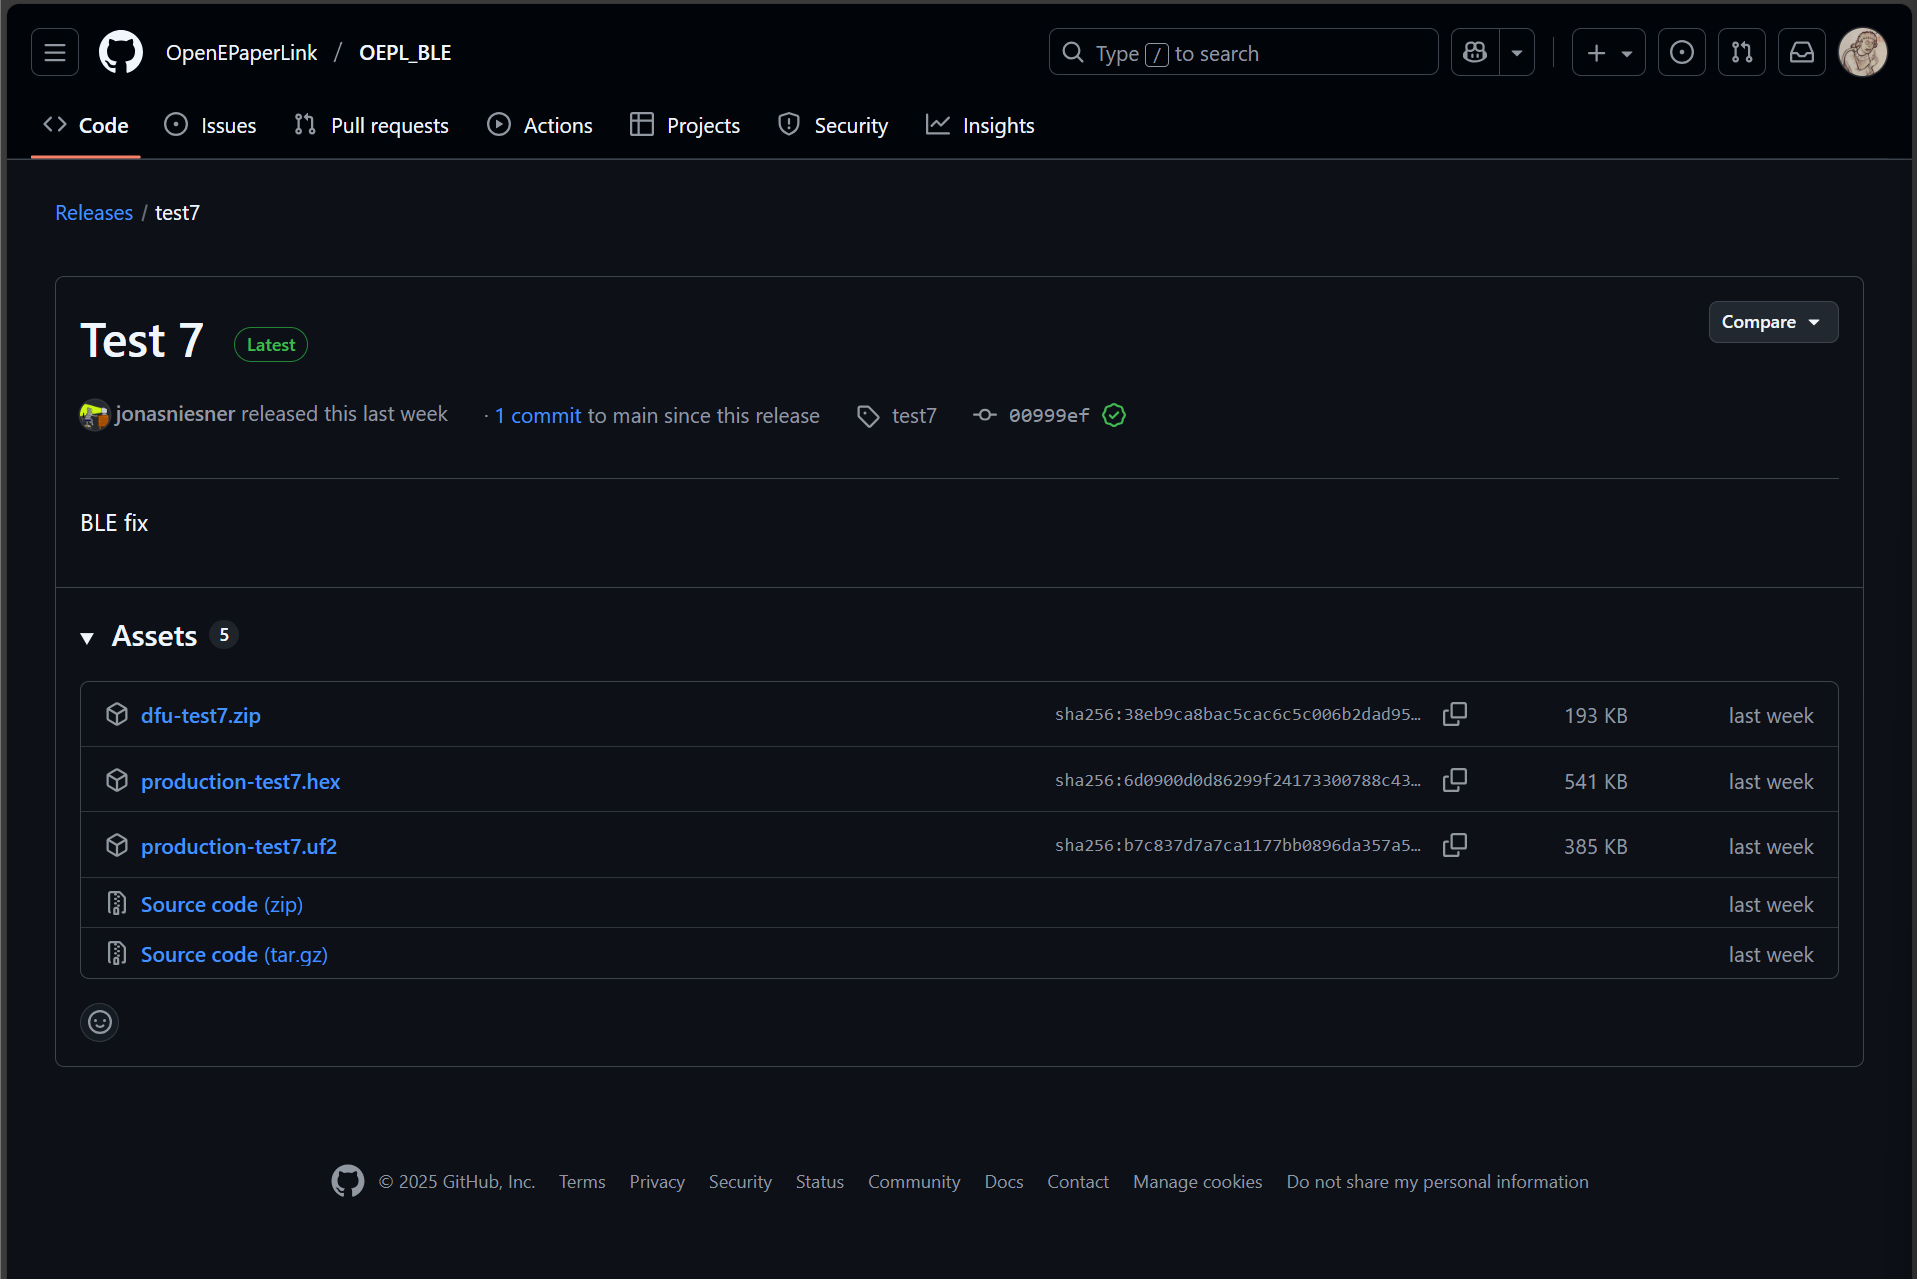
Step 2. Double-press the reset button on the XIAO. It appears as a USB drive.
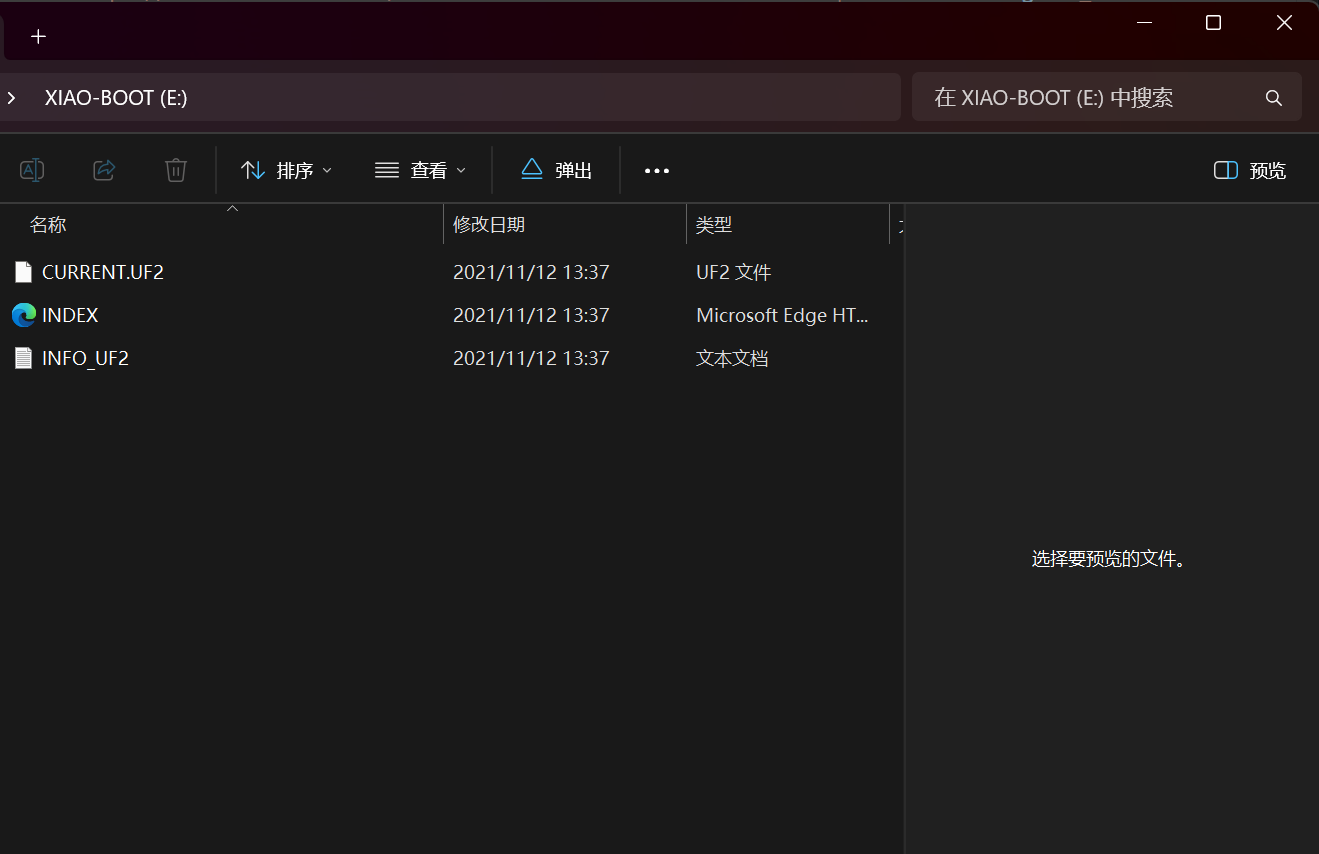
Step 3. Drag the downloaded .uf2 firmware file to the USB drive.
The XIAO reboots and runs OEPL_BLE firmware on the next power cycle.
Step 3: Configure the Device over BLE
- reTerminal E Series
- XIAO ePaper Display Board EN04
- ePaper Breakout Board + XIAO nRF52840
Step 1. In the same OpenDisplay Toolbox page, click Configure over Bluetooth.
Step 2. Select your reTerminal device in the BLE pairing dialog.
Step 3. Wait for the Toolbox to write the selected preset to the device.
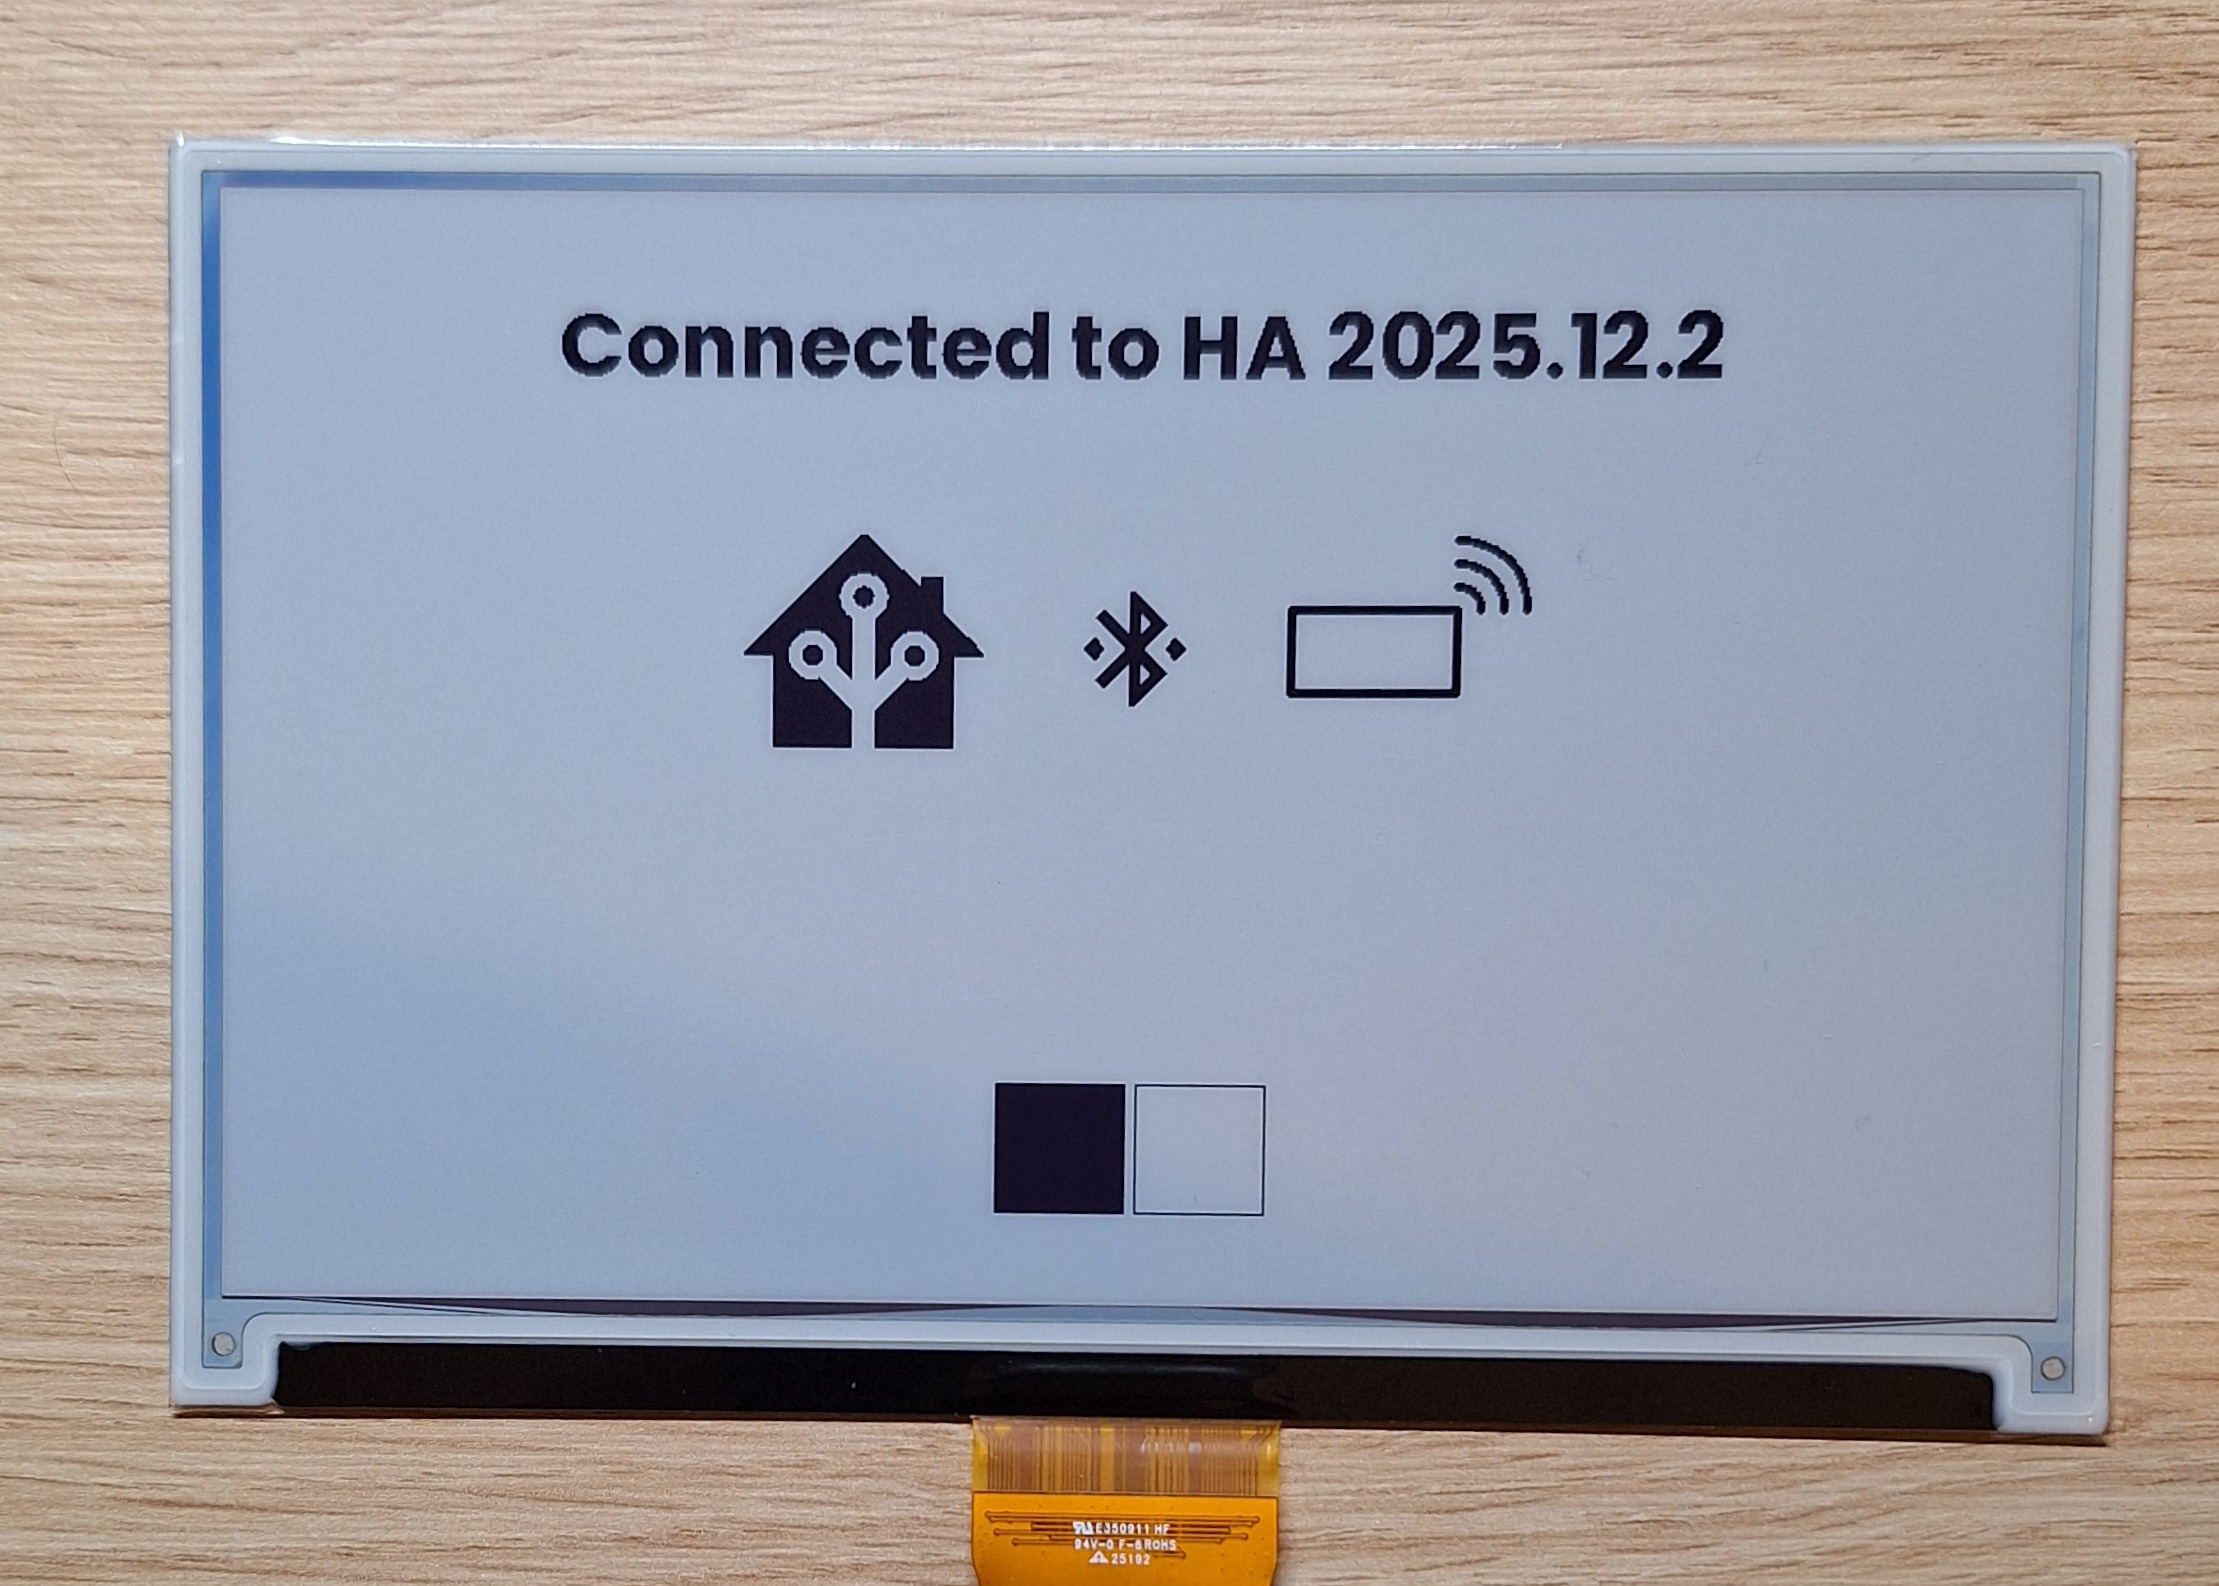
Step 4. Confirm that the display refreshes or shows the OpenDisplay startup/test image.
The device is now ready for image upload through OpenDisplay tools or Home Assistant.
Step 1. In the OpenDisplay Toolbox, keep EN04 selected as the driver board and confirm the matching panel option.
Step 2. Click Configure over Bluetooth.
Step 3. Select the EN04 device in the BLE pairing dialog.
Step 4. Wait until the Toolbox writes the configuration and the display refreshes.
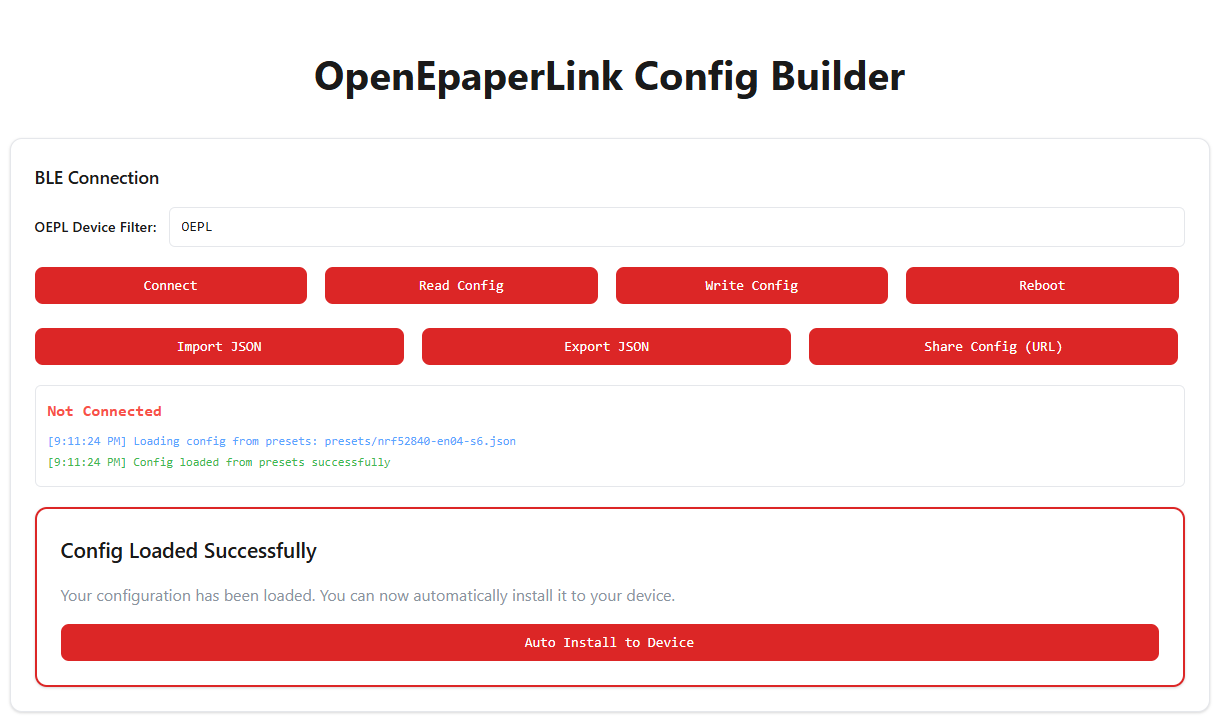
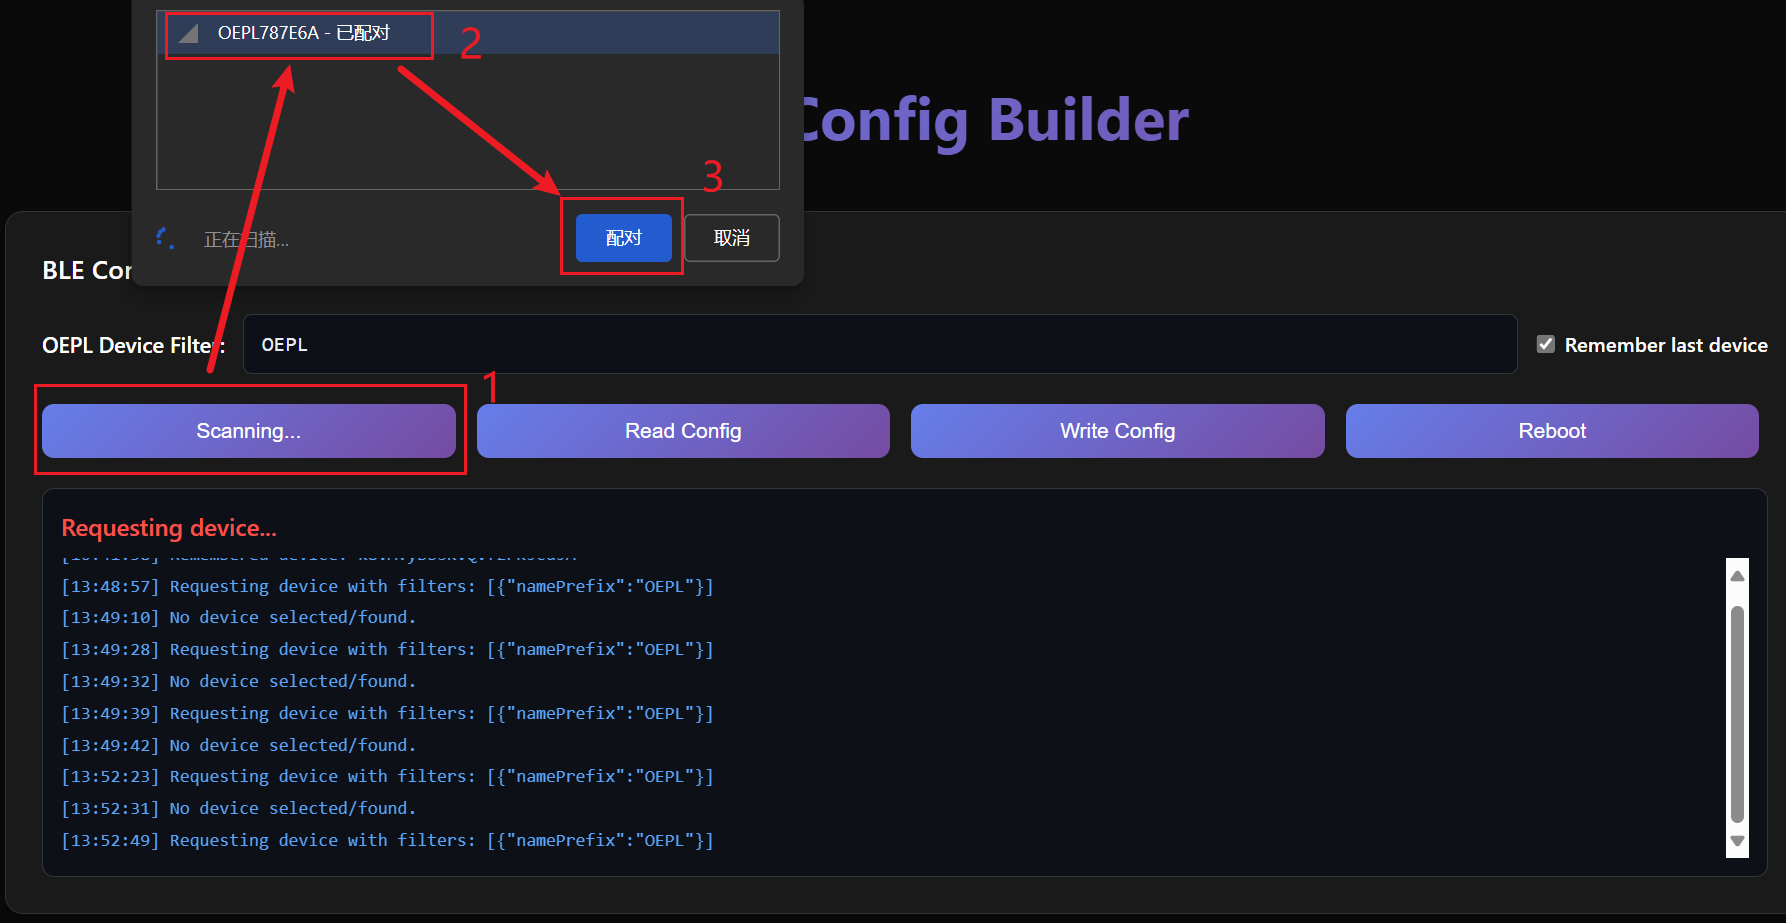
Step 1. Open the OEPL Config Builder.
Step 2. Click Connect and select your XIAO nRF52840 device from the BLE pairing dialog.
Step 3. Use the builder panels to configure the host IC, power settings, display, LEDs, sensors, buses, and binary inputs.
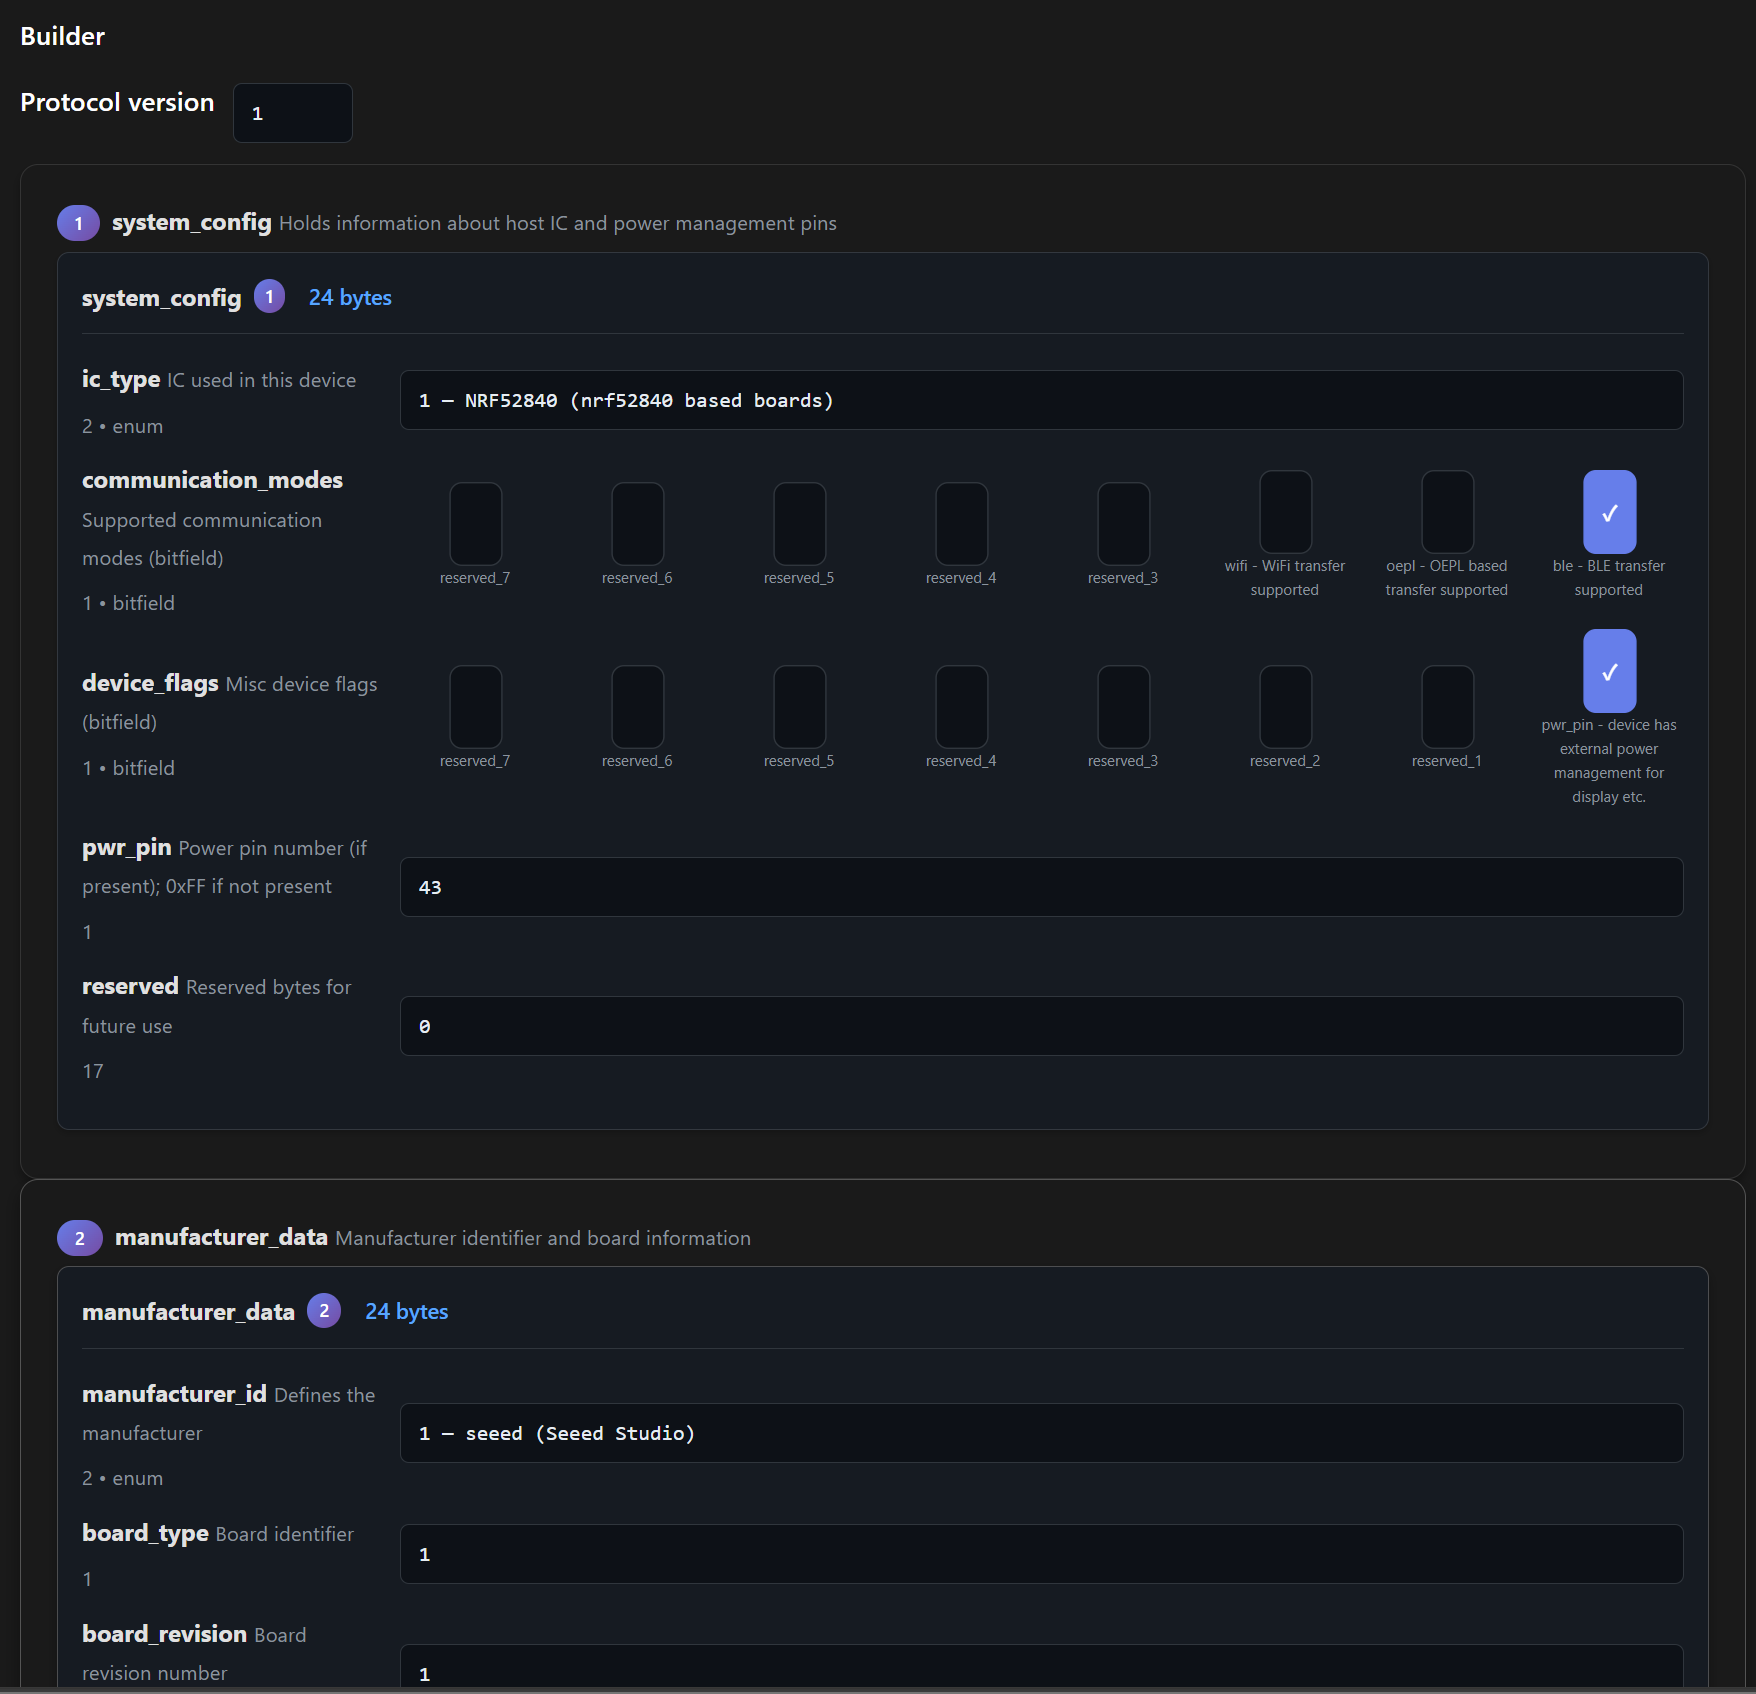
Step 4. For the Seeed 4.26" monochrome ePaper setup, import the sample configuration below.

Step 5. Click Write Config to save the configuration to the MCU.
Step 4: Upload Images
- reTerminal E Series
- XIAO ePaper Display Board EN04
- ePaper Breakout Board + XIAO nRF52840
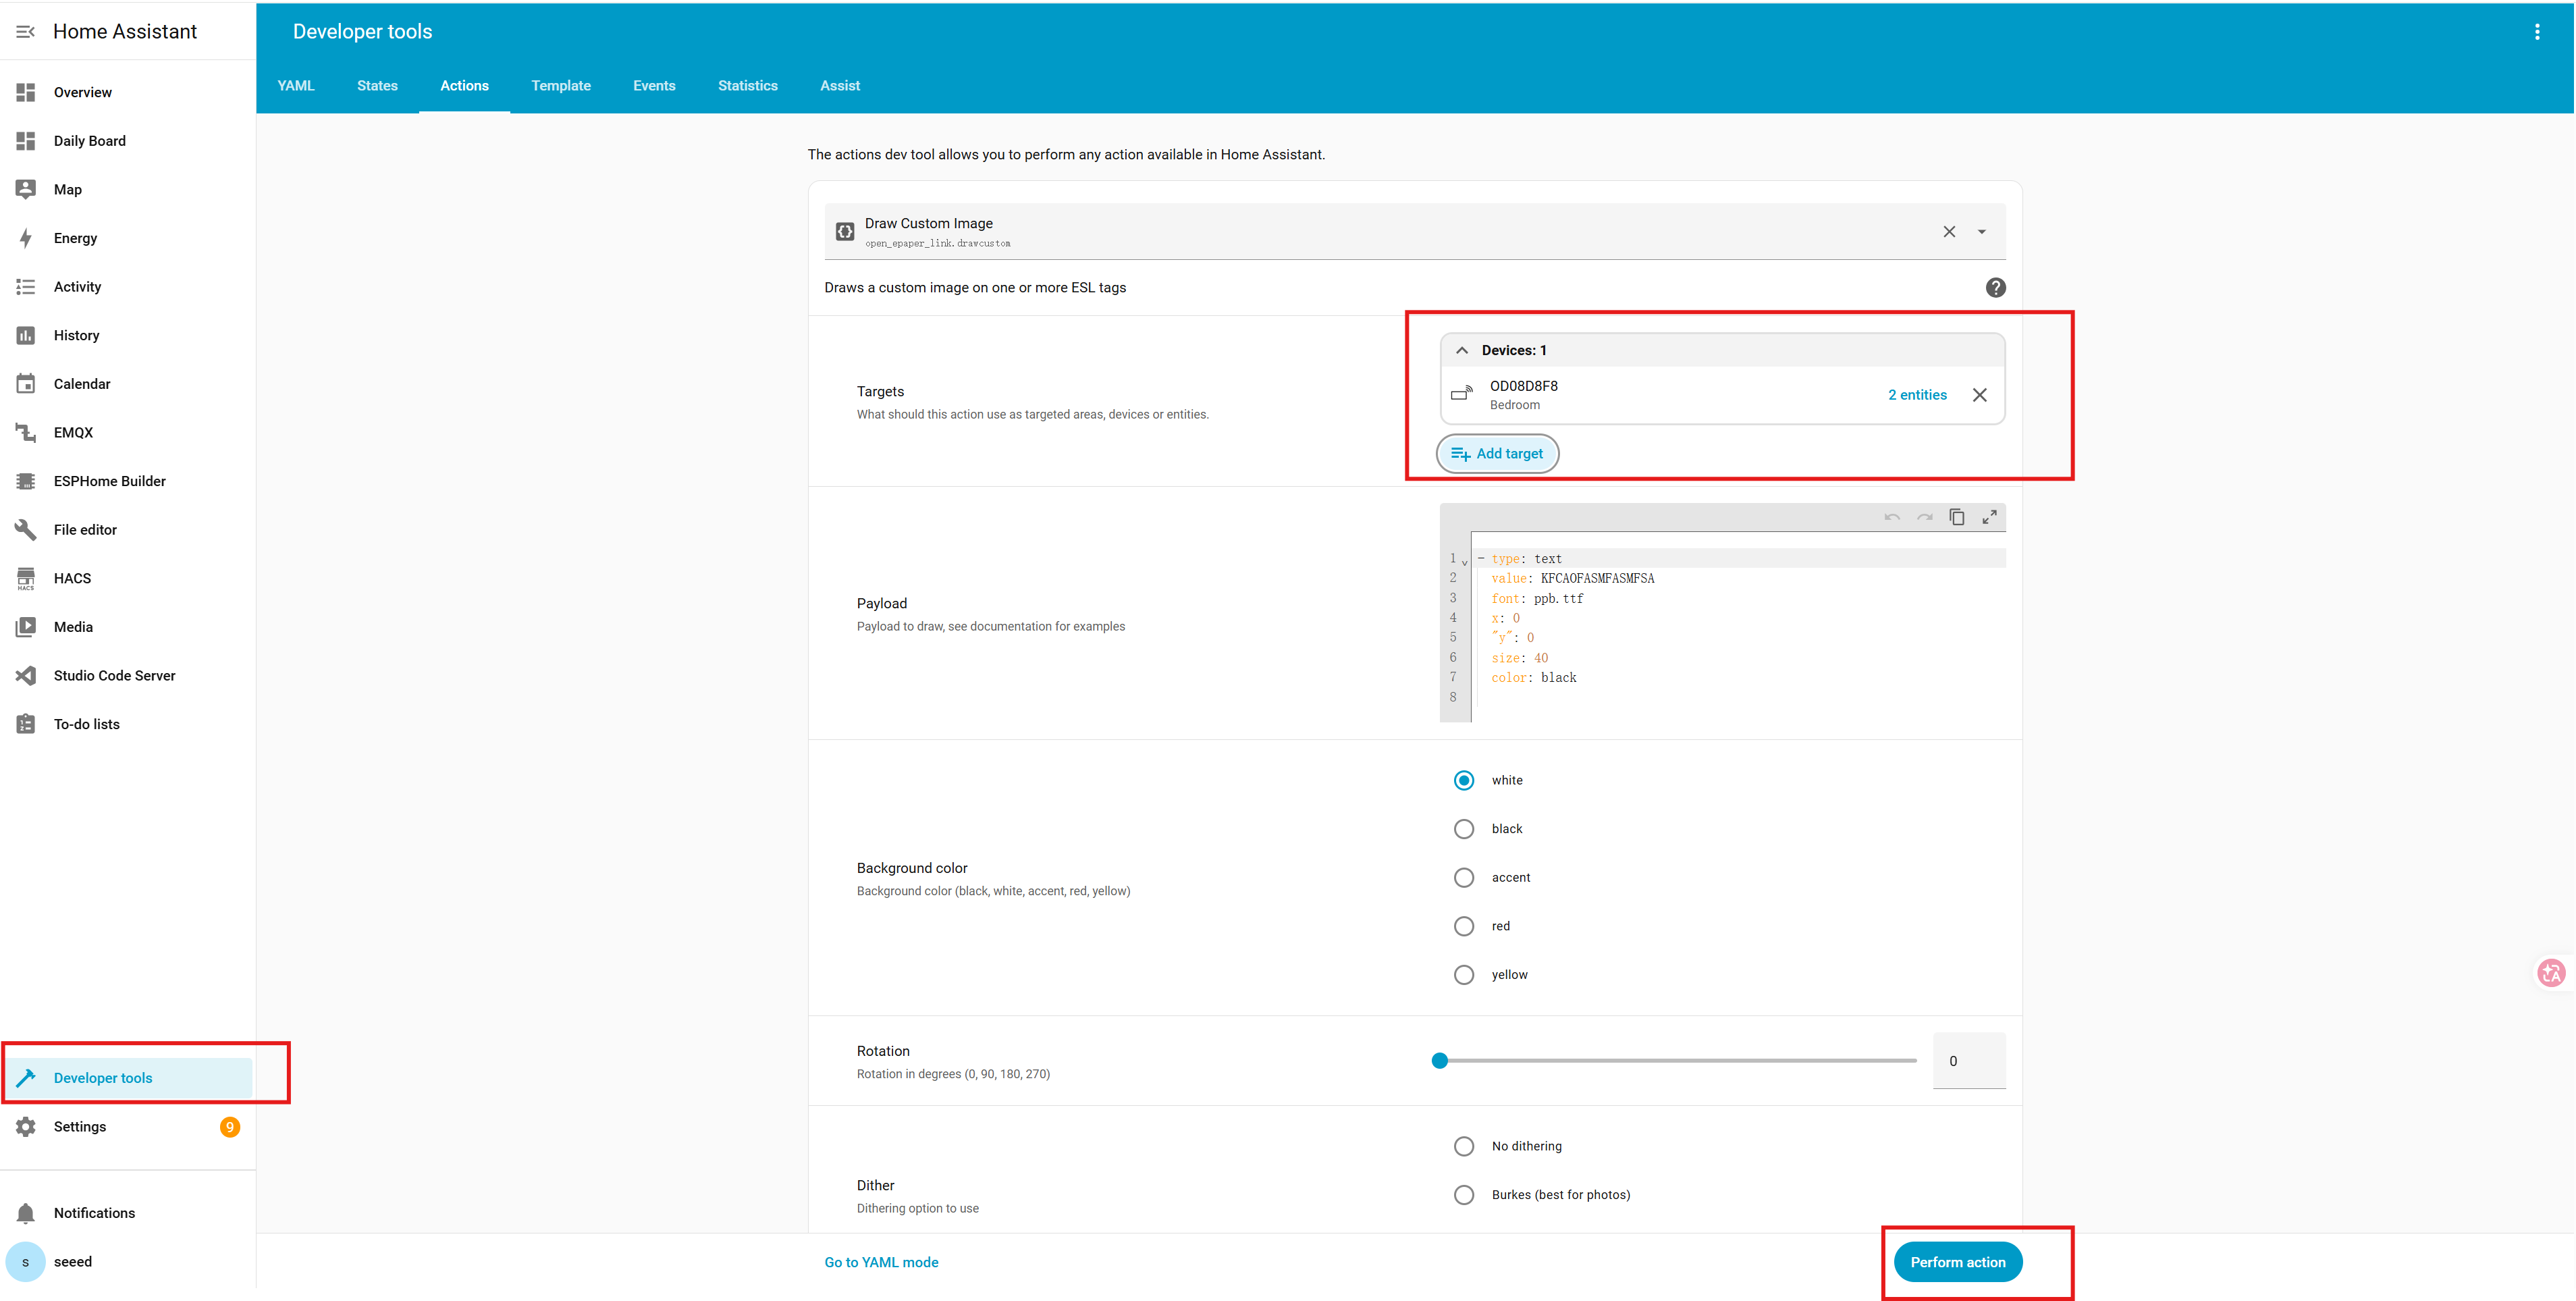
OpenDisplay devices can receive images through the browser display tool.
Step 1. Open the OpenDisplay display tool.
Step 2. Click Connect and select your reTerminal device from the BLE pairing dialog.
Step 3. Click Select Image and choose a local image file.
Step 4. Click Upload Image.
When the transfer finishes, the ePaper display refreshes and shows the uploaded image.
Use an image size that matches your panel for the cleanest result:
- reTerminal E1001: 800 × 480 px
- reTerminal E1002: 800 × 480 px
- reTerminal E1003: 1404 × 1872 px
Step 1. Open the OpenDisplay display tool.
Step 2. Click Connect and select the EN04 device from the BLE pairing dialog.
Step 3. Click Select Image and choose a local image file.
Step 4. Click Upload Image. The ePaper display refreshes after the transfer completes.
Use an image size that matches your connected panel. For example, a 7.3" Spectra 6 panel uses 800 × 480 px.
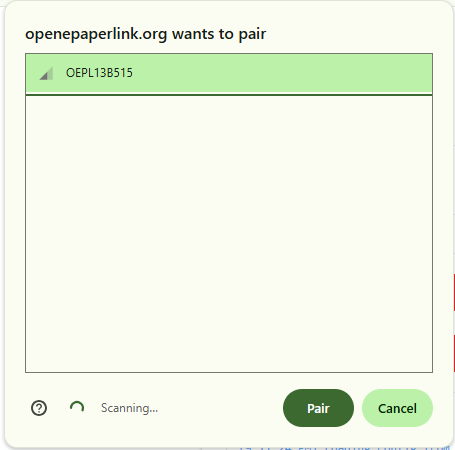
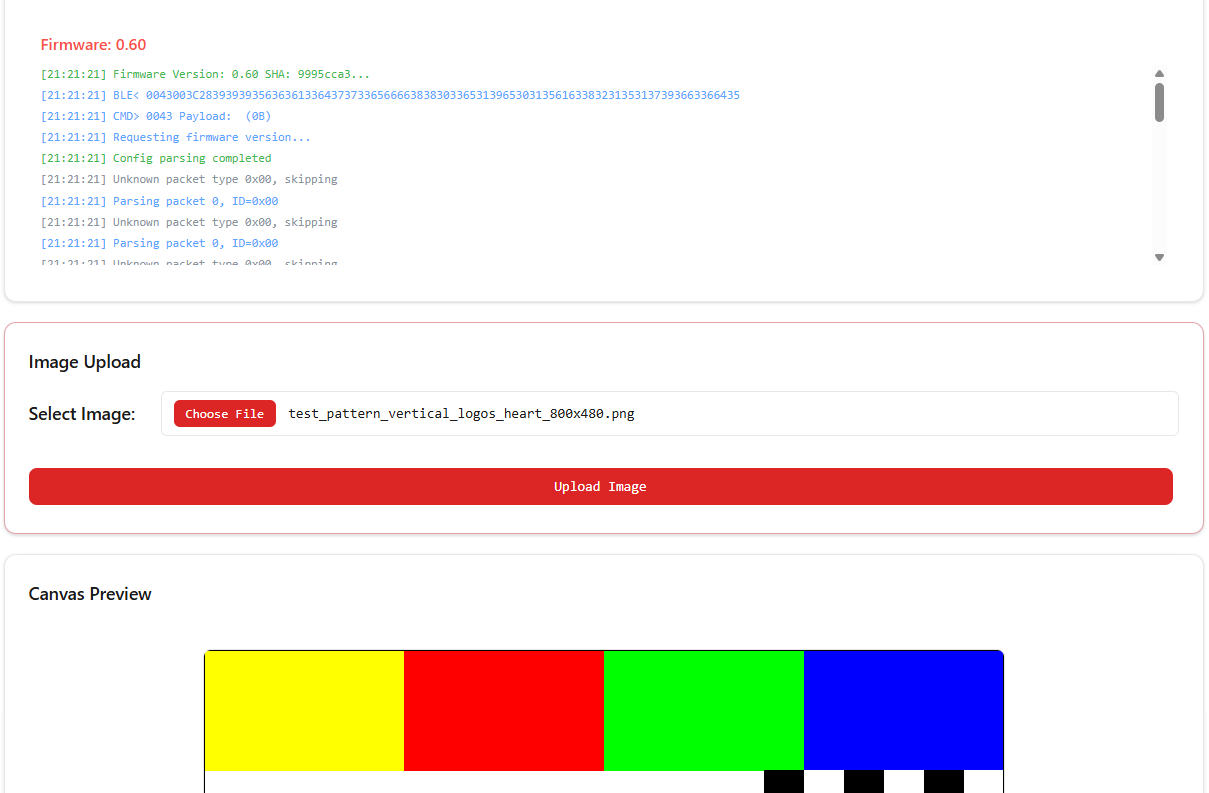
The OEPL Image Uploader is a separate BLE web tool for the OEPL_BLE path.
Step 1. Open the OEPL Image Uploader.
Step 2. In E-Paper prefix filter(s), enter OEPL.
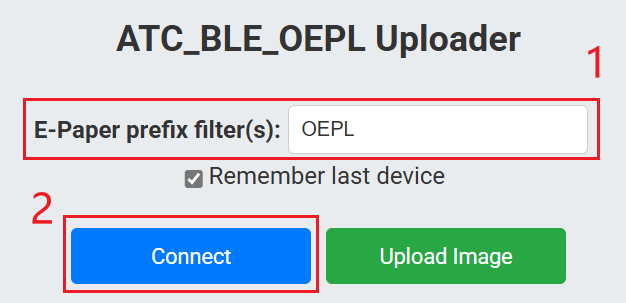
Step 3. Connect to the XIAO device over BLE.
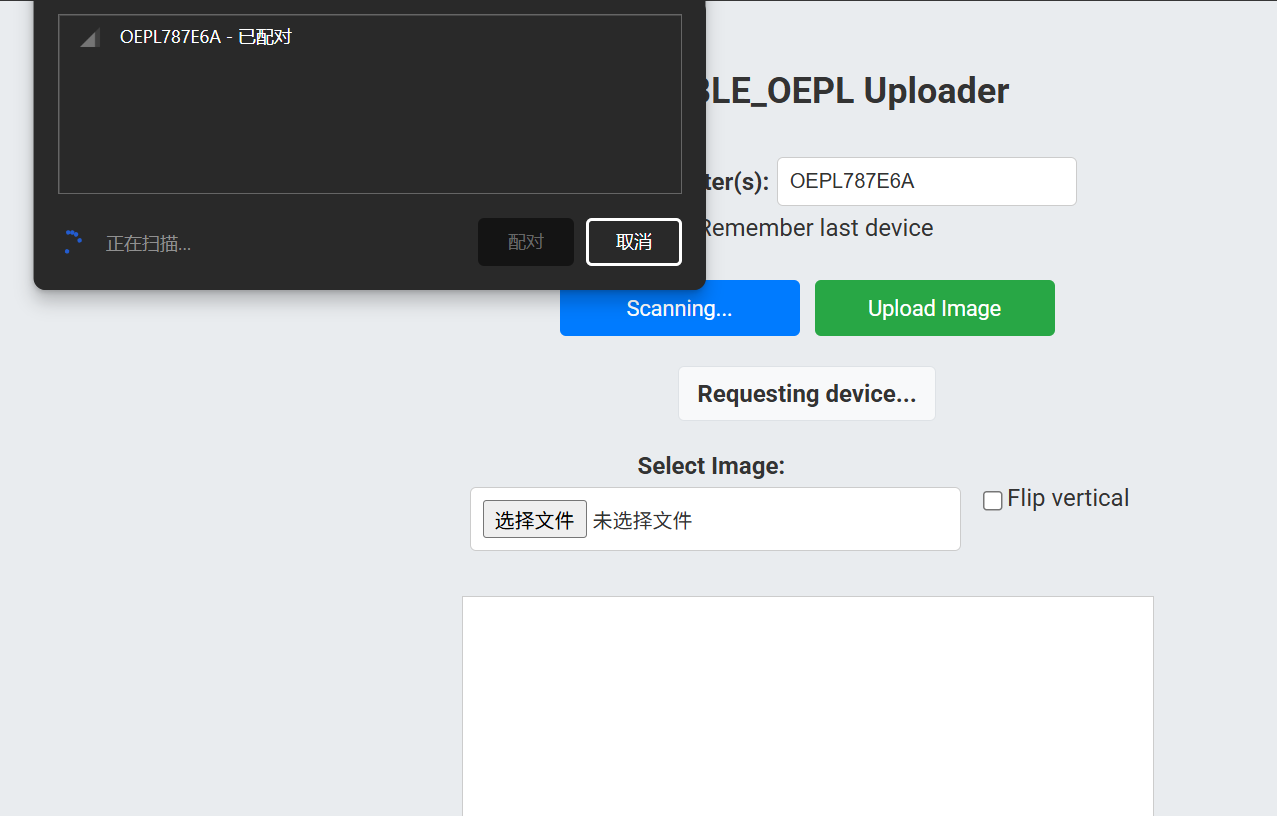
Step 4. Click Select File and choose a local image.
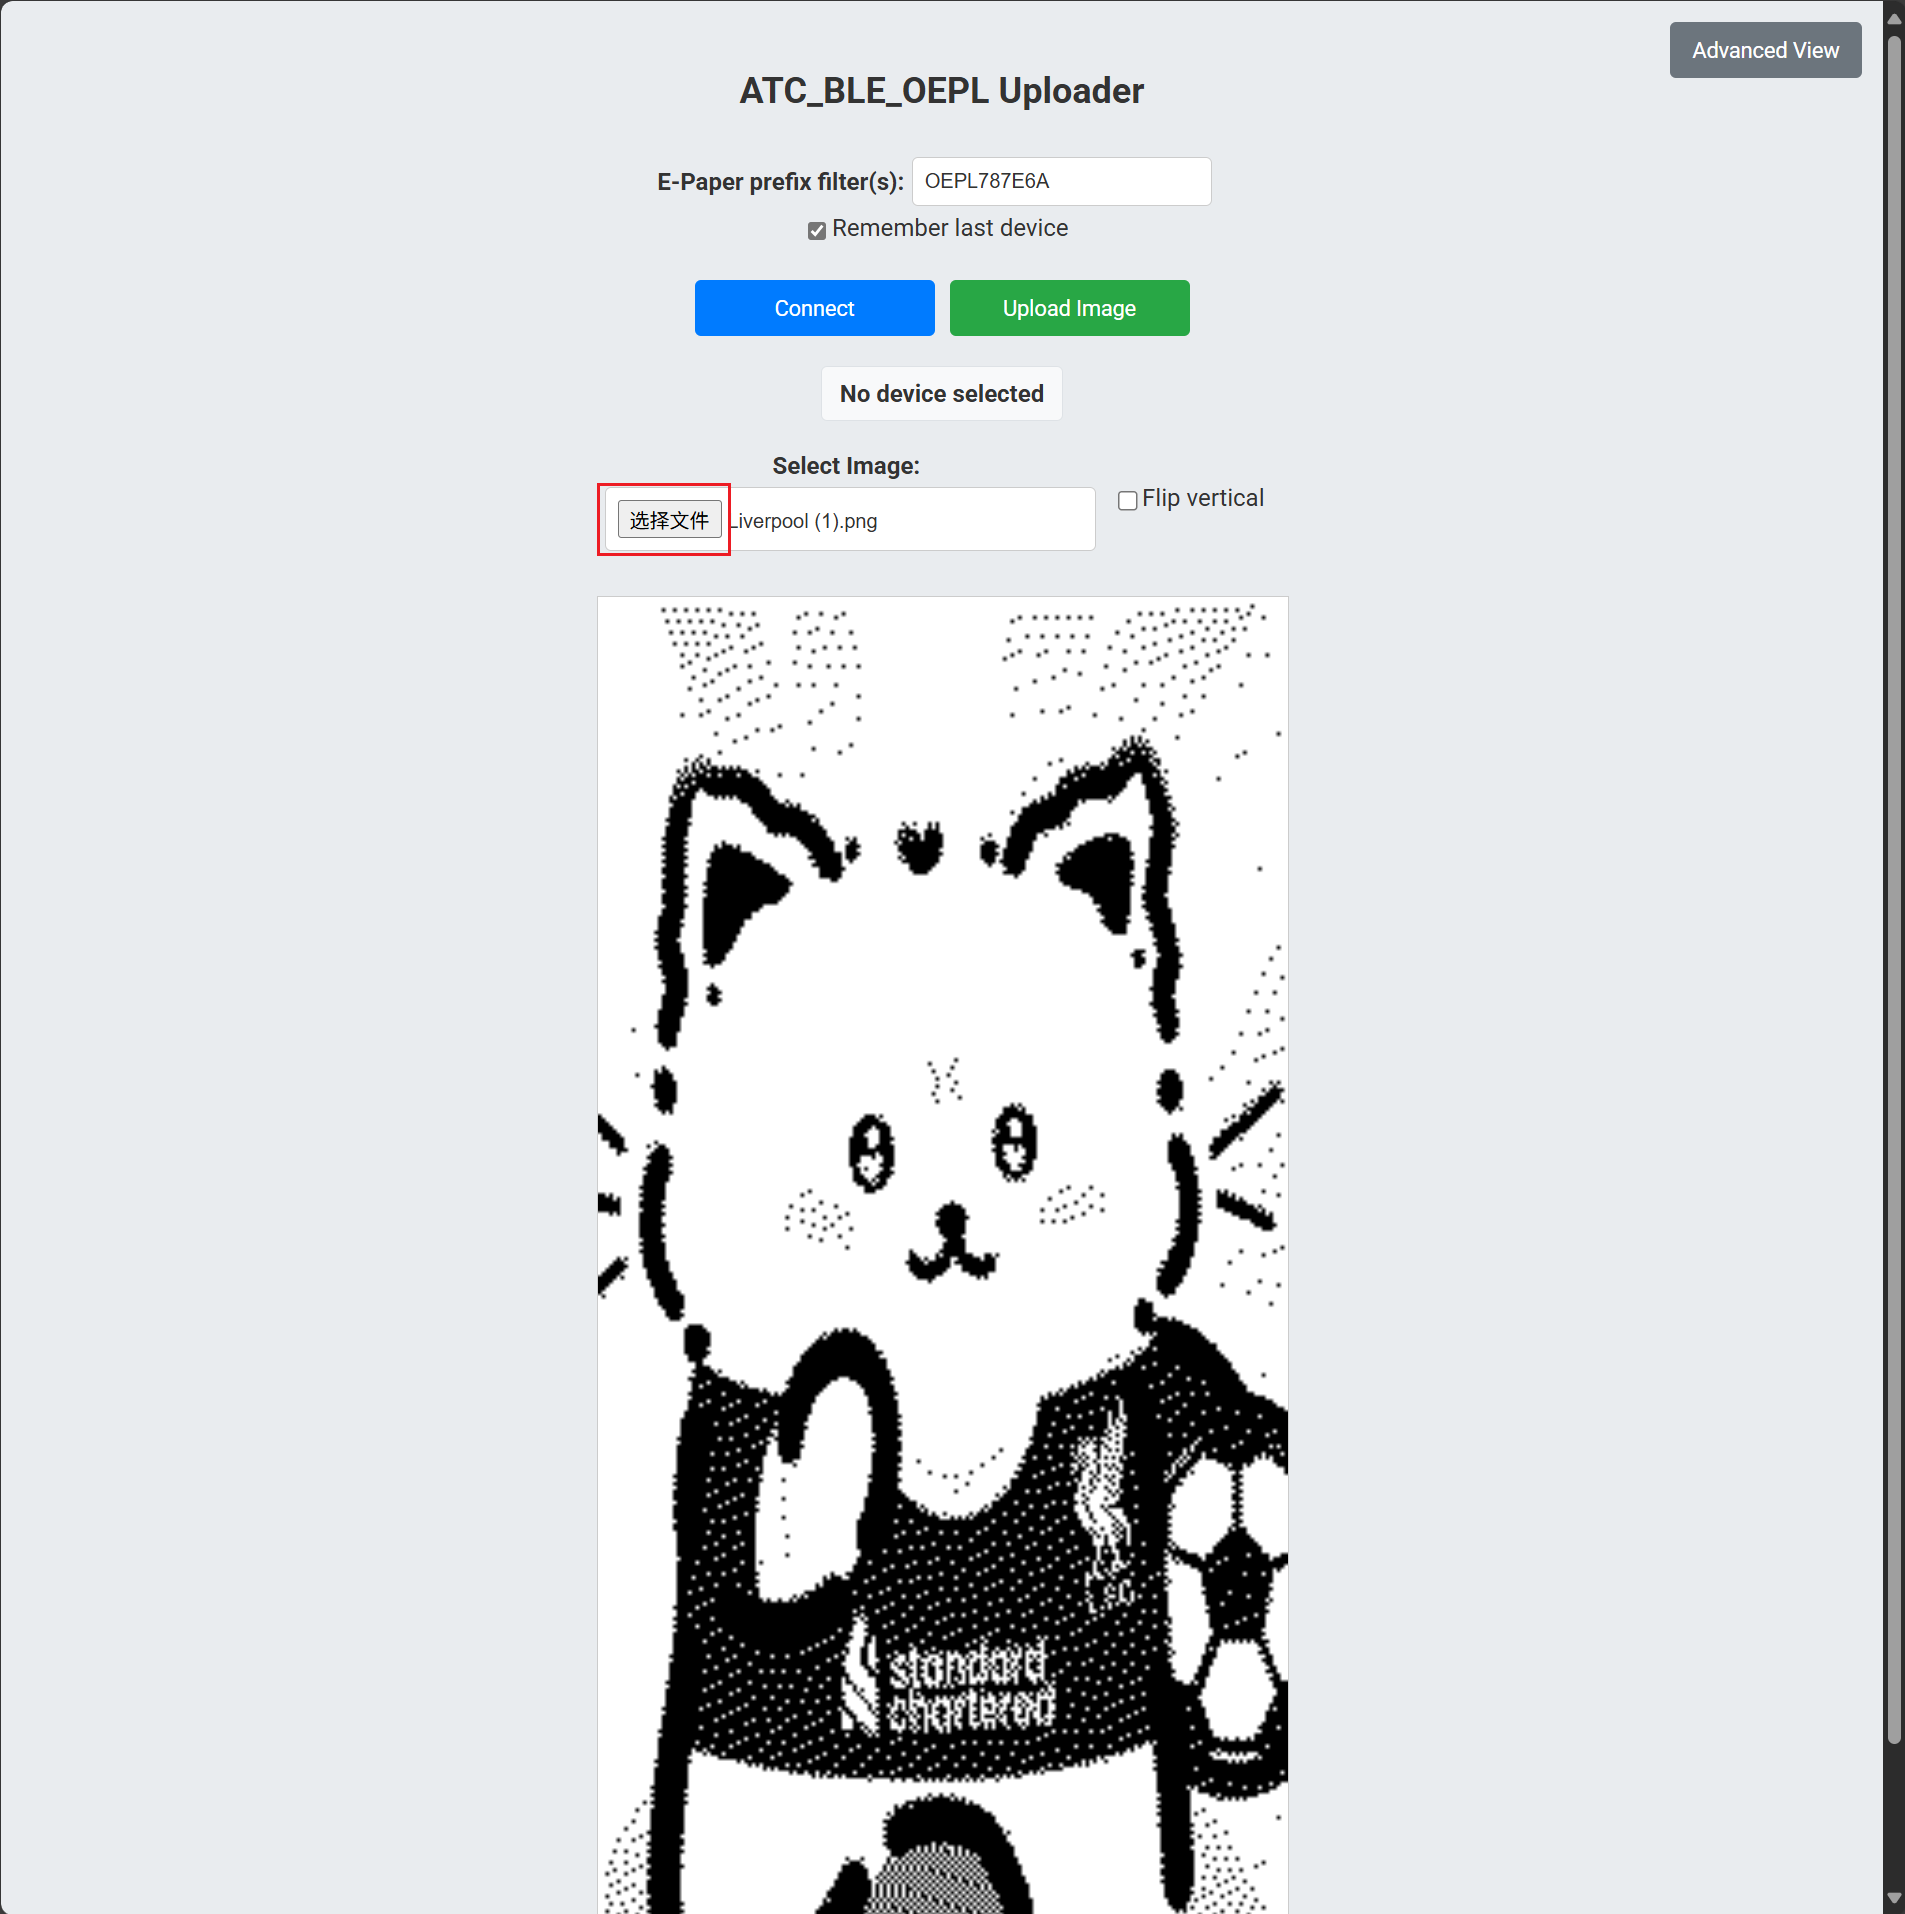
Step 5. Click Upload Image.
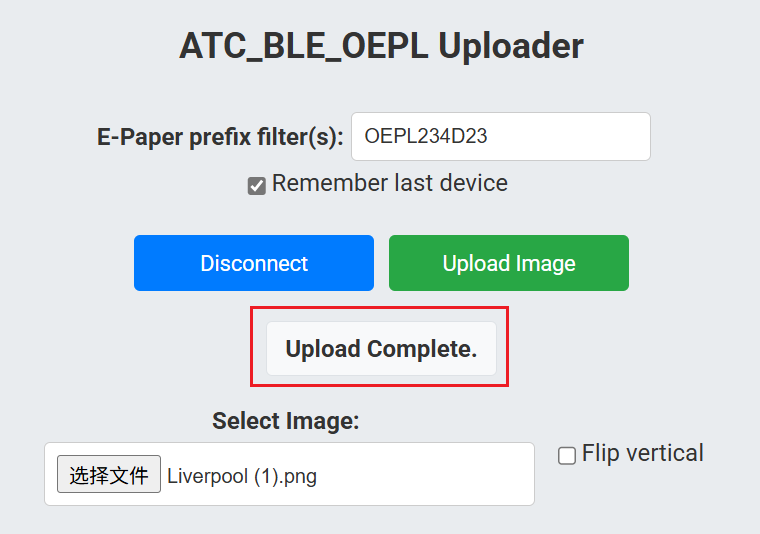
When the uploader shows Upload Complete, the ePaper display has been refreshed.
Home Assistant Integration
Home Assistant has an official OpenDisplay integration for OpenDisplay firmware devices. It communicates over BLE and provides the opendisplay.upload_image action for sending images to the display.
Prerequisites
- Home Assistant 2026.4 or later.
- A working Bluetooth setup that supports active BLE connections.
- An OpenDisplay firmware device powered on and within Bluetooth range.
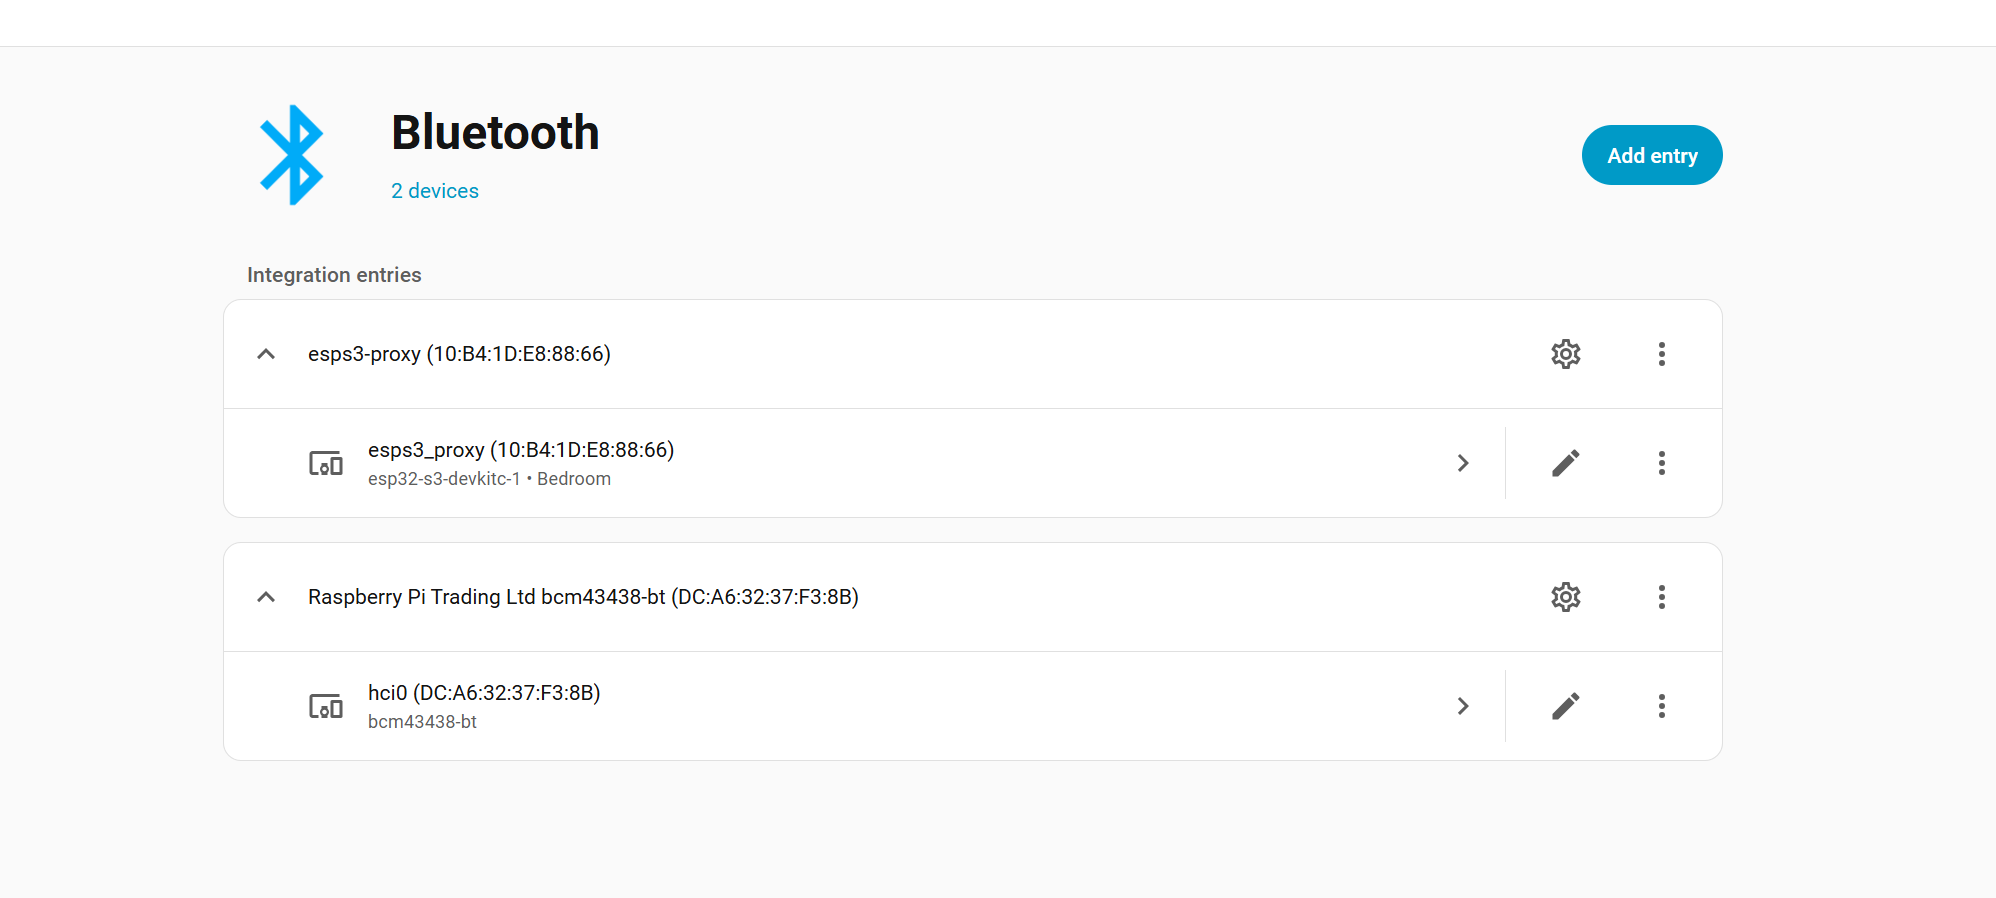
The following Bluetooth paths are suitable:
- Home Assistant Green or another Home Assistant host with supported Bluetooth hardware.
- ESPHome Bluetooth Proxy running ESPHome firmware 2022.9.3 or later.
Shelly Bluetooth proxies are useful for passive BLE sensors, but OpenDisplay image upload requires active BLE connections. Use a Home Assistant Bluetooth adapter or ESPHome Bluetooth Proxy for this workflow.
Add the Device
Step 1. In Home Assistant, go to Settings > Devices & services.
Step 2. If the device is discovered automatically, click Add on the OpenDisplay card.
Step 3. If it is not discovered automatically, click Add Integration, search for OpenDisplay, and follow the setup flow.
Step 4. Assign the device name and area.
After the device is added, Home Assistant can discover and connect to the OpenDisplay device over Bluetooth.
Upload an Image from Home Assistant
Store your image in Home Assistant's local media folder, then call opendisplay.upload_image.
action: opendisplay.upload_image
data:
  device_id: "your_device_id"
  image:
    media_content_id: "media-source://media_source/local/photo.png"
    media_content_type: "image/png"
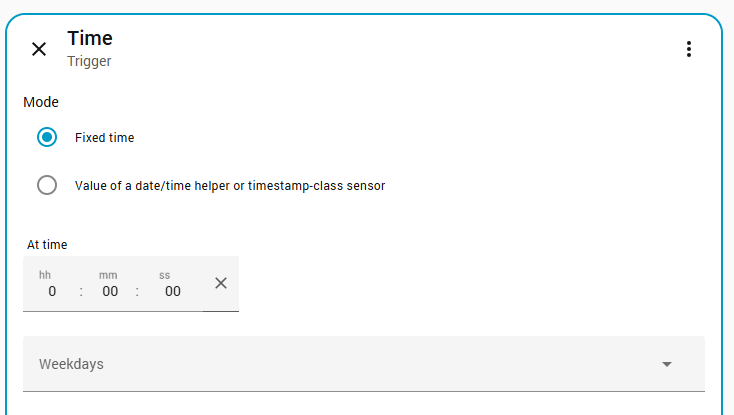
For scheduled updates, use the same action inside an automation.
triggers:
  - trigger: time
    at: "08:00:00"
actions:
  - action: opendisplay.upload_image
    data:
      device_id: "your_device_id"
      image:
        media_content_id: "media-source://media_source/local/daily.png"
        media_content_type: "image/png"
Use Home Assistant automations to generate or copy a new PNG before calling opendisplay.upload_image. The OpenDisplay integration then handles the BLE transfer to the display.
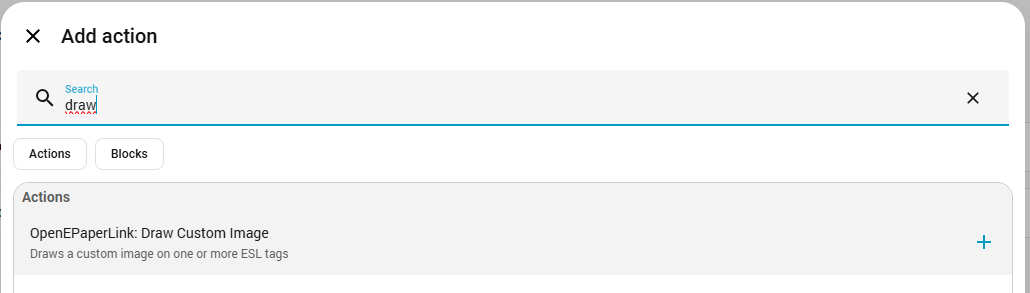
Optional: Custom Draw Payloads
The OpenDisplay community also maintains a HACS integration with a drawcustom workflow for drawing text, icons, shapes, QR codes, images, plots, and progress bars directly from Home Assistant payloads.
Use this path when you specifically need draw-command layouts instead of uploading a prepared image.
In the Home Assistant visual editor, create an automation, add a time trigger, then add the OpenDisplay draw action and select the target device.

Using ESPHome Bluetooth Proxy
An ESPHome Bluetooth Proxy extends Bluetooth coverage and improves reliability when the display is far from the Home Assistant host.
Prerequisites
- An ESP32 device, such as XIAO ESP32S3.
- ESPHome installed in Home Assistant.
- A USB data cable for the first flash.
Step-by-step Configuration
Step 1. Connect the ESP32 device to the computer or Home Assistant host used for flashing.
Step 2. Create a new ESPHome device and use a Bluetooth Proxy configuration similar to the example below.
esphome:
  name: esps3-proxy
  friendly_name: ESP32S3 Bluetooth Proxy

esp32:
  board: esp32-s3-devkitc-1
  framework:
    type: esp-idf

logger:
  level: INFO

esp32_ble_tracker:
  scan_parameters:
    active: true

bluetooth_proxy:
  active: true

api:
  encryption:
    key: "YOUR_ENCRYPTION_KEY"

ota:
  - platform: esphome
    password: "YOUR_OTA_PASSWORD"

wifi:
  ssid: "YOUR_WIFI_SSID"
  password: "YOUR_WIFI_PASSWORD"

captive_portal:
Step 3. Click Install in ESPHome and flash the firmware to the ESP32 device.
Step 4. After the ESP32 connects to Wi-Fi, add the discovered Bluetooth Proxy in Home Assistant.
Step 5. Keep the proxy close to the OpenDisplay device during image uploads.
When the proxy is working, Home Assistant shows the Bluetooth Proxy as connected and the ePaper display can be discovered through it.
Bonus: 3D Printed Mount
For EN04 with the 7.3" Spectra panel, this community model provides an insert for the IKEA RODALM picture frame:
- [MakerWorld] Seeed 7.3" Spectra Insert for IKEA RODALM Frame
Resources
- [Web Tool] OpenDisplay Toolbox
- [Web Tool] OpenDisplay display tool
- [Web Tool] OEPL Config Builder
- [Web Tool] OEPL Image Uploader
- [Home Assistant] Official OpenDisplay Integration
Tech Support & Product Discussion
Thank you for choosing our products! We are here to provide you with different support to ensure that your experience with our products is as smooth as possible. We offer several communication channels to cater to different preferences and needs.