EON Tuner - Optimized Function in Edge Impulse
Introduction
Edge Impulse introduced an optimized function that can optimize embedded Machine Learning models and devices memory usage. By adjusting the parameters, it helps people who are not familiar with Machine Learning algorithms also be able to quickly select the best learning model for their application. Meanwhile, it allows the devices to use less memory and less performance which means it can help people deploy the TinyML model on certain equipment within the constraints.
The EON Tuner first analyzes your input data, potential signal processing blocks, and neural network architectures. Then it gives you an overview of possible model architectures that will fit your chosen device's latency and memory requirements. You can choose any of them.
The Postion of EON Tuner

As you can see, the position of EON Tuner is on the left side of Edge Impulse project page and just below the classification. When you finished your applications, you can easily select the Tuner to enhance your projects.
The Improvement of EON Tuner
This is the example that shows you the difference between using EON Tuner and not using it.

Getting started
Here we gonna provide the audio classification project and show you the usage of EON Tuner. If you are interested in Using LoRa to transmit data based on Wio Terminal and Edge Impulse, you can always click and see the example project.
Hardware
Hardware Required
In this demo you will need the devices listed as below:
Hardware Connect
It is connected to a computer through the Type-C cable.

Software
Sardware Required
Machine Learning with Wio Terminal
Here we gonna show you how to use Wio Terminal to train a Machine Learning model and use it. The project is based on the Arduino platform which means Arduino IDE and various Arduino libraries are required. If this is your first time using the Wio terminal, we recommend a guide to quickly Get Started with Wio Terminal.
Edge Impulse Training Started
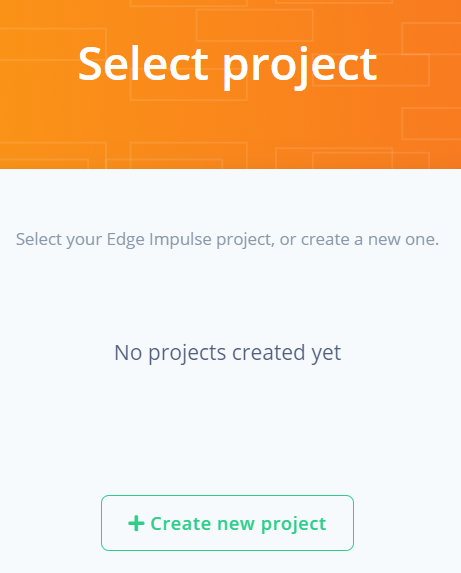
First, you need to have your own Edge Impulse account and then create a project.
- Step 1. Open the Edge Impulse website, and then register an account.

- Step 2. Create a new project.

Website Connecting with Wio Terminal
- Step 3. Download the firmware wio-terminal-ei-1.4.0.uf2 for the preparation of connect.
Like Get Started with Wio Terminal guidelines suggested:
Double dropping down the Wio Terminal (already connect to your PC ) left bottom, you will see a driver(like "Arduino (F:)" below) popup on the computer. Then you can draw the wio-terminal-ei-1.4.0.uf2 firmware to the driver. And when you saw the driver disappear, it means the firmware has been programmed. Now you can go to the website to connect Wio Terminal.

- Step 4. Once the firmware is set up, click "connect using WebUSB" to connect the Wio Terminal to the website.

When "Device", "Label" and "Sensor" like below show up, it means the connection is done and the data acquisition can be activated.

Data Acquisition
Now you can collect data on Edge Impulse.
-
Step 5. Enter "Label", "Sample length (ms.)" and click "Start sampling"
- "Label" means the categories you want to classify.
- "Sample length" means the time during your sampling.
The example porject we do here is audio classification, so we gonna use built-in microphone.

It is highly recommended that samples the data more than 10 times. Because the recording needs to use SPI Flash which will operate erasing, the time it takes usually longer than we set.(It takes around 7 seconds in this project and yet the setup time is '3 seconds') .

Machine Learning Model Generating
Once the data has been collected, you can use it to train your ML model.
- Step 6. After sampling the data, click "create impulse" to process the data.

The processing block and learning block here we selected here are Audio(MFE) and Neural Network (Keras). You can find them by adding a processing block and adding a learning block. After that, click "Save Impulse" and move on.

- Step 7. Move to the "Spectral features" page, and then to the bottom click "Save parameters", it will move automatically to the "Generate feature" side. The data may look like:

Here is the "Generate feature" side, it can help translate your data to the features needed in Machine Learning.

Click "Generate feature" and the result should show up on the right:

- Step 8. Move to the "NN Classifier" page to use your features training a Machine Learning model. To the bottom of the page, click "Start training".

Training output is on the right of the page, When you see the output, it means the model has been generated.

As you can see here, the output is not we expected:

It is optional that we recollect the data again, but another method here we can use is that "EON Tuner".
Using EON Tuner to Optimize ML Model
Now we can use EON Tuner to optimize our embedded Machine Learning model.
- Step 9 Select "EON Tuner" on the right of the page and click "Start EON Tuner".

There are massive output models, the models coming first may not be suitable:

But wait a few seconds, the models are increasingly trained well and they are really to be deployed:

Click "Select" and the website will ask you if you like to set this model as your primary model and then click "Yes":

Machine Learning Model Deployment
Now you can deploy your new Machine Learning model to your Wio Terminal.
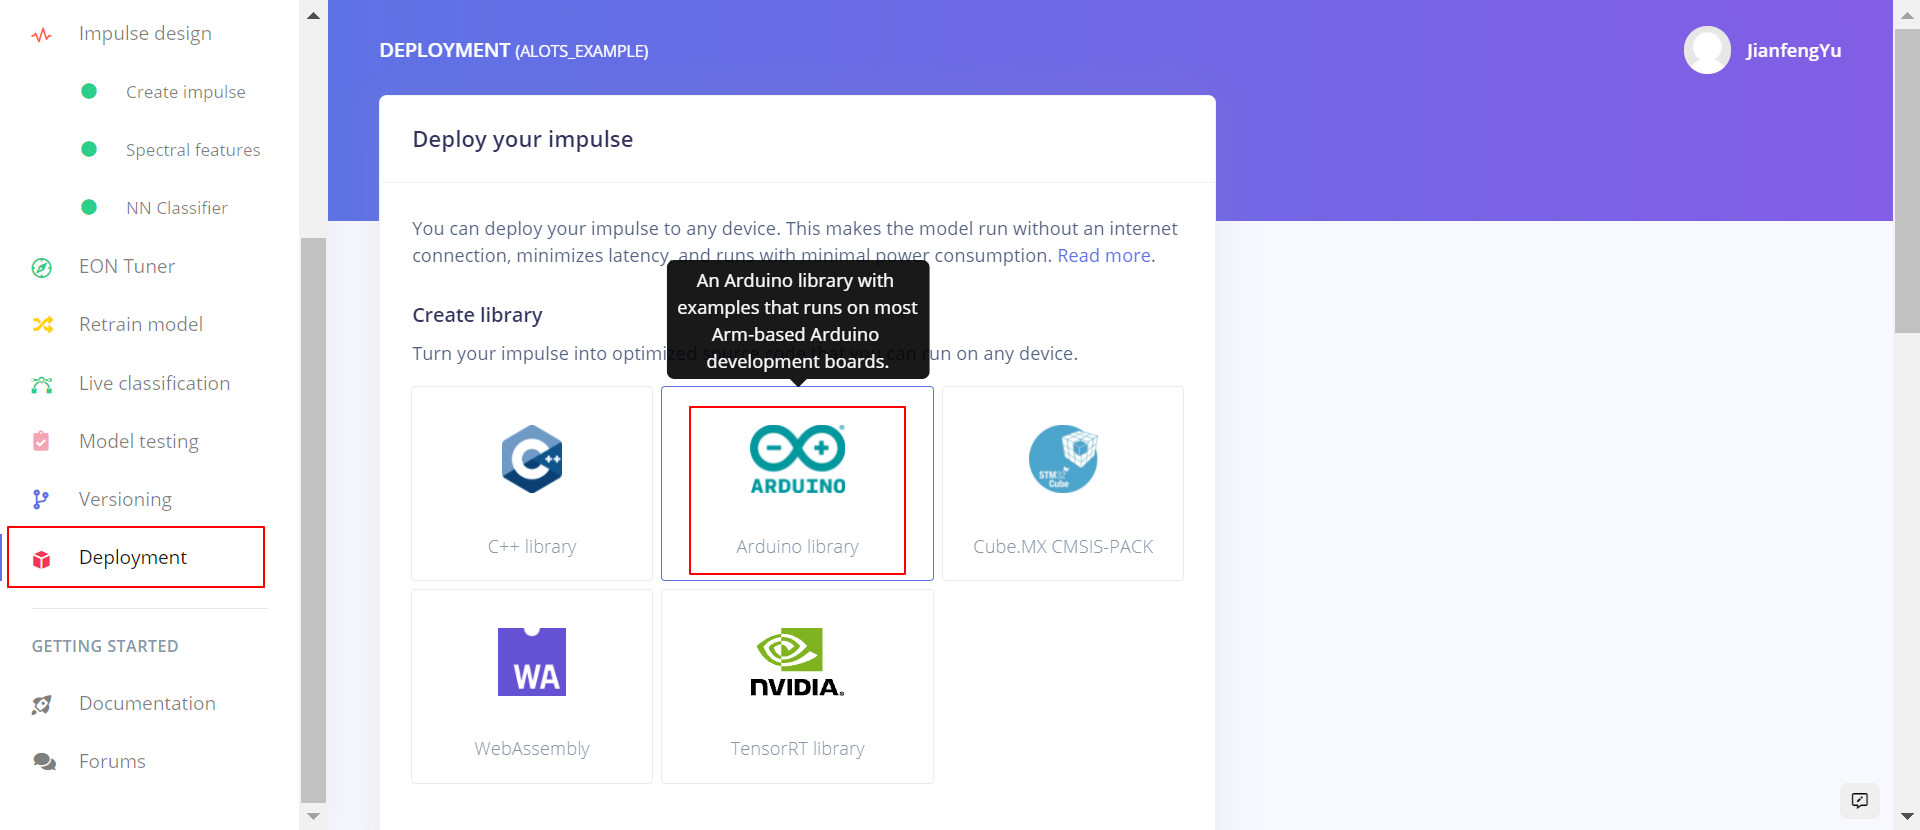
- Step 10. Select and click the "Deployment" column on the left.

Then choose "Arduino Library", to the bottom select "build" to create the library needed in your Arduino. It will automatically download a zip file that includes the third-party library.

The name of the wanted library is about the name of the project which means whatever the name you have written to the project on step 2 will be shown here. It can help you find the correct file that you need.

- Step 10. You can download the code here and open it with Arduino IDE. Change the third-party library of your own like above and then run the code.

Finally, click "Serial Monitor" on the Arduino IDE and say the words to Wio Terminal you setup at the "Data Acquisition". The monitor should show you the results and "how much the confidence Wio Terminal have" about the result, i.e. the accuracy.

If you are interested in what difference the tuner makes, you can skip Step 9 and then go through same steps to check it.