EdgeBox RPi 200 balena OS Setup
What is balena?
balena is an Internet of Things (IoT) platform designed to help developers build, deploy, and manage IoT applications across a fleet of devices. It supports a wide range of device architectures and includes features for containerized application deployment, making it possible to easily update your IoT software and HostOS, fix bugs and introduce new features on your IoT applications. balena provides a unified way to push code updates, manage device configurations and ensure devices run reliably and securely in the field, regardless of their location or network conditions.
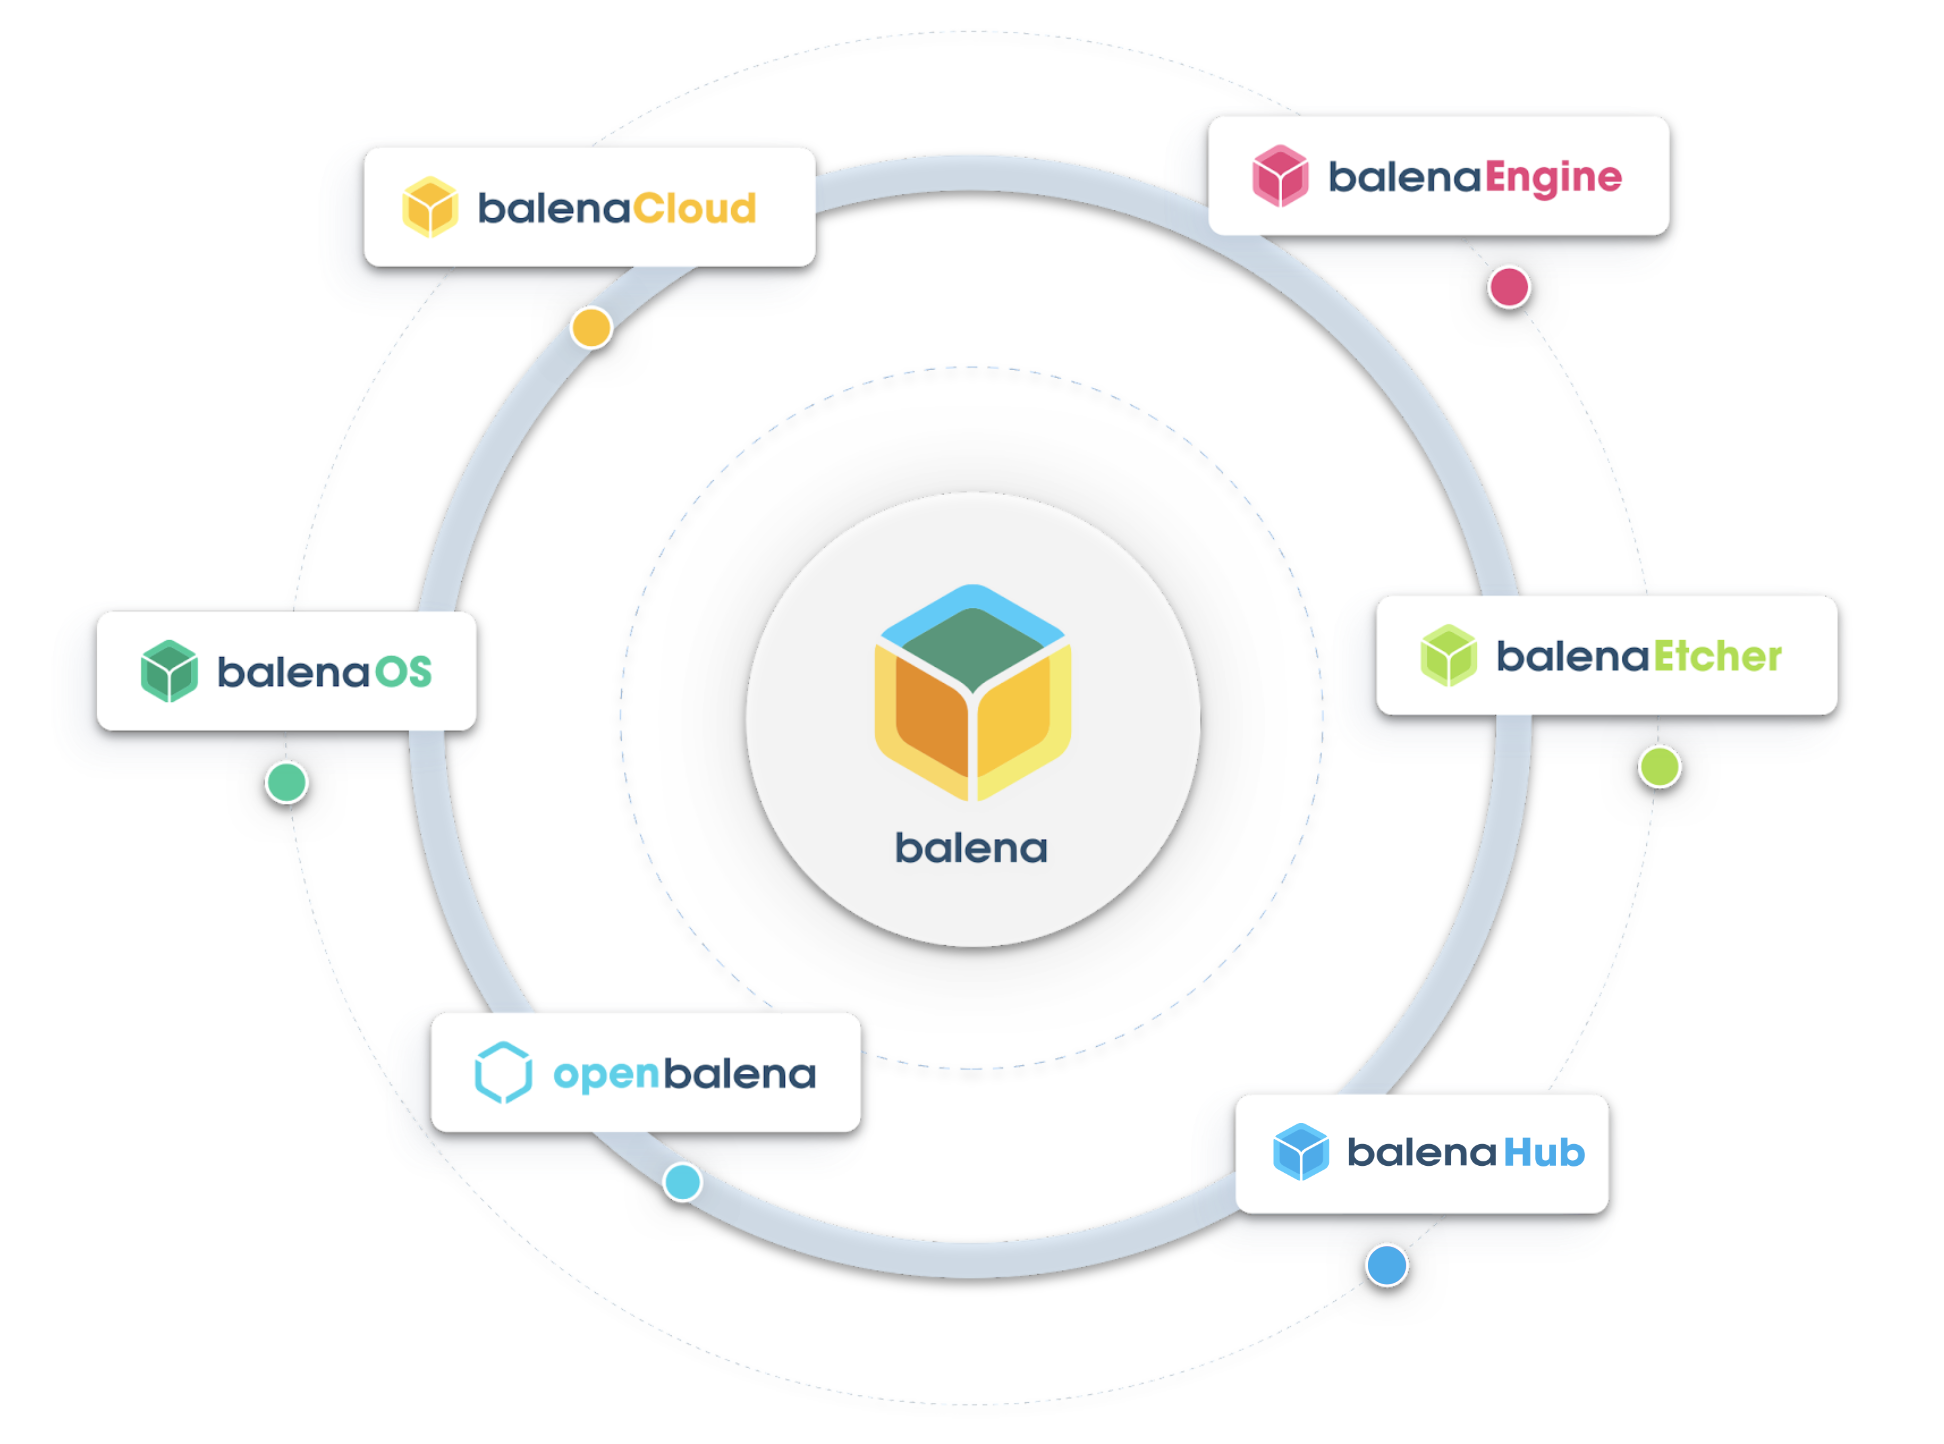
balenaOS is the key component of the balena ecosystem. balenaOS is an open-source Linux-based operating system, made by balena, which is purpose-built for running containerized applications on embedded devices through balenaEngine, a lightweight, container engine optimized for IoT devices. It's optimized for reliability, robustness, and security, crucial factors for IoT and edge computing environments. Built on the Yocto project, balenaOS supports more than 100 different hardware platforms and includes built-in features like host OS updates and a supervisor API for controlling applications. By leveraging Docker containers, balenaOS ensures application portability and simplifies the development process.
balenaCloud provides a central dashboard to manage your fleet of IoT devices. It simplifies device management with functionality for remote updates, device and applications monitoring, troubleshooting and secure device access. With balenaCloud, you can easily monitor how to deploy applications to one device or thousands of devices with a single git push, balena CLI push or via built-in continuous integration and continuous deployment of your choice. balena is a scalable and robust IoT solution for anyone looking to efficiently manage a fleet of IoT devices, the software and host OS running on them.
Edgebox-RPI-200

EdgeBox-RPI-200 series are all-in-one Raspberry Pi-based industrial edge computing controllers, combining multiple industrial purposes. Designed as high-scalability and rugged industrial hardware, mounted with rich IO resources and supported by the great Raspberry Pi industrial software ecosystem, it is an ideal choice for smart automation and Industrial Internet of Things(IIoT) solutions.
Prerequisites
In this document you will learn how to flash balenaOS to the Seeed Studio EdgeBox-RPI-200 to reduce the friction to update the software and host OS running on your fleet of EdgeBox-RPI-200s.
Hardware
- EdgeBox-RPI-200
- Dual Gigabit Ethernet NICs Carrier Board used for flash OS onto the CM4 in the EdgeBox-RPI-200.
- Din rail power supply 24V (DC) in this case
Mean Well HDR-100-24 AC-DCis used. - Cables to plug to the power supply with the EdgeBox-RPI-200.
Software
- A balenaCloud account (sign up here) and get the first 10 devices free.
- balenaEtcher to flash the CM4 memory.
Flash balenaOS on the EdgeBox RPI200
To flash balenaOS on the EdgeBox-RPI-200 you will need to disassemble the device and get the Raspberry Pi Compute Module 4.
STEP 1: Place the CM4 from the EdgeBox-RPI-200 into the Dual Gigabit Ethernet NICs Carrier Board, Please follow the wiki page on how to Put CM4 eMMC Storage into USB mass storage Mode with the Dual Gigabit Ethernet NICs Carrier Board.

STEP 2: go to balenaCloud, create a free account and create a fleet for Raspberry Pi 4 or CM4 device types.
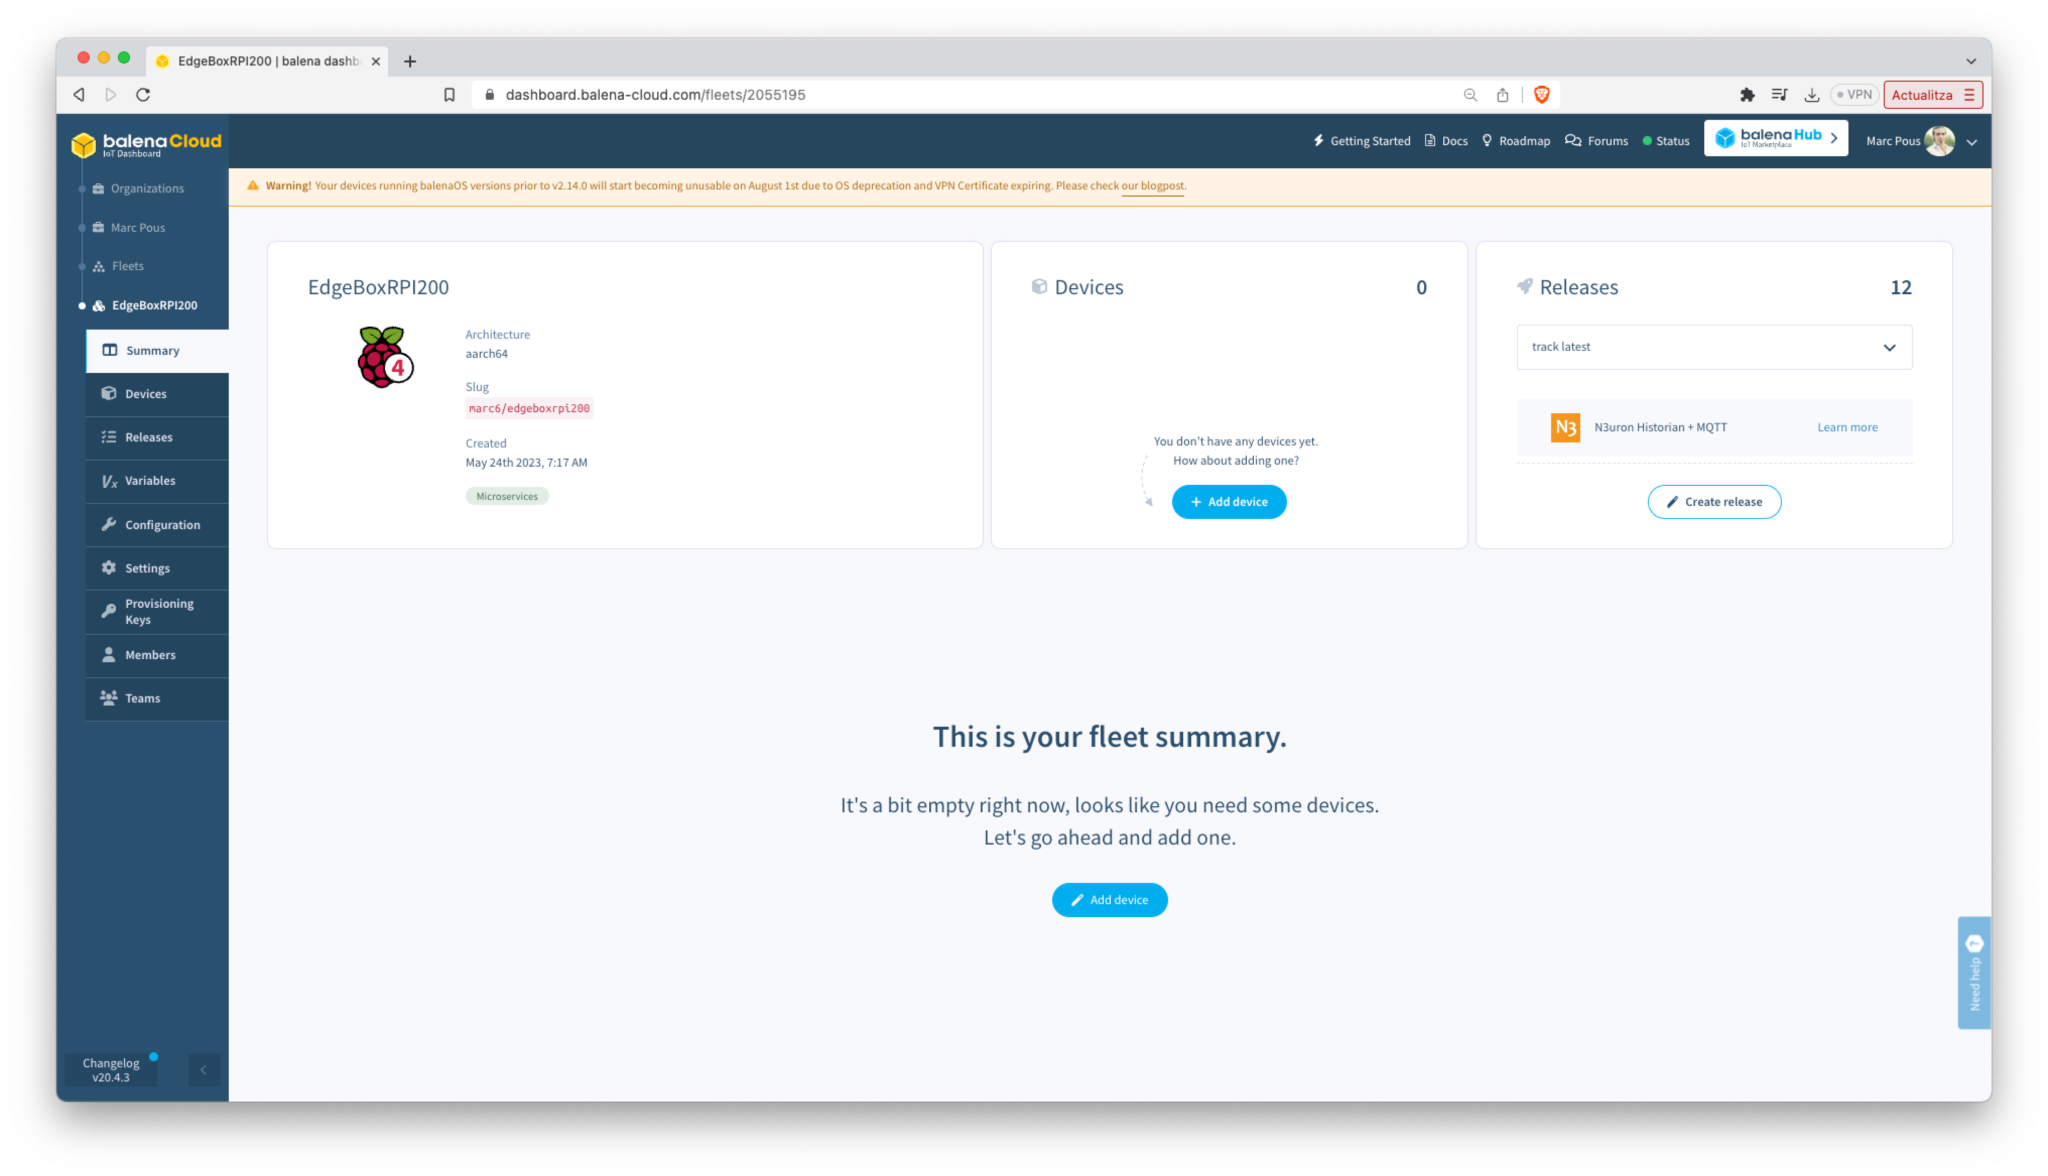
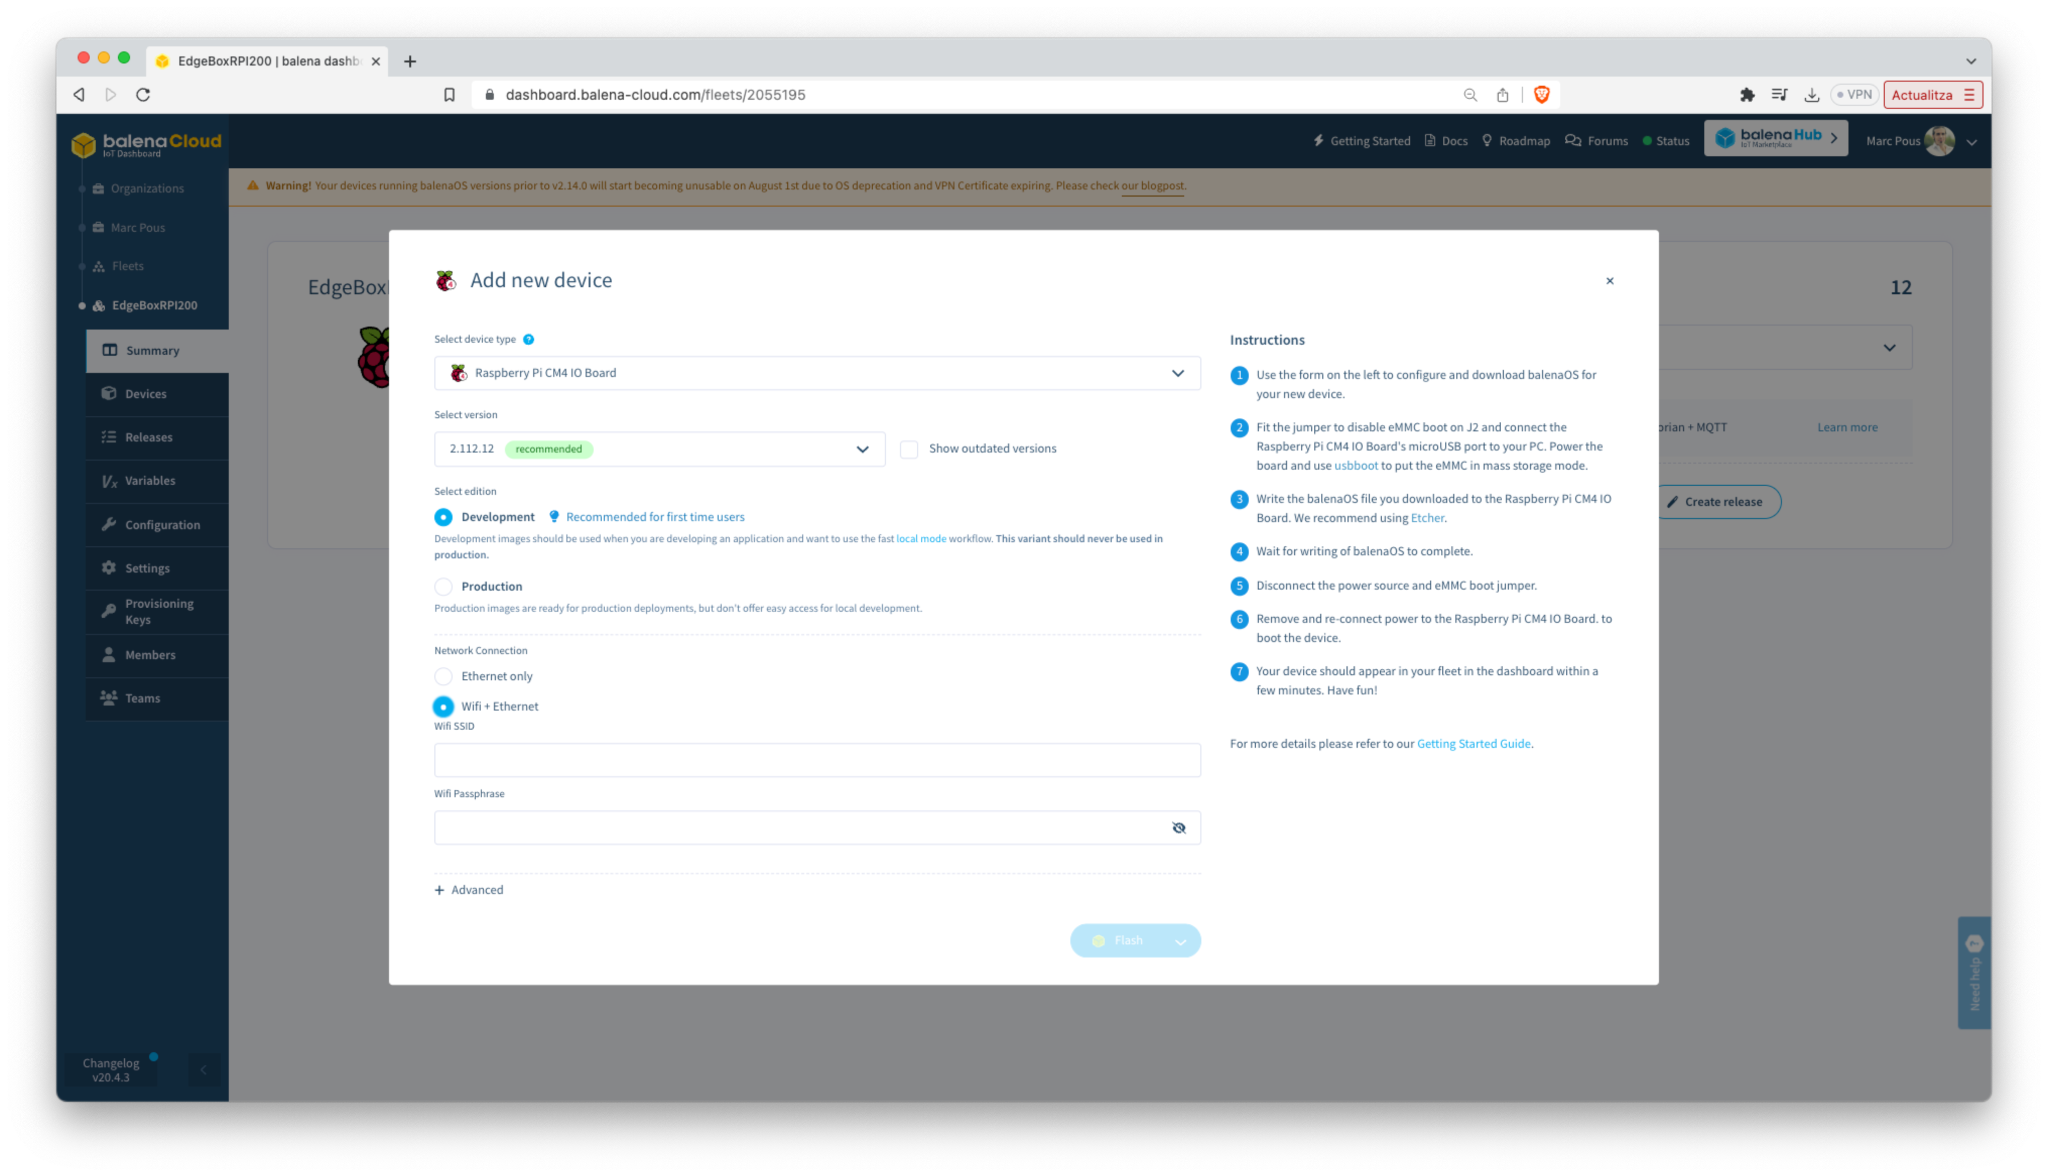
STEP 3: Click Add Device and download the balenaOS image with your network credentials.
Remember that the EdgeBox RPI200 without a WiFi antenna is not going to be able to connect to your WiFi network.
STEP 4: Using balenaEtcher, flash the CM4 with the balenaOS image downloaded from balenaCloud.
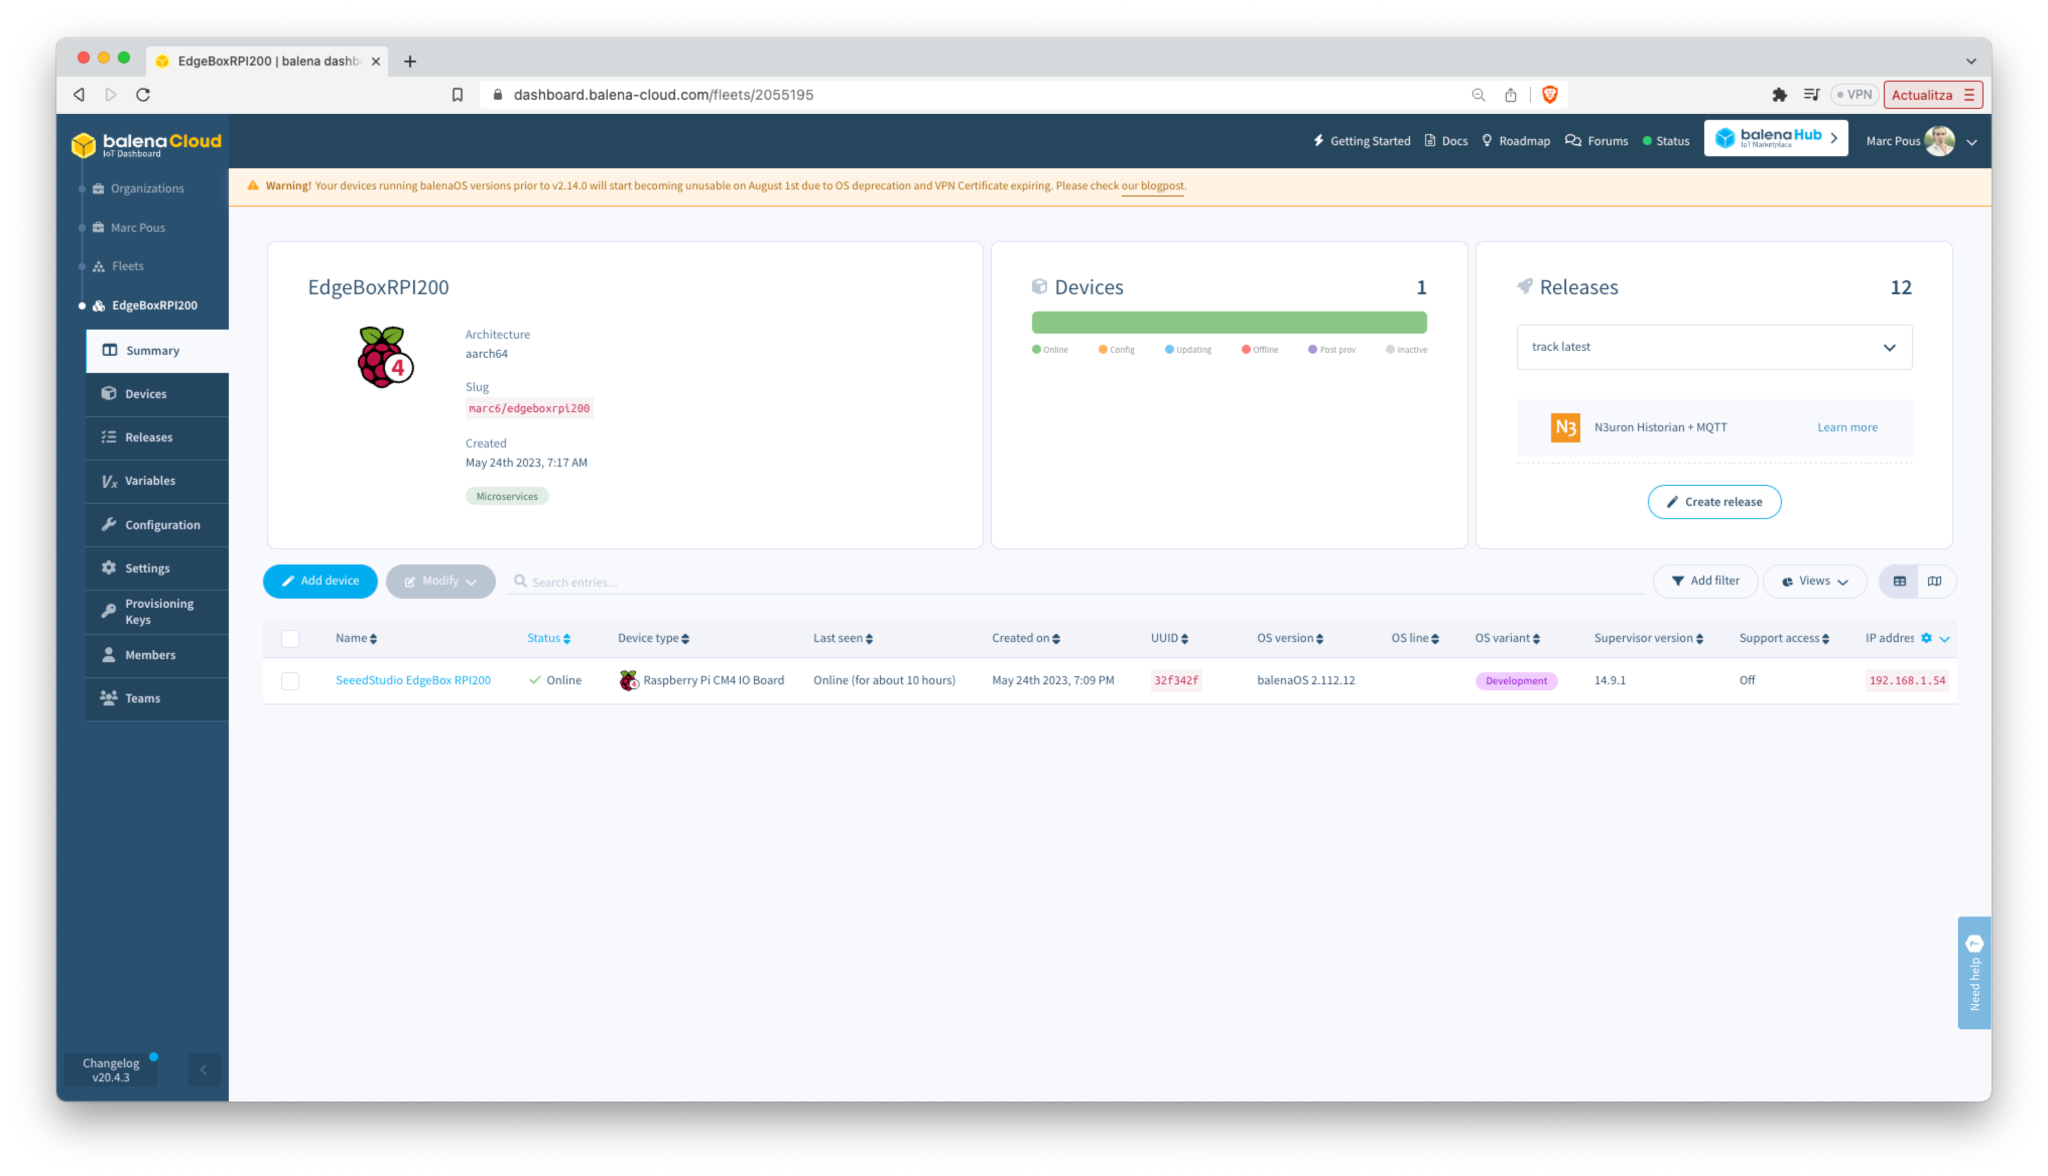
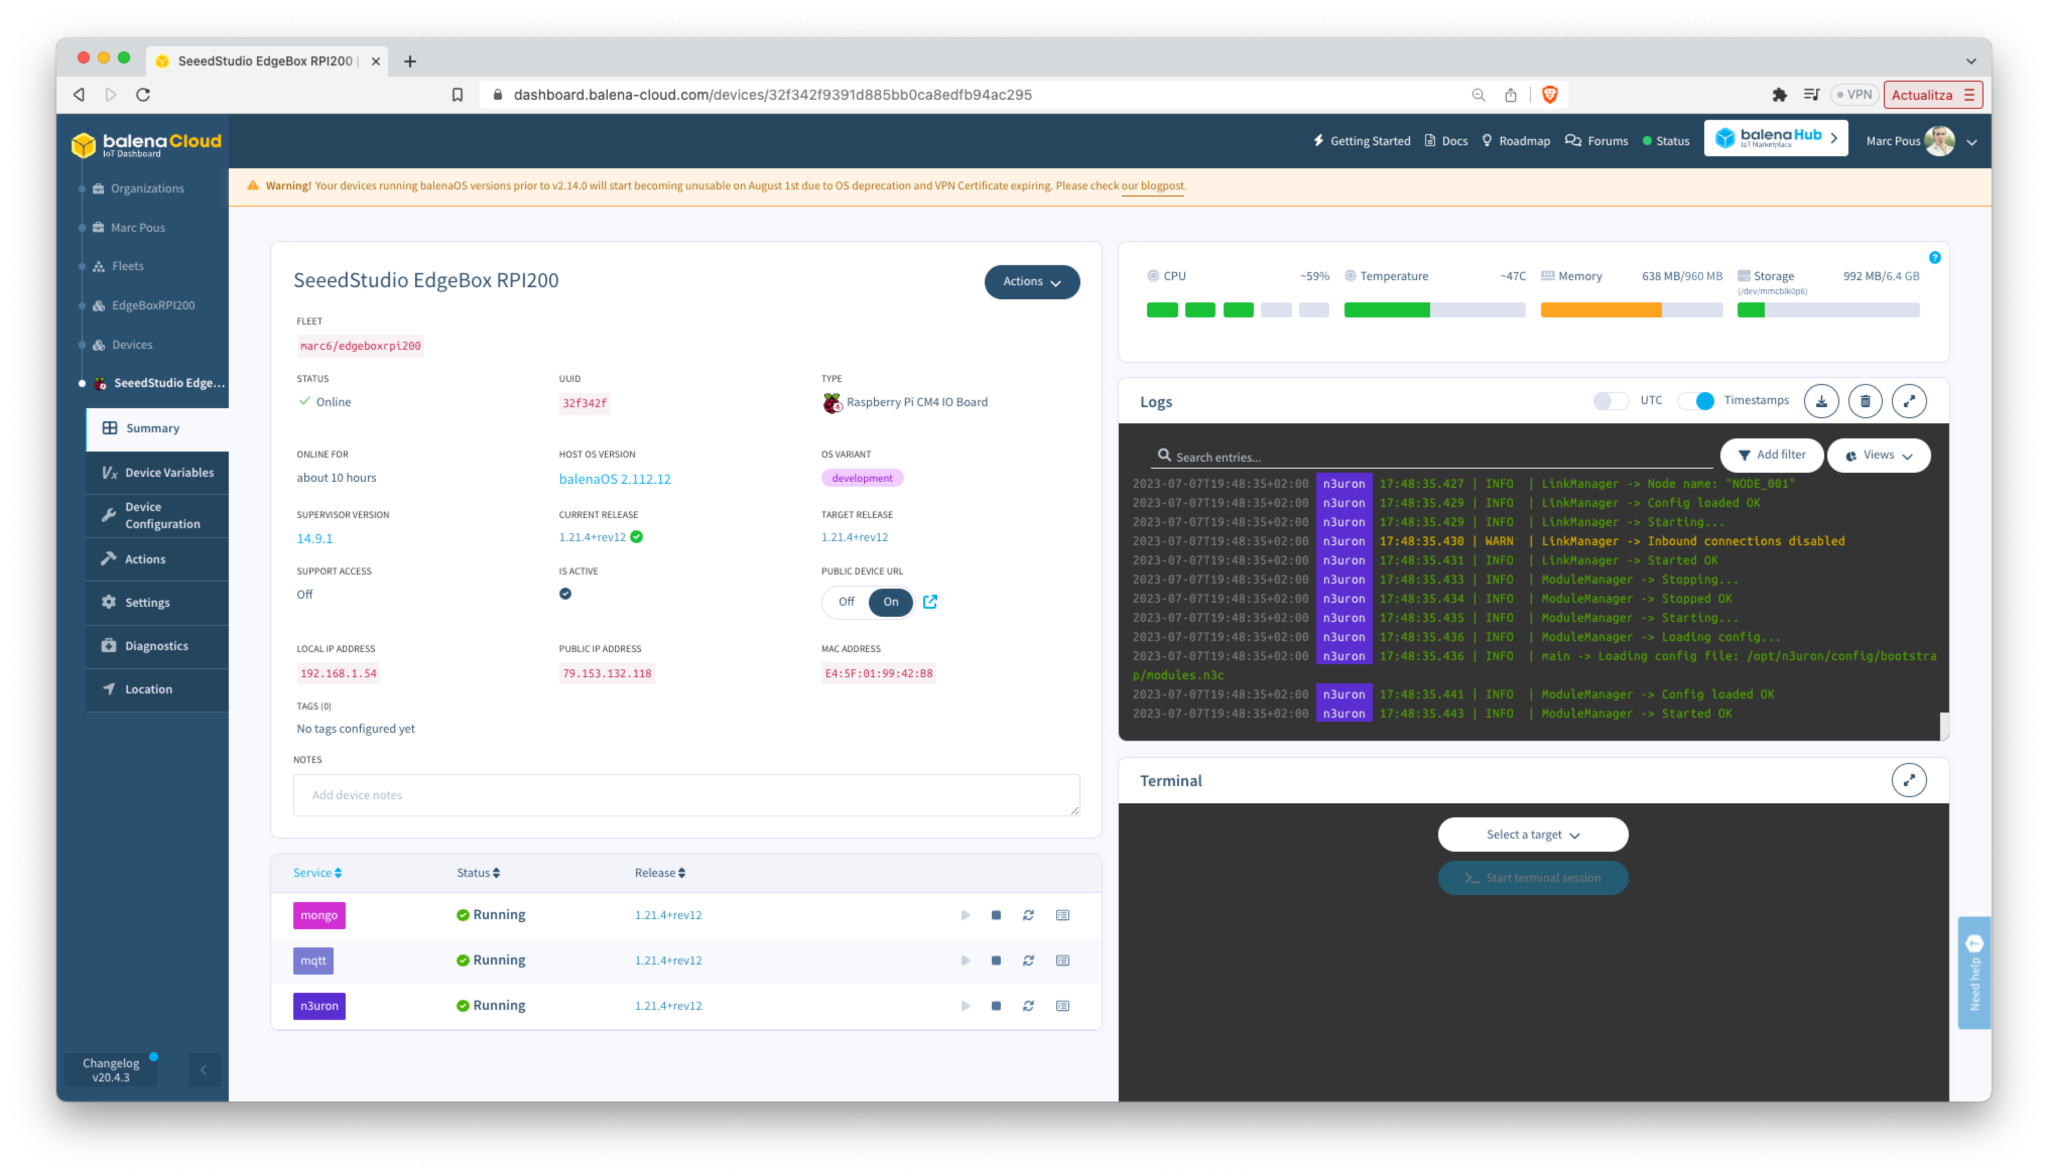
STEP 5: Once successfully done, place the CM4 back on the EdgeBox-RPI-200 and power it up with the DIN rail power adapter. The device might appear on the balenaCloud dashboard.
Configure the Phoenix Connector GPIO
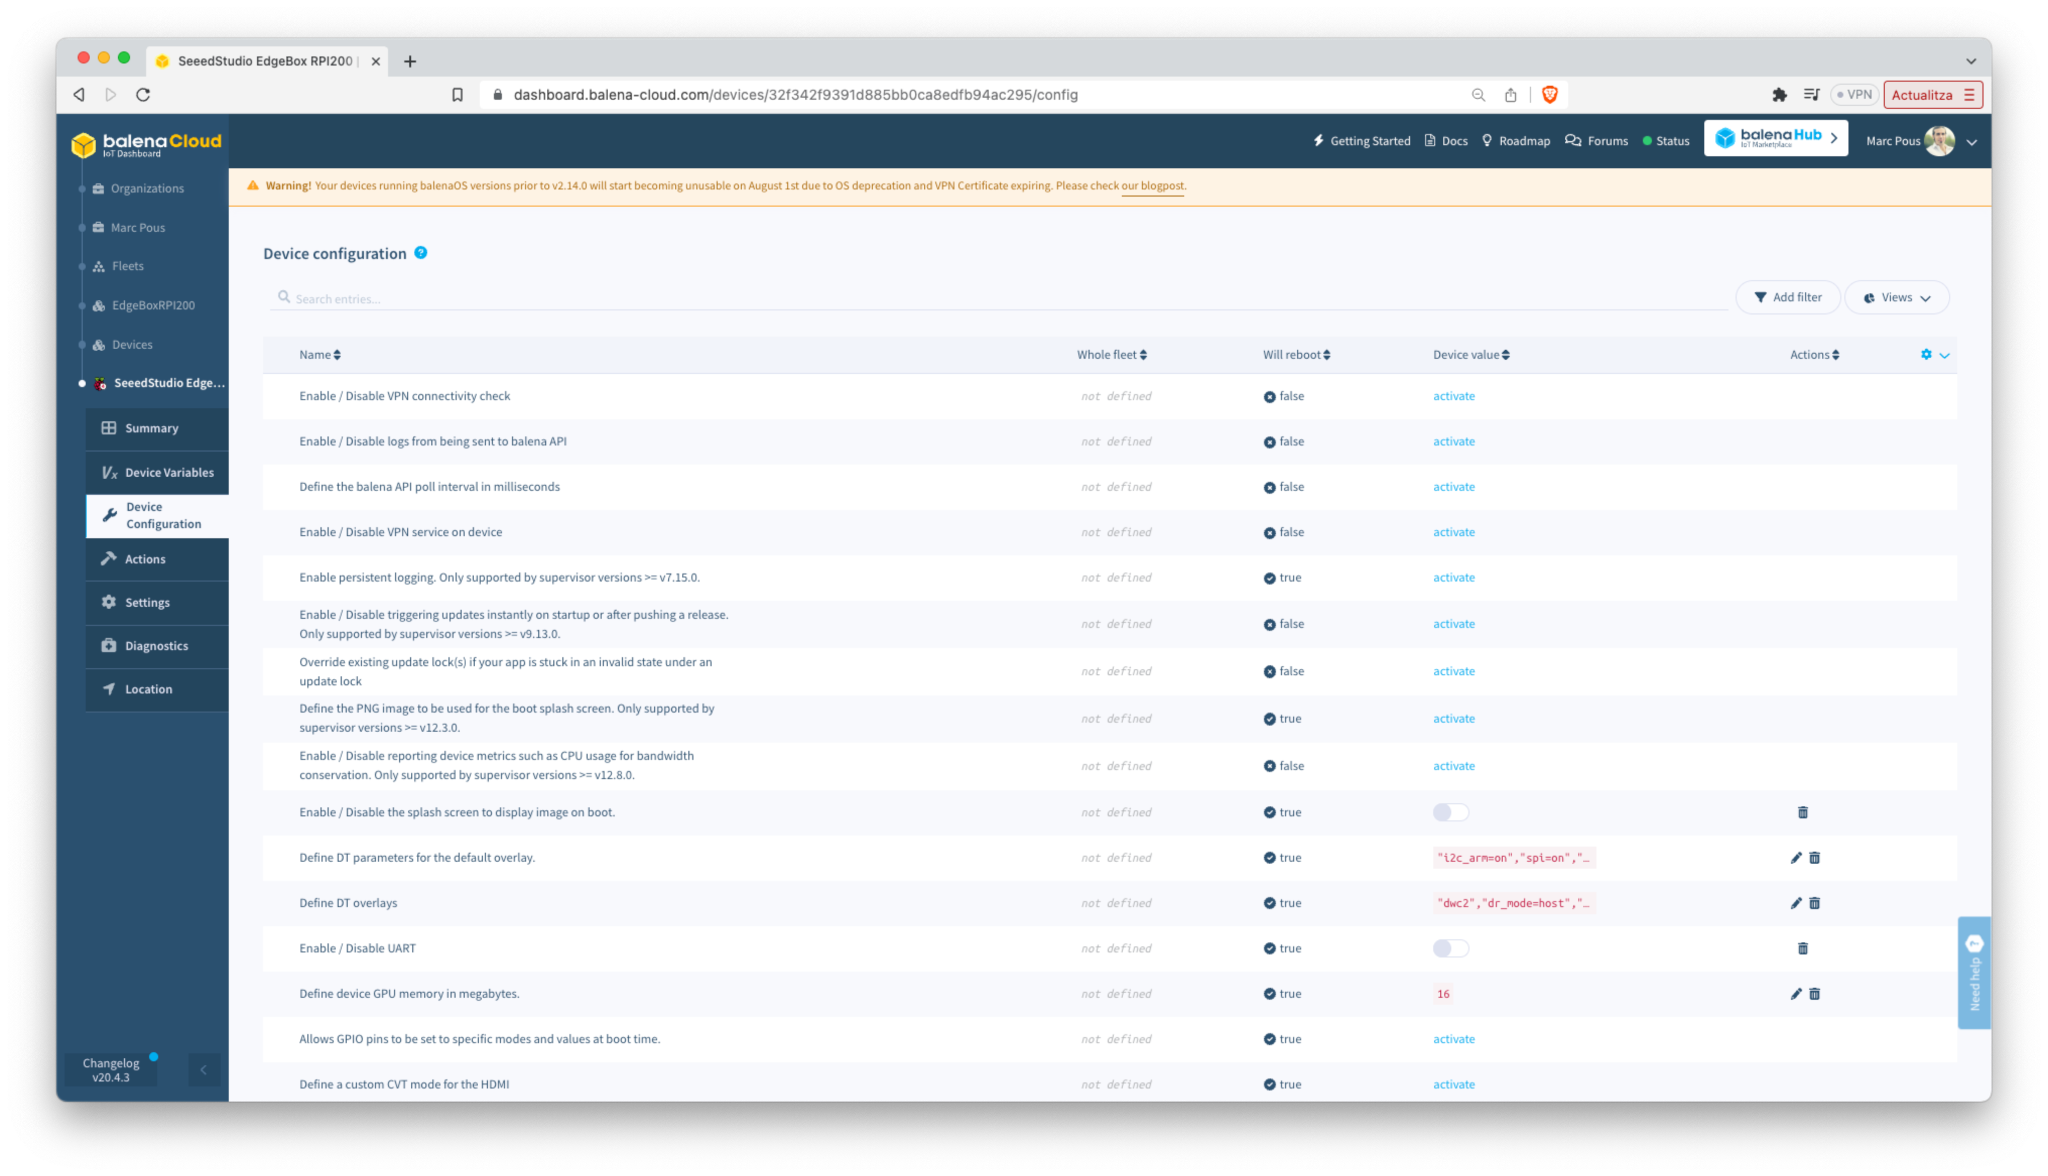
To access the EdgeBox-RPI-200 Phoenix Connector GPIO it is necessary to update the Device Tree parameters of the default balenaOS image.
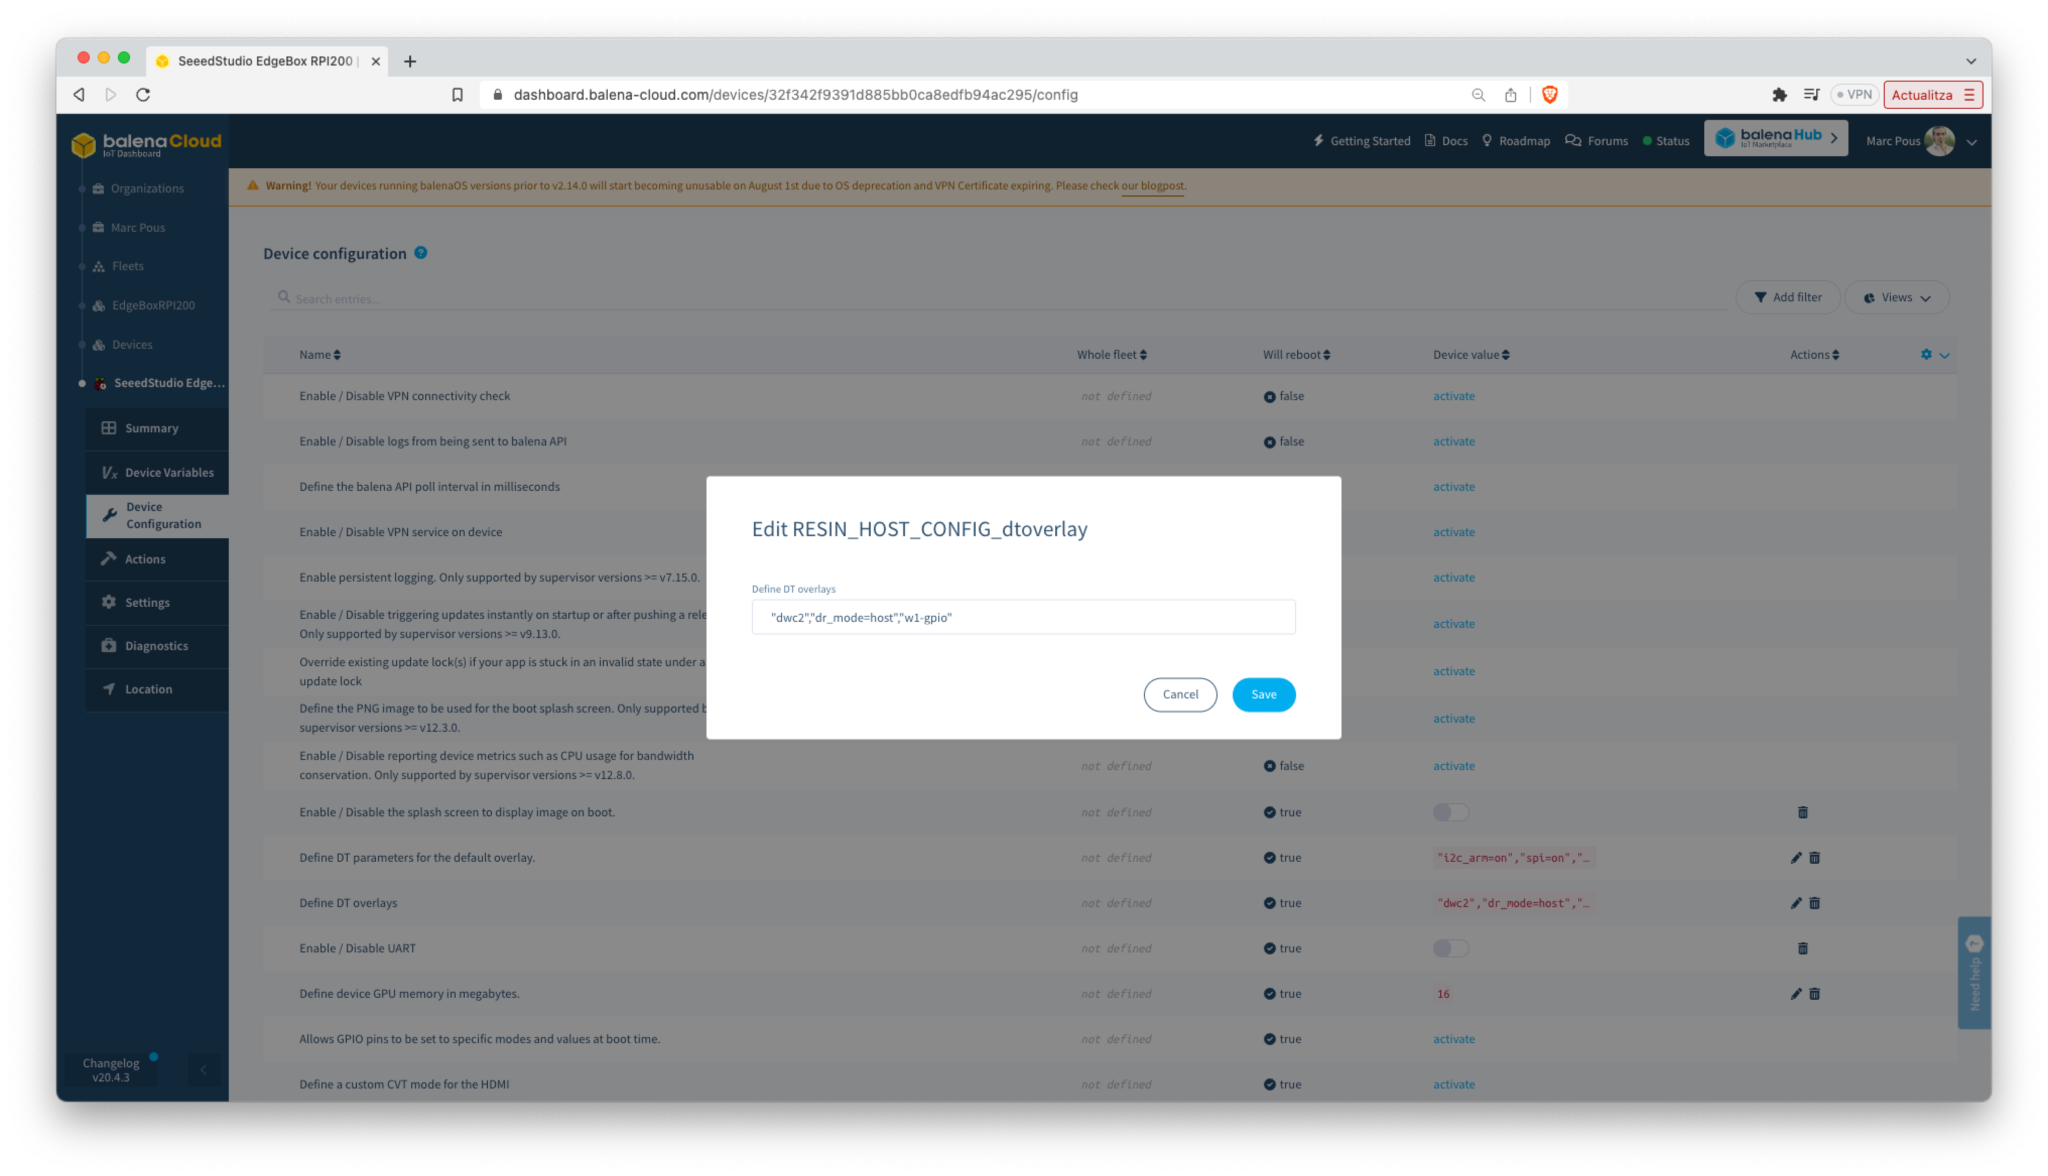
To access the Phoenix Connector GPIO through the /dev/ttyACM0 or /dev/ttyACM1 go to Device Configuration and change the DToverlays
The device tree is defined on Define DT overlays as "dwc2","dr_mode=host","w1-gpio". On Define DT parameters for the default overlay. I added the parameter "enable_serial=1".
Tech Support & Product Discussion
Thank you for choosing our products! We are here to provide you with different support to ensure that your experience with our products is as smooth as possible. We offer several communication channels to cater to different preferences and needs.