Helium Introduction
In this chapter, we will introduce the Helium console controls that we use to get a first impression of the Helium console.
Upgradable to Industrial Sensors
With the SenseCAP S2110 controller and S2100 data logger, you can easily turn the Grove into a LoRaWAN® sensor. Seeed not only helps you with prototyping but also offers you the possibility to expand your project with the SenseCAP series of robust industrial sensors.
The IP66 housing, Bluetooth configuration, compatibility with the global LoRaWAN® network, built-in 19 Ah battery, and powerful support from APP make the SenseCAP S210x the best choice for industrial applications. The series includes sensors for soil moisture, air temperature and humidity, light intensity, CO2, EC, and an 8-in-1 weather station. Try the latest SenseCAP S210x for your next successful industrial project.


Using Helium for the first time
If this is your first time using Helium, please refer to this section to complete the registration of your Helium account and the use of the components.
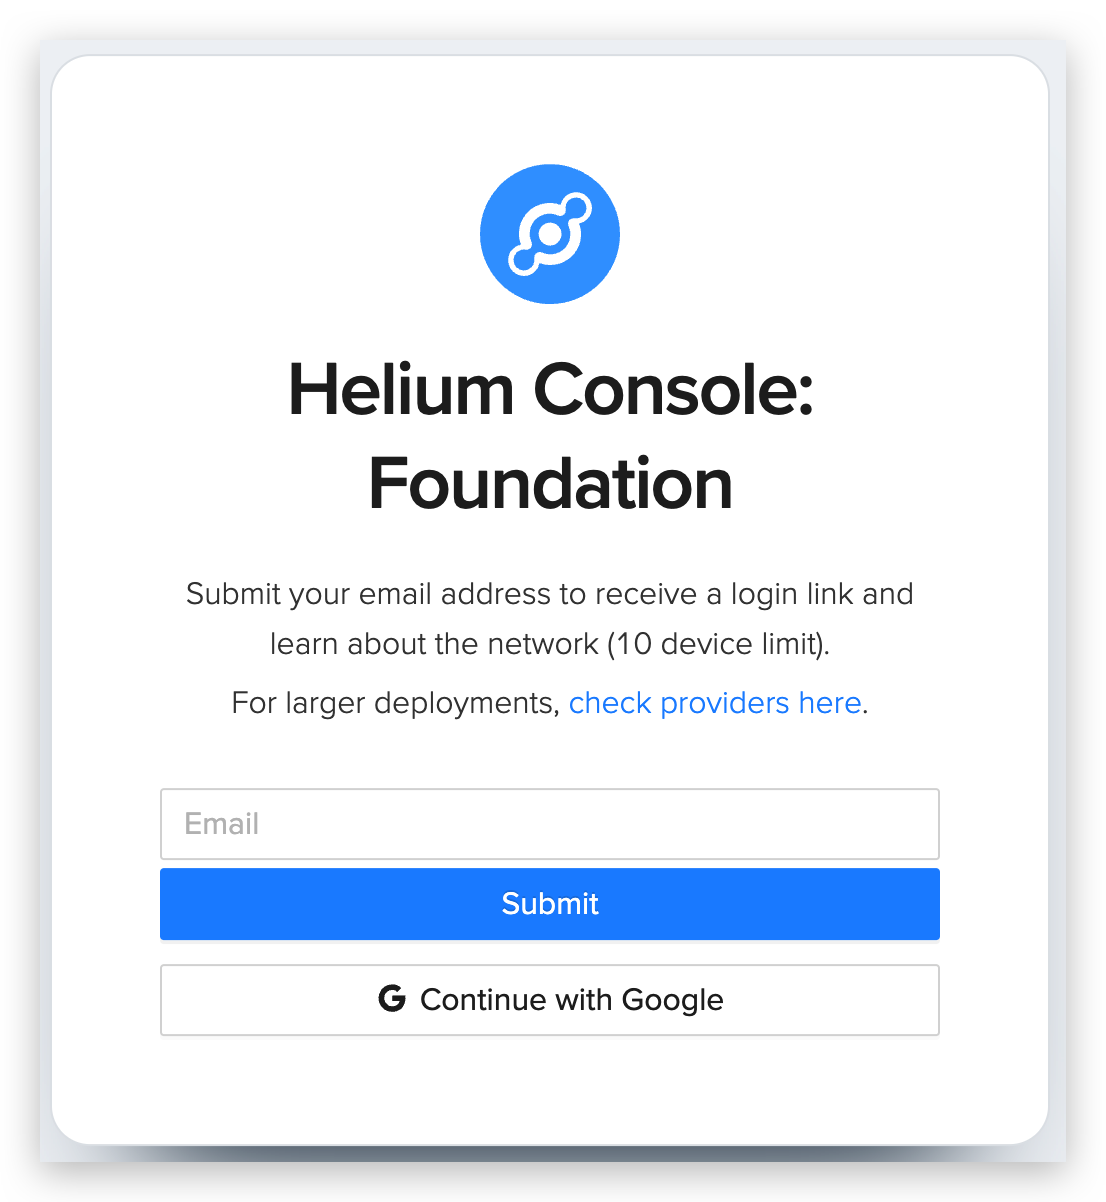
Register for a Helium account
Enter the Helium website, then fill in the email address you want to register, click Submit, Helium will send a login email to this email address to complete the registration.
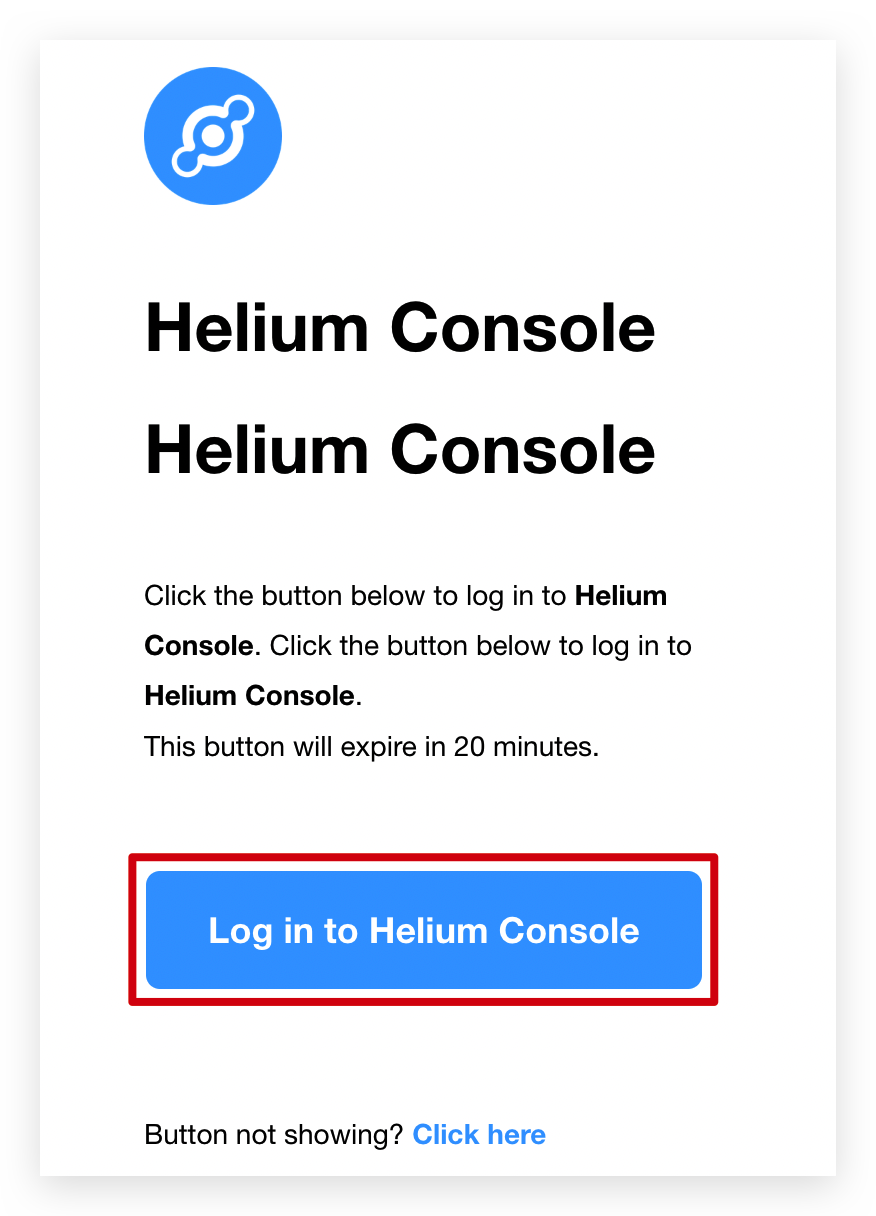
Login to your own email, click on the email sent from Helium and go back to the Helium login page to complete your registration. The future login method is the same as this.
When you become a new member of Helium and you have device data to send to Helium, you will get 250 DATA CREDITS. And 1 DC = 24 Byte Packet = $0.00001 USD. Just 250 DCs may not be enough to commission your project. You can choose to get DC from Helium.
Helium Console - Flows
Flows is a visual-centric view of the key elements in Console and allows users to instantly understand the relationship among devices, functions, and integrations.
When the entire configuration is completed, each key element will be displayed below the Flow column and elements will be connected directly to elements via custom dashed lines.
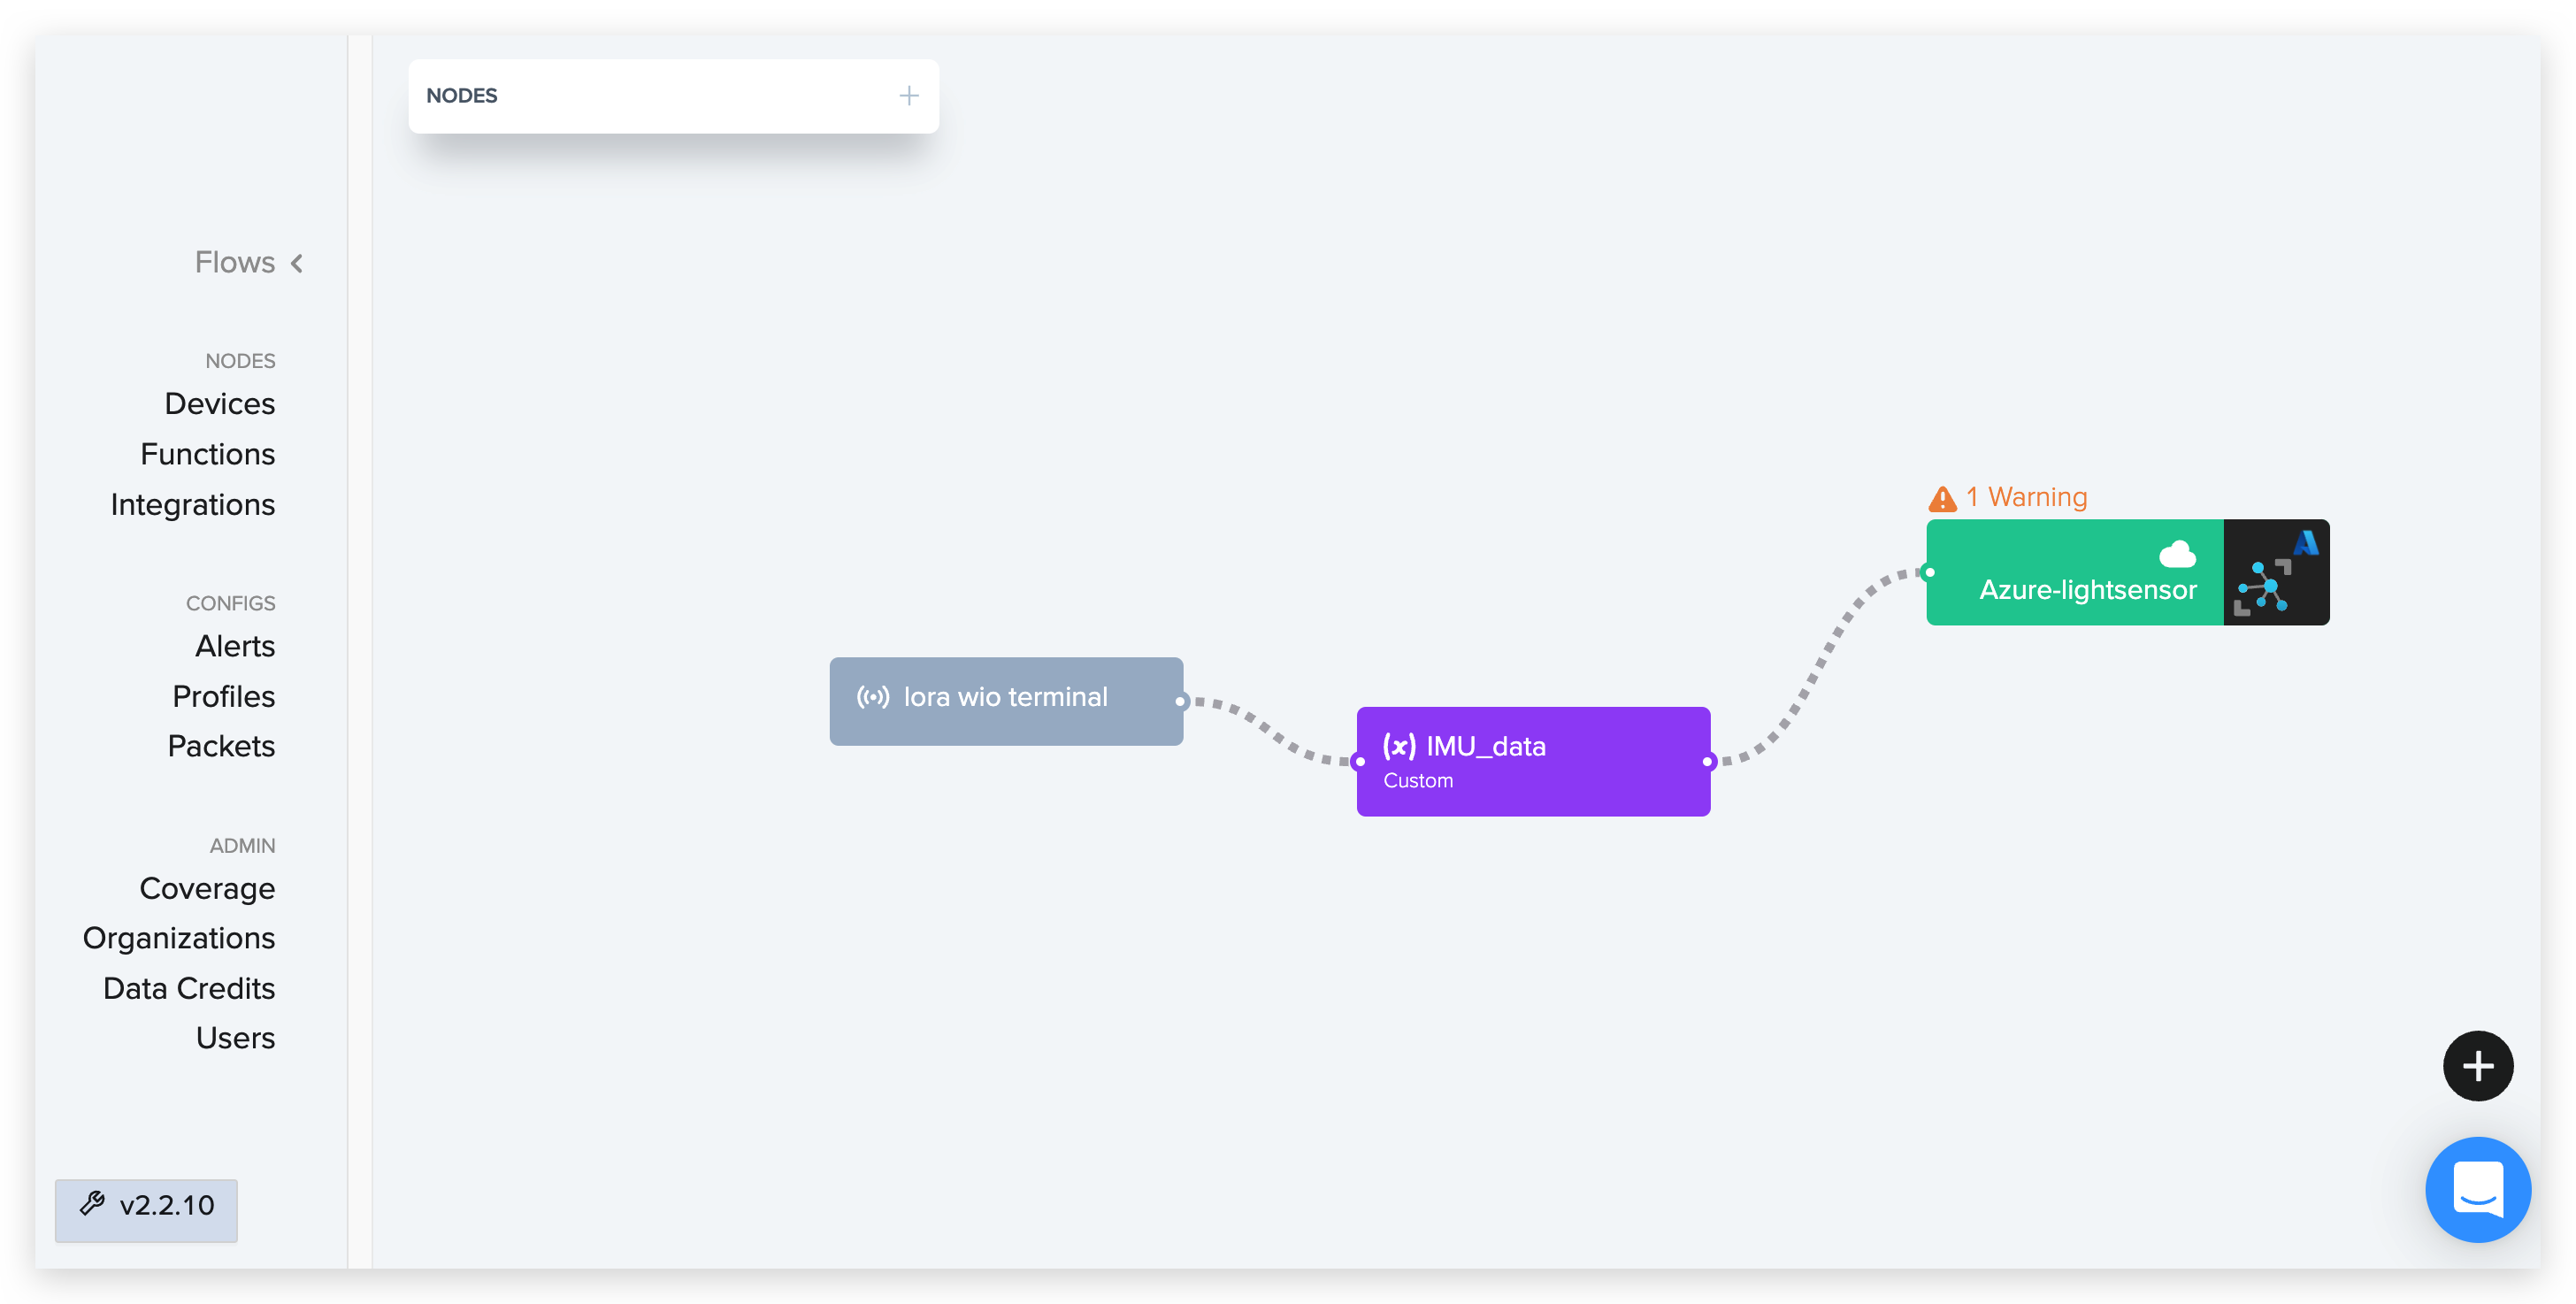
There is a Nodes tab in the upper left corner of the workspace. Nodes are graphical representations of Console elements and for quick identification are color coded. Connection points are used to create relationships among nodes.
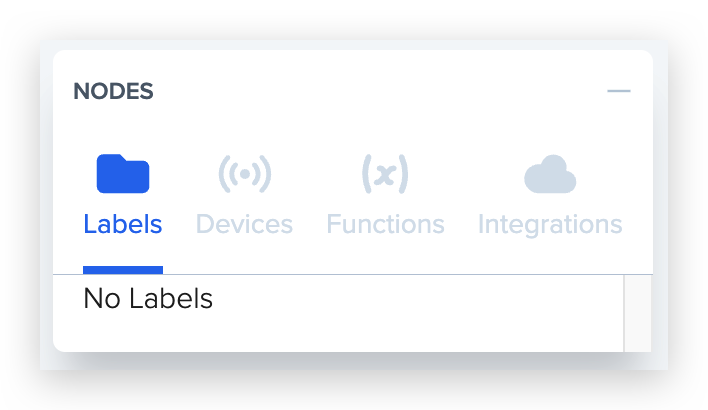
Devices: device nodes represent the hardware that is sending the packets. Since devices are the source of data and integrations can only receive data there’s only one connection point for edges.
Labels: label nodes represent a group of devices with a common.
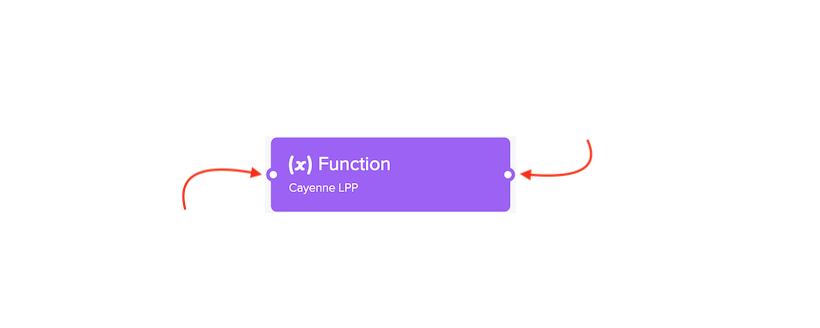
Functions: users can transform and/or parse payloads before sending to an endpoint. Functions can both receive data from devices and continue sending data after taking action to integrations.
Integrations: enable devices to customer endpoints over HTTP or MQTT.

Edges represent the flow of data from device or label nodes moving from left to right. Edges use connection points create relationships among nodes.
Users can control the flow of device data using edges to provide the following connections from devices/groups of devices (via labels):
- to integrations
- to functions
- to function and on to integrations
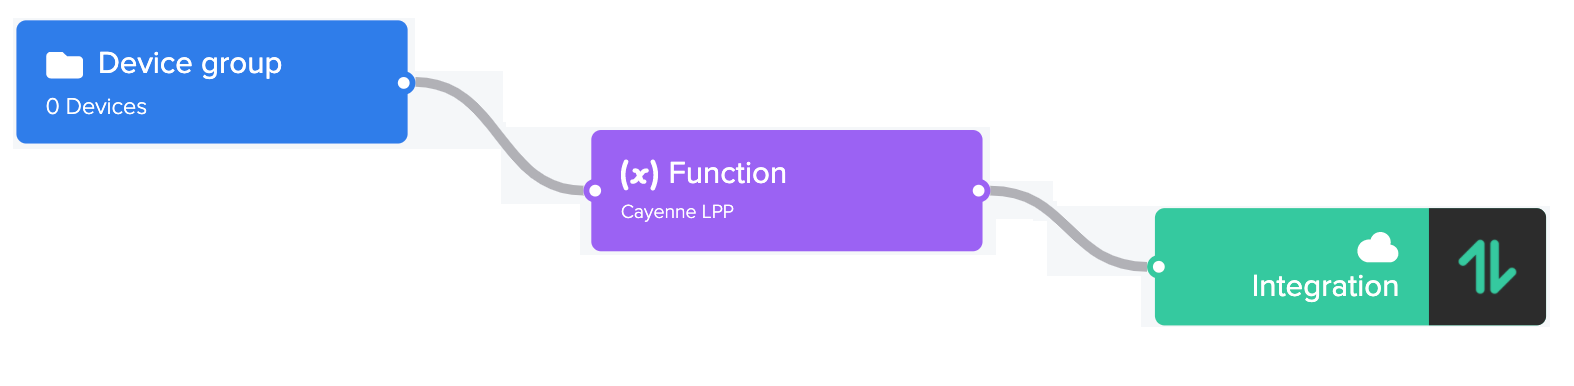
We can build connections between different nodes by dragging the left mouse button to click on the connection points on both sides of the nodes.
The Inspector provides the ability to:
- Visually inspect node details
- Make common node configuration changes
- Access node in other areas of Console for more complete edits
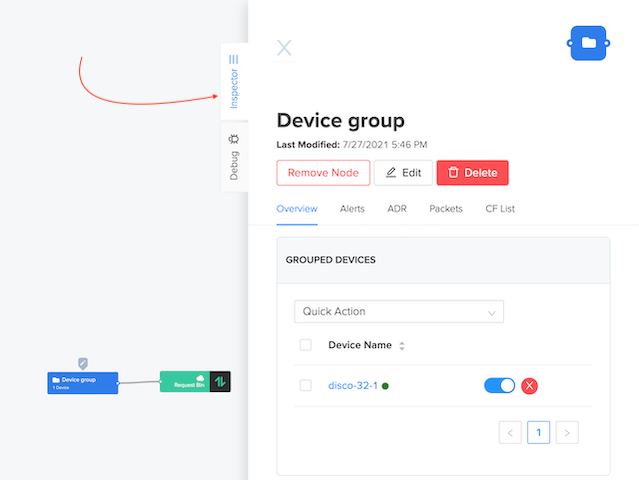
To access the Inspector simply click a node and different options appear for the following:
- Devices or Labels
- Functions
- Integrations
The Console Debug tool allows you to quickly and easily examine device messages. This enables you to verify and debug issues much more easily without requiring the data to be sent to an application endpoint first. For security and privacy reasons the Debug tool does not persist data. Instead, the 40 most recent events are accumulated from the time the Debug window is opened.

-
For more information about Debug Mode go here.
-
For more information on how to set up Flow in this tutorial, please refer here.
Helium Console - Devices
Helium Console allows developers to add devices and grab the device identifiers to load onto their device firmware that authenticates and identifies the device for the Helium Network.
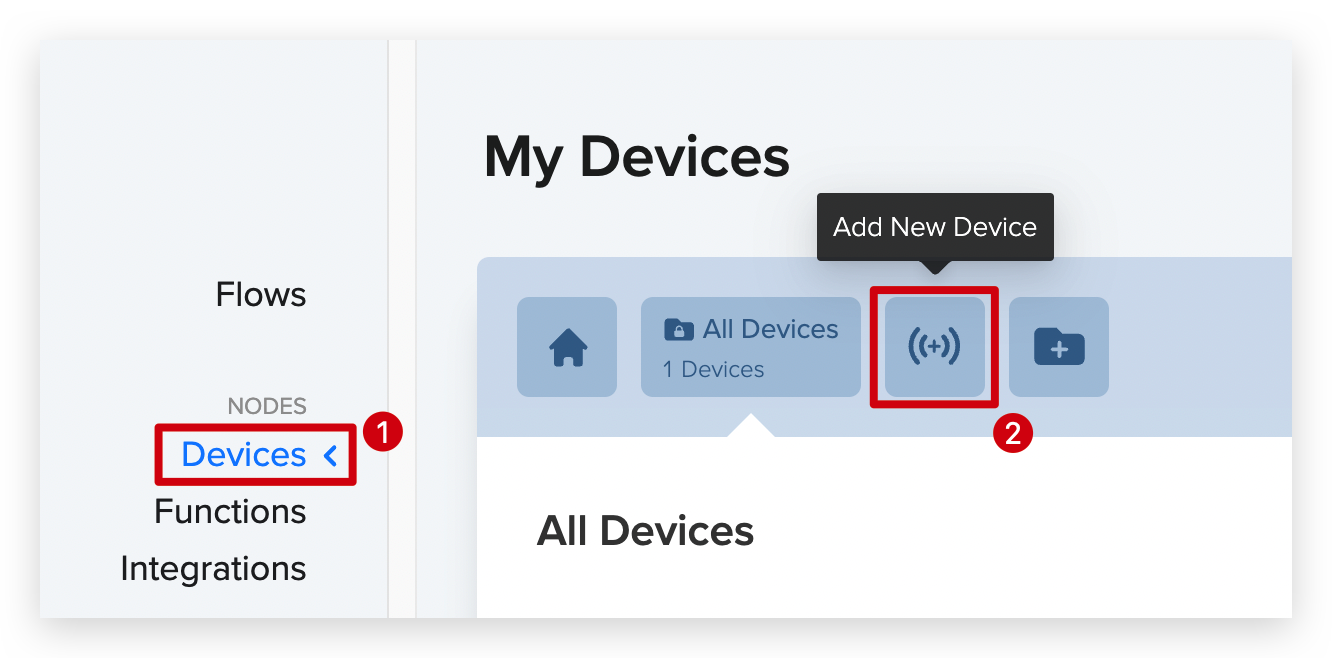
To add a device, go to Devices and click the + Add Device icon on the top right of the window.
Helium Console users are capped at one Organization and 10 devices for their account.
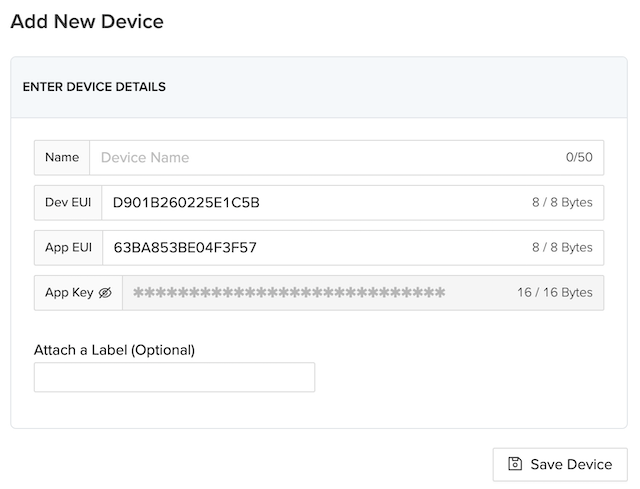
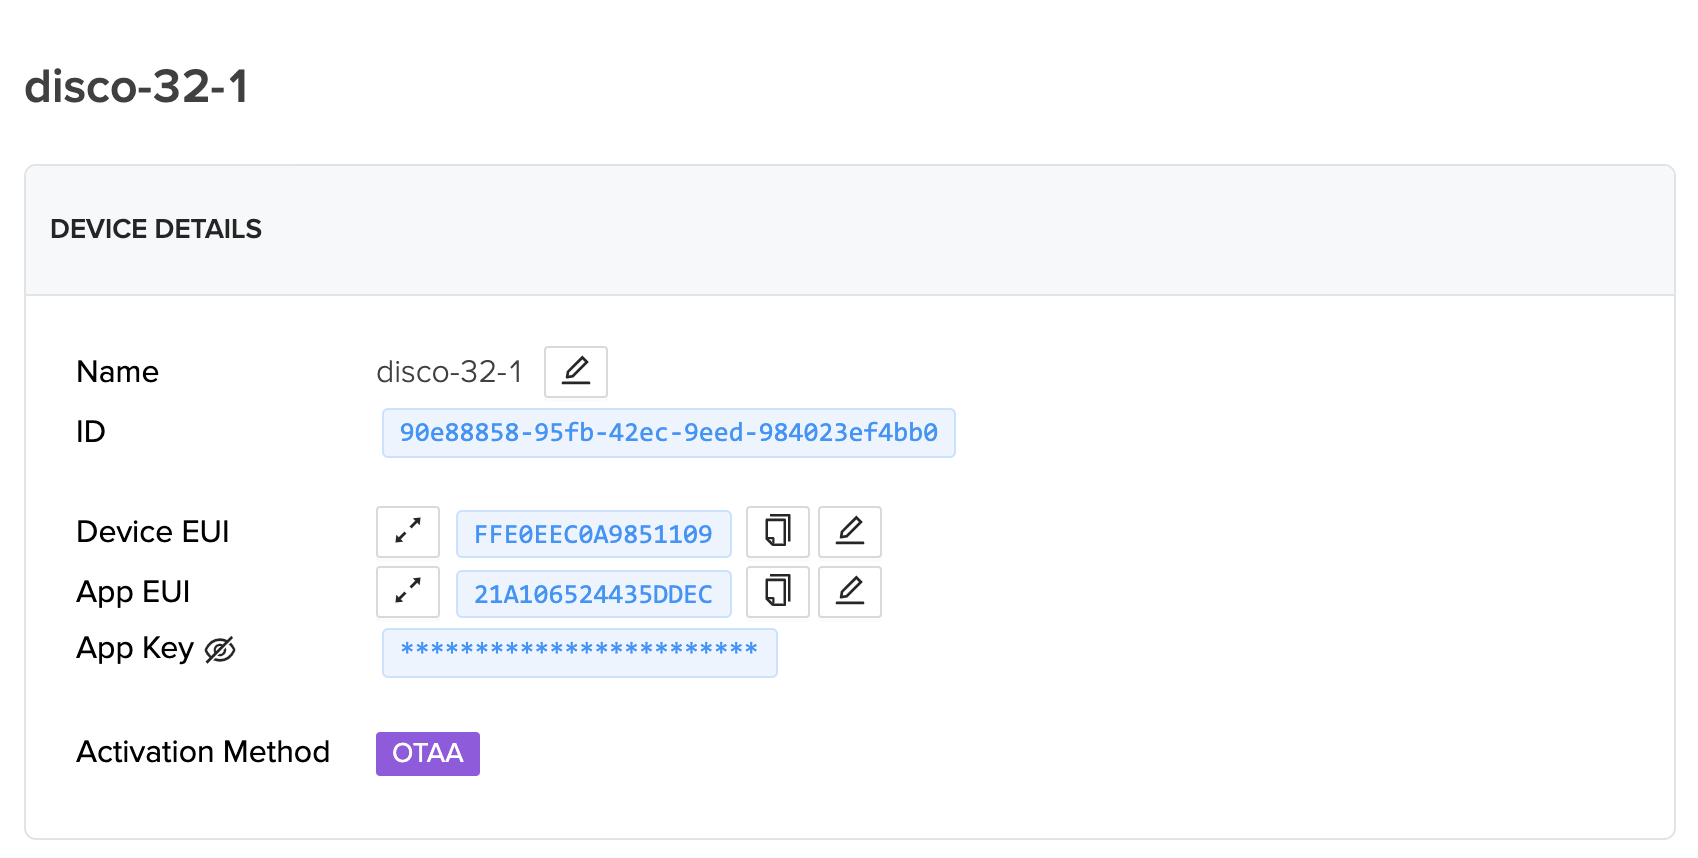
When prompted, enter a name for your device. Device names do not have to be unique (as every device will be given a unique identifier generated by Console). DevEUI, AppEUI, and AppKey are auto generated by the Helium Console when you create a new device. However, you can input your own DevEUI, AppEUI, and AppKey if your device is already provisioned with these credentials.
- Device EUI - 64-bit end-device identifier, sometimes called Manufacturer EUI
- App EUI - 64-bit application identifier
- App Key - 128-bit AES key, used to secure communication between device and network
Once added, you'll see a consolidated view of all your device details, as well as the Activation Method (only OTAA is currently supported) and the LoRaWAN® US Channels used by the Helium Network (which will always be sub-band 2).
This initial join process could take up to 20 mins depending on:
- when this transaction (batched with others) gets added to the blockchain
- the overall performance of the blockchain
After the initial join takes place future rejoining of the same device will be much quicker.
-
For more details about Helium devices, please refer here.
-
For information on how to add Grove - Wio-E5 devices to Helium Console , please refer here.
Helium Console - Functions
With the Decoder Function, users can transform and/or parse a raw payload before it is posted to an endpoint.
When a Decoder Function is applied to a device or integration the Decoder Function code is executed on the payload sent by the device. The Decoder Function can be written using custom JavaScript code provided by the user or selected from prebuilt decoders (currently Browan Object Locator and Cayenne LPP).
Console decoders are compatible with The Things Network (TTN) decoders, which are already available for a wide variety of devices.
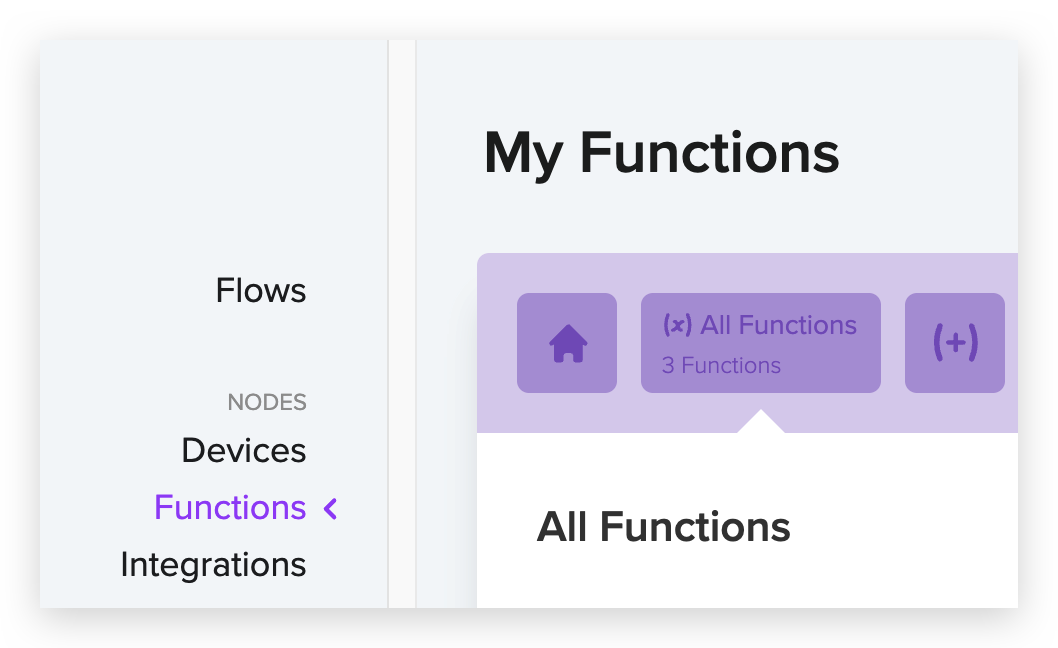
To begin creating a new function within the Helium Console, select Functions from the left side navigation. Then create a new Function by clicking the Add New Function + icon.

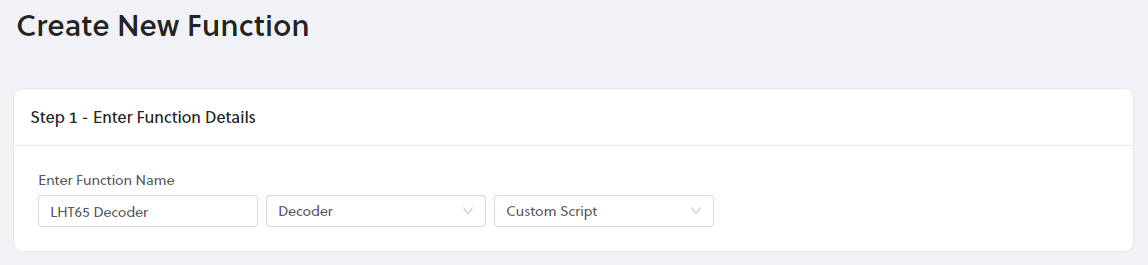
Name your new Function, select "Decoder" as Function Type, and "Custom Script" as Format if you want to enter your own script, or select from the predefined decoders.
Next we need to enter the JavaScript that will decode our payloads for us. The Script Validator allows you to easily test inputs in hexadecimal form to ensure that your script will run successfully.

-
In addition, to providing a custom decoder a growing list of community-created functions can be found here.
-
For more information on how to create and attach functions, check out our Tips and Tricks video here.
-
How to write the custom decoder for each sensor in this tutorial can be found here.
Helium Console - Integrations
Integrations enable devices to connect to pre-configured, cloud-based applications or send data directly over HTTP or MQTT.
To add a new integration, navigate to the Integrations page using the left side navigation, click the Add New Integration + and then select from the available integrations.
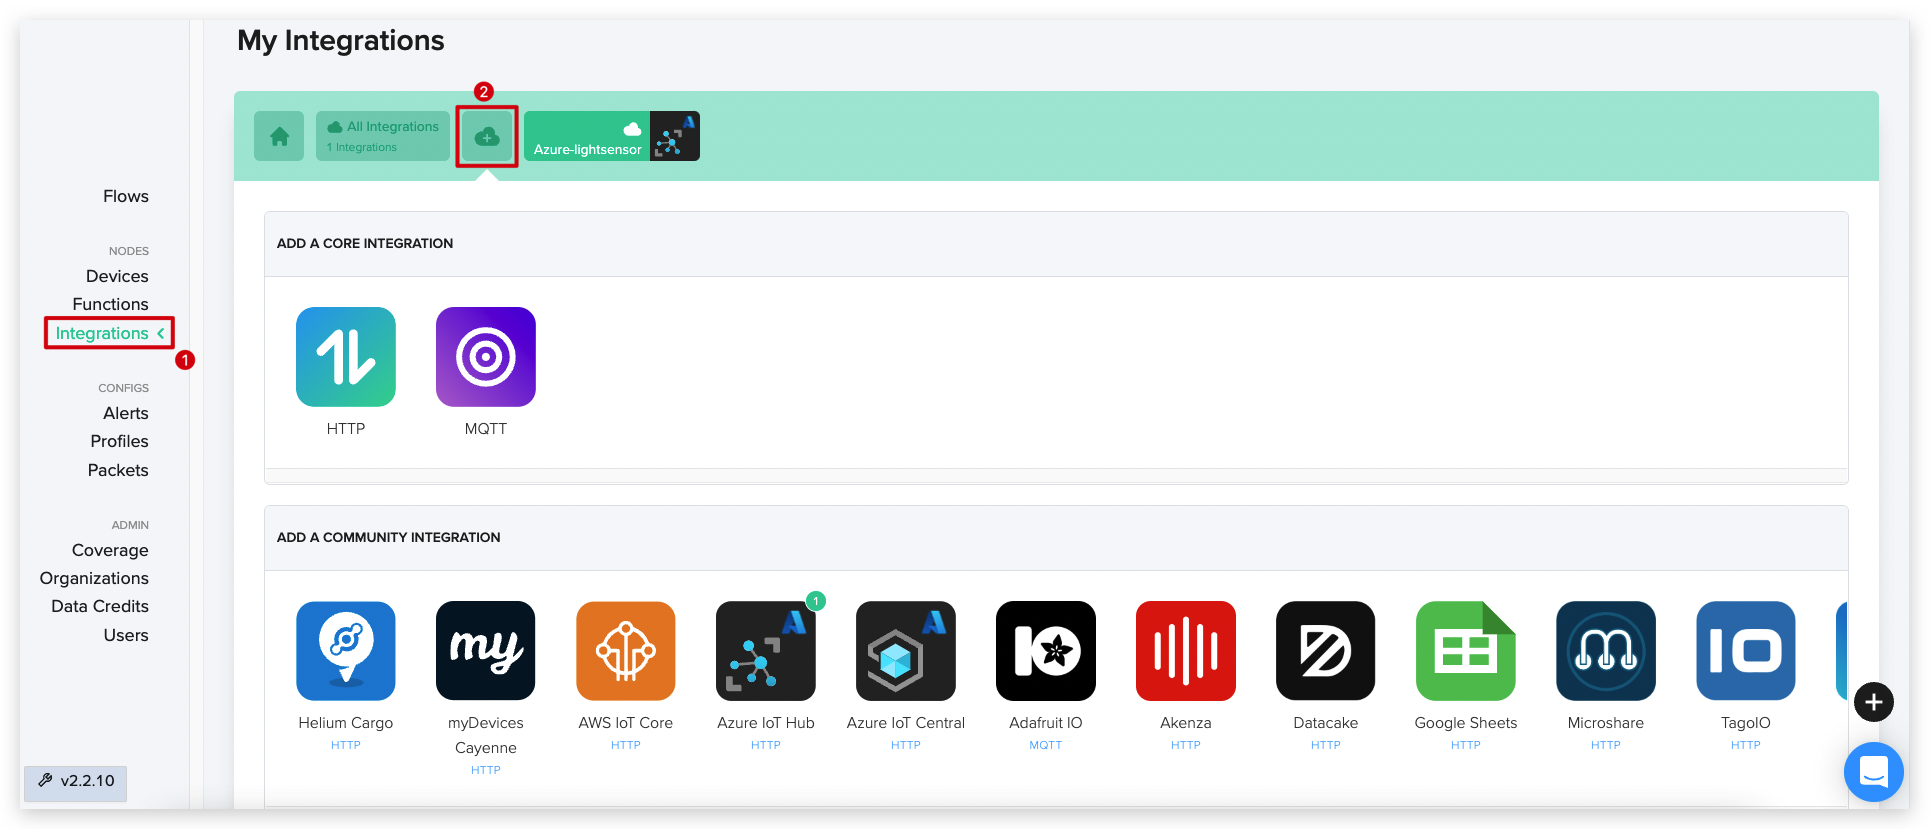
A number indicates that an Integration has been added.
-
For a video walkthrough of how to use Integrations, check out our Tips and Tricks video here.
-
How to add Azure IoT Hub Integration in this tutorial can be found here.
Please continue with the next step of the tutorial Connecting to Helium.
| Connecting to Helium This section describes how to configure Helium so that sensor data can be successfully uploaded to and displayed in Helium. Let's get started > |

Tech Support & Product Discussion
Thank you for choosing our products! We are here to provide you with different support to ensure that your experience with our products is as smooth as possible. We offer several communication channels to cater to different preferences and needs.
Statement
- The LoRa® Mark is a trademark of Semtech Corporation or its subsidiaries.
- LoRaWAN® is a mark used under license from the LoRa Alliance®.