LinkStar Introduction

Introduction
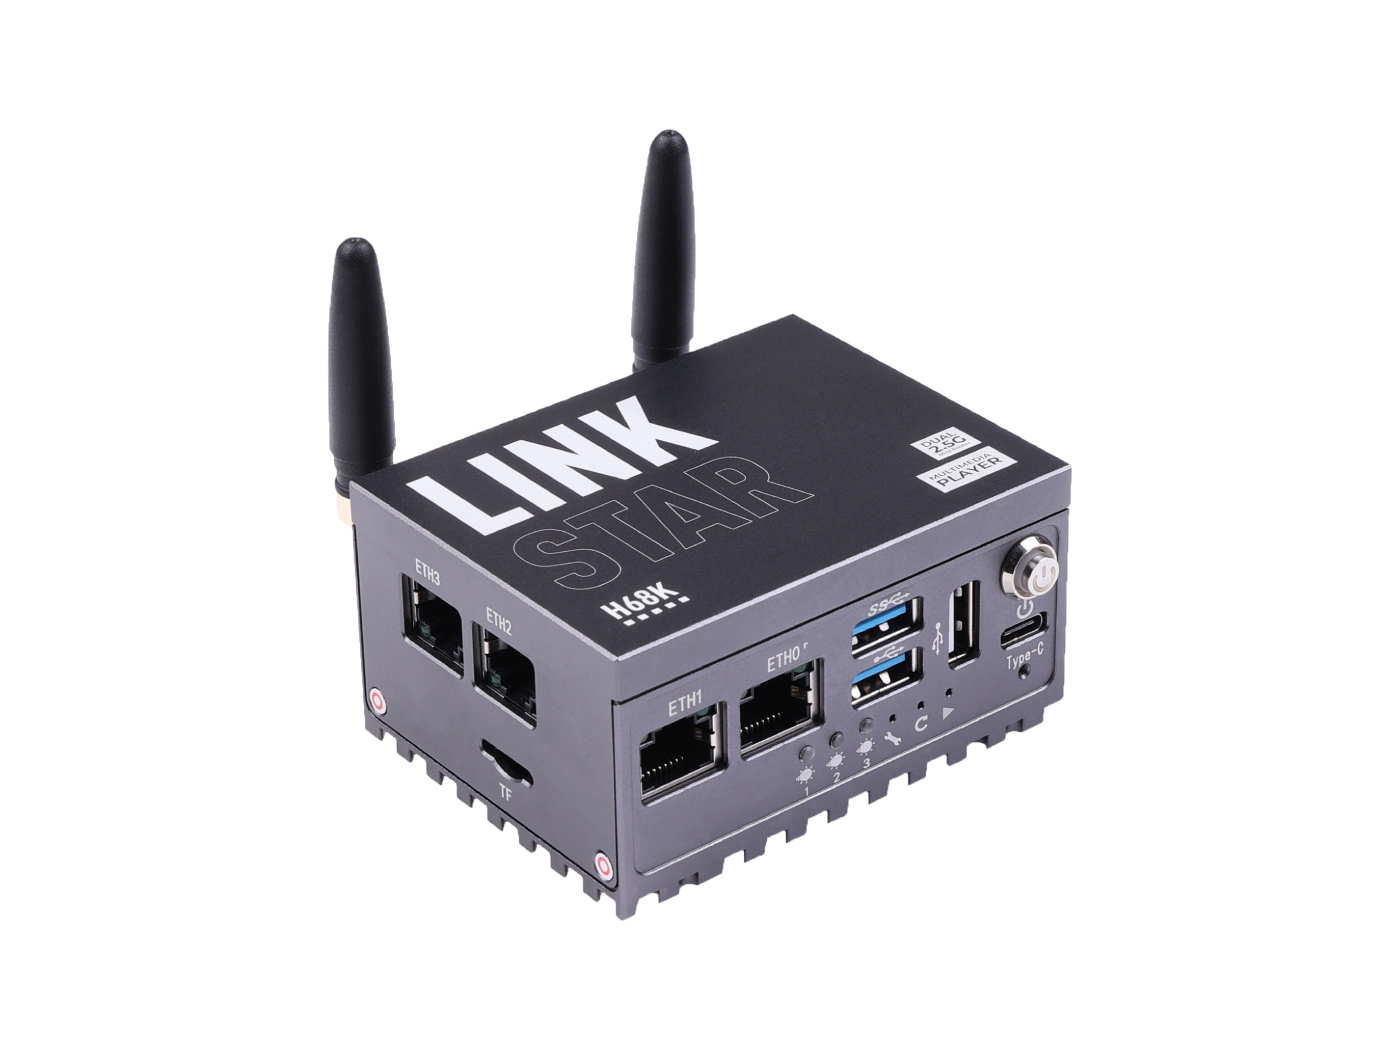
LinkStar-H68K router equips quad-core Cortex-A55 RK3568 chip, featuring 4 Ethernet interfaces for dual-2.5G and dual-1G, along with Wi-Fi 6 technology(optional), while providing high storage capacity and media player functionality. In this wiki we will show you the hardware overview and how to quickly get started with LinkStar
Hardware Overview
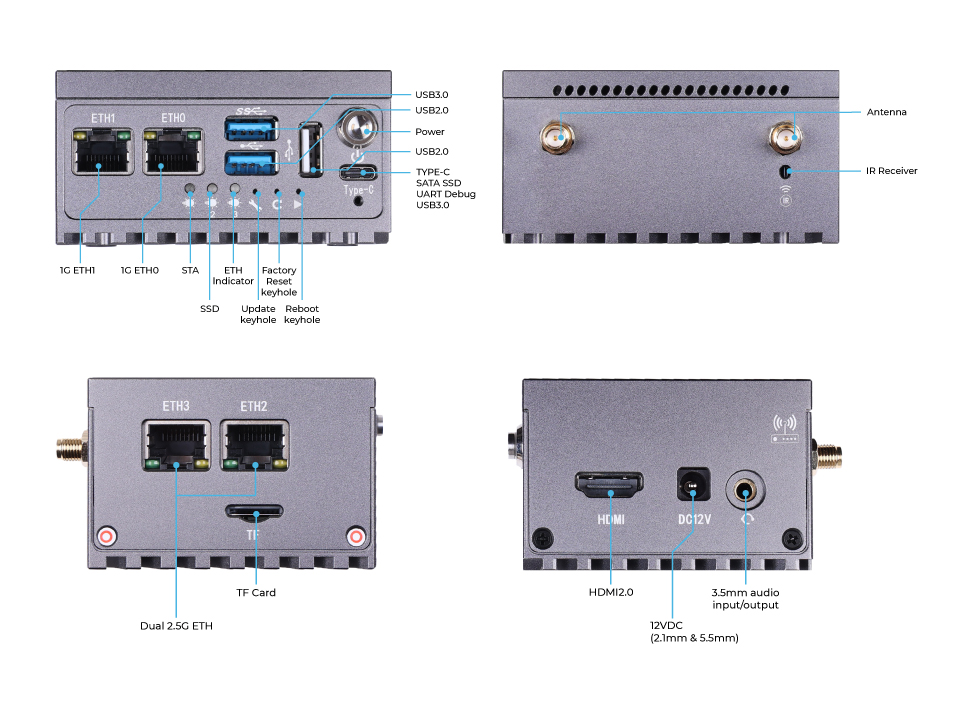
This is the hardware overview of LinkStar - H68K, we here will present you the details about each component.

Power Supply
| Operating Voltage | 5V~24V DC (12V-1A DC recommended) |
|---|---|
| DC Power Adapter | 12V-1A DC (recommended) |
| DC Power Adapter | 12-2A DC for additional hardware driver (recommended) |
| Type-C power supply | Under 5V (not supporting quick charge) |
Ethernet Networking
Chip Performace
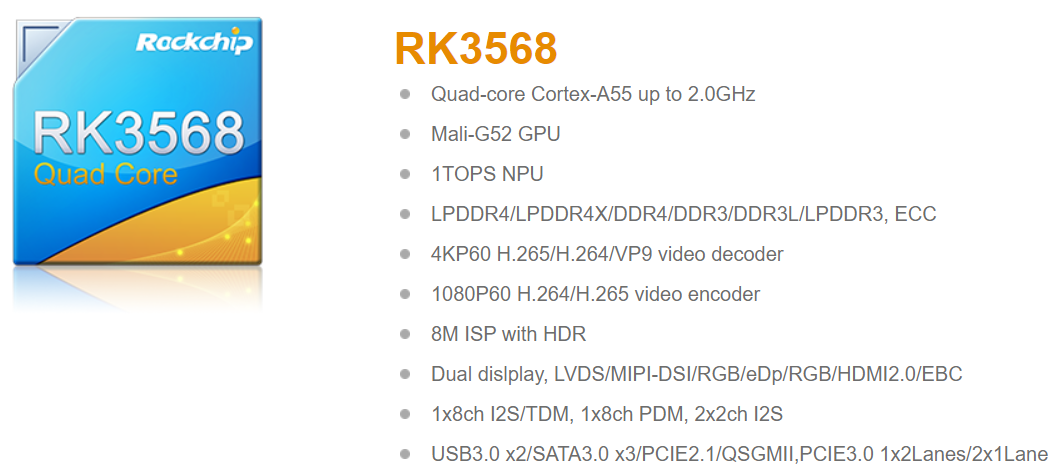
RK3568 is a 4K flagship SoC chip with high cost performance owned by SWICK. It adopts ARM architecture and integrates a quad-core Cortex-A55 with a separate NEON coprocessor to support 4K video decoding and 3K video encoding. Many powerful embedded hardware engines provide optimized performance for high-end applications.

Interfaces
| ETH0 | Supprot 1G Ethernet with RTL8211F PHY Chip |
| ETH1 | Supprot 1G Ethernet with RTL8211F PHY Chip |
| ETH2 | Supprot 2.5G/1G Ethernet with RTL8211F PHY Chip |
| ETH3 | Supprot 2.5G/1G Ethernet with RTL8211F PHY Chip |
| USB3.0 Type-C | Straight through IO with 5V power supply(not supporting quick charge) |
| USB 3.0 Type-A | x1 |
| USB 2.0 Type-A | x2 |
| M2 WIFI(optional) | MT7921 Module with PCIE2.0 interface |
| HDMI | HDMI 2.0 for 4K output, both audio and visual |
| 3.5mm Audio input/output | Implement by RK809-5 power supply chip |
| Infrared Receiver | IRM-3638 Model |
| TF card slot | SDIO signal SDMMC0 |
Indicator Light

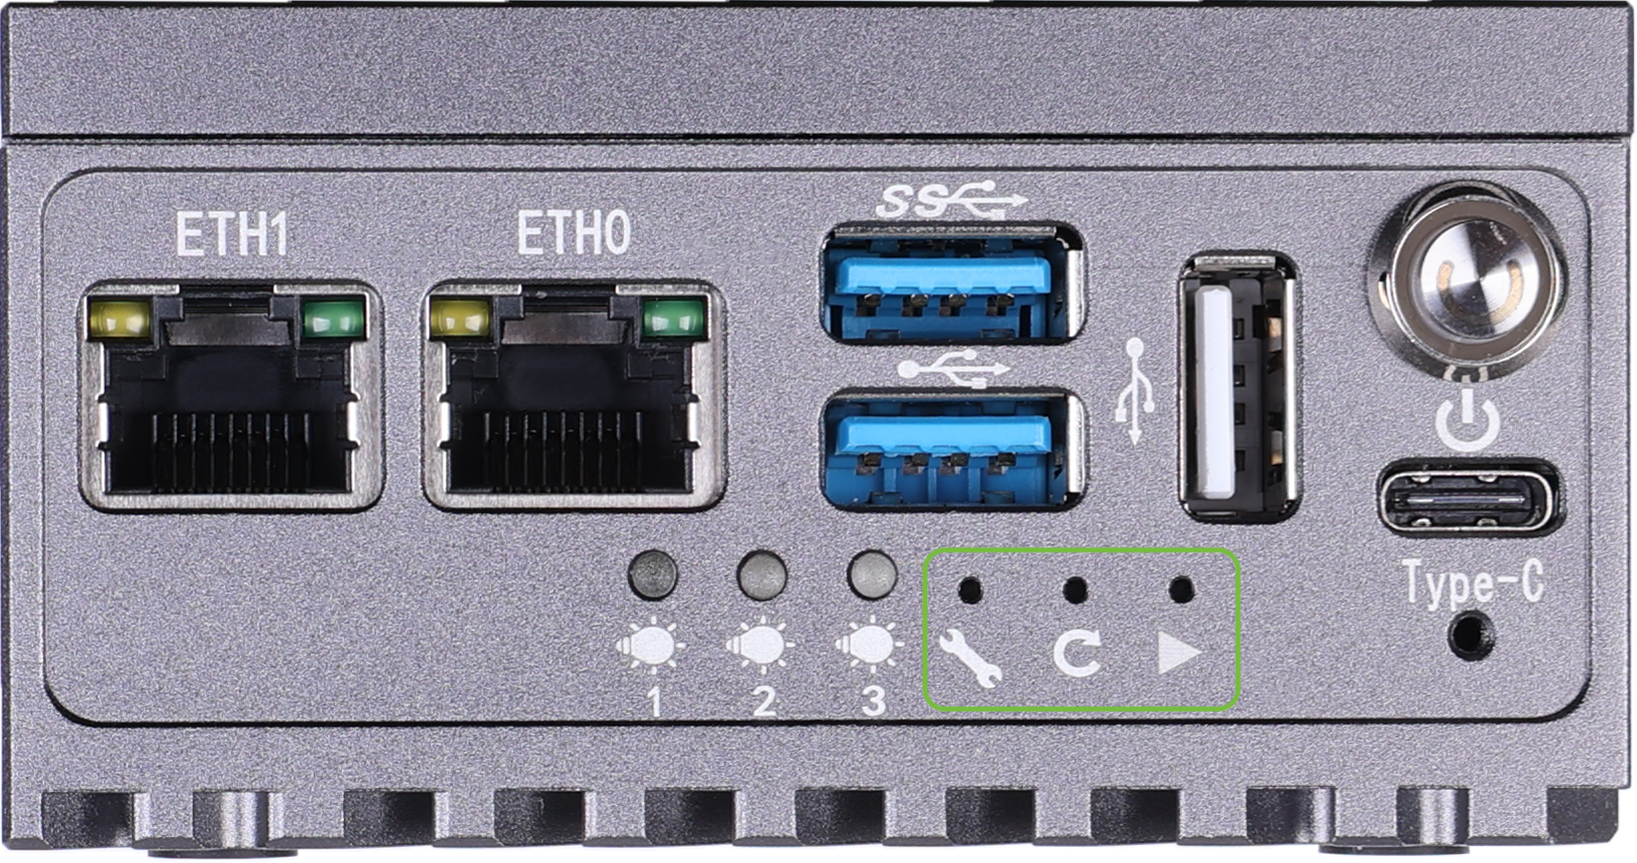
| STA | Hard Disk indicator | ETH indicator |
|---|---|---|
| Operating/Active indicator | Hard Disk connection instructions | Network connection indication |
Quick Start
With pre-installed Andriod 11 system, you can directly use LinkStar once you received the package.
Preparative
- LinkStar
- HDMI connector
- Monitor
- Mouse
- 12V1A power adaptor
Installation
-
Step 1. Connect LinkStar with a monior and a mouse.
-
Step 2. Power it up by plugging 12V1A power adaptor and push the power button.

- Step 3. The monitor will be shown as:

Please note that the right mouse button represents "return", as you click it the page will be returned.
Now you are good to go!
Resources
Tech Support & Product Discussion
Thank you for choosing our products! We are here to provide you with different support to ensure that your experience with our products is as smooth as possible. We offer several communication channels to cater to different preferences and needs.