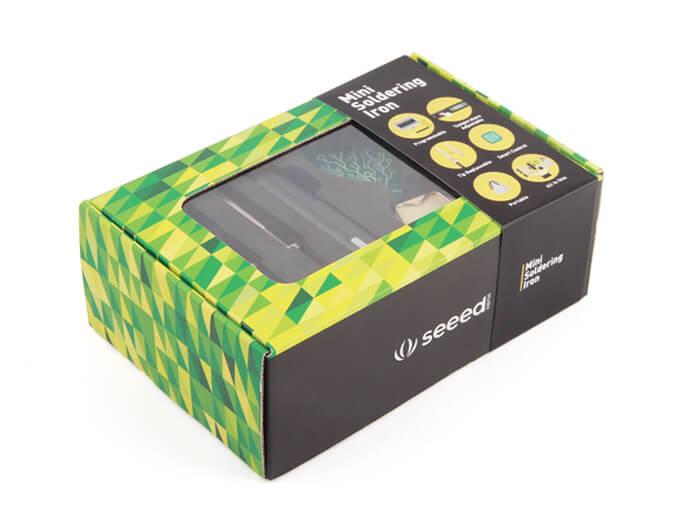
Mini Soldering Iron

Mini Soldering Iron is a slender, lightweight, accurate temperature-control and rapid-heating(ambient temperature to 300℃ in 10 seconds) soldering iron with an OLED display, which will be an essential tool in your development kit. It also features its sleeping mode and over-heating notification. In addition, it is easy to assemble and ESD safe (through grounding clamp). The temperature range of this iron is 100 ~ 400 ℃(212 ~ 752 ℉), and It contain two integrated(with heater) and compact soldering tips for different circumstances. You can configuration your setting by USB micro type-B interface.[1]
[1]This page only show a quicker way and main information to get started. For detailed information, please refer to the manual included.
 |  |
|---|---|
| For EU Edision | For US Edision |
Features
-
Accurate (temperature stability within ± 2%) temperature-control
-
Slender, lightweight iron, no fatigue for long time working
-
Rapid heating up for high efficiency
-
Separate power adapter to be safer for personal safety
-
Grounding clamp to be ESD-free
-
USB micro type-B interface for customizable system setting and firmware update
-
No manual calibration needed
-
Swtichable temperature unit(℃ or ℉)
Specification
| Screen | OLED |
| USB interface | USB micro type-B |
| Weight | 33g(power adapter not accounted) |
| Power | 65W |
| Input voltage(for power adapter) | 100 ~ 240 V |
| Temperature range | 100 ~ 400 ℃(212 ~ 752 ℉) |
| Impedance from tips to ground | 2 Ω |
| Temperatures stability | ± 2% |
| Sleep mode temperature | 200℃(392℉), adjustable |
Parts list'
| Parts name | Quantity |
|---|---|
| Mini Soldering Iron (main part) | 1PC |
| PCB soldering kit | 1PC |
| Soldering iron tip type-BC2 | 1PC |
| Soldering iron tip type-B2 | 1PC |
| Soldering iron holder | 1PC |
| PCB soldering kit | 1PC |
| DC5525 power adapter | 1PC |
| Earth clamps | 1PC |
| Hex key ( and tow backup screws) | 1PC |
| Manual | 1PC |
Getting Started
Note: In this case we show you a general development environmental. This section shows you how to basic operations with this soldering iron. For more details, please refer to manual included in the package.
Exploded view

- ①. Solder iron tip fixing screw
- ②. Button A
- ③. Button B
- ④. Set screw
- ⑤. Power port
- ⑥. Micro USB
- ⑦. DC5525 12-24V port
- ⑧. Solder iron tip connection port
- ⑨. Solder iron connection side
- ⑩. Solder iron heating element
- ②. Button A
Assemble the soldering iron

-
Unscrew the tip setscrew, insert the solder tip into the connection port, and then tighten screw.
-
Connect the ground wires with the ground set screw.
-
Connect the DC connector to Mini Soldering Iron, plug the power cord and turn on the device accordingly.
Basic operations
Adjust temperature
Press buttons to adjust temperatures.
Press button A to enable temperatures-increasing, press button B to enable temperatures-decreasing.
Calibration
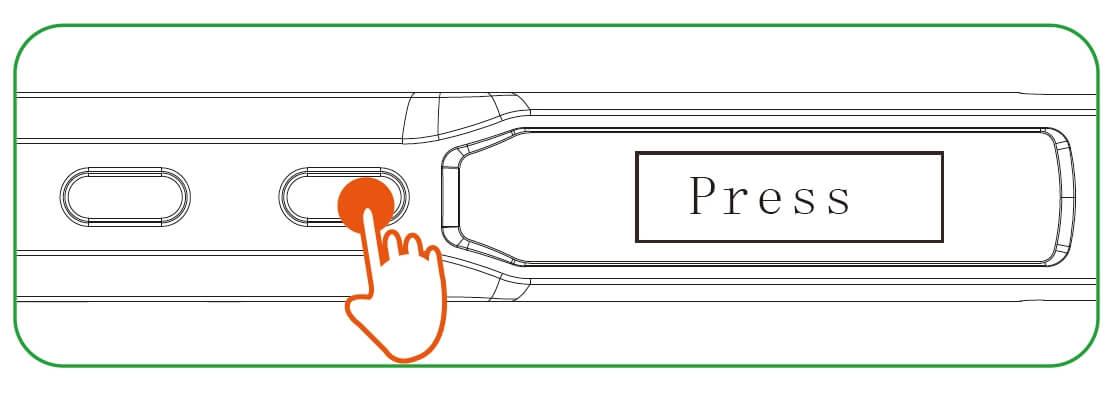
- Press button B in standby mode (no-heating state) to enter thermometer mode.

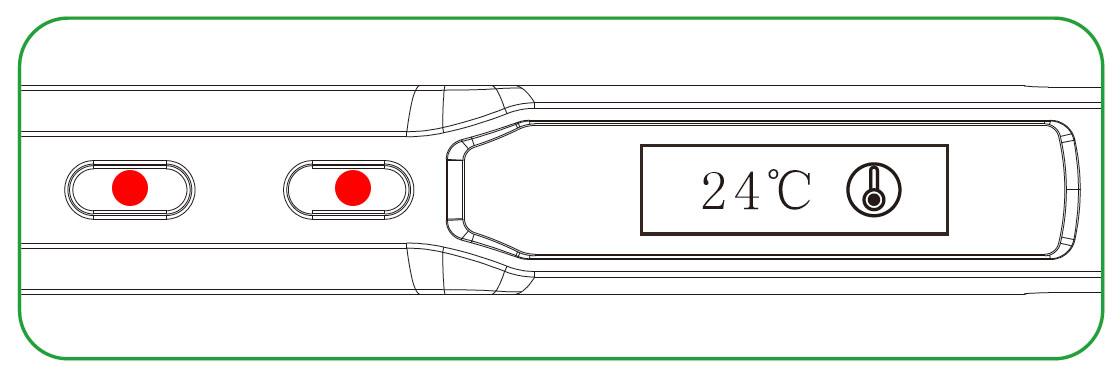
- Press button B and button A simultaneously to enter thermometer mode. It will execute calibration operation automatically, no manual operation required.

- After around 30 seconds, press and hold either button to exit calibration mode.

- The left figure shows that auto-calibration succeeds and right figure shows that auto-calibration fails. If auto-calibration fails, repeat previous steps again.
A little practice
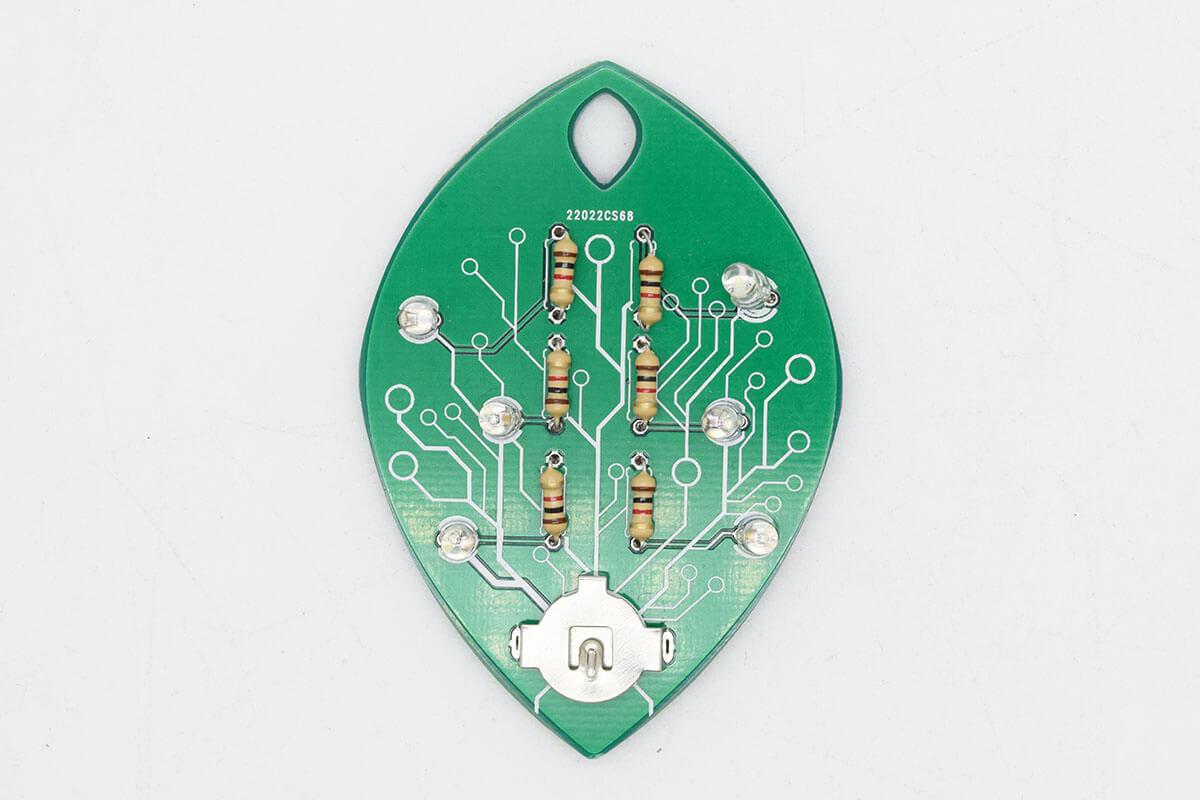
You can take a quiz for soldering some LEDs and resistors on a leaf-like PCB board which is included in package.
- Assemble a soldering iron with steps described above.
- Soldering all four LEDs and four resistors on PCB board.
Note that you have align LEDs in right direction since LEDs is a bipolar components:

Note that you need to soldering a electronic component with following basic and fundamental steps:
- Paste a little solder on soldering spot, and then paste some solder on a certain spot on pins.
- Join the two spots together with soldering iron.
Resources
Tech Support & Product Discussion
if you have any technical issue. submit the issue into our forum. Thank you for choosing our products! We are here to provide you with different support to ensure that your experience with our products is as smooth as possible. We offer several communication channels to cater to different preferences and needs.
