FreeNAS Installation
This tutorial demonstrates how to install the open-source Storage operating system. FreeNAS is an operating system that can be installed on virtually any hardware platform to share data over a network. By installing FreeNAS on ODYSSEY - X86J41x5 you have built yourself a personal cloud drive!
Hardware Requirements
-
A Working Computer
-
USB Drive x 2 (>= 8GB is recommended)
-
A Monitor
-
Keyboard
Download the FreeNAS OS Image
First, download the FreeNAS OS Image into your drive. It should be a .iso file.

In this tutorial, FreeNAS 11.3 is used. FreeNAS will need to install on a different drive. You can install the FreeNAS on an HDD or SSD Hard Drive.
Note: In this tutorial, FreeNAS OS is installed onto a USB drive for convenience.
Creating a Bootable USB
Step 1 - Prepare your Bootable USB
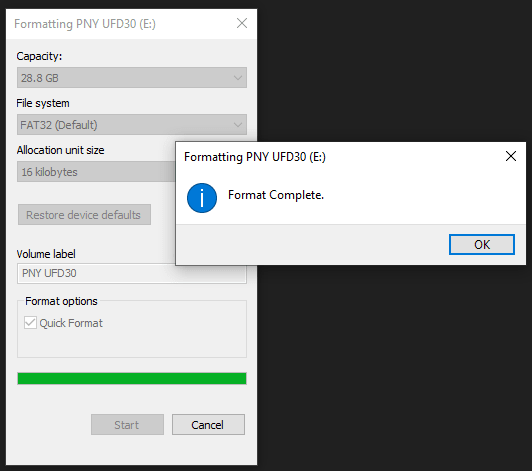
Format one of the USB drive. If you are a Windows user, you can format the USB drive by right-clicking the USB Drive and select Format.
Note: Choose FAT32 for the File System.
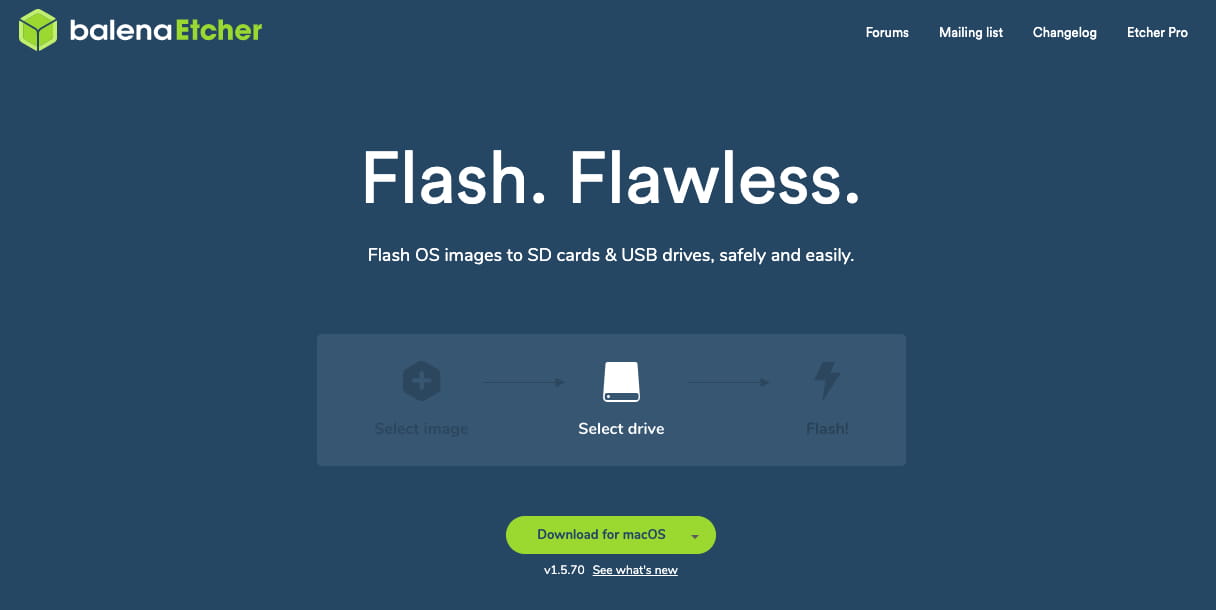
Step 2 - Download Flash Burner
Download the Open Source Flash burner balenaEtcher. Download the version according to your operating system(Windows/macOS/Linux).
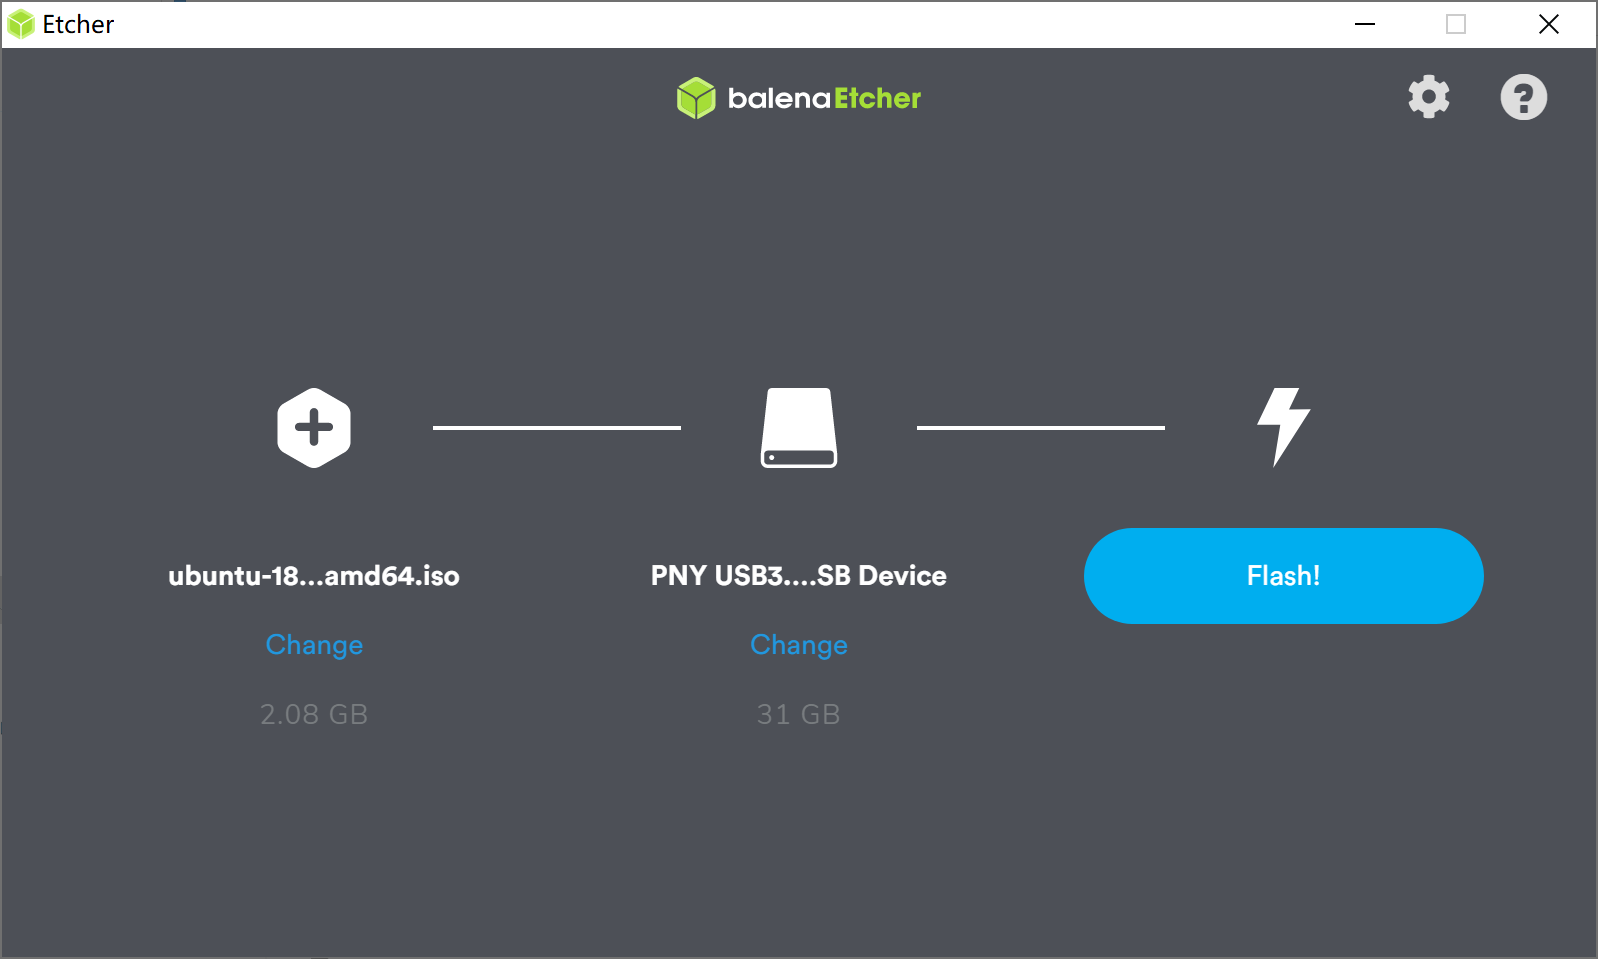
Step 3 - Writing the OS Image into USB
Select the downloaded Operating System Image, select the formatted USB Drive and Flash! Now, the bootable USB is all set to go.
Installing FreeNAS OS
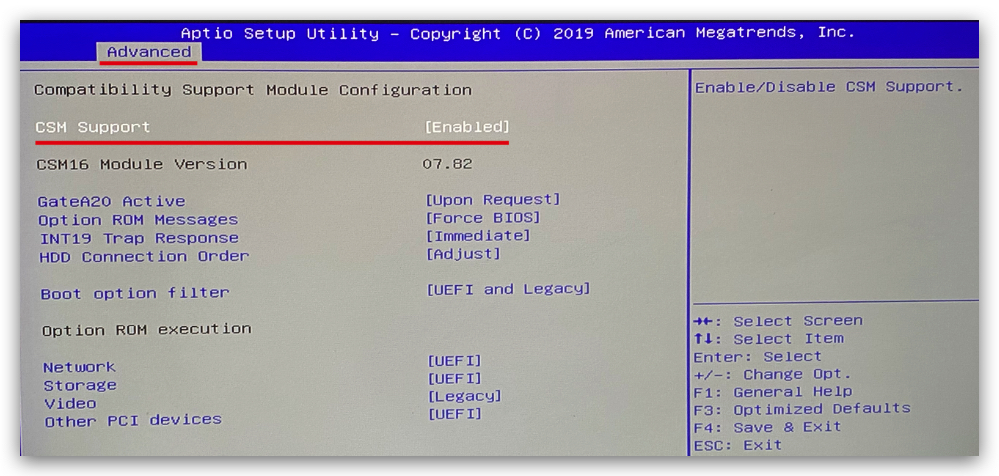
Step 1 - Enabling CSM Mode in ODYSSEY - X86J41x5
Plugin your bootable USB, Monitor and keyboard to ODYSSEY - X86J41x5, and power up. When booting up, keep pressing DEL key to enter the setup screen. Navigate to Advanced -> CSM Support and press Enter to enable it.
Step 2 - Install the OS
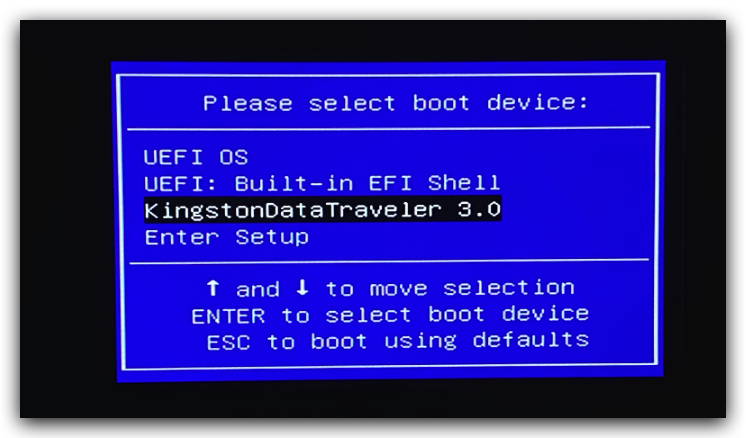
Reboot your ODYSSEY - X86J41x5 and keep pressing F7 to enter the boot manager screen. Select the bootable USB (Installer) and press Enter.
Note: Remember to choose the one that has the FreeNAS iso image on it.
Step 3 - Installing process

A boot screen like above should appear. Press Enter to select the Boot FreeNAS Installer.

Once entered into the installer, an options menu should appear as follow, select Install/Select and press Enter.

Select a drive to install the FreeNAS image. Here we should be able to see the other USB drive.
Note: Use spacebar to select the USB drive.

A warning will appear stating that everything in the chosen drive will be wiped, simply press Yes.
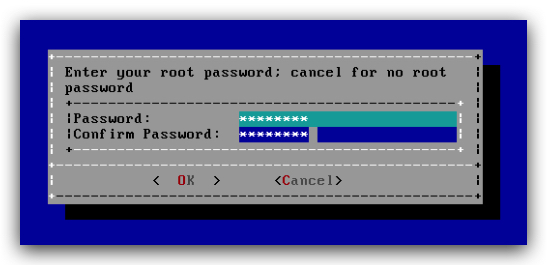
Create your root password for logging into the FreeNAS from Web interface later.

The installing process will take place, and wait until the installing is finished. When it's done, it should like above.
The installing process is all done, you can reboot the ODYSSEY - X86J41x5 and unplug the bootable USB(Installer).
Plug in the Ethernet cable for internet and can be accessed to the Web interface.
Configurations
Reboot the ODYSSEY - X86J41x5 and press F7 again to enter Boot Manager Screen, and choose the USB drive that just installed the FreeNAS.
Note: Can also change it in the set-up by pressing DEL and set the USB drive as the first boot-up option.
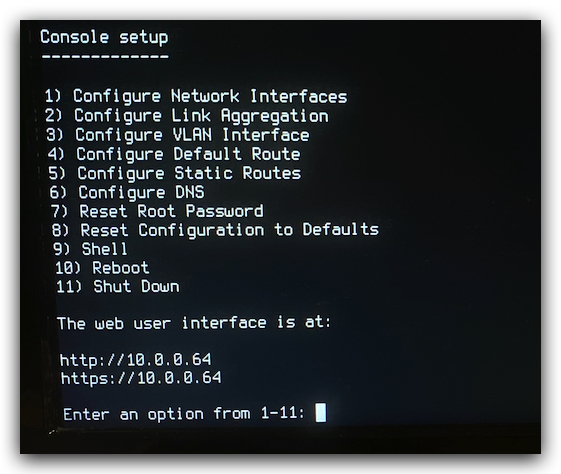
Once booted into the FreeNAS, you should see the Web interface address:
Note: If states Web interface cannot be accessed, please check your internet connection.
Use another computer using the same internet i.e. your laptop to type the address into the web browser:

The user name is root and the password is the one set during installation.

If you able see this screen then you have successfully installed the FreeNAS and feel free to add more storage to the ODYSSEY - X86J41x5 and have fun with personal cloud drive!
For further development, you can visit the FreeNAS official Forum and find out more about plugins and features
Acrylic Case
We have also designed an Acrylic Case for building your own NAS into a enclosure! Here provides two versions of enclosure depending on the size of your hard drive:
-
For 2.5 inches of SATA HDD Hard Drive.
-
For 3.5 inches of SATA HDD Hard Drive.
Materials Required:
-
3mm Acrylics sheets
-
M3 x 20mm Hexagon Female-Female Threaded Pillar x 4
-
M3 x 40mm Hexagon Female-Female Threaded Pillar x 4 (or use M3 x 20mm to stack up to 40mm)
-
M3 Screws
Resources
- Explaining Computers Video on FreeNAS on Odyssey-X86:
Other useful applications:
Tech Support & Product Discussion
Thank you for choosing our products! We are here to provide you with different support to ensure that your experience with our products is as smooth as possible. We offer several communication channels to cater to different preferences and needs.