Control SO-Arm by OpenClaw on Jetson Thor
Introduction
This wiki explains how to combine OpenClaw and LeRobot on Jetson Thor to control a SO-Arm with a local AI agent.
NVIDIA Jetson AGX Thor is a high-performance edge AI platform designed for robotics and physical AI workloads, providing strong on-device compute for perception, planning, and control.
SO-Arm is an open-source low-cost robotic arm platform (SO-ARM100/SO-ARM101) that is widely used for embodied AI experiments, teleoperation, and manipulation task development.
OpenClaw is an AI agent framework that can orchestrate local tools and models. In this project, OpenClaw is used as the high-level control interface, while LeRobot provides the low-level motor communication and calibration utilities for SO-Arm.
In this guide, OpenClaw handles agent planning and task orchestration, while SO-Arm motion execution is handled by LeRobot.
Table of Contents
- Hardware Preparation
- System Setup on Jetson Thor
- Install Ollama and Run a Local LLM
- Install OpenClaw on Jetson Thor
- Connect and Calibrate SO-Arm
- Run Control Demo
- References
Hardware Preparation
Device List
- 1x NVIDIA® Jetson AGX Thor™ Developer Kit
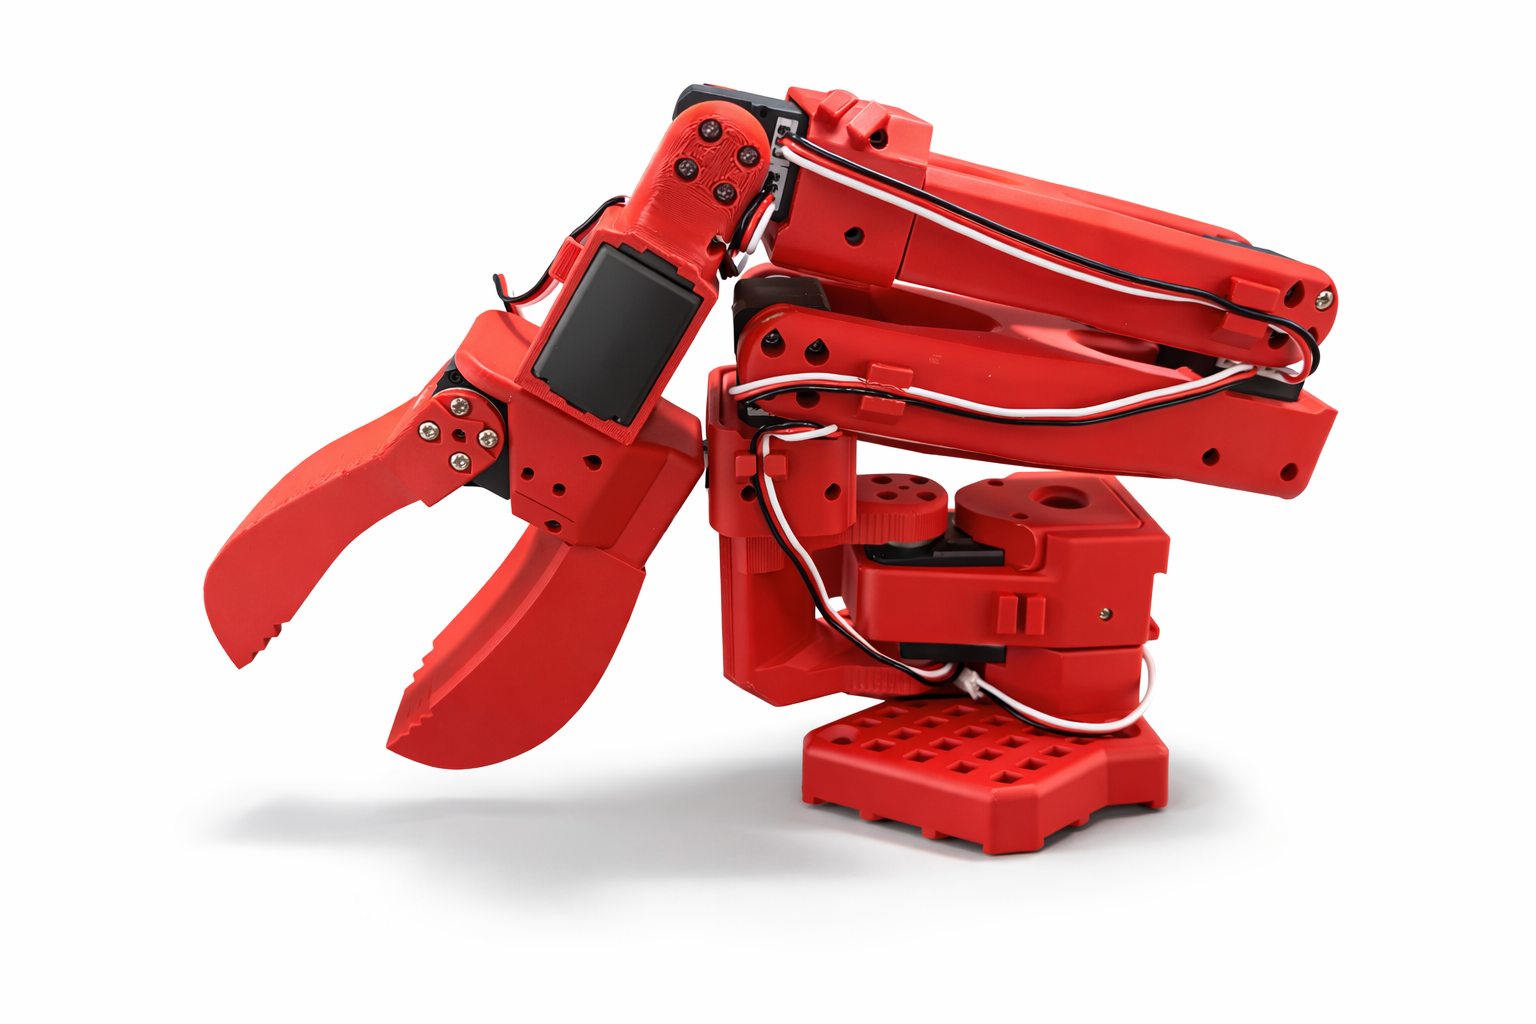
- 1x SO-ARM101 Low-Cost AI Arm
| NVIDIA® Jetson AGX Thor™ Developer Kit | SO-ARM101 Low-Cost AI Arm |
|---|---|
 |  |
Wiring and Connection
- Connect the SO-Arm controller board to Thor through USB.
- Connect the matching DC power adapter to the SO-Arm controller board.
- Power on Thor, then power on the arm controller board.
Power-On Checklist
- Thor boots normally and network is available.
- SO-Arm controller board LEDs are on.
- Serial device appears after USB connection.
ls /dev/ttyACM*
If a serial node is detected in terminal output, the hardware connection is correct.

System Setup on Jetson Thor
Update System Packages
sudo apt update
sudo apt install -y nvidia-jetpack git curl ffmpeg python3-pip
python3 -m pip install -U pip
Install Core Dependencies
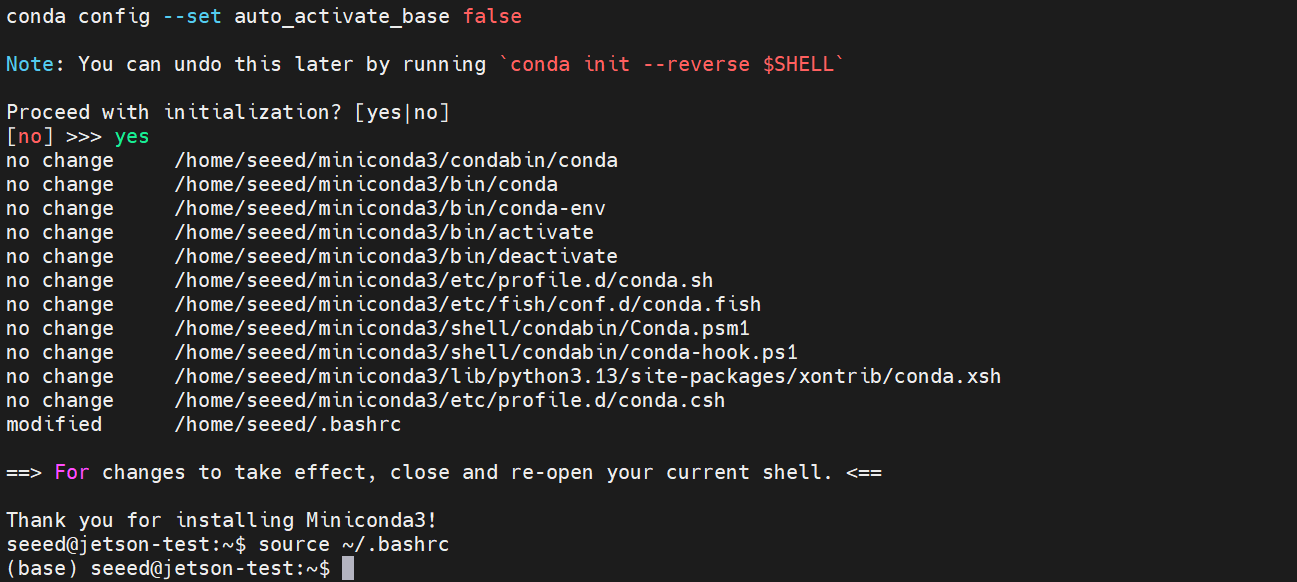
Install Miniconda (recommended):
wget https://repo.anaconda.com/miniconda/Miniconda3-latest-Linux-aarch64.sh
chmod +x Miniconda3-latest-Linux-aarch64.sh
./Miniconda3-latest-Linux-aarch64.sh
source ~/.bashrc
Create LeRobot environment:
conda create -y -n lerobot python=3.10
conda activate lerobot
pip install 'lerobot[feetech]'
pip uninstall torch torchvision
pip install torch torchvision --index-url https://pypi.jetson-ai-lab.io
Install Pinocchio in the LeRobot environment:
conda install mamba -y
mamba install -c conda-forge pinocchio pinocchio-python libpinocchio -y
Verify CUDA and Peripheral Devices
python -c "import torch; print(torch.cuda.is_available())"
lerobot-find-port
Expected result:
torch.cuda.is_available()printsTrue- arm serial ports are detected (for example
/dev/ttyACM0)
Install Ollama and Run a Local LLM
Install Ollama:
curl -fsSL https://ollama.com/install.sh | sh
Pull a model:
ollama pull qwen3.5:35b
This guide uses qwen3.5:35b as an example. You can replace it with another Ollama model based on your performance and memory constraints.
Install OpenClaw on Jetson Thor
Install OpenClaw
curl -fsSL https://openclaw.ai/install.sh | bash
Configure Runtime Parameters
Edit ~/.openclaw/openclaw.json and set Ollama as the default model provider:
openclaw.json
{
  "agents": {
    "defaults": {
      "compaction": {
        "mode": "safeguard"
      },
      "maxConcurrent": 4,
      "model": {
        "primary": "ollama/qwen3.5:35b"
      },
      "subagents": {
        "maxConcurrent": 8
      },
      "workspace": "/home/seeed/.openclaw/workspace"
    },
    "list": [
      {
        "id": "main",
        "tools": {
          "profile": "full"
        }
      }
    ]
  },
  "commands": {
    "native": "auto",
    "nativeSkills": "auto",
    "ownerDisplay": "raw",
    "restart": true
  },
  "gateway": {
    "auth": {
      "mode": "token",
      "token": "98aefed421e9a506a3174dab0575fd3cc36c9d15b856a894"
    },
    "bind": "loopback",
    "mode": "local",
    "nodes": {
      "denyCommands": [
        "camera.snap",
        "camera.clip",
        "screen.record",
        "contacts.add",
        "calendar.add",
        "reminders.add",
        "sms.send"
      ]
    },
    "port": 18789,
    "tailscale": {
      "mode": "off",
      "resetOnExit": false
    }
  },
  "messages": {
    "ackReactionScope": "group-mentions"
  },
  "meta": {
    "lastTouchedAt": "2026-03-10T06:45:16.014Z",
    "lastTouchedVersion": "2026.3.8"
  },
  "models": {
    "providers": {
      "ollama": {
        "api": "ollama",
        "apiKey": "ollama-local",
        "baseUrl": "http://127.0.0.1:11434",
        "models": [
          {
            "contextWindow": 262144,
            "cost": {
              "cacheRead": 0,
              "cacheWrite": 0,
              "input": 0,
              "output": 0
            },
            "id": "qwen3.5:35b",
            "input": [
              "text",
              "image"
            ],
            "name": "qwen3.5:35b",
            "reasoning": true
          },
          {
            "contextWindow": 262144,
            "cost": {
              "cacheRead": 0,
              "cacheWrite": 0,
              "input": 0,
              "output": 0
            },
            "id": "qwen3.5",
            "input": [
              "text",
              "image"
            ],
            "name": "qwen3.5",
            "reasoning": true
          }
        ]
      }
    }
  },
  "session": {
    "dmScope": "per-channel-peer"
  },
  "tools": {
    "profile": "coding"
  },
  "wizard": {
    "lastRunAt": "2026-03-10T02:17:28.382Z",
    "lastRunCommand": "onboard",
    "lastRunMode": "local",
    "lastRunVersion": "2026.3.8"
  }
}
Optional: you can also directly use the script provided by Ollama to quickly set up the OpenClaw configuration file.
ollama launch openclaw --model qwen3.5
More Configure
Install the SO-Arm control skill:
- Download soarm-control Skill
- Extract it to
~/.openclaw/workspace/skills
Prepare robot description file:
- Download SO-ARM101 URDF
- Move it to
~/.openclaw/workspace/skills/soarm-control/references
[Optional] Add detection model:
- Train a detection model(YoloV11n) refer here
- Move the detection model (
best.pt) into~/.openclaw/workspace/skills/soarm-control/scripts
Restart OpenClaw gateway:
openclaw gateway restart
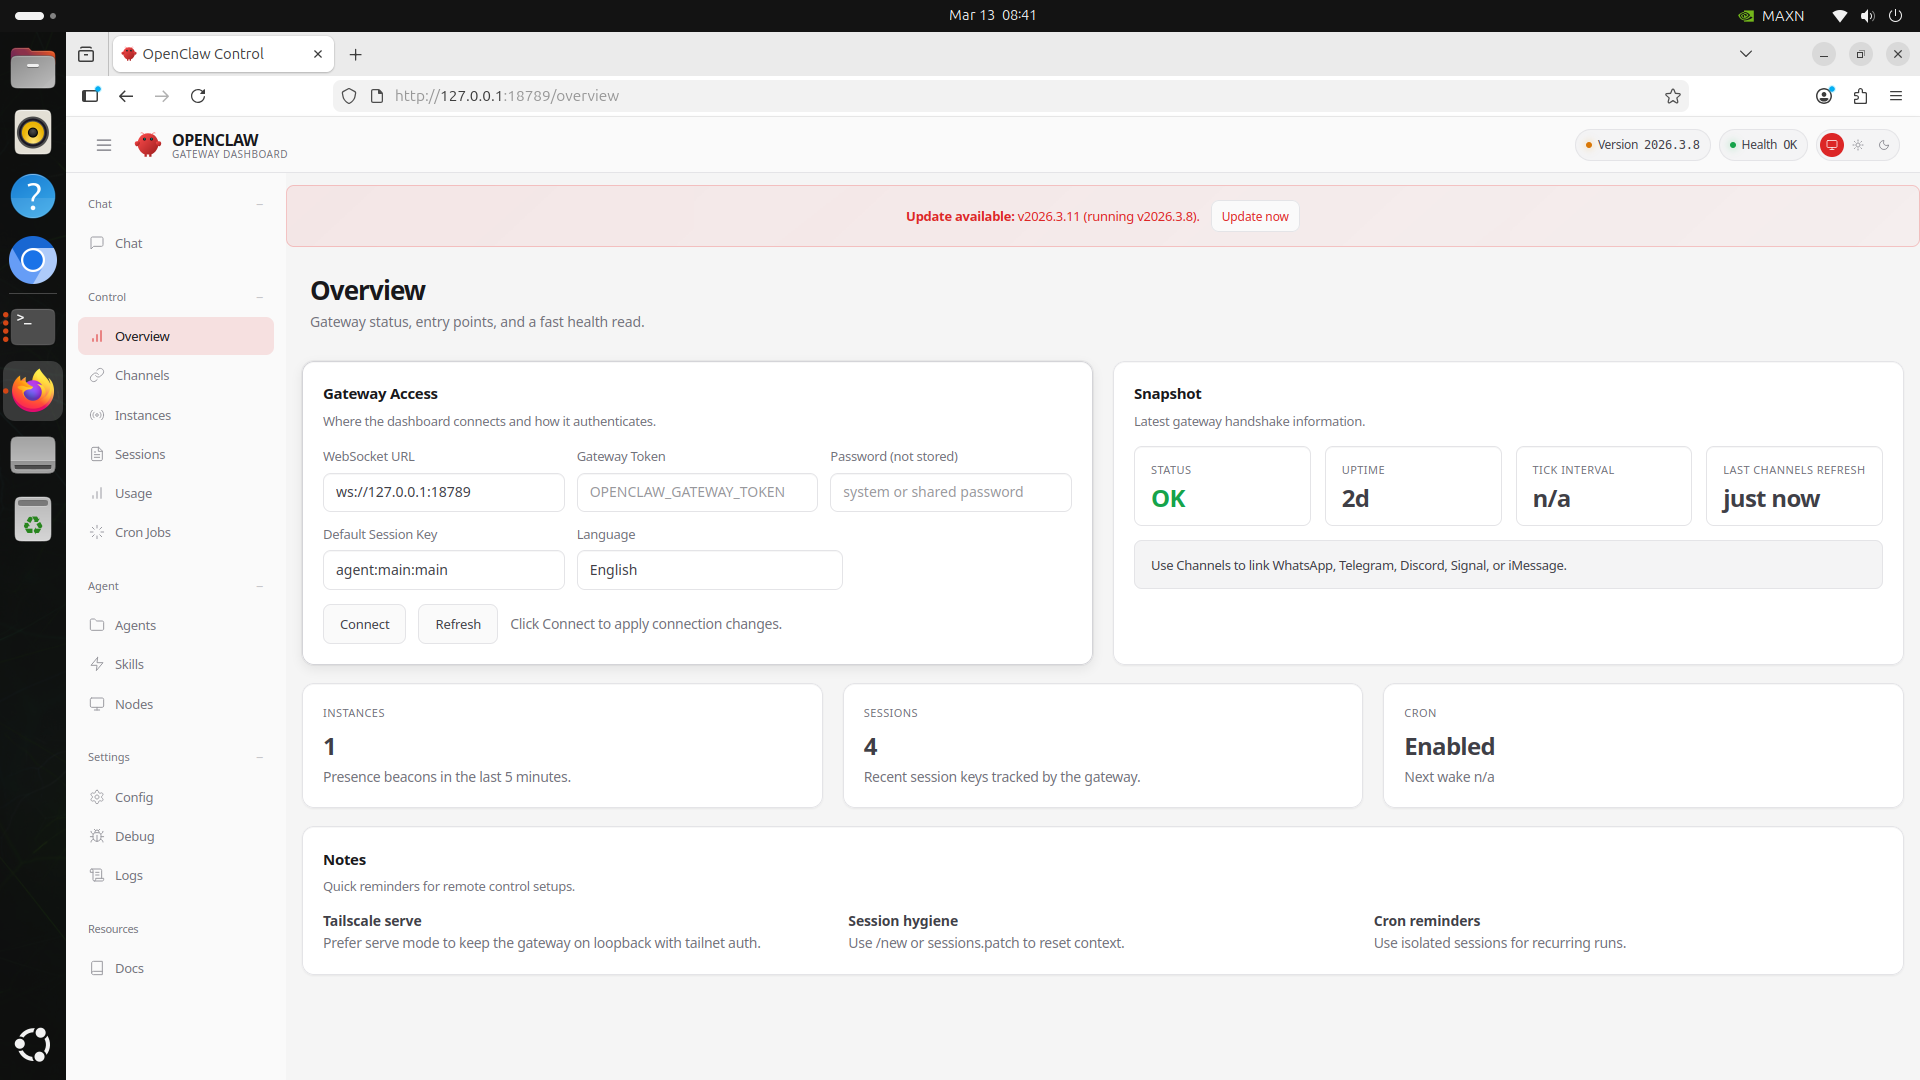
Open WebUI:
http://127.0.0.1:18789/wiki
Connect and Calibrate SO-Arm
Serial Port Permission and Detection
conda activate lerobot
lerobot-find-port
sudo chmod 666 /dev/ttyACM*
Initial Calibration
Calibrate follower arm:
lerobot-calibrate \
  --robot.type=so101_follower \
  --robot.port=/dev/ttyACM0 \
  --robot.id=openclaw_soarm
Calibration files are saved under:
~/.cache/huggingface/lerobot/calibration/
For a full calibration walkthrough, refer to: SO-Arm in LeRobot - Calibrate
Run Control Demo
Launch Backend Service
Ensure OpenClaw and LeRobot environments are ready:
openclaw gateway restart

conda activate lerobot
cd ~/.openclaw/workspace/skills/soarm-control
bash scripts/start_server.sh &
Execute Basic Motion Task
In OpenClaw WebUI, enter robot control instructions. OpenClaw will parse your prompt and call the installed soarm-control skill to drive the arm to the target position.
References
- https://docs.openclaw.ai/
- https://wiki.seeedstudio.com/local_openclaw_on_recomputer_jetson/
- https://unstabledemos.com/tutorials/openclaw-orin-nano/
- https://wiki.seeedstudio.com/lerobot_so100m_new/
- https://github.com/huggingface/lerobot
- https://github.com/TheRobotStudio/SO-ARM100
Tech Support & Product Discussion
Thank you for choosing our products! We are here to provide you with different support to ensure that your experience with our products is as smooth as possible. We offer several communication channels to cater to different preferences and needs.