Build and Flash a Yocto Image for reComputer Super
This guide builds a Seeed Yocto image for reComputer Super J401 with a Jetson Orin NX 16GB module and flashes it to the Jetson NVMe drive.
The example uses seeed-image-jetson-development. This image provides a target-side development environment with CUDA Toolkit and nvcc, CUDA/cuDNN/TensorRT/VPI/OpenCV development files, build and debug tools, NVIDIA samples, and test packages.

This is an OpenEmbedded/Yocto system, not an Ubuntu root filesystem installed by NVIDIA SDK Manager. Package management, filesystem contents, and the desktop environment differ from JetPack Ubuntu.
Prerequisites
Prepare the following:
- An x86_64 Linux host PC, preferably a physical Ubuntu or Debian machine
- At least 16 GB RAM; 32 GB or more is recommended
- A fast local SSD and a stable Internet connection
- A reComputer Super with a supported Jetson Orin NX or Orin Nano module
- A USB Type-C data cable connected directly to the host PC
sudoaccess for installing host packages and flashing
Reserve at least 400 GB of free disk space on the host PC. Yocto downloads, shared-state cache, temporary build files, the root filesystem, and the extracted flash package can consume several hundred gigabytes. A host-local SSD is strongly recommended.
Install the commonly required host packages:
sudo apt update
sudo apt install -y \
  gawk wget git diffstat unzip texinfo gcc build-essential chrpath socat cpio \
  python3 python3-pip python3-pexpect python3-git python3-jinja2 \
  xz-utils debianutils iputils-ping libegl1-mesa libsdl1.2-dev \
  pylint xterm zstd liblz4-tool file locales \
  gdisk parted udev udisks2
If BitBake reports that the host distribution is unsupported, use a Yocto-supported Linux host instead of ignoring the host validation warning.
Module SKU Used in This Guide
The reComputer Super J401 supports the following P3767 module SKUs:
--module-sku | Complete module number | Jetson module |
|---|---|---|
0000 | P3767-0000 | Jetson Orin NX 16GB |
0001 | P3767-0001 | Jetson Orin NX 8GB |
0003 | P3767-0003 | Jetson Orin Nano 8GB |
0004 | P3767-0004 | Jetson Orin Nano 4GB |
This guide uses 0000. Always use a separate build directory for each carrier and module SKU combination.
Clone the Seeed Yocto Repository
Create a clean workspace and clone the master branch:
mkdir -p ~/work/jetson-yocto
cd ~/work/jetson-yocto

git clone \
  --branch master \
  --single-branch \
  https://github.com/jjjadand/seeed-tegra-demo-distro.git \
  tegra-demo-distro

cd tegra-demo-distro
The main repository contains the Seeed metadata and helper scripts. prepare-workspace.sh initializes the pinned OpenEmbedded and OE4T layers as Git submodules.
Build the Complete Development Image with all
The recommended first build uses build.sh all. It validates metadata, builds the Seeed device trees, checks the boot files, and builds the complete image and tegraflash archive in order.
Prepare the Build Directory
./scripts/seeed/prepare-workspace.sh \
  --machine recomputer-orin-super-j401 \
  --module-sku 0000 \
  --build-dir build-seeed-super-j401-sku0000 \
  --cache-dir "$HOME/.cache/yocto-seeed"
The shared cache keeps downloads and sstate outside the build directory so they can be reused by later builds.
Confirm the active build directory, carrier, and module SKU:
./scripts/seeed/build.sh current \
  --build-dir build-seeed-super-j401-sku0000 \
  --machine recomputer-orin-super-j401
The output must show:
Machine:   recomputer-orin-super-j401
Module SKU: 0000

Do not continue if the displayed MACHINE or module SKU does not match the hardware. Do not reuse this build directory for another carrier or module SKU.
Run the Complete Build
Build the target-side development image:
./scripts/seeed/build.sh all \
  --build-dir build-seeed-super-j401-sku0000 \
  --machine recomputer-orin-super-j401 \
  --image seeed-image-jetson-development
The first build downloads and compiles a large number of components and can take several hours. The command stops immediately if metadata validation, device-tree compilation, boot-file checks, or the image build fails.
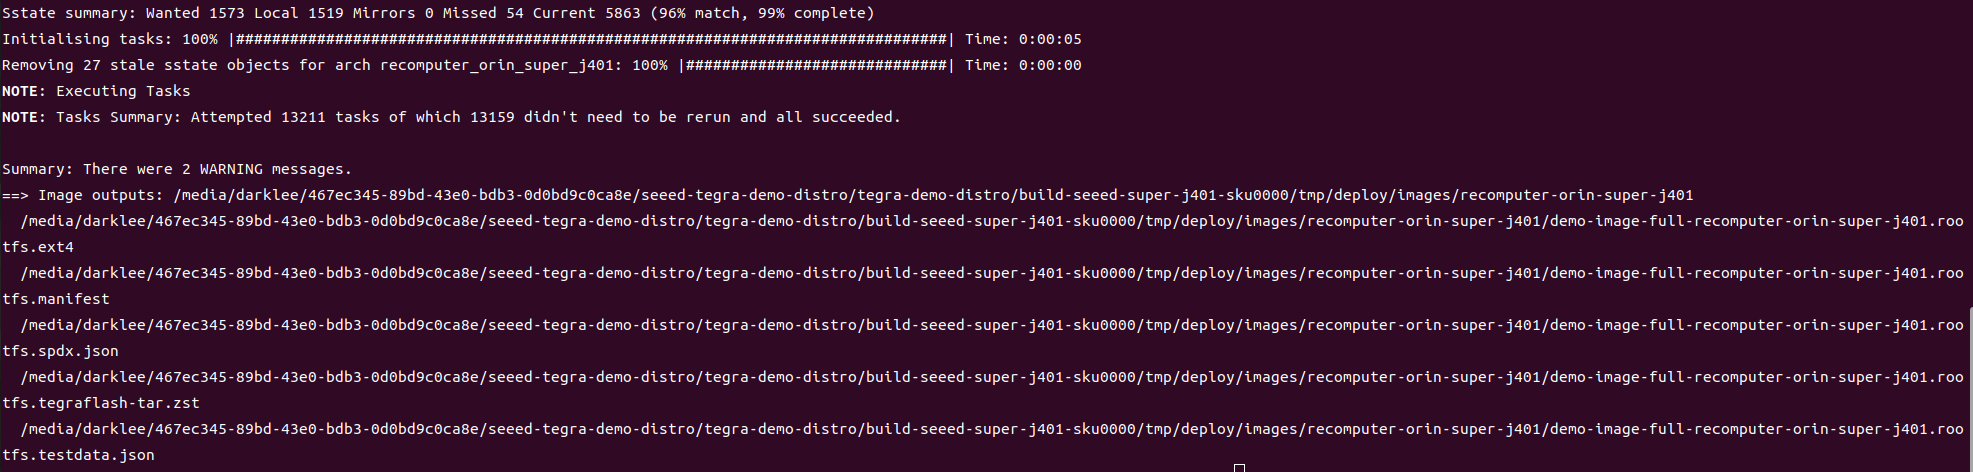
When all four stages complete successfully, the terminal output is similar to the following:
After a successful build, the deploy directory is:
build-seeed-super-j401-sku0000/tmp/deploy/images/recomputer-orin-super-j401/
The important generated files include:
seeed-image-jetson-development-recomputer-orin-super-j401.rootfs.ext4
seeed-image-jetson-development-recomputer-orin-super-j401.rootfs.manifest
seeed-image-jetson-development-recomputer-orin-super-j401.rootfs.spdx.json
seeed-image-jetson-development-recomputer-orin-super-j401.rootfs.testdata.json
seeed-image-jetson-development-recomputer-orin-super-j401.rootfs.tegraflash-tar.zst
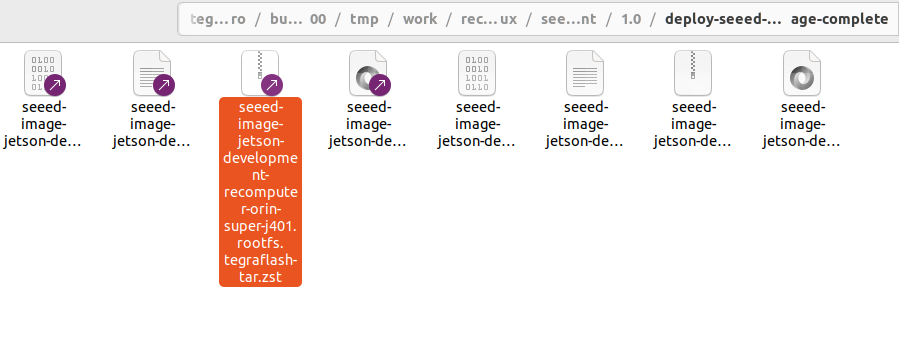
The .tegraflash-tar.zst file is the self-contained archive used for flashing.
Prepare the Flash Directory
Extract and validate the development-image flash archive:
./scripts/seeed/prepare-flash.sh \
  --build-dir build-seeed-super-j401-sku0000 \
  --machine recomputer-orin-super-j401 \
  --image seeed-image-jetson-development \
  --output-dir "$HOME/seeed-flash-recomputer-orin-super-j401-sku0000"
The helper verifies the module SKU and checks that the rootfs image, DTB, BPMP DTB, pinmux, pad-voltage configuration, and flash scripts are present. It then prints the prepared directory and the exact next command.
Use a new or empty output directory on the host's local SSD. Do not extract the flash package onto the Jetson target drive.
Put reComputer Super into Force Recovery Mode
- Power off the reComputer Super.
- Set the reComputer Super recovery switch to the RESET position.
- Connect the power supply.
- Connect the USB Type-C device/debug port to the Linux host with a data-capable cable.
- On the host PC, verify recovery mode:
lsusb -d 0955:
For the Orin NX 16GB module used in this guide, the output should include a device similar to:
0955:7323 NVIDIA Corp. APX
Other supported Super modules use different USB product IDs:
| Module | Recovery USB ID |
|---|---|
| Orin NX 16GB | 0955:7323 |
| Orin NX 8GB | 0955:7423 |
| Orin Nano 8GB | 0955:7523 |
| Orin Nano 4GB | 0955:7623 |
Do not start flashing until the NVIDIA APX device is visible.
Flash the Yocto Image
Run the generated flasher from the prepared directory:
cd "$HOME/seeed-flash-recomputer-orin-super-j401-sku0000"
sudo ./initrd-flash
The script boots a temporary initrd flasher through USB, exposes the target NVMe drive to the host, writes the partitions, and retrieves the final device status. Do not disconnect USB or power while it is running.
A successful flash ends with output similar to:
[OK: /dev/sdX]
Final status: SUCCESS
Successfully finished
The temporary host block-device name is assigned dynamically. Do not assume it is always /dev/sdb or /dev/sdc.
First Boot
After the flash command finishes successfully:
- Disconnect the USB data cable.
- Return the recovery switch from RESET to its normal position.
- Power off the device for several seconds.
- Connect an HDMI display and power the reComputer Super on again.
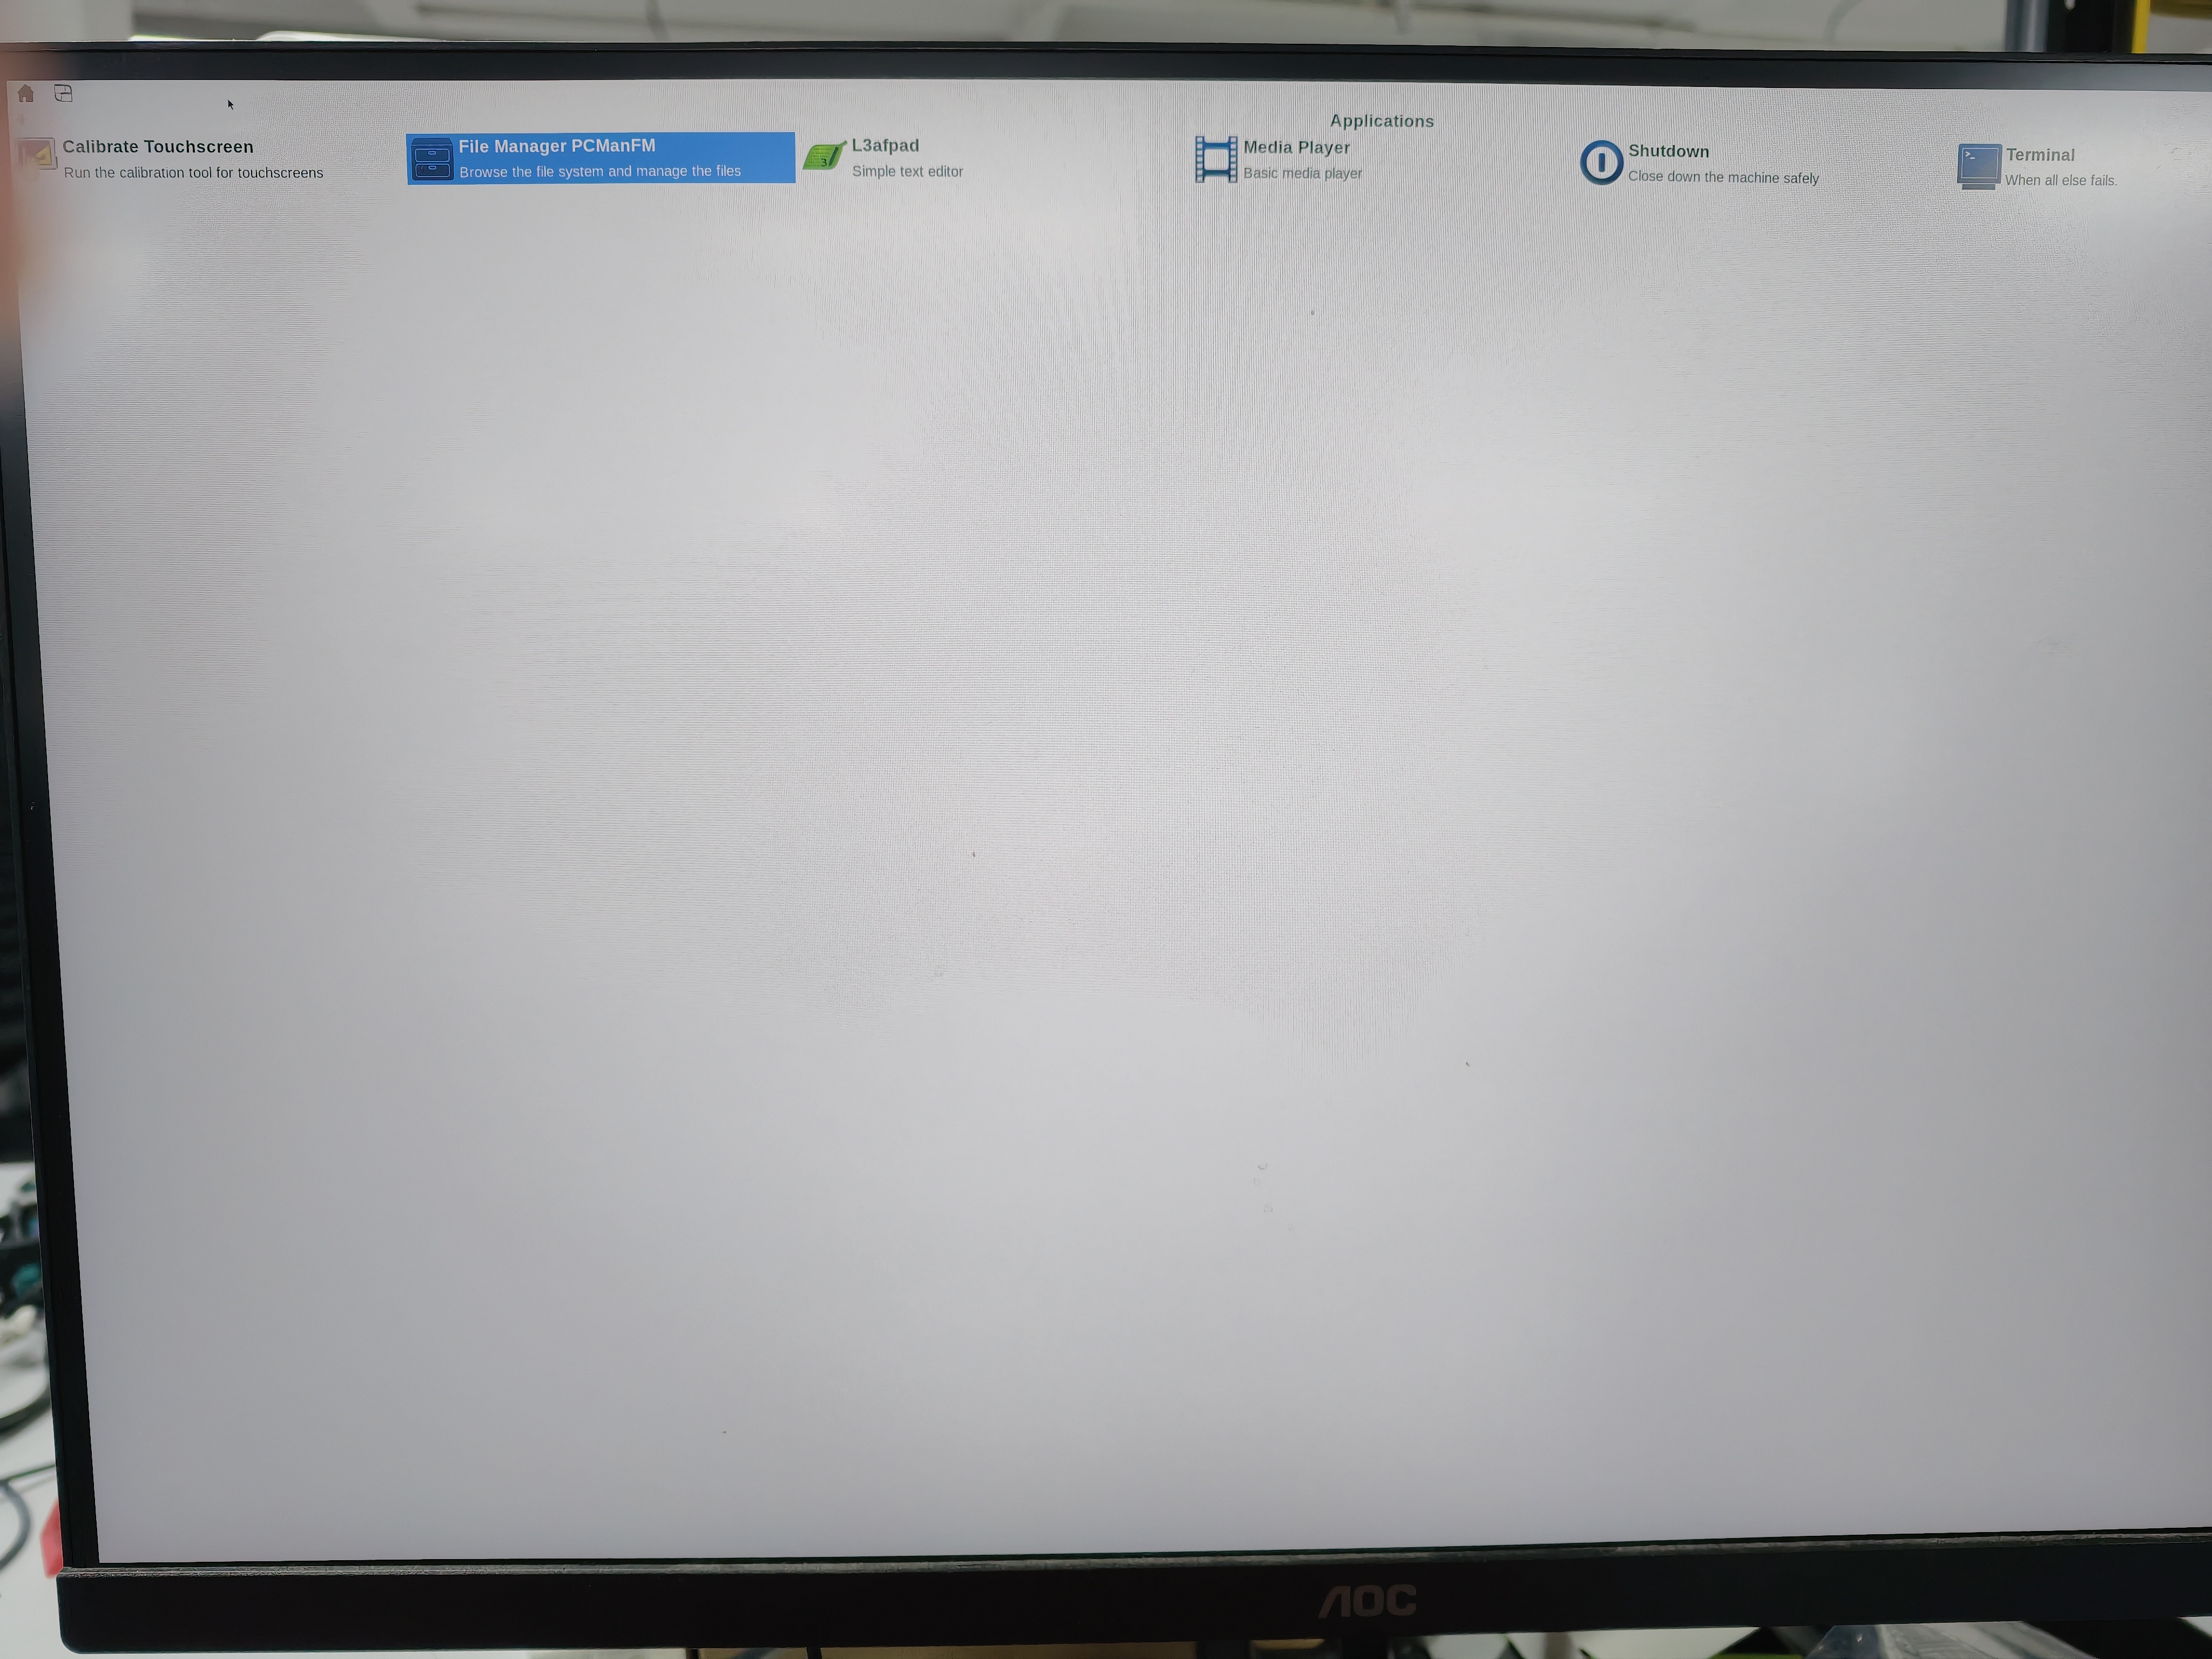
The Yocto desktop should boot from the flashed NVMe drive:
The development image permits local login as root with an empty initial password. Set a password immediately:
passwd
Verify the target-side development environment:
nvcc --version
gcc --version
cmake --version

test -f /usr/local/cuda-13.2/include/cuda.h
test -f /usr/include/cudnn.h
test -f /usr/include/NvInfer.h
test -f /opt/nvidia/vpi4/include/vpi/VPI.h
pkg-config --modversion opencv4
Detailed Parameterized Build Commands
The previous section used all, which is the recommended path for a first build. For debugging or rebuilding one stage, run the same workflow explicitly:
# 1. Validate metadata and print the selected BSP variables
./scripts/seeed/build.sh metadata \
  --build-dir build-seeed-super-j401-sku0000 \
  --machine recomputer-orin-super-j401 \
  --image seeed-image-jetson-development

# 2. Build the Seeed DTB and DTBO files
./scripts/seeed/build.sh dtb \
  --build-dir build-seeed-super-j401-sku0000 \
  --machine recomputer-orin-super-j401 \
  --image seeed-image-jetson-development

# 3. Install and verify the custom BCT, pinmux, and boot files
./scripts/seeed/build.sh bootfiles \
  --build-dir build-seeed-super-j401-sku0000 \
  --machine recomputer-orin-super-j401 \
  --image seeed-image-jetson-development

# 4. Build the complete root filesystem and tegraflash archive
./scripts/seeed/build.sh image \
  --build-dir build-seeed-super-j401-sku0000 \
  --machine recomputer-orin-super-j401 \
  --image seeed-image-jetson-development
If the root filesystem is already built and only the tegraflash archive must be regenerated, use:
./scripts/seeed/build.sh flash-package \
  --build-dir build-seeed-super-j401-sku0000 \
  --machine recomputer-orin-super-j401 \
  --image seeed-image-jetson-development
Optional: Build an x86_64 Cross-Development SDK
The flashed development image already supports compilation directly on the Jetson. Build the host SDK only when an x86_64 PC must cross-compile applications for the target:
./scripts/seeed/build.sh sdk \
  --build-dir build-seeed-super-j401-sku0000 \
  --machine recomputer-orin-super-j401 \
  --image seeed-image-jetson-development
The generated SDK installer is placed under:
build-seeed-super-j401-sku0000/tmp/deploy/sdk/
This optional installer is not required to build the Jetson image or flash the device.
Troubleshooting
The build directory reports the wrong machine or SKU
Create a new build directory with prepare-workspace.sh. Do not edit an existing build directory to switch carrier boards or module SKUs.
The flash archive cannot be found
Make sure the same image name is passed to both build and flash preparation:
seeed-image-jetson-development
prepare-flash.sh defaults to demo-image-full, so omitting --image seeed-image-jetson-development would make it search for the wrong archive.
Flashing stops at Waiting for USB storage device flashpkg
At this point, the host is waiting for the Jetson initrd to expose a temporary USB mass-storage device. Check the USB cable, use a motherboard USB port, remove unnecessary USB storage devices, and confirm that the Jetson remains visible with lsusb.
References
Tech Support & Product Discussion
Thank you for choosing our products! We are here to provide you with different support to ensure that your experience with our products is as smooth as possible. We offer several communication channels to cater to different preferences and needs.