Build balenaOS for reComputer R1000
What is balena?
balena is an Internet of Things (IoT) platform designed to help developers build, deploy, and manage IoT applications across a fleet of devices. It supports a wide range of device architectures and includes features for containerized application deployment, making it possible to easily update your IoT software and HostOS, fix bugs and introduce new features on your IoT applications. balena provides a unified way to push code updates, manage device configurations and ensure devices run reliably and securely in the field, regardless of their location or network conditions.
This tutorial will show you how to compile, configure and burn balenaOS for R1000.
Getting Start
Before you start this project, you may need to prepare your hardware and software in advance as described here.
Hardware Preparation
| reComputer R1000 |
|---|
 |
Software
- yocto environment
- docker environment
- balenaEtcher to flash the CM4 memory.
Hardware Configuration
Step 1: You need to set the switch on the side of the R1000 to boot mode, then power on the device
| Switch Position | Mode | Description | nRPI-BOOT |
|---|---|---|---|
 | Normal mode | Boot from eMMC | Low |
 | Flash mode | Boot from USB | High |
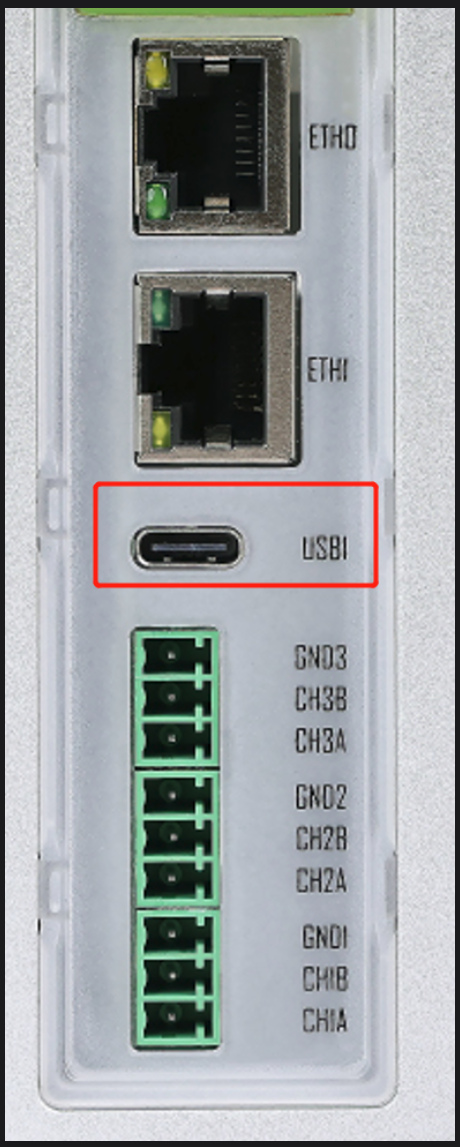
Step 2: Please use a USB Type-c cable to connect reComputer R1000 to your computer.
Compile R1000-balenaOS
Step 1: Download the following libraries and ensure that the current environment supports compiling the yocto project
 sudo apt install gawk wget git diffstat unzip texinfo gcc build-essential chrpath socat cpio python3 python3-pip python3-pexpect xz-utils debianutils iputils-ping python3-git python3-jinja2 python3-subunit zstd liblz4-tool file locales libacl1 jq nodejs npm
 sudo locale-gen en_US.UTF-8
Step 2: Enter the following instructions to download and configure balena-seeed-cm4, and finally compile the yocto project.
  git clone https://github.com/Seeed-Studio/balena-seeed-cm4.git
  cd balena-seeed-cm4
  git submodule update --init --recursive
  ./balena-yocto-scripts/build/barys --dry-run
  source layers/poky/oe-init-build-env
  MACHINE=seeed-recomputer-r100x bitbake balena-image
Step 3: The compiled image is named balena-image-seeed-recomputer-r100x.balenaos-img and is in the build/tmp/deploy/images/seeed-recomputer-r100x directory. At this point, the image is Compilation is complete, the next step is to configure it.
The default balenaOS version of this warehouse is 5.3.27+rev1. The version information is located in the VERSION file. If you need to compile other versions of balenaOS, please change the content in the VERSION file.
Configure R1000-balenaOS
Step 1: Enter the directory where the compiled image is located, then enter the command line interface, enter balena login, and log in to balena Cloud.
Step 2: Create a new Fleet, select the type as Raspberry Pi 4 (using 64bit os)

Step 3: Enter the following command to preload the image
balena preload ./balena-image-seeed-recomputer-r100x.balenaos-img --fleet [fleet name]
Step 4: Register the new device with Fleet and generate a device ID
balena device register [fleet name]
Step 5: Generate configuration file.
balena config generate --device [uuid] --version 3.0.15+atsss --dev -o config.json
Step 6: Load the configuration file.
balena os configure balena-image-seeed-recomputer-r100x.balenaos-img --config config.json --device [uuid] --version 3.0.15+atsss --dev
Step 7: Copy the final image file,this image can be burned into reComputer R1000
cp balena-image-seeed-recomputer-r100x.balenaos-img recomputer_balenaos-dev.img
Steps for Flashing balena OS
Step 1: Open the rpiboot software, and then the system will show the new disk
Step 2: Open the flash tool balenaEtcher, select the balena image file, then select the target disk, and finally click Burn.
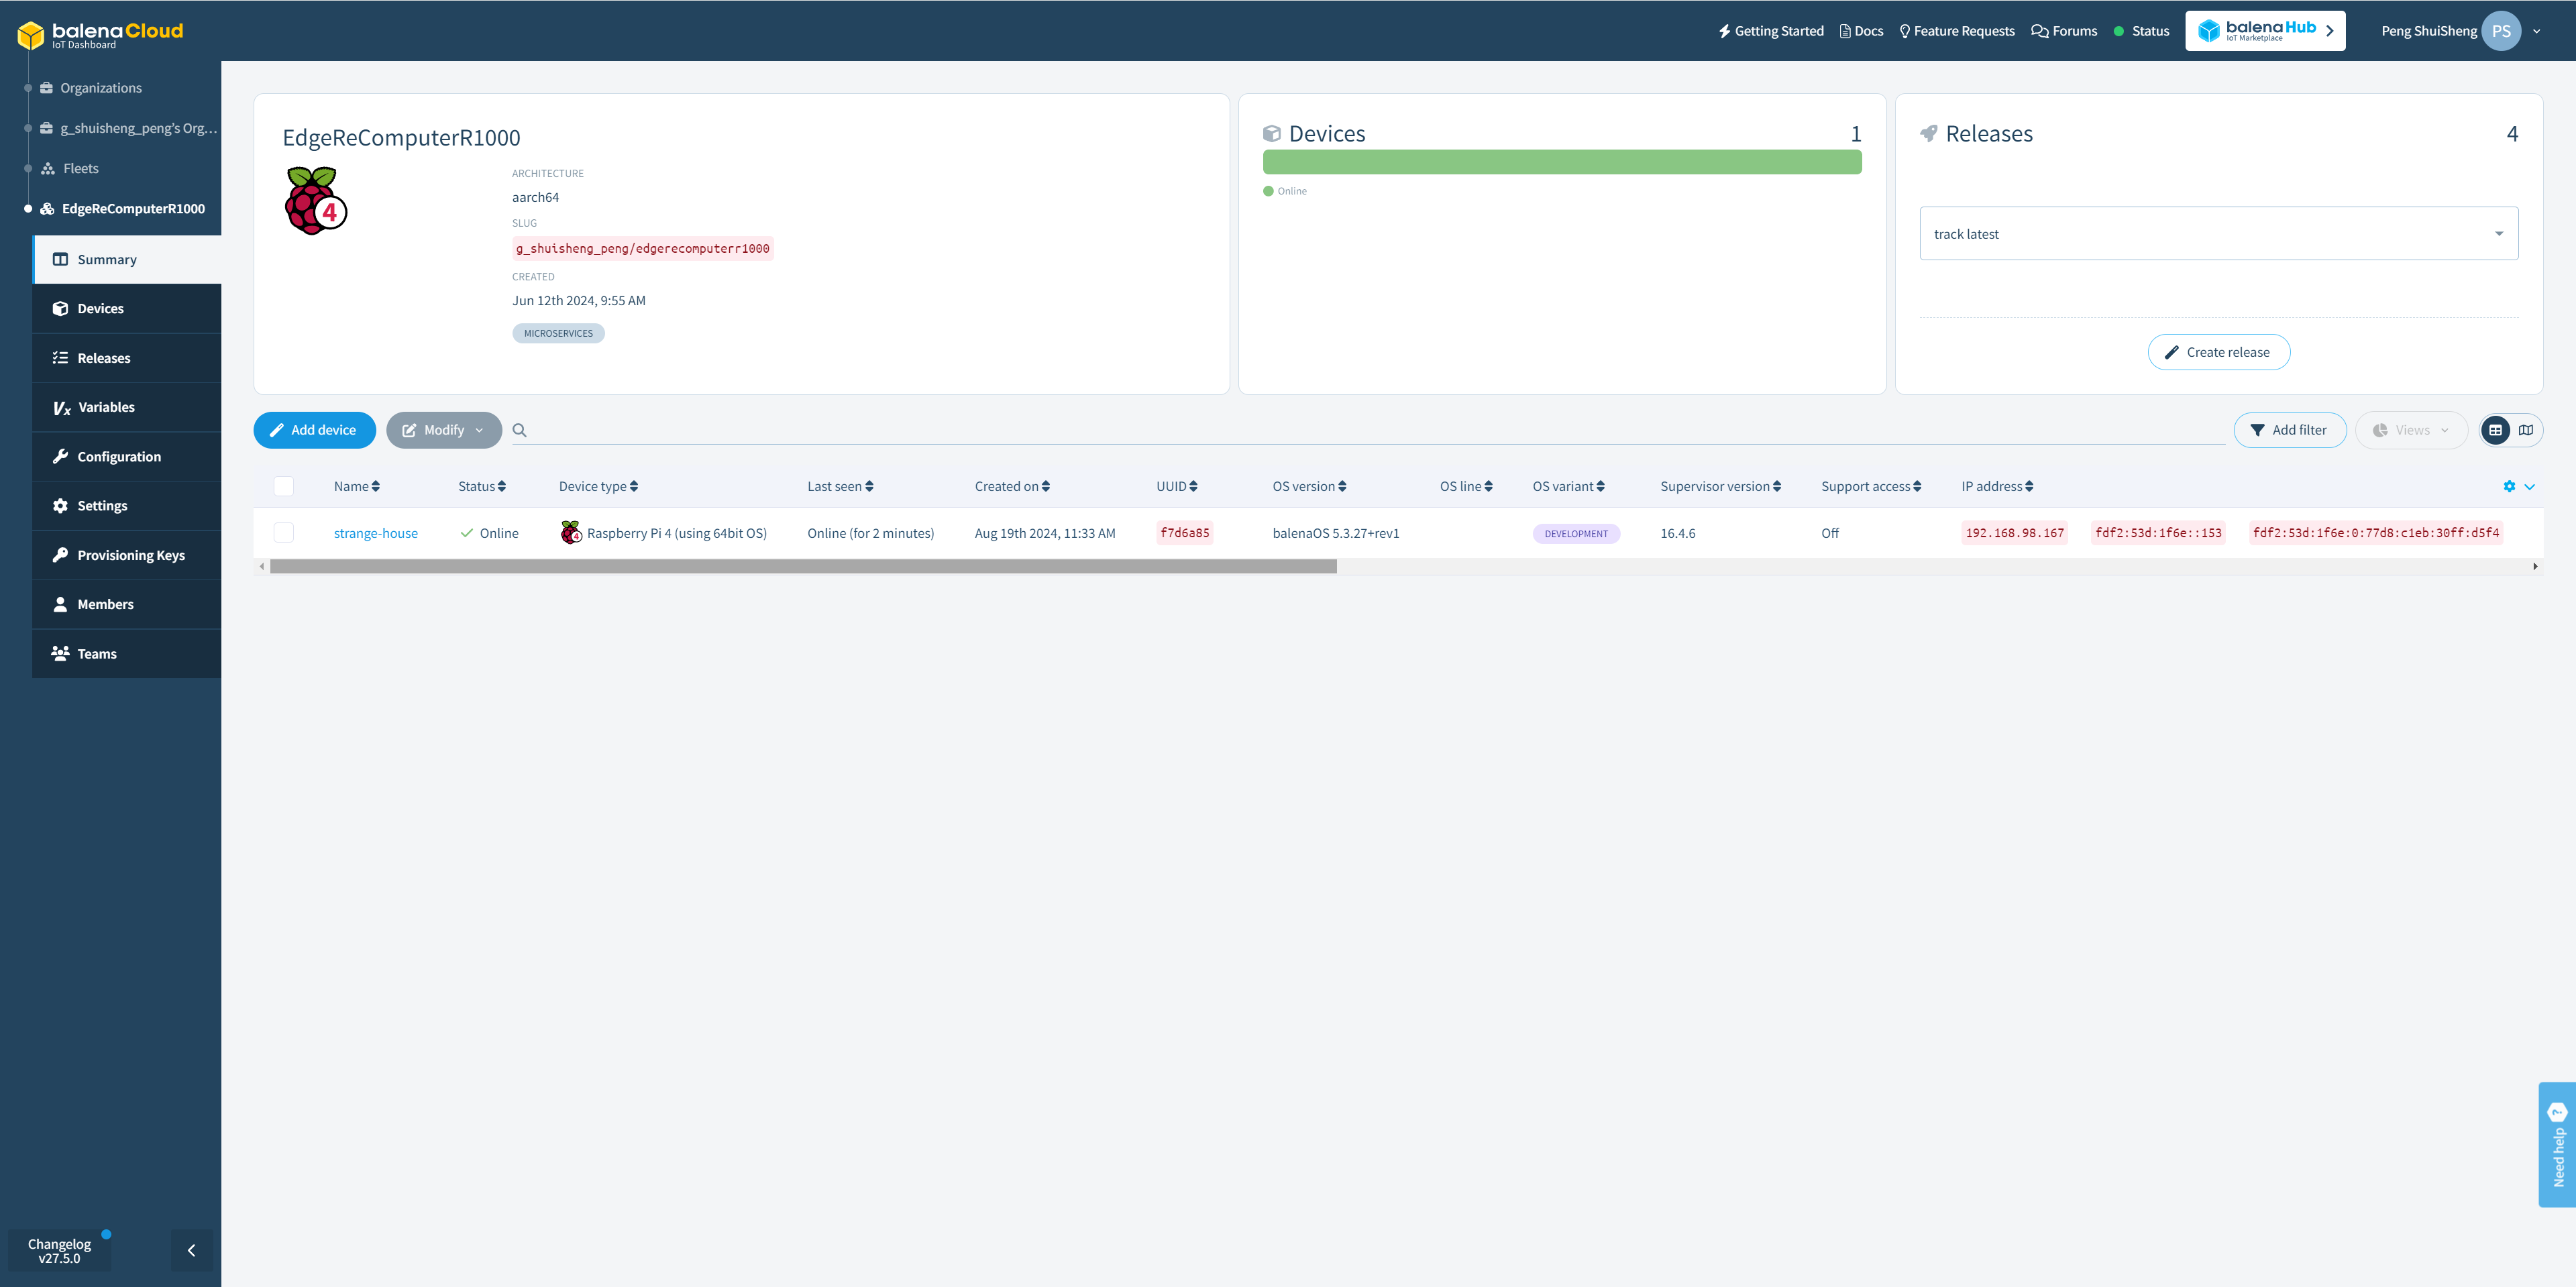
Step 3: After the burning is completed, restart the R1000. After a while, you will see the new device successfully online on the balena Cloud.
Tech Support & Product Discussion
Thank you for choosing our products! We are here to provide you with different support to ensure that your experience with our products is as smooth as possible. We offer several communication channels to cater to different preferences and needs.