如何在 reComputer 上运行本地 LLM 文本转图像
介绍
文本转图像模型是一种人工智能(AI)模型,它可以根据文本描述生成图像。这些模型接受文本输入,如描述场景的句子或段落,并基于该描述生成图像。
这些模型在包含文本描述和相应图像对的大型数据集上进行训练,学习理解文本和视觉信息之间的关系。
文本转图像模型近年来取得了显著进展,但生成准确匹配文本描述的高质量和多样化图像仍然是 AI 研究中的一项挑战性任务。
概述
在本教程中,我们将探索几种部署和运行本地 LLM 文本转图像的方法:
- 创建虚拟环境(TensorFlow 和 PyTorch)
- 1.1. 使用 Keras Stable Diffusion 创建示例
- 1.2. 使用 Hugging Face 上可用的模型之一创建示例
- 1.3. 创建一个小型 Python API,我们将使用它通过调用 API 为 Keras 和 Hugging Face 生成图像
- 使用 Nvidia 容器。
故障排除
在开始之前,这里有一些步骤可以帮助我们获得更多可用内存。
-
禁用桌面 GUI。我们可以通过 SSH 使用 Jetson。我们可以节省大约 ~800MB 的内存。
-
禁用 ZRAM 并使用 Swap。
您可以在 Nvidia Jetson AI Lab 中找到这些技巧以及如何实现它们。
要求
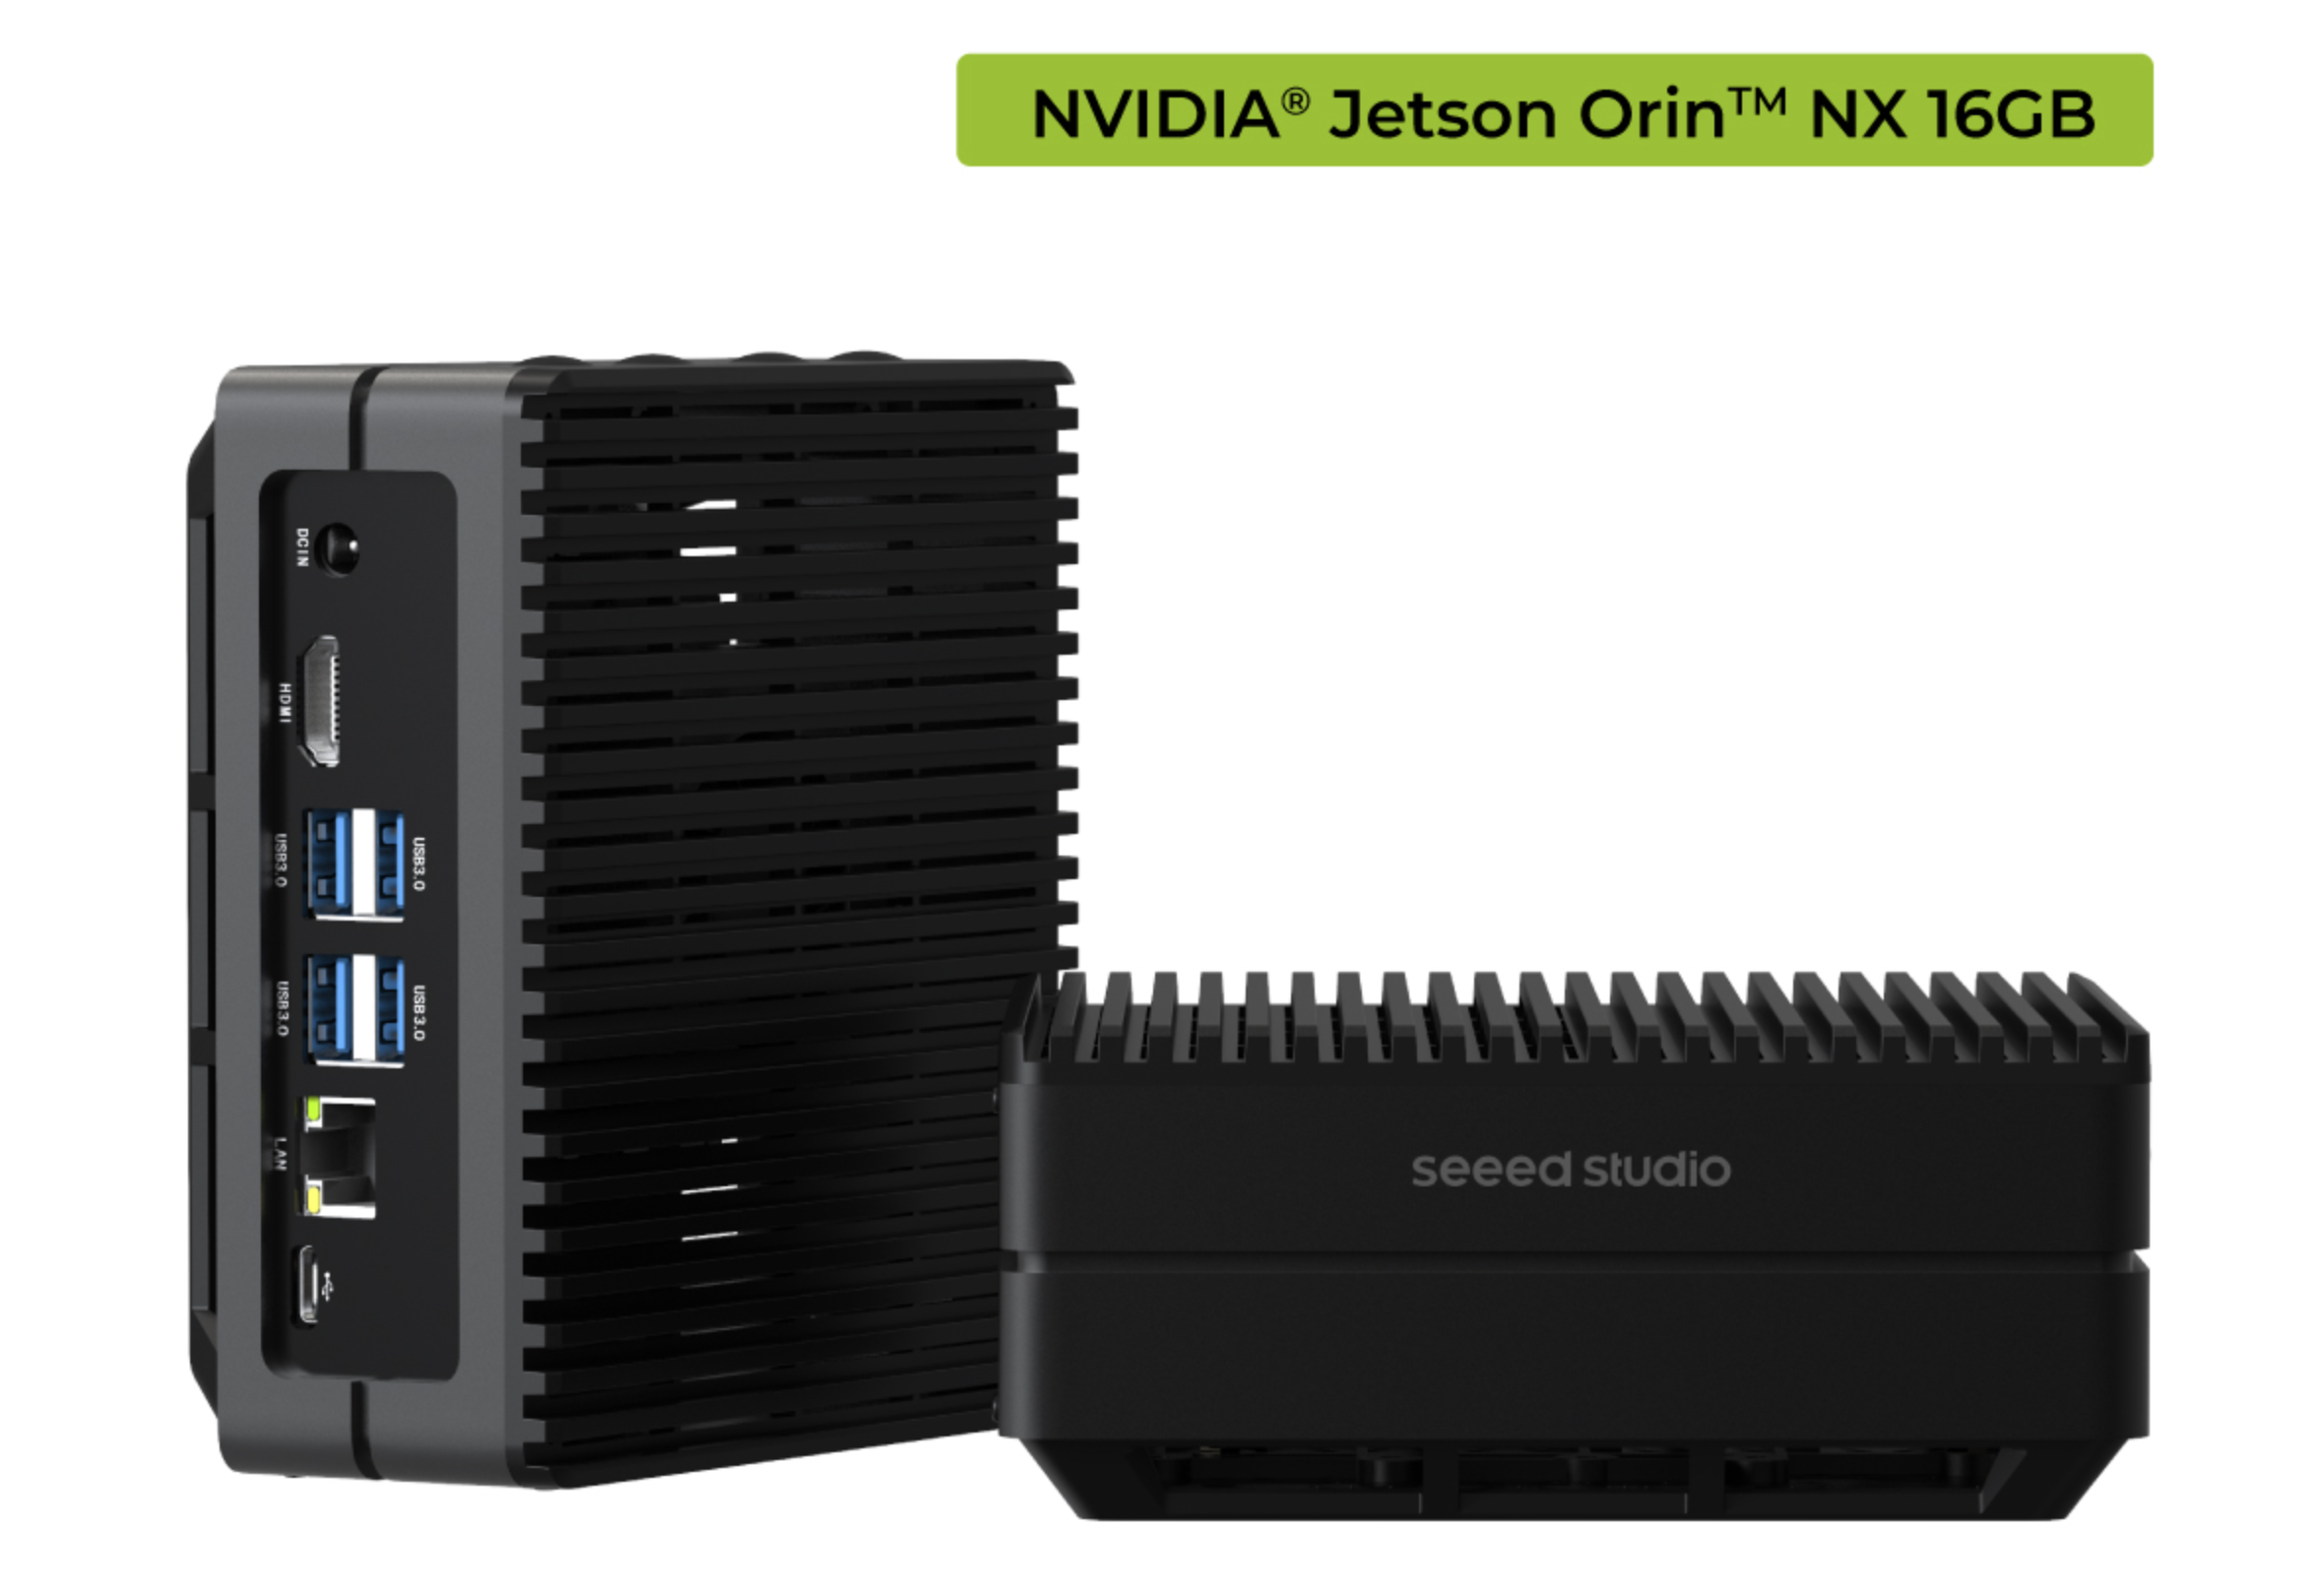
对于本教程,我们需要一个 Nvidia Jetson Orin NX 16GB。
我们需要确保安装了 TensorFlow 和 PyTorch - 但我会在这里介绍。
步骤 1 - 创建虚拟环境
Keras 可以使用 TensorFlow 或 PyTorch 作为后端。Hugging Face 主要使用 PyTorch
让我们安装 TensorFlow 和 PyTorch。
有关如何为 Jetson Orin NX 安装 TensorFlow 和 PyTorch 的说明在 Nvidia 网站上。
我们可以全局安装 TensorFlow 和 PyTorch,也可以在虚拟环境中安装。我们将使用虚拟环境。
通过使用虚拟环境,我们不会冒混合项目或包版本的风险。
这是最好的方法,尽管 Nvidia 网站更偏好全局方法。
TensorFlow
创建虚拟环境(我使用名称 kerasStableEnvironment,因为我将在 keras 示例中使用它。如果您愿意,可以使用其他名称。)
sudo apt install python3.8-venv
python -m venv kerasStableEnvironment
创建完成后,激活虚拟环境
source kerasStableEnvironment/bin/activate
激活后,您将在提示符前看到它的名称

进入虚拟环境
cd kerasStableEnvironment
升级 PIP 并安装一些依赖项
pip install -U pip
pip install -U numpy grpcio absl-py py-cpuinfo psutil portpicker six mock requests gast h5py astor termcolor protobuf keras-applications keras-preprocessing wrapt google-pasta setuptools testresources
Install TensorFlow for Jetpack 5.1.1
要查找我们拥有的 JetPack 版本,请执行以下命令:
dpkg -l | grep -i jetpack
结果应该显示 jetpack 版本:

pip install --extra-index-url https://developer.download.nvidia.com/compute/redist/jp/v511 tensorflow==2.12.0+nv23.05
如果您有其他 JetPack 版本,请查看 Nvidia 网站 获取正确的 URL。
现在,让我们检查 TensorFlow 安装
python -c "import tensorflow as tf; print(tf.config.list_physical_devices('GPU'))"
这应该返回以下行:
[PhysicalDevice(name='/physical_device:GPU:0', device_type='GPU')]
PyTorch
让我们安装一些依赖项
sudo apt install libopenblas-dev
现在,为 JetPack 5.1.1 安装 PyTorch
pip install --no-cache https://developer.download.nvidia.com/compute/redist/jp/v511/pytorch/torch-2.0.0+nv23.05-cp38-cp38-linux_aarch64.whl
检查安装情况以及 CUDA 是否可用
python -c "import torch; print(torch.cuda.is_available())"
它应该返回 True
现在我们已经安装了 TensorFlow 和 PyTorch,让我们安装 Keras 并创建一个图像
1.1 Keras
在安装了 PyTorch 和 Tensorflow 之后,我们现在准备开始从文本提示创建图像。 确保您仍在虚拟环境中。
KerasCV 有一个 Stability.ai 文本到图像模型 Stable Diffusion 的实现(以及其他几个)。
通过使用 KerasCV 实现,我们可以使用一些性能优势,如 XLA 编译和混合精度支持。
安装 keras 和依赖项。我们选择这些版本是因为它们与我们已安装的 TensorFlow(或 PyTorch)版本兼容。
pip install keras-cv==0.5.1
pip install keras==2.12.0
pip install Pillow
打开你喜欢的编辑器并输入以下示例
vi generate_image.py
import keras_cv
import keras
from PIL import Image
keras.mixed_precision.set_global_policy("mixed_float16")
model = keras_cv.models.StableDiffusion (
img_width=512, # we can choose another size, but has to be a mutiple of 128
img_height=512, # the same above
jit_compile=True
)
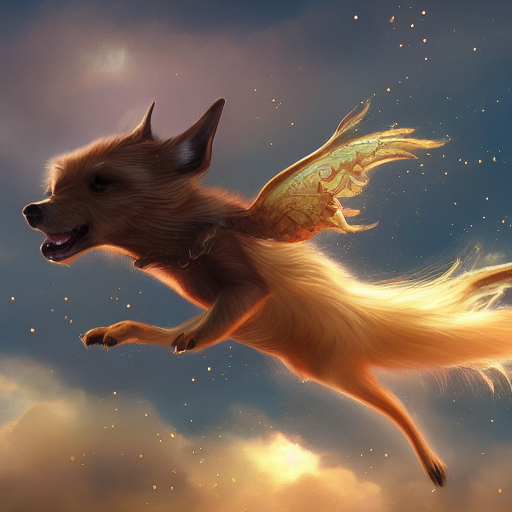
prompt = "a cute magical flying dog, fantasy art, golden color, high quality, highly detailed, elegant, sharp focus, concept art, character concepts, digital painting, mystery, adventure"
image = model.text_to_image (prompt,
num_steps = 25, #image quality
batch_size = 1 # how many images to generate at once
)
Image.fromarray(image[0]).save("keras_generate_image.png")
在运行脚本时,这里是一些统计信息
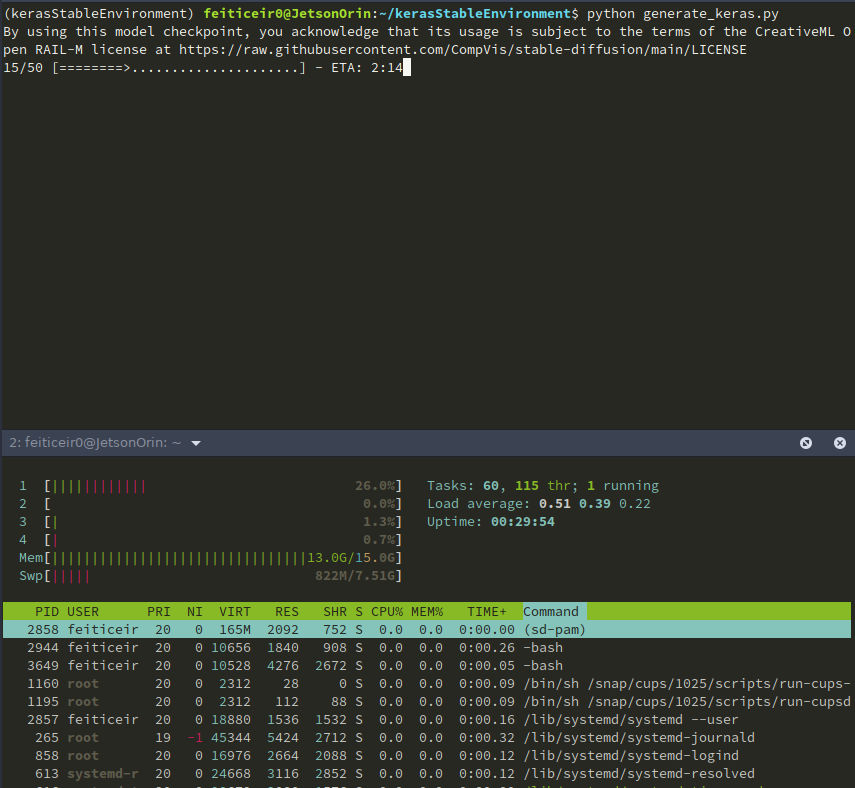
一段时间后,这里是结果
步骤 1.2 - Hugging Face
Hugging Face 就像是机器学习的 Github。它让开发者能够构建、部署、分享和训练他们的机器学习模型。
Hugging Face 也以其 Transformers Python 库而闻名,该库简化了下载和训练机器学习模型的过程。
让我们使用一些可用的模型。 前往 Hugging Face 并选择查看模型。
在左侧,你有过滤器,允许我们选择想要查看的模型类型。
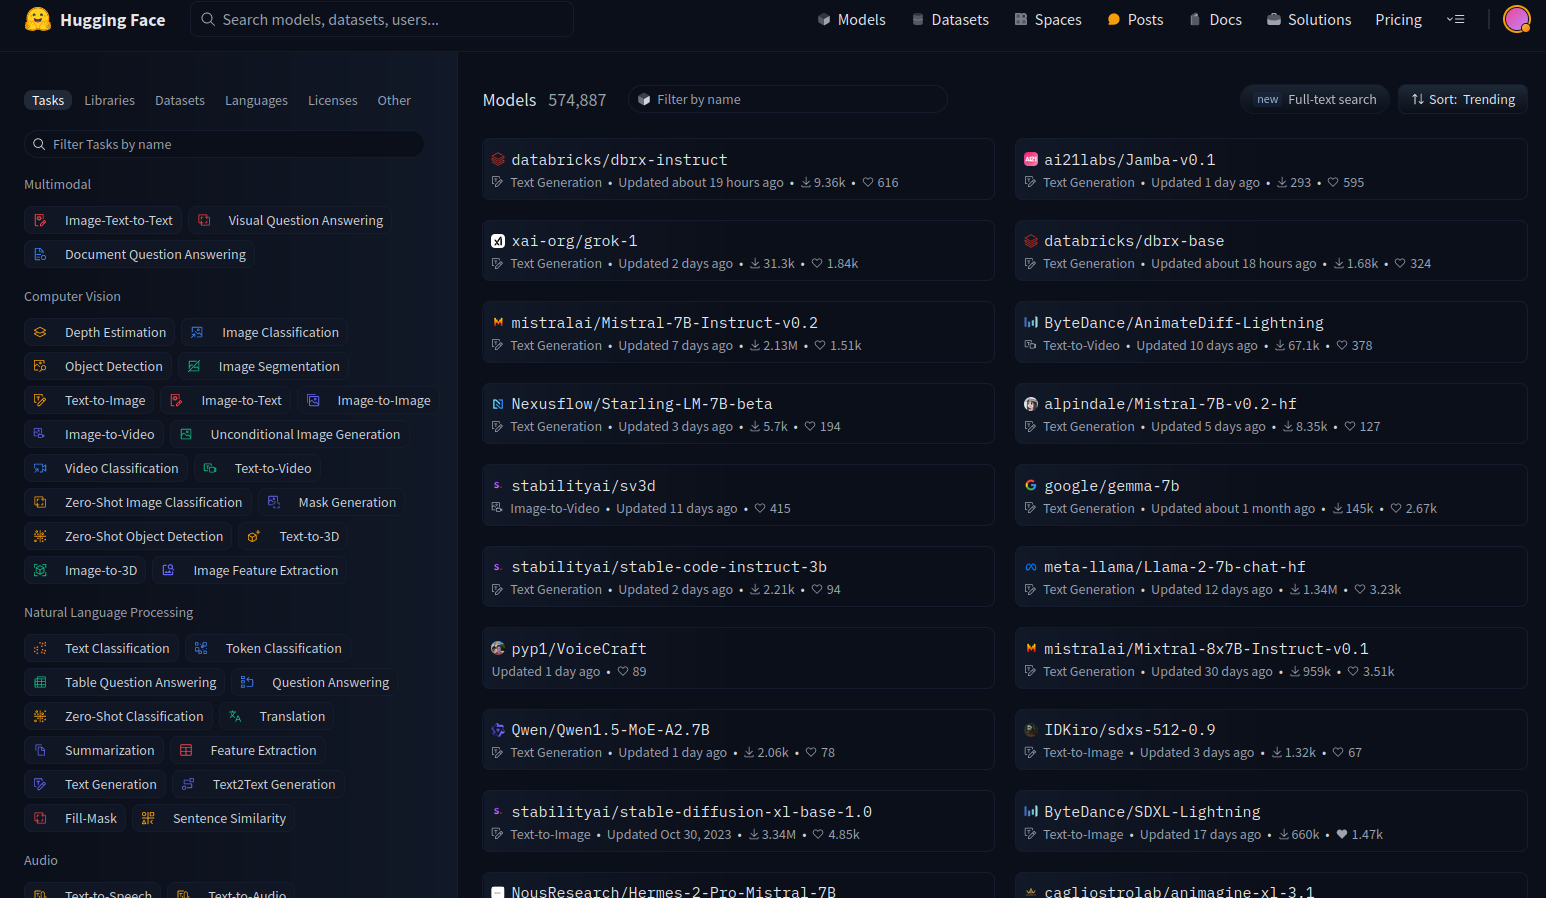
有很多可用的模型,但我们将专注于文本到图像的模型。
虚拟环境
创建一个虚拟环境,就像我们上面做的那样,这样我们就可以使用 Hugging Face 而不会搞乱包版本或安装我们不需要的包。
python -m venv huggingfaceTesting
source huggingfaceTesting/bin/activate
创建虚拟环境后,让我们进入它。 使用上述说明安装 PyTorch。
cd huggingfaceTesting
模型
Hugging Face 有很多文本到图像模型。虽然理论上它们应该能在我们的 Jetson 上工作,但实际上并不行。
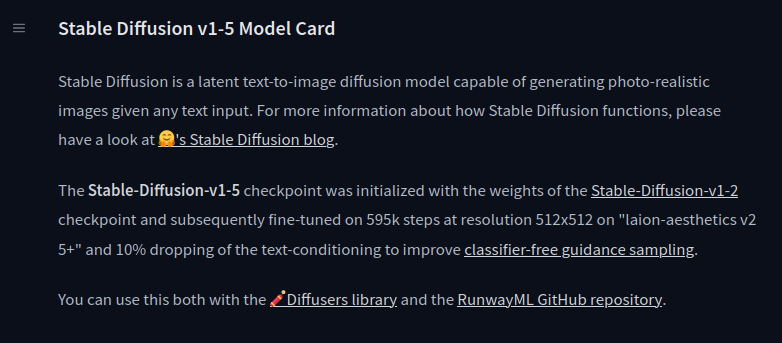
stable-diffusion-v1-5
我将测试 Runaway 的 stable-diffusion-v1-5。
在模型卡片上,他们提供了使用该模型所需的所有信息。
我们将使用 Hugging Face diffusers 库。 在虚拟环境中(并激活它)安装依赖项。
pip install diffusers transformers accelerate
现在我们已经安装了所有依赖项,让我们试试这个模型。 使用您喜欢的编辑器,复制以下代码(也可在模型卡片页面中找到):
from diffusers import StableDiffusionPipeline
import torch
model_id = "runwayml/stable-diffusion-v1-5"
pipe = StableDiffusionPipeline.from_pretrained(model_id, torch_dtype=torch.float16)
pipe = pipe.to("cuda")
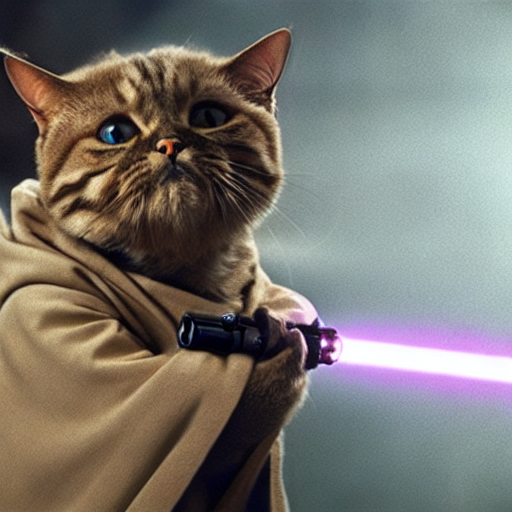
prompt = "a master jedi cat in star wars holding a lightsaber, wearing a jedi cloak hood, dramatic, cinematic lighting"
image = pipe(prompt).images[0]
image.save("cat_jedi.png")
Let's try the model.
python stableDiffusion.py
记住: 这需要占用大量空间。模型的检查点正在下载中。这只会执行一次。

过一会儿,结果如下
SDXL-Turbo
这是我们可以尝试的另一个模型。来自 Stability AI 的 SDXL Turbo。 复制以下代码
from diffusers import AutoPipelineForText2Image
import torch
pipe = AutoPipelineForText2Image.from_pretrained("stabilityai/sdxl-turbo", torch_dtype=torch.float16, variant="fp16")
pipe.to("cuda")
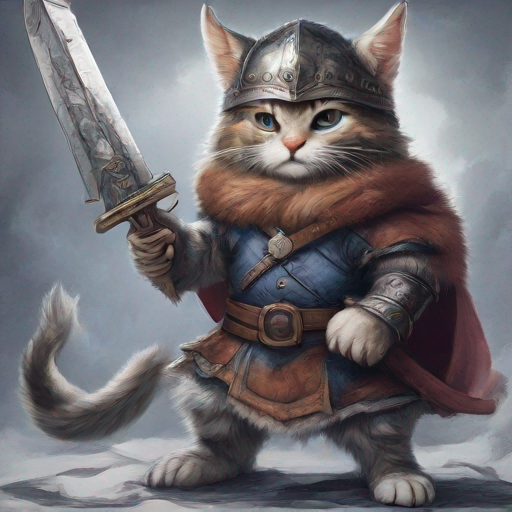
prompt = "full body, cat dressed as a Viking, with weapon in his paws, battle coloring, glow hyper-detail, hyper-realism, cinematic"
image = pipe(prompt=prompt, num_inference_steps=1, guidance_scale=0.0).images[0]
image.save("sdxl-turbo.png")
这个提示来自 Daria Wind 在 Medium 上写的一篇文章
这个生成图像的速度非常快。从运行脚本到退出大约只需要30秒。 结果如下:
我们也可以尝试其他模型,比如专门为动漫或赛博朋克训练的模型。
有些模型可能无法正常工作。这可能是由于多种因素造成的 - 内存、可用CPU或甚至交换内存。
步骤 1.3 - 创建一个小型 API
现在让我们用 Flask 创建一个小型 API,用于根据给定的提示生成图像并将其返回给调用者。
想象一下,你的 Jetson 正在运行,你希望能够通过调用 API 来生成图像 - 你的个人 LLM 图像到文本生成器。
已经有一些项目可以做到这一点(就像我们稍后要看到的那个),但没有什么比自己动手做更好的了。
让我们创建一个新的虚拟环境
python -m venv imageAPIGenerator
激活环境并进入
source  imageAPIGenerator/bin/activate
cd imageAPIGenerator
我们将使用 Flask 来实现这个功能。FlasK 是一个用 Python 编写的 Web 应用程序框架。它足够小巧,适合我们的目的。
安装 Flask。
pip install Flask
安装完成后,让我们安装所需的所有其他依赖项。仅出于演示目的,我们将使用 Keras,因为它的依赖项最少。
安装 TensorFlow。按照上面的说明进行操作。 接下来,安装 Keras。
pip install keras-cv==0.5.1
pip install keras==2.12.0
pip install Pillow
现在,让我们开始编写我们的应用程序。
vi app.py
对于那些不知道 Flask 是什么或它能做什么的人来说,让我们尝试一个小例子。
from flask import Flask

app = Flask (__name__)


@app.route("/generate_image")
def generate_image_api():
    return "<h2>Hello World !</h2>"


if __name__ == "__main__":
    app.run(host='',port=8080)
要运行,请执行 Python 脚本:
python app.py
您应该看到以下内容:

现在,打开浏览器并尝试通过8080端口访问您的Jetson设备。


我们所做的是导入Flask类
import Flask
接下来我们创建了一个 Flask 类的实例
app = Flask(__name__)
接下来我们创建一个路由装饰器来告诉Flask哪个URL将触发我们的函数
@app.route("/generate_image")
在 URL 中使用 generate_image 时,我们将触发我们的函数
def generate_image_api():
    return "<h2>Hello World !</h2>"
我们也可以使用 curl 来访问我们的 API
curl http://192.168.2.230:8080/generate_image

现在我们知道了如何创建一个 API,让我们深入了解并编写它。
vi app.py
And paste the code
from flask import Flask, request, send_file
import random, string
import keras_cv
import keras
from PIL import Image
#define APP
app = Flask (__name__)
#option for keras
keras.mixed_precision.set_global_policy("mixed_float16")
# generate custom filename
def generate_random_string(size):
"""Generate a random string of specified size."""
return ''.join(random.choices(string.ascii_letters + string.digits, k=size))
"""
This is the function that will generate the image
and save it using a random created filename
"""
def generate_image(prompt):
model = keras_cv.models.StableDiffusion (
img_width=512, # we can choose another size, but has to be a mutiple of 128
img_height=512, # the same above
jit_compile=True
)
image = model.text_to_image (prompt,
num_steps = 25,
batch_size = 1
)
# image filename
filename = generate_random_string(10) + ".png"
Image.fromarray(image[0]).save(filename)
return filename # return filename to send it to client
#define routes
# Use this to get the prompt. we're going to receive it using GET
@app.route("/generate_image", methods=["GET"])
def generate_image_api():
# get the prompt
prompt = request.args.get("prompt")
if not prompt:
# let's define a default prompt
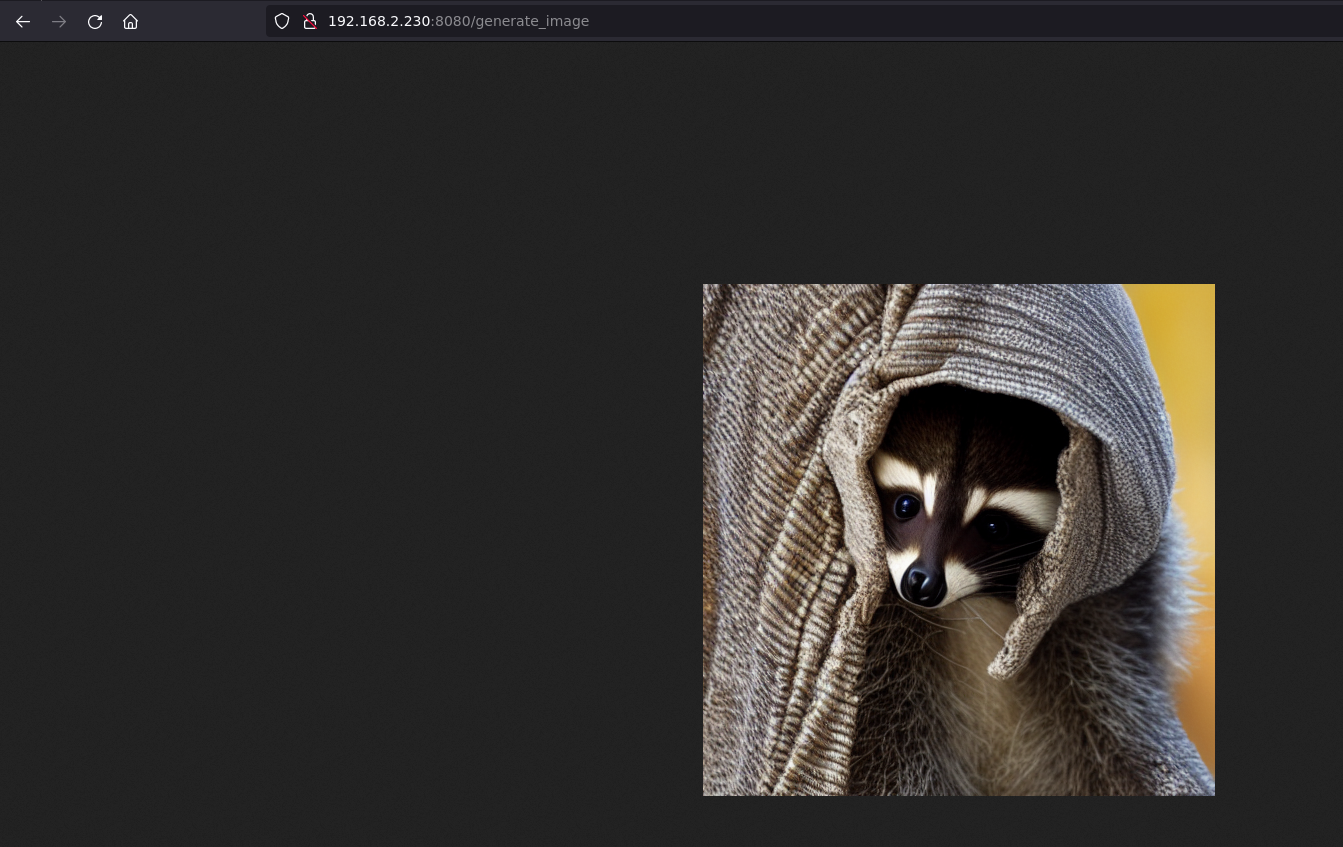
prompt = "A cinematic shot of a baby racoon wearing an intricate italian priest robe."
image_name = generate_image(prompt)
return send_file(image_name, mimetype='image/png')
if __name__ == "__main__":
app.run(host='0.0.0.0',port=8080)
记住: 这不是准备好用于互联网的代码。我们没有任何安全措施。
让我们运行它。
在浏览器中,输入URL http://jetsonIP:8080/generate_image 并等待。
如果我们不给它提示词,它将使用我们设置的默认提示词。
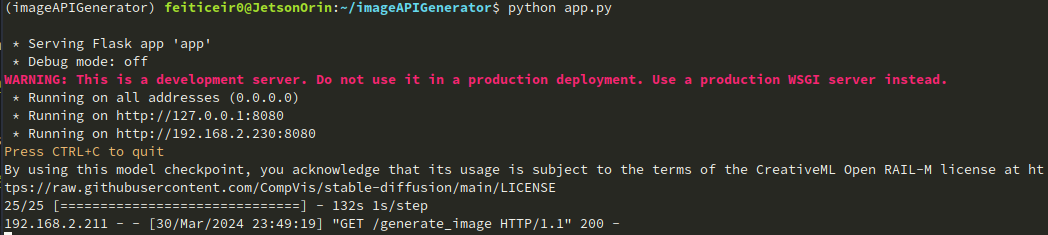
在CLI中,你可以看到图像正在生成

在浏览器中,过一会儿,我们可以看到图像
我们也可以看到图像已经被发送
我们也可以使用curl来获取图像并保存它。
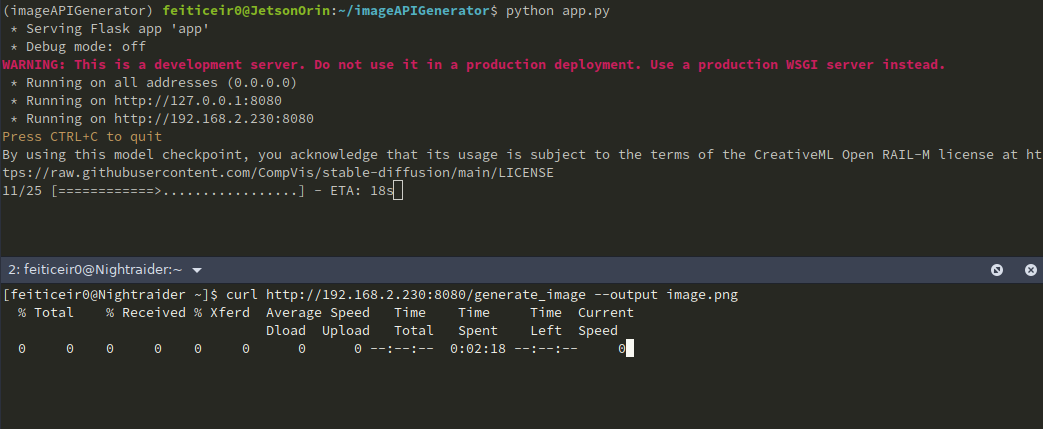
如果我们想给它一个提示词(我们应该这样做),URL将看起来像 http://jetsonIP:8080/generate_image?prompt=<your_prompt>
我们可以扩展这个例子来构建一个更好的页面,比如为用户输入添加一些文本框,一个漂亮的背景等等。但这是另一个项目的内容。
步骤2 - Nvidia LLM
Stable Diffusion v1.5
我们可以使用Jetson Containers项目来运行使用AUTOMATIC1111的stable-diffusion-webui。 Jetson Containers项目由NVIDIA员工Dusty Franklin运行。
NVIDIA有NVIDIA Jetson Generative AI Lab项目,其中有很多机器学习教程。
我们将使用Stable Diffusion教程。
让我们克隆github仓库,进入仓库并安装依赖项
git clone https://github.com/dusty-nv/jetson-containers
cd jetson-containers/
sudo apt update; sudo apt install -y python3-pip
pip3 install -r requirements.txt
现在我们已经准备好了所需的一切,让我们用 stable-diffusion-webui autotag 运行容器
./run.sh $(./autotag stable-diffusion-webui)
它将开始运行容器。
过一会儿,它会提示有一个兼容的容器,询问我们是否要继续。
Found compatible container dustynv/stable-diffusion-webui:r35.3.1 (2024-02-02, 7.3GB) - would you like to pull it? [Y/n]
它将开始下载容器。
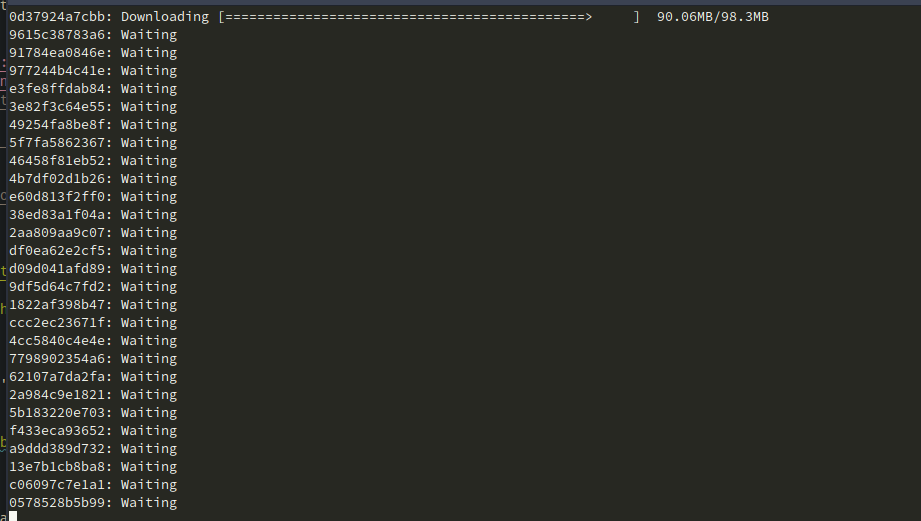
完成后,它将下载模型并在端口 7860 上运行服务器。
在这里,我一开始没有成功。无论我按多少次刷新按钮,都不会出现可选择的检查点。

我发现我的存储空间已经 100% 占满了。
feiticeir0@JetsonOrin:~$ df -h
Filesystem      Size  Used Avail Use% Mounted on
/dev/nvme0n1p1   79G   79G     0 100% /
none            7,4G     0  7,4G   0% /dev
tmpfs           7,6G     0  7,6G   0% /dev/shm
tmpfs           1,6G   19M  1,5G   2% /run
tmpfs           5,0M  4,0K  5,0M   1% /run/lock
tmpfs           7,6G     0  7,6G   0% /sys/fs/cgroup
/dev/loop0      162M  162M     0 100% /snap/chromium/2797
/dev/loop2      128K  128K     0 100% /snap/bare/5
/dev/loop1       70M   70M     0 100% /snap/core22/1125
/dev/loop3       65M   65M     0 100% /snap/cups/1025
/dev/loop4       92M   92M     0 100% /snap/gtk-common-themes/1535
/dev/loop6      162M  162M     0 100% /snap/chromium/2807
/dev/loop5      483M  483M     0 100% /snap/gnome-42-2204/174
/dev/loop7       35M   35M     0 100% /snap/snapd/21185
tmpfs           1,6G  4,0K  1,6G   1% /run/user/1000
我一直在测试其他模型,它们占用了所有空间。 如果你遇到这种情况,只需进入你的主目录,找到隐藏的缓存目录并删除 huggingface 目录。
cd ~/.cache
rm -rf huggingface
现在你应该有可用的空间了。或者直接获取一个新的驱动器,拥有更多空间。:)
现在模型正在下载中。

我们有一个检查点
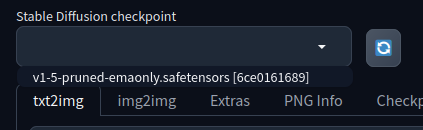
打开你的浏览器,前往你的 Jetson IP 地址和端口来运行 AUTOMATIC1111 的 Stable Diffusion webgui
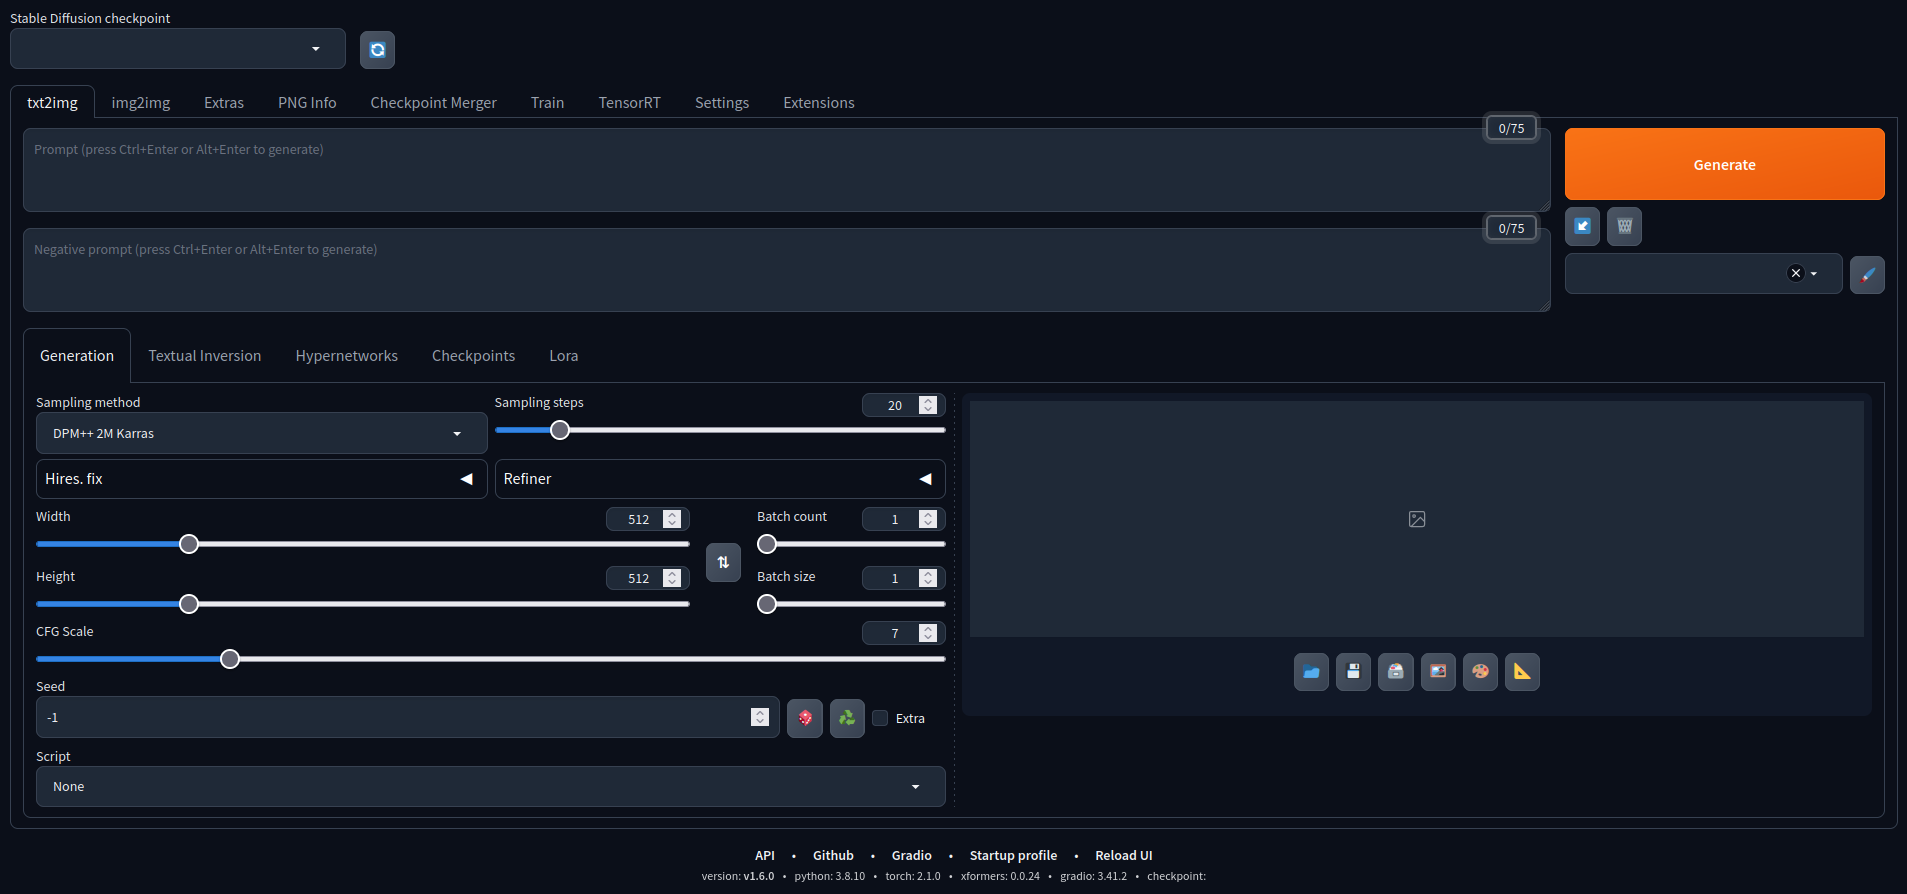
现在我们可以使用它了。 这里是一些使用默认模型创建的图像。
Stable Diffusion XL
AUTOMATIC1111 支持其他模型。让我们尝试使用 Stable Diffusion XL。它有 66 亿个参数。
要添加另一个模型,并且为了更容易下载它,让我们定义一些变量,更改权限并下载模型。 这是来自 NVIDIA 教程 的示例。
CONTAINERS_DIR=<where_jetson-containers_is_located>
MODEL_DIR=$CONTAINERS_DIR/data/models/stable-diffusion/models/Stable-diffusion/
sudo chown -R $USER $MODEL_DIR
Now, download the model
wget -P $MODEL_DIR https://huggingface.co/stabilityai/stable-diffusion-xl-base-1.0/resolve/main/sd_xl_base_1.0.safetensors
wget -P $MODEL_DIR https://huggingface.co/stabilityai/stable-diffusion-xl-refiner-1.0/resolve/main/sd_xl_refiner_1.0.safetensors
下载模型后,如果您的容器正在运行,让我们刷新检查点下拉菜单,或者重新启动容器。
现在我们有两个更多的模型可用。

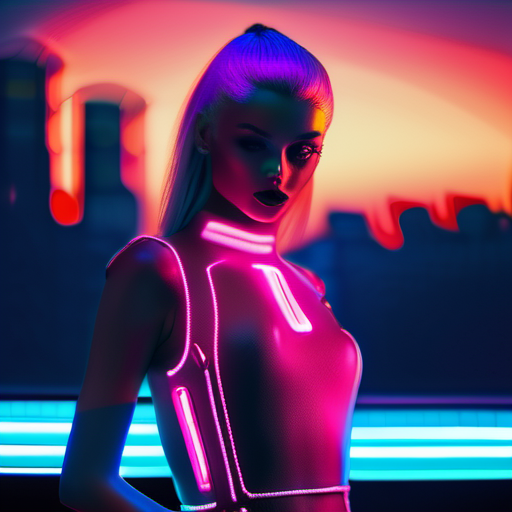
这是使用 XL 模型生成的示例,使用以下提示词:
A Portrait, fashionable model wearing futuristic clothing, in a cyberpunk roof-top environment, with a neon-lit city background, backlit by vibrant city glow, fashion photography
试试看。记住,选择某些选项时可能无法正常工作。
添加其他模型
我们还可以添加更多模型。除了 Hugging Face,Civitai 是另一个拥有更多模型可供选择的平台。Civitai 有一些 NSFW 模型,所以请注意。
选择您想要的模型,下载检查点并将它们放在 models 目录中
/home/<user>/<jetson-containers-location>/data/models/stable-diffusion/models/Stable-diffusion/
我将下载并尝试一个名为 DreamShaper XL 的模型。
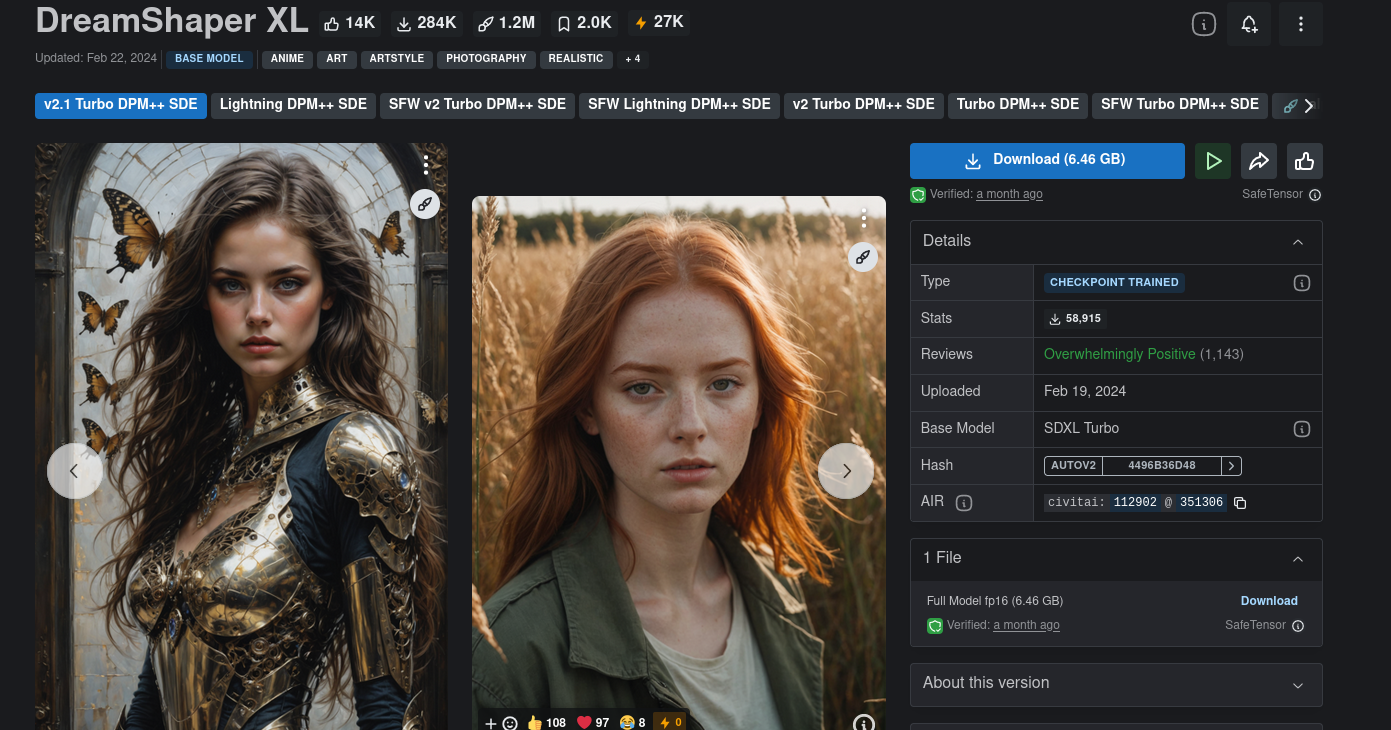
请记住,某些模型可能无法正常工作。
您需要调整设置并阅读模型卡片,以了解哪些设置可能效果最佳(如果有的话)。
例如,这个模型卡片说采样步数应该是 4-8,采样方法应该是 DPM++ SDE Karras 等等...
下载模型检查点并将其添加到上述目录中。
刷新后,您应该可以选择该模型。 选择时,AUTOMATIC1111 将优化模型。
如果出现被终止或错误,请获取更多空间。这种情况发生在我身上,在获得更多空间后,一切都正常工作了。
使用以下提示词
holding a staff, orbstaff
<lora:orbstaff:0.60>, ,(by Gabriel Isak and Adam Elsheimer:1.20), (by Jon Whitcomb and Bayard Wu and Malcolm Liepke0.80),8k , professional fashion shot
来自这张图片, 没有负面提示词,我得到了以下结果
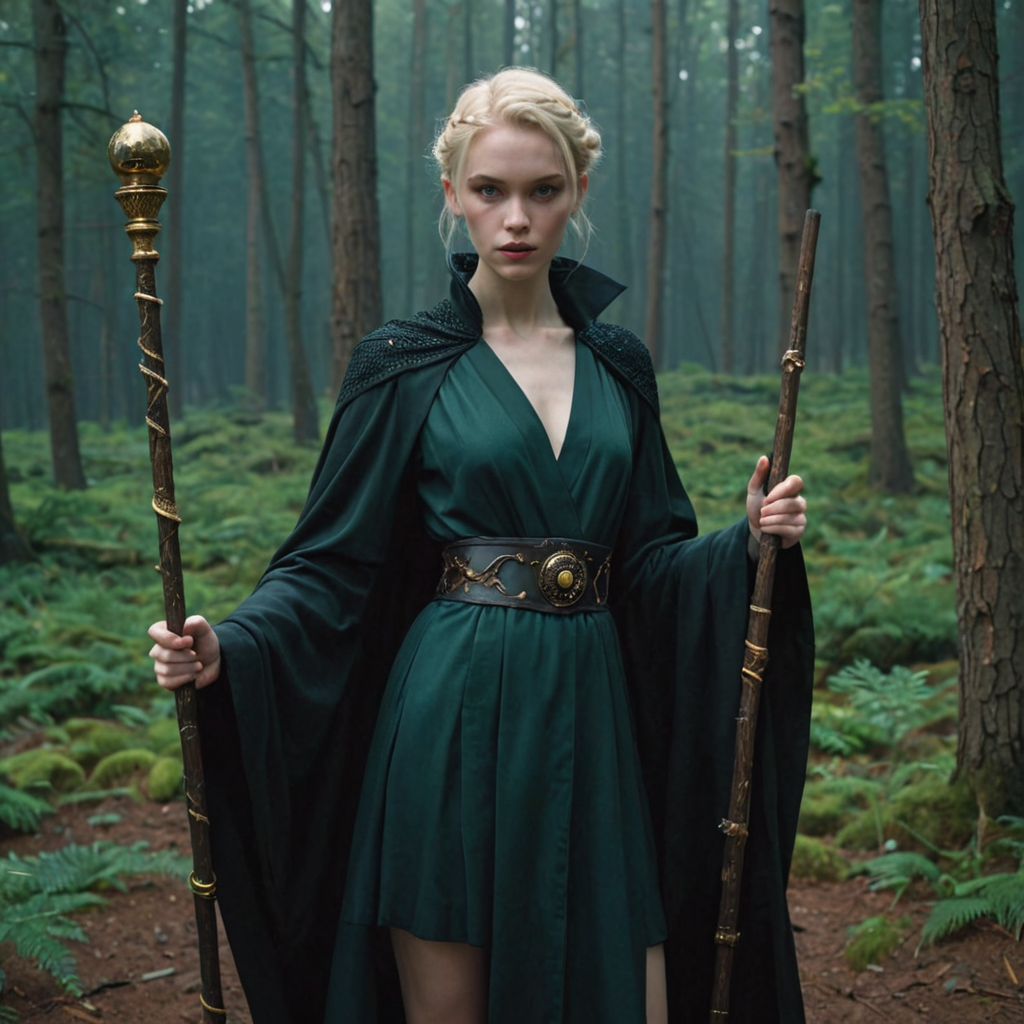
使用这些设置:

还记得上面使用 Stable Diffusion XL 模型生成赛博朋克女孩的提示词吗?
这是一张新图片,使用相同的提示词,用 DreamShaper XL 和上述相同设置生成的
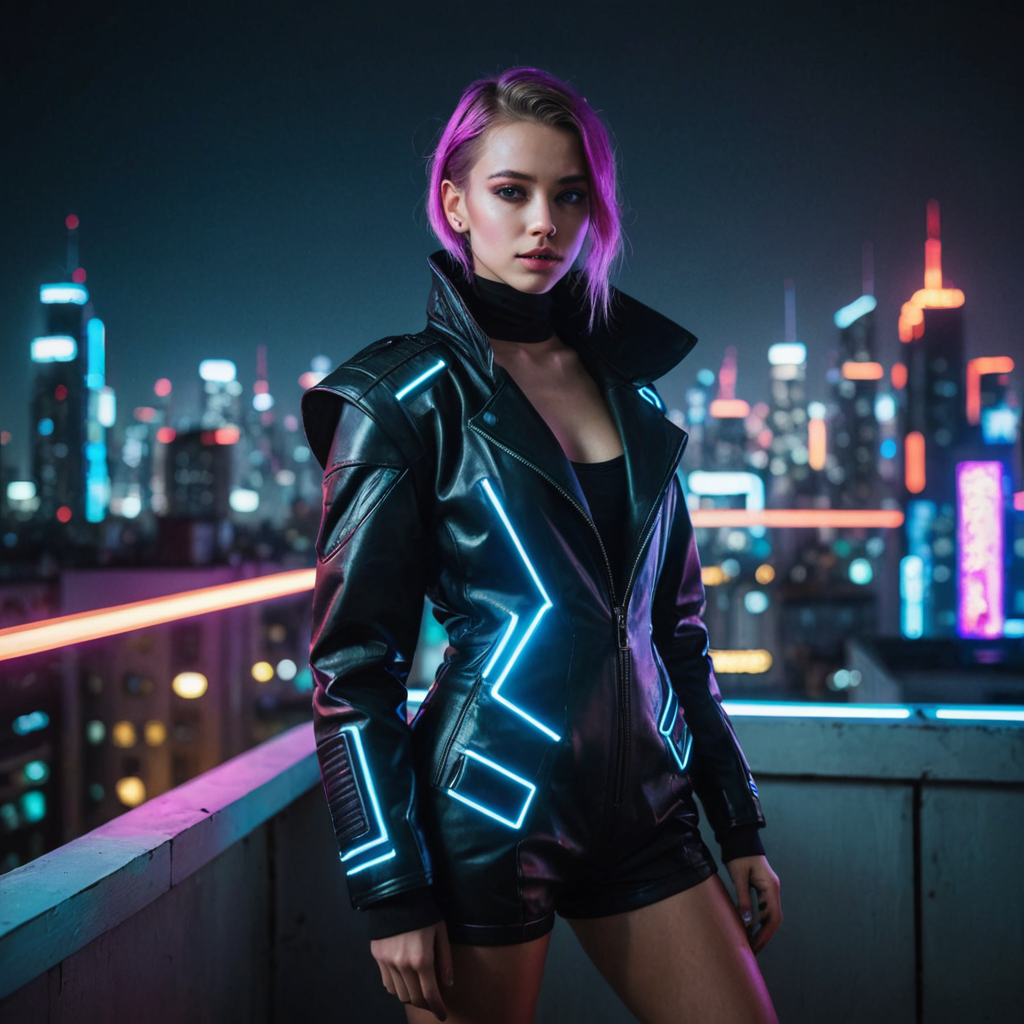
如您所见,可以创建出精美的图像,前提是您知道要调整的参数。:)
我了解到更大的图像往往会产生更好的结果。
希望您已经学会了如何使用 Nvidia Jetson NX 16GB 生成图像,以及如何将其用作服务器来按需生成图像。
✨ 贡献者项目
技术支持与产品讨论
感谢您选择我们的产品!我们在这里为您提供不同的支持,以确保您使用我们产品的体验尽可能顺畅。我们提供多种沟通渠道,以满足不同的偏好和需求。