Wio Terminal Tensorflow Lite Micro 入门指南
本文介绍如何将官方的 Arduino Tensorflow Lite 库 安装到您的 Wio Terminal 中,让您可以使用 Wio Terminal 测试一些机器学习模型。
更多信息,请访问 TensorFlow Lite For Microcontrollers。
请确保使用 1.8.2 版本的 Seeed SAMD 开发板定义,有关如何检查和更新开发板定义的方法,请参阅 Wio Terminal 入门指南。
安装 Arduino TensorFlow Lite 库
目前可以从 Arduino IDE 库管理器下载的 Arduino IDE 版本的 Tensorflow Lite 库已经过时(2021年10月)。因此,需要使用来自官方 Tensorflow Lite for Microcontrollers 仓库的开发版本。
git clone https://github.com/tensorflow/tflite-micro-arduino-examples Arduino_TensorFlowLite
在您的 Arduino sketches/libraries 文件夹中执行上述命令。您可以在 TensorFlow Lite Micro Library for Arduino 仓库 中找到有关安装最新开发版本库的更多详细信息。
这里描述的项目已使用 TensorFlow Lite Micro Library for Arduino 仓库的提交 219ac1dfed8a8ba0edfdbaae51aed5dc9b208c0c 进行了测试。
运行 Arduino TensorFlow Lite Hello World 示例
该示例旨在演示使用 TensorFlow Lite for Microcontrollers 的绝对基础知识。它包括训练模型、转换模型以用于 TensorFlow Lite 以及在微控制器上运行推理的完整端到端工作流程。
该示例围绕一个训练用来复制正弦函数的模型构建。它包含多个平台的实现。在每种情况下,模型都用于生成数据模式,该模式用于闪烁 LED 或控制动画。
-
转到
Files->Examples->Arduino_TensorFlowLite->hello_world。示例草图应该会出现。 -
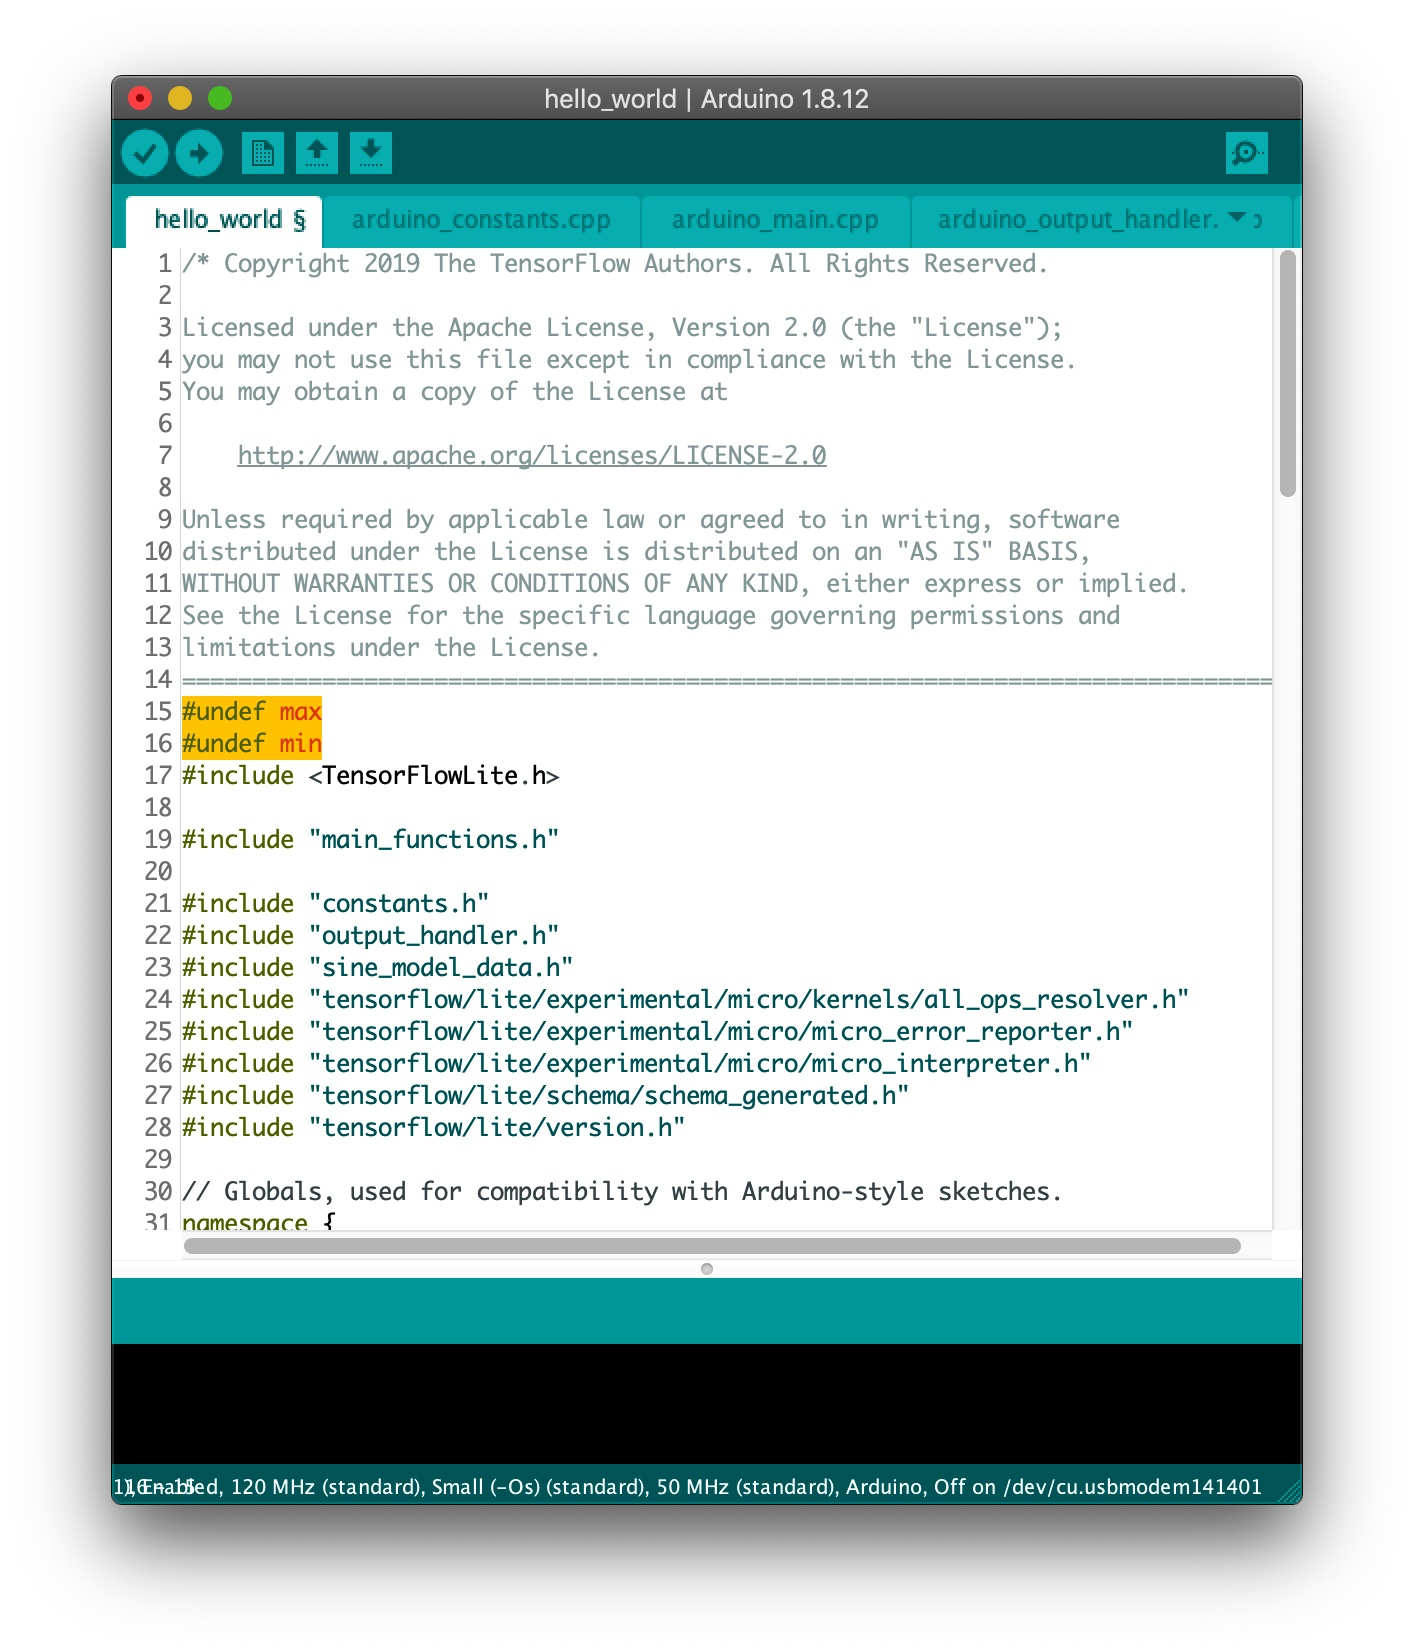
如果现在编译,会出现编译错误,因为为开发板定义的
min和max函数在 Arduino TensorFlow 库中也有定义。所以为了解决这个问题,在包含库之前使用#undef max和#undef min来避免错误,就像这样:
#undef max
#undef min
#include <TensorFlowLite.h>
-
现在,点击上传并将您的第一个 TensorFlow Lite 示例上传到 Wio Terminal!
-
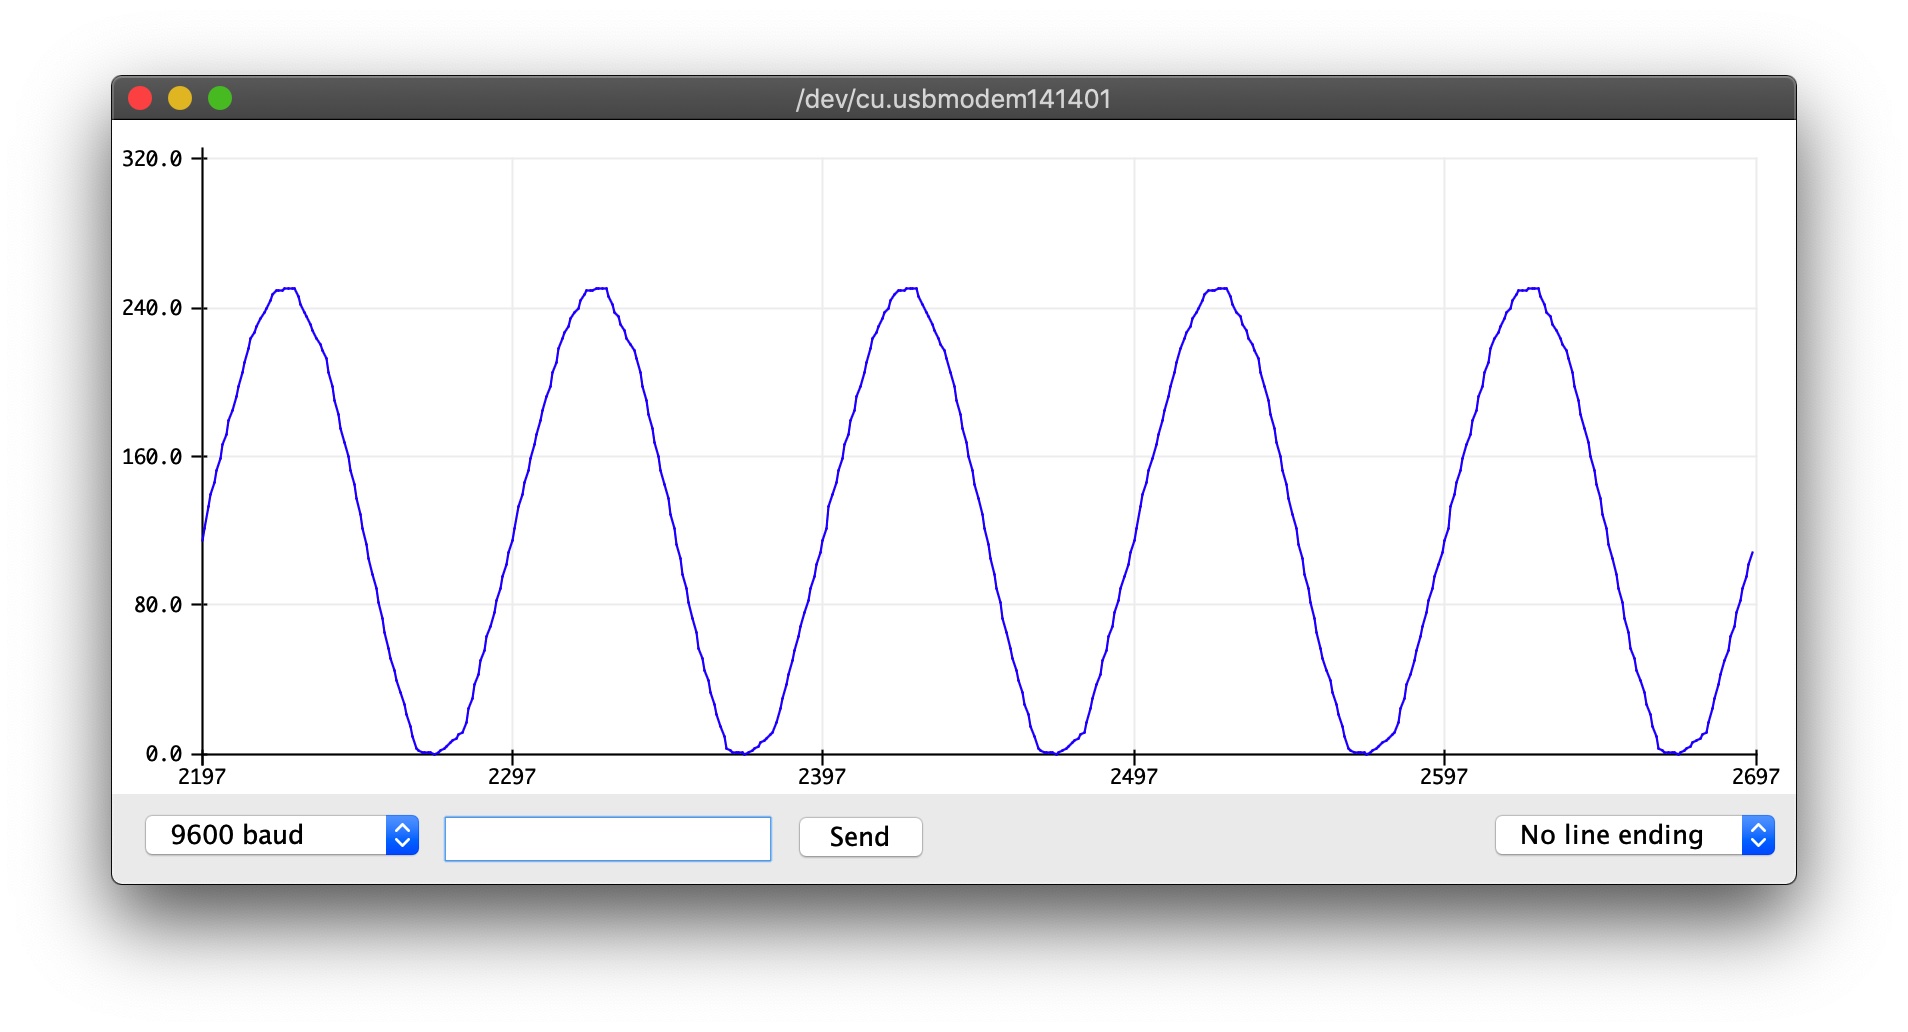
打开串口绘图器,您应该看到一个正弦波形。此外,检查背面的内置 LED,它应该根据您刚刚从 TensorFlow Lite 生成的正弦波进行淡入淡出!
注意: 如果您想在串口绘图器上看到完整的正弦波(即 LED 闪烁更快),您可以点击顶部的 arduino_constants.cpp 文件,并将 kInferencesPerCycle 更改为 100,如下所示:
const int kInferencesPerCycle = 100;