在 Wio Terminal 上使用 USB 键盘
本教程介绍如何在 Wio Terminal 上使用 USB 键盘。您可以通过此示例实现从键盘向 Wio Terminal 输入数据!
要求
要使用此示例,您需要一个 USB OTG 适配器 和一个 USB 转串口模块,其中 OTG 适配器用于连接键盘,USB 转串口模块用于读取 Wio Terminal 的输出。
步骤
-
使用
Arduino IDE将代码上传到 Wio Terminal。 -
拔掉用于上传代码的 USB Type-C 线缆。
-
将您的 键盘 连接到 OTG 适配器,然后连接到 Wio Terminal 的 USB-C 端口。
键盘->OTG 适配器->Wio Terminal(Type-C 端口)
-
按以下方式将 USB 转串口模块 连接到 Wio Terminal:
TXD(USB 转串口模块)->RXD(Wio Terminal 的引脚 10)RXD(USB 转串口模块)->TXD(Wio Terminal 的引脚 8)3.3V(USB 转串口模块)->3.3V(Wio Terminal 的引脚 1)GND(USB 转串口模块)->GND(Wio Terminal 的引脚 6)
-
将 USB 转串口模块连接到您的计算机。根据所使用的 USB 转串口模块,下载相应的 USB 驱动程序,以便您的计算机能够识别它。
-
对于 Windows 用户,您可以打开设备管理器检查是否被识别。应该会出现一个新的
COM端口。- 对于 Mac 用户,在终端中使用
ls /dev/cu.*检查模块的可用性。
- 对于 Mac 用户,在终端中使用
-
查看串口数据:
-
Windows: 下载并安装 PuTTY。选择
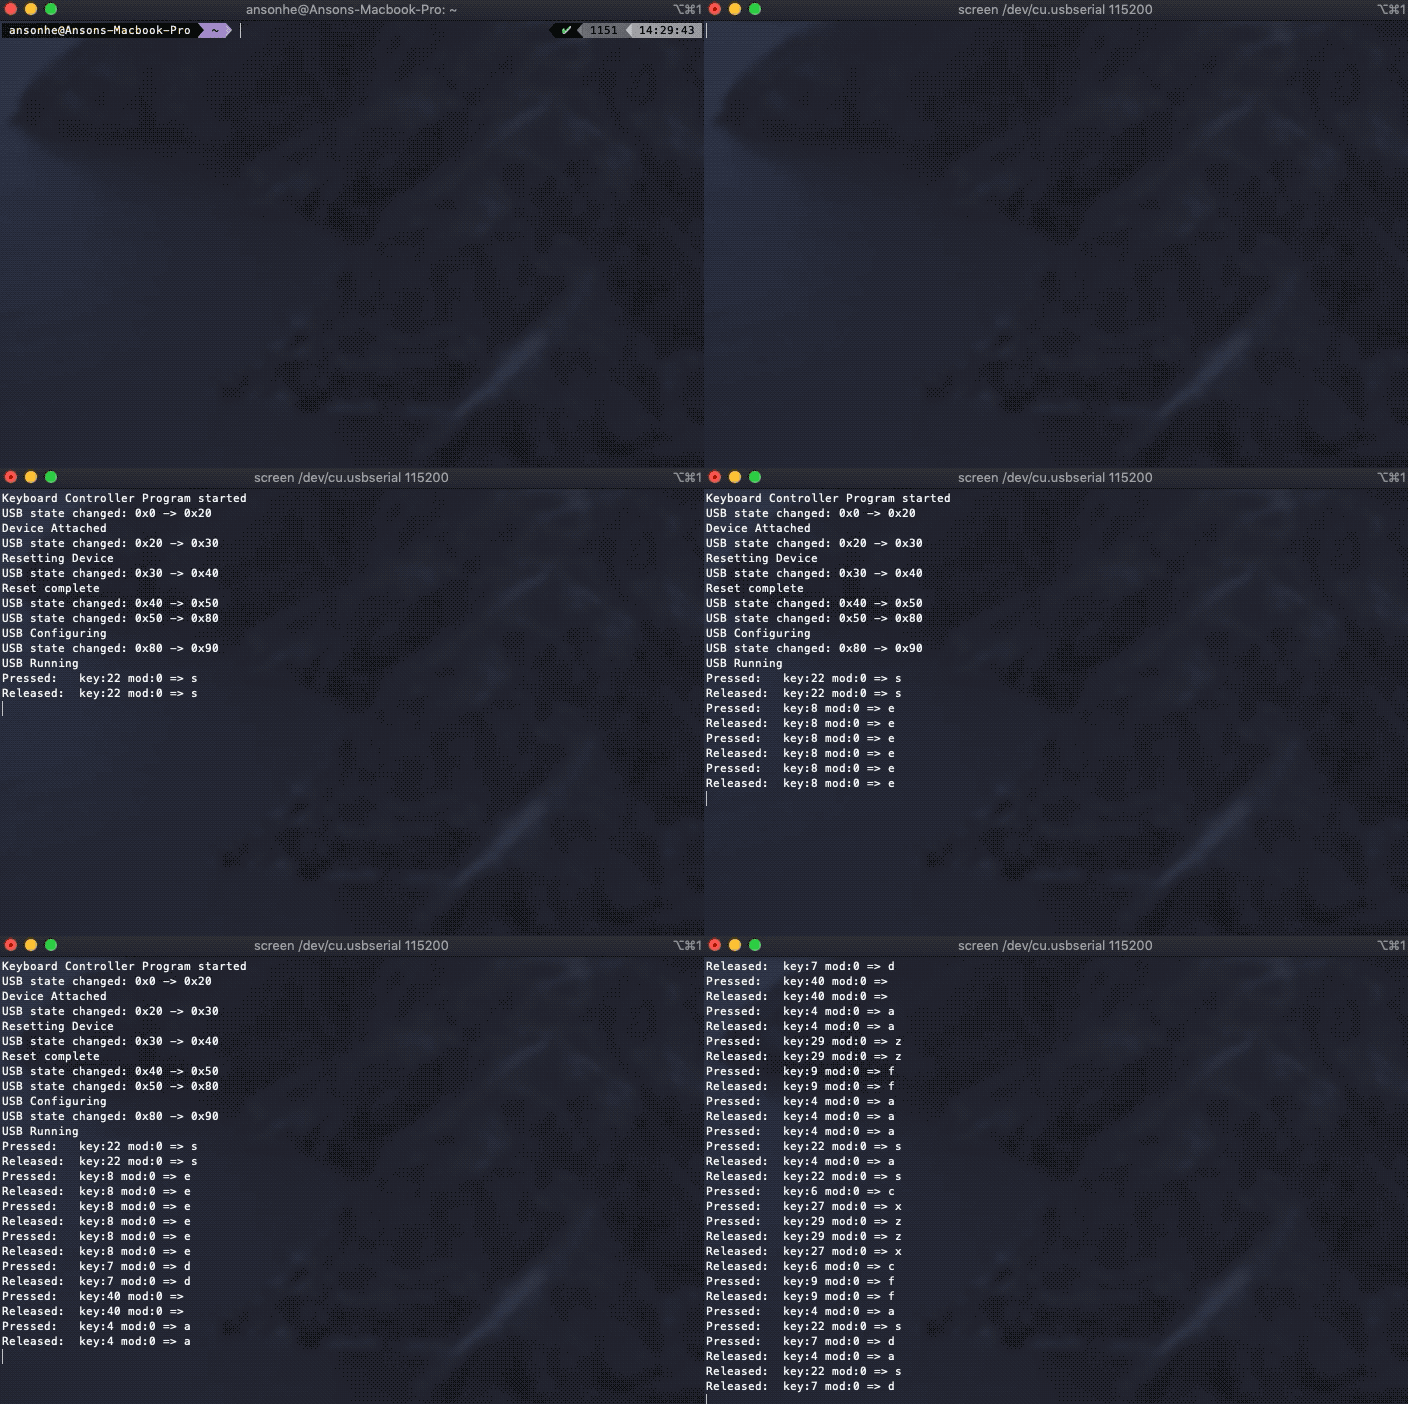
Serial,将串口线路中的COM更改为设备管理器中出现的 COM 端口,同时将速度更改为115200并按 Open。应该会出现一个终端。现在,如果您开始在连接的键盘上打字,您应该能看到串口输出! -
Mac: 打开终端并使用
brew install screen安装screen。安装完成后,使用命令screen /dev/cu.usbserial 115200,其中/dev/cu.usbserial应与上面的匹配。您应该能看到来自 Wio Terminal 的串口输出!
-
重要提示: 由于 Wio Terminal 的 USB 端口正在用于 USB 功能,要向 Wio Terminal 上传另一个程序需要通过按两次电源按钮进入引导加载程序模式(LED 会变暗),然后您应该能再次看到端口。
USB 主机配置
要在 Wio Terminal 上启用 USB 主机,您必须配置两个引脚。需要将 PIN_USB_HOST_ENABLE 设置为 LOW,将 OUTPUT_CTR_5V 设置为 HIGH。
您可以通过在 void setup() 中添加以下代码来简单实现:
digitalWrite(PIN_USB_HOST_ENABLE, LOW);
digitalWrite(OUTPUT_CTR_5V, HIGH);
完整代码
#include <KeyboardController.h>
#define SerialDebug Serial1


// Initialize USB Controller
USBHost usb;

// Attach keyboard controller to USB
KeyboardController keyboard(usb);

void printKey();

// This function intercepts key press
void keyPressed() {
  SerialDebug.print("Pressed:  ");
  printKey();
}

// This function intercepts key release
void keyReleased() {
  SerialDebug.print("Released: ");
  printKey();
}

void printKey() {
  // getOemKey() returns the OEM-code associated with the key
  SerialDebug.print(" key:");
  SerialDebug.print(keyboard.getOemKey());

  // getModifiers() returns a bits field with the modifiers-keys
  int mod = keyboard.getModifiers();
  SerialDebug.print(" mod:");
  SerialDebug.print(mod);

  SerialDebug.print(" => ");

  if (mod & LeftCtrl)
    SerialDebug.print("L-Ctrl ");
  if (mod & LeftShift)
    SerialDebug.print("L-Shift ");
  if (mod & Alt)
    SerialDebug.print("Alt ");
  if (mod & LeftCmd)
    SerialDebug.print("L-Cmd ");
  if (mod & RightCtrl)
    SerialDebug.print("R-Ctrl ");
  if (mod & RightShift)
    SerialDebug.print("R-Shift ");
  if (mod & AltGr)
    SerialDebug.print("AltGr ");
  if (mod & RightCmd)
    SerialDebug.print("R-Cmd ");

  // getKey() returns the ASCII translation of OEM key
  // combined with modifiers.
  SerialDebug.write(keyboard.getKey());
  SerialDebug.println();
}

uint32_t lastUSBstate = 0;

void setup()
{
  SerialDebug.begin( 115200 );
  SerialDebug.println("Keyboard Controller Program started");

  if (usb.Init())
   SerialDebug.println("USB host did not start.");

  delay( 20 );

  //Coqnfigure pins to enable USB Host on Wio Terminal
  digitalWrite(PIN_USB_HOST_ENABLE, LOW);
  digitalWrite(OUTPUT_CTR_5V, HIGH);

}

void loop()
{
  // Process USB tasks
  usb.Task();

  uint32_t currentUSBstate = usb.getUsbTaskState();
  if (lastUSBstate != currentUSBstate) {
    SerialDebug.print("USB state changed: 0x");
    SerialDebug.print(lastUSBstate, HEX);
    SerialDebug.print(" -> 0x");
    SerialDebug.println(currentUSBstate, HEX);
    switch (currentUSBstate) {
      case USB_ATTACHED_SUBSTATE_SETTLE: SerialDebug.println("Device Attached"); break;
      case USB_DETACHED_SUBSTATE_WAIT_FOR_DEVICE: SerialDebug.println("Detached, waiting for Device"); break;
      case USB_ATTACHED_SUBSTATE_RESET_DEVICE: SerialDebug.println("Resetting Device"); break;
      case USB_ATTACHED_SUBSTATE_WAIT_RESET_COMPLETE: SerialDebug.println("Reset complete"); break;
      case USB_STATE_CONFIGURING: SerialDebug.println("USB Configuring"); break;
      case USB_STATE_RUNNING: SerialDebug.println("USB Running"); break;
    }
    lastUSBstate = currentUSBstate;
  }
}