为 reComputer Super 构建并烧录 Yocto 镜像
本指南将为 搭载 Jetson Orin NX 16GB 模组的 reComputer Super J401 构建 Seeed Yocto 镜像,并将其烧录到 Jetson 的 NVMe 硬盘上。
本示例使用 seeed-image-jetson-development。该镜像在目标端提供一个开发环境,包含 CUDA Toolkit 和 nvcc、CUDA/cuDNN/TensorRT/VPI/OpenCV 开发文件、构建和调试工具、NVIDIA 示例以及测试软件包。

这是一个 OpenEmbedded/Yocto 系统,而不是通过 NVIDIA SDK Manager 安装的 Ubuntu 根文件系统。软件包管理、文件系统内容以及桌面环境都与 JetPack Ubuntu 不同。
前置条件
准备以下内容:
- 一台 x86_64 Linux 主机 PC,最好是物理机上的 Ubuntu 或 Debian
- 至少 16 GB 内存;推荐 32 GB 或更多
- 一块快速的本地 SSD 和稳定的互联网连接
- 一台搭载受支持 Jetson Orin NX 或 Orin Nano 模组的 reComputer Super
- 一根直接连接到主机 PC 的 USB Type-C 数据线
- 拥有用于安装主机软件包和执行烧录的
sudo权限
请在主机 PC 上预留至少 400 GB 的可用磁盘空间。Yocto 的下载内容、共享状态缓存、临时构建文件、根文件系统以及解压后的烧录包会占用数百 GB 的空间。强烈建议使用主机本地 SSD。
安装常用的主机依赖软件包:
sudo apt update
sudo apt install -y \
  gawk wget git diffstat unzip texinfo gcc build-essential chrpath socat cpio \
  python3 python3-pip python3-pexpect python3-git python3-jinja2 \
  xz-utils debianutils iputils-ping libegl1-mesa libsdl1.2-dev \
  pylint xterm zstd liblz4-tool file locales \
  gdisk parted udev udisks2
如果 BitBake 报告主机发行版不受支持,请使用 Yocto 支持的 Linux 主机,而不是忽略主机验证警告。
本指南使用的模组 SKU
reComputer Super J401 支持以下 P3767 模组 SKU:
--module-sku | 完整模组编号 | Jetson 模组 |
|---|---|---|
0000 | P3767-0000 | Jetson Orin NX 16GB |
0001 | P3767-0001 | Jetson Orin NX 8GB |
0003 | P3767-0003 | Jetson Orin Nano 8GB |
0004 | P3767-0004 | Jetson Orin Nano 4GB |
本指南使用 0000。请始终为每一种载板与模组 SKU 组合使用单独的构建目录。
克隆 Seeed Yocto 仓库
创建一个干净的工作区并克隆 master 分支:
mkdir -p ~/work/jetson-yocto
cd ~/work/jetson-yocto

git clone \
  --branch master \
  --single-branch \
  https://github.com/jjjadand/seeed-tegra-demo-distro.git \
  tegra-demo-distro

cd tegra-demo-distro
主仓库包含 Seeed 的元数据和辅助脚本。prepare-workspace.sh 会将固定版本的 OpenEmbedded 和 OE4T layer 初始化为 Git 子模块。
使用 all 构建完整开发镜像
推荐的首次构建方式是使用 build.sh all。它会依次校验元数据、构建设备树、检查启动文件,并构建完整镜像和 tegraflash 压缩包。
准备构建目录
./scripts/seeed/prepare-workspace.sh \
  --machine recomputer-orin-super-j401 \
  --module-sku 0000 \
  --build-dir build-seeed-super-j401-sku0000 \
  --cache-dir "$HOME/.cache/yocto-seeed"
共享缓存会将下载内容和 sstate 保存在构建目录之外,以便后续构建复用。
确认当前生效的构建目录、载板和模组 SKU:
./scripts/seeed/build.sh current \
  --build-dir build-seeed-super-j401-sku0000 \
  --machine recomputer-orin-super-j401
输出必须显示:
Machine:   recomputer-orin-super-j401
Module SKU: 0000

如果显示的 MACHINE 或模组 SKU 与实际硬件不匹配,请不要继续。不要将该构建目录复用于其他载板或模组 SKU。
运行完整构建
构建目标端开发镜像:
./scripts/seeed/build.sh all \
  --build-dir build-seeed-super-j401-sku0000 \
  --machine recomputer-orin-super-j401 \
  --image seeed-image-jetson-development
首次构建会下载并编译大量组件,可能需要数小时。如果元数据校验、设备树编译、启动文件检查或镜像构建任一环节失败,该命令会立即停止。
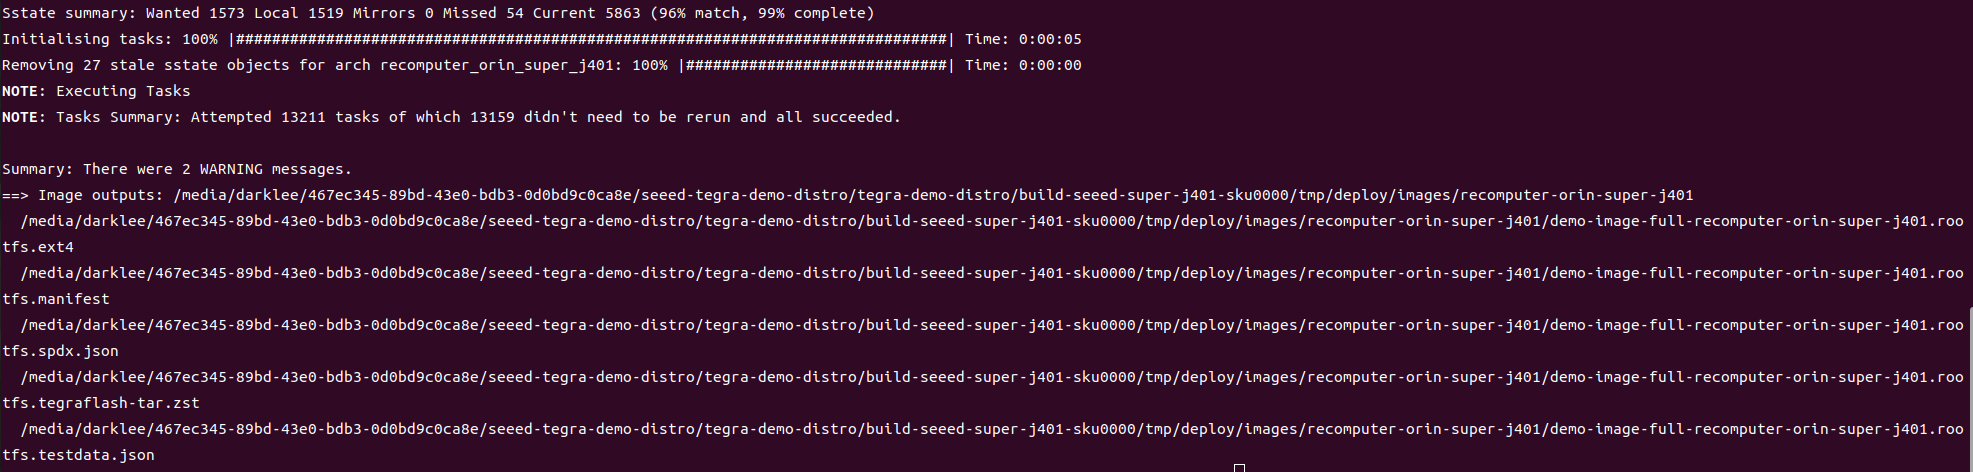
当四个阶段全部成功完成后,终端输出类似如下:
成功构建后,部署目录为:
build-seeed-super-j401-sku0000/tmp/deploy/images/recomputer-orin-super-j401/
重要的生成文件包括:
seeed-image-jetson-development-recomputer-orin-super-j401.rootfs.ext4
seeed-image-jetson-development-recomputer-orin-super-j401.rootfs.manifest
seeed-image-jetson-development-recomputer-orin-super-j401.rootfs.spdx.json
seeed-image-jetson-development-recomputer-orin-super-j401.rootfs.testdata.json
seeed-image-jetson-development-recomputer-orin-super-j401.rootfs.tegraflash-tar.zst
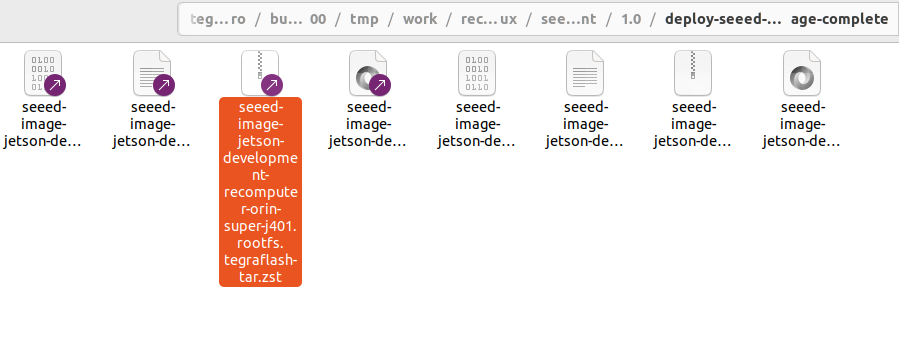
.tegraflash-tar.zst 文件是用于烧录的自包含压缩包。
准备烧录目录
解压并校验开发镜像的烧录压缩包:
./scripts/seeed/prepare-flash.sh \
  --build-dir build-seeed-super-j401-sku0000 \
  --machine recomputer-orin-super-j401 \
  --image seeed-image-jetson-development \
  --output-dir "$HOME/seeed-flash-recomputer-orin-super-j401-sku0000"
辅助脚本会验证模组 SKU,并检查根文件系统镜像、DTB、BPMP DTB、pinmux、引脚电压配置以及烧录脚本是否存在。随后会打印已准备好的目录以及下一步要执行的精确命令。
请在主机本地 SSD 上使用一个新的或空的输出目录。不要将烧录包解压到 Jetson 目标硬盘上。
将 reComputer Super 置于强制恢复模式
- 关闭 reComputer Super 电源。
- 将 reComputer Super 的恢复拨码开关拨到 RESET 位置。
- 接通电源适配器。
- 使用一根支持数据传输的 USB Type-C 线,将设备/调试端口连接到 Linux 主机。
- 在主机 PC 上验证恢复模式:
lsusb -d 0955:
对于本指南使用的 Orin NX 16GB 模组,输出中应包含类似如下的设备:
0955:7323 NVIDIA Corp. APX
其他受支持的 Super 模组使用不同的 USB 产品 ID:
| 模组 | 恢复模式 USB ID |
|---|---|
| Orin NX 16GB | 0955:7323 |
| Orin NX 8GB | 0955:7423 |
| Orin Nano 8GB | 0955:7523 |
| Orin Nano 4GB | 0955:7623 |
在看到 NVIDIA APX 设备之前,请不要开始烧录。
烧录 Yocto 镜像
在已准备好的目录中运行生成的烧录脚本:
cd "$HOME/seeed-flash-recomputer-orin-super-j401-sku0000"
sudo ./initrd-flash
该脚本会通过 USB 启动一个临时 initrd 烧录系统,将目标 NVMe 硬盘暴露给主机,写入分区,并获取最终设备状态。在脚本运行期间,请勿断开 USB 或电源。
成功烧录后,输出结尾类似如下:
[OK: /dev/sdX]
Final status: SUCCESS
Successfully finished
临时使用的主机块设备名称是动态分配的。不要假设它总是 /dev/sdb 或 /dev/sdc。
首次启动
在烧录命令成功完成后:
- 断开 USB 数据线。
- 将恢复拨码开关从 RESET 拨回正常位置。
- 将设备断电数秒。
- 连接 HDMI 显示器并重新启动 reComputer Super。
Yocto 桌面应当从已烧录的 NVMe 硬盘启动:
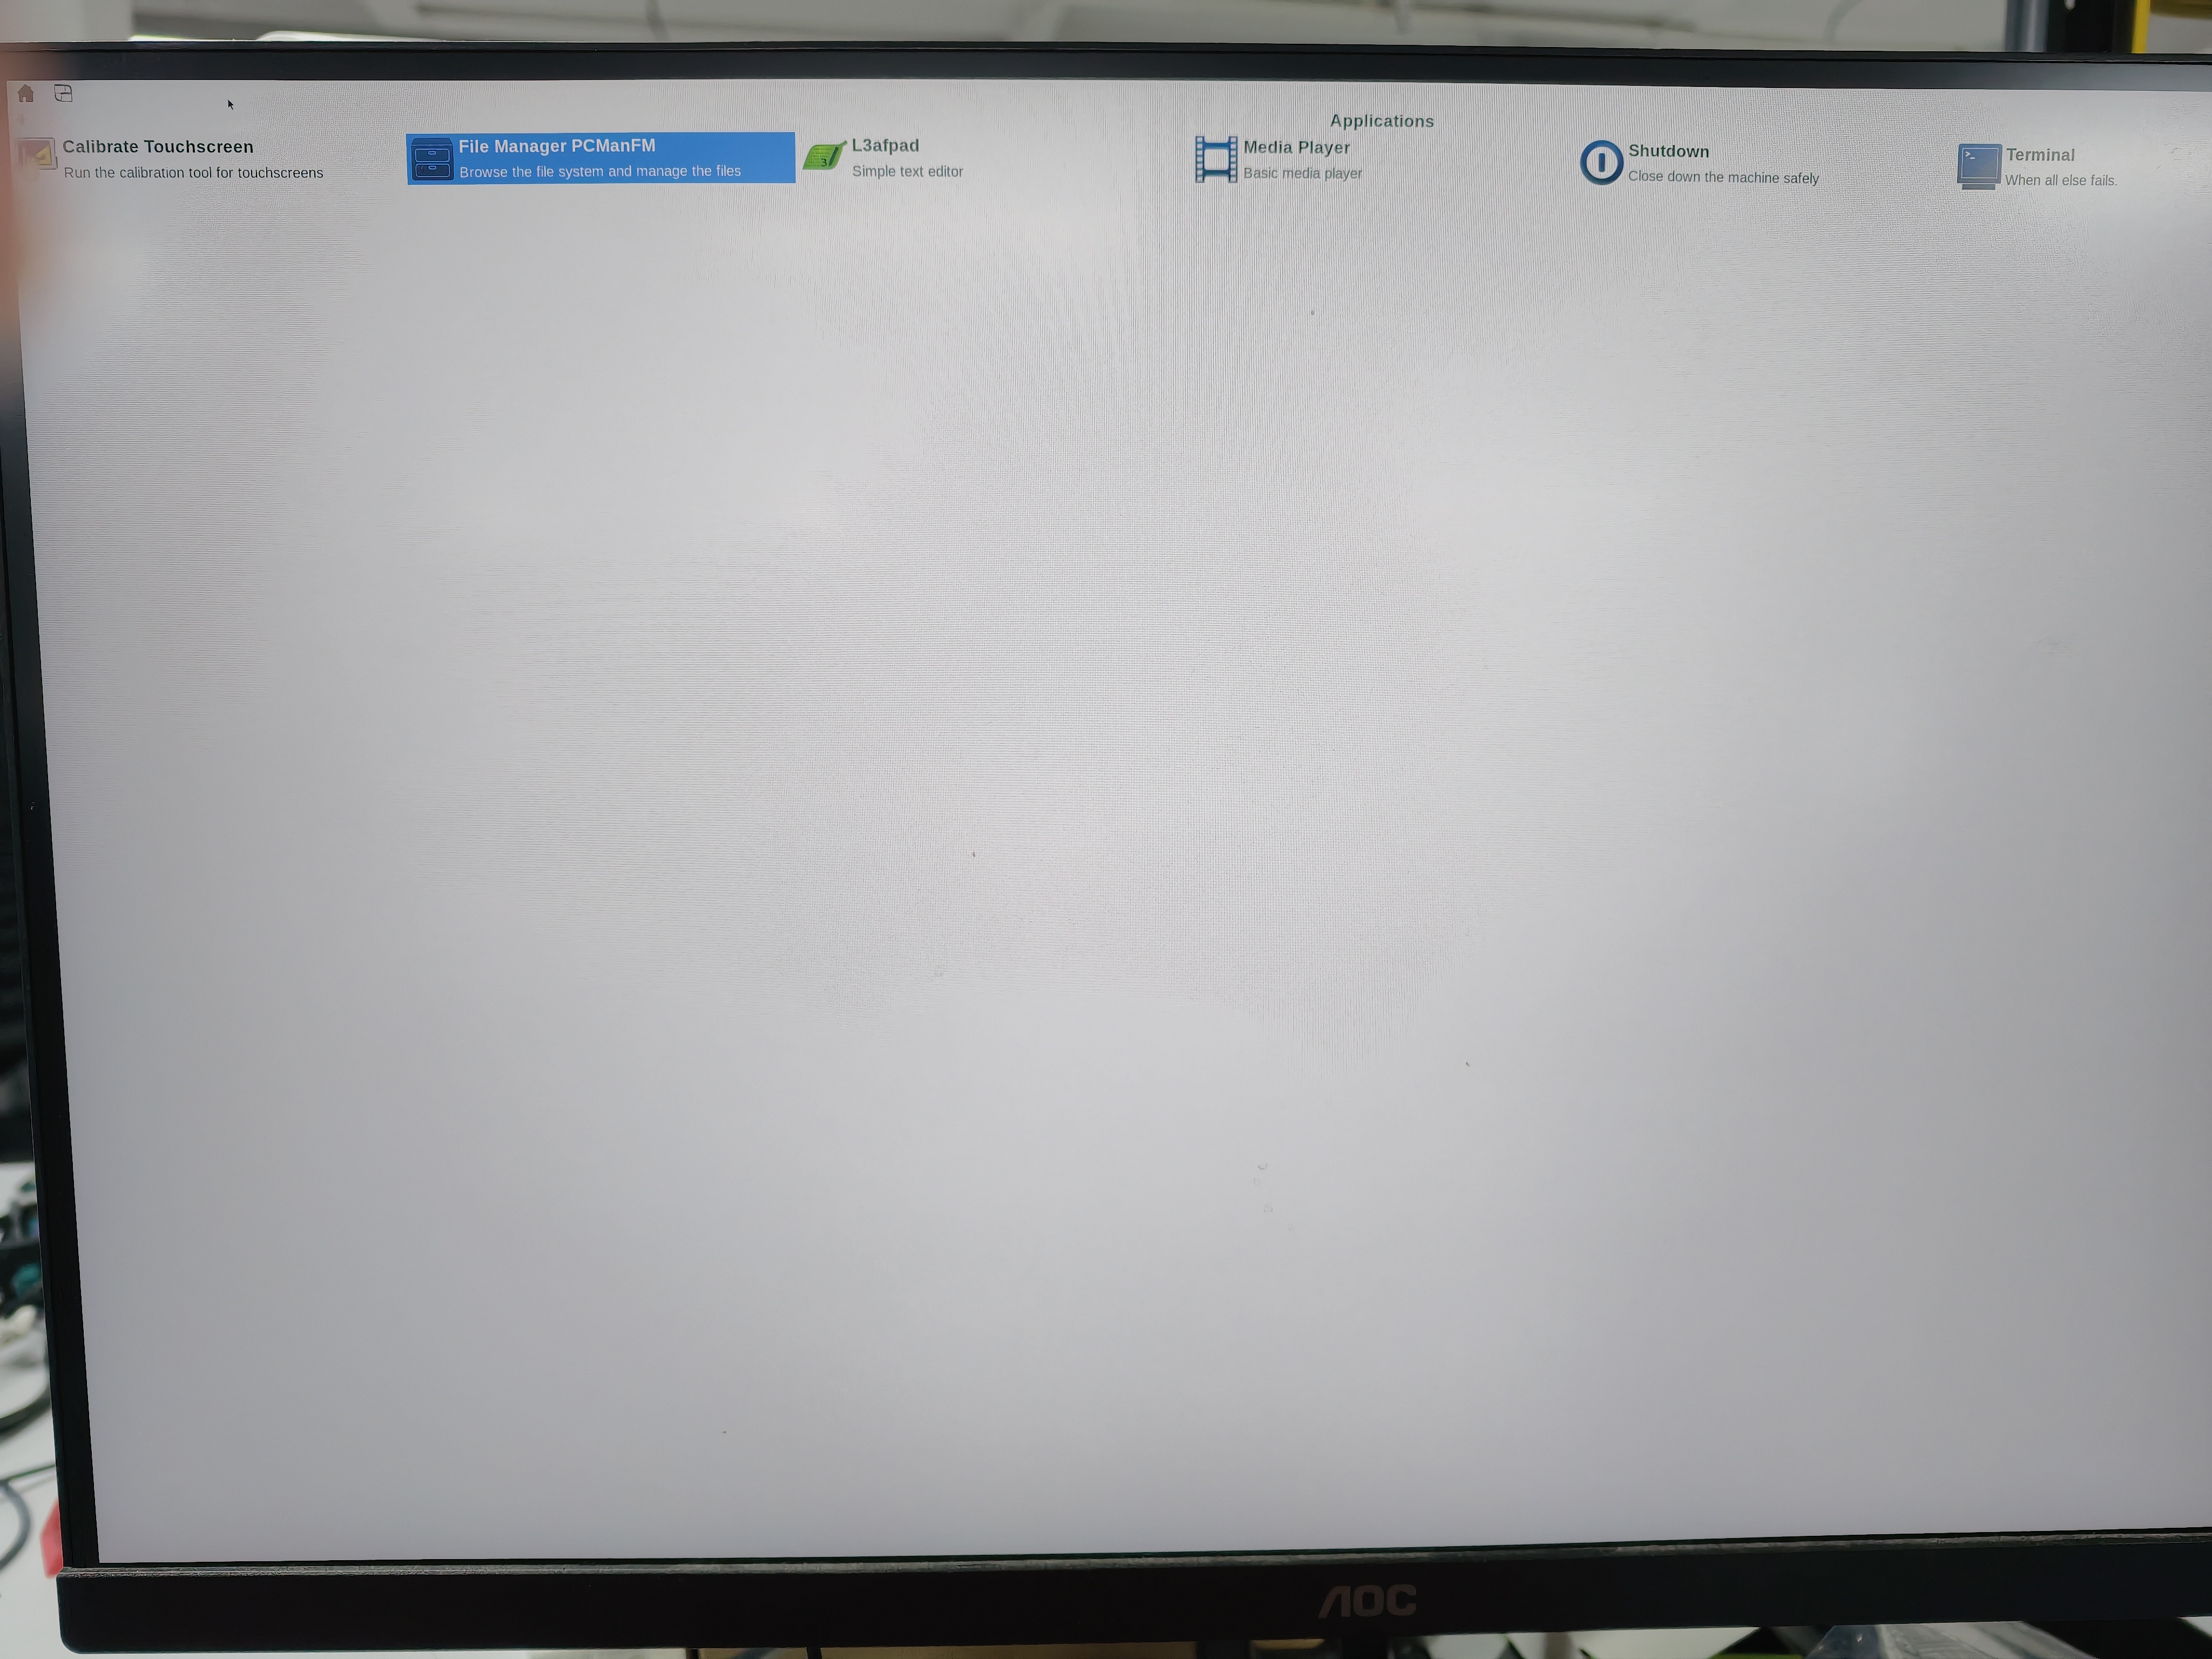
开发镜像允许以 root 用户在本地登录,初始密码为空。请立即设置密码:
passwd
验证目标端开发环境:
nvcc --version
gcc --version
cmake --version

test -f /usr/local/cuda-13.2/include/cuda.h
test -f /usr/include/cudnn.h
test -f /usr/include/NvInfer.h
test -f /opt/nvidia/vpi4/include/vpi/VPI.h
pkg-config --modversion opencv4
详细的参数化构建命令
上一节使用了 all,这是首次构建推荐的路径。若需调试或仅重建某一阶段,可显式运行相同的工作流:
# 1. Validate metadata and print the selected BSP variables
./scripts/seeed/build.sh metadata \
  --build-dir build-seeed-super-j401-sku0000 \
  --machine recomputer-orin-super-j401 \
  --image seeed-image-jetson-development

# 2. Build the Seeed DTB and DTBO files
./scripts/seeed/build.sh dtb \
  --build-dir build-seeed-super-j401-sku0000 \
  --machine recomputer-orin-super-j401 \
  --image seeed-image-jetson-development

# 3. Install and verify the custom BCT, pinmux, and boot files
./scripts/seeed/build.sh bootfiles \
  --build-dir build-seeed-super-j401-sku0000 \
  --machine recomputer-orin-super-j401 \
  --image seeed-image-jetson-development

# 4. Build the complete root filesystem and tegraflash archive
./scripts/seeed/build.sh image \
  --build-dir build-seeed-super-j401-sku0000 \
  --machine recomputer-orin-super-j401 \
  --image seeed-image-jetson-development
如果根文件系统已经构建完成,只需要重新生成 tegraflash 压缩包,请使用:
./scripts/seeed/build.sh flash-package \
  --build-dir build-seeed-super-j401-sku0000 \
  --machine recomputer-orin-super-j401 \
  --image seeed-image-jetson-development
可选:构建 x86_64 交叉开发 SDK
已烧录的开发镜像已经支持在 Jetson 上直接编译。仅当需要在 x86_64 PC 上为目标设备进行交叉编译应用时,才需要构建主机 SDK:
./scripts/seeed/build.sh sdk \
  --build-dir build-seeed-super-j401-sku0000 \
  --machine recomputer-orin-super-j401 \
  --image seeed-image-jetson-development
生成的 SDK 安装程序位于:
build-seeed-super-j401-sku0000/tmp/deploy/sdk/
此可选安装程序不是构建 Jetson 镜像或刷写设备所必需的。
故障排查
构建目录报告的机器或 SKU 不正确
使用 prepare-workspace.sh 创建一个新的构建目录。不要通过编辑现有构建目录来切换载板或模组 SKU。
找不到刷机归档文件
确保在构建和刷机准备时传入的是相同的镜像名称:
seeed-image-jetson-development
prepare-flash.sh 默认使用 demo-image-full,因此如果省略 --image seeed-image-jetson-development,它会去查找错误的归档文件。
刷机停在 Waiting for USB storage device flashpkg
此时主机正在等待 Jetson 的 initrd 暴露一个临时的 USB 大容量存储设备。请检查 USB 线缆,使用主板上的 USB 接口,移除不必要的 USB 存储设备,并确认 Jetson 仍可通过 lsusb 被识别。
参考资料
技术支持与产品讨论
感谢您选择我们的产品!我们将为您提供多种支持,以确保您在使用我们产品时的体验尽可能顺畅。我们提供多种沟通渠道,以满足不同的偏好和需求。