将 BSP 与 Jetpack 刷写到选定的 Jetson
⚡ 刷写 Jetson Linux
为所有 Seeed Studio Jetson 设备提供简化的刷写流程。选择您的产品并按照下面的指导步骤操作。
🎯 选择您的设备

Check here for carrier board interface usage: interface usage
📥 下载
Link
File
SHA256
🔐 验证 SHA256(可选)
To verify the SHA256 hash of the downloaded file, run in terminal:
sha256sum mfi_xxxx.tar.gz
# For example:
# sha256sum mfi_recomputer-super-orin-nx-16g-j401-6.2-36.4.3-2025-05-22.tar
If the resulting hash matches the SHA256 hash provided in the wiki, it confirms that the firmware you downloaded is complete and intact.
🛠️ 准备要求
- Ubuntu Host Computer
- reComputer Super J4012 / J4011 / J3010 or J3011
- USB Type-C data transmission cable
We recommend that you use physical Ubuntu host devices instead of virtual machines.
Please refer to the table below to prepare the host machine.
| JetPack Version | Ubuntu Version (Host Computer) | ||
|---|---|---|---|
| 18.04 | 20.04 | 22.04 | |
| JetPack 6.x | ✅ | ✅ | |
🔄 进入恢复模式
Click the "step-by-step" to see how to enter recovery mode.
Step-by-Step
- Step 1. Switch the switch to the RESET mode.

- Step 2. Power up the carrier board by connecting the power cable.
- Step 3. Connect the board to the Ubuntu host PC with a USB Type-C data transmission cable.
- Step 4. On the Linux host PC, open a Terminal window and enter the command lsusb. If the returned content has one of the following outputs according to the Jetson SoM you use, then the board is in force recovery mode.
If the device is not detected, try the following:
- Reconnect the USB cable.
- Use a different USB port (preferably USB 2.0).
- Ensure the device is in recovery mode (press and hold Recovery + Reset).
After the device enters recovery mode, open a Terminal and run on the Linux host PC:
lsusb
If the output includes one of the following IDs, the board is in force recovery mode:
- For Orin NX 16GB:
0955:7323NVidia Corp - For Orin NX 8GB:
0955:7423NVidia Corp - For Orin Nano 8GB:
0955:7523NVidia Corp - For Orin Nano 4GB:
0955:7623NVidia Corp
The below image is for Orin Nano 8GB:

📦 安装依赖项
在您的主机 PC 上安装所需的刷写依赖项:
sudo apt-get update && \
sudo apt-get install -y abootimg \
                        binfmt-support \
                        binutils \
                        cpp \
                        device-tree-compiler \
                        dosfstools \
                        lbzip2 \
                        libxml2-utils \
                        nfs-kernel-server \
                        python3-yaml \
                        qemu-user-static \
                        sshpass \
                        udev \
                        uuid-runtime \
                        whois \
                        openssl \
                        cpio \
                        rsync \
                        zstd
Ubuntu 18.04 及以下版本
sudo apt-get install -y liblz4-tool
Ubuntu 20.04 / 22.04 及以上版本
sudo apt-get install -y lz4
🚀 解压和刷写
Step 1: Extract the downloaded image file on the Ubuntu host PC:
cd <path-to-image>
sudo tar xpf  mfi_xxxx.tar.gz
# For example:
# sudo tar xpf mfi_recomputer-super-orin-nx-16g-j401-6.2-36.4.3-2025-05-22.tar
Step 2: Execute the following command to flash JetPack system to the NVMe SSD:
cd mfi_xxxx
# For example:
# cd mfi_recomputer-orin-super-j401
sudo ./tools/kernel_flash/l4t_initrd_flash.sh --flash-only --massflash 1 --network usb0 --showlogs
You will see the following output if the flashing process is successful:

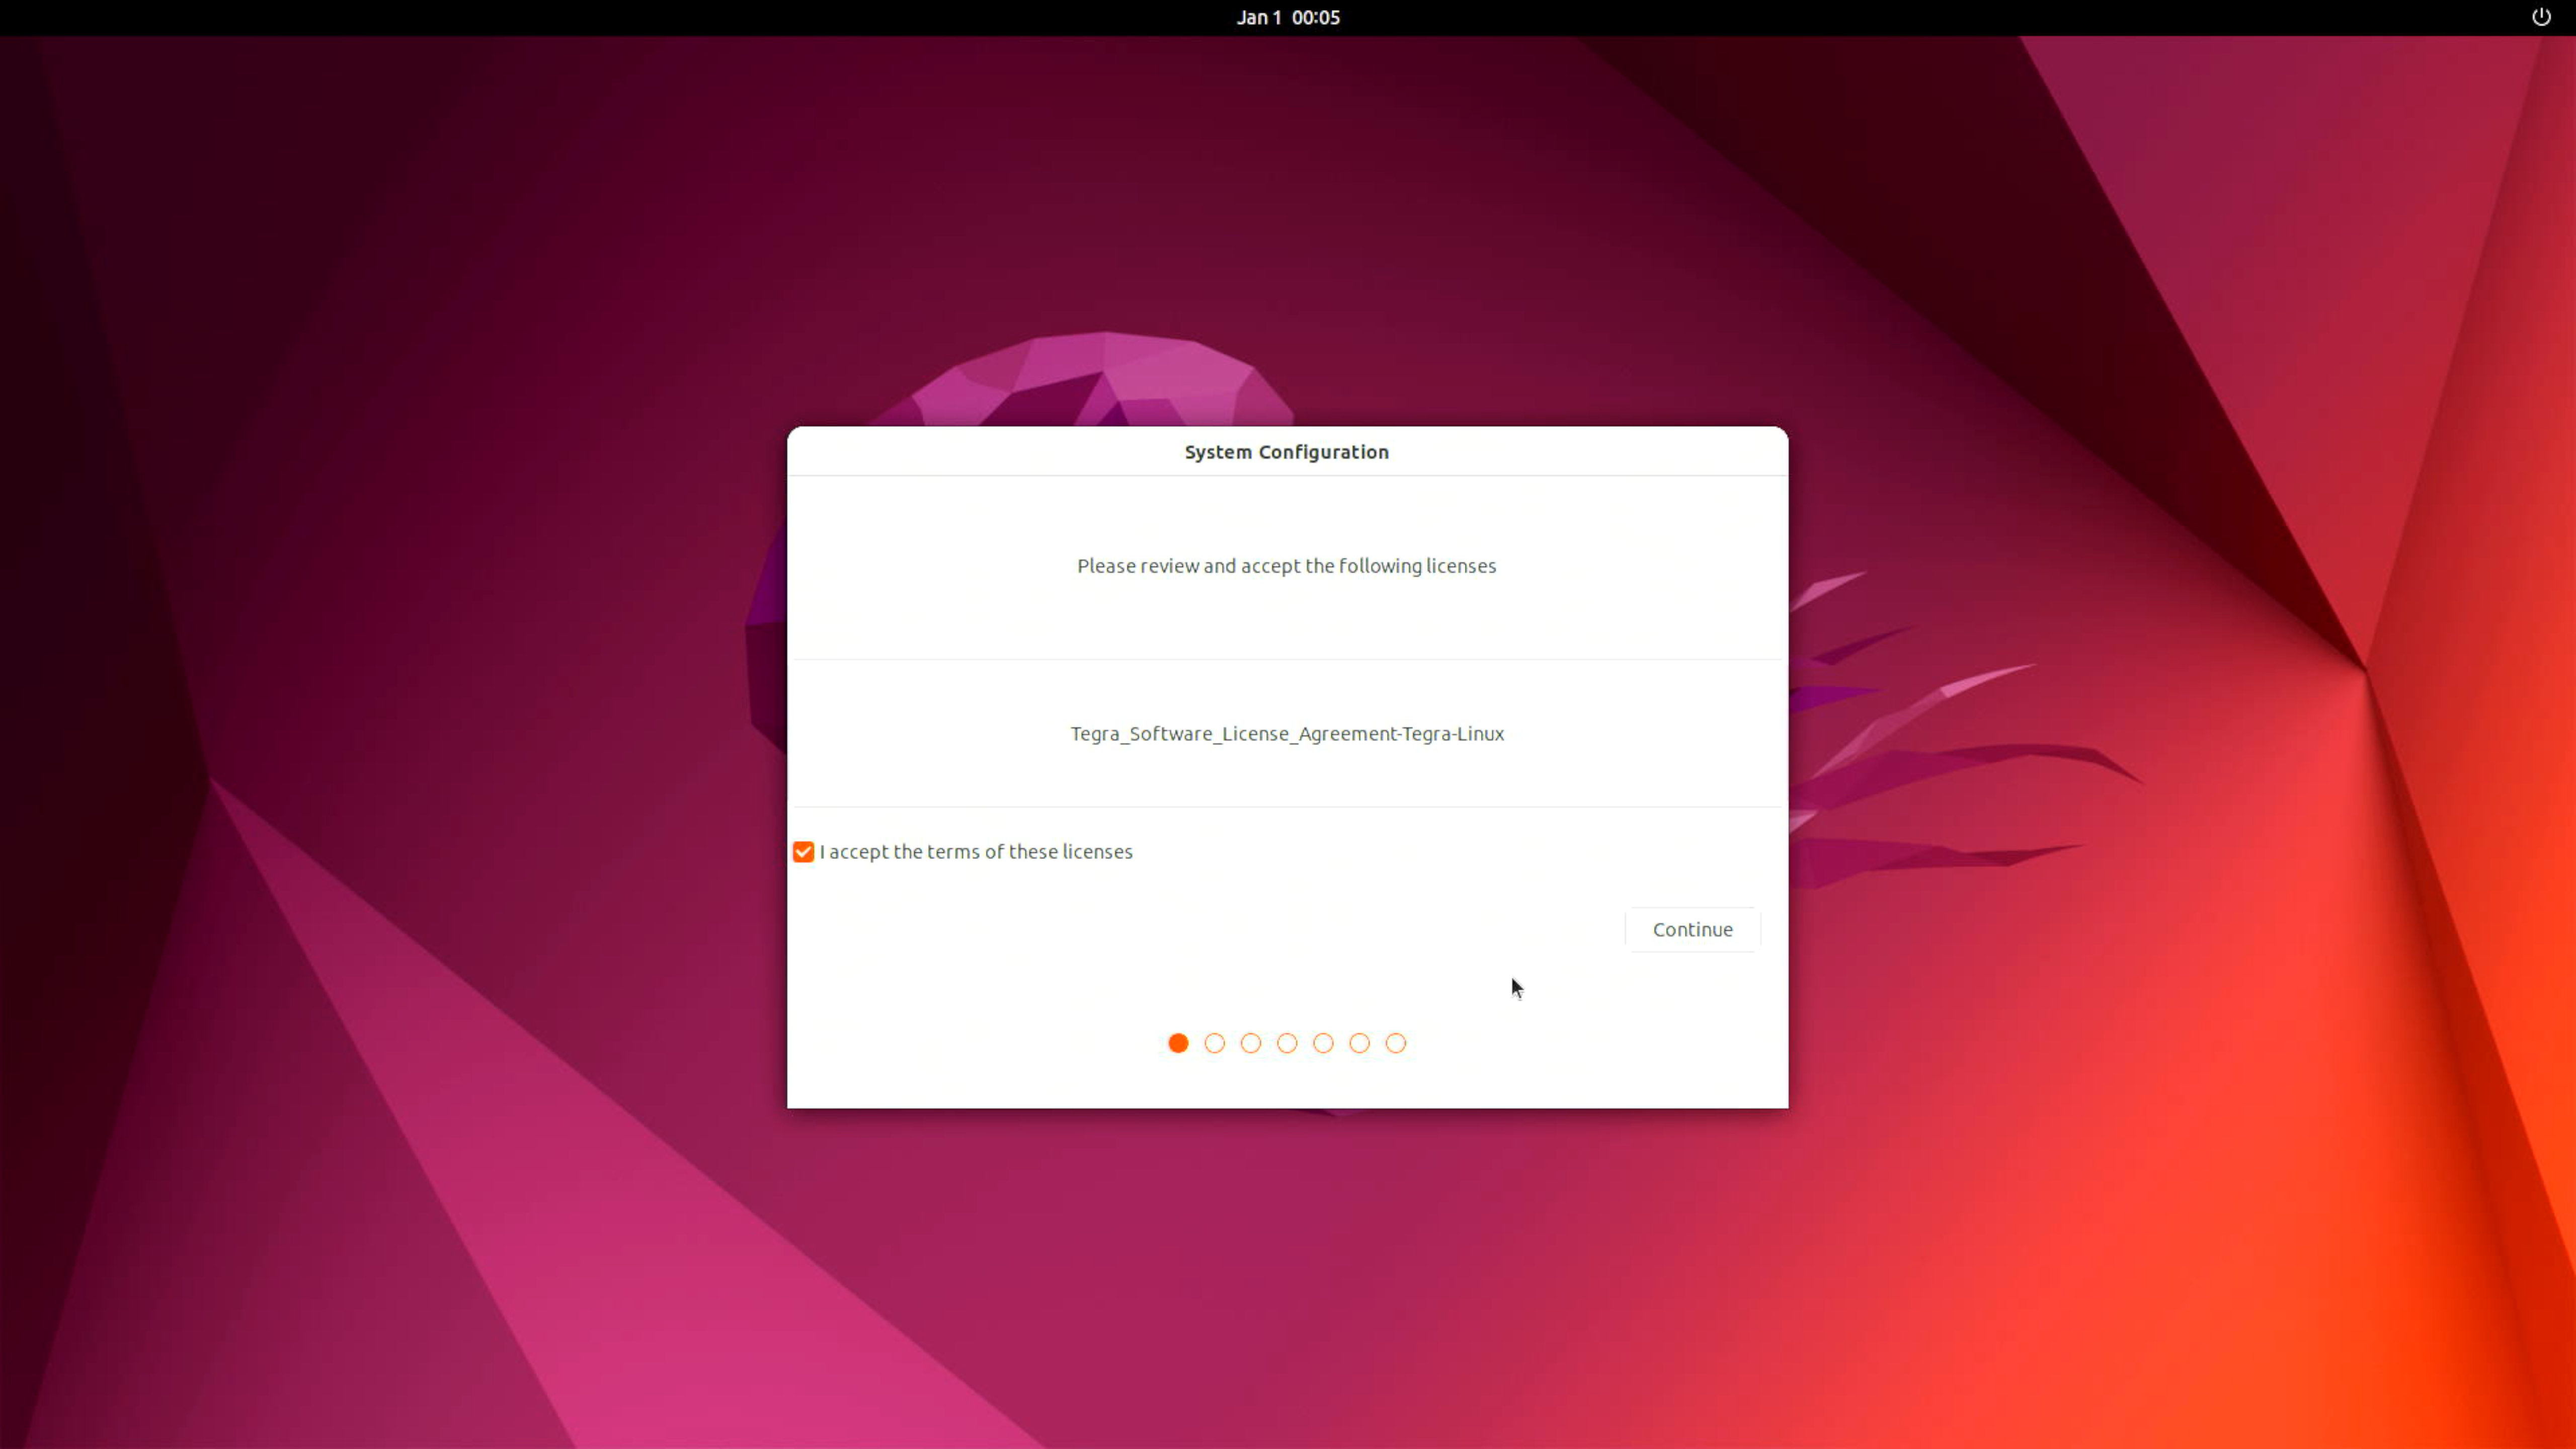
Step 3: Connect the Jetson to a display using the connector on the board (HDMI or Type-C, depending on your carrier board) and finish the initial configuration setup:

Step 4 (Optional): Install Nvidia Jetpack SDK
Please open the terminal on the Jetson device and execute the following commands:
sudo apt update
sudo apt install nvidia-jetpack
📚 资源和示例
🚀 入门指南
完整的 Jetson 开发初学者指南,包含实用示例和教程。
💡 代码示例
适用于 AI、计算机视觉和机器人应用的即用代码示例。
🔧 源代码
访问 Seeed 定制的 Linux for Tegra (L4T) 源代码和修改。
🤝 技术支持与产品讨论
感谢您选择我们的产品!我们在这里为您提供不同的支持,以确保您使用我们产品的体验尽可能顺畅。我们提供多种沟通渠道,以满足不同的偏好和需求。