使用 reCamera 的 Home Assistant 入门指南
简介
Home Assistant 是一个开源智能家居平台系统,用户可以轻松地将自己的物联网设备连接到系统中进行统一管理。然而,Home Assistant 的主要特点不仅仅是实现各种传感设备的查看,而是实现跨平台设备的自动联动,只有这样的智能家居平台才足以具有活力。
硬件准备
一台 reCamera(可以是 2002 系列中的任何一款、HQ POE 版本或云台版本,但请注意 POE 版本没有 WiFi 功能,需要连接具有 POE 功能的交换机在同一网段内)
一台 reComputer(任何版本都可以,这里我使用 reComputer AI R2130-12 作为示例)
一台计算机
| reCamera 2002 系列 | reCamera 云台 | reCamera HQ POE | reComputer AI R2000 系列 |
|---|---|---|---|
 | 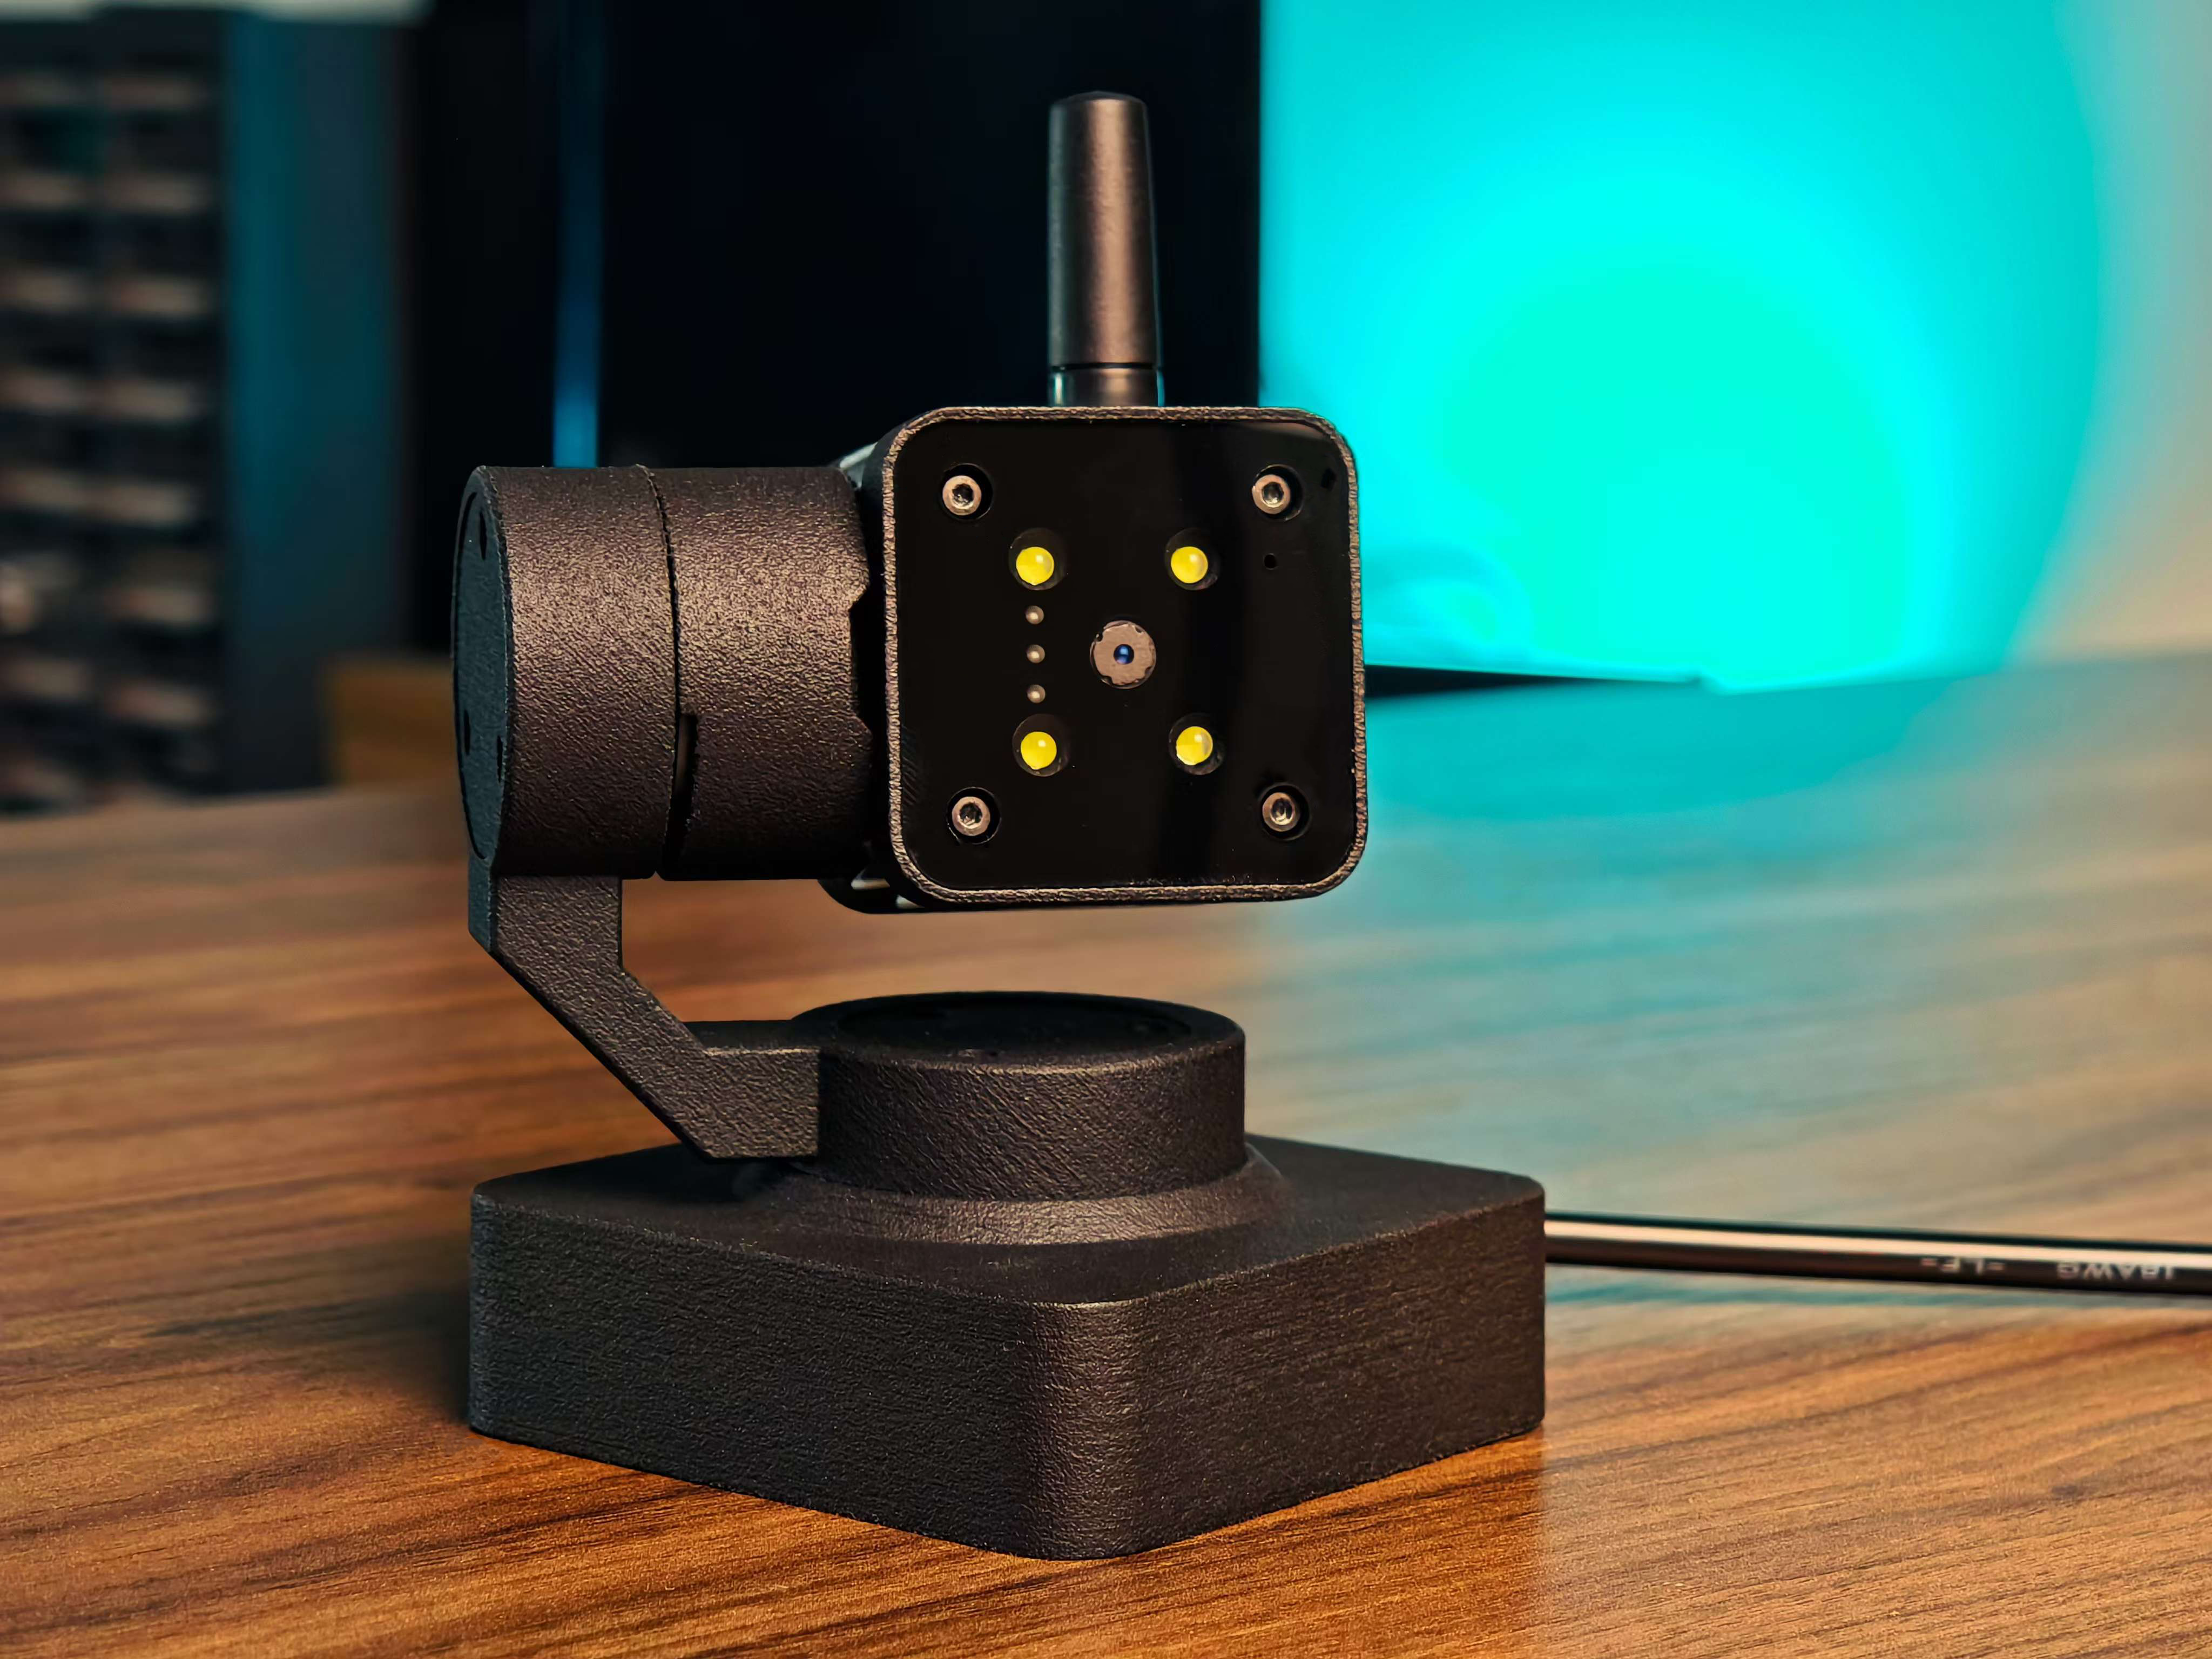 | 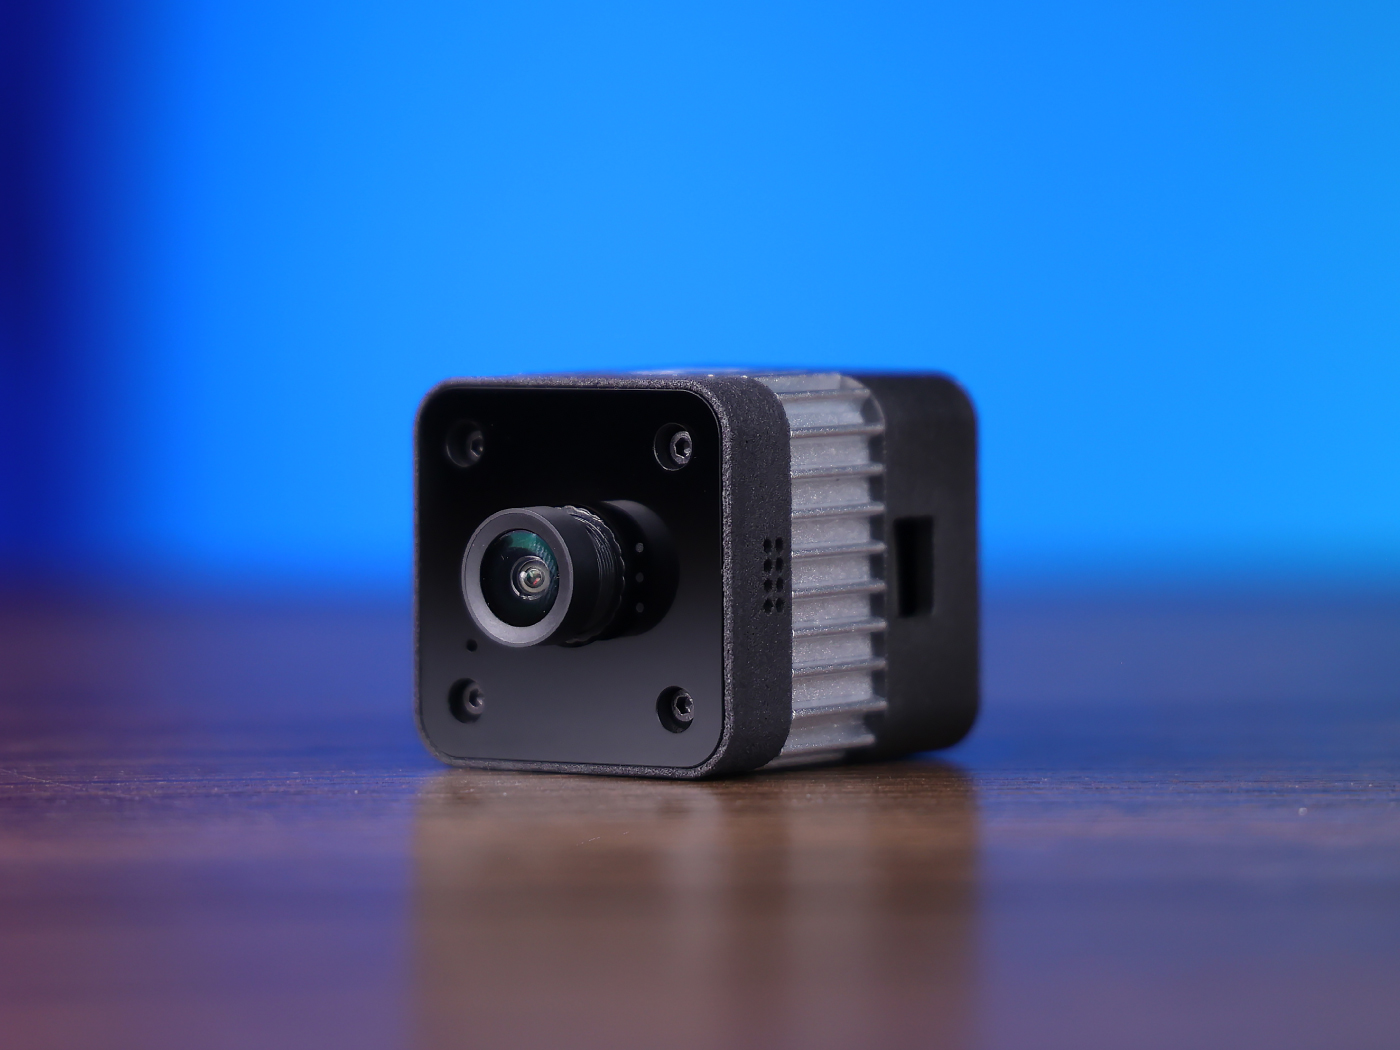 |  |
Home Assistant 安装(以 reComputer AI R2130-12 为例)
系统准备
如果已经安装了 Home Assistant,请直接跳转到"查找配置文件路径"步骤进行后续配置。
1.更新系统
sudo apt update && sudo apt upgrade -y
2.安装必要的依赖项
sudo apt install -y ca-certificates curl gnupg lsb-release
安装 Docker
1.官方脚本安装
curl -fsSL https://get.docker.com | sh
2.允许当前用户使用 Docker
sudo usermod -aG docker $USER
3.重启系统使权限生效
sudo reboot
4.验证安装
docker run hello-world
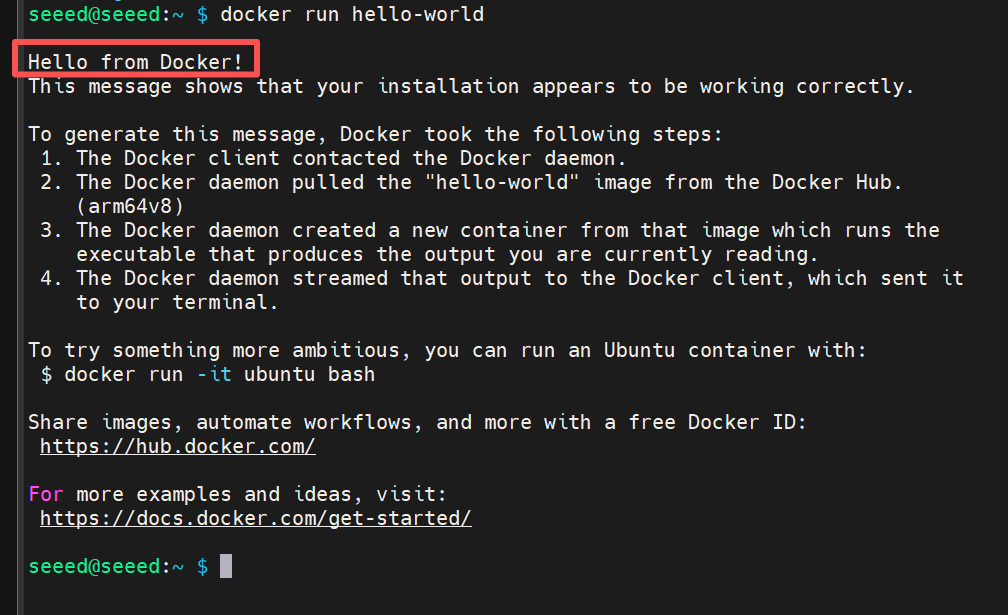
如果您看到"Hello from Docker!"字样,表示安装成功。
安装 Home Assistant(容器模式)
- 创建挂载目录 为了持久化配置文件:
mkdir -p ~/homeassistant/config
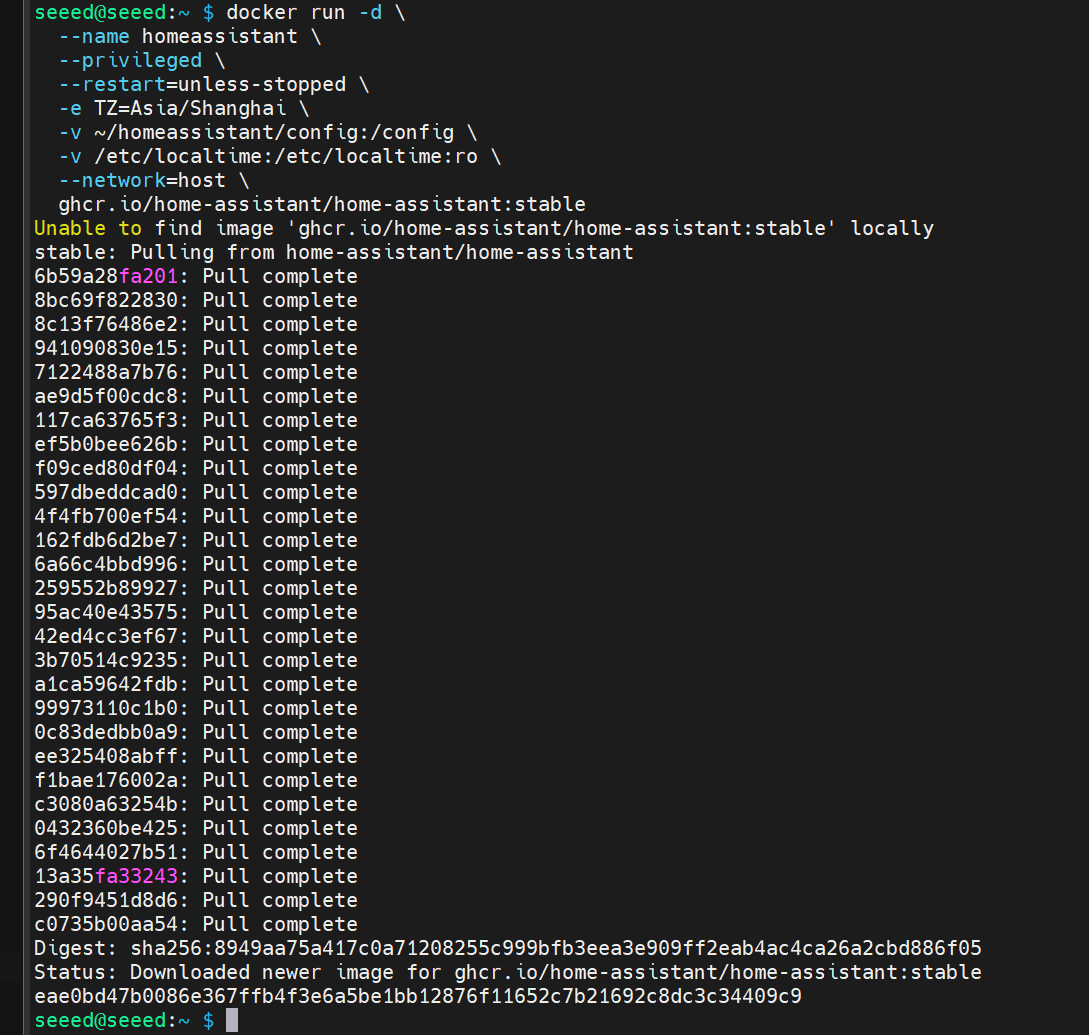
- 启动容器
运行以下命令启动 Home Assistant
(此步骤可能需要一段时间,速度取决于您的网络)
docker run -d \
  --name homeassistant \
  --privileged \
  --restart=unless-stopped \
  -e TZ=Asia/Shanghai \
  -v ~/homeassistant/config:/config \
  -v /etc/localtime:/etc/localtime:ro \
  --network=host \
  ghcr.io/home-assistant/home-assistant:stable
参数说明:
--network=host:Home Assistant 可以直接访问主机网络(自动设备发现所必需)-v ~/homeassistant/config:/config:保存配置文件--restart=unless-stopped:自动重启--privileged:启用硬件访问(USB Zigbee/Z-Wave 等)
访问 Home Assistant
- 检查 IP
hostname -I
- 访问浏览器
Docker 启动后,等待 1 到 2 分钟,然后在浏览器中访问:
http://<your IP>:8123
例如:
http://192.168.1.88:8123
初次启动将引导您进入初始化界面。然后您可以开始创建账户并配置您的智能家居。
查找配置文件路径
Home Assistant 的所有配置都保存在:
/homeassistant/config/
您可以通过以下指令查看:
cd /homeassistant/config
ls
您将看到这些文档:
automations.yaml configuration.yaml scripts.yaml ...
配置自动化以接收 reCamera 数据
- 安装 nano 编辑器
sudo apt install nano -y
- 编辑
automations.yaml:
sudo nano /homeassistant/config/automations.yaml
将内容替换为:
- alias: "ReCamera Detection"
  description: "Receive the detection results from ReCamera"
  trigger:
    - platform: webhook
      webhook_id: recamera_detection

  action:
    - service: input_text.set_value
      target:
        entity_id: input_text.recamera_people_raw
      data:
        value: "{{ trigger.json.payload }}"

  mode: single
保存并退出:
- Ctrl + O → Enter(保存)
- Ctrl + X(退出)
- 编辑 configuration.yaml:
sudo nano /homeassistant/config/configuration.yaml
将内容替换为:
# ==========================
# Basic Configuration of Home Assistant
# ==========================

# Load default integration (do not delete)
default_config:

# Load the front-end theme
frontend:
  themes: !include_dir_merge_named themes

# Load the independent configuration file
automation: !include automations.yaml
script: !include scripts.yaml
scene: !include scenes.yaml


# ==========================
# ReCamera Physical Configuration Section
# ==========================

# Define an "input_text" entity to store the latest detection results from ReCamera.
input_text:
  recamera_people_raw:
    name: Original detection result of ReCamera
    max: 255
    icon: mdi:account-group  # Optional: Display as "Group" icon

# Define a template sensor to display the detection results of ReCamera
sensor:
  - platform: template
    sensors:
      recamera_people_count:
        friendly_name: "ReCamera Personnel Counting Function"
        value_template: "{{ states('input_text.recamera_people_raw') }}"
        icon_template: mdi:camera-outline
保存并退出:
- Ctrl + O → Enter(保存)
- Ctrl + X(退出)
- 保存并退出后,重启 Home Assistant
docker restart homeassistant
reCamera 的配置(以 2002w 版本为例)
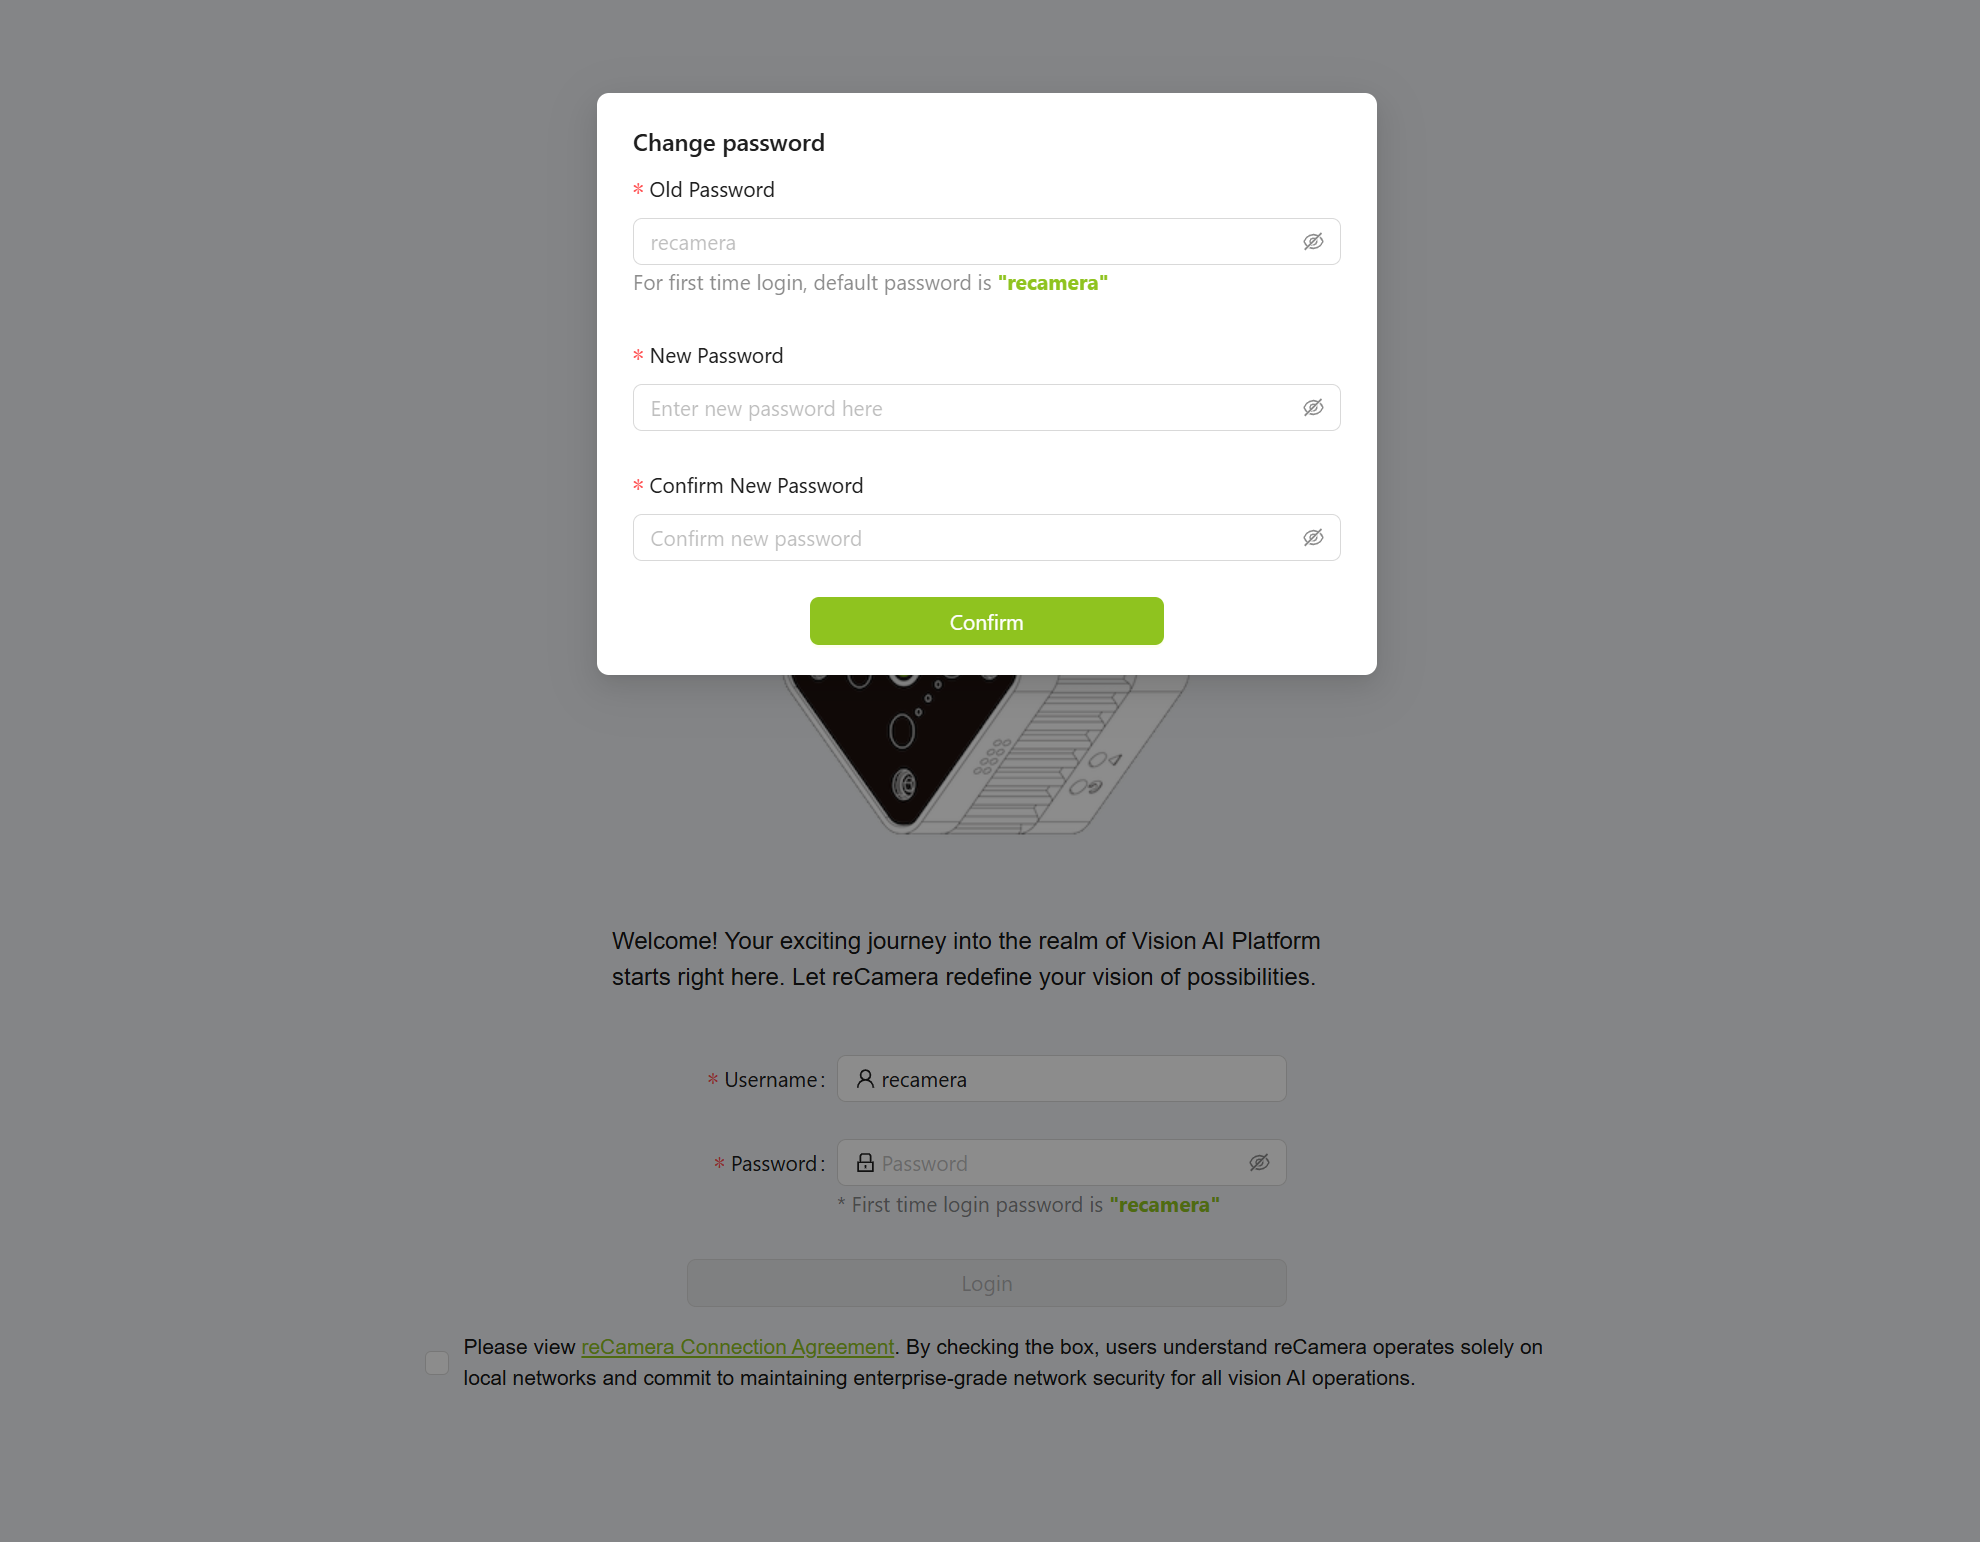
将 reCamera 插入计算机后,访问 192.168.42.1
如果界面无法持续打开,请参考恢复出厂设置部分重置设备。重置后,再次访问 192.168.42.1。重置后,系统会提示您更改密码。
登录后,点击右下角进入 "Workspace"
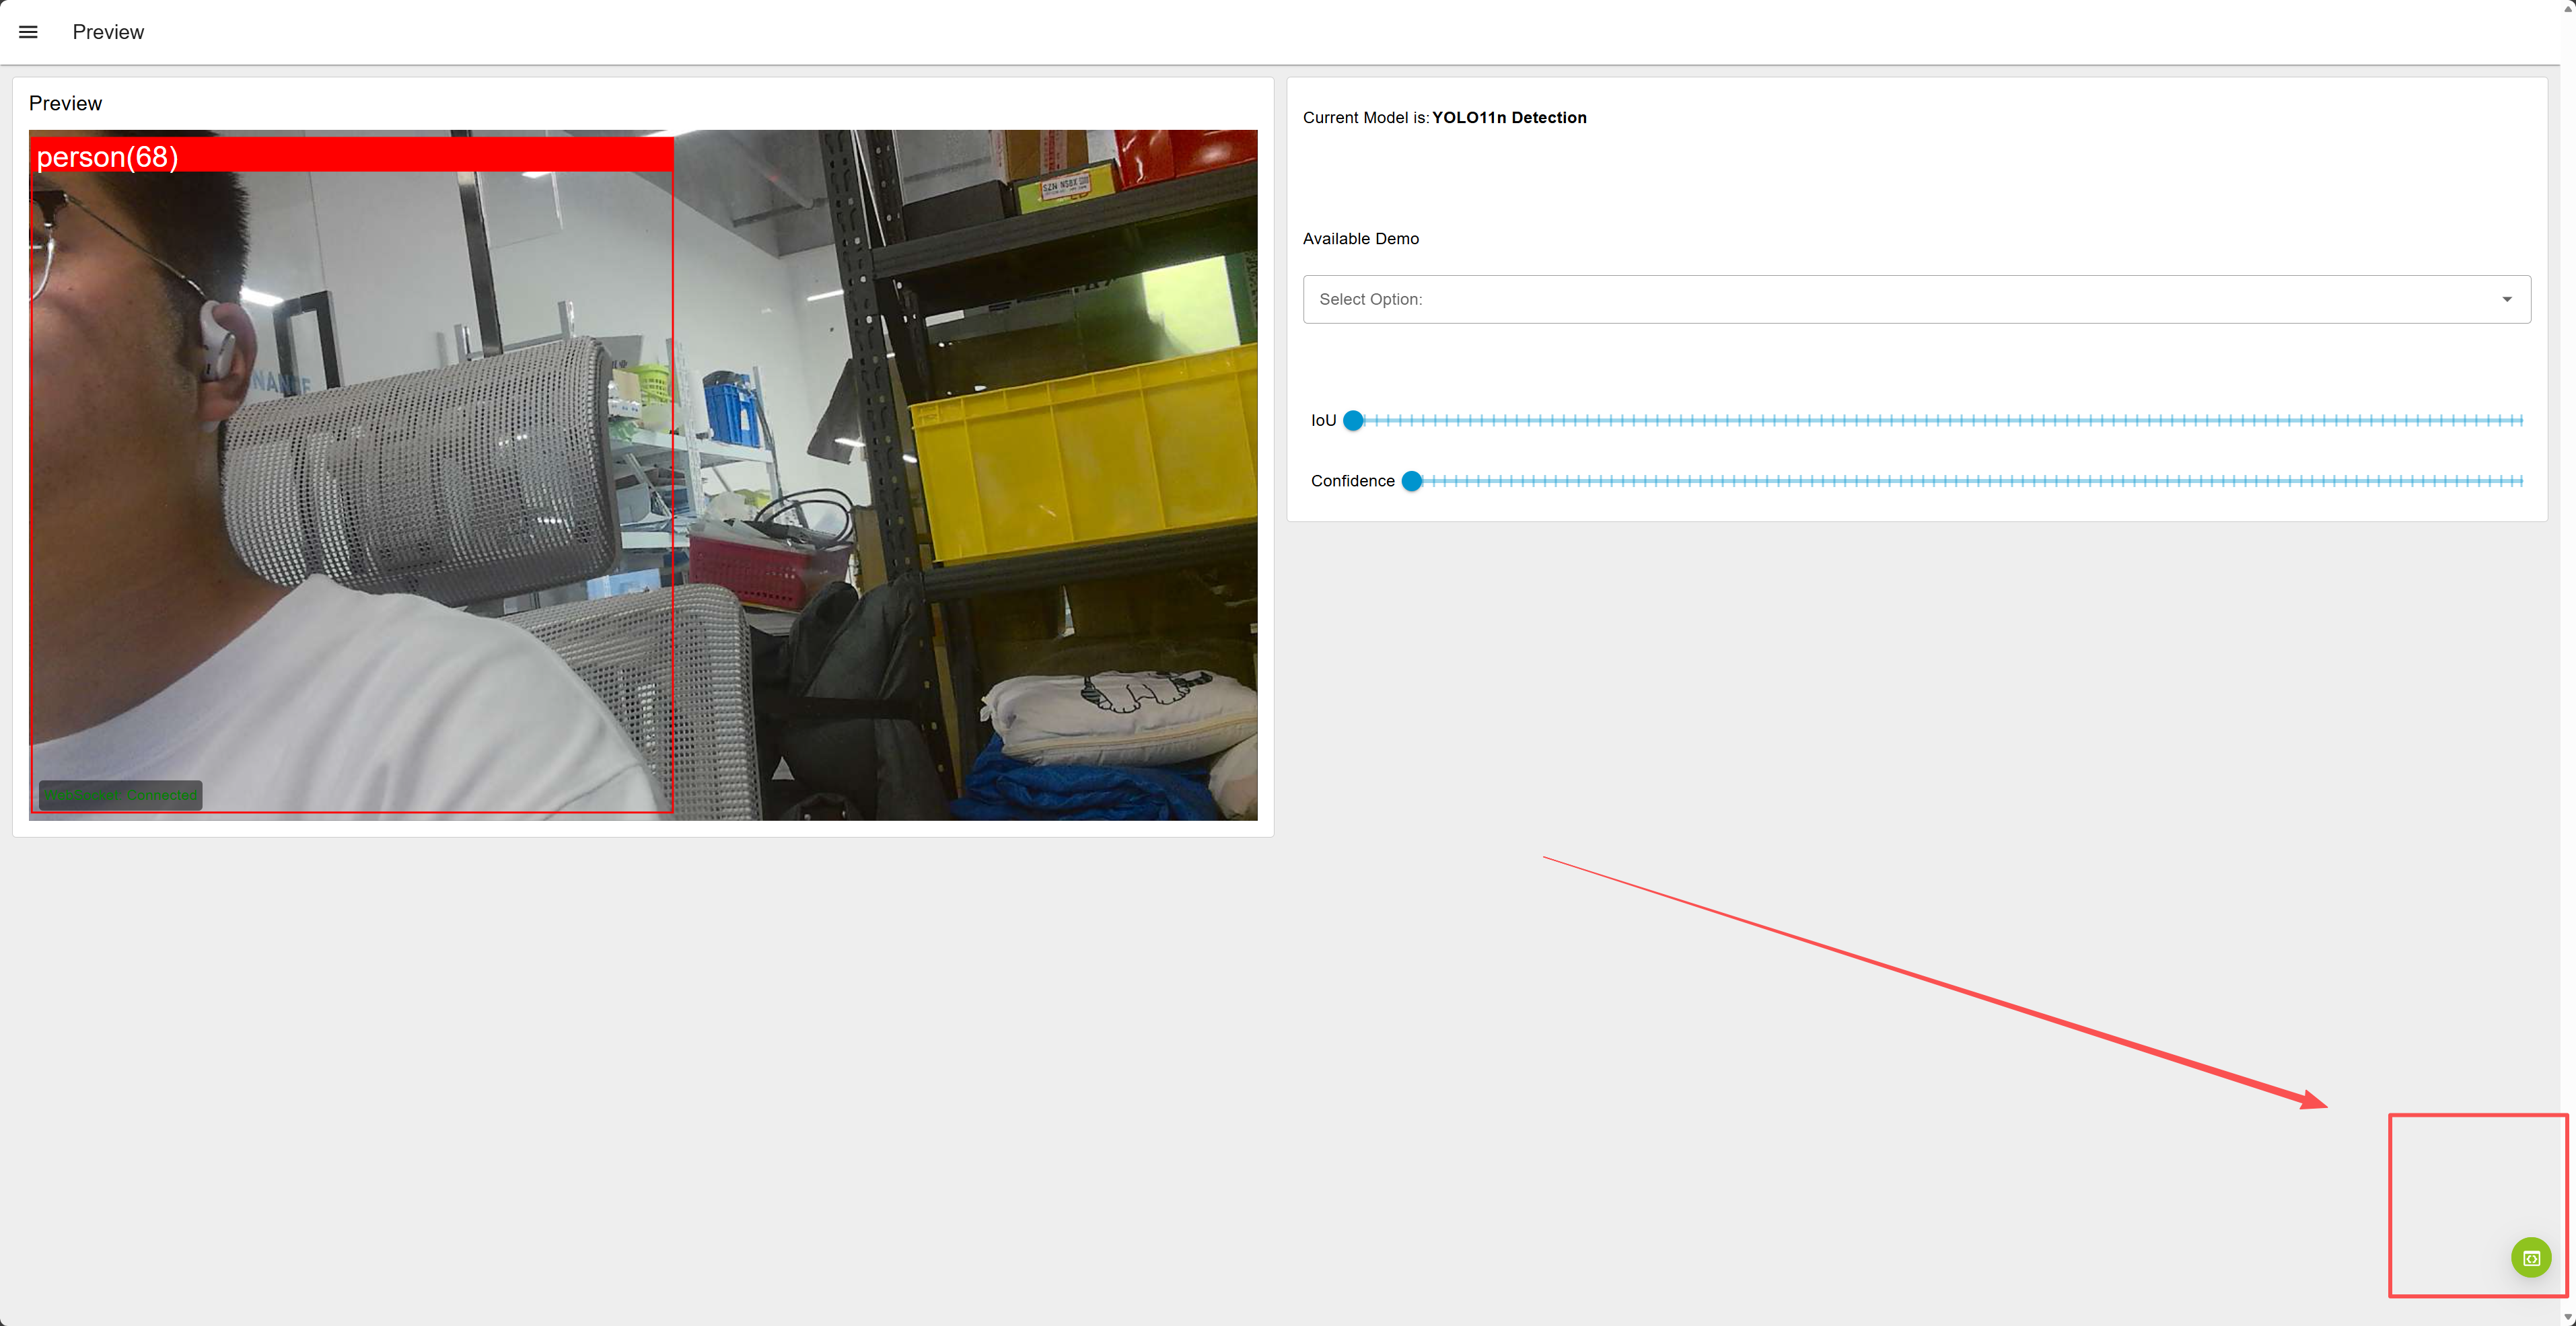
进入 Workspace 后,配置节点。
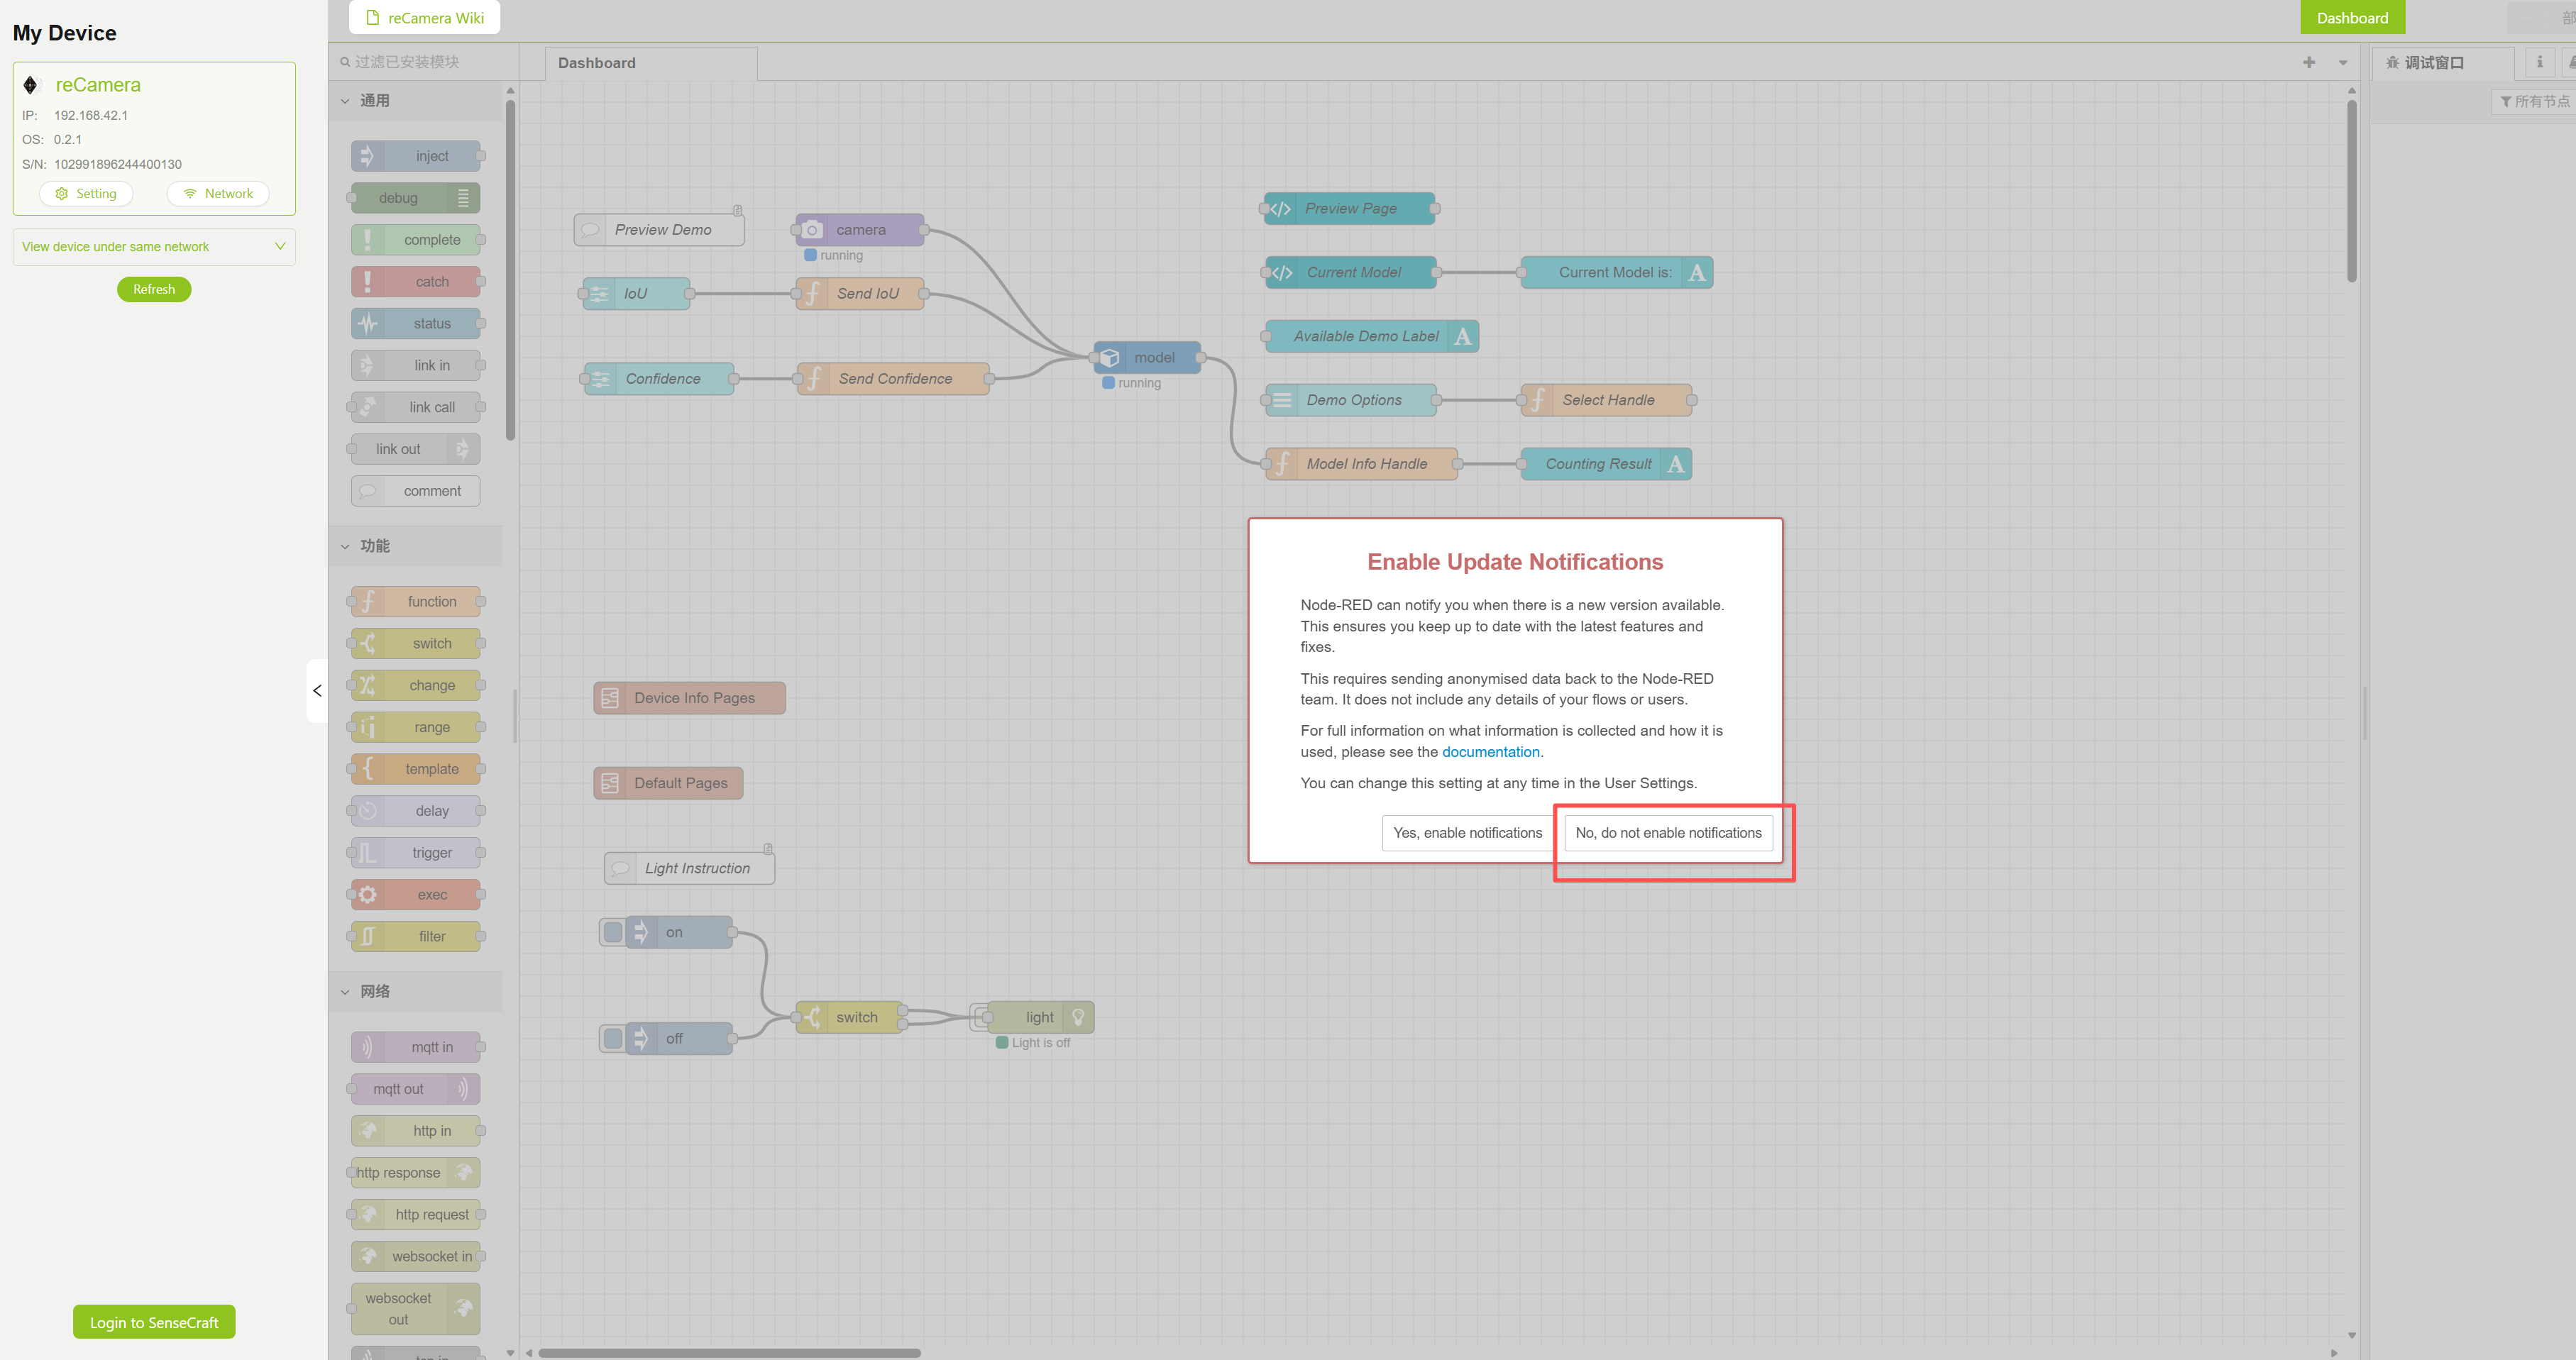
添加了四个新节点:"debug1"、"debug2"、"function1" 和 "HTTP request"。
debug1 和 debug2 用于观察输出信息,可选;function1 用于处理数据;HTTP request 节点用于向 Home Assistant 发送数据

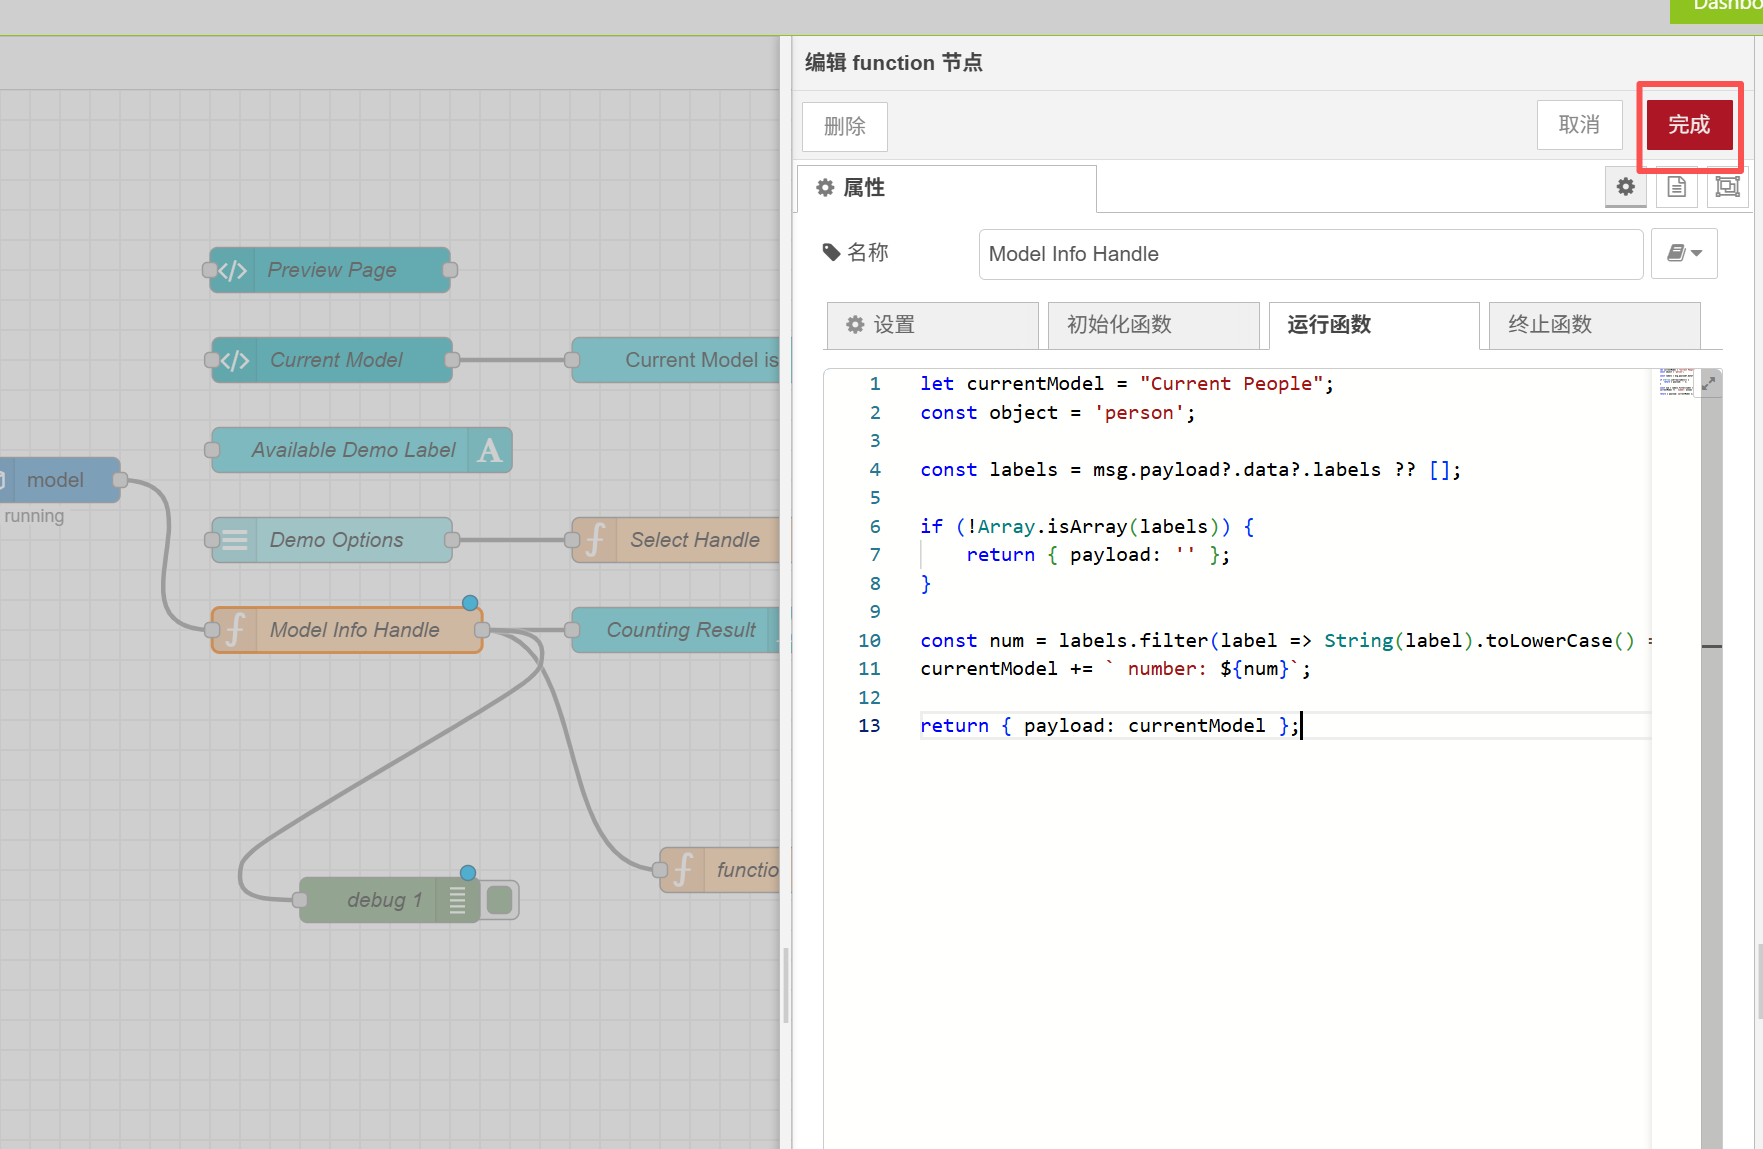
接下来,我们需要修改原始节点 "Model Info Handle",使其只输出特定检测目标的数量。
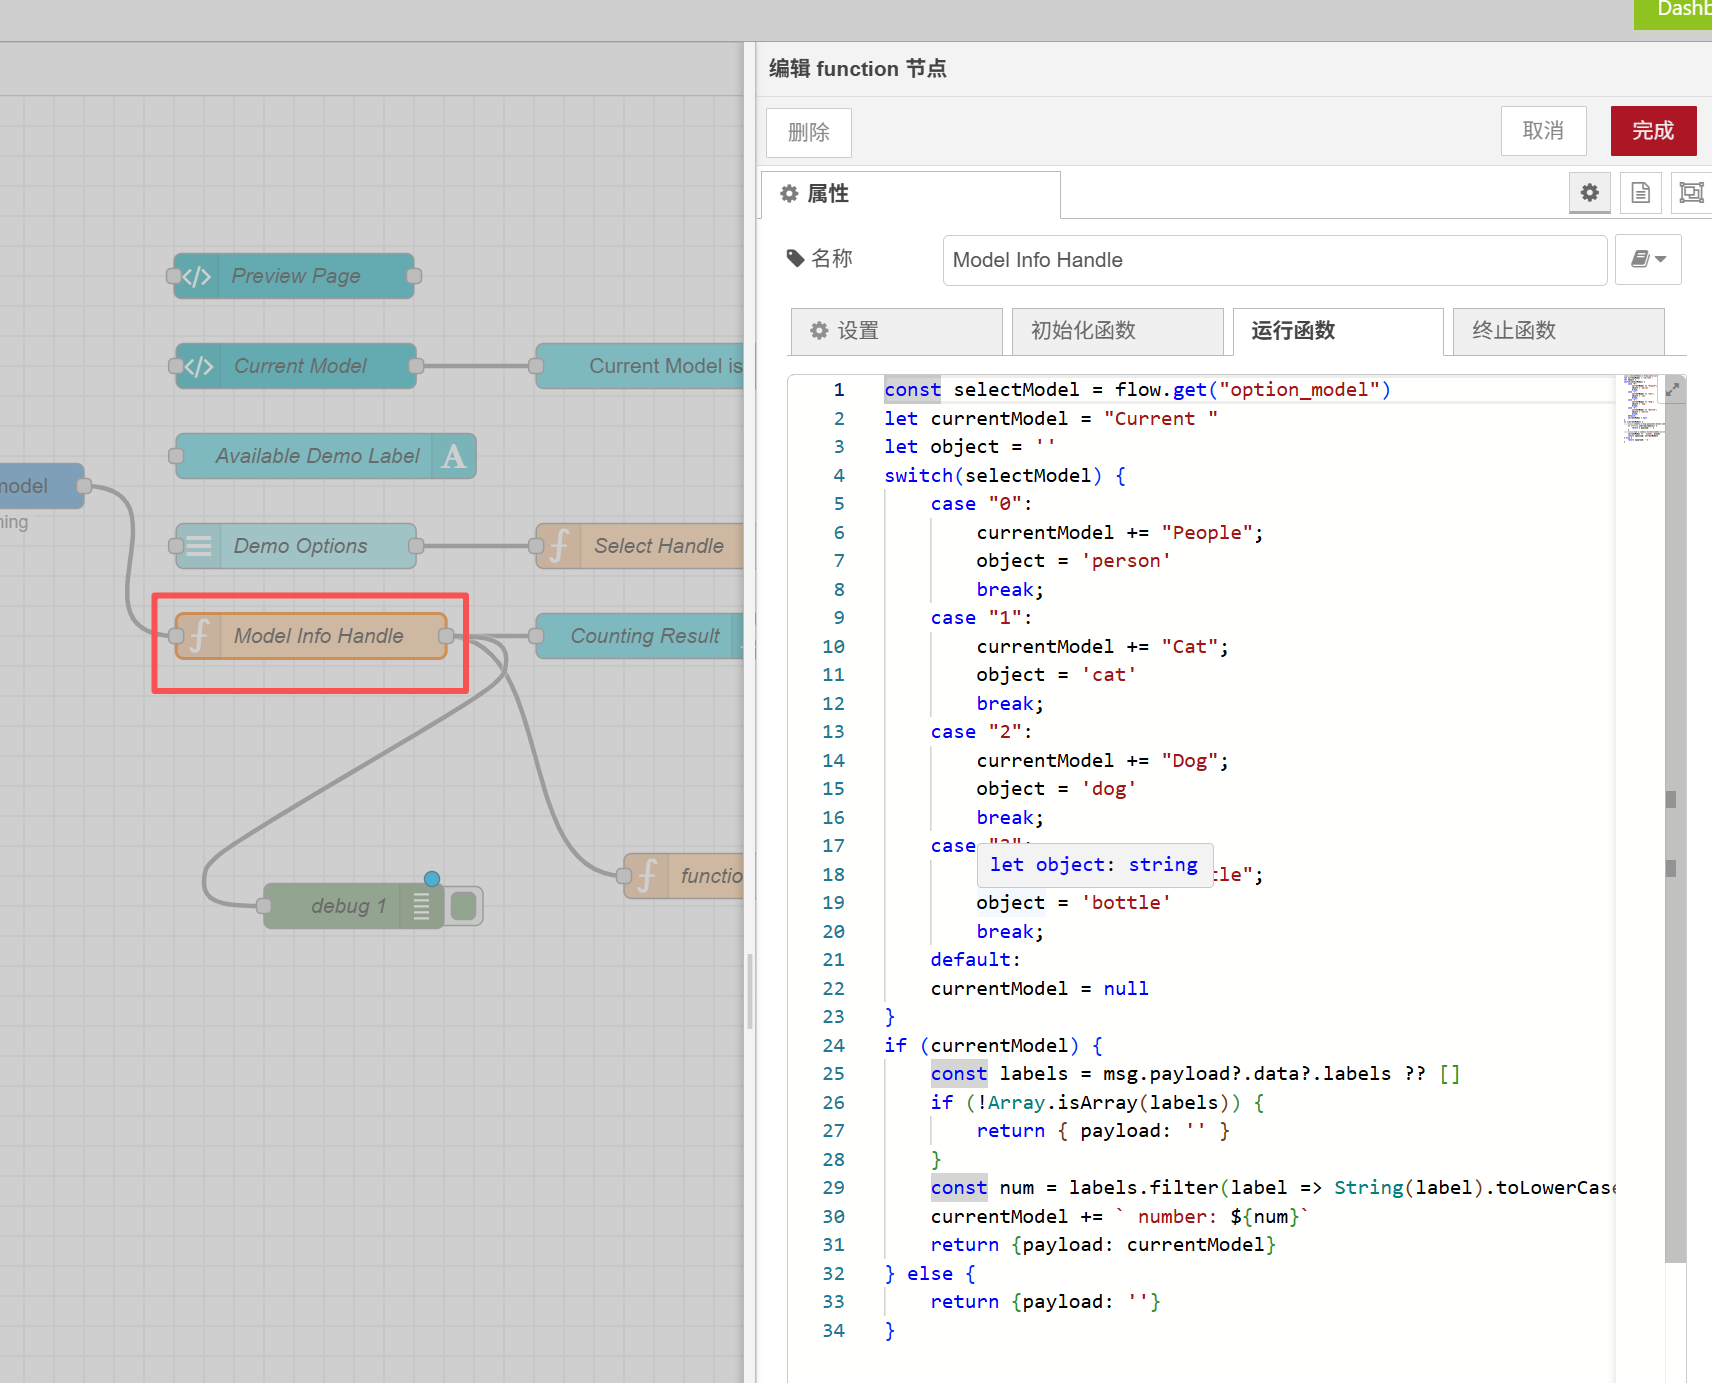
双击打开此节点并将代码替换为以下内容:
let currentModel = "Current People";
const object = 'person';

const labels = msg.payload?.data?.labels ?? [];

if (!Array.isArray(labels)) {
    return { payload: '' };
}

const num = labels.filter(label => String(label).toLowerCase() === object).length;
currentModel += ` number: ${num}`;

return { payload: currentModel };
修改完成后,点击右上角的"Finish"按钮。
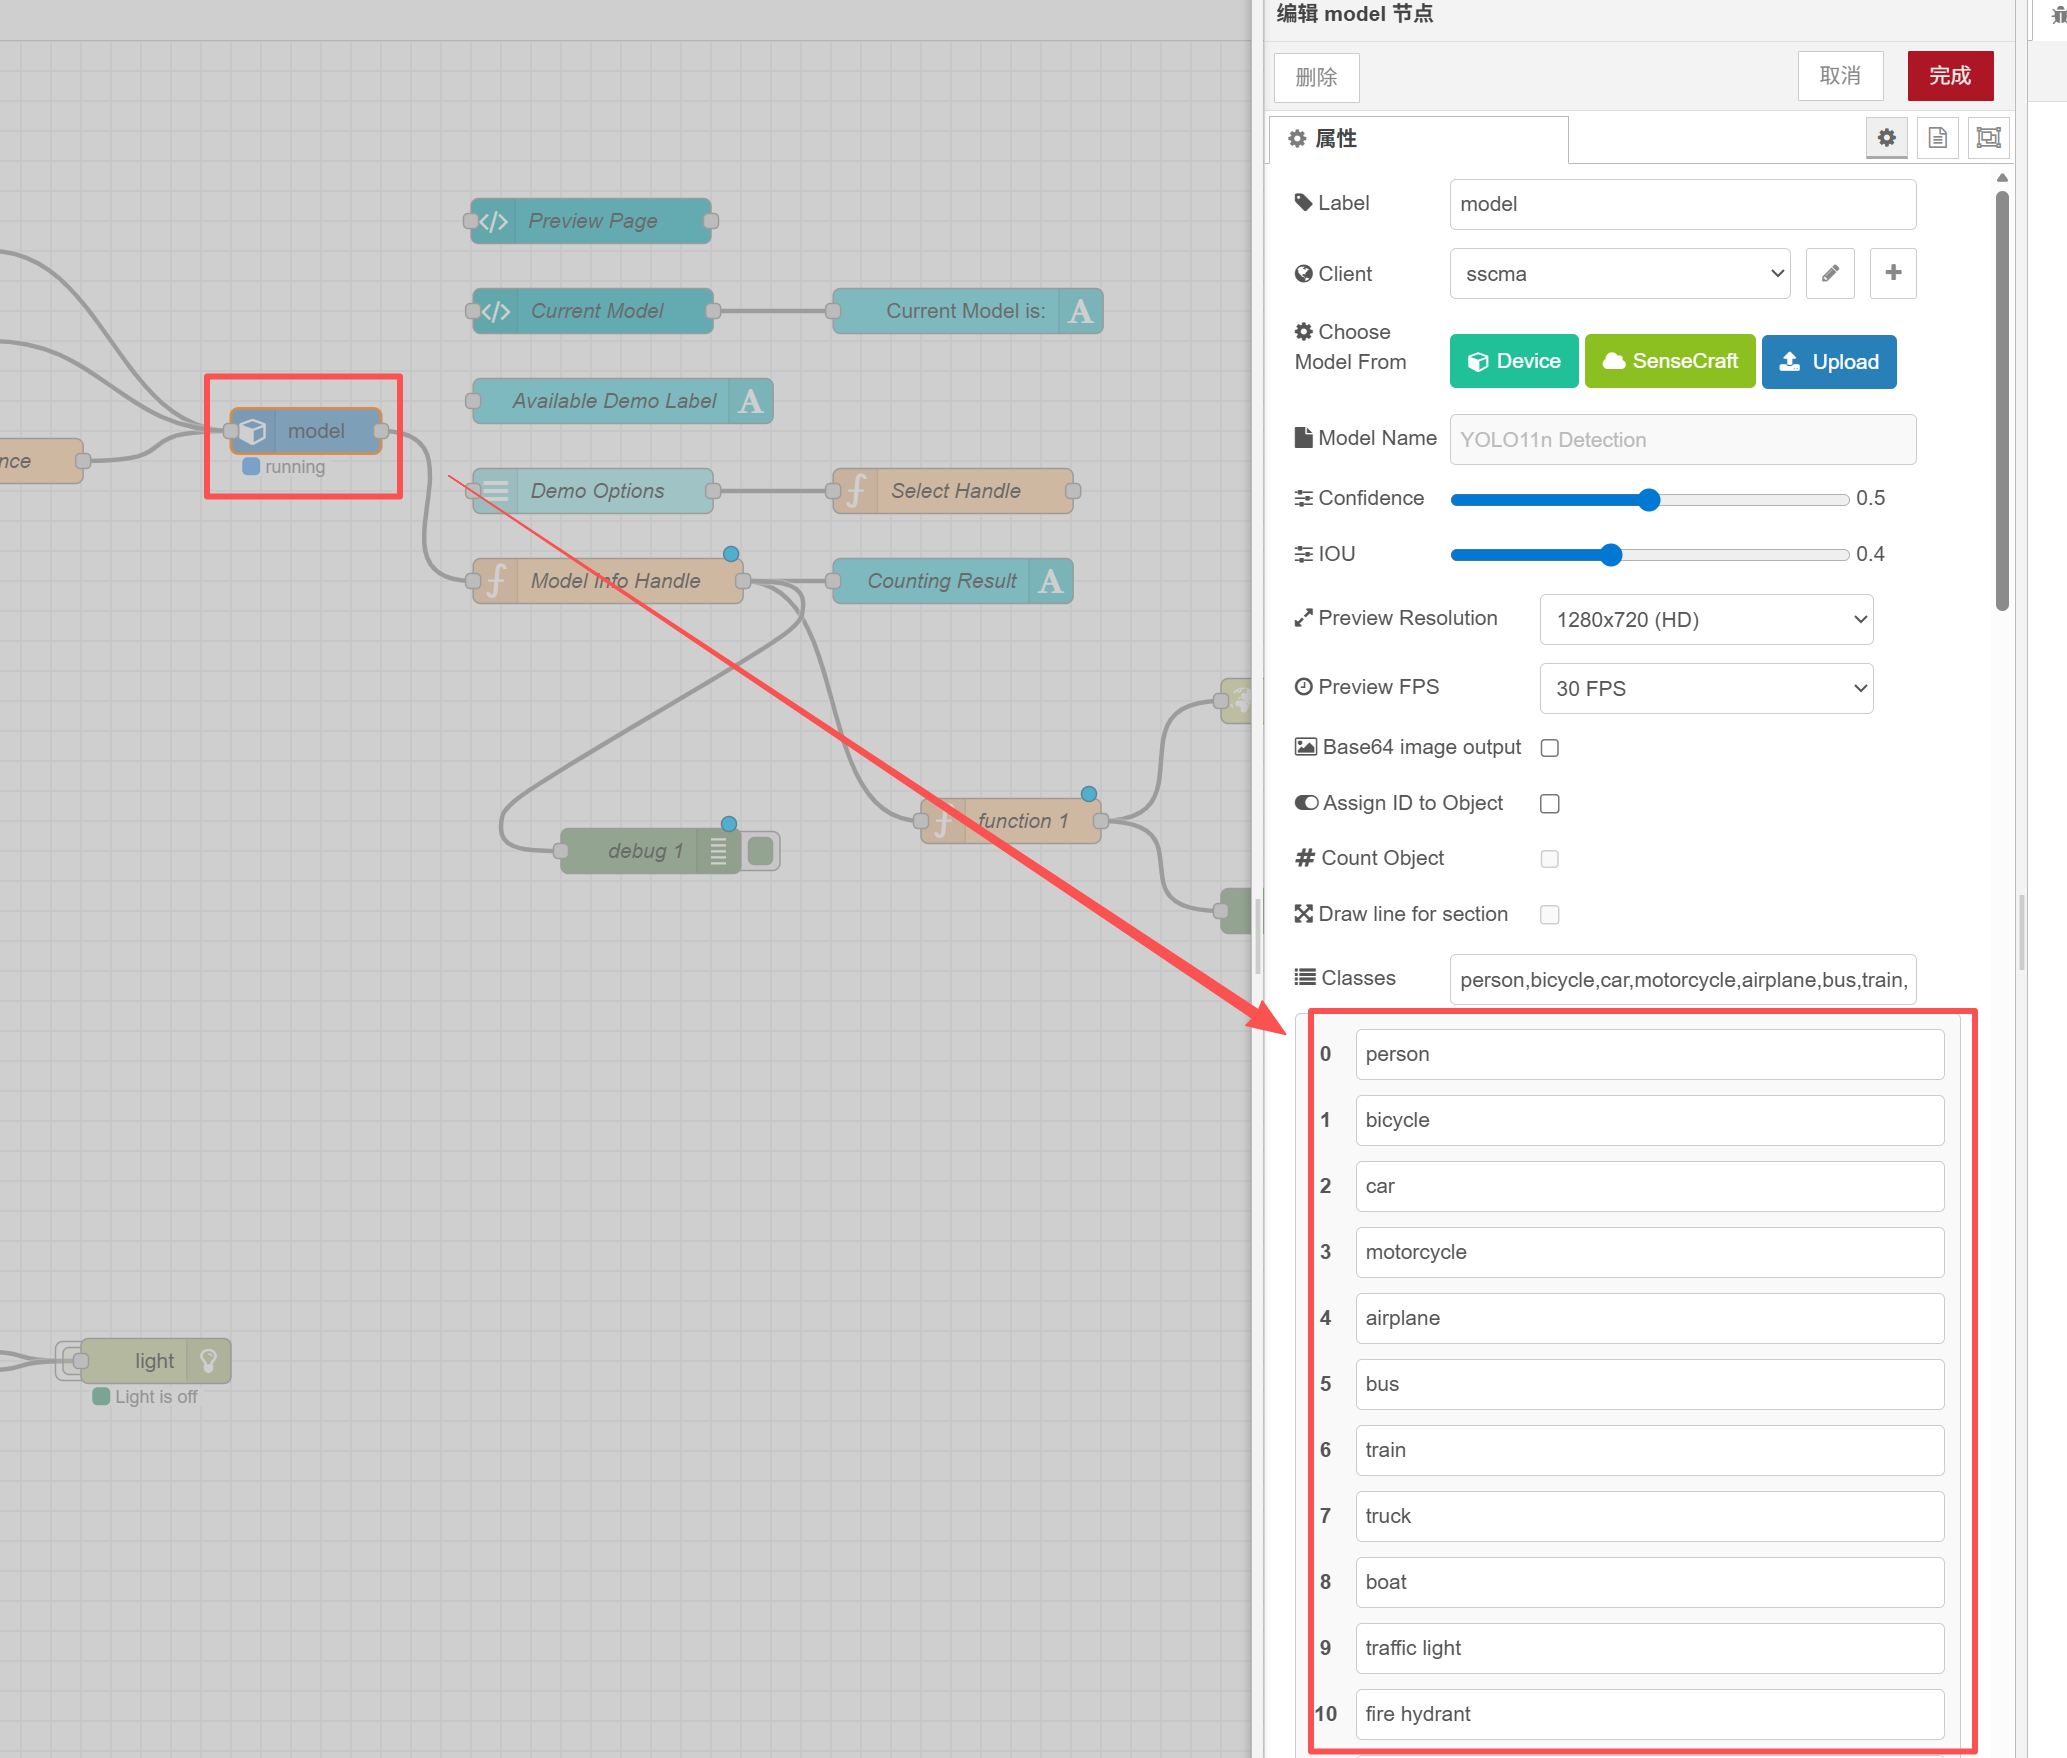
此代码仅输出检测到的人数。如果您想进行更改,可以修改检测对象。 您可以通过检查模型节点来了解可以检测哪些类型的对象。
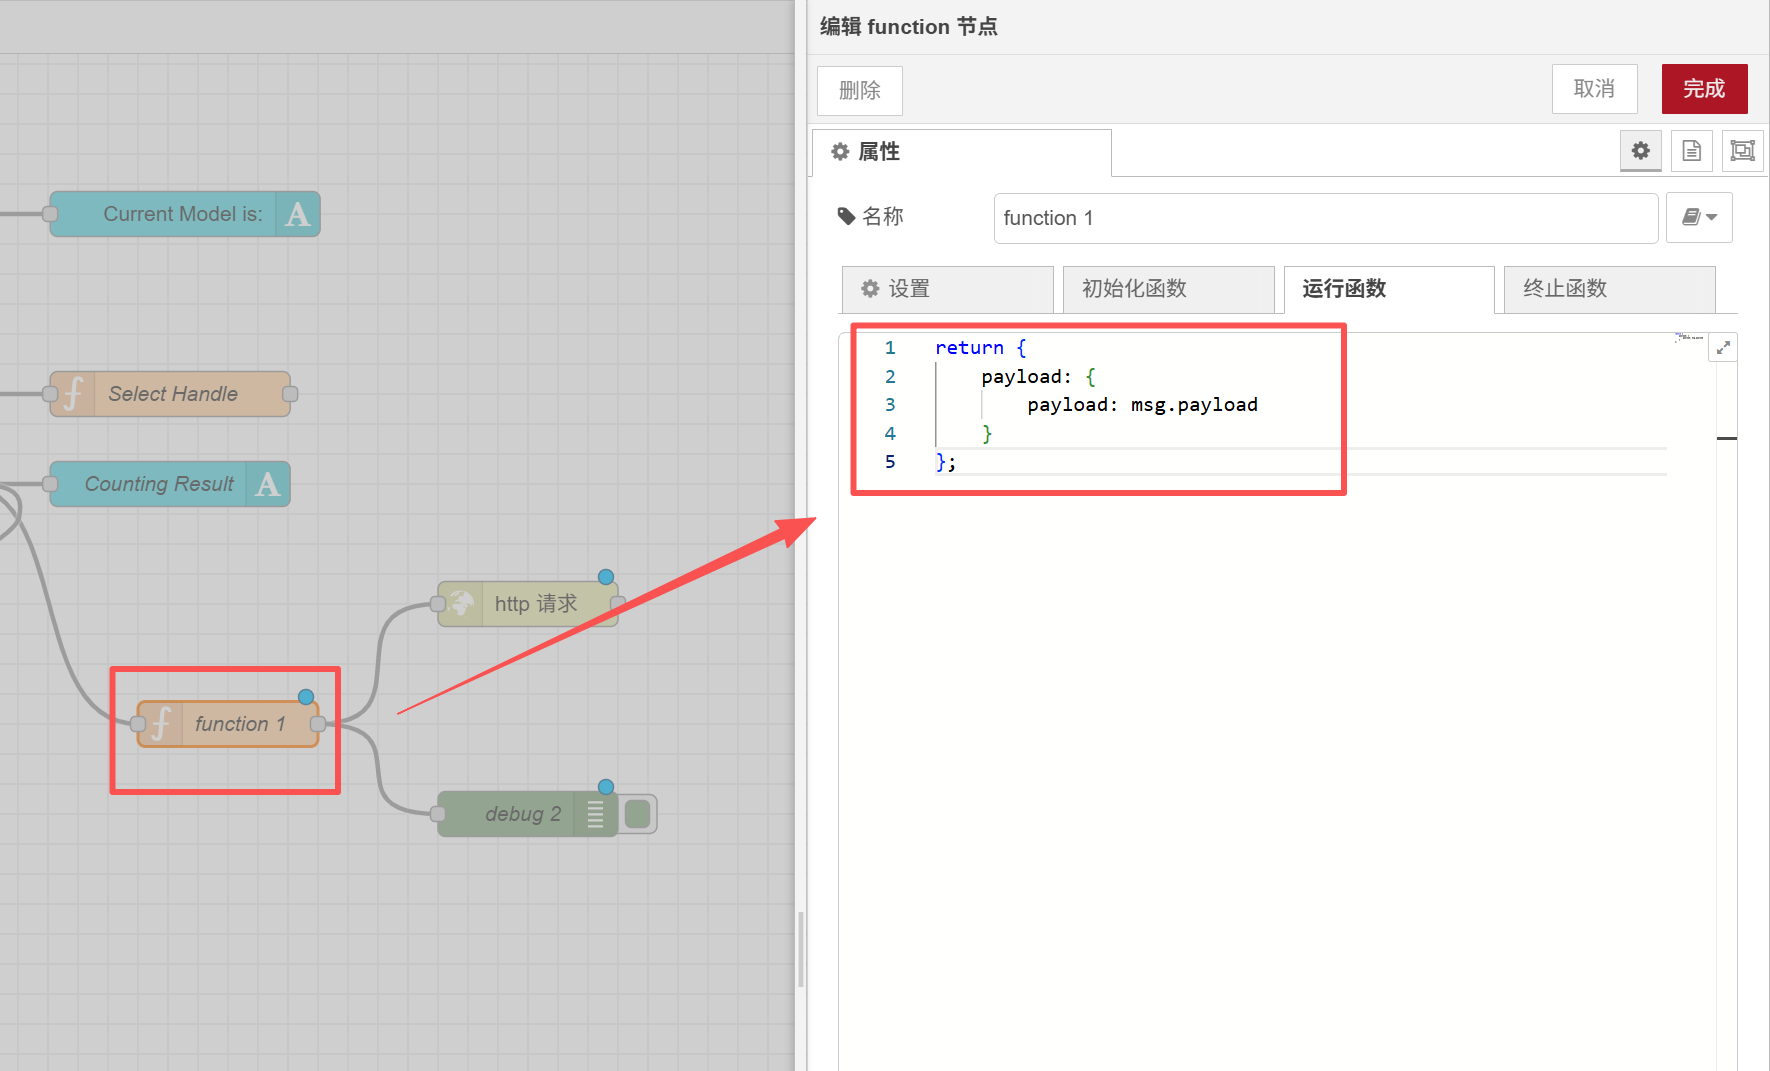
接下来,配置 function1 节点并将原始代码替换为以下内容:
return {
    payload: {
        payload: msg.payload
    }
};
接下来,我们将配置 HTTP 请求节点。在这里,我们需要对三个区域进行更改:
| 选项 | 设置值 |
|---|---|
| 请求方法 | POST |
| URL 地址 | http://<your IP>:8123/api/webhook/recamera_detection |
| 响应 | JSON Object |

设置完成后,点击右上角的 "Deploy" 按钮。部署成功后,会有提示。

在这里,您需要执行一个额外的步骤,即为 reCamera 连接 WiFi。它应该与您为 reComputer 设置的网络在同一网络中(请注意,POE 版本没有 WiFi 功能,需要使用具有 POE 功能的交换机连接到同一网段)。
点击左上角的 "Network" 按钮来配置网络。
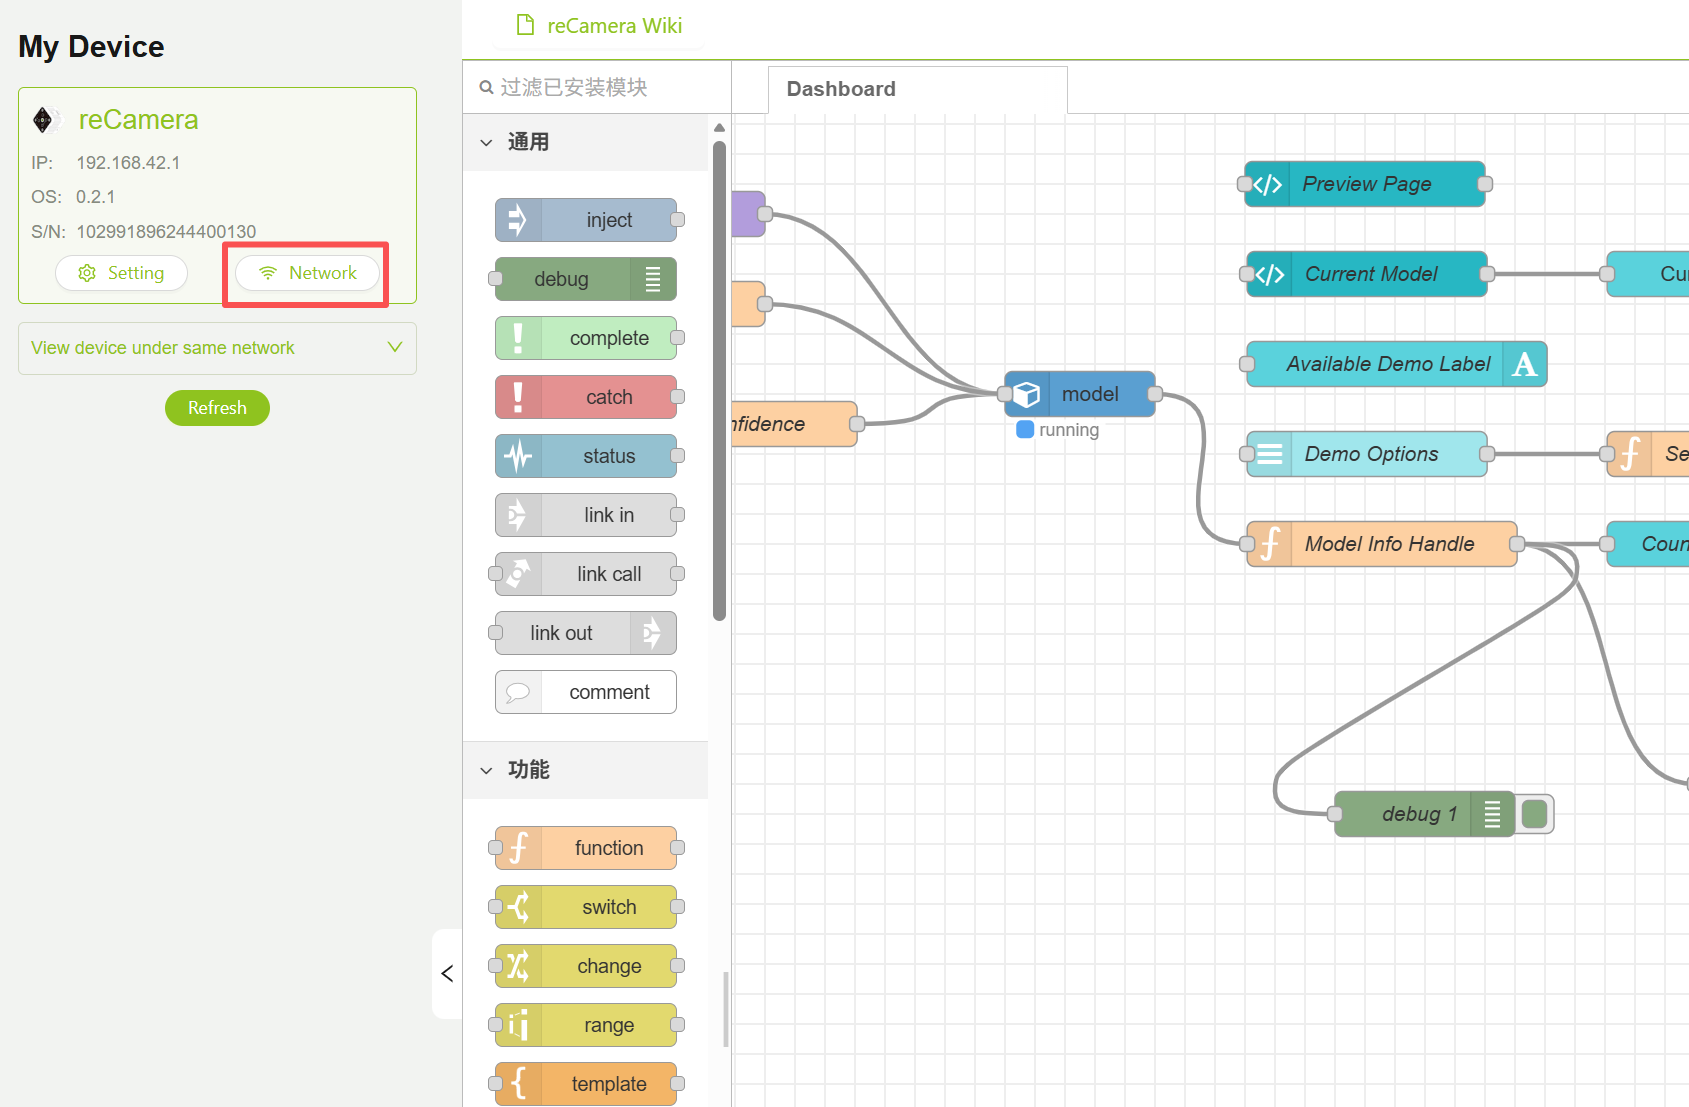
请记住!确保将 Recamera 连接到网络!!!否则将无法通信。
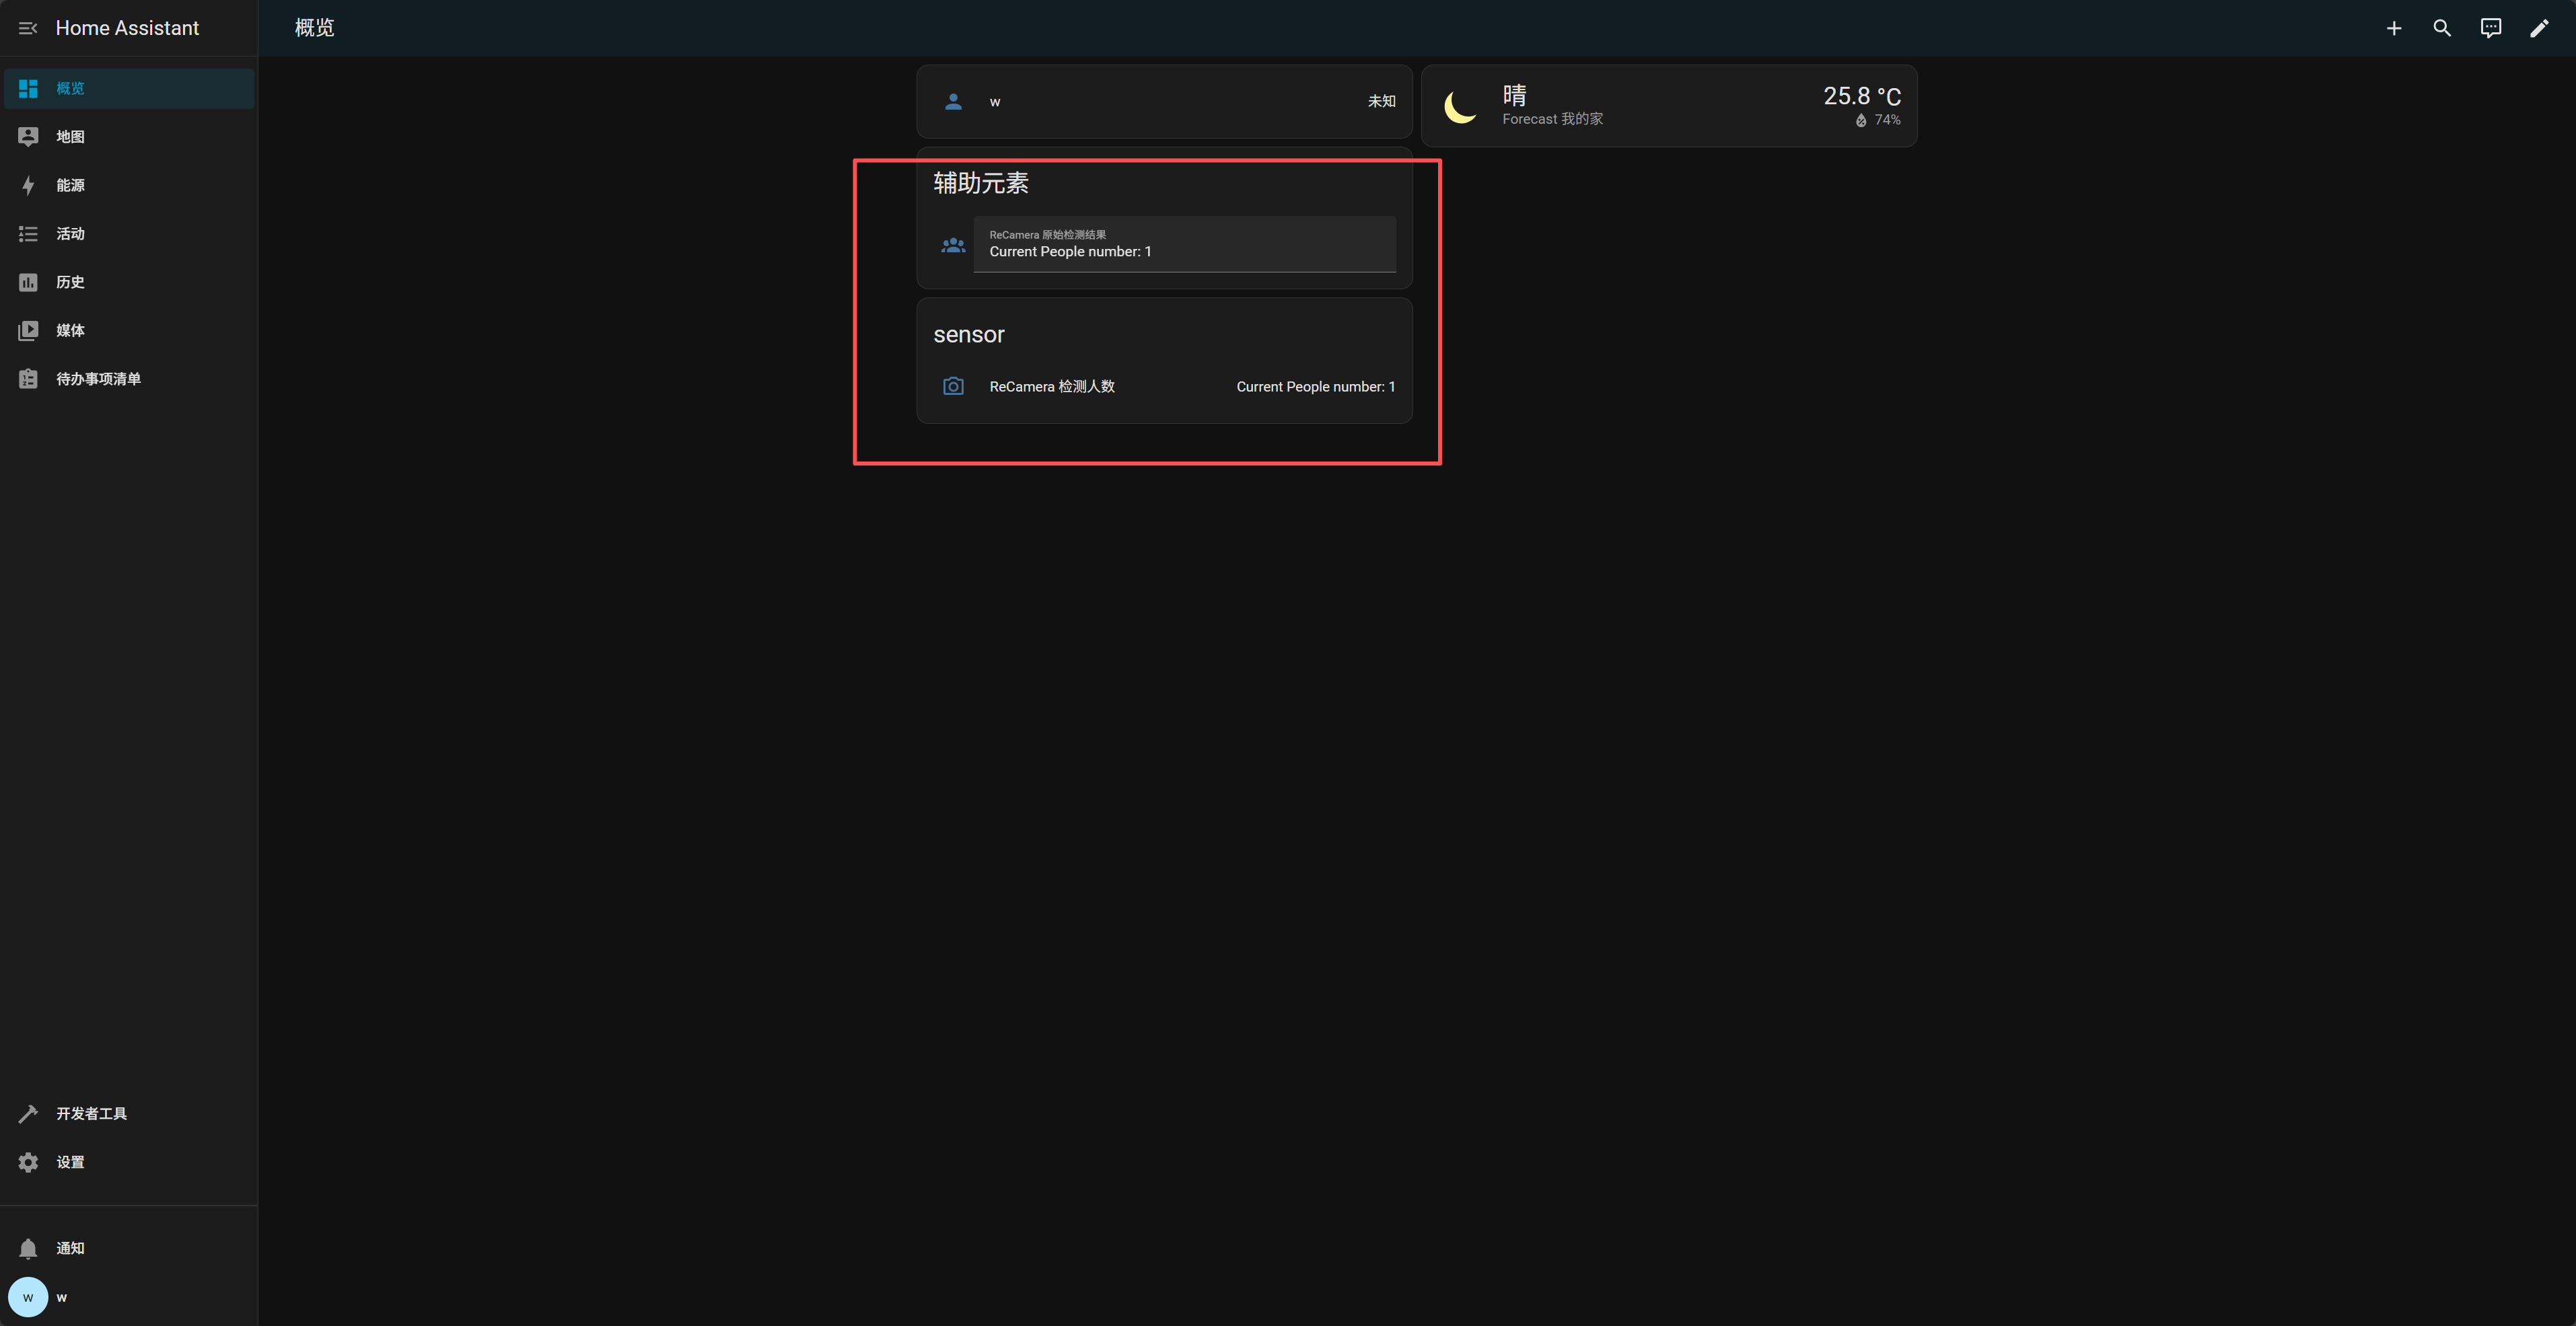
查看 Home Assistant 的概览界面
如果还没有观察到效果,首先检查链接是否连接不正确。也就是说,验证 Webhook 是否正常工作: 在任何设备(ReCamera 或计算机)的终端中执行:
curl -X POST http://192.168.100.109:8123/api/webhook/recamera_detection \
-H "Content-Type: application/json" \
-d '{"payload":"Test from curl"}'
如果成功,Home Assistant 通知将显示:
ReCamera 检测结果 Test from curl
技术支持与产品讨论
感谢您选择我们的产品!我们在这里为您提供不同的支持,以确保您使用我们产品的体验尽可能顺畅。我们提供多种沟通渠道,以满足不同的偏好和需求。