YOLOv8 姿态估计模型部署
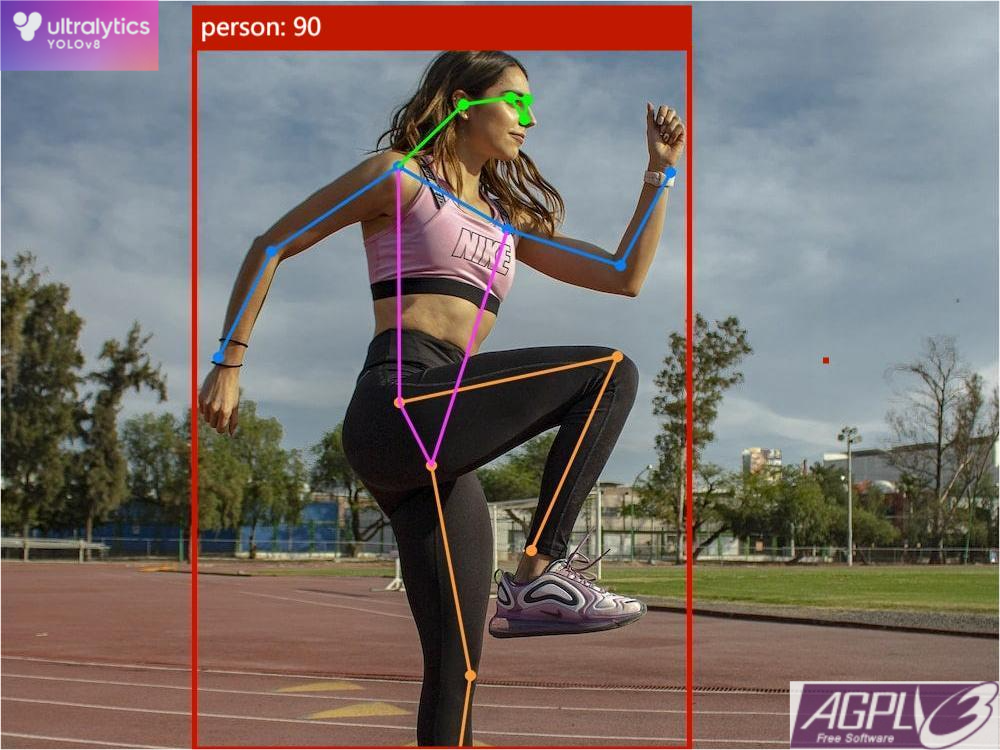
本 wiki 将介绍如何训练官方 YOLOv8 姿态估计模型,并将训练好的模型部署到 Grove Vision AI(V2) 或 XIAO ESP32S3 设备上。
数据集准备
对于姿态估计数据集,建议查看 YOLOv8 官方文档。
安装 YOLOv8 命令行工具
- 默认情况下,您已经拥有
python环境和pip包管理工具,且 python>=3.8。
# 克隆官方仓库
git clone https://github.com/ultralytics/ultralytics

# 进入克隆的文件夹
cd ultralytics

# 以开发者模式安装,以便后续修改可以同步
pip install -e .
推荐使用 Git 安装的原因是后续需要修改一些代码,因此需要以开发者模式安装。
- 您可以使用版本查询命令来测试
yolo命令行工具是否安装成功。
# 版本查询
yolo -v
训练
-
首先,进入下载的数据集文件夹
-
执行以下命令开始训练模型
yolo train detect model=yolov8n-pose.pt data=./data_pose.yaml imgsz=192
导出模型为 tflite
-
训练完成后,模型将位于
runs/train/exp*/weights/文件夹中。确保您的模型评估指标满足您的需求。 -
之后,您需要修改官方代码以减少模型的一些后处理。首先修改
~/ultralytics/ultralytics/nn/modules/head.py文件下Detect和Pose类的forward函数。修改后如下所示
# Detect类的前向函数
    def forward(self, x):
        """连接并返回预测的边界框和类别概率。"""
        shape = x[0].shape  # BCHW

        if self.export:
            return [
                torch.permute(j, (0, 2, 3, 1)).reshape(j.shape[0], -1, x.shape[1])
                for j in [self.cv2[i](x[i]) for i in range(self.nl)]
                + [self.cv3[i](x[i]) for i in range(self.nl)]
            ]
        else:
            for i in range(self.nl):
                x[i] = torch.cat((self.cv2[i](x[i]), self.cv3[i](x[i])), 1)
        if self.training:
            return x
        elif self.dynamic or self.shape != shape:
            self.anchors, self.strides = (
                x.transpose(0, 1) for x in make_anchors(x, self.stride, 0.5)
            )
            self.shape = shape

        x_cat = torch.cat([xi.view(shape[0], self.no, -1) for xi in x], 2)
        if self.export and self.format in (
            "saved_model",
            "pb",
            "tflite",
            "edgetpu",
            "tfjs",
        ):  # 避免TF FlexSplitV操作
            box = x_cat[:, : self.reg_max * 4]
            cls = x_cat[:, self.reg_max * 4 :]
        else:
            box, cls = x_cat.split((self.reg_max * 4, self.nc), 1)
        dbox = (
            dist2bbox(self.dfl(box), self.anchors.unsqueeze(0), xywh=True, dim=1)
            * self.strides
        )

        if self.export and self.format in ("tflite", "edgetpu"):
            # 使用图像尺寸对xywh进行归一化,以减轻TFLite整数模型的量化误差,如YOLOv5中所做的:
            # https://github.com/ultralytics/yolov5/blob/0c8de3fca4a702f8ff5c435e67f378d1fce70243/models/tf.py#L307-L309
            # 详情请参见此PR:https://github.com/ultralytics/ultralytics/pull/1695
            img_h = shape[2] * self.stride[0]
            img_w = shape[3] * self.stride[0]
            img_size = torch.tensor(
                [img_w, img_h, img_w, img_h], device=dbox.device
            ).reshape(1, 4, 1)
            dbox /= img_size

        y = torch.cat((dbox, cls.sigmoid()), 1)
        return y if self.export else (y, x)

# Pose类的前向函数
    def forward(self, x):
        """通过YOLO模型执行前向传播并返回预测结果。"""
        bs = x[0].shape[0]  # 批次大小
        kpt = torch.cat([self.cv4[i](x[i]).view(bs, self.nk, -1) for i in range(self.nl)], -1)  # (bs, 17*3, h*w)
        x = self.detect(self, x)
        if self.training:
            return x, kpt
        if self.export:
            return x, torch.permute(kpt, (0, 2, 1))
        pred_kpt = self.kpts_decode(bs, kpt)
        return torch.cat([x, pred_kpt], 1) if self.export else (torch.cat([x[0], pred_kpt], 1), (x[1], kpt))
- 为了避免命令行出现异常错误,您也可以按如下方式修改
~/ultralytics/ultralytics/engine/exporter.py文件中Exporter类的export_saved_model方法代码
    @try_export
    def export_saved_model(self, prefix=colorstr('TensorFlow SavedModel:')):
        """YOLOv8 TensorFlow SavedModel 导出。"""
        cuda = torch.cuda.is_available()
        try:
            import tensorflow as tf  # noqa
        except ImportError:
            check_requirements(f"tensorflow{'-macos' if MACOS else '-aarch64' if ARM64 else '' if cuda else '-cpu'}")
            import tensorflow as tf  # noqa
        check_requirements(
            ('onnx', 'onnx2tf>=1.15.4,<=1.17.5', 'sng4onnx>=1.0.1', 'onnxsim>=0.4.33', 'onnx_graphsurgeon>=0.3.26',
             'tflite_support', 'onnxruntime-gpu' if cuda else 'onnxruntime'),
            cmds='--extra-index-url https://pypi.ngc.nvidia.com')  # onnx_graphsurgeon 仅在 NVIDIA 上可用

        LOGGER.info(f'\n{prefix} 开始使用 tensorflow {tf.__version__} 导出...')
        check_version(tf.__version__,
                      '<=2.13.1',
                      name='tensorflow',
                      verbose=True,
                      msg='https://github.com/ultralytics/ultralytics/issues/5161')
        f = Path(str(self.file).replace(self.file.suffix, '_saved_model'))
        if f.is_dir():
            import shutil
            shutil.rmtree(f)  # 删除输出文件夹

        # 预下载校准文件以修复 https://github.com/PINTO0309/onnx2tf/issues/545
        onnx2tf_file = Path('calibration_image_sample_data_20x128x128x3_float32.npy')
        if not onnx2tf_file.exists():
            attempt_download_asset(f'{onnx2tf_file}.zip', unzip=True, delete=True)

        # 导出为 ONNX
        self.args.simplify = True
        f_onnx, _ = self.export_onnx()

        # 导出为 TF
        tmp_file = f / 'tmp_tflite_int8_calibration_images.npy'  # int8 校准图像文件
        if self.args.int8:
            verbosity = '--verbosity info'
            if self.args.data:
                # 为整数量化生成校准数据
                LOGGER.info(f"{prefix} 从 'data={self.args.data}' 收集 INT8 校准图像")
                data = check_det_dataset(self.args.data)
                dataset = YOLODataset(data['val'], data=data, imgsz=self.imgsz[0], augment=False)
                images = []
                for i, batch in enumerate(dataset):
                    if i >= 100:  # 校准图像的最大数量
                        break
                    im = batch['img'].permute(1, 2, 0)[None]  # 列表转 nparray,CHW 转 BHWC
                    images.append(im)
                f.mkdir()
                images = torch.cat(images, 0).float()
                # mean = images.view(-1, 3).mean(0)  # imagenet 均值 [123.675, 116.28, 103.53]
                # std = images.view(-1, 3).std(0)  # imagenet 标准差 [58.395, 57.12, 57.375]
                np.save(str(tmp_file), images.numpy())  # BHWC
                int8 = f'-oiqt -qt per-tensor -cind images "{tmp_file}" "[[[[0, 0, 0]]]]" "[[[[255, 255, 255]]]]"'
            else:
                int8 = '-oiqt -qt per-tensor'
        else:
            verbosity = '--non_verbose'
            int8 = ''

        cmd = f'onnx2tf -i "{f_onnx}" -o "{f}" -nuo {verbosity} {int8}'.strip()
        LOGGER.info(f"{prefix} 运行 '{cmd}'")
        subprocess.run(cmd, shell=True)
        yaml_save(f / 'metadata.yaml', self.metadata)  # 添加 metadata.yaml

        # 移除/重命名 TFLite 模型
        if self.args.int8:
            tmp_file.unlink(missing_ok=True)
            for file in f.rglob('*_dynamic_range_quant.tflite'):
                file.rename(file.with_name(file.stem.replace('_dynamic_range_quant', '_int8') + file.suffix))
            for file in f.rglob('*_integer_quant_with_int16_act.tflite'):
                file.unlink()  # 删除额外的 fp16 激活 TFLite 文件

        # 添加 TFLite 元数据
        # for file in f.rglob('*.tflite'):
            # f.unlink() if 'quant_with_int16_act.tflite' in str(f) else self._add_tflite_metadata(file)

        return str(f), tf.saved_model.load(f, tags=None, options=None)  # 将 saved_model 加载为 Keras 模型
- 使用以下命令导出 tflite 模型
yolo export model=${your model path} format=tflite imgsz=192 int8
- 然后您将在当前文件夹下看到一个
yolov8n-pose_saved_model文件夹,其中包含yolov8n-pose_full_integer_quant.tflite模型文件,此模型文件可以部署到Grove Vision AI(V2)或XIAO ESP32S3设备上。
模型图优化
- Grove Vision AI (V2) 支持 vela 优化的模型,也可以加速模型推理。首先,执行以下命令安装 vela 命令行工具(
XIAO ESP32S3设备暂不支持)。
pip3 install ethos-u-vela
- 之后,您需要下载
vela相关配置文件,或者将以下内容复制到一个文件中,该文件可以命名为vela_config.ini
; file: my_vela_cfg.ini ; -----------------------------------------------------------------------------
; Vela configuration file ; -----------------------------------------------------------------------------
; System Configuration

; My_Sys_Cfg
[System_Config.My_Sys_Cfg]
core_clock=400e6
axi0_port=Sram
axi1_port=OffChipFlash
Sram_clock_scale=1.0
Sram_burst_length=32
Sram_read_latency=16
Sram_write_latency=16
Dram_clock_scale=0.75
Dram_burst_length=128
Dram_read_latency=500
Dram_write_latency=250
OnChipFlash_clock_scale=0.25
OffChipFlash_clock_scale=0.015625
OffChipFlash_burst_length=32
OffChipFlash_read_latency=64
OffChipFlash_write_latency=64
; -----------------------------------------------------------------------------
; Memory Mode
; My_Mem_Mode_Parent
[Memory_Mode.My_Mem_Mode_Parent]
const_mem_area=Axi1
arena_mem_area=Axi0
cache_mem_area=Axi0
- 最后,使用以下命令优化图形
vela --accelerator-config ethos-u55-64 \
    --config vela_config.ini \
    --system-config My_Sys_Cfg \
    --memory-mode My_Mem_Mode_Parent \
    --output-dir ${优化模型的保存路径} \
    ${需要优化的tflite模型路径}
部署
-
需要部署的模型文件是上面导出的
tflite文件。您可以根据以下教程将模型文件烧录到目标设备。 -
我们强烈推荐使用我们的网页工具将训练好的tflite模型烧录到设备中。详细操作请参考部署教程
注意: 由于 ESP32S3 设备不支持 vela 图形优化后的模型部署,如果您想将模型部署到 XIAO ESP32S3 设备,则不需要执行 tflite 模型图形优化。