在 Raspberry Pi Mic HAT 上使用 TensorFlow Lite 进行关键词检测
介绍
本项目演示如何在 ReSpeaker 2-Mics Pi HAT v2 上使用 TensorFlow Lite 进行关键词检测。关键词检测可以从音频输入中实时检测预定义的单词,从而实现诸如语音控制设备和交互式系统等应用。我们将引导你完成训练 TensorFlow Lite 模型、将其部署到 ReSpeaker HAT 上,并在本地运行语音识别的步骤。
硬件和软件需求
- 硬件:搭载 ReSpeaker 2-Mics Pi HAT v2 的 Raspberry Pi
- 软件:TensorFlow Lite、Google Colab、Python 及相关依赖库
应用场景
关键词检测可应用于:
- 智能家居设备
- 语音控制机器人
- 交互式自助终端
什么是 TensorFlow Lite?
TensorFlow Lite 是为移动端和嵌入式设备设计的轻量版 TensorFlow。它支持低延迟、小体积的机器学习推理,非常适合在 Raspberry Pi 等边缘设备上运行模型。
训练并获取 TensorFlow Lite 模型
数据集
我们将使用 Speech Commands 数据集的一个子集进行训练。该数据集包含由人说出不同单词的 WAV 音频文件,由 Google 采集并以 CC BY 许可发布。可以从此处下载该数据集。关于数据集的更多信息,请参考本指南。
为什么使用 Google Colab?
Google Colab 是一个基于云的 Jupyter Notebook 运行平台。它提供免费的 GPU 资源,非常适合在无需本地算力的情况下训练机器学习模型。
步骤
现在我们将使用一个 Google Colab Notebook 来进行数据训练,并生成 .tflite 格式的 TensorFlow Lite 模型。
-
步骤 1. 打开这个 Python Notebook
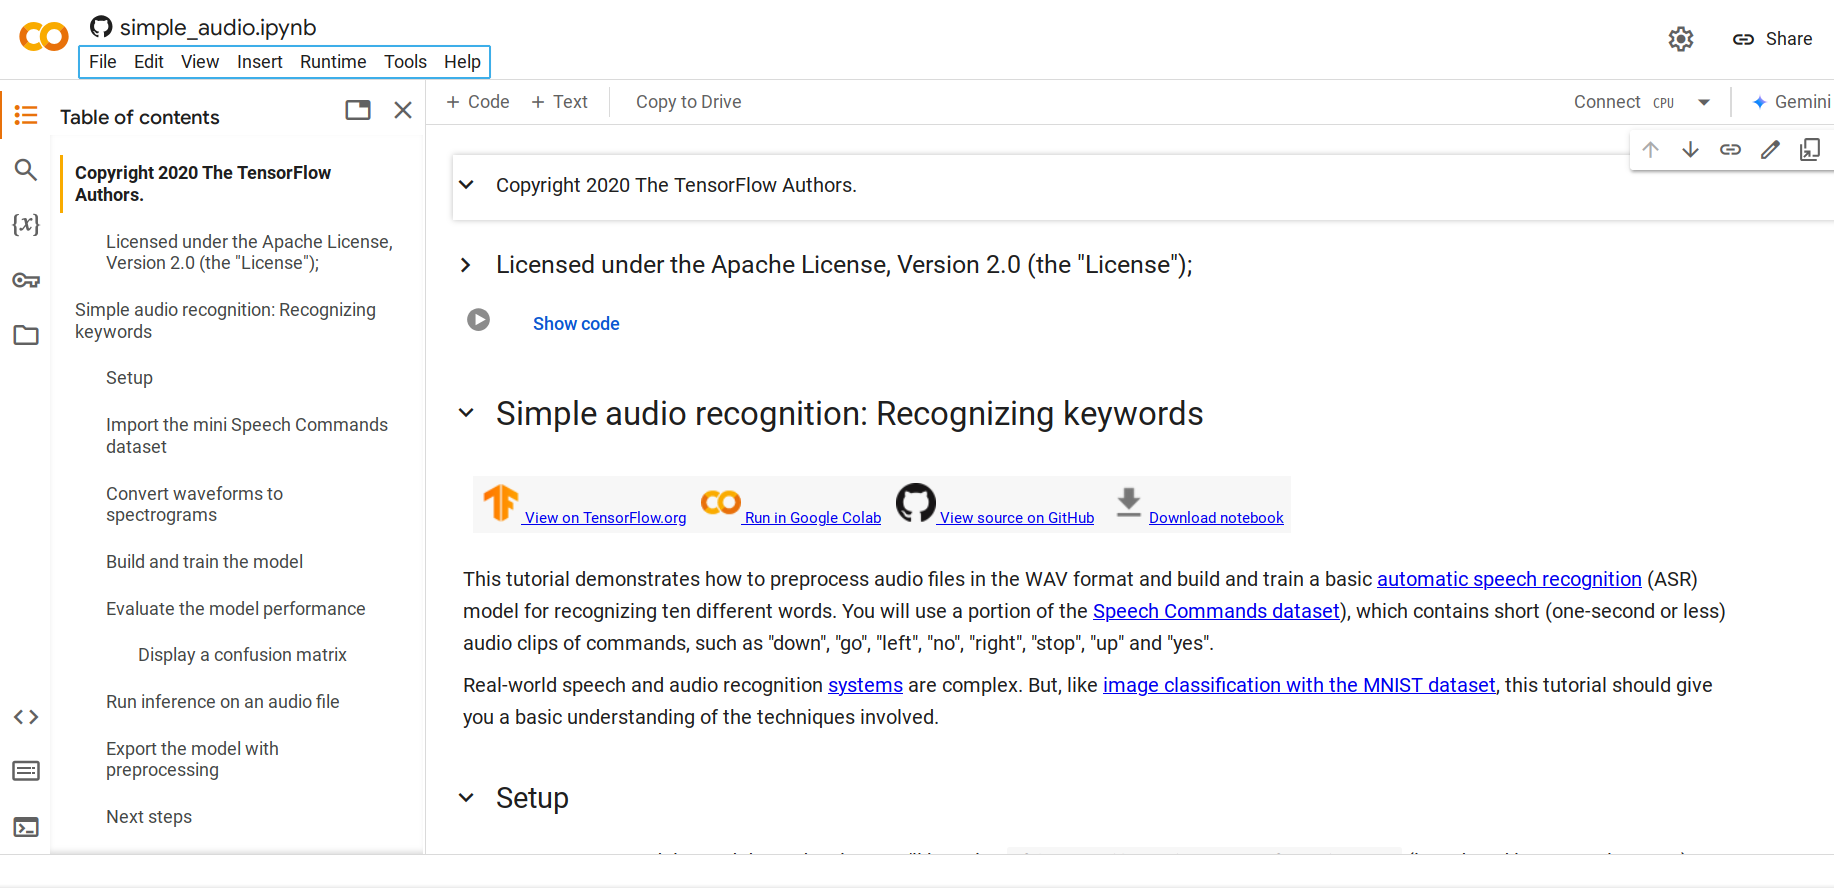
默认情况下,它会加载 mini Speech Commands 数据集,这是 Speech Commands 数据集的一个精简版本。原始数据集包含超过 105,000 个 WAV(波形)音频文件,记录了人们说出 35 个不同单词的声音。这些数据由 Google 采集并以 CC BY 许可发布。
-
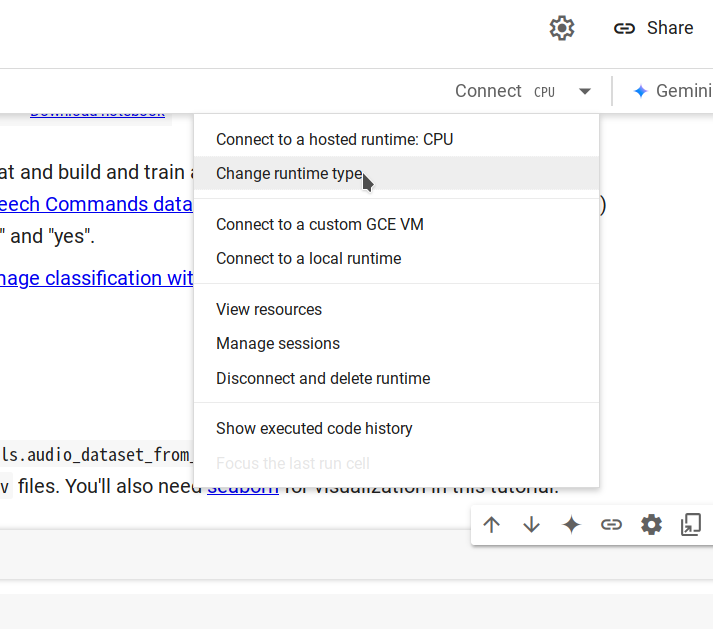
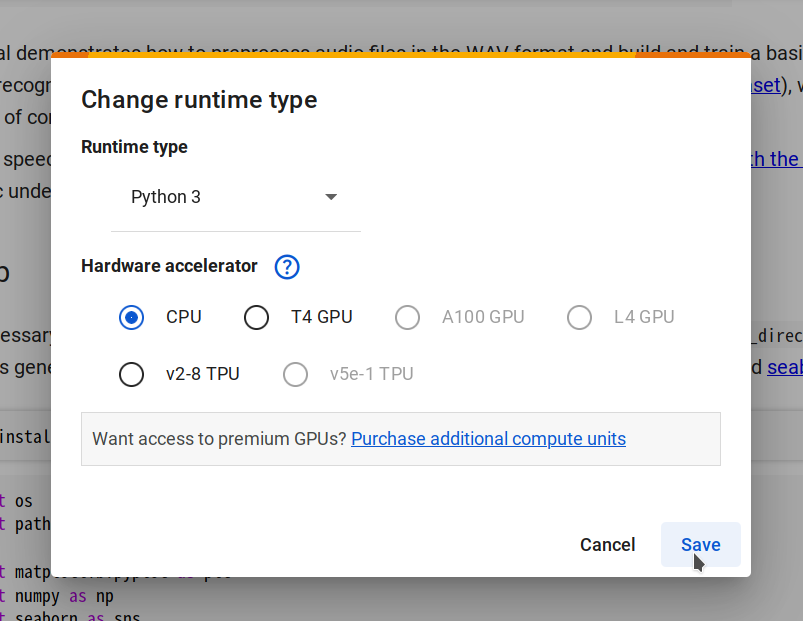
步骤 2. 通过选择 Changing runtime type -> CPU -> Save 连接到一个新的运行时,然后点击 Connect。
-
步骤 3. 进入
Runtime > Run all来运行所有代码单元。整个过程大约需要 10 分钟完成。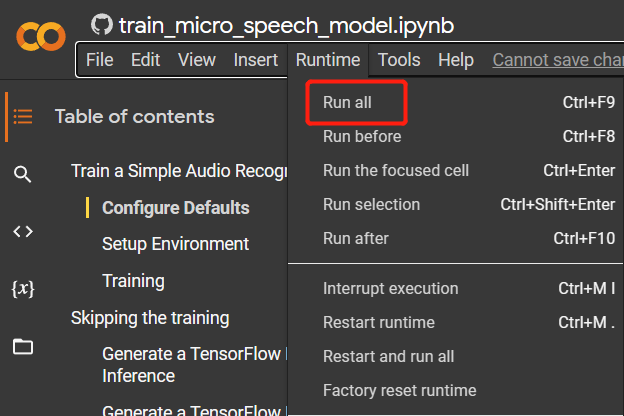
-
步骤 4. 当所有代码单元执行完毕后,追加一个新的单元,并运行以下代码以生成
.tflite模型文件。converter = tf.lite.TFLiteConverter.from_keras_model(model)
tflite_model = converter.convert()
with open('model.tflite', 'wb') as f:
f.write(tflite_model)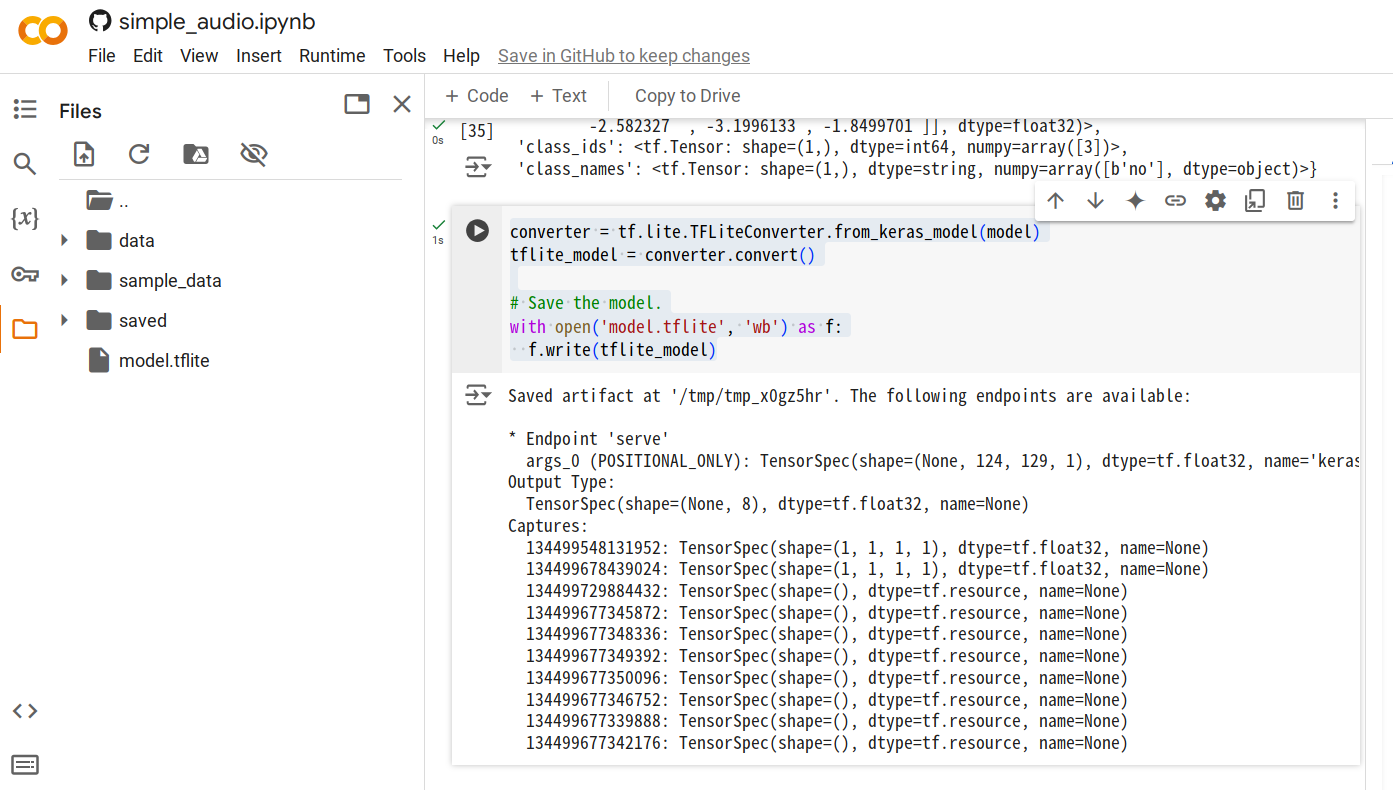
-
步骤 5. 右键点击生成的
model.tflite文件并选择 Download,将文件保存到你的电脑。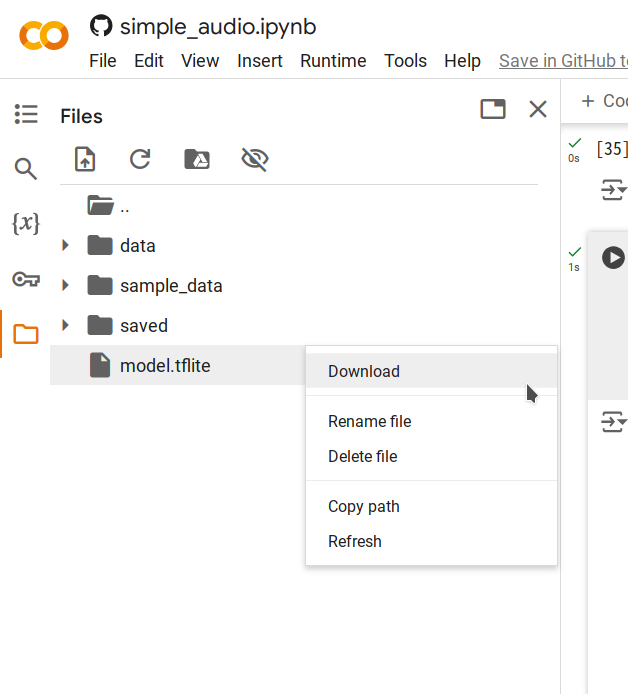
本地推理
运行推理脚本
脚本 inference.py 将执行以下步骤:
- 加载训练好的 TensorFlow Lite 模型。
- 将输入音频处理为适合推理的声谱图。
- 运行推理并输出检测到的关键词以及每个标签对应的置信度分数。
运行步骤
-
将
model.tflite模型文件上传到你的树莓派,在本示例中,我们将其放在~/speech_recognition/model.tflite。 -
将以下脚本保存为
~/speech_recognition/inference.py:import numpy as np
from scipy import signal
from tflite_runtime.interpreter import Interpreter
import soundfile as sf
MODEL_PATH = 'model.tflite'
LABELS = ['no', 'yes', 'down', 'go', 'left', 'up', 'right', 'stop']
def get_spectrogram(waveform, expected_time_steps=124, expected_freq_bins=129):
_, _, Zxx = signal.stft(
waveform,
fs=16000,
nperseg=255,
noverlap=124,
nfft=256
)
spectrogram = np.abs(Zxx)
if spectrogram.shape[0] != expected_freq_bins:
spectrogram = np.pad(spectrogram, ((
0, expected_freq_bins - spectrogram.shape[0]), (0, 0)), mode='constant')
if spectrogram.shape[1] != expected_time_steps:
spectrogram = np.pad(spectrogram, ((
0, 0), (0, expected_time_steps - spectrogram.shape[1])), mode='constant')
if spectrogram.shape != (expected_freq_bins, expected_time_steps):
raise ValueError(
f"Invalid spectrogram shape. Got {spectrogram.shape}, expected ({expected_freq_bins}, {expected_time_steps})."
)
spectrogram = np.transpose(spectrogram)
return spectrogram
def preprocess_audio(file_path):
waveform, sample_rate = sf.read(file_path)
if sample_rate != 16000:
raise ValueError("Expected sample rate is 16 kHz")
if len(waveform.shape) > 1:
waveform = waveform[:, 0]
spectrogram = get_spectrogram(waveform)
spectrogram = spectrogram[..., np.newaxis]
spectrogram = spectrogram[np.newaxis, ...]
return spectrogram
def run_inference(file_path):
spectrogram = preprocess_audio(file_path)
interpreter = Interpreter(MODEL_PATH)
interpreter.allocate_tensors()
input_details = interpreter.get_input_details()
output_details = interpreter.get_output_details()
input_shape = input_details[0]['shape']
if spectrogram.shape != tuple(input_shape):
raise ValueError(
f"Expected input shape {input_shape}, got {spectrogram.shape}"
)
interpreter.set_tensor(
input_details[0]['index'], spectrogram.astype(np.float32))
interpreter.invoke()
output_data = interpreter.get_tensor(output_details[0]['index'])[0]
prediction = np.argmax(output_data)
confidence = np.exp(output_data) / \
np.sum(np.exp(output_data))
print(f"command: {LABELS[prediction].upper()}")
for label, conf in zip(LABELS, confidence):
print(f"{label}: {conf:.2%}")
if __name__ == "__main__":
audio_file_path = 'test_audio.wav'
run_inference(audio_file_path) -
使用以下命令录制一段声音,可用的关键词包括:
no、yes、down、go、left、up、right、stop。$ arecord -D "plughw:2,0" -f S16_LE -r 16000 -d 1 -t wav ~/speech_recognition/test_audio.wav -
执行脚本:
$ python3 inference.py
INFO: Created TensorFlow Lite XNNPACK delegate for CPU.
command: YES
no: 8.74%
yes: 21.10%
down: 5.85%
go: 14.57%
left: 11.02%
up: 8.25%
right: 10.53%
stop: 19.94%
结果解读
脚本会输出检测到的指令(例如 YES)以及所有标签对应的置信度分数。这可以帮助你了解模型的预测结果,并评估其性能。
技术支持与产品讨论
感谢你选择我们的产品!我们将为你提供多种支持,确保你在使用我们产品的过程中尽可能顺利。我们提供多种沟通渠道,以满足不同的偏好和需求。