使用 Xiao ESP32S3 通过 GPIO 控制 reSpeaker Flex
目标
本指南将说明如何使用 I2C 接口在 XVF3800 语音处理器上读取和控制 GPIO 引脚。你将学会如何:
- 读取 GPI 和 GPO 引脚状态
- 理解 GPIO 映射及其用途
| reSpeaker Flex XVF3800 线性阵列搭配 XIAO ESP32S3 | reSpeaker Flex XVF3800 环形阵列搭配 XIAO ESP32S3 | |
|---|---|---|
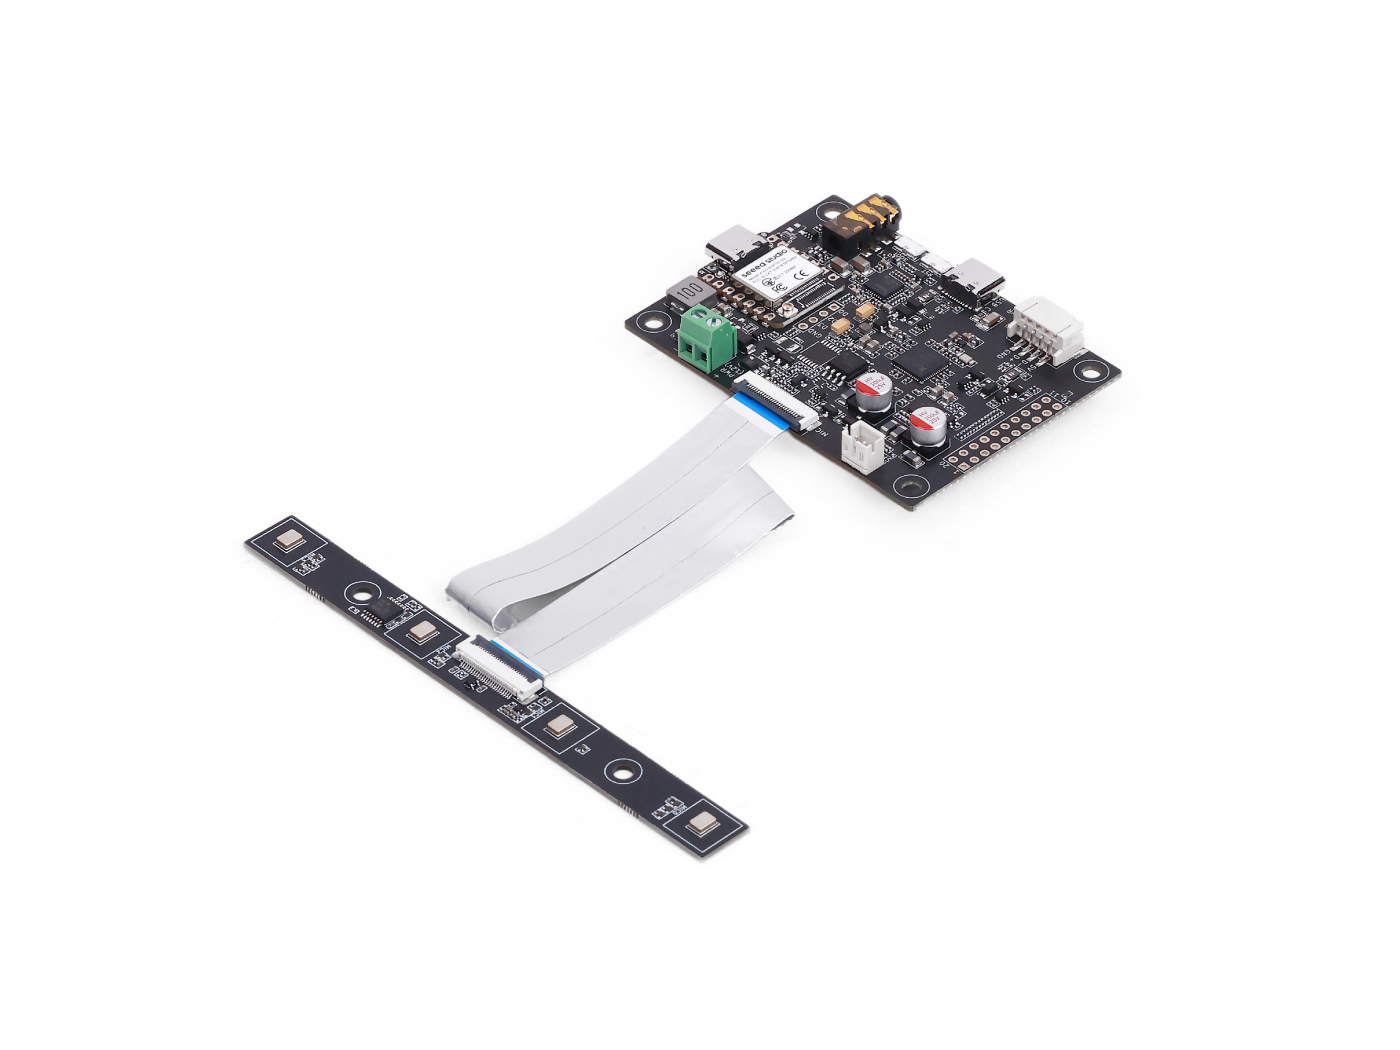 | 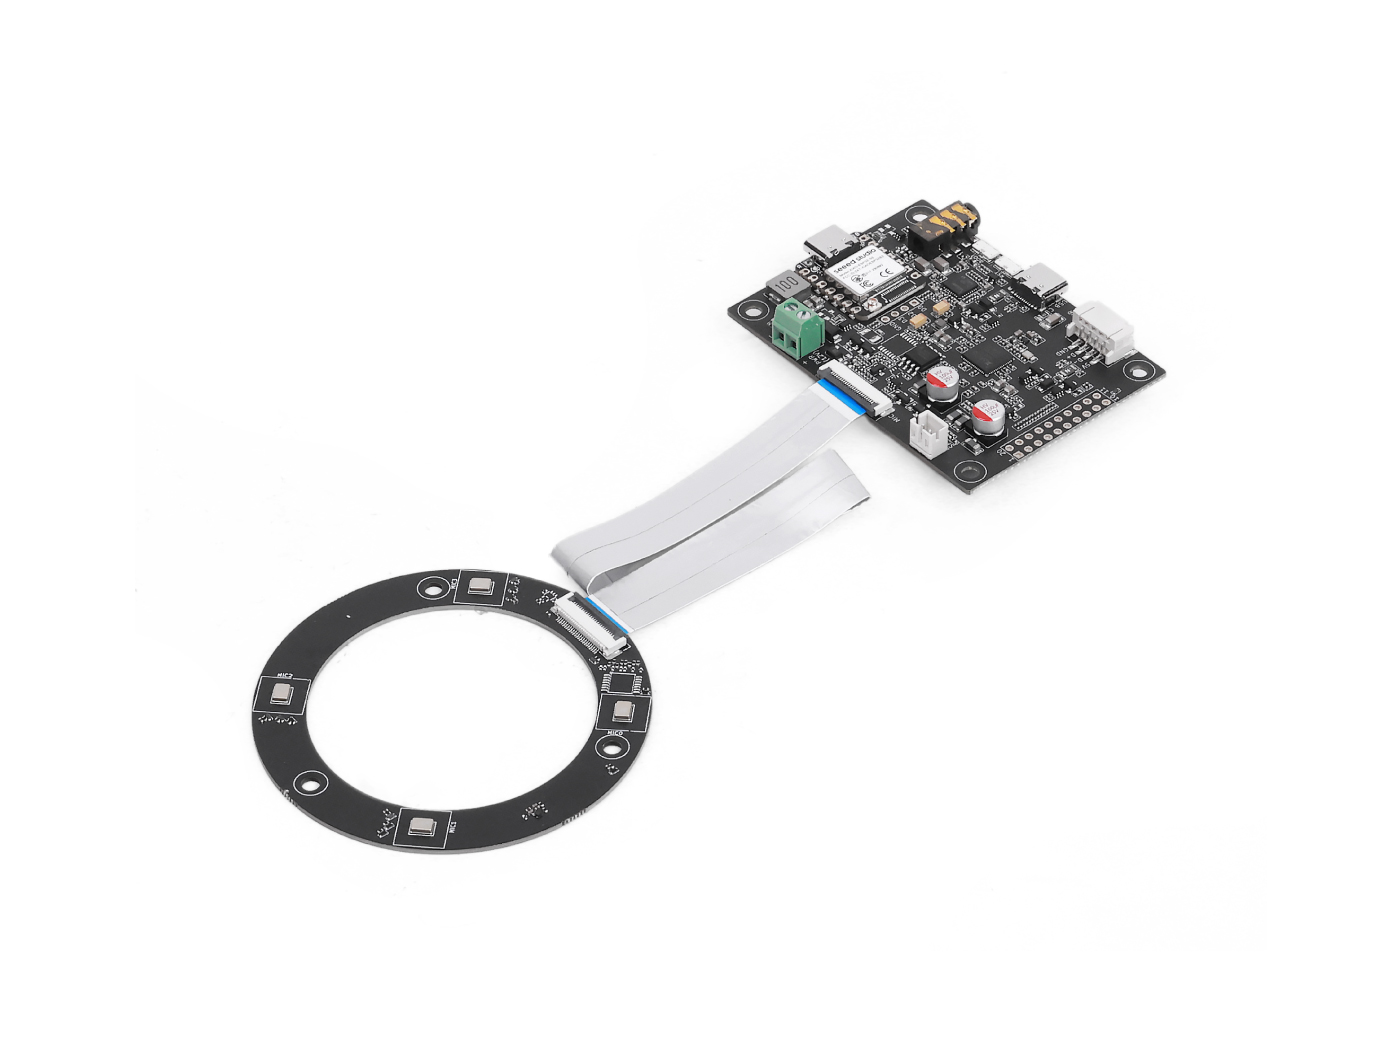 | |
GPIO 概览
| 引脚名称 | 方向 | 功能 |
|---|---|---|
| X1D09 | 输入 (只读) | 启动按键状态 / GPI0 |
| X1D13 | 输入 (只读) | 悬空 / GPI1 |
| X1D34 | 输入 (只读) | 悬空 / GPI2 |
| X0D11 | 输出 (读写) | 悬空 / GPO,与 SPI MOSI 复用 |
| X0D30 | 输出 (读写) | SD/FAULT 控制 |
| X0D31 | 输出 (读写) | PA / 功放控制 |
| X0D32 | 输出 (读写) | XMOS GPIO 1 |
| X0D33 | 输出 (读写) | XMOS GPIO 2 |
| X0D39 | 输出 (读写) | 悬空 / GPO,与 SPI MISO 复用 |
读取 GPO 引脚状态
目标:检查所有**具备输出能力的 GPIO(GPO)**的逻辑电平。 代码要点:
- 使用以下参数发送读请求:
- 资源 ID:20(GPO)
- 命令 ID:0(GPO_READ_VALUES)
- 按顺序读取 5 个 GPO 引脚状态:X0D11 → X0D30 → X0D31 → X0D33 → X0D39
- 包含一个状态字节用于校验响应
#include <Wire.h>

#define XMOS_ADDR 0x2C  // I2C 7-bit address

#define GPO_SERVICER_RESID 20
#define GPO_SERVICER_RESID_GPO_READ_VALUES 0
#define GPO_GPO_READ_NUM_BYTES 5

void setup() {
  Serial.begin(115200);
  while (!Serial);
  Wire.begin();
  delay(1000);
  Serial.println("XVF3800 GPO Read Test Starting...");
}

void loop() {
  uint8_t gpo_values[GPO_GPO_READ_NUM_BYTES] = {0};
  uint8_t status = 0xFF;

  bool success = read_gpo_values(gpo_values, &status);

  if (success) {
    Serial.print("I2C Communication SUCCESS. Status byte: 0x");
    Serial.print(status, HEX);
    Serial.print(" | GPO Output Values: ");
    for (uint8_t i = 0; i < GPO_GPO_READ_NUM_BYTES; i++) {
      Serial.print("0x");
      Serial.print(gpo_values[i], HEX);
      Serial.print(" ");
    }
    Serial.println();
  } else {
    Serial.println("Failed to read GPO values.");
  }

  delay(1000);
}

bool read_gpo_values(uint8_t *buffer, uint8_t *status) {
  const uint8_t resid = GPO_SERVICER_RESID;
  const uint8_t cmd = GPO_SERVICER_RESID_GPO_READ_VALUES | 0x80;
  const uint8_t read_len = GPO_GPO_READ_NUM_BYTES;

  // Step 1: Write command
  Wire.beginTransmission(XMOS_ADDR);
  Wire.write(resid);
  Wire.write(cmd);
  Wire.write(read_len + 1);
  uint8_t result = Wire.endTransmission();

  if (result != 0) {
    Serial.print("I2C Write Error: ");
    Serial.println(result);
    return false;
  }

  // Step 2: Read response (status + payload)
  Wire.requestFrom(XMOS_ADDR, (uint8_t)(read_len + 1));
  if (Wire.available() < read_len + 1) {
    Serial.println("I2C Read Error: Not enough data received.");
    return false;
  }

  *status = Wire.read();
  for (uint8_t i = 0; i < read_len; i++) {
    buffer[i] = Wire.read();
  }

  return true;
}
读取 GPI 引脚状态
目标:检查具备输入能力的 GPIO 的状态(例如静音按键状态)。 代码要点:
- 发送命令到:
- 资源 ID:36(IO_CONFIG)
- 命令 ID:6(GPI_VALUE_ALL)
- 接收 3 个 GPI,分别表示 X1D09、X1D13 和 X1D34 的状态
#include <Wire.h>
#define XMOS_ADDR 0x2C // I2C 7-bit address of XVF3800
// Resource and command IDs for GPI
#define IO_CONFIG_SERVICER_RESID 36
#define IO_CONFIG_SERVICER_RESID_GPI_READ_VALUES 0
#define GPI_READ_NUM_BYTES 3 // From header: IO_CONFIG_SERVICER_RESID_GPI_READ_VALUES_NUM_VALUES
void setup() {
Serial.begin(115200);
while (!Serial);
Wire.begin();
delay(1000);
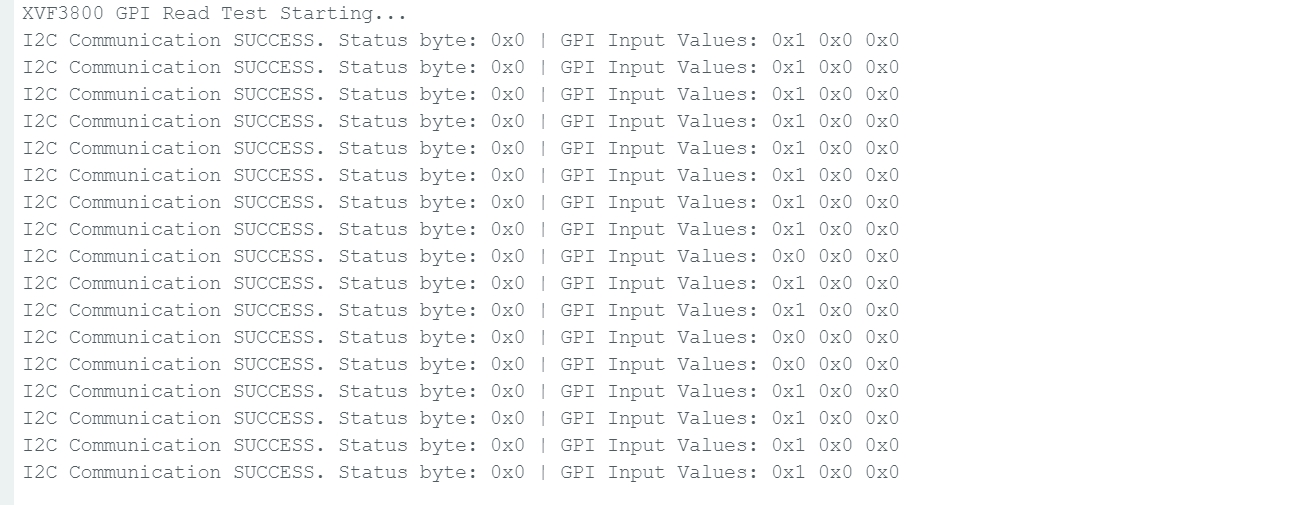
Serial.println("XVF3800 GPI Read Test Starting...");
}
void loop() {
uint8_t gpi_values[GPI_READ_NUM_BYTES] = {0};
uint8_t status = 0xFF;
bool success = read_gpi_values(gpi_values, &status);
if (success) {
Serial.print("I2C Communication SUCCESS. Status byte: 0x");
Serial.print(status, HEX);
Serial.print(" | GPI Input Values: ");
for (uint8_t i = 0; i < GPI_READ_NUM_BYTES; i++) {
Serial.print("0x");
Serial.print(gpi_values[i], HEX);
Serial.print(" ");
}
Serial.println();
} else {
Serial.println("Failed to read GPI values.");
}
delay(1000);
}
bool read_gpi_values(uint8_t *buffer, uint8_t *status) {
const uint8_t resid = IO_CONFIG_SERVICER_RESID;
const uint8_t cmd = IO_CONFIG_SERVICER_RESID_GPI_READ_VALUES | 0x80; // Read command
const uint8_t read_len = GPI_READ_NUM_BYTES;
// Step 1: Send the command
Wire.beginTransmission(XMOS_ADDR);
Wire.write(resid);
Wire.write(cmd);
Wire.write(read_len + 1); // +1 for status byte
uint8_t result = Wire.endTransmission();
if (result != 0) {
Serial.print("I2C Write Error: ");
Serial.println(result);
return false;
}
// Step 2: Read response (status + payload)
Wire.requestFrom(XMOS_ADDR, (uint8_t)(read_len + 1));
if (Wire.available() < read_len + 1) {
Serial.println("I2C Read Error: Not enough data received.");
return false;
}
*status = Wire.read(); // first byte is status
for (uint8_t i = 0; i < read_len; i++) {
buffer[i] = Wire.read();
}
return true;
}
当你按下启动按键后,状态将会发生变化。
技术支持与产品讨论
感谢你选择我们的产品!我们将通过多种支持方式,确保你在使用我们产品的过程中尽可能顺利。我们提供多种沟通渠道,以满足不同的偏好和需求。