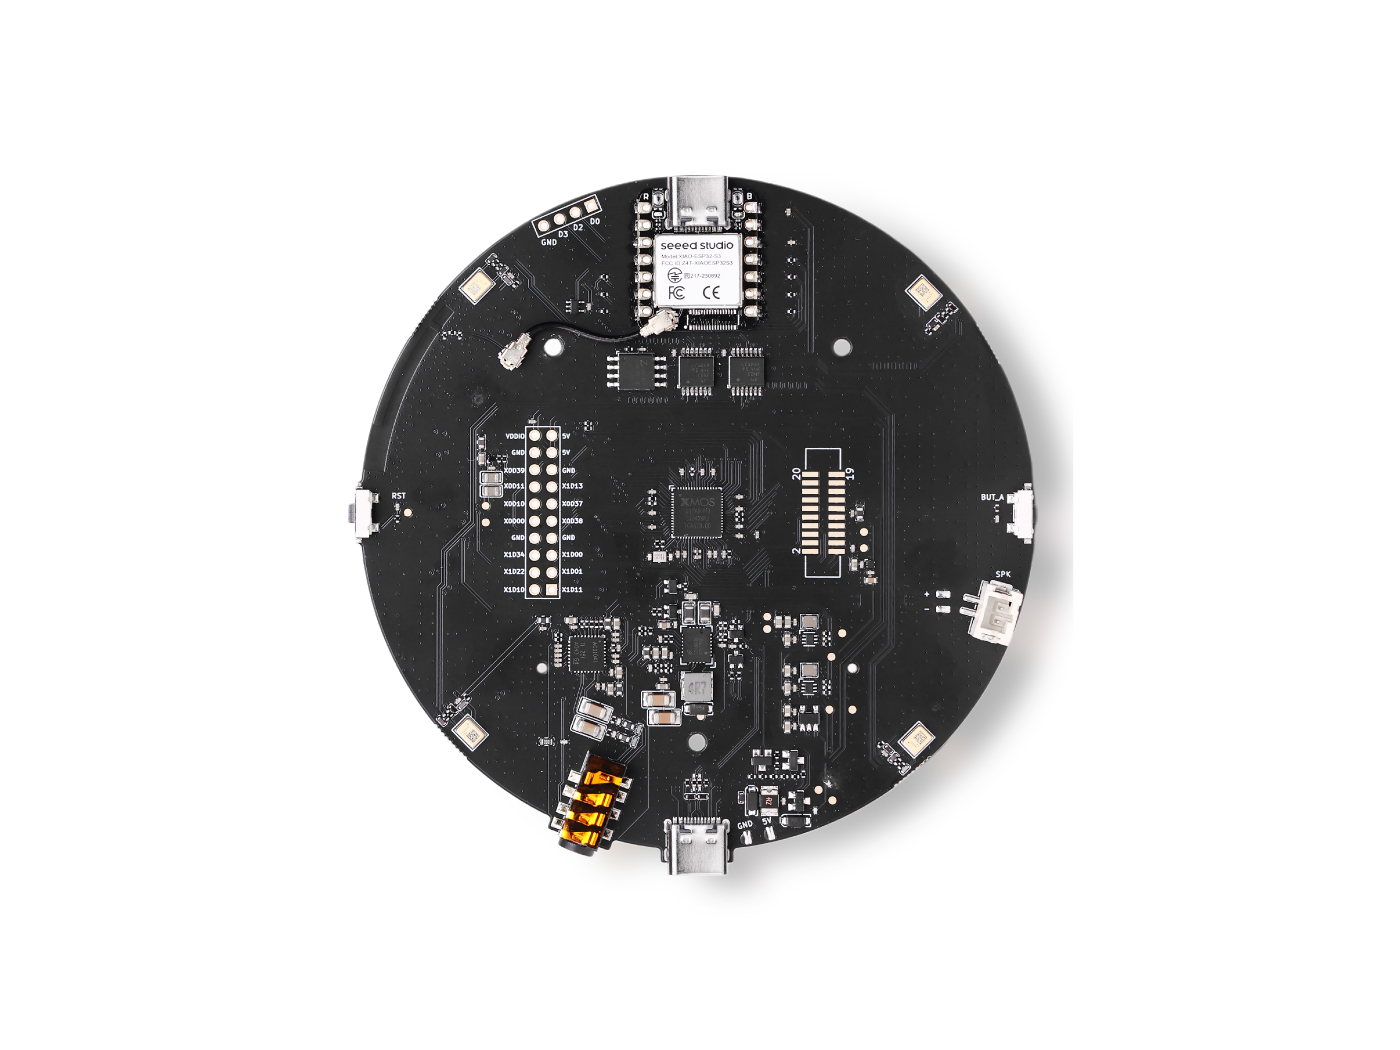
在 reSpeaker XVF3800 上使用 TensorFlow Lite
介绍
在本教程中,我们将指导你使用 TensorFlow Lite Micro (TFLM),在搭载 XVF3800 ReSpeaker 的 Seeed XIAO ESP32 上创建一个自定义语音识别系统。你将学习如何采集和标注音频数据,对其进行预处理,并划分为训练集和验证集。接着,我们会基于你的数据集训练一个自定义关键词识别模型,将其转换为 TFLite 格式,最后以十六进制文件的形式部署到 ESP32 上,实现实时语音指令识别。完成后,你将拥有一个基于微控制器、能够准确分类口语指令的完整系统。
依赖
要跟随本教程操作,你需要安装以下 Arduino 库:
请确保在 Arduino IDE 中安装这些库。每个 GitHub 仓库中都包含如何正确安装和配置库的指南。
采集数据
我们将录制短语音样本(每段 10 秒),并将其拆分为 1 秒的音频片段。要使用 XVF3800 ReSpeaker,你可能需要先安装 USB 固件。
固件指南: Seeed Studio XVF3800 Firmware Flash
步骤 1:查找设备 ID
使用以下 Python 脚本列出连接到你电脑的所有音频设备,并找到 ReSpeaker 对应的设备索引:
import sounddevice as sd

# List all available devices
devices = sd.query_devices()

# Print all devices
for i, device in enumerate(devices):
    print(f"Device {i}: {device['name']} (input channels: {device['max_input_channels']})")
注意:在下一个脚本中,根据 ReSpeaker 打印出的设备编号更新
DEVICE_INDEX。
步骤 2:采集音频样本
此 Python 脚本会根据人员姓名和标签采集音频样本。每个人会创建一个文件夹,WAV 文件会保存在对应标签的子目录下。
import os
import sounddevice as sd
from scipy.io.wavfile import write

# === Settings ===
SAMPLERATE = 16000
CHANNELS = 1  # ReSpeaker 4-Mic Array
DURATION = 10  # seconds
DEVICE_INDEX = 2  # Set to your ReSpeaker device index


def record_audio(filename, samplerate=SAMPLERATE, channels=CHANNELS, duration=DURATION, device=DEVICE_INDEX):
    print(f"Recording '{filename}' for {duration} seconds...")
    recording = sd.rec(int(duration * samplerate),
                       samplerate=samplerate,
                       channels=channels,
                       dtype='int16',
                       device=device)
    sd.wait()
    write(filename, samplerate, recording)
    print(f"Saved: {filename}")


def get_next_filename(directory, label):
    existing = [f for f in os.listdir(directory) if f.startswith(label) and f.endswith('.wav')]
    index = len(existing) + 1
    return os.path.join(directory, f"{label}.{index}.wav")


def collect_samples():
    while True:
        sample_name = input("Enter sample name (e.g., PersonA): ").strip()
        if not sample_name:
            print("Sample name cannot be empty.")
            continue

        sample_dir = os.path.join(os.getcwd(), sample_name)
        os.makedirs(sample_dir, exist_ok=True)
        print(f"Directory created: {sample_dir}")

        while True:
            label = input("Enter sound/voice to record (e.g., yes, no): ").strip()
            if not label:
                print("Label cannot be empty.")
                continue

            while True:
                filename = get_next_filename(sample_dir, label)
                record_audio(filename)

                cont = input("Record another sample for this label? (yes/no): ").strip().lower()
                if cont != 'yes':
                    break

            next_label = input("Do you want to record a different label? (yes/no): ").strip().lower()
            if next_label != 'yes':
                break

        next_sample = input("Do you want to create a new sample? (yes/no): ").strip().lower()
        if next_sample != 'yes':
            print("Audio collection completed.")
            break


if __name__ == "__main__":
    collect_samples()
工作原理:
- 为每个人创建一个文件夹。
- 提示输入标签(例如 "yes"、"no"),并保存对应的音频文件。
- 录制 10 秒的音频片段,之后可以将其拆分为 1 秒的片段用于训练。
数据预处理
在采集完 10 秒的音频样本后,下一步是将其拆分为 1 秒的片段用于训练。我使用 Edge Impulse 来方便地可视化并拆分录音。
音频文件格式
所有音频文件必须满足以下要求:
- 格式: WAV (.wav)
- 采样率: 16 kHz
- 声道数: 单声道(1 声道)
- 位深: 16-bit PCM
- 时长: 1 秒(1000 ms)
注意:Edge Impulse 可以帮助自动将更长的录音拆分为这些 1 秒的片段。
目标标签
-
每个文件夹名称都会被视为一个类别标签。
-
示例:
hi_speaker→ 模型识别“hi speaker”seeed→ 模型识别“seeed”
-
你可以根据需要添加更多类别,但文件夹名称必须与训练时使用的
WANTED_WORDS列表一致。
Unknown / Other
other/文件夹应包含不在目标列表中的随机单词。这有助于模型正确分类未知词语。
Silence / Noise
-
_background_noise_/文件夹应包含环境声音,例如:- 办公室噪声
- 街道噪声
- 键盘敲击声
- 静音录音(麦克风开启但无人说话)
适当的预处理可以确保模型学会区分目标指令、未知词语和背景噪声。
dataset_dir/
│
├── hi_speaker/           # All audio samples for the "hi_speaker" keyword
│   ├── audio_0.wav
│   ├── audio_1.wav
│   └── ...
│
├── seeed/                # All audio samples for the "seeed" keyword
│   ├── audio_2.wav
│   ├── audio_3.wav
│   └── ...
│
├── other/                # Random speech or non-target words
│   ├── audio_4.wav
│   ├── audio_5.wav
│   └── ...
│
└── _background_noise_/   # Background noise samples
    ├── noise_0.wav
    ├── noise_1.wav
    └── ...
数据训练
要训练你的自定义语音识别模型,建议使用运行 Ubuntu x86 的电脑。你还需要 xxd 工具,可以通过以下命令安装:
sudo apt-get install xxd
步骤 1:安装 Anaconda
- 下载并安装 Anaconda Navigator
- 在 Anaconda 中为本项目创建一个新的环境。
步骤 2:配置环境
在该环境中安装所需的软件包:
- 深度学习框架: TensorFlow 1.5
- 编程语言: Python 3.7
此配置可确保与用于微控制器部署的 TensorFlow Lite Micro 兼容。
步骤 3:运行训练 Notebook
- 下载 Jupyter notebook: train_micro_speech_model.ipynb
- 在 Jupyter 中打开该 notebook,并按照说明操作。
- 完成后,notebook 会生成一个名为
model.cc的十六进制模型文件,可直接部署到 ESP32。
然后可以在 Arduino 项目中包含
model.cc文件,在搭载 XVF3800 ReSpeaker 的 XIAO ESP32 上运行实时关键词识别。
在搭载 XVF3800 的 XIAO ESP32 上进行推理
当 model.cc 文件准备好后,你就可以将其部署到 XIAO ESP32 上,实现实时语音指令识别。由于 XVF3800 输出的是32 位音频样本,我们需要将其转换为 16 位以适配 TensorFlow Lite Micro。同时,我们还需要配置 I2S 引脚、采样率和声道数,以匹配模型的要求。
Arduino 代码示例
#include "AudioTools.h"
#include "AudioTools/AudioLibs/TfLiteAudioStream.h"
#include "model.h"  // Replace with your generated model.cc

I2SStream i2s;
TfLiteAudioStream tfl;
StreamCopy copier(tfl, i2s);

const char* kCategoryLabels[] = {
    "silence",
    "unknown",
    "hi_respeaker", //change the key word that you trained
    "seeed" // change the key word that you trained
};

void respondToCommand(const char* found_command, uint8_t score, bool is_new_command) {
  if (is_new_command) {
    Serial.printf("Detected: %s (score: %d)\n", found_command, score);
  }
}

// Temp buffer for 32-bit I2S samples
int32_t i2s_buffer[512];
int16_t conv_buffer[512];

void setup() {
  Serial.begin(115200);
  AudioLogger::instance().begin(Serial, AudioLogger::Warning);

  // XVF3800 I2S input configuration
  auto cfg = i2s.defaultConfig(RX_MODE);
  cfg.sample_rate = 16000;
  cfg.channels = 1;            // Mono
  cfg.bits_per_sample = 32;    // XVF3800 streams 32-bit samples
  cfg.pin_bck = 8;
  cfg.pin_ws = 7;
  cfg.pin_data = 44;
  cfg.pin_data_rx = 43;
  cfg.is_master = true;
  i2s.begin(cfg);

  // TensorFlow Lite configuration
  auto tcfg = tfl.defaultConfig();
  tcfg.setCategories(kCategoryLabels);
  tcfg.sample_rate = 16000;
  tcfg.channels = 1;
  tcfg.kTensorArenaSize = 15 * 1024;
  tcfg.respondToCommand = respondToCommand;
  tcfg.model = g_model;  // Replace with your model.cc
  tfl.begin(tcfg);
}

void loop() {
  // Read 32-bit audio from XVF3800
  size_t n = i2s.readBytes((uint8_t*)i2s_buffer, sizeof(i2s_buffer));

  if (n > 0) {
    size_t samples = n / sizeof(int32_t);

    // Convert 32-bit -> 16-bit
    for (size_t i = 0; i < samples; i++) {
      conv_buffer[i] = (int16_t)(i2s_buffer[i] >> 16);
    }

    // Feed converted data into TensorFlow
    tfl.write((uint8_t*)conv_buffer, samples * sizeof(int16_t));
  }
}
关键说明
- 请务必将
g_model替换 为你生成的model.cc文件名。


- XVF3800 默认输出 32-bit 立体声;我们将其转换为 16-bit 单声道 以匹配模型。
- TensorFlow Lite Micro 会持续读取音频数据,并在检测到识别命令时触发
respondToCommand()。
通过此配置,你的 XIAO ESP32 现在可以使用 XVF3800 麦克风阵列实时识别自定义语音指令。
技术支持与产品讨论
感谢你选择我们的产品!我们将为你提供多种支持,确保你在使用我们产品的过程中尽可能顺畅。我们提供多种沟通渠道,以满足不同的偏好和需求。