如何在reComputer上使用Jetson平台服务运行零样本检测
介绍
生成式AI视觉变换器(如CLIP)使得构建能够进行开放词汇目标检测的零样本检测模型成为可能。这意味着,模型不受预定义类别集合的限制来进行检测。要检测的对象由用户在运行时配置。零样本检测AI服务能够通过Jetson服务快速部署生成式AI,用于视频直播流输入的开放词汇检测。零样本检测AI服务公开REST API端点来控制流输入和要检测的对象。
本wiki提供了如何在reComputer J4012上运行零样本检测的教程。
要求
在进行设置过程之前,请确保您的系统满足以下先决条件:
-
一台运行Ubuntu
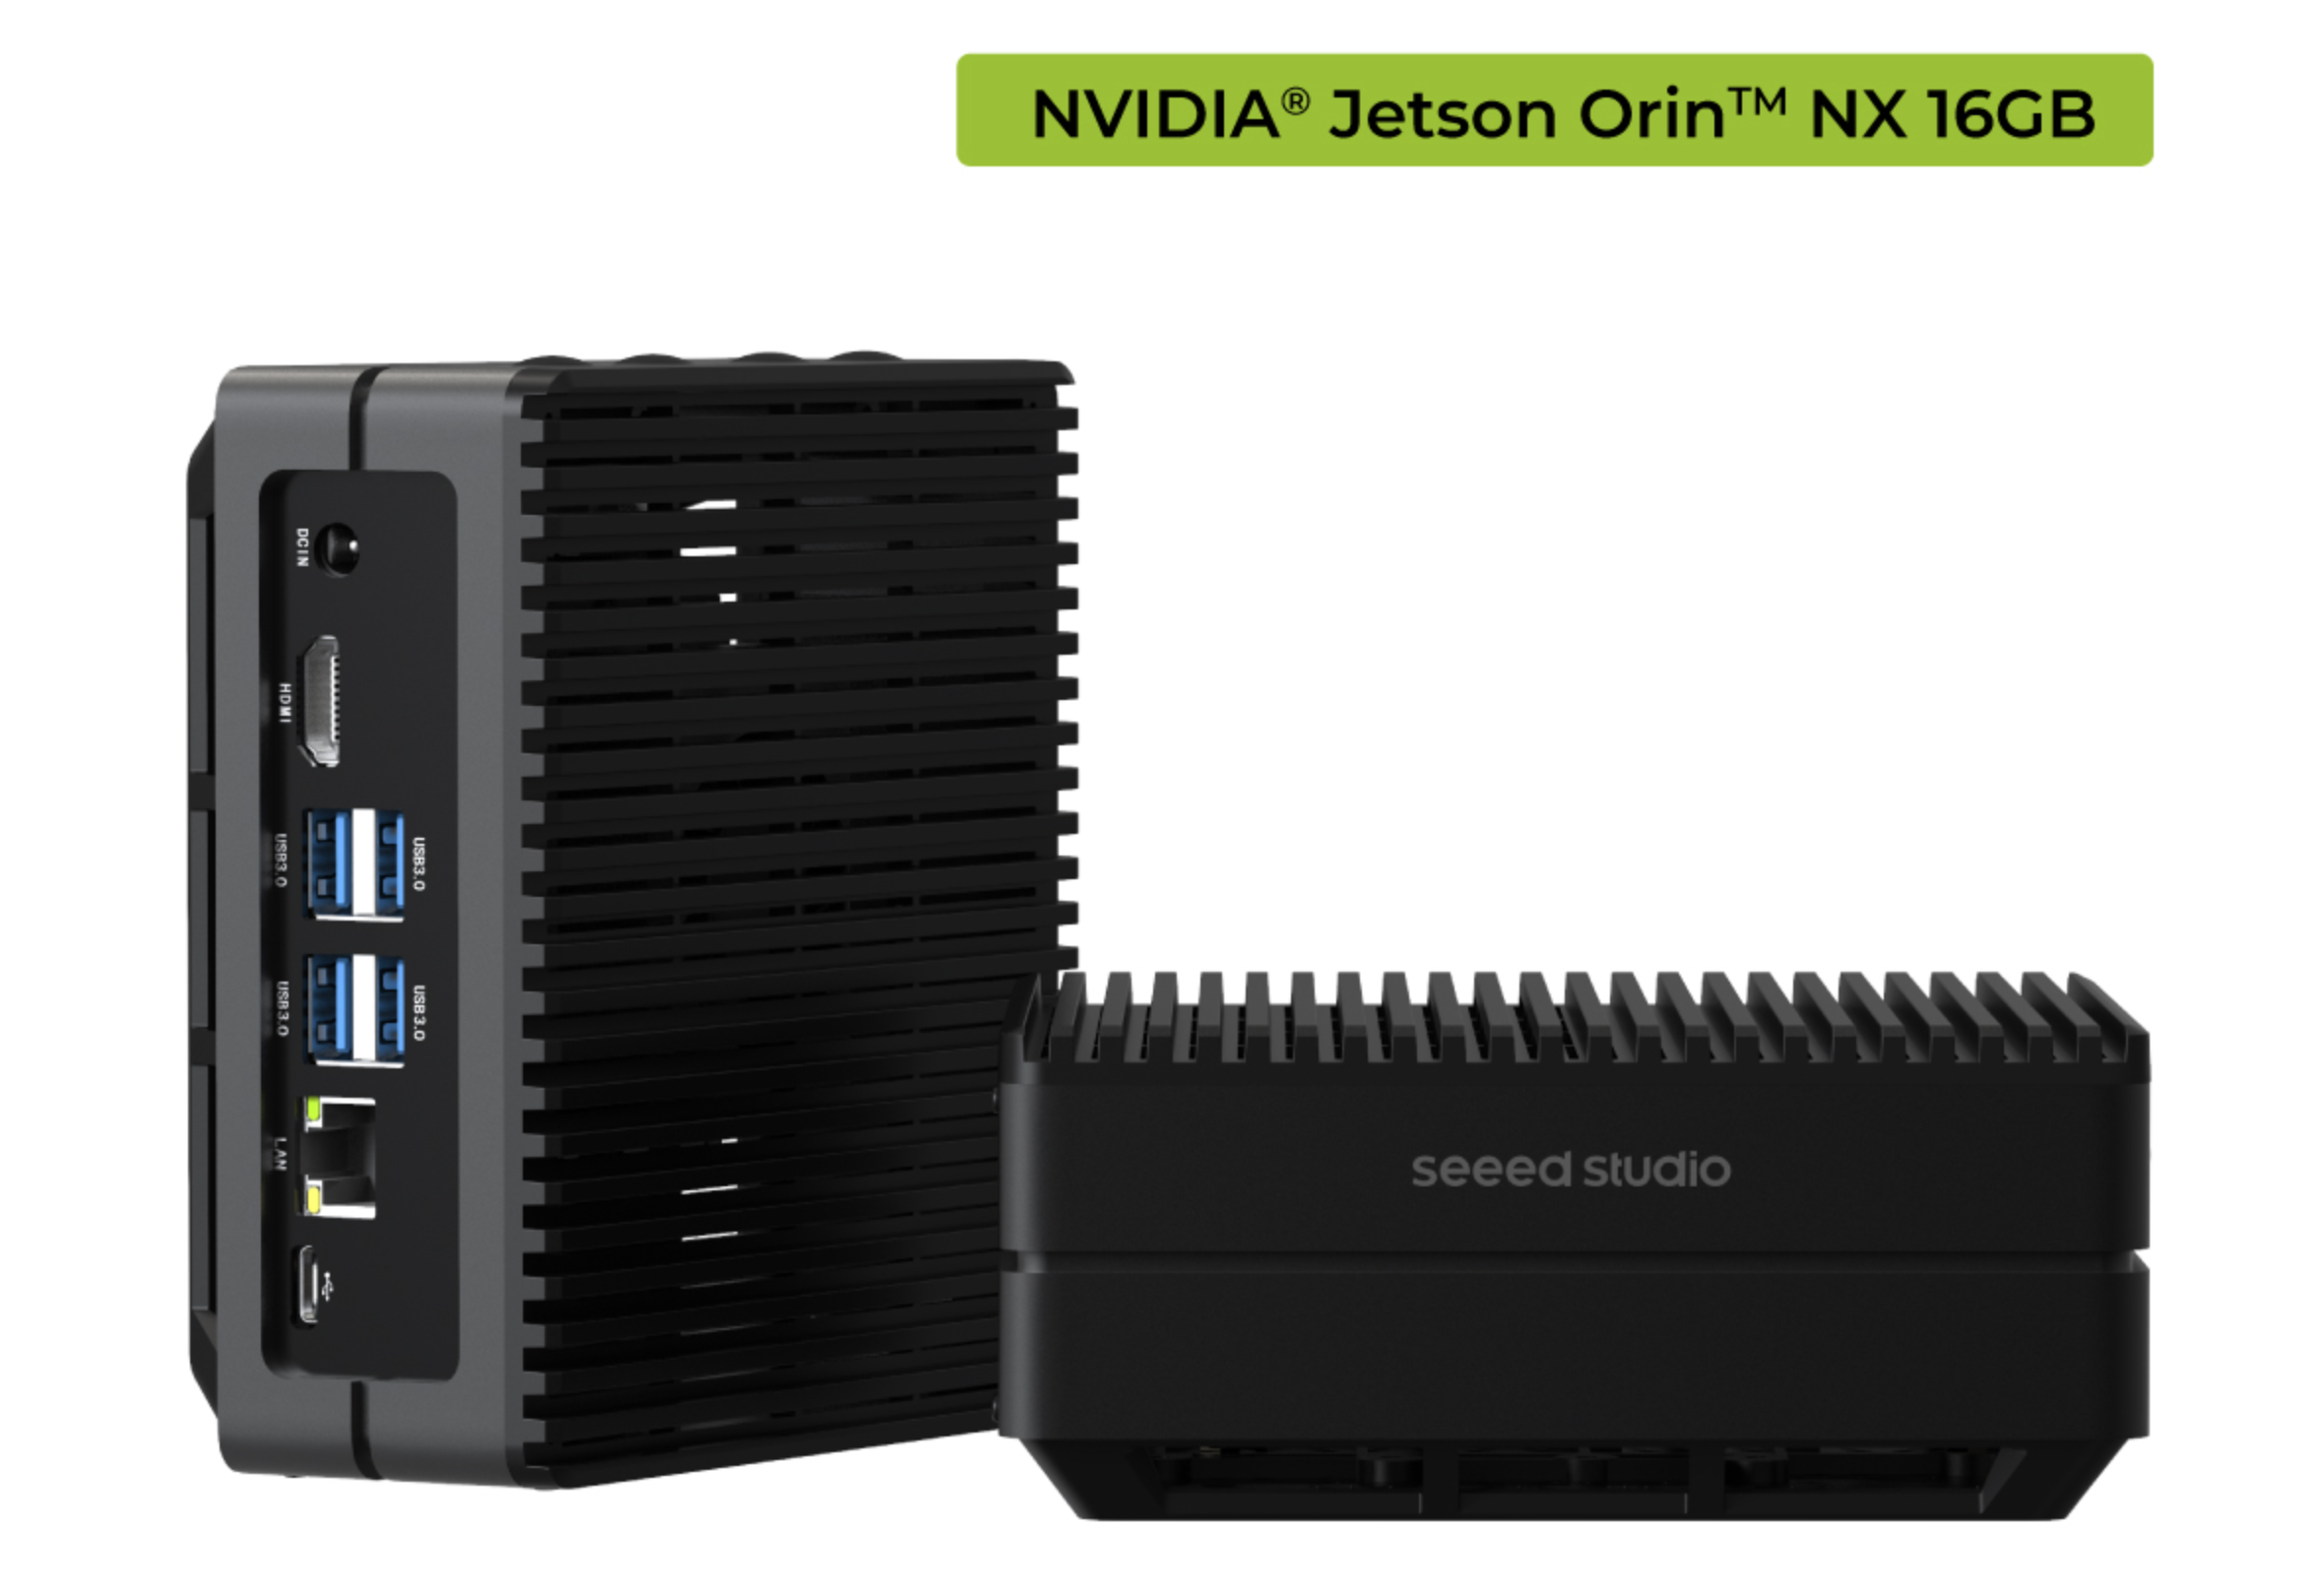
22.04或更高版本的reComputer J4012 Orin NX 16G。 -
驱动版本:
535.113.01,Jetpack6.0和CUDA版本:12.2。 -
确保已安装JetPack和相关的Jetson服务包。
sudo apt-get install nvidia-jetpack
sudo apt install nvidia-jetson-services -
IP 摄像头或本地视频可以通过 RTSP 进行流式传输。(我们建议使用我们提供的 NVStreamer 教程 进行 RTSP 流式传输。)
入门指南
步骤 1:使用此链接从 NGC 下载应用程序包 zero_shot_detection-1.1.0.tar.gz 到您的 Jetson:NGC 参考工作流程和资源。您需要输入您的 NGC 凭据。在页面上,使用 Download 菜单(右上角)中的可用选项之一:
tar -xvf zero_shot_detection-1.1.0.tar.gz
cd ~/zero_shot_detection/example_1
步骤 2:零样本检测 AI 服务将使用 jetson-ingress 和 jetson-redis 服务。您需要配置 jetson-ingress 服务来暴露零样本检测 REST API。将提供的默认配置复制到相应的服务配置目录。
sudo cp config/zero_shot_detection-nginx.conf /opt/nvidia/jetson/services/ingress/config
步骤 3: 运行基本服务。
sudo systemctl start jetson-monitoring
sudo systemctl start jetson-sys-monitoring
sudo systemctl start jetson-gpu-monitoring
步骤 4:验证平台入口配置文件(用于监控服务)中的所有行都已取消注释,检查以下文件:
/opt/nvidia/jetson/services/ingress/config/platform-nginx.conf
步骤 5: 启动API网关以访问监控仪表板。
sudo systemctl restart jetson-ingress
sudo systemctl restart jetson-redis
sudo systemctl restart jetson-vst
步骤 6: 启动零样本检测 AI 服务。
sudo docker compose up -d
要检查所有必需的容器是否已启动,可以运行以下命令:
sudo docker ps

添加 RTSP 流输入
您可以首先为零样本检测模型添加一个 RTSP 流,使用以下 curl 命令。建议使用 NVStreamer 教程 进行流媒体传输。
-
步骤 1:将
0.0.0.0替换为您的 Jetson IP,将liveStreamUrl链接替换为您的 RTSP 链接,然后在终端中输入以下命令:curl --location 'http://0.0.0.0:5010/api/v1/live-stream' \
--header 'Content-Type: application/json' \
--data '{
"liveStreamUrl": "rtsp://0.0.0.0:31554/nvstream/root/store/nvstreamer_videos/car.mp4"
}'
注意:除了 curl 命令,您还可以通过 API 文档页面直接测试 REST API,当零样本检测服务启动时,可在 http://0.0.0.0:5010/docs 访问该页面。
-
步骤 2:执行第一步后,将返回一个 ID。您需要记录此 ID 以便在后续步骤中使用。
{"id": "a782e200-eb48-4d17-a1b9-5ac0696217f7"}您也可以稍后使用以下命令获取 ID:
curl --location 'http://0.0.0.0:5010/api/v1/live-stream'要通过 ID 删除流,您可以使用以下命令:
curl --location --request DELETE 'http://0.0.0.0:5010/api/v1/live-stream/{id}'
添加检测类别
零样本检测模型能够在运行时更新其检测类别。此端点接受要检测的对象列表和相关的阈值。阈值是检测的敏感度。较高的值将减少误报。较低的值将增加误报。目前此服务仅支持 1 个流,但将来此 API 将允许多流支持。
-
步骤 1:将
0.0.0.0替换为您的 reComputer IP 地址,修改objects以包含您需要检测的对象(最多十个),为每个类别设置thresholds,并使用上一步返回的id。完成命令后,在终端中输入以下内容:curl -X 'POST' \
'http://192.168.49.101:5010/api/v1/detection/classes' \
-H 'accept: application/json' \
-H 'Content-Type: application/json' \
-d '{
"objects": [
"a car", "a people"
],
"thresholds": [
0.2, 0.04
],
"id": "a782e200-eb48-4d17-a1b9-5ac0696217f7"
}'
查看 RTSP 流结果
检测输出将通过 rtsp://reComputer_ip:5011/out 进行流传输。我们提供了一个用于可视化视频流输出的 Python 脚本,您需要提前安装 opencv-python 库,然后运行以下 Python 脚本:
-
步骤 1: 安装 opencv-python 库:
pip install opencv-python -
步骤 2: 运行以下 Python 脚本:
import cv2
rtsp_url = "rtsp://reComputer_ip:5011/out"
cap = cv2.VideoCapture(rtsp_url)
if not cap.isOpened():
    print("Cannot open RTSP stream")
    exit()
while True:
    ret, frame = cap.read()
    if not ret:
        print("Failed to retrieve frame")
        break
    cv2.imshow('RTSP Stream', frame)
    if cv2.waitKey(1) & 0xFF == ord('q'):
        break
cap.release()
cv2.destroyAllWindows()
关闭
要停止零样本检测服务,请在 compose.yaml 文件所在的同一目录中运行以下命令:
sudo docker compose down
更多详情
使用 Jetson 平台服务进行零样本检测:https://docs.nvidia.com/jetson/jps/inference-services/zero_shot_detection.html
技术支持与产品讨论
感谢您选择我们的产品!我们在这里为您提供不同的支持,以确保您使用我们产品的体验尽可能顺畅。我们提供多种沟通渠道,以满足不同的偏好和需求。