reComputer 上的 Viseron
简介
Viseron 是一个用 Python 实现的自托管、仅本地的 NVR 和 AI 计算机视觉软件。Viseron 的目标是易于设置和使用,同时仍然强大且灵活。它被设计为在本地网络上运行,无需外部依赖,也不需要云服务。
先决条件
硬件要求
| reComputer AI R2130 | reComputer AI Industrial R2145 |
|---|---|
 |  |
软件要求
更新系统
请使用以下命令运行。
sudo apt update
sudo apt upgrade -y
下载 docker 和 docker compose
请使用以下命令安装 docker。
wget https://get.docker.com -O get-docker.sh
chmod +x
sudo sh get-docker.sh
sudo systemctl start docker
sudo systemctl enable docker
docker --version
结果如下所示:

请使用以下命令安装 docker compose。
sudo curl -L "https://github.com/docker/compose/releases/download/$(curl -s https://api.github.com/repos/docker/compose/releases/latest | jq -r .tag_name)/docker-compose-$(uname -s)-$(uname -m)" -o /usr/local/bin/docker-compose
sudo chmod +x /usr/local/bin/docker-compose
docker-compose --version
结果如下所示:

下载 Viseron
创建文件夹
请使用以下命令创建文件夹
cd ~
mkdir -p viseron_data/{timelapse,thumbnails,snapshots,segments,models,event_clips,config}
下载模型
请使用以下命令为 hailo8 设备下载 hef 模型。
cd ~/viseron_data/models
wget https://hailo-model-zoo.s3.eu-west-2.amazonaws.com/ModelZoo/Compiled/v2.16.0/hailo8/yolov8n.hef
创建 docker-compose.yaml
请使用以下命令创建 docker-compose.yaml。
cd ~ && nano docker-compose.yaml
services:
  viseron:
    image: roflcoopter/viseron:latest
    container_name: viseron
    shm_size: "1024mb"
    volumes:
      - /home/ain/viseron_data/segments:/segments
      - /home/ain/viseron_data/snapshots:/snapshots
      - /home/ain/viseron_data/thumbnails:/thumbnails
      - /home/ain/viseron_data/event_clips:/event_clips
      - /home/ain/viseron_data/timelapse:/timelapse
      - /home/ain/viseron_data/config:/config
      - /etc/localtime:/etc/localtime:ro
      - /home/ain/viseron_data/models:/models
    ports:
      - 8888:8888
    devices:
      - /dev/hailo0
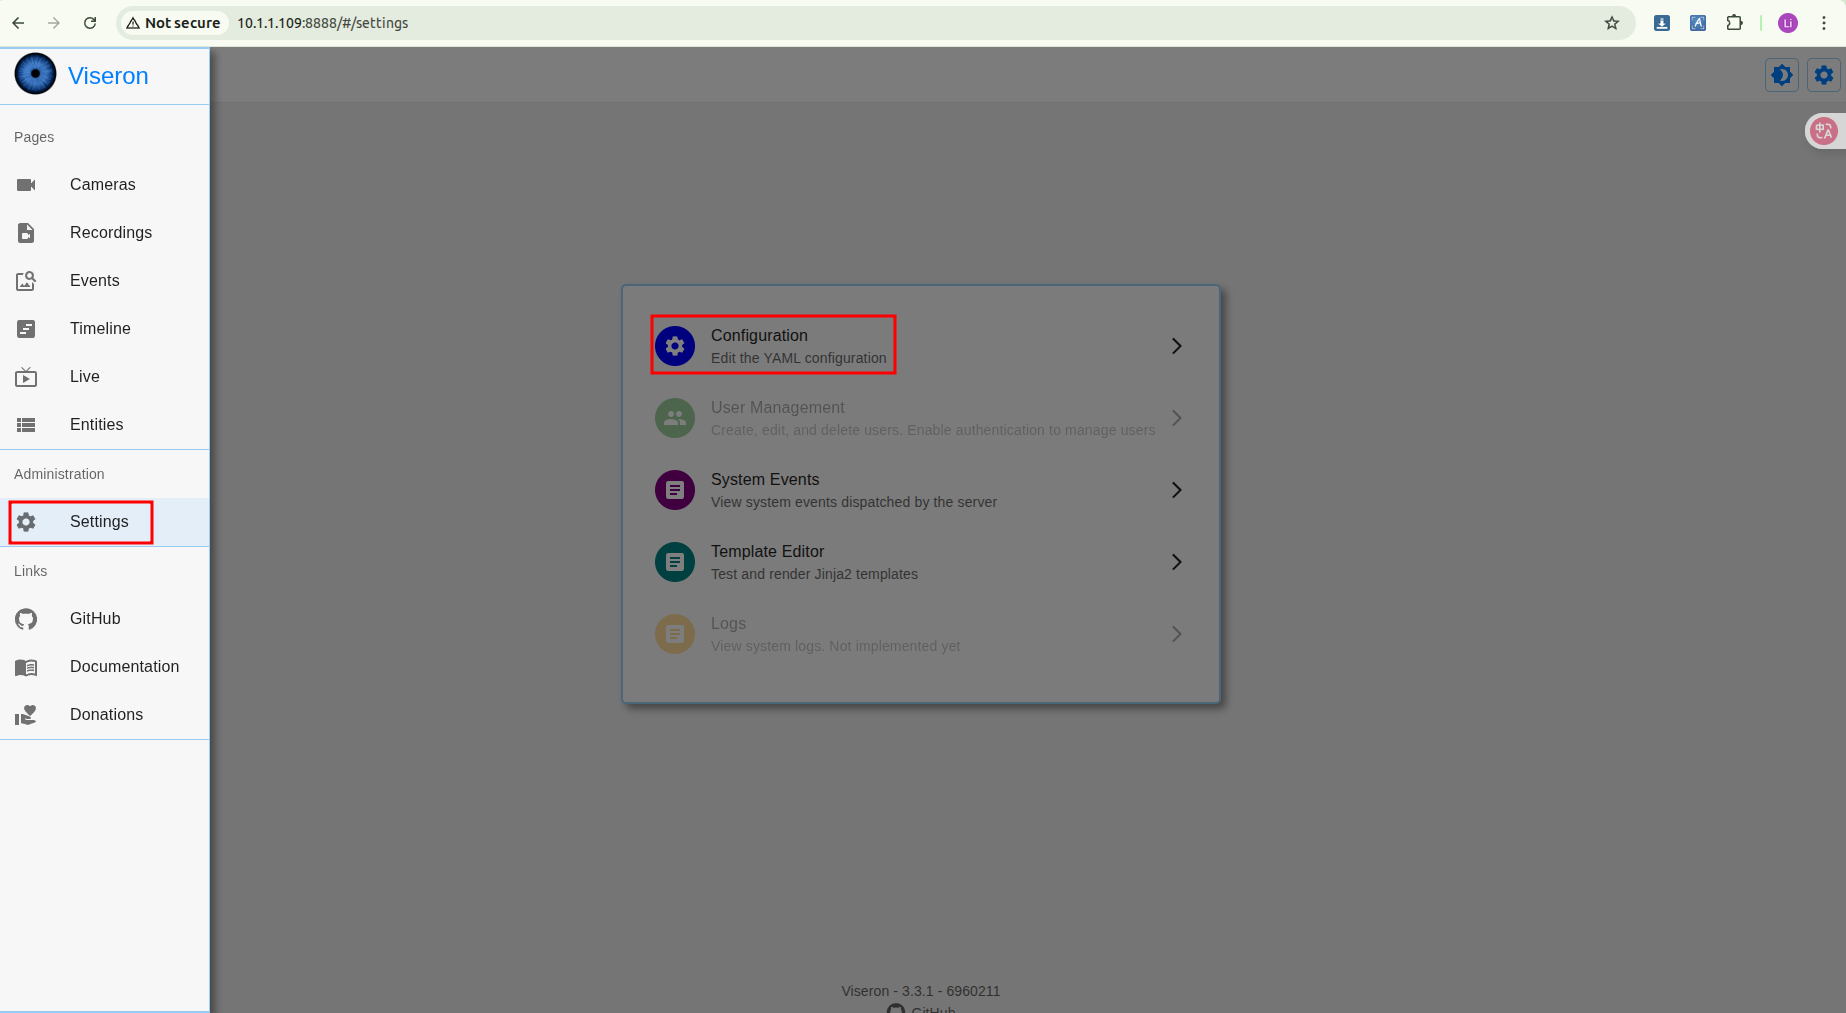
配置 Viseron
运行 Viseron
请使用以下命令运行 viseron
cd ~
docker compose up
打开端口
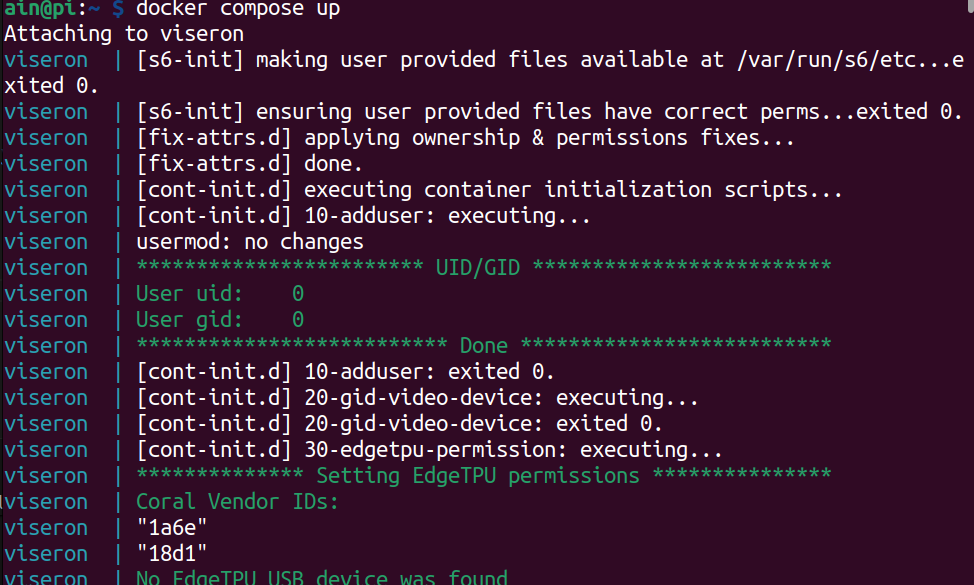
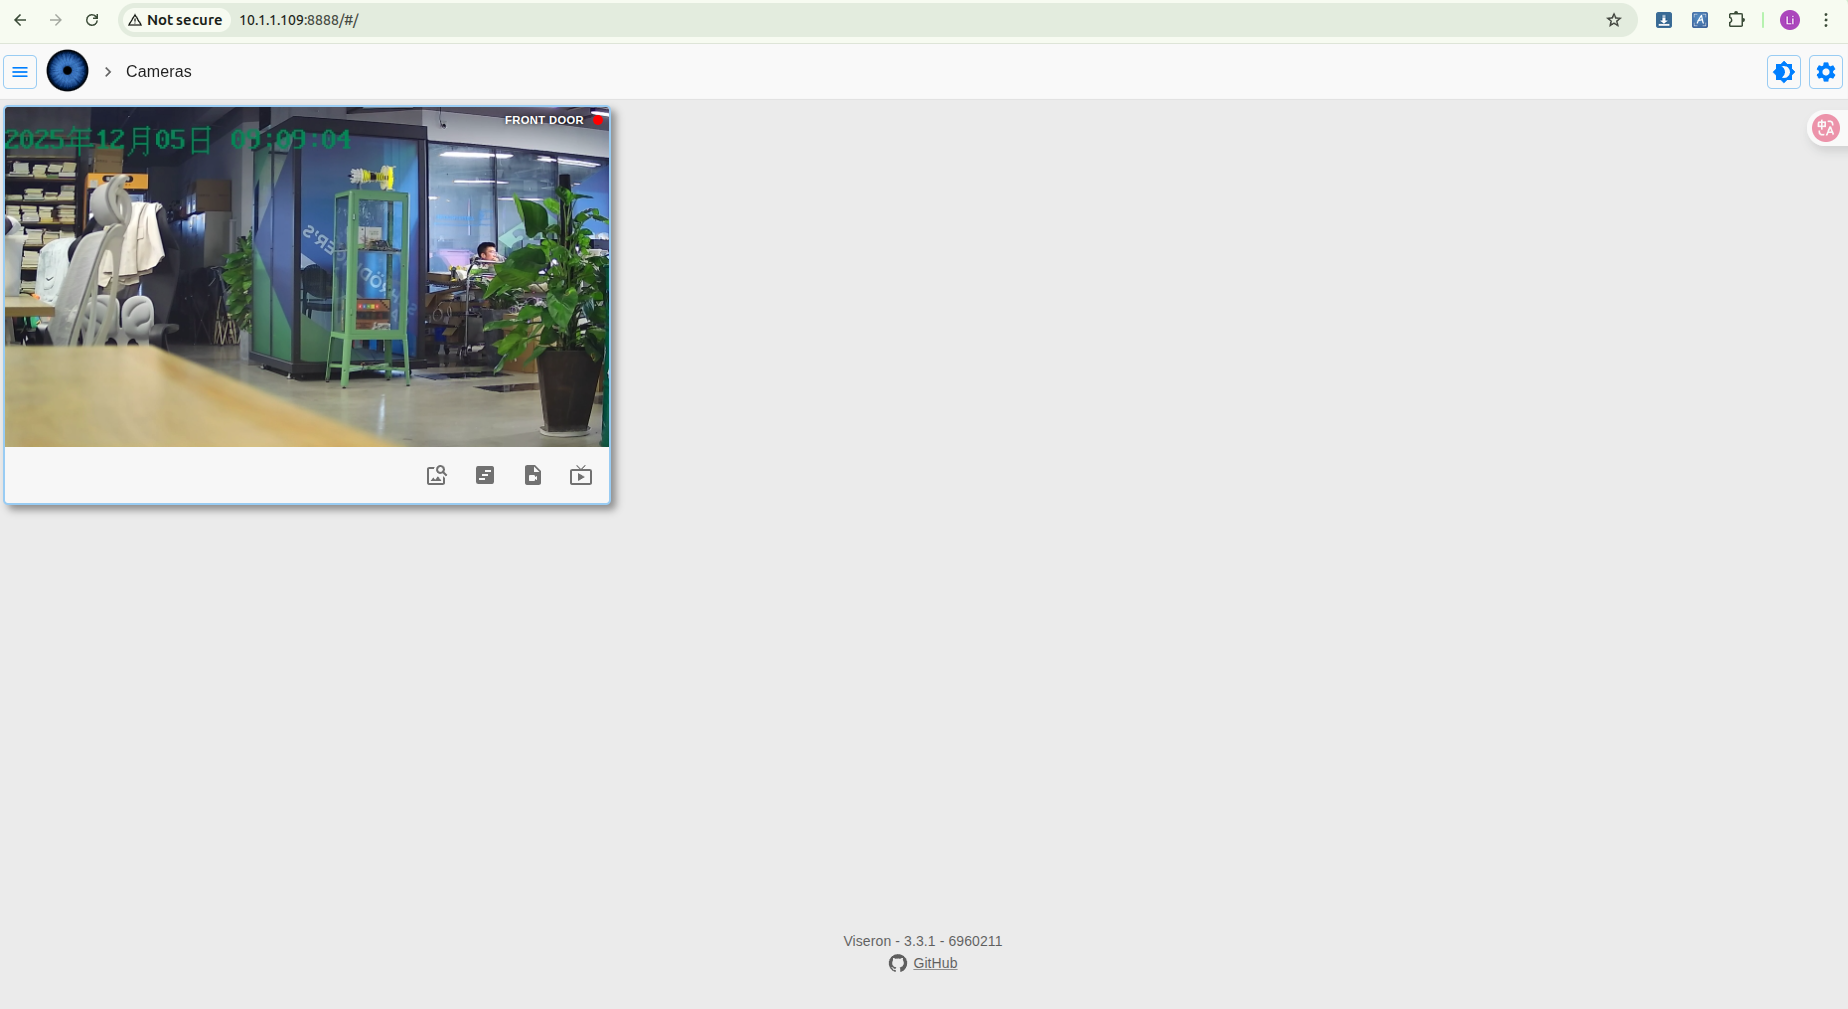
请打开端口 8888,您将看到如下结果:
配置
请按照以下步骤配置 Viseron,并根据您的摄像头地址替换配置信息。
# Viseron Configuration Example - Resolving Hailo component and camera identifier mismatch
# Core concept: All components use the same camera identifier "cam_front"

# 1. Camera Configuration (FFmpeg Component)
# This is the foundation for all detection features. Ensure the identifier here is correctly referenced by other components.
ffmpeg:
  camera:
    cam_front:  # 🔑 Key identifier: other components must reference this name
      name: "Front Door"  # Camera display name (customizable)
      host: 10.1.1.200  # IP address of the camera
      port: 554            # RTSP port (usually 554)
      path: /cam/realmonitor?channel=1&subtype=1  # RTSP stream path (replace with your camera's actual path)
      username: admin
      password: passw0rd
      fps: 6  # Set the video stream frame rate
      recorder:
        idle_timeout: 1    # Idle timeout setting
        codec: h264        # Recording codec

# 2. Hailo Object Detector Configuration
# This component uses Hailo-8 AI acceleration hardware for object detection and must point to a configured camera.
hailo:
  object_detector:
    model_path: /models/yolov8n.hef  # 🔑 Important: Replace with the path to your HEF model file
    # Add the following line based on your Hailo hardware version (e.g., hailo8 or hailo8l)
    # hailo_arch: hailo8
    cameras:
      cam_front:  # ⬅️ Must exactly match the identifier defined in the ffmpeg section above
        fps: 2  # Detection frame rate (higher consumes more resources)
        scan_on_motion_only: false  # Set to true to perform AI detection only when motion is detected
        labels:
          - label: person  # Detect the "person" class
            confidence: 0.7  # Confidence threshold
            trigger_event_recording: true  # Trigger event recording when detected
          - label: car  # You can add other classes to detect
            confidence: 0.7

# 3. Motion Detector Configuration (MOG2 Component)
# Can provide pre-triggering for Hailo AI detection to save computational resources.
mog2:
  motion_detector:
    cameras:
      cam_front:  # ⬅️ Use the same consistent identifier
        fps: 2  # Motion detection frame rate

# 4. NVR (Network Video Recorder) Configuration
# Binds all the above components together and manages recording.
nvr:
  cam_front:  # ⬅️ Use the same consistent identifier
    motion_detector:  # Enable motion detection
      enabled: true
    object_detector:   # Enable object detection
      enabled: true
      interval: 0.5    # Object detection trigger interval

# (Optional) Logger level adjustment, can be set to 'debug' for troubleshooting
logger:
  default_level: info
运行
请按照以下步骤运行软件。
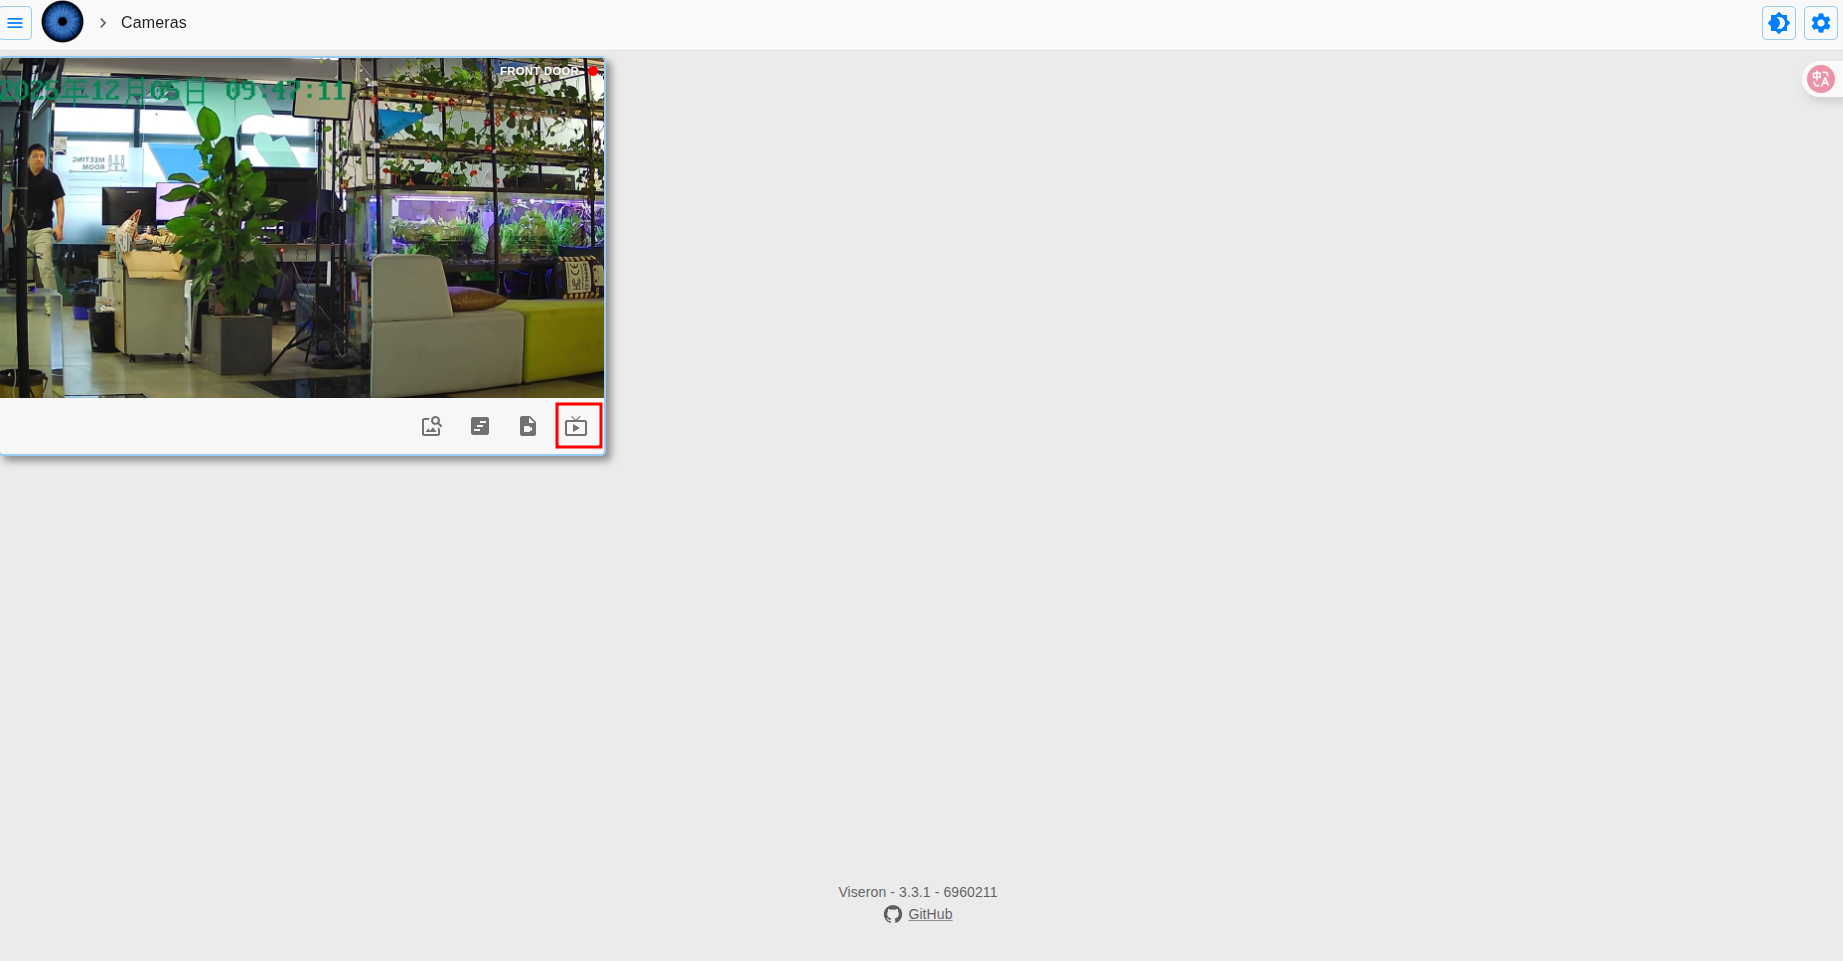
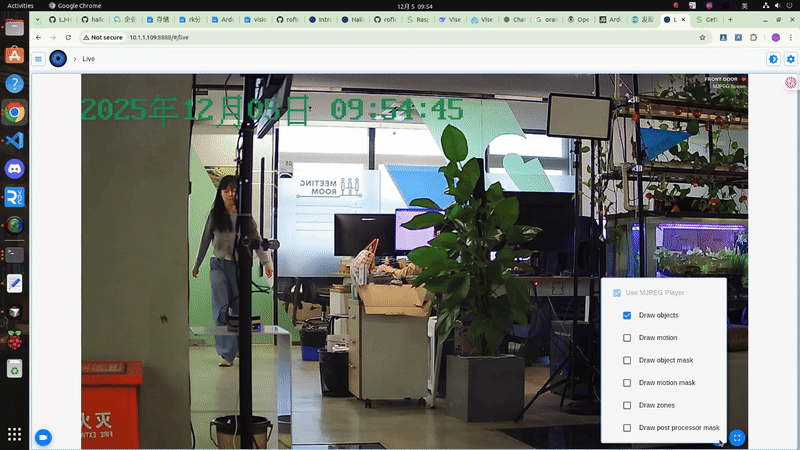
结果
一旦我们配置好了所有内容,就可以查看当前摄像头的实时画面。我们将 fps 设置为 2,所以视频可能会显得有些卡顿。
技术支持与产品讨论
感谢您选择我们的产品!我们在这里为您提供不同的支持,以确保您使用我们产品的体验尽可能顺畅。我们提供多种沟通渠道,以满足不同的偏好和需求。