Control PX4 with reComputer Jetson
Pairing a high-performance companion computer like the reComputer Mini J3010 (Jetson Orin Nano 4G) with a PX4 flight controller creates the core architecture for a wide range of intelligent unmanned systems, including autonomous cars, boats, and drones. This powerful combination unlocks innovative applications in fields such as logistics, scientific research, search and rescue, and precision agriculture.
This setup enables complex onboard tasks like visual navigation, object tracking, and real-time obstacle avoidance. The communication link between these two "brains" is critical for the system's overall performance and reliability.

- How to physically connect your Jetson to a Pixhawk.
- The pros and cons of uXRCE-DDS, MAVSDK, and MAVROS.
- Step-by-step setup instructions for all three communication methods.
- How to verify the connection and troubleshoot common issues.
Prerequisites
Before you begin, ensure you have the following:
- Hardware: All devices listed in the "Lab Environment" table below.
- Software: A fresh installation of Jetson Pack 6.2 and ROS 2 Humble.
- Tools:
gitandpipinstalled on your Jetson. - Knowledge: Basic familiarity with the Linux command line, ROS 2 concepts (nodes, topics), and PX4 parameters in QGroundControl.
System Configuration
Lab Environment
| Component | Device/Software | Version/Model |
|---|---|---|
| Companion Computer | Device | reComputer Mini J3010 (Jetson Orin Nano 4G) |
| OS | Ubuntu 22.04 (JetPack 6.2) | |
| ROS | ROS 2 Humble | |
| Flight Controller | MCU | Pixhawk 4 Mini |
| Firmware | PX4 v1.15 | |
| Ground Station PC | OS | Ubuntu 22.04 |
| QGC | QGroundControl v5.0 or higher |
Hardware Connection
We strongly recommend using the Jetson's native UART for a robust connection that doesn't occupy a USB port.
- Wiring: Use a 4-pin JST-GH cable to connect the Pixhawk 4 Mini's
TELEM1port to the Jetson Orin Nano'sUART1header. - Device File: This serial port corresponds to
/dev/ttyTHS1in the Jetson's OS.
Pixhawk 4 Mini Port and Pinout Details (Click to expand)
| UART | Device | QGC Parameter Description | Port Label on FC |
|---|---|---|---|
| UART1 | /dev/ttyS0 | GPS1 | GPS Module |
| USART2 | /dev/ttyS1 | TELEM1 | TELEM1 |
| USART3 | /dev/ttyS2 | TELEM2 | N/A |
| UART4 | /dev/ttyS3 | TELEM/SERIAL4 | UART/I2C B |
| USART6 | /dev/ttyS4 | N/A | RC IN |
| UART7 | /dev/ttyS5 | N/A | Debug |
| UART8 | /dev/ttyS6 | N/A | Not connected (no PX4IO) |
TELEM1, TELEM2 Ports
| Pin | Signal | Volt |
|---|---|---|
| 1(red) | VCC | +5V |
| 2(black) | TX(out) | +3.3V |
| 3(black) | RX(in) | +3.3V |
| 4(black) | CTS(in) | +3.3V |
| 5(black) | RTS(out) | +3.3V |
| 6(black) | GND | GND |
DSM RC Port
| Pin | Signal | Volt |
|---|---|---|
| 1(null) | VDD_5V_SBUS_RC | +5V |
| 2(yellow) | SBUS* | +3.3V |
| 3(null) | RSSI** | +3.3V |
| 4(red) | VDD_3V3_SPEKTRUM | +3.3V |
| 5(black) | GND | GND |
UART & I2C B Port *
| Pin | Signal | Volt |
|---|---|---|
| 1(red) | VCC | +5V |
| 2(black) | TX(out) | +3.3V |
| 3(black) | RX(in) | +3.3V |
| 4(black) | SCL2 | +3.3V |
| 5(black) | SDA2 | +3.3V |
| 6(black) | GND | GND |
SBUS RC Port
| Pin | Signal | Volt |
|---|---|---|
| 1(red) | VDD_5V_SBUS_RC | +5V |
| 2(yellow) | SBUS* | +3.3V |
| 3(null) | RSSI** | +3.3V |
| 4(null) | VDD_3V3_SPEKTRUM | +3.3V |
| 5(black) | GND | GND |
Footnotes:
- (UART & I2C B Port): A spare port for connecting sensors supporting serial communication or I2C e.g. a second GPS module can be connected here.
- (SBUS Signal): Connect SBUS or DSM/Spektrum receiver's signal wire here.
- (RSSI Signal): Sends the RC signal strength info to autopilot.
To avoid using sudo for every serial command, you must add your user to the dialout group. This is a crucial one-time setup.
sudo usermod -a -G dialout $USER
You must reboot the Jetson for this change to take effect!
Choosing Your Method: A Comparison
Before diving in, understand the trade-offs. The right choice depends entirely on your project's goals.
| Feature | uXRCE-DDS (ROS 2 Native) 🚀 | MAVSDK (High-Level API) 🐍 | MAVROS (ROS Bridge) 🌉 |
|---|---|---|---|
| Architecture | PX4 and ROS 2 share a DDS data space for native communication. | A standalone C++ library (with wrappers) providing a high-level API. | A bridge/gateway that translates MAVLink protocol to ROS topics/services. |
| Performance | Highest. Zero-copy data transfer with the lowest latency. | High. The API calls directly generate efficient MAVLink messages. | Good. A slight overhead exists due to the MAVLink-to-ROS translation layer. |
| Ease of Use | Moderate. Requires compiling the Agent and px4_msgs. | Easiest. Intuitive, function-based API ideal for rapid prototyping. | Steep learning curve but offers the deepest integration with the ROS ecosystem. |
| Flexibility | Excellent. Provides direct access to all internal PX4 uORB topics. | Limited. Exposes common actions (takeoff, waypoints) but not raw data. | Excellent. Access to nearly all MAVLink messages, parameters, and services. |
| ROS Integration | Native ROS 2. The official, future-proof method for ROS 2. | ROS Agnostic. Can be used in any project, easily wrapped in a ROS node. | ROS Centric. The de-facto standard for ROS 1 and widely used in ROS 2. |
| Use Case | Performance-critical ROS 2 projects needing low-level data access. | Task-level scripting, rapid prototyping, non-ROS projects, and education. | Complex robotics systems integrated with ROS packages like Nav2 or MoveIt. |
Method 1: uXRCE-DDS (Native ROS 2 Integration)
This is PX4's official solution for ROS 2, bridging its internal uORB messaging system directly into the ROS 2 network for zero-overhead communication.
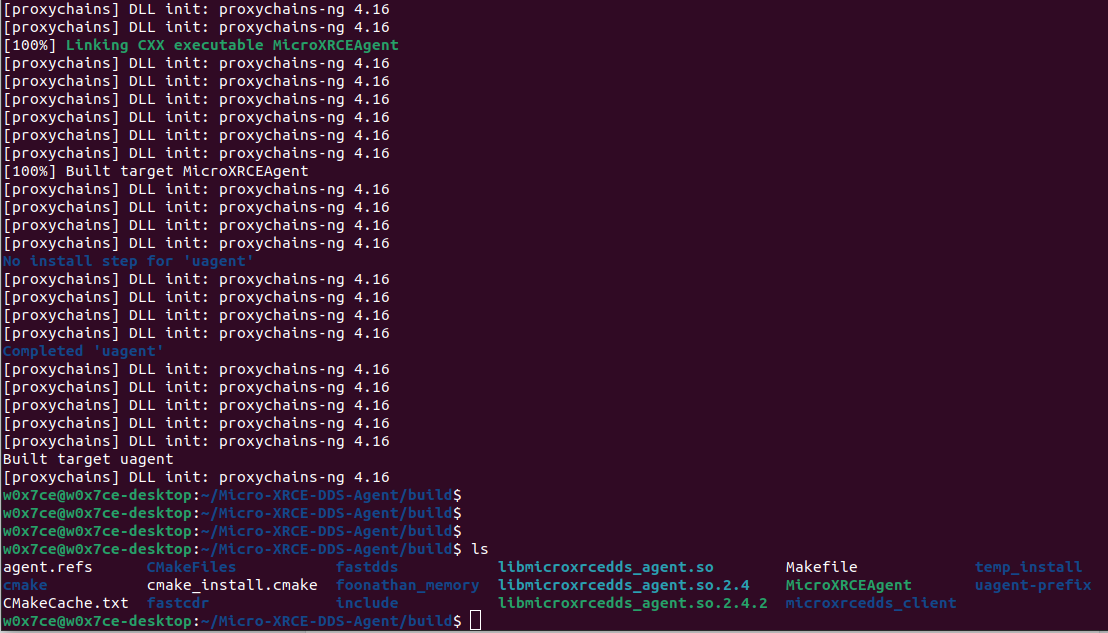
Step 1: Compile the Micro XRCE-DDS Agent
The Agent is a small program on the Jetson that acts as a broker between the flight controller's serial connection and the ROS 2 network.
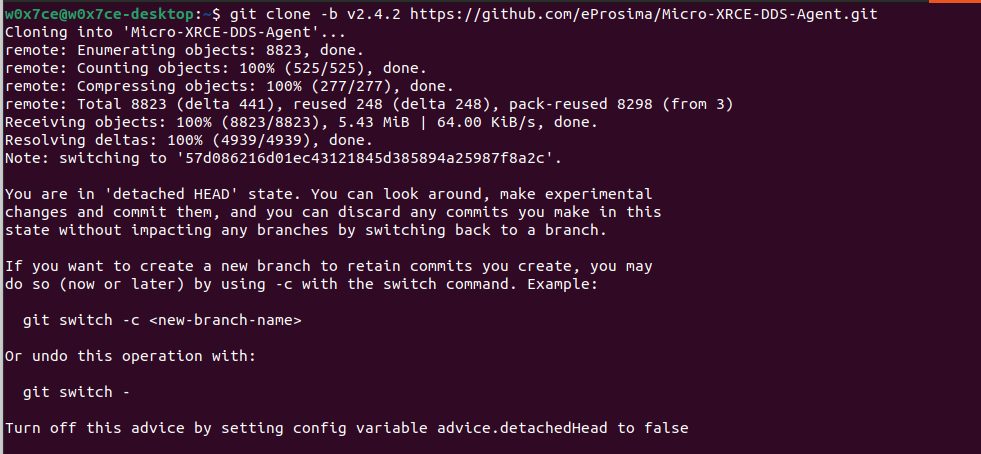
# 1. Clone the specific version of the Agent repository
cd ~
git clone -b v2.4.2 https://github.com/eProsima/Micro-XRCE-DDS-Agent.git
cd Micro-XRCE-DDS-Agent
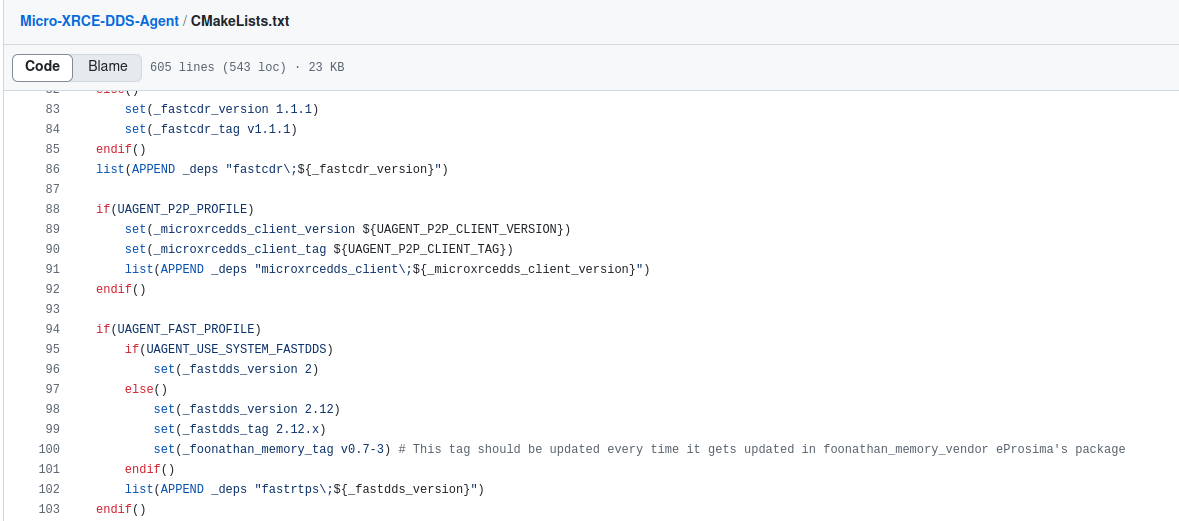
# 2. IMPORTANT: Patch the Fast-DDS dependency version
# The v2.12.x tag for fastdds was removed by the vendor; we update it to a working one.
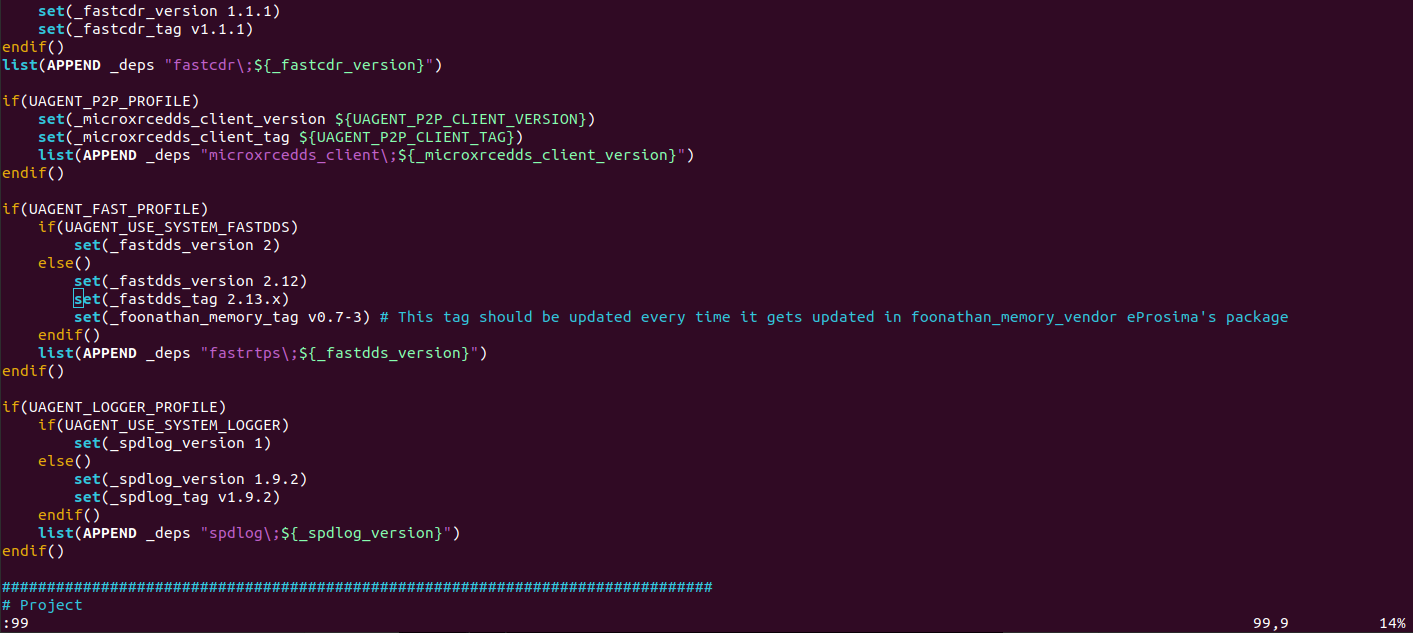
sed -i 's/v2.12.x/v2.13.x/g' SuperBuild.cmake
# 3. Build and install the Agent
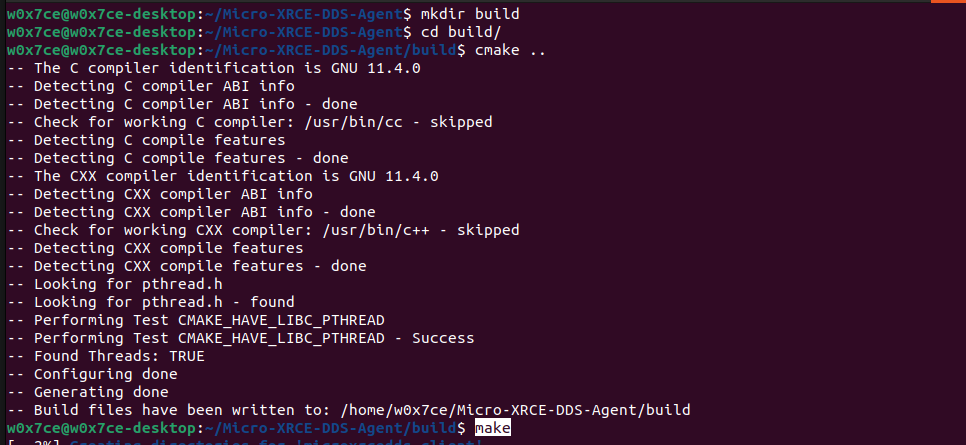
mkdir build && cd build
cmake ..
make
sudo make install # Installs MicroXRCEAgent globally
Step 2: Build the px4_msgs ROS 2 Package
To allow ROS 2 to understand PX4's topics, you must build its message definitions.
# 1. Create a ROS 2 workspace
mkdir -p ~/px4_ros_ws/src
cd ~/px4_ros_ws/src

# 2. Clone the required repositories
git clone https://github.com/PX4/px4_msgs.git
git clone https://github.com/PX4/px4_ros_com.git # Contains examples

# 3. Checkout the branch matching your firmware version
cd px4_msgs
git checkout release/1.15

# 4. Build the workspace
cd ~/px4_ros_ws
source /opt/ros/humble/setup.bash
colcon build
The px4_msgs version must align with your PX4 firmware version. This is critical for compatibility.
Furthermore, full native ROS 2 support via uXRCE-DDS, which became standard in PX4 firmware v1.14 and later, requires flight controllers with 2MB of flash memory (like the Pixhawk 4 Mini used in this guide).
Older, classic hardware like the popular Pixhawk 2.4.8 (and other FMUv2-based boards) only have 1MB of flash. They cannot run the standard pre-built firmware required for this uXRCE-DDS method. While creating a custom, stripped-down firmware is theoretically possible, it is a complex process.
If you are using a Pixhawk 2.4.8 or another 1MB flash board, we strongly recommend you skip this method and proceed directly to Method 2 (MAVSDK) or Method 3 (MAVROS), as both use the MAVLink protocol which is fully supported on your hardware.
The px4_msgs branch must match your PX4 firmware version to ensure the message definitions are compatible.

Step 3: Configure PX4 Firmware
Connect to QGroundControl and set the following parameters:
UXRCE_DDS_CFG: Set toTELEM1. This activates the XRCE-DDS client on that port.SER_TEL1_BAUD: Set to921600 8N1.MAV_1_CONFIG: Set toDisabled. This is crucial to prevent MAVLink from conflicting on the same port.- Save parameters and reboot the flight controller.
Step 4: Launch and Verify
-
Start the Agent on the Jetson (in one terminal):
Terminal 1: Run AgentMicroXRCEAgent serial --dev /dev/ttyTHS1 -b 921600 -
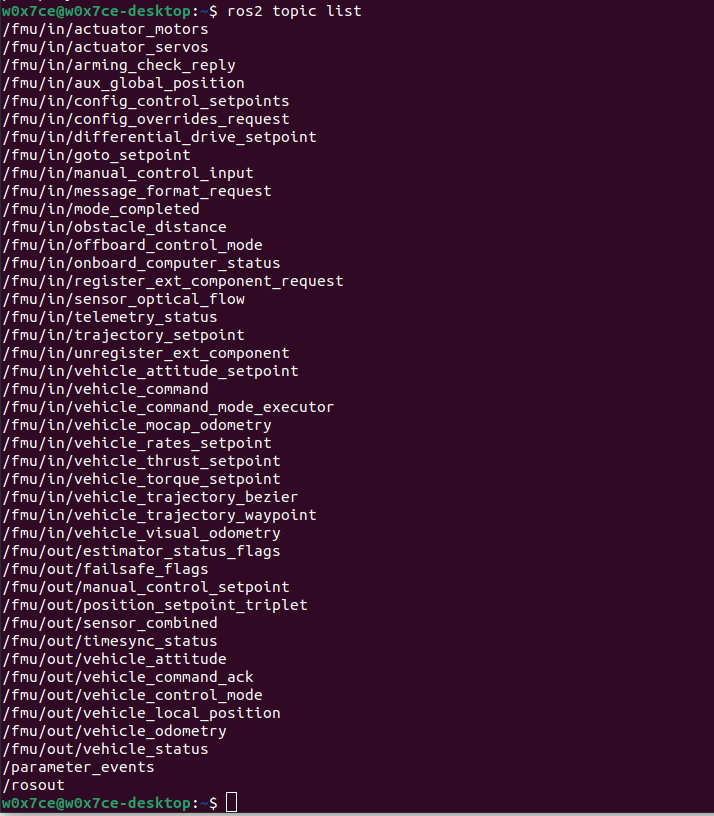
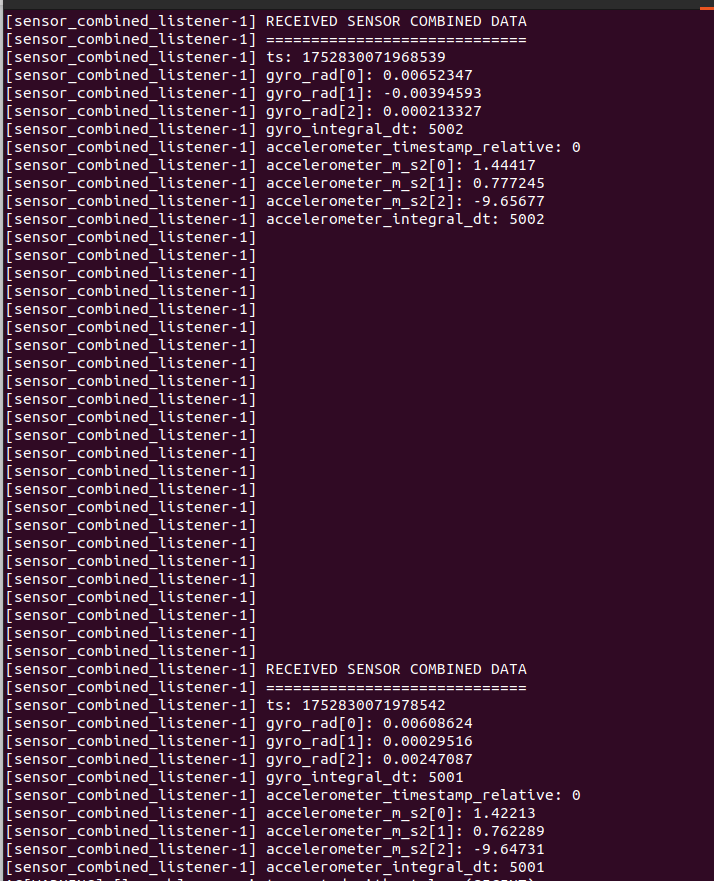
Verify ROS 2 Topics (in a new terminal):
Terminal 2: Verify Topics# Source your workspace in every new terminal
source ~/px4_ros_ws/install/setup.bash
# You should see a list of topics starting with /fmu/
ros2 topic list | grep /fmu/
# Echo a topic to see live data streaming from the FCU
ros2 topic echo /fmu/out/vehicle_odometry
Method 2: MAVSDK (High-Level API)
MAVSDK provides a simple, modern API to control drones programmatically, abstracting away the complexities of the MAVLink protocol. It's perfect for writing high-level mission scripts.
Step 1: Configure PX4 Firmware
In QGroundControl, switch the port configuration from DDS back to MAVLink mode.
UXRCE_DDS_CFG: Set back toDisabled.MAV_1_CONFIG: Set toTELEM 1to assign the port to MAVLink.MAV_1_MODE: Set toOnboardto specify the link is for a companion computer.SER_TEL1_BAUD: Ensure this is still921600 8N1.- Save parameters and reboot the flight controller.
Step 2: Install MAVSDK-Python
pip3 install mavsdk
Step 3: Write and Run a Control Script
This Python script connects, takes off to 10 meters, waits, and then lands.
import asyncio
from mavsdk import System

async def run():
    # Create a drone object and connect to the flight controller
    drone = System()
    await drone.connect(system_address="serial:///dev/ttyTHS1:921600")

    print("Waiting for drone to connect...")
    # This is an asynchronous generator that yields connection state updates
    async for state in drone.core.connection_state():
        if state.is_connected:
            print("--> Drone discovered!")
            break

if __name__ == "__main__":
    # Run the asyncio event loop
    asyncio.run(run())
Execute the script from your terminal: python3 takeoff_and_land.py.
Method 3: MAVROS (The Powerful ROS Bridge)
MAVROS is the battle-tested MAVLink-to-ROS gateway, offering comprehensive functionality and unparalleled stability for complex ROS-based systems.
Step 1: Configure PX4 Firmware
The PX4 configuration for MAVROS is identical to the MAVSDK setup. Ensure TELEM1 is configured for MAVLink in Onboard mode.
Step 2: Install MAVROS and Dependencies
sudo apt update
sudo apt install ros-humble-mavros ros-humble-mavros-msgs
MAVROS requires a geographic dataset for coordinate transformations. A missing dataset is a common cause of crashes on startup. This script downloads and installs it.
sudo bash /opt/ros/humble/lib/mavros/install_geographiclib_datasets.sh
Step 3: Launch and Verify
-
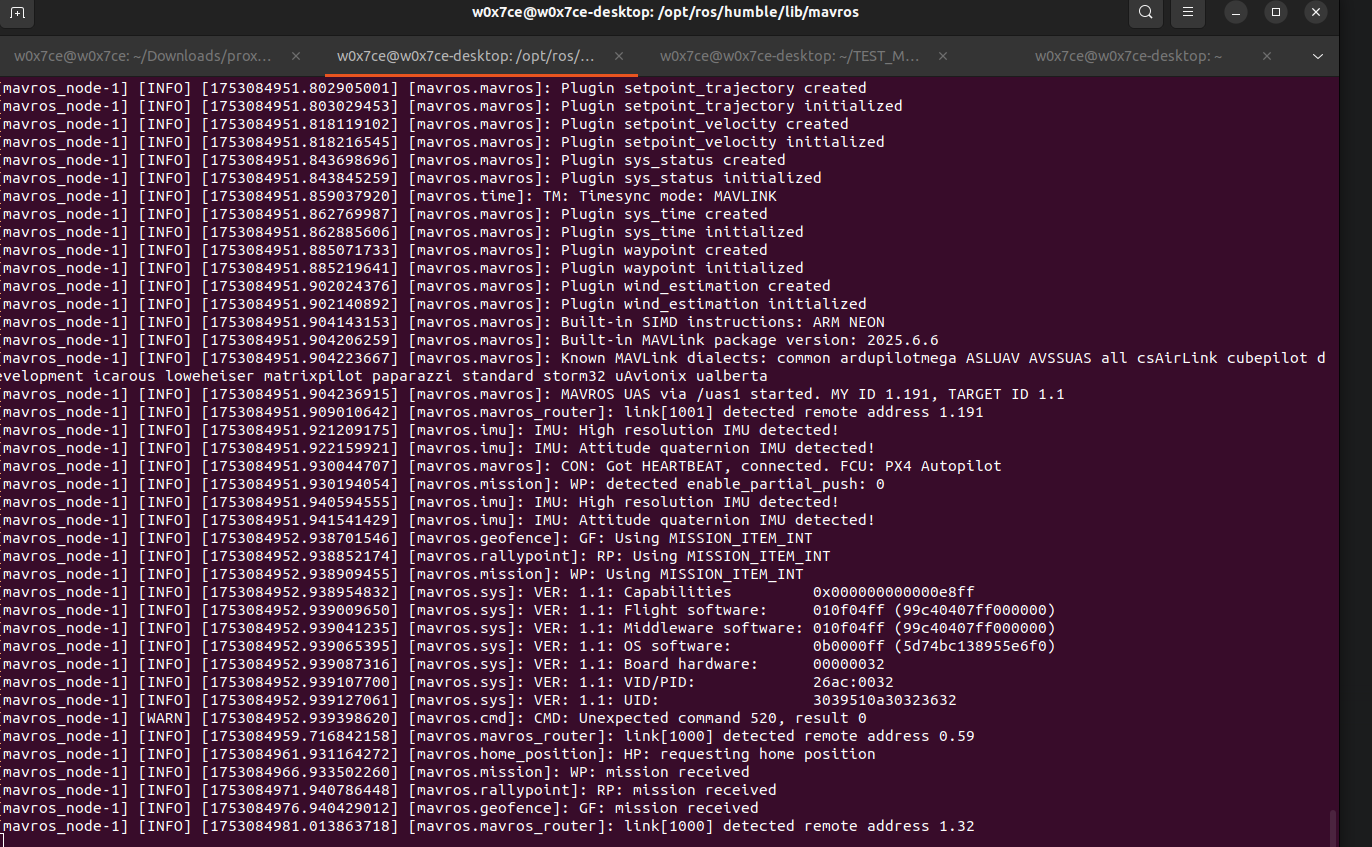
Launch the MAVROS node:
Terminal 1: Launch MAVROSsource /opt/ros/humble/setup.bash
# Launch mavros, specifying the FCU connection URL via a parameter
ros2 launch mavros px4.launch fcu_url:="serial:///dev/ttyTHS1:921600" -
Verify the Connection:
In a new terminal, echo the MAVROS state topic.
Terminal 2: Verify Connectionros2 topic echo /mavros/stateWatch the output. Once the
connectedfield changes totrue, MAVROS is communicating successfully with your PX4.

Troubleshooting Common Issues
If you run into trouble, check these common issues first.
- "Permission Denied" on Serial Port: You forgot to add your user to the
dialoutgroup and reboot. See the "Hardware Connection" section. - "No such file or directory" for
/dev/ttyTHS1: Double-check your physical wiring. Is the flight controller powered on? Runls /dev/ttyTHS*to confirm the device name. - MAVROS Crashes on Startup: You likely missed the
install_geographiclib_dataset.shstep. Run the command from Method 3. colcon buildFails: Make sure you have sourced the ROS 2 environment first (source /opt/ros/humble/setup.bash). For more complex dependency issues, you might need to runrosdep install --from-paths src --ignore-src -r -y.
Final Words
You now have three powerful methods for enabling communication between a Jetson Orin and a PX4 flight controller. The best tool depends on your project's architecture, performance needs, and development speed. By understanding the trade-offs, you can build a robust foundation for any autonomous drone application.
Happy flying! 🚁
Resources
Tech Support & Product Discussion
Thank you for choosing our products! We are here to provide you with different support to ensure that your experience with our products is as smooth as possible. We offer several communication channels to cater to different preferences and needs.