Deploy Depth Anything V3 on Jetson AGX Orin

Introduction
Depth Anything V3 is a state-of-the-art monocular depth estimation model that revolutionizes 3D perception by generating high-quality depth maps from single RGB images. Unlike traditional depth estimation methods that require specialized hardware or multiple camera inputs, Depth Anything V3 leverages advanced deep learning techniques to predict accurate depth information using only standard 2D images. This makes it particularly valuable for edge AI applications where hardware constraints and computational efficiency are critical considerations. This wiki will guide you through deploying Depth Anything V3 on Jetson AGX Orin with ROS2 integration for real-time robotics applications.

Prerequisites
- reComputer Mini J501 Carrier Board (Jetson AGX Orin) with JetPack 6.2
- USB Camera
- ROS2 Humble environment installed
Technical Highlights
-
High-Quality Monocular Depth Estimation: Depth Anything V3 generates accurate depth maps from single RGB images without requiring specialized depth sensors or stereo camera setups.
-
Optimized for Edge Deployment: The model is specifically designed for efficient inference on edge devices like Jetson AGX Orin, with TensorRT optimization for maximum performance.
-
Real-Time Processing: Capable of processing high-resolution images in real-time, making it suitable for autonomous navigation, obstacle avoidance, and robotic manipulation tasks.
-
ROS2 Integration: Provides native ROS2 Humble support with depth map and point cloud publishing for seamless integration into robotic systems.
-
Flexible Input Support: Works with various input sources including USB cameras, ROS image topics, and pre-recorded video streams.
Environment Setup
**Step 1.**Install Dependencies
sudo apt update
sudo apt install -y \
    build-essential \
    cmake \
    git \
    libopencv-dev \
    python3-pip \
    python3-colcon-common-extensions \
    v4l-utils
Step 2. Install Python Dependencies
pip3 install numpy opencv-python
Step 3. Configure CUDA Environment Variables
# Add CUDA environment variables to .bashrc
echo '
# CUDA Environment
export CUDA_HOME=/usr/local/cuda
export PATH=$CUDA_HOME/bin:$PATH
export LD_LIBRARY_PATH=$CUDA_HOME/lib64:$LD_LIBRARY_PATH
export CUDACXX=$CUDA_HOME/bin/nvcc
' >> ~/.bashrc

# Reload shell configuration
source ~/.bashrc

# Verify CUDA installation
nvcc --version

Step 4. Install ROS2 USB Camera Package
# Install USB camera driver for ROS2
sudo apt install -y ros-humble-usb-cam

# Install additional ROS2 dependencies
sudo apt install -y ros-humble-cv-bridge
sudo apt install -y ros-humble-image-transport
sudo apt install -y ros-humble-image-geometry
sudo apt install -y ros-humble-cv-bridge ros-humble-image-transport ros-humble-rviz2
Step 5. Setup Depth Anything V3 ROS2 Environment
# Clone the repository
git clone https://github.com/zibochen6/ros2-depth-anything-v3-trt.git

# Navigate to the project directory
cd ros2-depth-anything-v3-trt
Step 6. Build the ROS2 Package
# Build the depth_anything_v3 package with Release configuration
colcon build --packages-select depth_anything_v3 --cmake-args -DCMAKE_BUILD_TYPE=Release

# Source the workspace
source install/setup.bash
Step 7. Generate TensorRT Engines
Before generating the engine file, you need to download the .onnx model of Depth Anything V3 in advance and place it in the directory of ros2-depth-anything-v3-trt/onnx.
# Make the engine generation script executable
chmod +x generate_engines.sh

# Generate TensorRT engines from ONNX models
./generate_engines.sh onnx
Please be patient while the .engine file is being generated. Once the conversion is complete, two files will be created in the onnx directory as follows.

Running Depth Estimation
Camera for Depth Estimation
Step 1. Connect USB Camera
Connect your USB camera to the Jetson AGX Orin device. Verify that the camera is detected:
# Check if USB camera is detected
ls /dev/video*
Expected Output:
/dev/video0 /dev/video1
Step 2. Camera calibration
v4l2_camera Package acts as a bridge between the Linux Video4Linux2 (V4L2) API and ROS 2 topics, publishing image and camera info messages that can be easily used in calibration pipelines.
Install Camera Calibration Package:
# Install Camera Calibration Package
sudo apt install ros-humble-camera-calibration

# v4l2_camera is the official ROS2 maintained node that can directly publish USB camera images
sudo apt install ros-${ROS_DISTRO}-v4l2-camera
launch camera node:
# Launch camera node
ros2 run v4l2_camera v4l2_camera_node \
  --ros-args \
  -p image_size:=[640,480] \
  -p pixel_format:=YUYV
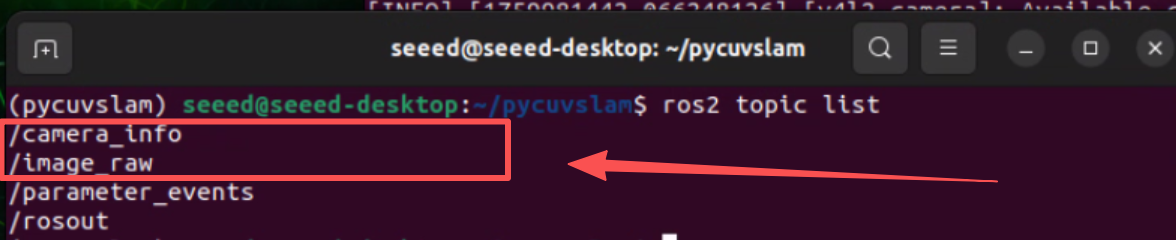
The default topics published are:
/image_raw- Raw camera image/camera- Camera info
Run camera calibration :
# In another terminal
ros2 run camera_calibration cameracalibrator \
  --size 8x6 \
  --square 0.025 \
  --fisheye-recompute-extrinsicsts \
  --fisheye-fix-skew \
  --ros-args --remap image:=/image_raw --remap camera:=/v4l2_camera
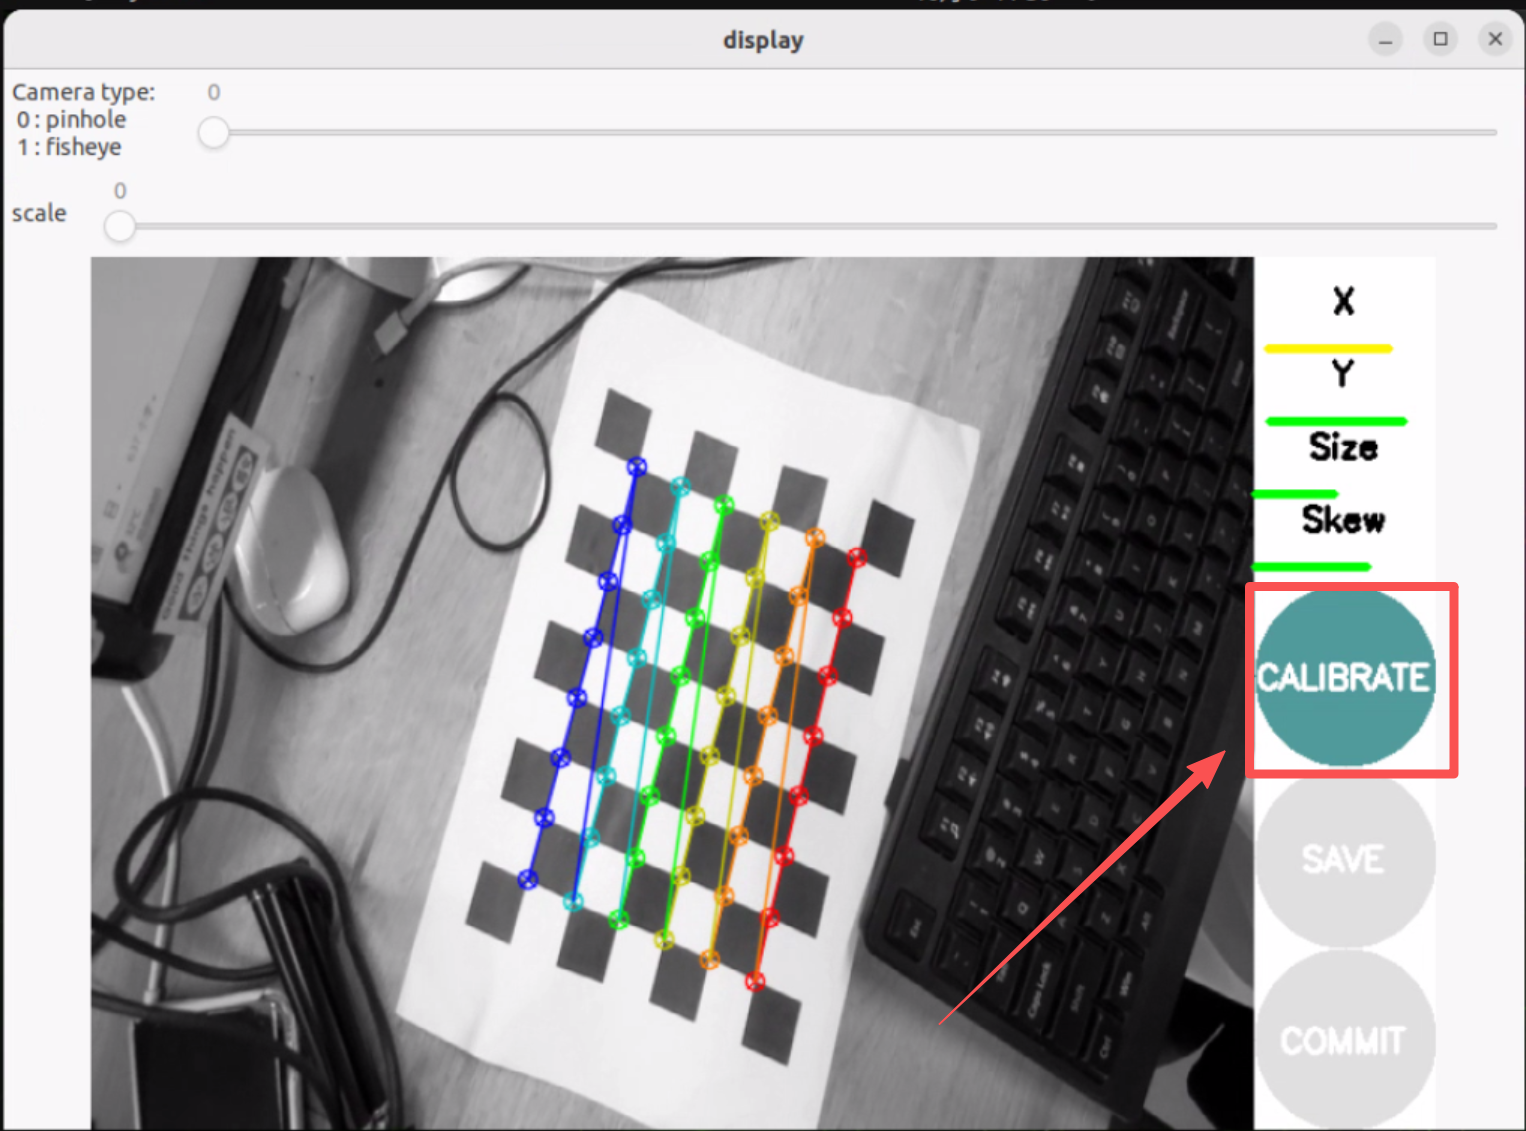
--size 8x6refers to the number of inner corners (8×6 = 48 corners for a 9×7 grid)--square 0.025refers to the square size in meters (25mm)- Move the camera around to capture images from different angles until the
CALIBRATEbutton lights up
After successful calibration, you will obtain camera parameters in the terminal similar to:

You can refer to this wiki for camera calibration.
Write the calibrated parameters into the camera_info_example.yaml file
Step 3. Launch USB Camera Node
Save the calibration parameters to the camera_info_example.yaml file to rectify the fisheye distortion of the GMSL camera. Then, run the following command for real-time depth estimation:
#Start the script for camera depth estimation
CAMERA_INFO_FILE=camera_info_example.yaml ENABLE_UNDISTORTION=1 ./run_camera_depth.sh
Video for Depth Estimation
Step 1. Prepare Video File
Prepare a video file for depth estimation.
Step 2. Launch Video Depth Estimation Node
#Start the script for video depth estimation
./run_video_depth.sh
References
- Depth Anything V3 GitHub Repository
- ROS2 Depth Anything V3 TRT Repository
- TensorRT Documentation
- ROS2 Humble Documentation
Tech Support & Product Discussion
Thank you for choosing our products! We are here to provide you with different support to ensure that your experience with our products is as smooth as possible. We offer several communication channels to cater to different preferences and needs.