Deploy JoyAI-VL-Interaction on Jetson Thor
Introduction
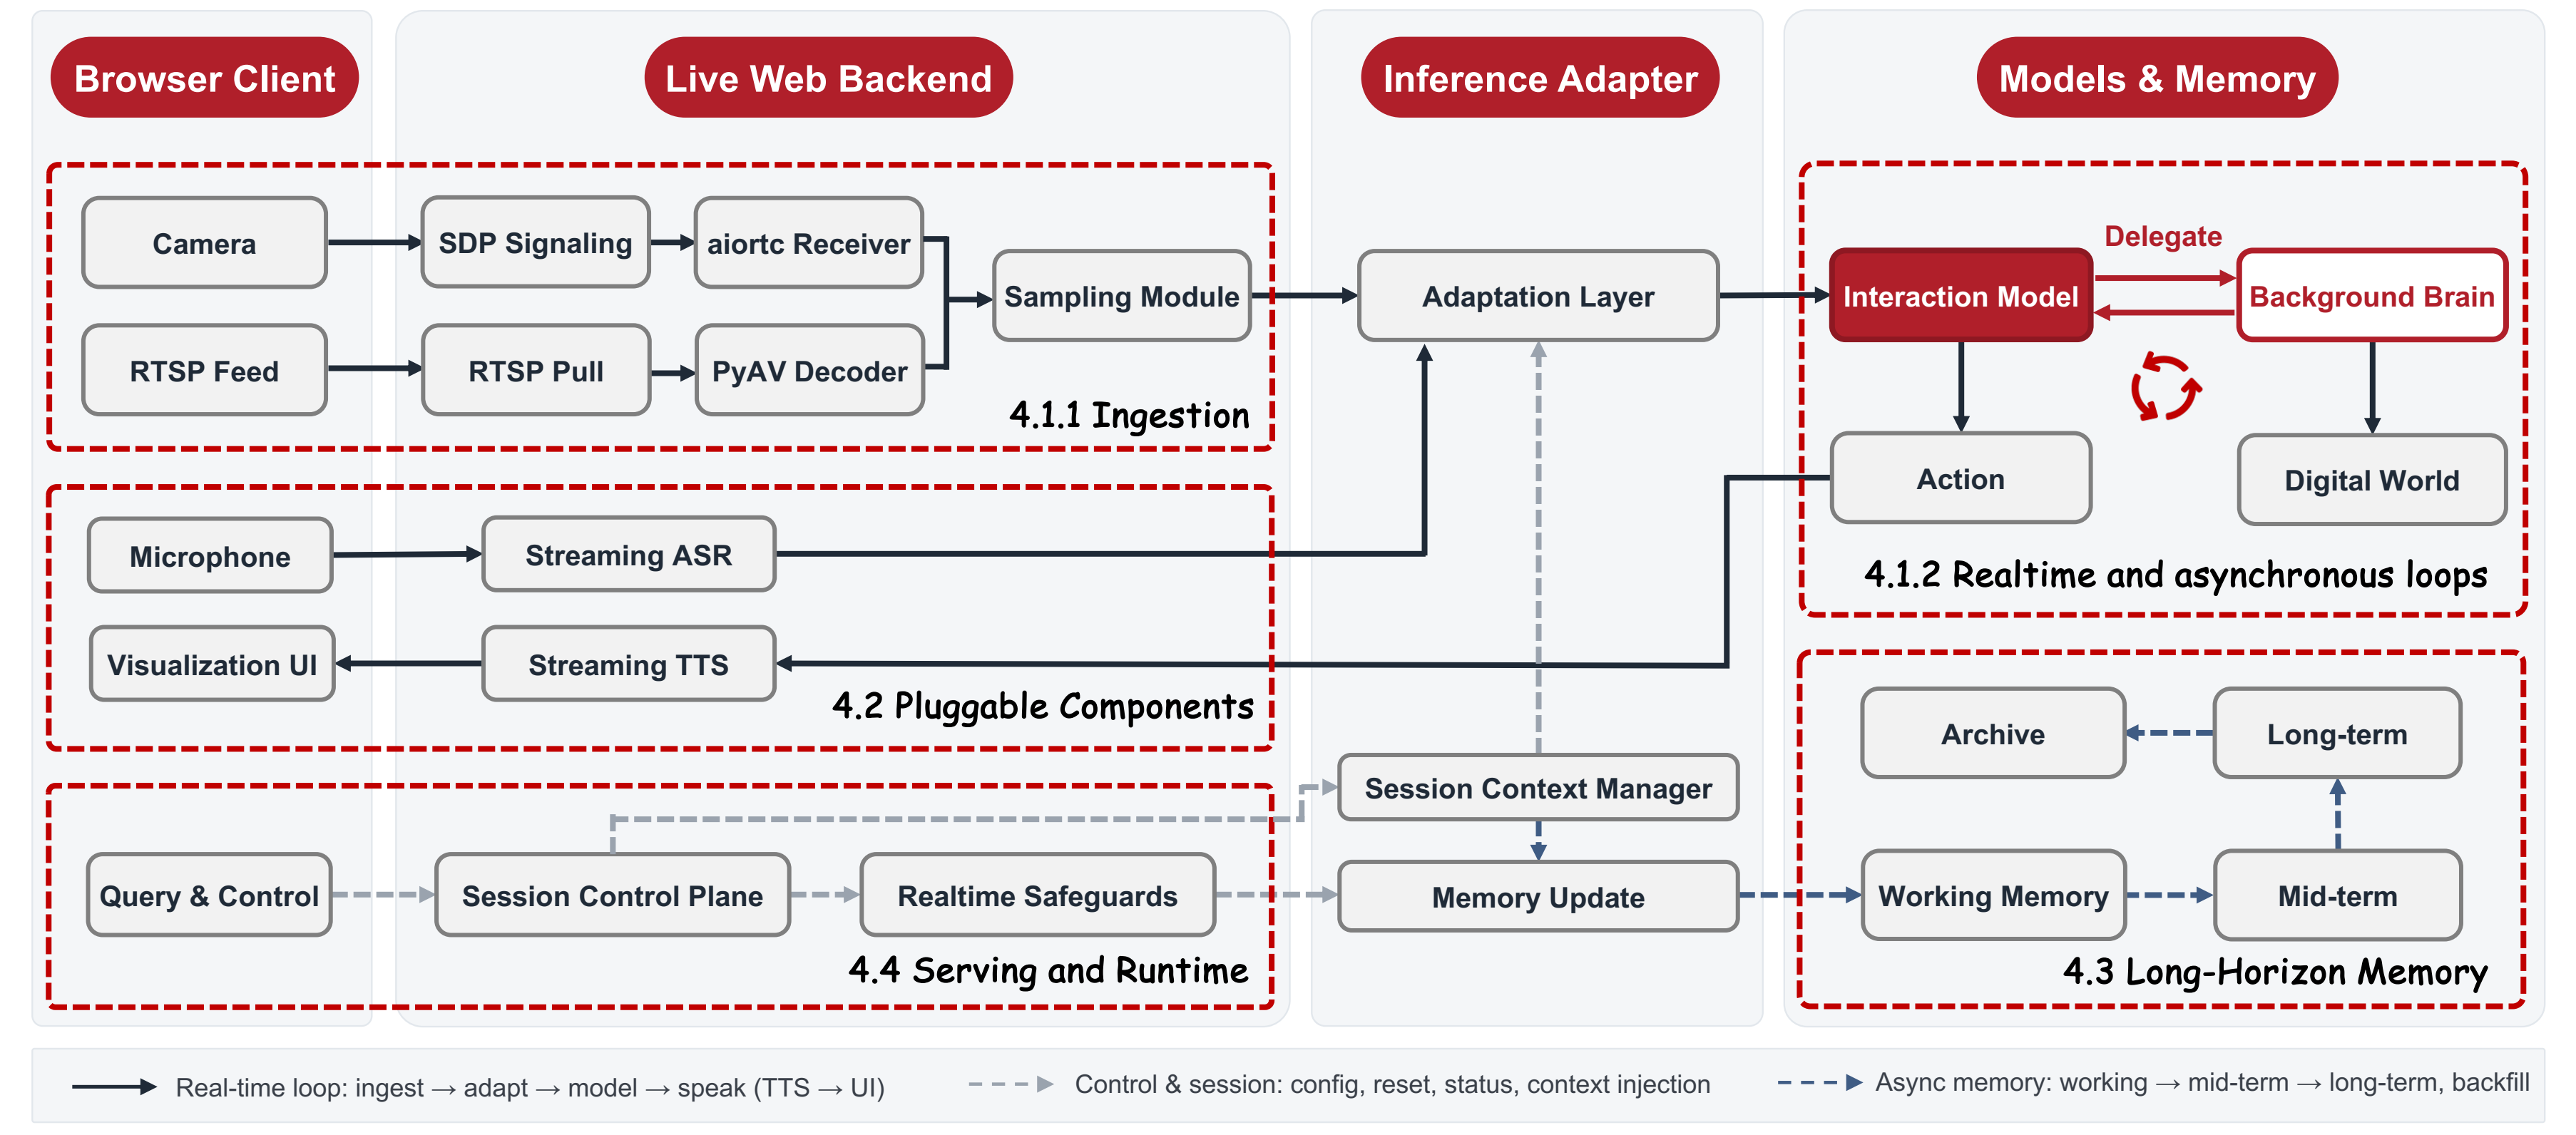
JoyAI-VL-Interaction is an open real-time video-language interaction system. It combines a streaming VLM backend, a browser-based WebUI, optional ASR/TTS services, and a long-context memory pipeline so the model can watch a live scene and respond at the right moment.
As of July 7, 2026, the upstream JoyAI-VL-Interaction repository states that it is tested on NVIDIA Hopper-series GPUs. This wiki focuses on a practical Jetson AGX Thor adaptation path: deploy the minimal stack first (webinfer + webui) on Thor's single GPU, then extend to audio services only after the core pipeline is stable.
Prerequisites
- 1 x NVIDIA Jetson AGX Thor Developer Kit
- 1 x USB camera, or an RTSP stream source
- Keyboard, mouse, monitor, and network connection
- At least 30 GB free storage for Python environments, model weights, and logs
This guide assumes that your Jetson Thor system is already flashed, boots normally, and has Internet access.
| NVIDIA Jetson AGX Thor Developer Kit | USB Camera |
|---|---|
 |  |
Getting Started
Step 1. Prepare the Jetson Thor system
Open a terminal on Jetson Thor and install the required system packages:
sudo apt update
sudo apt install -y git git-lfs curl ffmpeg python3-pip python3.12-venv
git lfs install
For better inference performance on Jetson, switch the device to a high-performance power mode:
sudo nvpmodel -m 0
sudo jetson_clocks
JoyAI-VL-Interaction standardizes on Python 3.12, so this guide keeps the same version on Thor.
Step 2. Install uv and the Hugging Face CLI
The upstream install scripts use uv and the model download script expects the hf command.
curl -LsSf https://astral.sh/uv/install.sh | sh
source $HOME/.local/bin/env

uv tool install "huggingface_hub[cli]"
hf --version
If hf is still not found, reopen the terminal or run:
export PATH="$HOME/.local/bin:$PATH"
Step 3. Clone the JoyAI-VL-Interaction repository
git clone https://github.com/jd-opensource/JoyAI-VL-Interaction.git
cd JoyAI-VL-Interaction
Step 4. Install the runtime
Install only the core WebUI and streaming inference environment first:
./install/install.sh --with-all
This script creates the shared virtual environment under services/.venv and installs the pinned vllm==0.22.0 runtime required by the project.
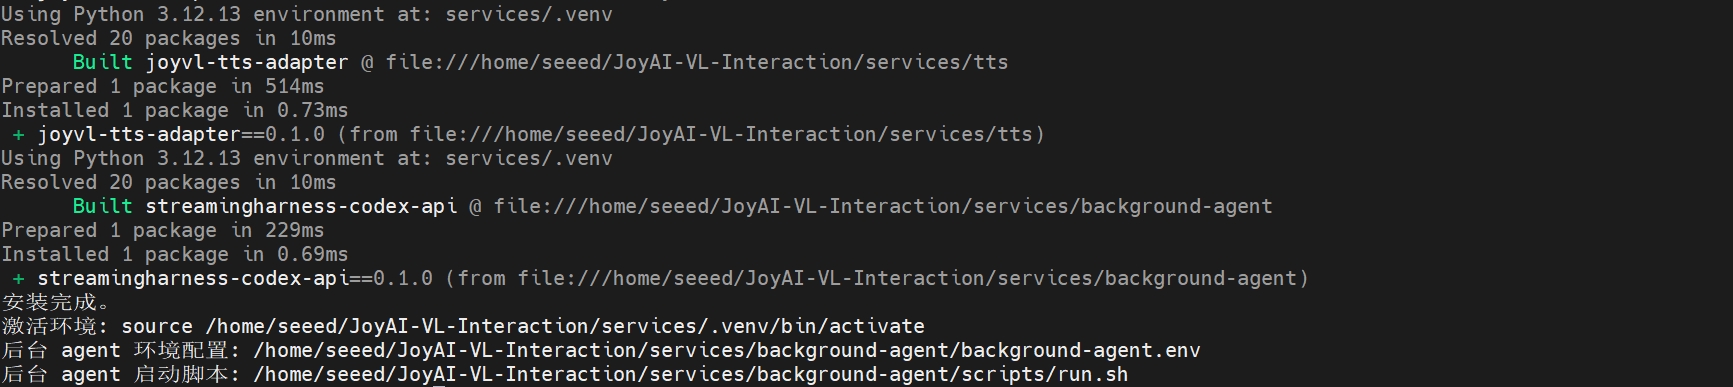
If vllm==0.22.0 fails to install on Jetson ARM64, do not continue with the default wheel-based flow. In that case, switch to the official vLLM ARM64/source-build path first, then return to this guide.
Step 5. Download the model weights
Here we follow the Github README to download all model weights:
./install/download-models.sh --all
By default, the models are downloaded to:
/tmp/models/JoyAI-VL-Interaction-Preview/tmp/models/Qwen3-VL-4B-Instruct/tmp/models/Qwen3-ASR-1.7B/tmp/models/Qwen3-TTS-12Hz-1.7B-CustomVoice
Step 6. Start the minimal JoyAI stack on Thor
The upstream default GPU layout assumes multiple GPUs:
- main model on GPU
0 - summary model on GPU
1 - optional ASR/TTS on GPU
2
Jetson Thor is a single-GPU platform, so we need to place both the main model and summary model on GPU 0 and start with conservative memory settings.
Here, we need to open four terminals on the Jetson and run the following commands separately.
- Terminal1:
source /home/seeed/JoyAI-VL-Interaction/services/.venv/bin/activate
cd services/webinfer
MAIN_GPU=0 MAIN_GPU_MEMORY_UTILIZATION=0.6 bash scripts/run.sh models - Terminal2:
source /home/seeed/JoyAI-VL-Interaction/services/.venv/bin/activate
cd services/webinfer
SUMMARY_GPU=0 SUMMARY_GPU_MEMORY_UTILIZATION=0.3 bash scripts/run.sh summary
Please note that you should wait until Terminal 2 has fully started before continuing to run the commands in Terminal 3.
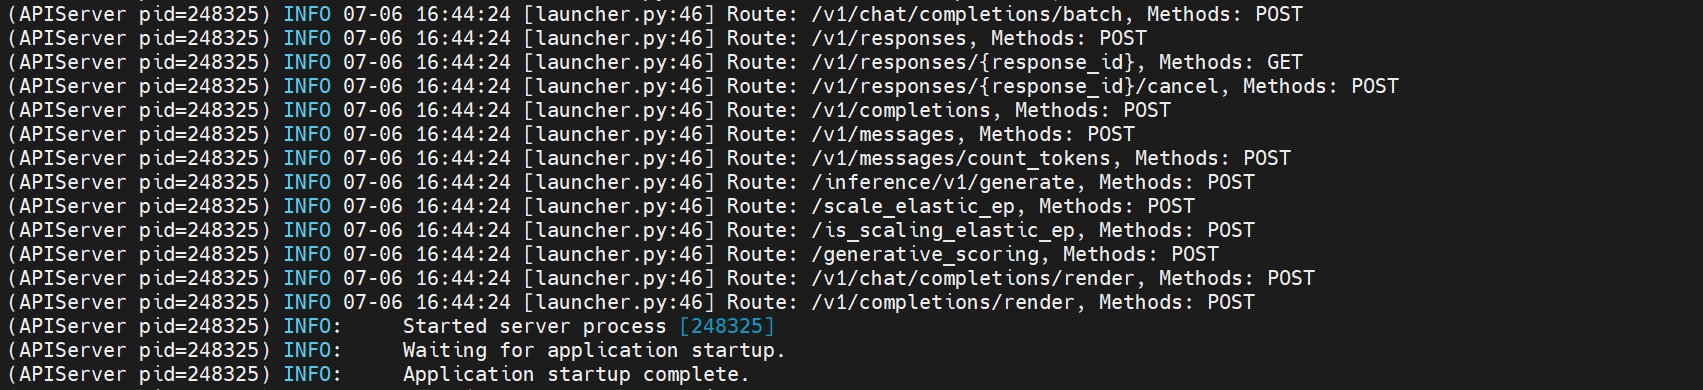
You can check the runtime logs in Terminal 2 using the following command:
tail -f /home/seeed/JoyAI-VL-Interaction/services/webinfer/summary_vllm_logs/vllm_8065.log
- Terminal3:
source /home/seeed/JoyAI-VL-Interaction/services/.venv/bin/activate
cd services/webinfer
bash scripts/run.sh adapter - Terminal4:
source /home/seeed/JoyAI-VL-Interaction/services/.venv/bin/activate
cd services/webui
bash scripts/start_server.sh
These values are a Thor-oriented starting point for single-GPU deployment. If the service starts reliably, you can gradually increase GPU memory utilization. If vLLM reports OOM errors, lower these values further.
When startup succeeds, the script launches:
- the main VLM OpenAI-compatible API on port
7060 - the summary model on port
8065 - the streaming adapter on port
8070 - the WebUI on port
8099
Step 7. Open the WebUI
Open a browser on Jetson Thor and visit:
https://<jetson-thor-ip>:8099
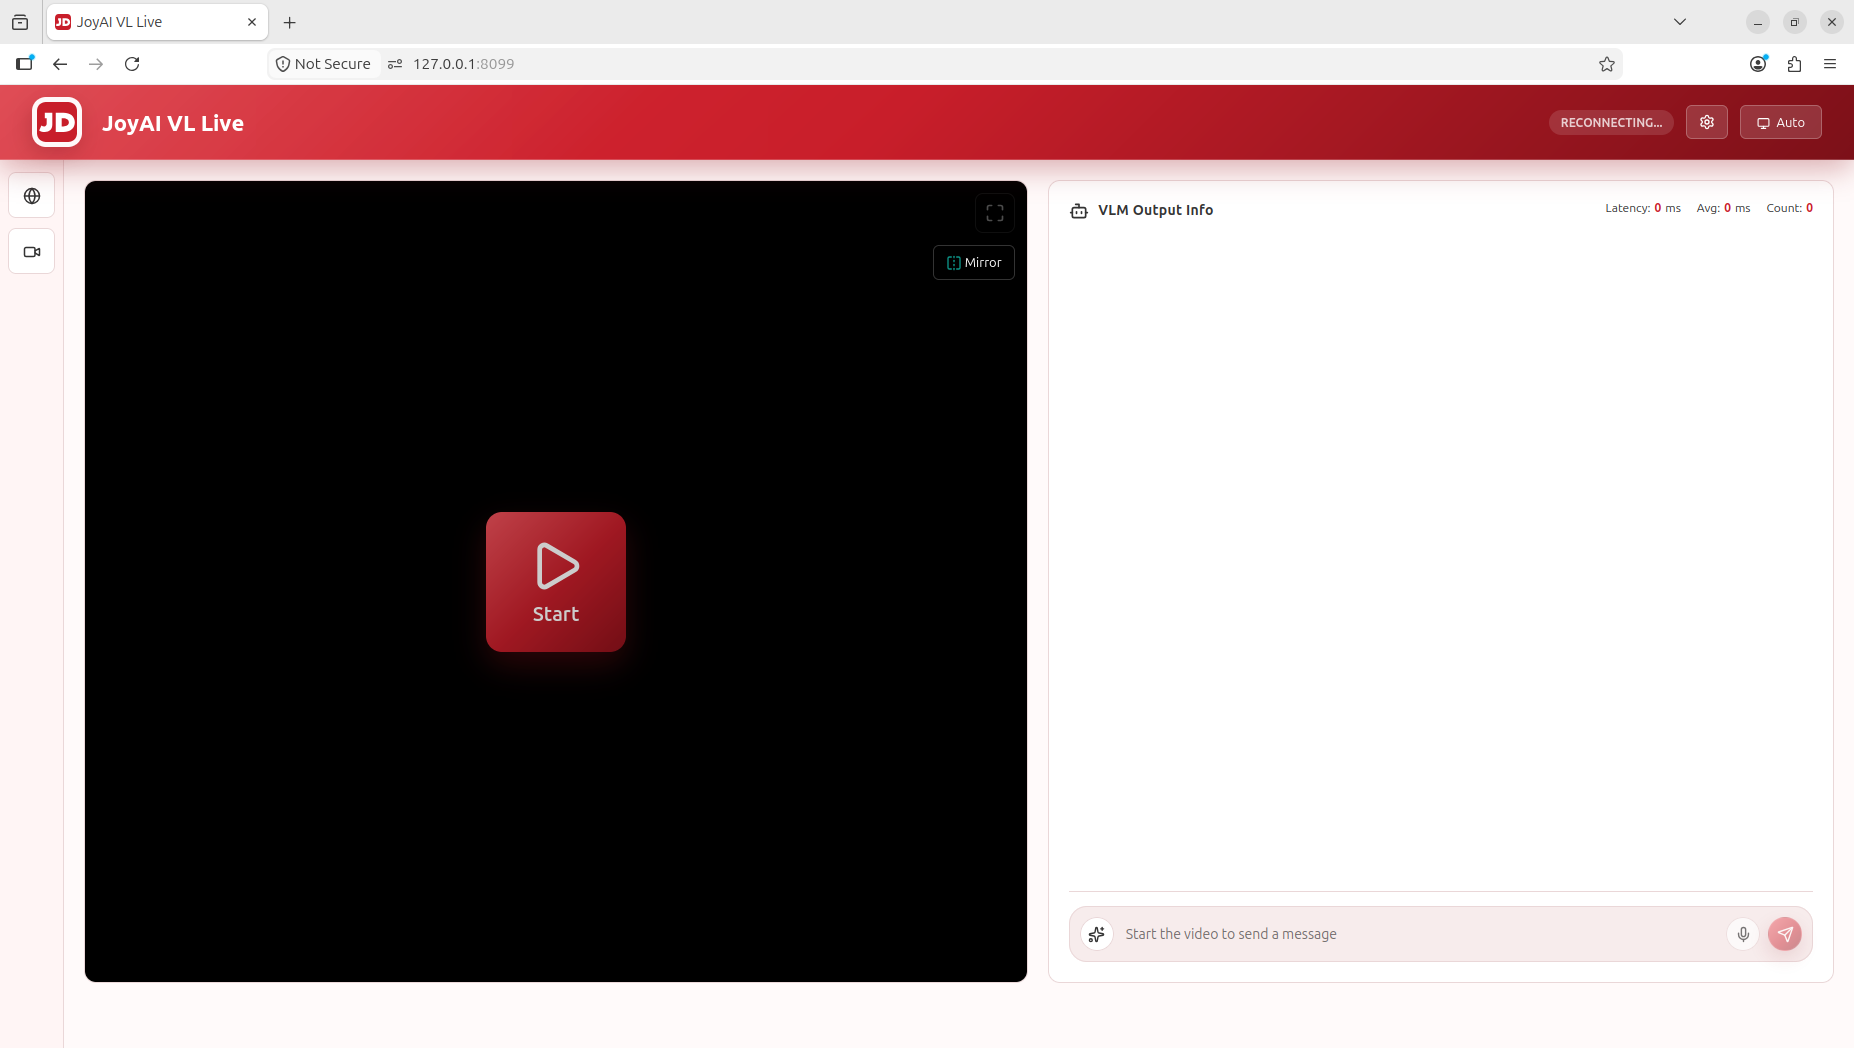
The WebUI uses a self-signed certificate by default, so your browser may show a certificate warning on the first visit. Accept the warning and continue.
You can then:
- select a USB webcam in the browser
- enter an RTSP stream URL
- start real-time video interaction with JoyAI-VL-Interaction
Verify the Deployment
Open another terminal and run the following health checks:
curl http://127.0.0.1:7060/v1/models
curl http://127.0.0.1:8065/v1/models
curl http://127.0.0.1:8070/health
If all services are working correctly, the WebUI frontend should be able to connect to the streaming adapter at:
http://127.0.0.1:8070/v1
Demonstration
Troubleshooting
1. hf: command not found
Make sure the local binary path is loaded:
source $HOME/.local/bin/env
export PATH="$HOME/.local/bin:$PATH"
2. vllm==0.22.0 or vllm-omni==0.22.0 fails on ARM64
The upstream project is designed around vLLM-based services. If the default pip or uv install fails on Jetson ARM64, build vllm or vllm-omni from source, or switch to an ARM64 CUDA container that already includes the matching runtime.
3. WebUI opens, but inference returns 502
This usually means the browser frontend is up, but the backend model services are not ready yet. Re-check:
curl http://127.0.0.1:7060/v1/models
curl http://127.0.0.1:8065/v1/models
curl http://127.0.0.1:8070/health
References
- JoyAI-VL-Interaction GitHub Repository
- JoyAI-VL-Interaction Getting Started
- JoyAI-VL-Interaction WebInfer README
- vLLM Installation Guide
- vLLM Omni Repository
Tech Support & Product Discussion
Thank you for choosing our products! We are here to provide you with different support to ensure that your experience with our products is as smooth as possible. We offer several communication channels to cater to different preferences and needs.