Deploy OTA on reComputer
Introduction
NVIDIA Jetson Over-the-Air (OTA) updates allow developers to upgrade edge devices from an older JetPack version to a newer release remotely via a network connection, eliminating the need for a host PC or physical USB re-flashing. This wiki will demonstrate how to perform OTA (Over-the-Air) updates on reComputer.
Demonstration platform: reComputer mini J4012 with JetPack 5.1.3 → JetPack 6.2 OTA. Other Orin-based reComputers can follow the same logic, but adapt the <target_board> name that matches your carrier board.
Prerequisite
- Ubuntu x86_64 PC
- reComputer mini J4012
Quickly perform OTA
Here we provide a pre-compiled upgrade package for the Seeed development board, which upgrades from Jetpack 5.1.3 to Jetpack 6.2. If you are planning to directly upgrade from Jetpack 5.1.3 to Jetpack 6.2 via OTA, you can simply download and proceed with the upgrade quickly.

If you are using an Orin NX 16GB/8GB module, do not enable MAXN SUPER mode. The cooling capacity of the reComputer mini is insufficient and forcing this mode may result in permanent damage to the module.
OTA payload package
Ready-to-use JP5.1.3 → JP6.2 OTA payload for reComputer mini serial mini
Filename: ota_payload_package.tar.gz
SHA256: 3da8fd97c450f4f7bd83390ab50f951dffd5ec1d43c39a1e6156b4806f7df7c6
Download: OneDrive 1
On-device OTA procedure
The following operations are performed on the Jetson (via remote connection)
Step 1. Install dependent software
sudo apt-get update
sudo apt-get install efibootmgr nvme-cli -y
Step 2. Download the OTA tool
#Create a workspace directory
mkdir ~/ota_ws && cd ota_ws
#Download the OTA tools from Nvidia
wget https://developer.nvidia.com/downloads/embedded/l4t/r36_release_v4.3/release/ota_tools_r36.4.3_aarch64.tbz2
# Uncompress
tar xvf ota_tools_r36.4.3_aarch64.tbz2
After decompressing the above files, you will obtain a folder named "Linux_for_Tegra".
Step 3. Transfer the ota file to Jetson(This step is to be performed on your PC!)
Replace <Jetson IP> with your Jetson actual IP address. For example: 192..168.137.xx
Replace the path of the ota_payload_package.tar.gz file and the ota_ws path with your actual path
#example:Use scp to transfer files
scp /path/to/your downloaded/ota_payload_package.tar.gz seeed@<Jetson IP>:/home/user/ota_ws
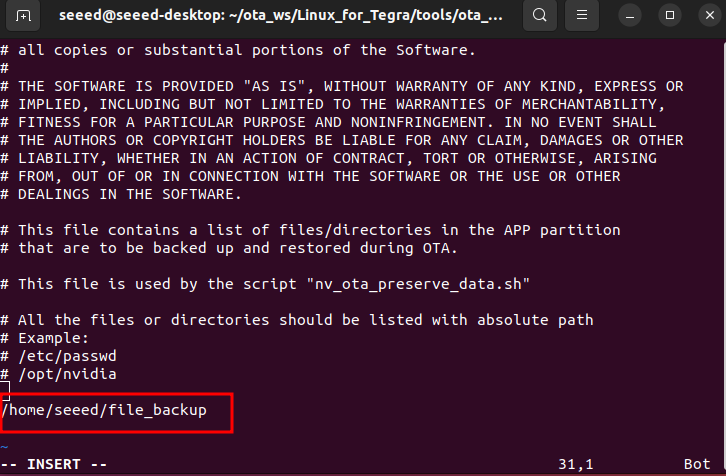
Step 4. Back up the files of the original system
cd /path/ota_ws/Linux_for_Tegra/tools/ota_tools/version_upgrade/
#The editor needs to keep a backup of the file directory that needs to be preserved.
vim ota_backup_files_list.txt
List out the files or folders that you want to keep. Use absolute path!
./nv_ota_preserve_data.sh
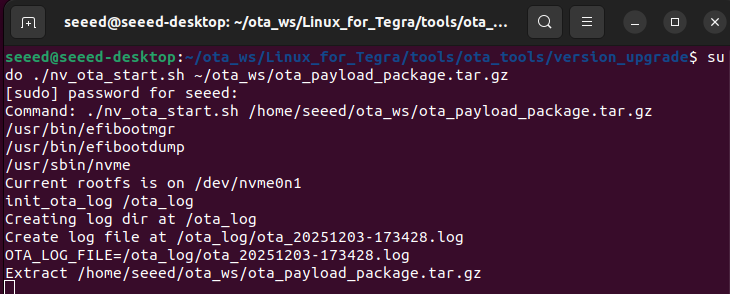
Step 5. Start OTA
cd Linux_for_Tegra/tools/ota_tools/version_upgrade
#Specify the directory of the OTA file
sudo ./nv_ota_start.sh ~/ota_ws/ota_payload_package.tar.gz
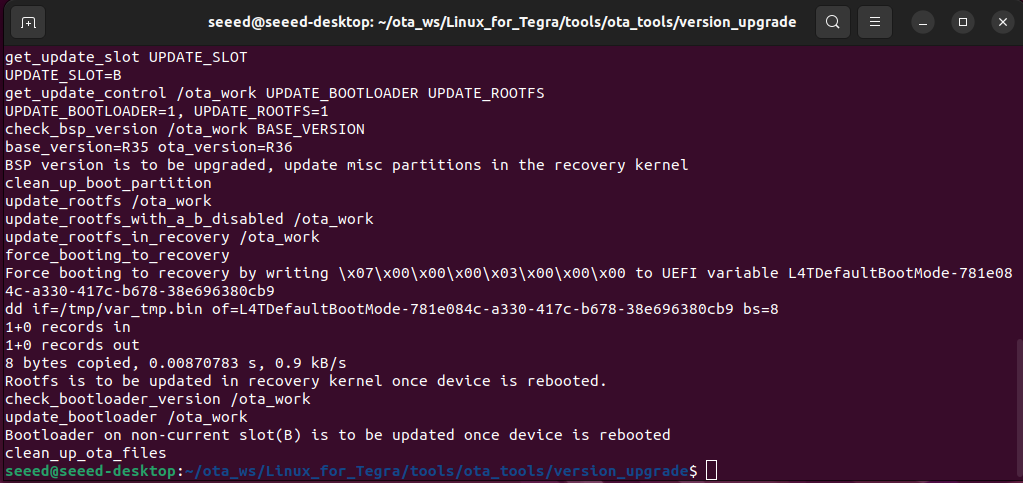
After the script is executed, you can restart Jetson to initiate the OTA process. If your device is connected to a monitor, when you restart, you will see that the monitor will display the Nvidia logo and then enter kernel overlay. The screen will remain black (a normal phenomenon) for a while, and then it will enter the OTA process.
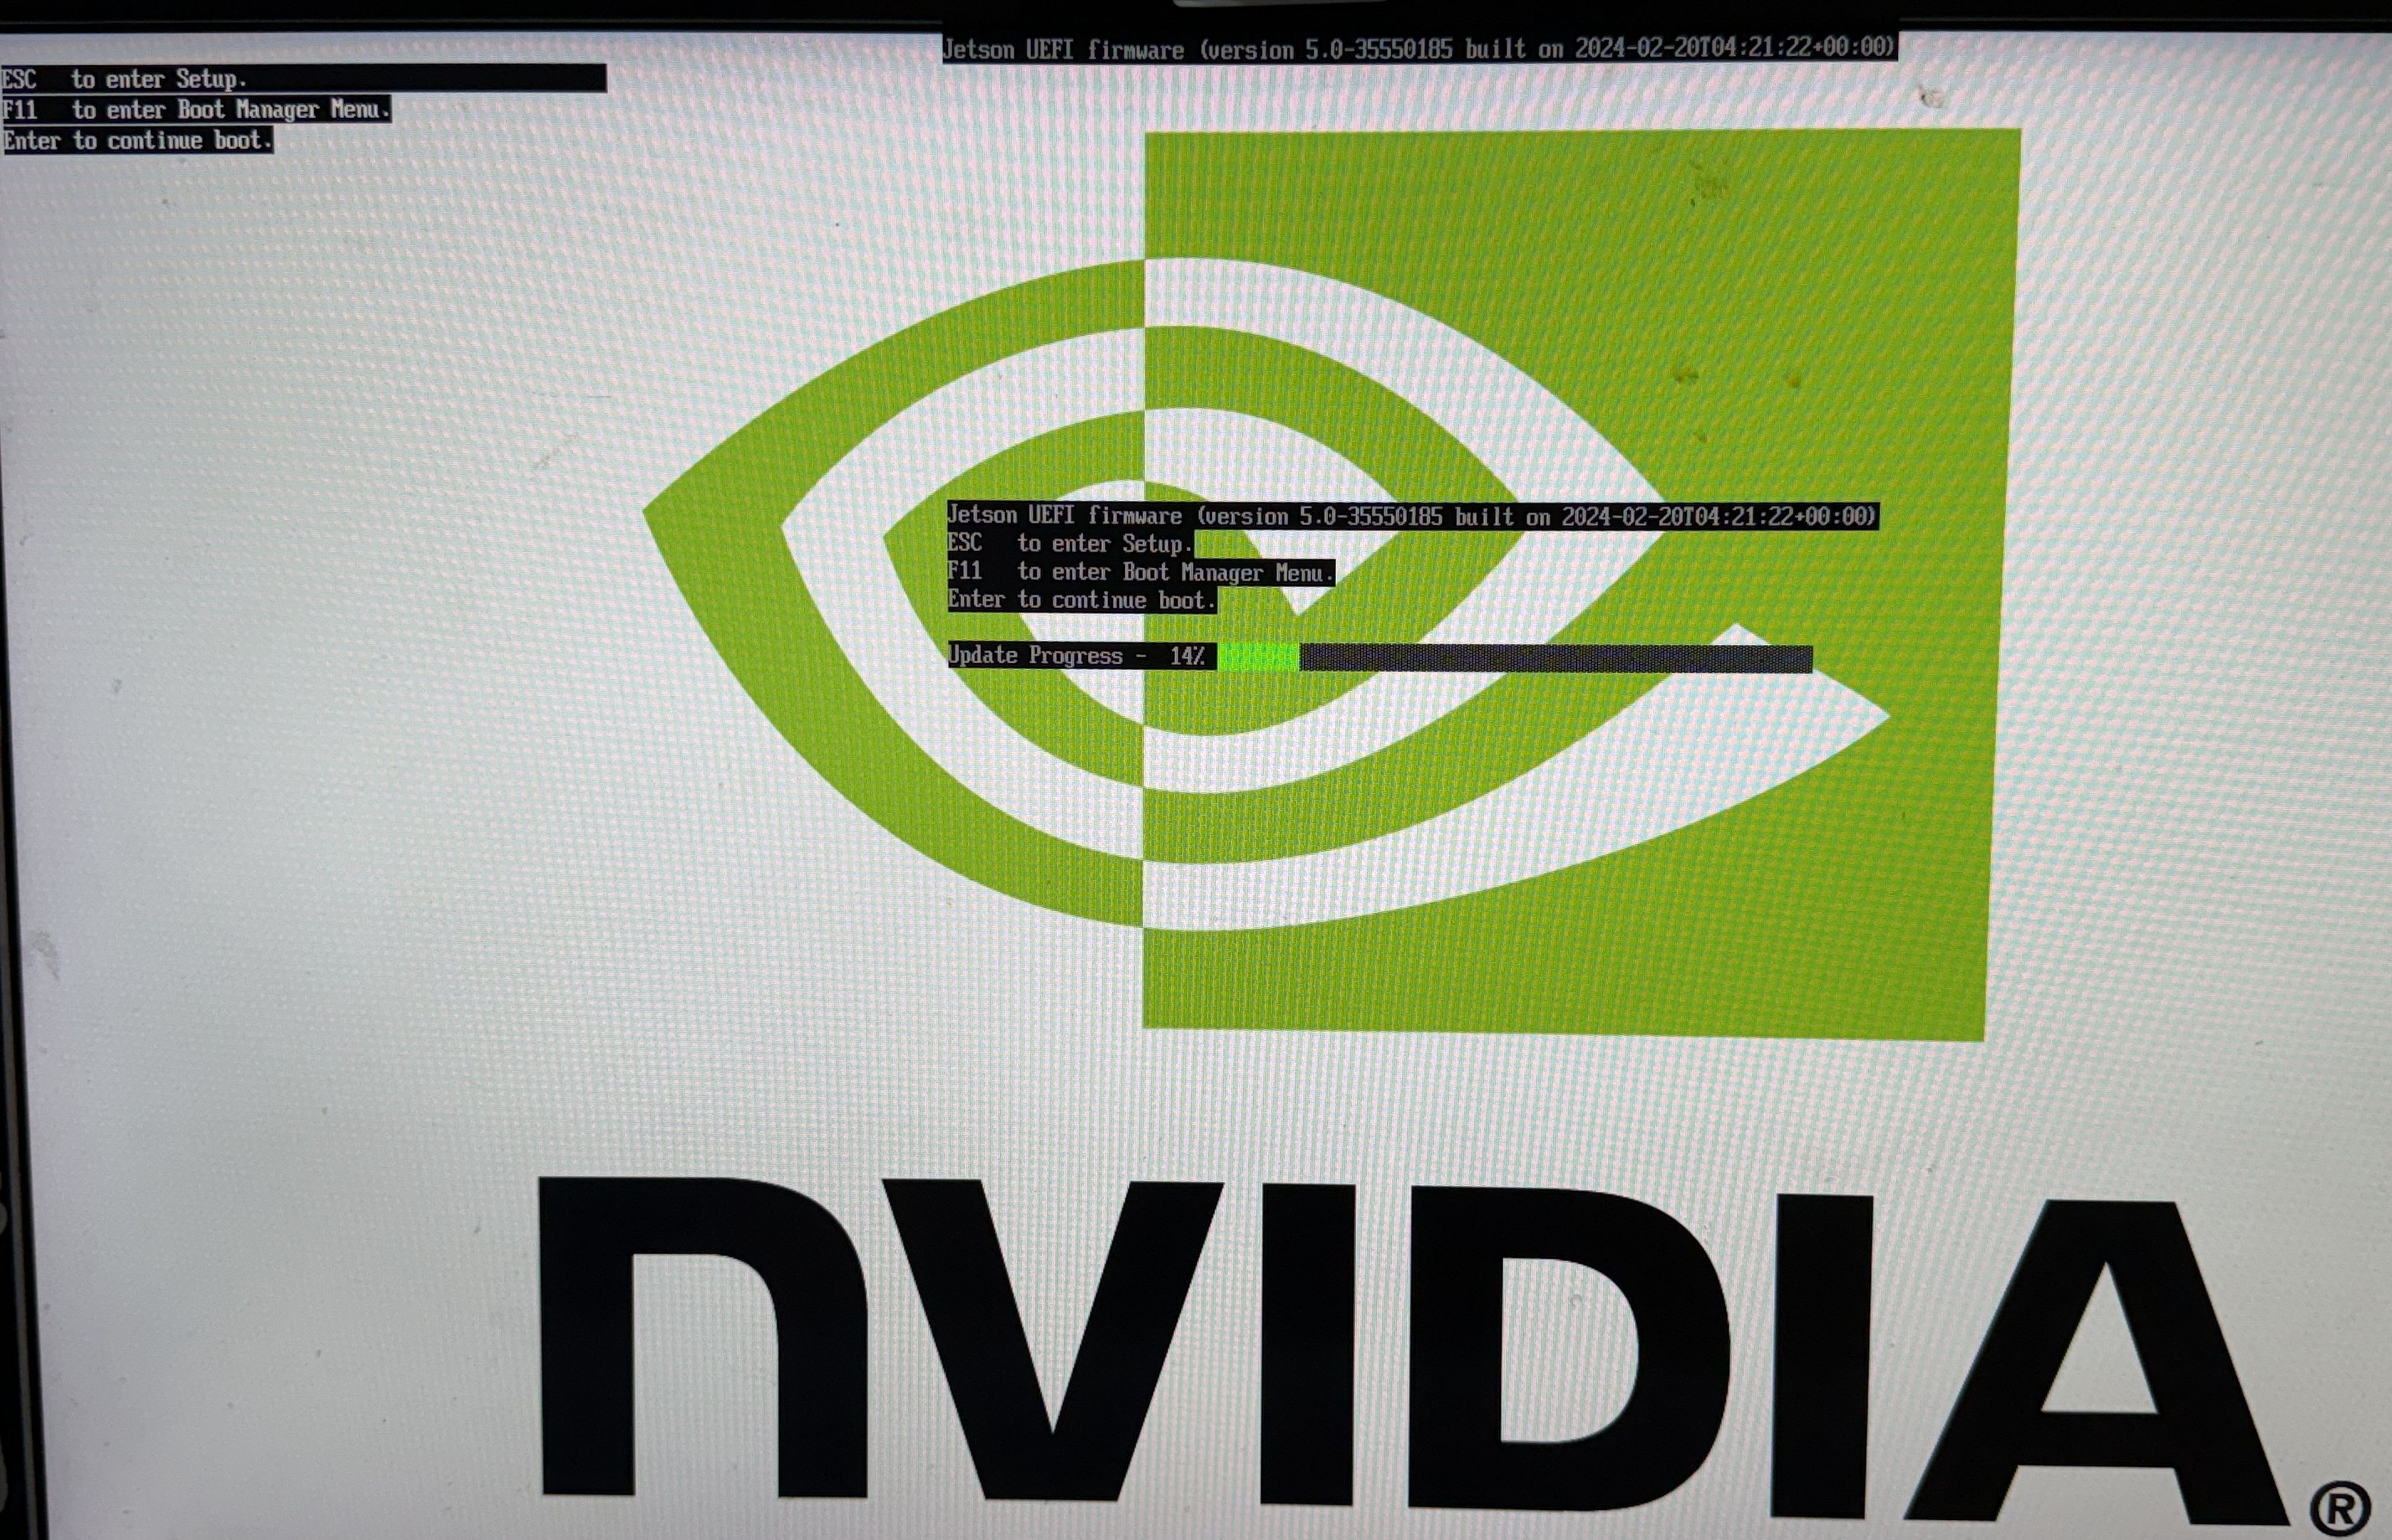
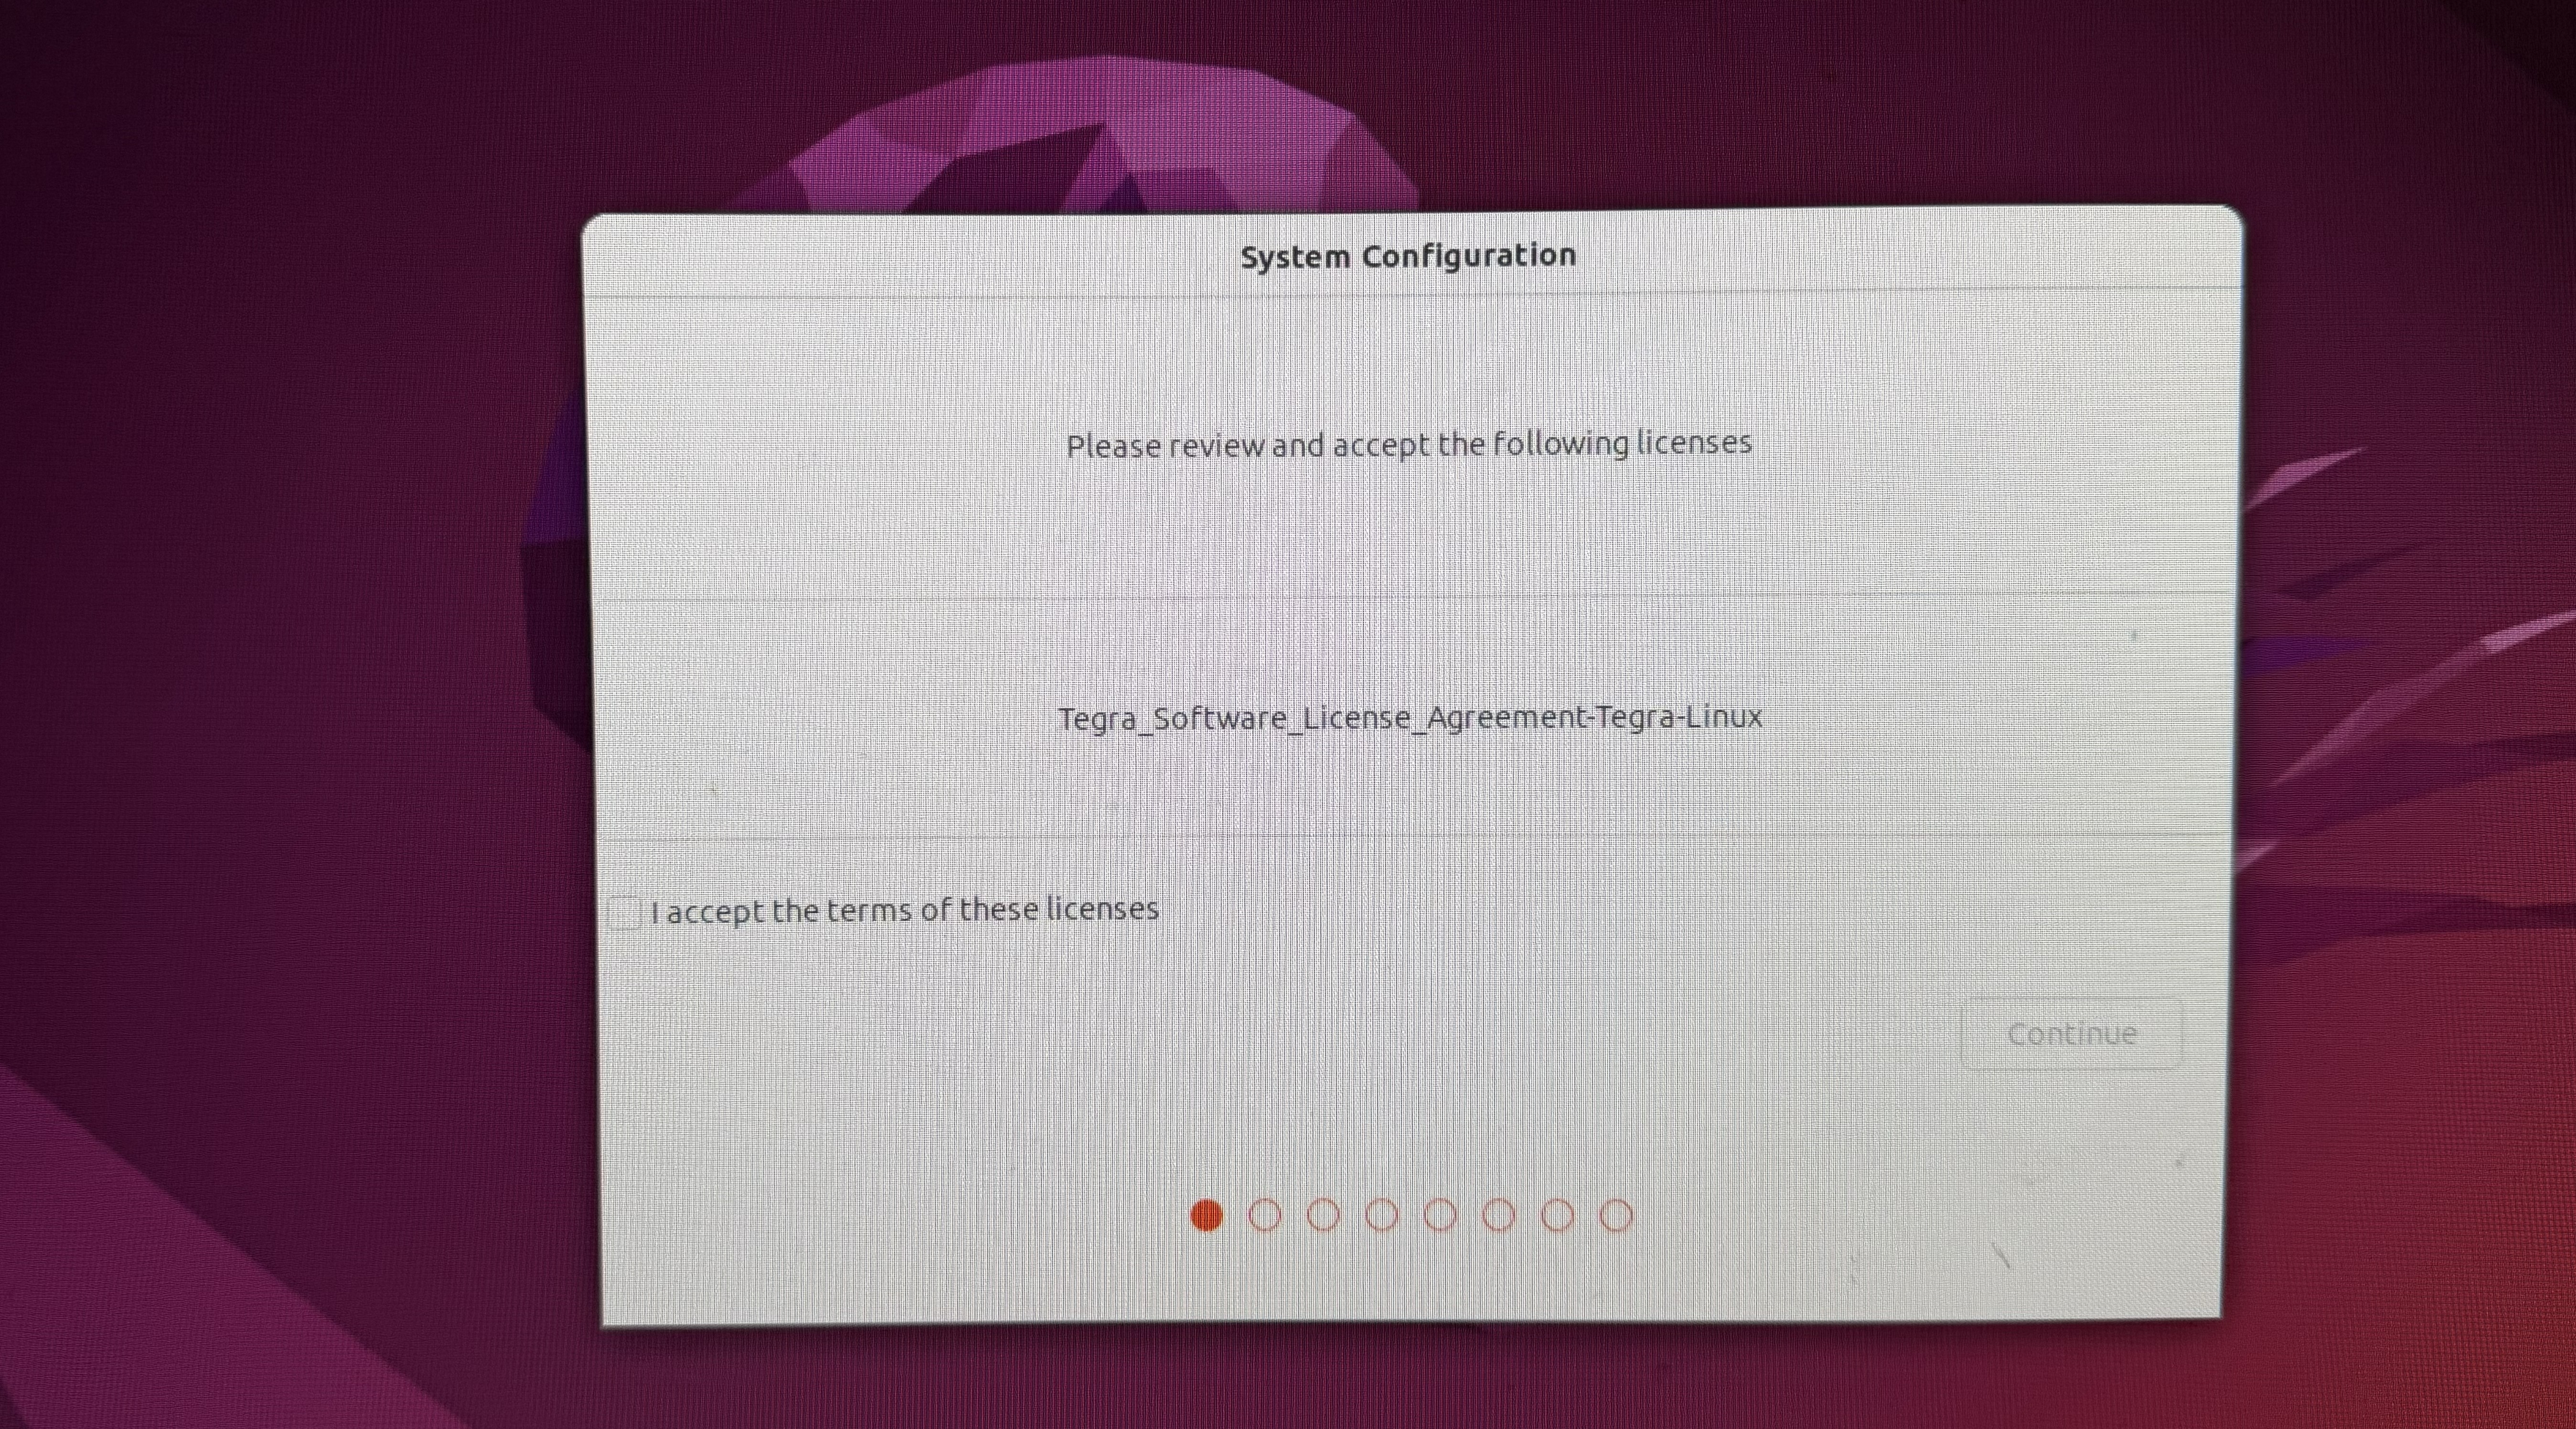
After the entire process is completed, you need to enter the system to configure the username and password.
Step 6. Post-upgrade validation
Once the device boots into JetPack 6.2:
nvbootctrl -t
sudo nvme list
cat /etc/nv_tegra_release
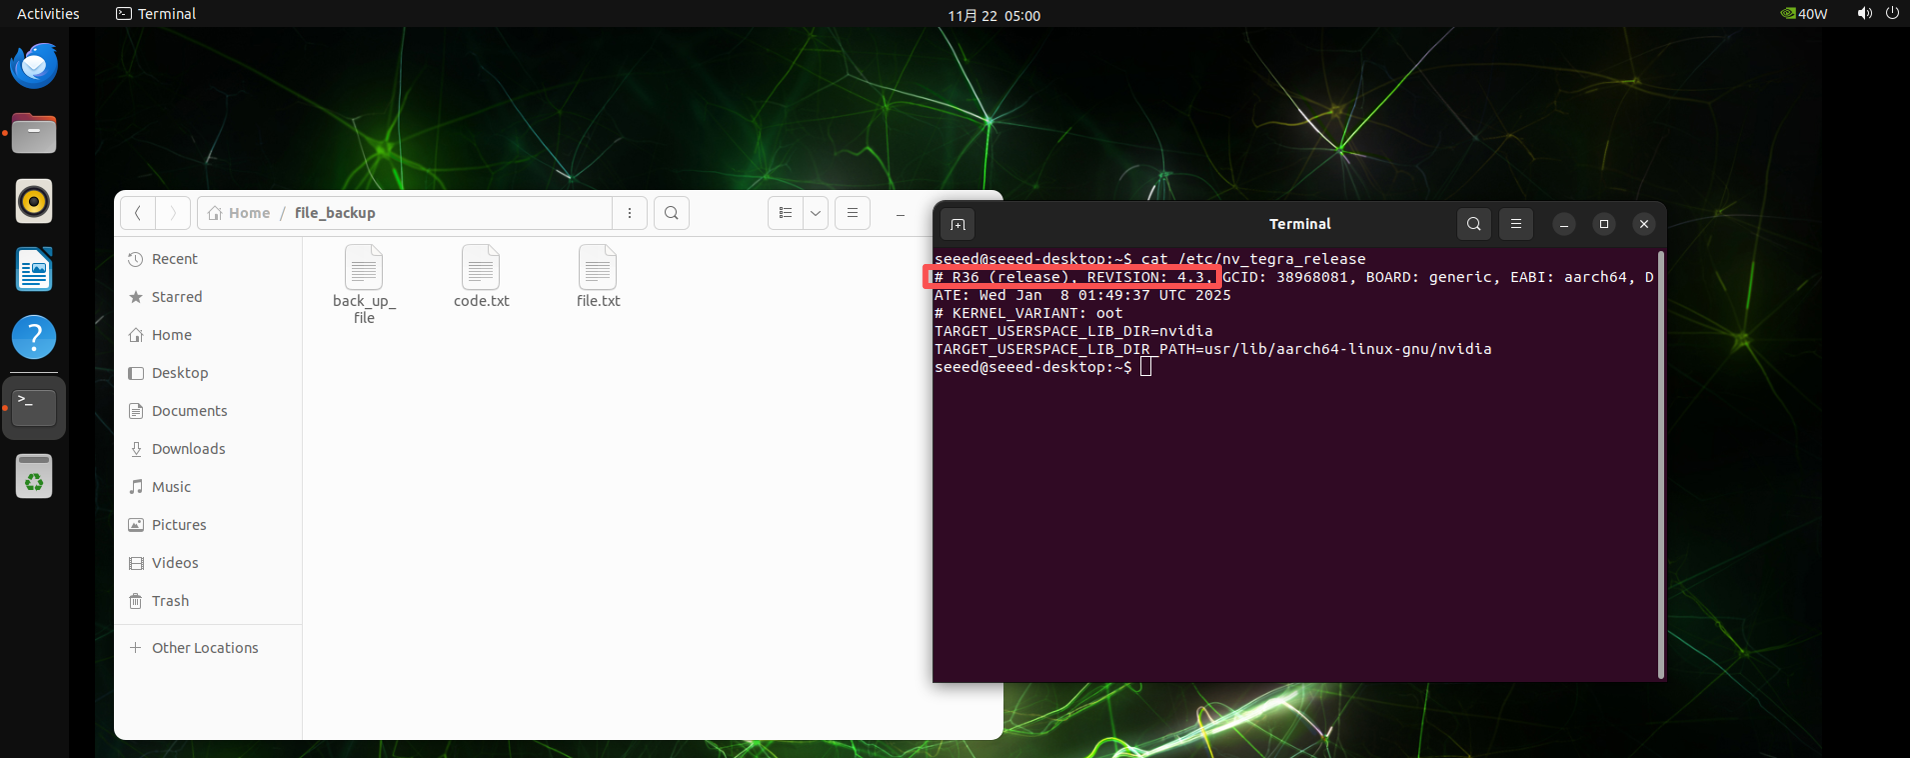
Ensure the reported release matches R36 (release), REVISION: 4.3, and confirm that your applications start as expected.
Congratulations! The OTA process was successful. The system files were also saved previously!
Other versions of OTA (optional)
Above, we have only provided the common version of the OTA package. If you need to upgrade from the current version of OTA to another version, please refer to the following steps to generate the corresponding OTA package. What we are demonstrating now is the upgrade from Jetpack 5.1.3 to the target version, Jetpack 6.2.
Prepare the Target BSP(JetPack 6.2)
All commands below run on the Ubuntu PC.
Step 1. Download NVIDIA JetPack 6.2 packages.
wget https://developer.nvidia.com/downloads/embedded/l4t/r36_release_v4.3/release/Jetson_Linux_r36.4.3_aarch64.tbz2
wget https://developer.nvidia.com/downloads/embedded/l4t/r36_release_v4.3/release/Tegra_Linux_Sample-Root-Filesystem_r36.4.3_aarch64.tbz2
Step 2. Extract the BSP into Linux_for_Tegra.
tar xf Jetson_Linux_r36.4.3_aarch64.tbz2
sudo tar xpf Tegra_Linux_Sample-Root-Filesystem_r36.4.3_aarch64.tbz2 -C Linux_for_Tegra/rootfs/
Step 3. Sync NVIDIA sources for JP6.2.
cd Linux_for_Tegra/source/
./source_sync.sh -t jetson_36.4.3
cd ../..
Step 4. Overlay Seeed customizations.
mkdir -p github/Linux_for_Tegra
git clone https://github.com/Seeed-Studio/Linux_for_Tegra.git -b r36.4.3 --depth=1 github/Linux_for_Tegra
cp -r github/Linux_for_Tegra/* Linux_for_Tegra/
Step 5. Apply NVIDIA binaries and host dependencies.
cd Linux_for_Tegra
sudo ./apply_binaries.sh
sudo apt-get update
sudo apt-get install -y build-essential flex bison libssl-dev sshpass \
  abootimg nfs-kernel-server libxml2-utils qemu-user-static
Step 6. Install the Jetson toolchain for kernel compilation.
wget https://developer.nvidia.com/downloads/embedded/l4t/r36_release_v3.0/toolchain/aarch64--glibc--stable-2022.08-1.tar.bz2
mkdir -p l4t-gcc
tar xf aarch64--glibc--stable-2022.08-1.tar.bz2 -C ./l4t-gcc
export ARCH=arm64
export CROSS_COMPILE=$(realpath .)/l4t-gcc/aarch64--glibc--stable-2022.08-1/bin/aarch64-buildroot-linux-gnu-
Step 7. Build the kernel, DTBs, and modules.
cd source
./nvbuild.sh
./do_copy.sh
export INSTALL_MOD_PATH=$(realpath ../rootfs/)
./nvbuild.sh -i
cd ..
At this point the JP6.2 BSP under ~/JP6.2/Linux_for_Tegra (or your chosen path) is ready to be used as the TARGET BSP for the OTA generation script.
Prepare the Base BSP (JetPack 5.1.3)
Use a clean workspace (e.g., ~/JP5.1.3/).
Step 1. Download JetPack 5.1.3 packages.
wget https://developer.nvidia.com/downloads/embedded/l4t/r35_release_v5.0/release/Jetson_Linux_R35.5.0_aarch64.tbz2
wget https://developer.nvidia.com/downloads/embedded/l4t/r35_release_v5.0/release/Tegra_Linux_Sample-Root-Filesystem_r35.5.0_aarch64.tbz2
Step 2. Extract and copy Seeed BSP overlays.
tar xf Jetson_Linux_R35.5.0_aarch64.tbz2 -C JP5.1.3
cd JP5.1.3
git clone -b r35.5.0 https://github.com/Seeed-Studio/Linux_for_Tegra.git
cp -rf Linux_for_Tegra/* ./Linux_for_Tegra/
Step 3. Populate the root filesystem and apply binaries.
cd Linux_for_Tegra
sudo tar xpf ../Tegra_Linux_Sample-Root-Filesystem_r35.5.0_aarch64.tbz2 -C rootfs
sudo ./apply_binaries.sh
Step 4. Install the Bootlin GCC toolchain for JP5 kernel builds.
wget https://developer.nvidia.com/embedded/jetson-linux/bootlin-toolchain-gcc-93 -O bootlin-toolchain-gcc-93.tar.bz2
mkdir -p l4t-gcc
tar xf bootlin-toolchain-gcc-93.tar.bz2 -C ./l4t-gcc
export ARCH=arm64
export CROSS_COMPILE_AARCH64_PATH=$(realpath .)/l4t-gcc
Step 5. Build and install modules, device trees, and custom drivers.
cd source
export INSTALL_MOD_PATH=$(realpath ../rootfs/)
./nvbuild.sh -i -r ${INSTALL_MOD_PATH}
./do_copy.sh
Your JP5.1.3 BSP path (for example /home/seeed/test/5.1.3/Linux_for_Tegra) will act as the BASE BSP during OTA package generation.
Generate the OTA Package on the Host
Navigate to the JP6.2 workspace and run NVIDIA's OTA helper script:
cd ~/JP6.2/Linux_for_Tegra/tools/ota_tools/
./start_generate_ota_pkg.sh
The script will prompt for the following information:
- BASE_BSP path:
/home/seeed/test/5.1.3/Linux_for_Tegra - TARGET_BSP path:
/home/seeed/test/6.2/Linux_for_Tegra - target_board name:
recomputer-orin-j40mini(use the.confname that matches your device) - bsp_version (Rmm-n):
R35-5for JetPack 5.1.3
If everything is configured correctly, the tool ends with:
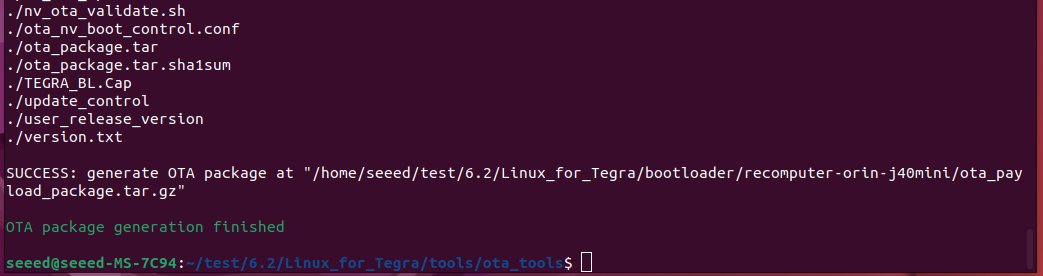
Perform the OTA on the Jetson Device
Refer back to the on-device OTA procedure for the detailed steps.
Resources
Tech Support & Product Discussion
Thank you for choosing Seeed Studio! If you need further assistance, reach out through the following channels: