Work with ESPHome
If you want to quickly preview project results or try the basic demo firmware before setting up a development environment, open the reTerminal E-Series Firmware Hub. You can choose a supported reTerminal E Series device and flash demo firmware directly from a browser.
This page is the reference manual for driving any compatible Seeed ePaper product through ESPHome and integrating it with Home Assistant. It covers the parts that are identical across all hardware:
- Why you'd choose ESPHome to drive an ePaper display.
- How to use the cookbook YAML examples, adapt them to your needs, and flash from your ESPHome dashboard.
- The generic YAML skeleton —
wifi,api,ota,display— that every product specialises with its own pin map. - Where the per-product cookbook lives (peripherals, hardware-specific lambdas, dashboard recipes).
For an end-to-end "flash → connect → first dashboard" walkthrough, jump straight to the cookbook for your hardware below; those pages reuse this reference for the boilerplate and add product-specific examples.
Compatible Hardware
Every Seeed ePaper product on the main hub page that has an ESPHome column ticked can run through this workflow:
| Product | MCU | Cookbook |
|---|---|---|
| reTerminal E1001 / E1002 / E1003 / E1004 | XIAO ESP32-S3 | Display basics, HA integration & drawing Buttons, buzzer, LED, battery, SHT4x & deep sleep RTC, SD card & microphone |
| EE04 driver board | XIAO ESP32-S3 Plus | EE04 ESPHome cookbook |
| XIAO 7.5" ePaper Panel | XIAO ESP32-C3 | XIAO Panel ESPHome cookbook |
| TRMNL 7.5" (OG) DIY Kit | XIAO ESP32-S3 Plus | TRMNL DIY Kit ESPHome cookbook |
Why ESPHome on ePaper?
- Energy efficiency — ePaper only consumes power when the screen is being updated, so the combo (ESP32 + ESPHome deep-sleep + ePaper) can run for weeks/months on a battery.
- Daylight readable — unlike LCD, the display is readable in sunlight; great for wall-mounted Home Assistant panels.
- Native HA citizen — once the device shows up in Home Assistant, every entity (climate, calendar, sensor, person, weather) is one Jinja template away from being on the wall.
- Local-first — no cloud, no vendor lock-in. Everything runs on your LAN.
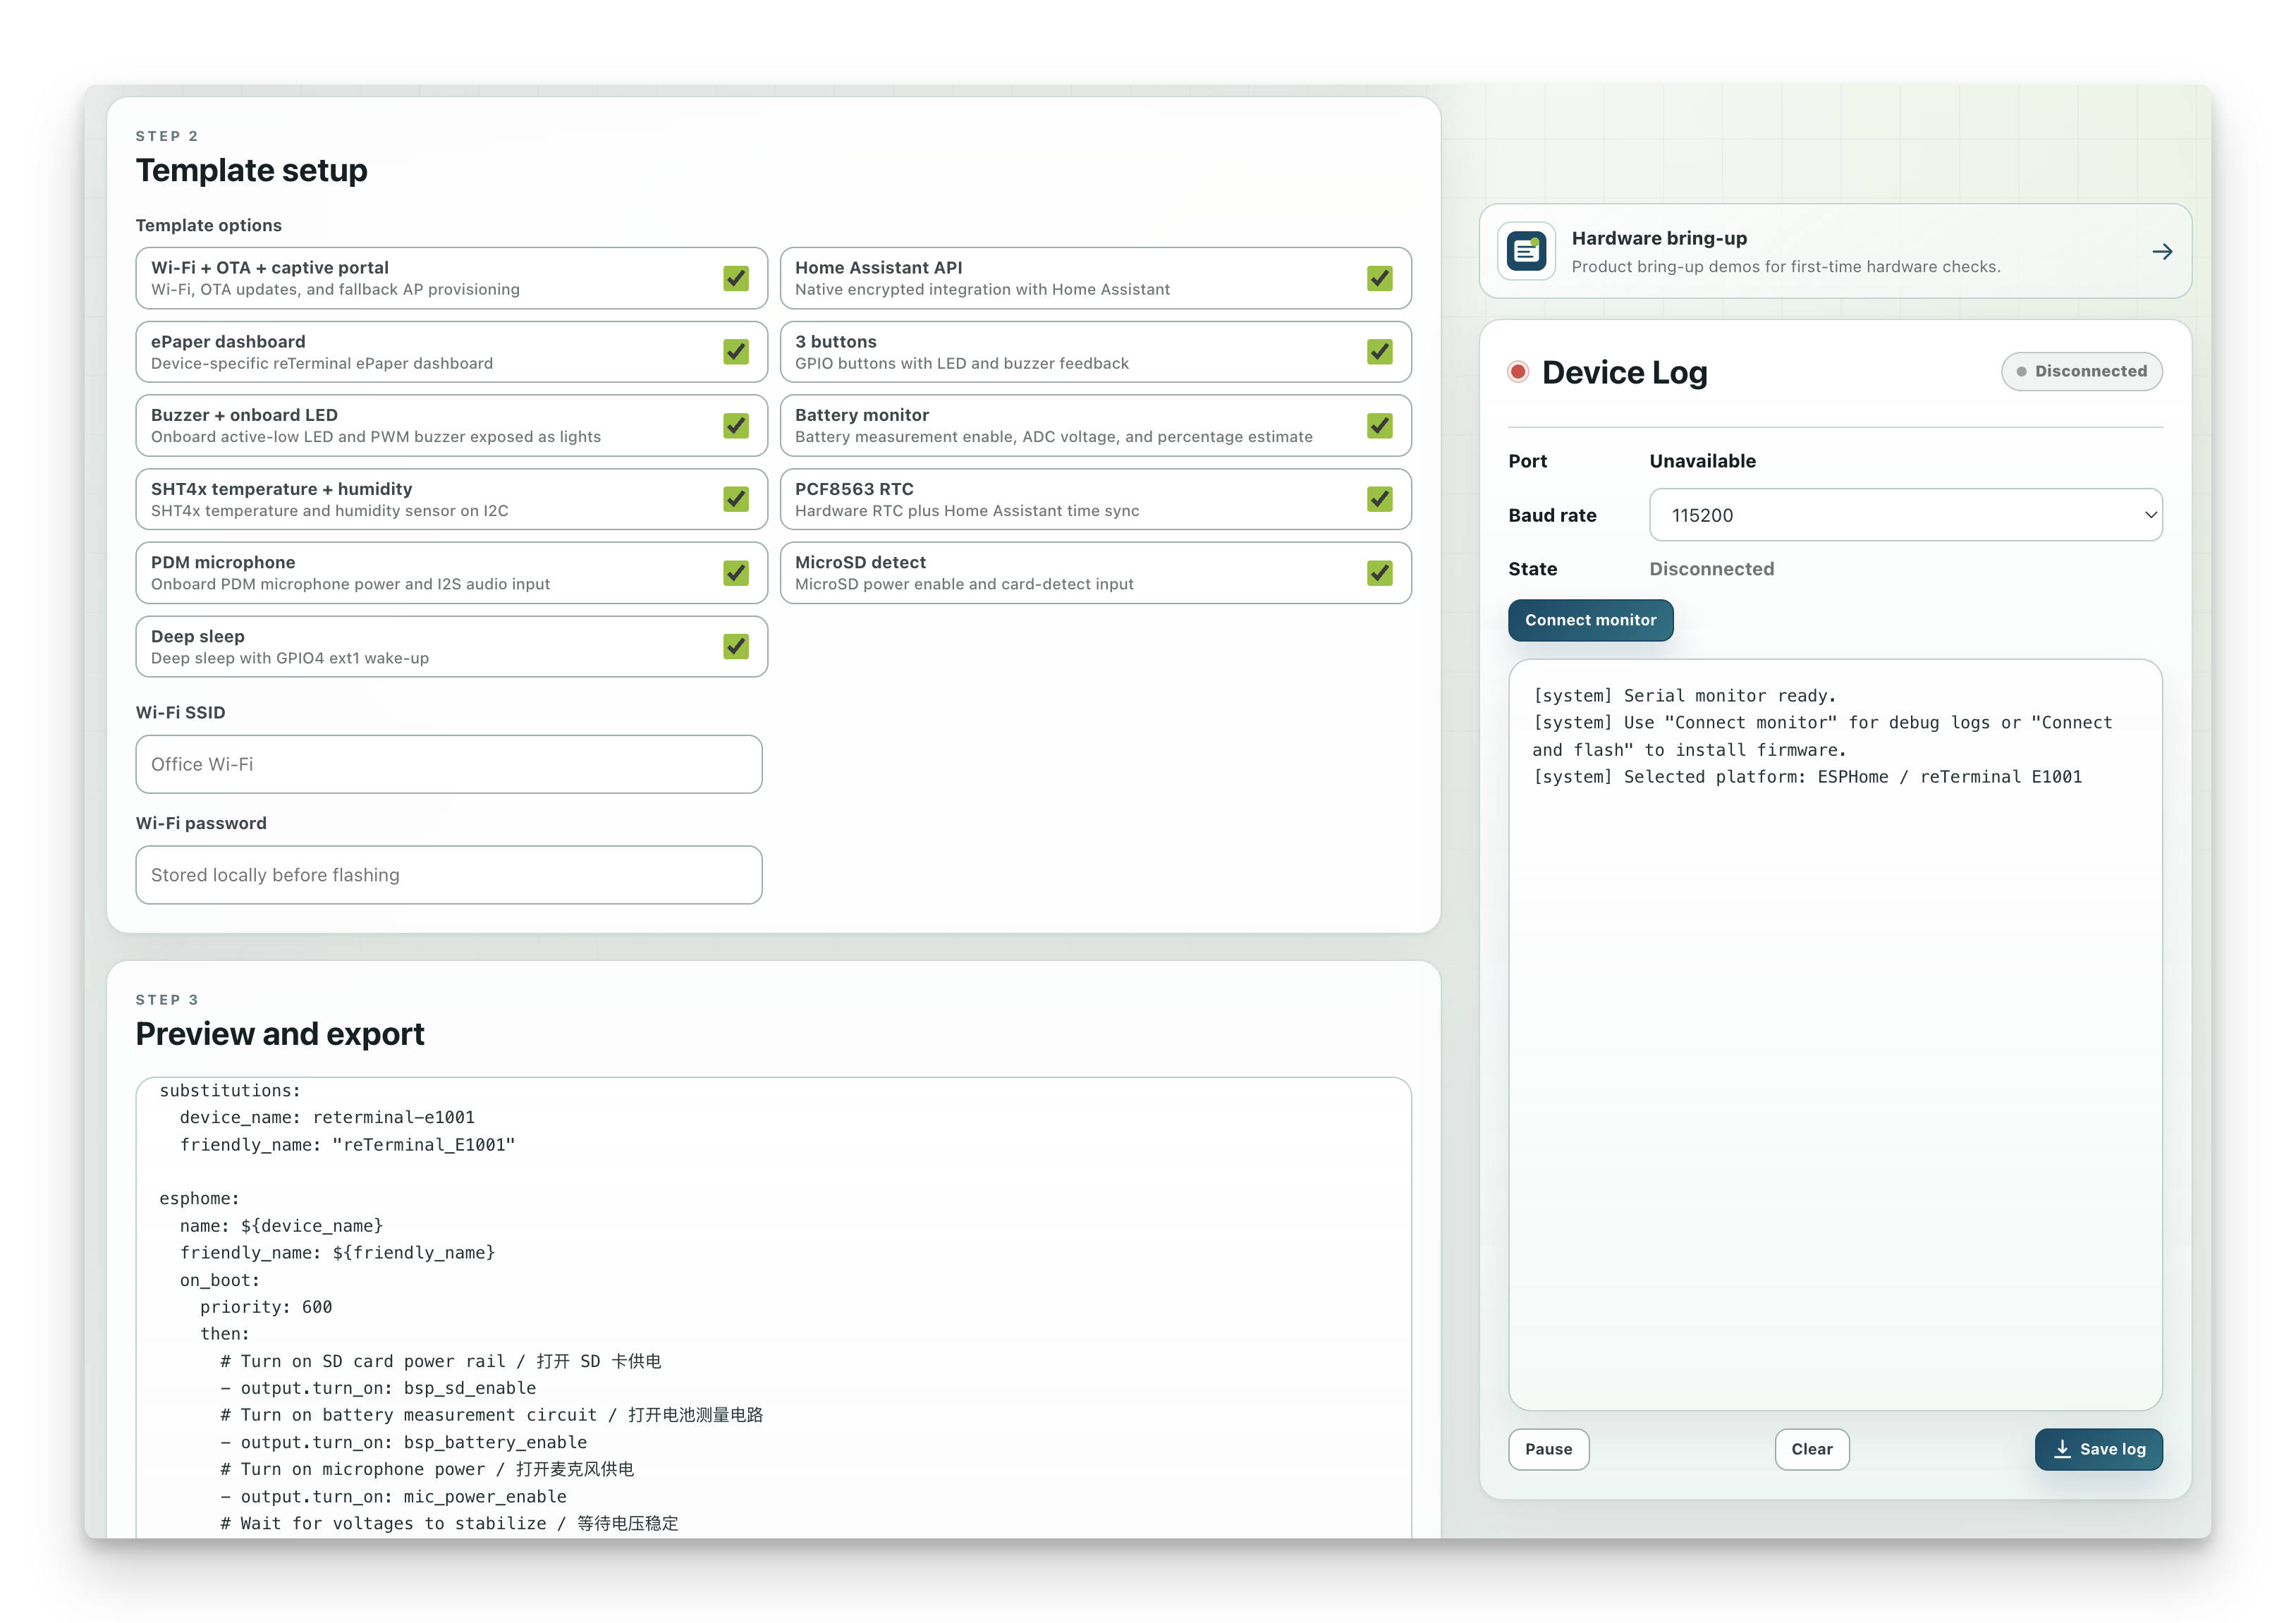
Step 1: Generate ESPHome YAML and flash your firmware
The easiest way to start is to use the reTerminal E-Series Firmware Hub. The hub can generate an ESPHome YAML file from your device and feature selections, so you do not need to assemble the first configuration by hand.
Recommended workflow:
- Open the reTerminal E-Series Firmware Hub in desktop Chrome or Edge.
- Select ESPHome as the platform.
- Select your device.
- In the setup step, choose the features you want to enable, such as display, buttons, battery, sensors, RTC, SD card, microphone, or deep sleep if they are available for your device.
- Let the page generate the matching ESPHome YAML.
- Use Copy to clipboard or Download file to export the generated YAML.
- Paste or import the YAML into your ESPHome dashboard.
- Focus your manual editing on the part that matters most for your project: ePaper display content, Home Assistant entities, layout, fonts, and refresh behavior.
The Firmware Hub is the recommended starting point for new users because it handles much of the device-specific YAML structure. Use the cookbooks when you want to understand the generated configuration, combine advanced features, or build a custom layout from smaller examples.
Run the ESPHome dashboard as either:
- a Home Assistant Add-on (recommended if you already run HA OS / HA Supervised), or
- a standalone Python CLI (
pip install esphomethenesphome dashboard config/).
Manual cookbook workflow:
- Open the cookbook for your hardware (see the table above) and copy the YAML example you need.
- In the ESPHome dashboard, click + New device, enter a name, and pick the ESP variant listed in your cookbook (ESP32-S3, ESP32-C3, etc.).
- Replace the generated starter file with your configuration. Combine cookbook sections only if you need multiple features on one device.
- Click Install → Plug into this computer for the first USB flash. After
wifi,api, andotaare set up, later updates can go over Wi-Fi. - When the device is online, it appears in Home Assistant through the ESPHome integration.
Step 2: Understand the generated YAML structure
Every Seeed ePaper ESPHome configuration follows the same basic structure, but the hardware values are not universal. Use the Firmware Hub or the cookbook for your product as the source of truth for the board type, bus pins, power-enable pins, display platform, display model, and onboard peripherals.
The block below is a structure guide, not a ready-to-flash configuration. It shows where each kind of setting usually appears after you generate or copy a product-specific YAML file:
substitutions:
  device_name: my-epaper
  friendly_name: My ePaper Display

esphome:
  name: ${device_name}
  friendly_name: ${friendly_name}
  # Optional. Some products enable power rails or read sensors during boot.
  # Keep this section from the generated YAML if your device needs it.
  on_boot:
    priority: 600
    then:
      - output.turn_on: <power_enable_output_id>
      - delay: 200ms

# Board and framework come from the Firmware Hub or your cookbook.
esp32:
  board: <board_from_generated_yaml>
  framework:
    type: arduino

logger:
  # Some ESP32-S3 products use a USB-to-UART bridge.
  # Keep hardware_uart from the generated YAML if it is present.
  # hardware_uart: UART0

api:
  encryption:
    key: !secret api_key

ota:
  - platform: esphome
    password: !secret ota_password

wifi:
  ssid: !secret wifi_ssid
  password: !secret wifi_password
  ap:
    ssid: "${device_name} Fallback"

captive_portal:

# Buses are hardware-specific. Do not reuse pins from another product.
spi:
  clk_pin: <spi_clk_from_generated_yaml>
  mosi_pin: <spi_mosi_from_generated_yaml>
  miso_pin: <spi_miso_if_required>

i2c:
  scl: <i2c_scl_if_required>
  sda: <i2c_sda_if_required>

i2s_audio:
  # Only needed when your generated YAML enables a microphone.
  i2s_lrclk_pin: <i2s_clock_if_required>

font:
  - file: "gfonts://Inter@700"
    id: font_medium
    size: 24

# Outputs are often used for LEDs, buzzers, or power-enable circuits.
output:
  - platform: gpio
    id: <output_id_from_generated_yaml>
    pin: <gpio_from_generated_yaml>

light:
  - platform: binary
    name: "Onboard LED"
    output: <output_id_from_generated_yaml>

time:
  - platform: homeassistant
    id: ha_time

sensor:
  # Add Home Assistant, onboard, or template sensors here.
  - platform: homeassistant
    id: outdoor_temperature
    entity_id: sensor.outdoor_temperature

binary_sensor:
  # Add buttons or status inputs here if your hardware provides them.
  - platform: gpio
    id: button_1
    pin: <button_gpio_from_generated_yaml>

display:
  - platform: <display_platform_from_generated_yaml>
    id: epaper_display
    # Keep the model and pin map from the generated YAML or cookbook.
    model: <display_model_from_generated_yaml>
    cs_pin: <display_cs_from_generated_yaml>
    dc_pin: <display_dc_from_generated_yaml>
    reset_pin: <display_reset_from_generated_yaml>
    busy_pin: <display_busy_from_generated_yaml>
    update_interval: never
    lambda: |-
      it.print(0, 0, id(font_medium), "Hello, ePaper!");
Keep these values from the Firmware Hub or the cookbook:
esp32.boardand any logger settings such ashardware_uart.spi,i2c, andi2s_audiopins.- Power-enable
outputblocks for display, battery measurement, SD card, microphone, or other onboard circuits. - Button, battery, RTC, SHT4x, SD card, microphone, buzzer, and LED definitions.
- The
display.platform,model, pin map, reset behavior, busy-pin behavior, and update interval.
The parts you usually customize are:
substitutions, device name, and friendly name.wifi,api, andotasecrets.fontchoices and sizes.- Home Assistant
sensor,binary_sensor,text_sensor, ortimeentities that provide the data you want to draw. - The
display.lambdablock, where you design the actual ePaper screen layout. - Refresh behavior, such as
update_interval, button-triggered refreshes, or deep sleep timing.
Step 3: Connect to Home Assistant
Once the firmware boots and joins your Wi-Fi, Home Assistant auto-discovers the device:
- Settings → Devices & services
- The ESPHome integration shows a "Discovered" card for your device.
- Click Configure, paste the API encryption key (from
secrets.yaml), submit. - The device + all its entities (sensors, binary_sensors, the display) are now available in HA.
You can now drag the entities into a Lovelace dashboard, or — much more interesting on ePaper — use the display.lambda block to render any HA entity directly to the screen via the homeassistant component.
Where to go next — Cookbooks
This page intentionally stops at the boilerplate. The product-specific YAML, peripheral examples, and end-to-end recipes live in each product's cookbook:
- reTerminal E Series — ESPHome Display — first dashboard, Wi-Fi setup, and ePaper drawing examples for E1001/E1002/E1003/E1004.
- reTerminal E Series — ESPHome I/O, Battery & Power — buttons, buzzer, onboard LED, battery monitoring, SHT4x sensor, deep sleep, and multi-page dashboards.
- reTerminal E1001 / E1002 — ESPHome RTC, SD & Microphone — PCF8563 RTC time sync, microSD card power/detect pins, and onboard PDM microphone setup.
- EE04 driver board — ESPHome — full Home Assistant integration on the XIAO ESP32-S3 + EE04 + your choice of ePaper screen.
- XIAO 7.5" ePaper Panel — ESPHome — minimal ESP32-C3 dashboard.
- TRMNL 7.5" DIY Kit — ESPHome — using the kit hardware with ESPHome instead of the TRMNL cloud platform.
When new ePaper products ship, the corresponding cookbook is added under each product's folder; this main page is updated to link to it.
Common Issues
Tech Support & Product Discussion
Thank you for choosing our products! We are here to provide you with different support to ensure that your experience with our products is as smooth as possible. We offer several communication channels to cater to different preferences and needs.