Work with LVGL
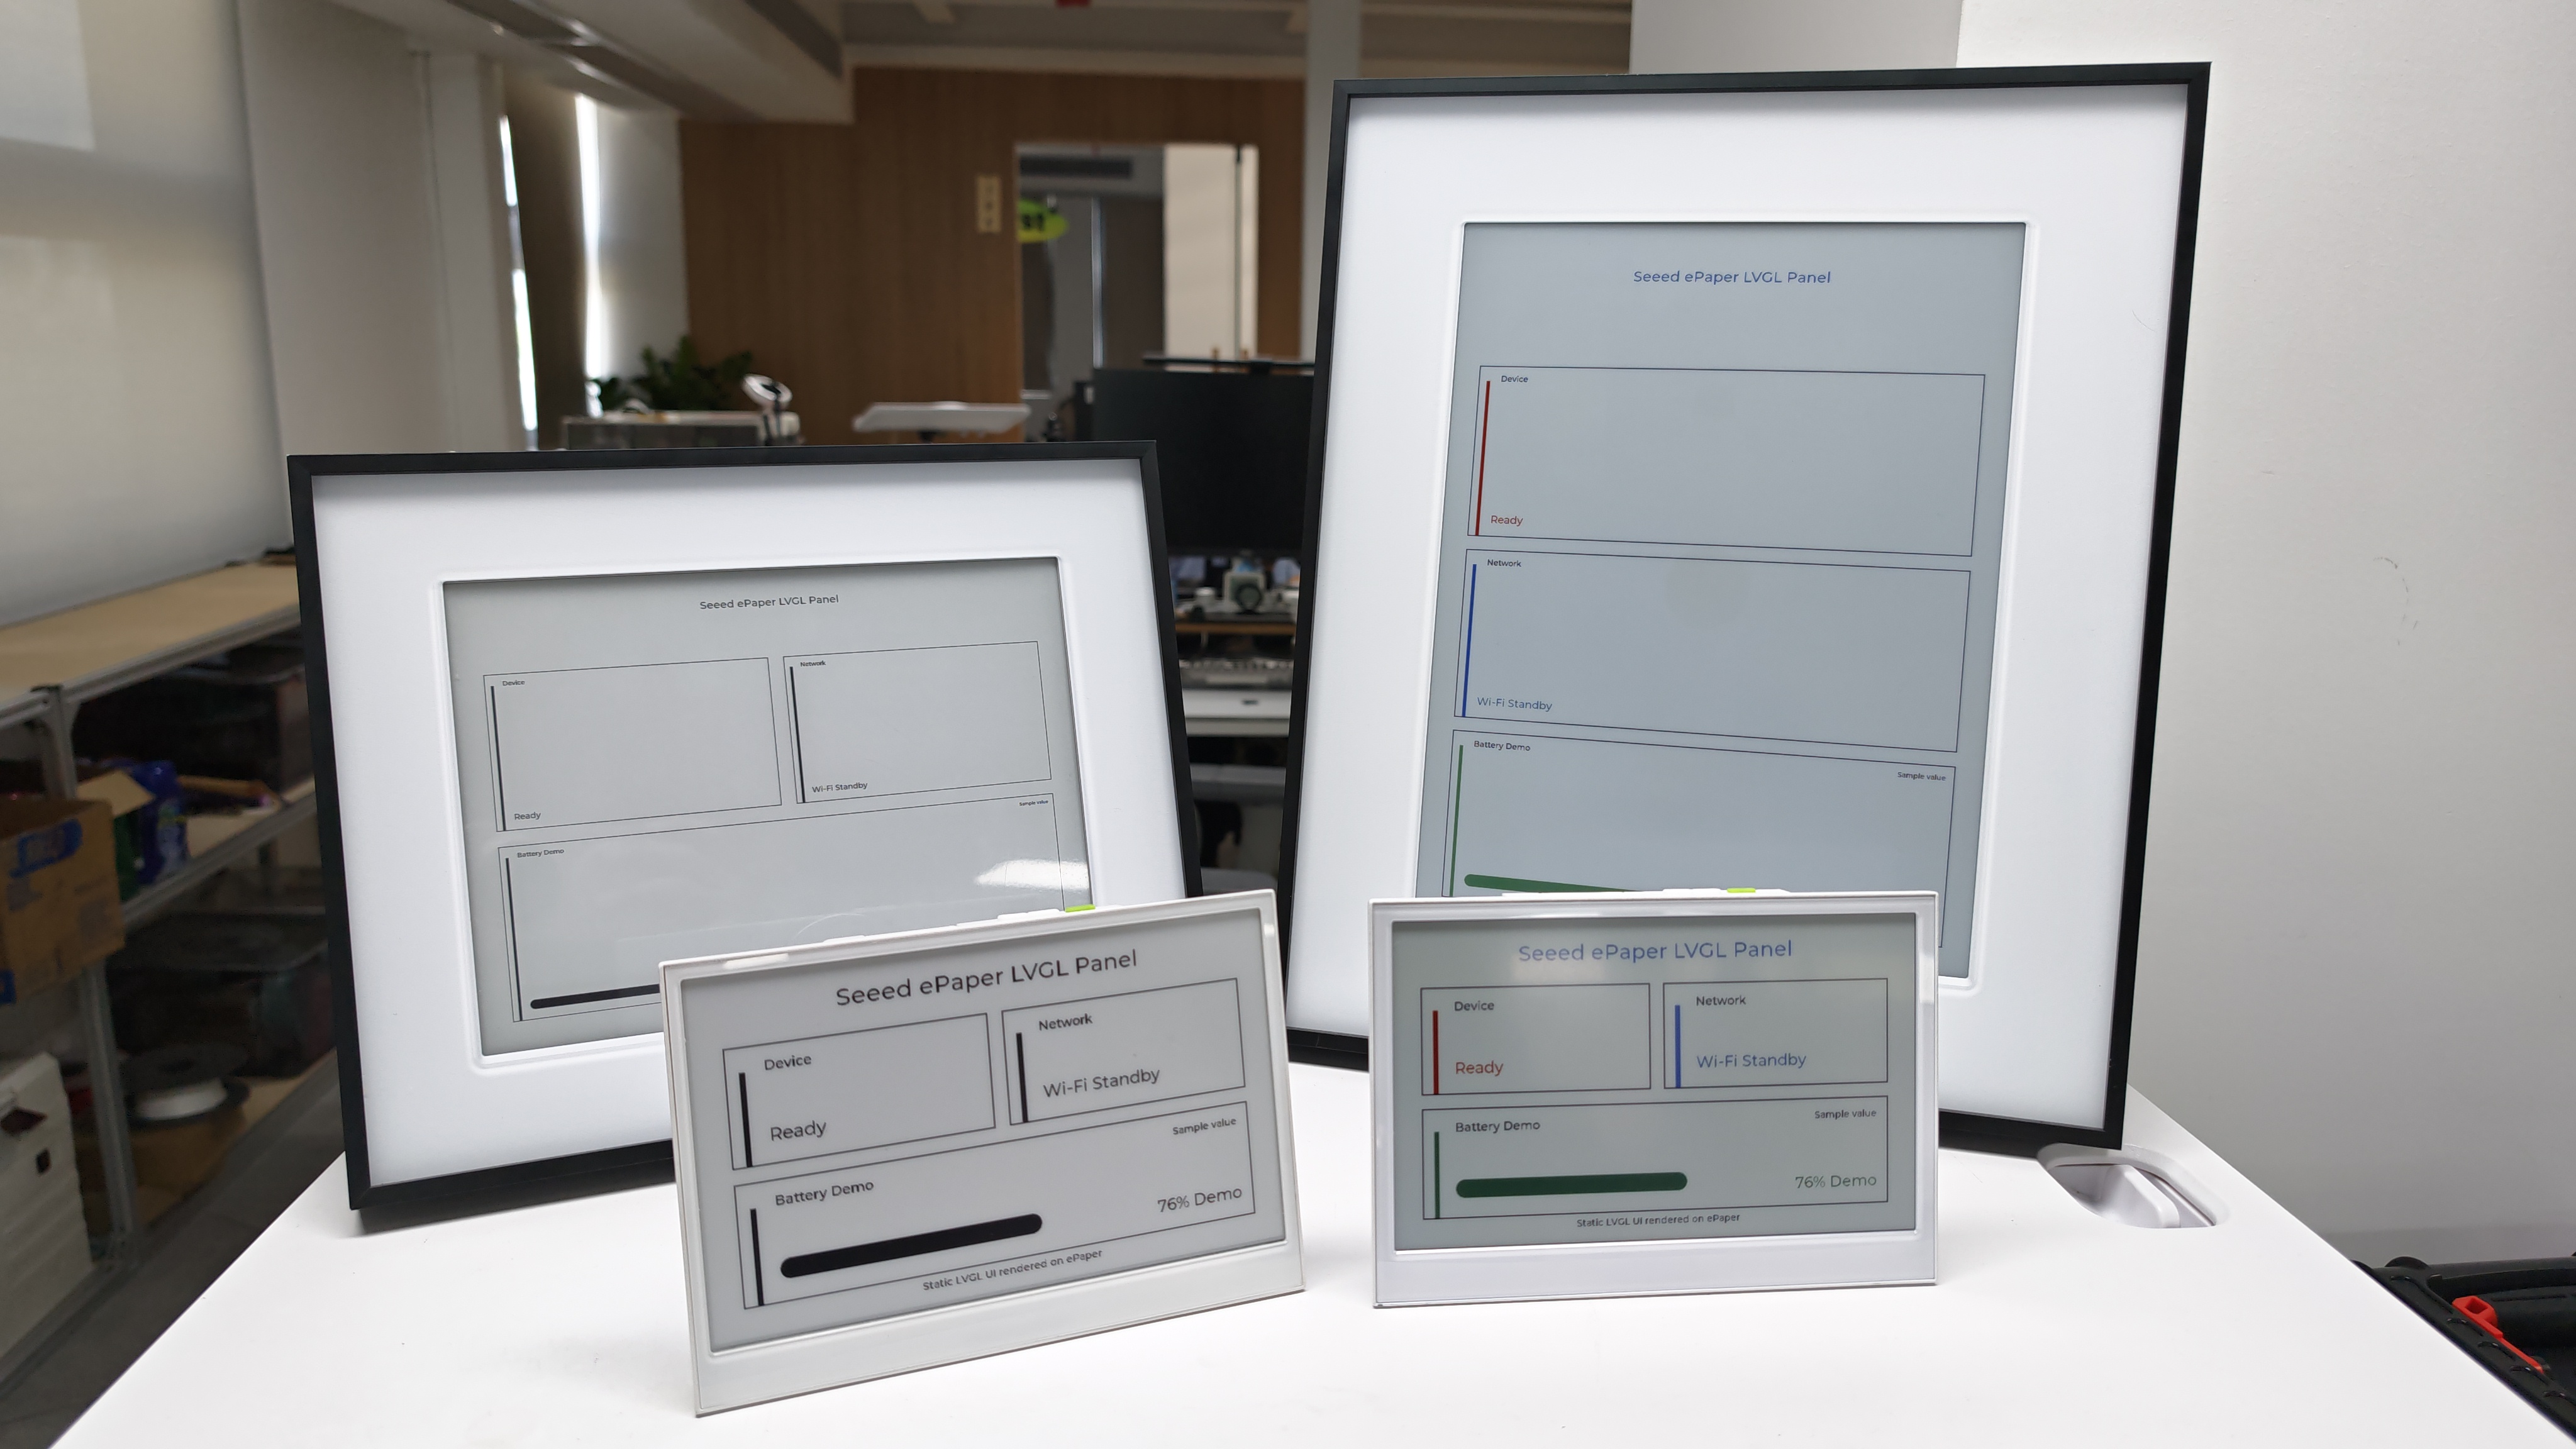
LVGL is an open-source graphics library for embedded devices. It provides ready-made UI components such as labels, panels, bars, and layout tools, so you can build a structured interface in C/C++ without drawing every pixel manually.
This guide creates a simple LVGL ePaper status panel with PlatformIO. The example uses reTerminal E1001 as the default target, and keeps separate PlatformIO environments for reTerminal E1002, E1003, and E1004.
The project renders a static dashboard with:
- a title,
- a device status card,
- a network status card,
- a demo battery card.
For ePaper displays, this static UI workflow is a good starting point because the screen only needs to refresh when the displayed information changes.
If you want to quickly preview project results or try the basic demo firmware before setting up a development environment, open the reTerminal E-Series Firmware Hub. You can choose a supported reTerminal E Series device and flash demo firmware directly from a browser.
Compatible Hardware
Prepare one of the following reTerminal E Series devices. The PlatformIO project in this guide uses reTerminal E1001 as the default environment.
| reTerminal E1001 | reTerminal E1002 |
|---|---|
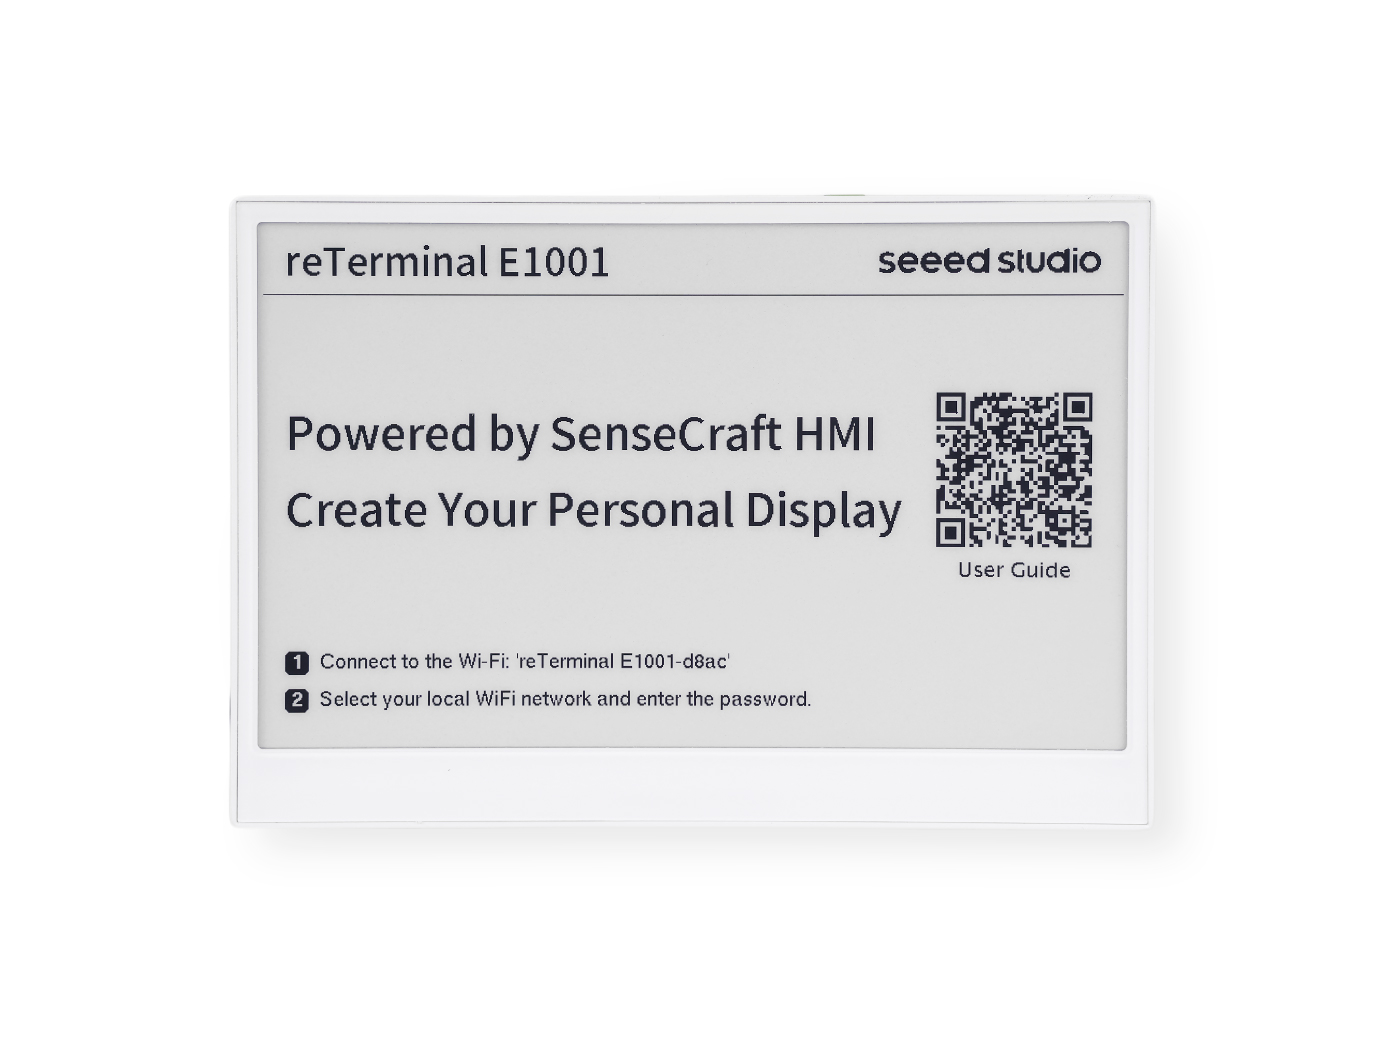 | 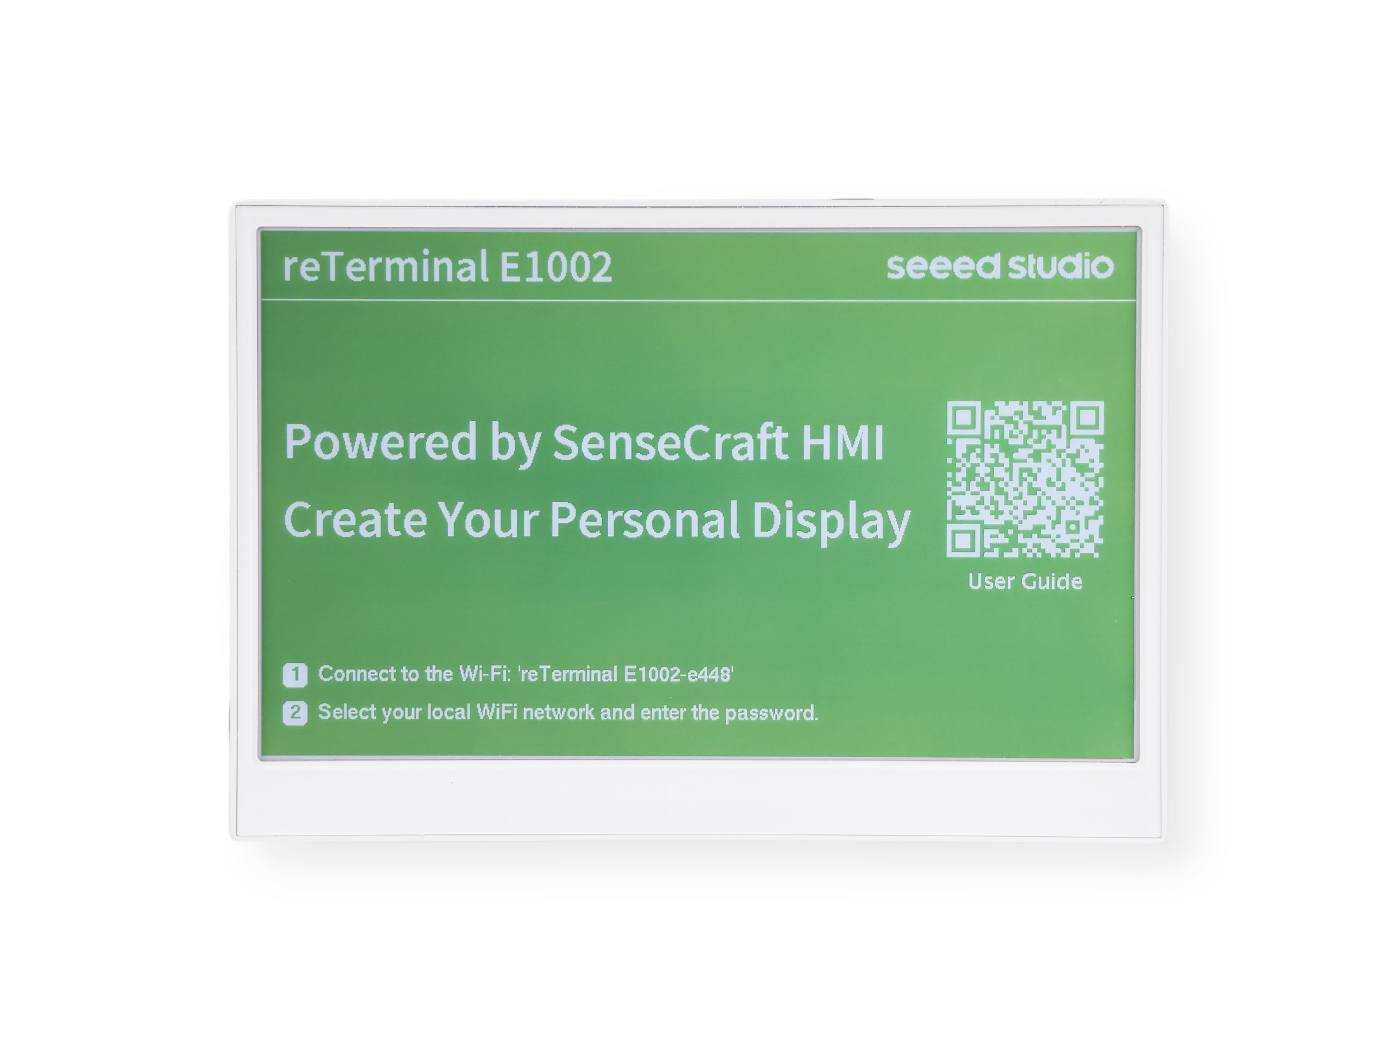 |
| 7.5" monochrome ePaper 800 x 480 | 7.3" Spectra 6 color ePaper 800 x 480 |
| reTerminal E1003 | reTerminal E1004 |
|---|---|
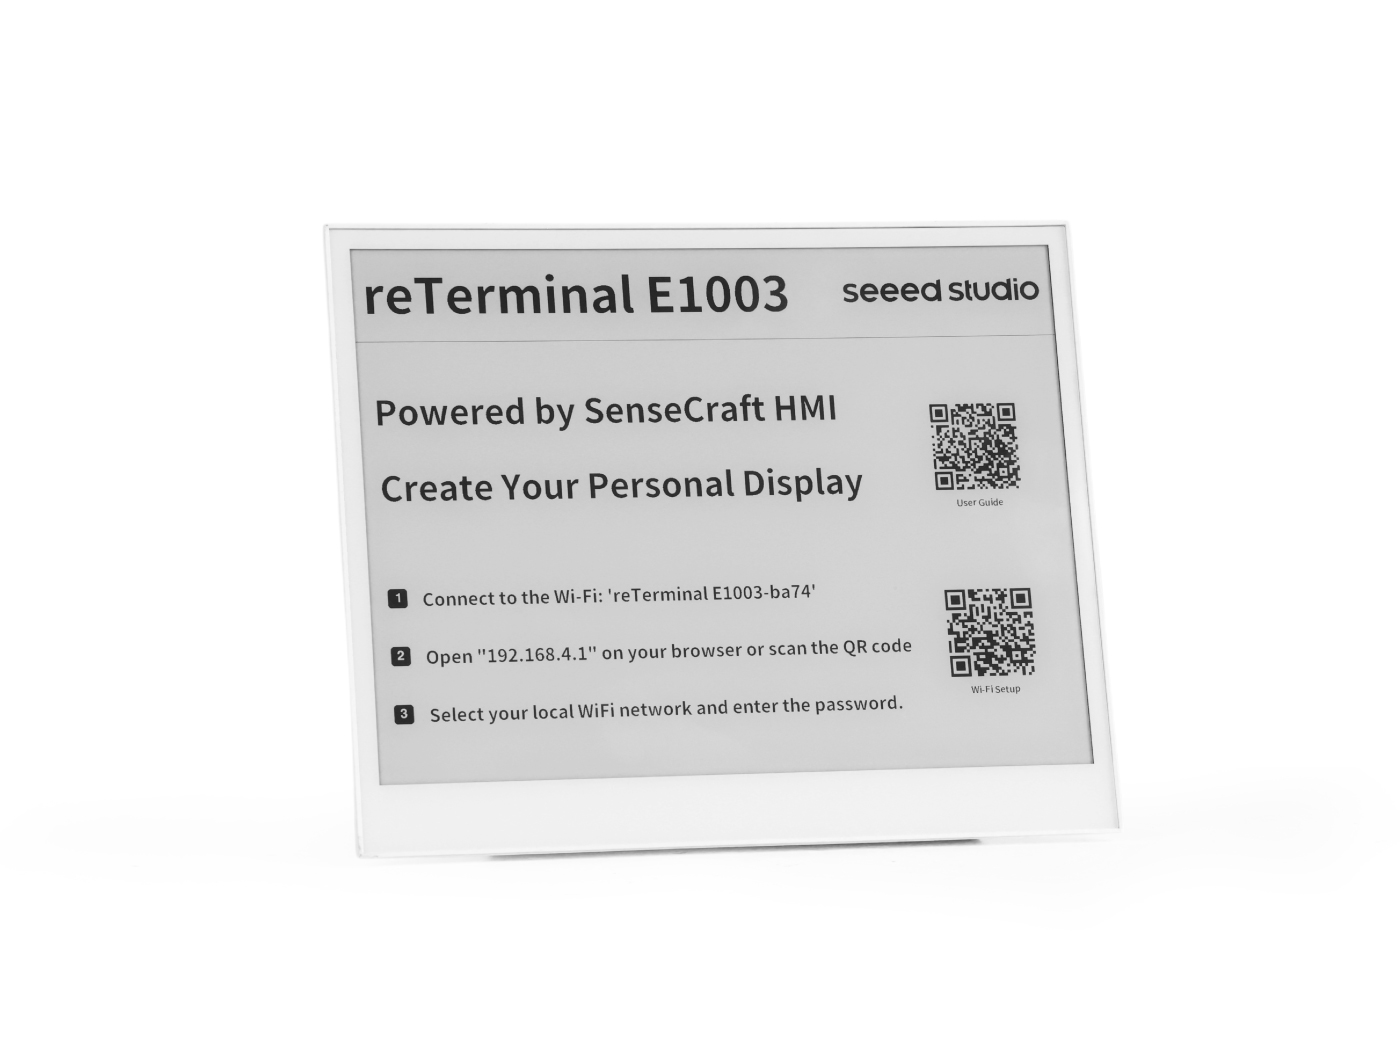 | 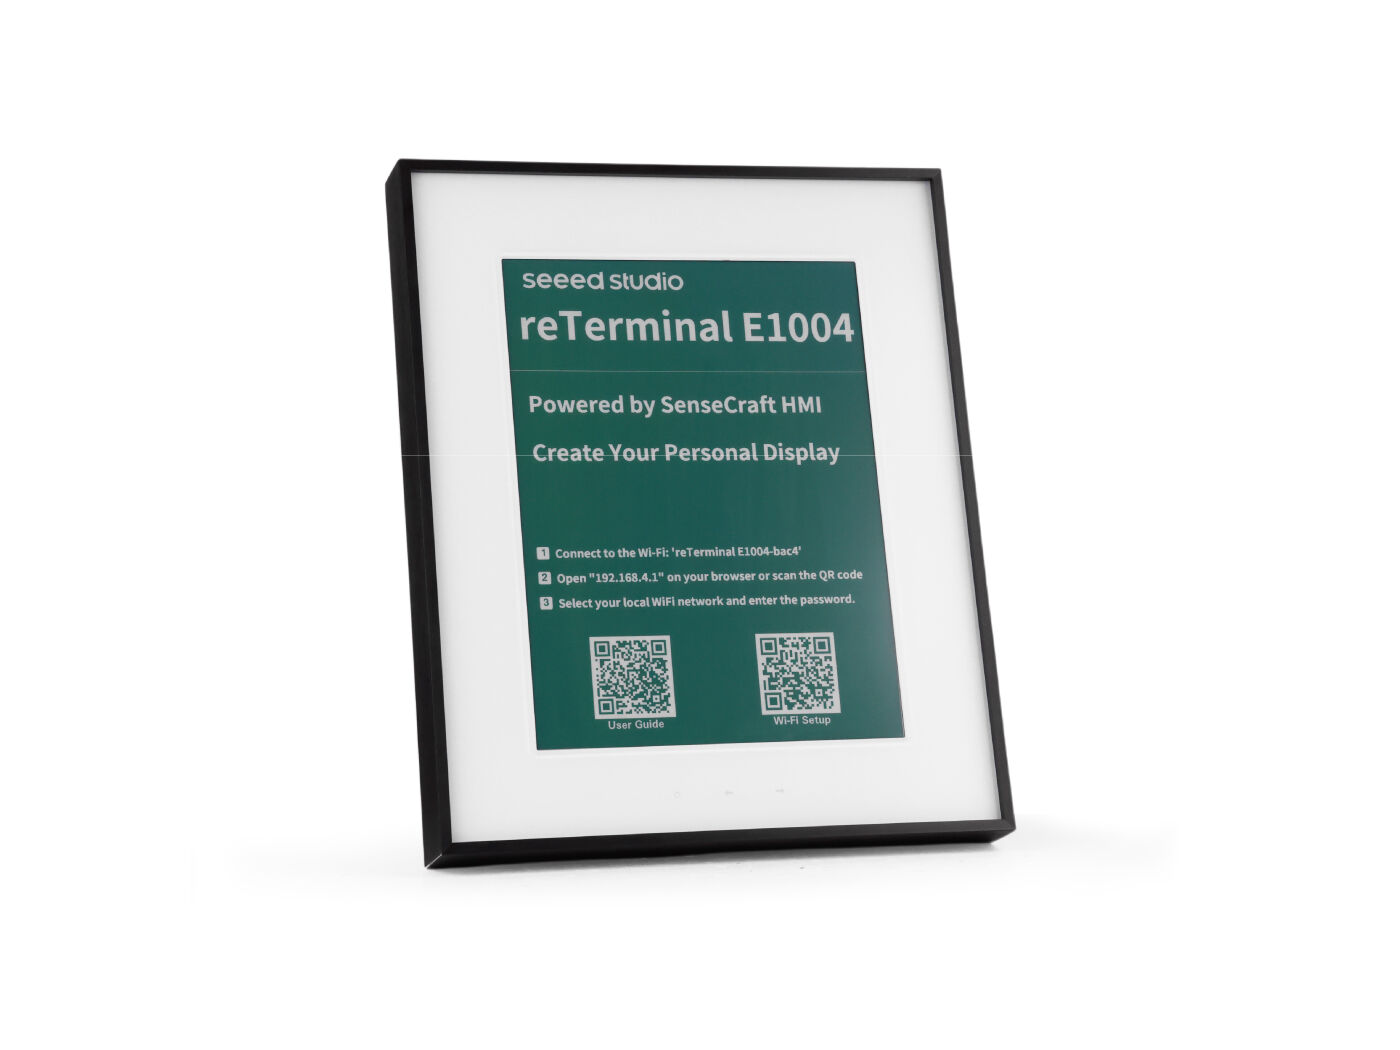 |
| 10.3" monochrome ePaper 1872 x 1404 | 13.3" Spectra 6 color ePaper 1200 x 1600 |
How the Project Works
This example has two main parts:
- LVGL creates the UI objects, such as labels, cards, and bars.
- Seeed_GFX initializes the ePaper display, receives the rendered pixels, and refreshes the physical panel.
The project keeps those two parts in separate files:
| File | Purpose |
|---|---|
platformio.ini | Defines the PlatformIO board, libraries, build flags, and hardware environments. |
include/driver.h | Selects the correct Seeed_GFX driver file for the active hardware target. |
include/driver_e1001.h to include/driver_e1004.h | Stores the Seeed_GFX board-screen combination for each reTerminal E Series model. |
include/lv_conf.h | Configures LVGL features, color depth, and fonts. |
src/main.cpp | Initializes Arduino, Seeed_GFX, LVGL, the display buffer, and the ePaper refresh flow. |
src/ui_status_panel.cpp | Creates the LVGL status panel layout. |
Step 1: Install PlatformIO
This guide uses PlatformIO as the project workflow. PlatformIO keeps the board configuration, libraries, and source files together in one folder, which makes the LVGL project easier to build and maintain.
If PlatformIO is not installed yet, follow the setup steps in Work with PlatformIO, then return to this guide.
After installation, open Visual Studio Code. You should see the PlatformIO icon in the left activity bar.
Step 2: Download the Example Project
The LVGL ePaper status panel example is available in the official reTerminal E Series repository:
Download the repository to your computer, then open this folder:
OSHW-reTerminal-Series-E-D/examples/official/LVGLePaperStatusPanel
The example project contains these main files:
| File | What it Does |
|---|---|
platformio.ini | Defines the PlatformIO environments for E1001, E1002, E1003, and E1004. |
include/driver.h | Selects the correct ePaper driver configuration for the active build environment. |
include/lv_conf.h | Configures the LVGL features and fonts used by this demo. |
src/main.cpp | Initializes the display, LVGL, the render buffer, and the ePaper refresh flow. |
src/ui_status_panel.cpp | Creates the status panel UI shown on the ePaper display. |
Step 3: Open the Project in PlatformIO
Step 1. Open Visual Studio Code.
Step 2. Click the PlatformIO icon in the left activity bar.
Step 3. Click PIO Home > Open.
Step 4. Click Open Project.
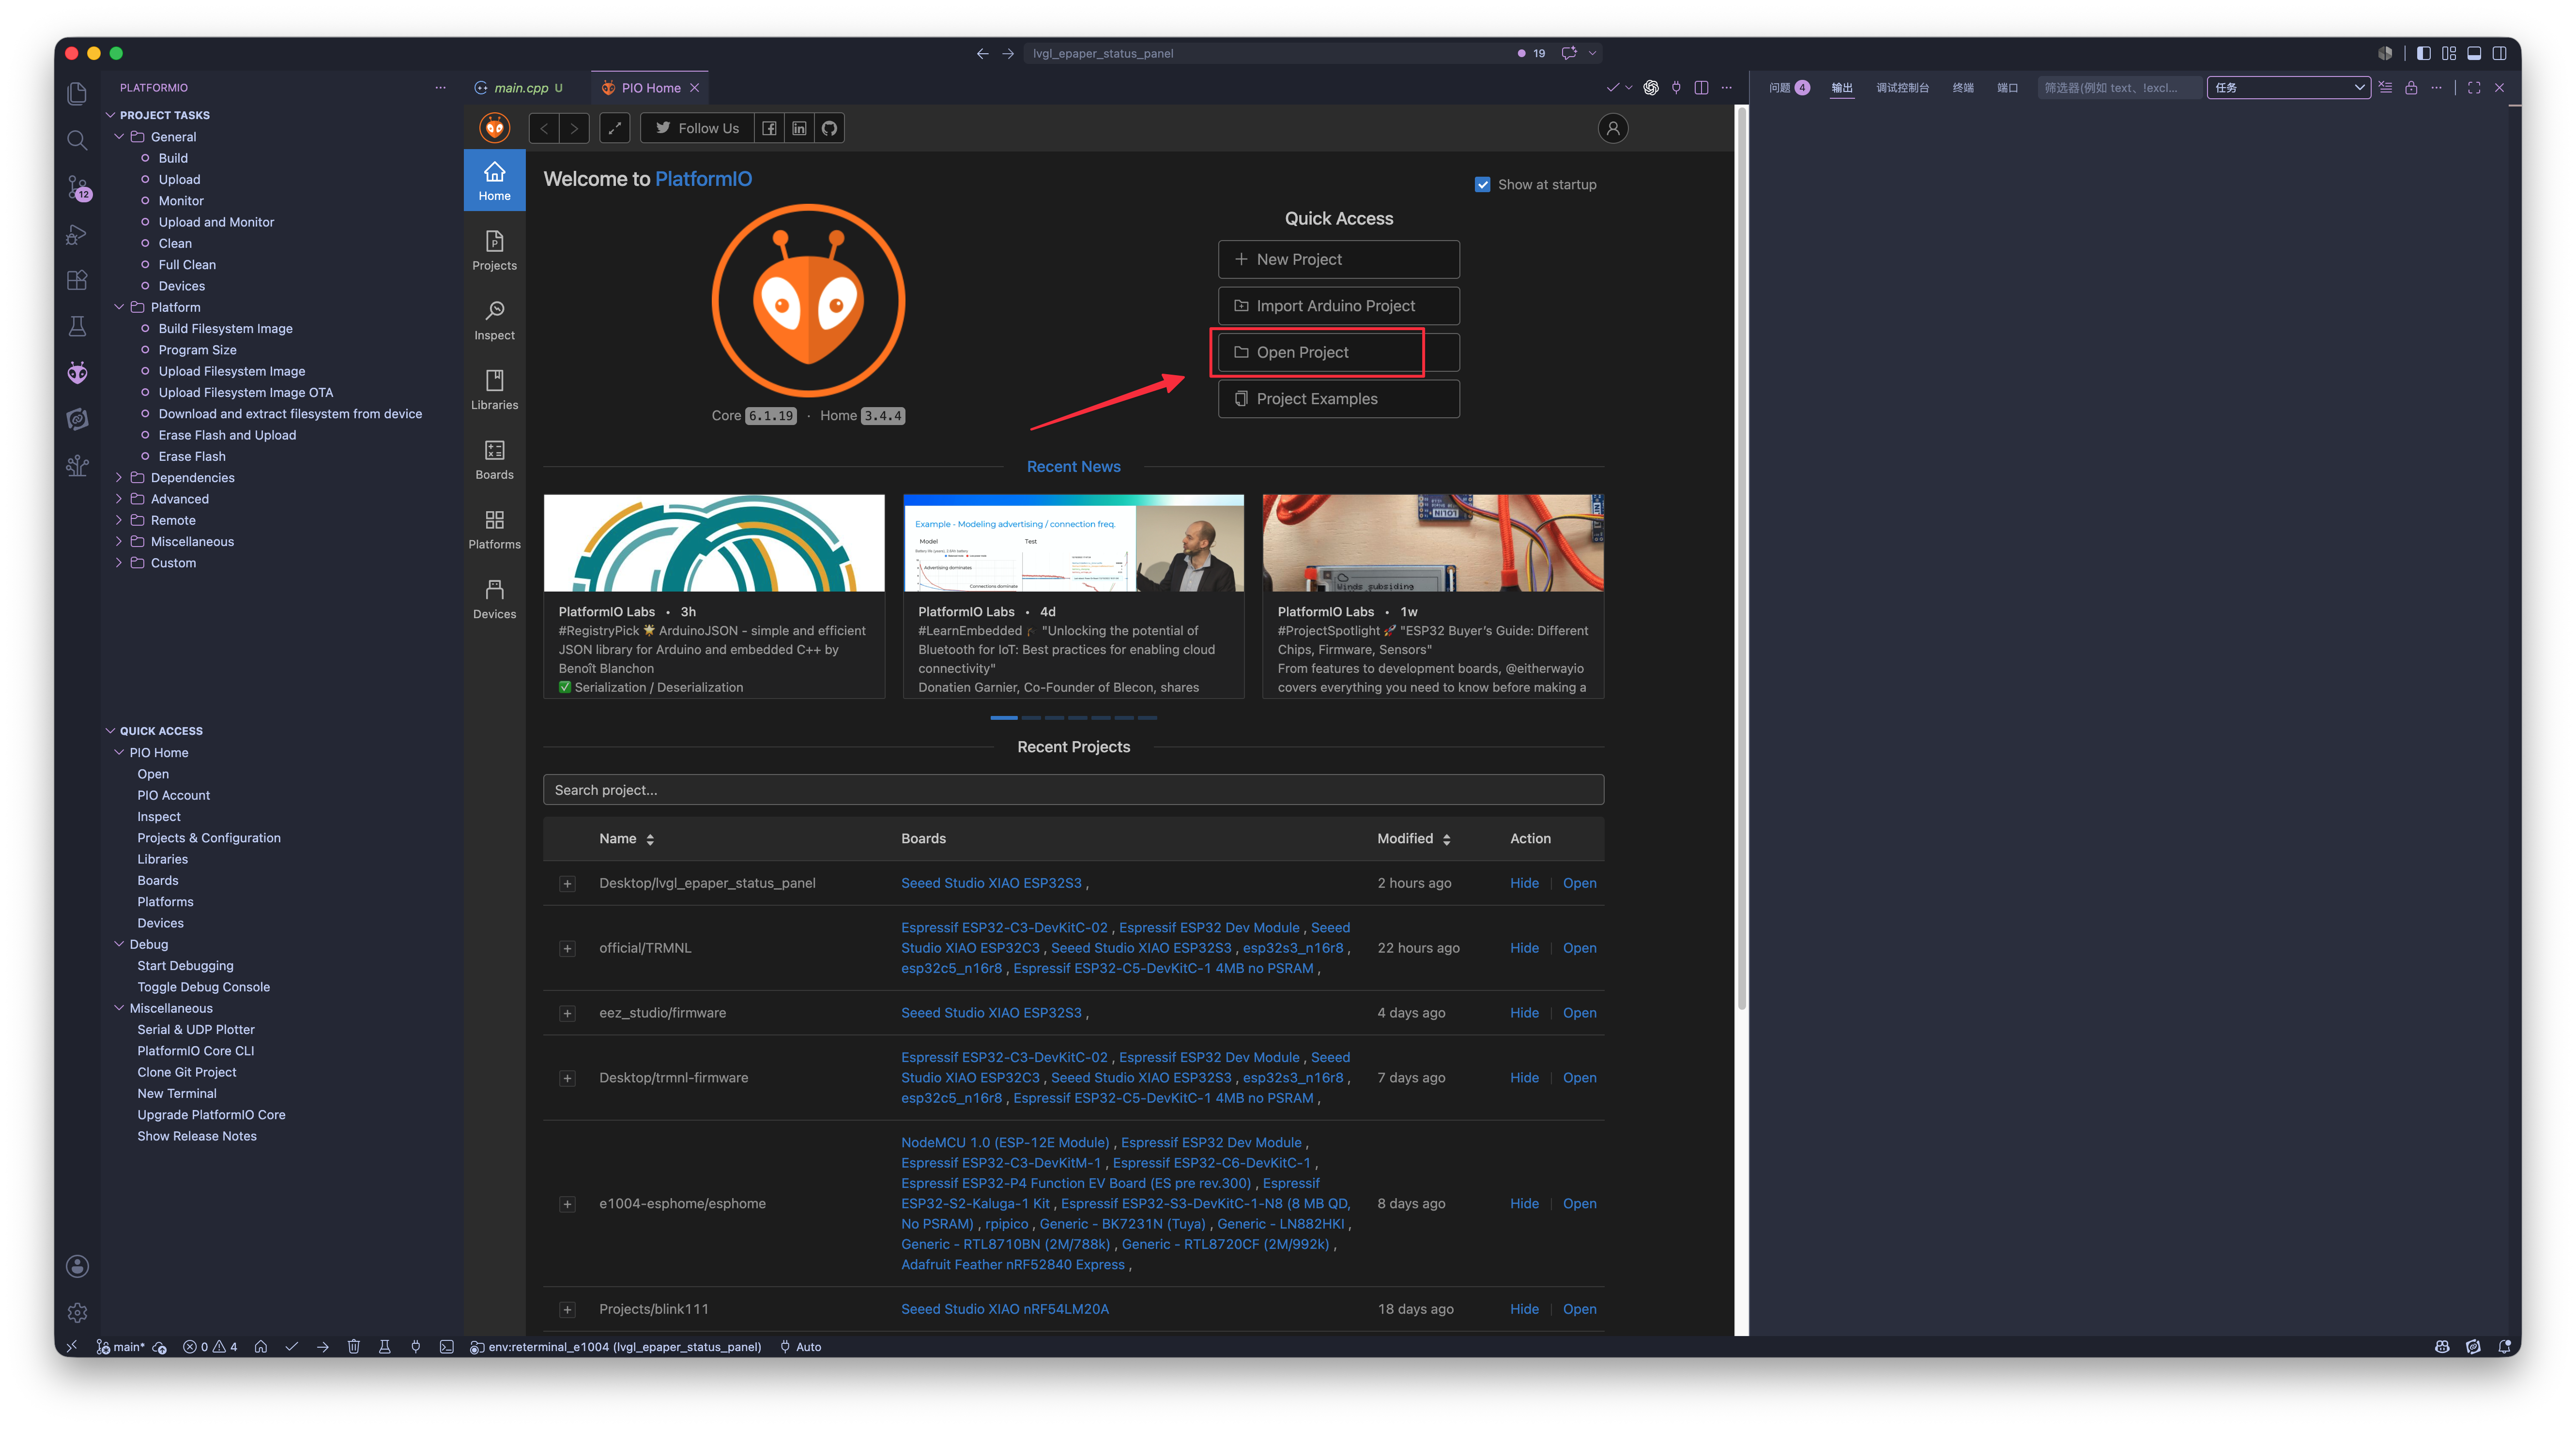
Step 5. Select the LVGLePaperStatusPanel folder.
Step 6. Wait for PlatformIO to load the project and install the required libraries.
Step 4: Select the Hardware Environment
Open platformio.ini in the project root. The default environment is reterminal_e1001.
[platformio]
default_envs = reterminal_e1001
For E1001, you can keep the default setting. For other devices, change default_envs to the matching environment:
| Device | PlatformIO Environment |
|---|---|
| reTerminal E1001 | reterminal_e1001 |
| reTerminal E1002 | reterminal_e1002 |
| reTerminal E1003 | reterminal_e1003 |
| reTerminal E1004 | reterminal_e1004 |
You can also build a specific environment from the PlatformIO terminal without changing default_envs.
Step 5: Build and Upload the Demo
Connect the reTerminal E Series device to your computer with a USB cable.
To build the default E1001 firmware, run:
pio run
To build a specific target, add -e and the environment name. For example:
pio run -e reterminal_e1001
To upload the firmware to the device, run:
pio run -e reterminal_e1001 --target upload
After uploading, open the serial monitor:
pio device monitor -b 115200
When the demo starts correctly, the serial monitor shows:
Seeed ePaper LVGL status panel starting.
LVGL status panel rendered.
The ePaper display refreshes once and shows the LVGL status panel.
Step 6: Customize and Learn from the LVGL UI
After the demo runs successfully, you can start modifying it as a small LVGL learning project. The two most important files are:
| File | Start Here When You Want To |
|---|---|
src/main.cpp | Change the values passed into the UI, such as device status, network status, and battery percentage. |
src/ui_status_panel.cpp | Change the screen title, card layout, fonts, colors, labels, and LVGL widgets. |
Change the displayed values
Open src/main.cpp and find this line inside setup():
ui_status_panel_set_status("Ready", "Wi-Fi Standby", 76);
This function updates the three dynamic values on the screen:
| Parameter | Meaning | Example |
|---|---|---|
status | The device status text shown in the Device card. | "Ready" |
network | The network status text shown in the Network card. | "Wi-Fi Standby" |
battery_percent | The battery bar value. The function keeps it within 0 to 100. | 76 |
For example, change it to:
ui_status_panel_set_status("Online", "Wi-Fi Connected", 95);
Then build and upload the project again:
pio run -e reterminal_e1001 --target upload
Change the title and card names
Open src/ui_status_panel.cpp. The main title is created in ui_status_panel_create():
lv_label_set_text(title, "Seeed ePaper LVGL Panel");
You can change the title text:
lv_label_set_text(title, "My First LVGL Dashboard");
Each card is created with create_card(). For example:
lv_obj_t *status_card = create_card(screen, "Device", status_x, status_y, status_w, status_h, lv_palette_main(LV_PALETTE_RED));
lv_obj_t *network_card = create_card(screen, "Network", network_x, network_y, network_w, network_h, lv_palette_main(LV_PALETTE_BLUE));
lv_obj_t *battery_card = create_card(screen, "Battery Demo", battery_x, battery_y, battery_w, battery_h, lv_palette_main(LV_PALETTE_GREEN));
The second parameter is the card title. You can change "Device", "Network", and "Battery Demo" to match your own application.
Change the colors
The demo uses LVGL palette colors:
lv_palette_main(LV_PALETTE_RED)
lv_palette_main(LV_PALETTE_BLUE)
lv_palette_main(LV_PALETTE_GREEN)
For color ePaper models such as reTerminal E1002 and reTerminal E1004, src/main.cpp maps LVGL colors to the ePaper color palette. The example palette includes white, black, red, yellow, green, and blue.
For monochrome ePaper models such as reTerminal E1001 and reTerminal E1003, the same UI is converted to black and white by brightness. Darker colors become black, and lighter colors become white.
This means you can use the same LVGL UI code across all four devices, while the display driver converts the final pixels for the selected hardware.
Change the layout
The demo uses EPAPER_LVGL_HOR_RES and EPAPER_LVGL_VER_RES from platformio.ini to decide the screen size. In src/ui_status_panel.cpp, these values are used here:
const int32_t screen_width = EPAPER_LVGL_HOR_RES;
const int32_t screen_height = EPAPER_LVGL_VER_RES;
const bool is_landscape = screen_width >= screen_height;
The layout then chooses a landscape layout for wider screens and a vertical layout for taller screens. This is why the same example can run on both 800 x 480 devices and larger ePaper panels.
For a simple first change, adjust the spacing values:
const int32_t margin = max_i32(32, screen_width / 20);
const int32_t gap = max_i32(20, screen_width / 40);
Increasing margin leaves more empty space around the screen edges. Increasing gap leaves more space between cards.
Add your own data
The battery value in this demo is sample UI data, so the screen shows it as a demo value. To connect real application data, keep the UI function and pass your own values into it:
int battery_percent = 88;
ui_status_panel_set_status("Running", "Wi-Fi Connected", battery_percent);
For ePaper projects, a practical workflow is:
Step 1. Read or calculate the latest data in your application.
Step 2. Pass the new values into ui_status_panel_set_status().
Step 3. Refresh the ePaper display when the content needs to change.
The demo renders once in setup() because the screen content is static. For applications such as a sensor dashboard, calendar, or status monitor, you can update the values and refresh the panel when the displayed data changes.
Resources
- [Docs] LVGL Documentation
- [GitHub] LVGL
- [GitHub] Seeed_GFX Library
- [GitHub] LVGL ePaper Status Panel Example
- [Tool] reTerminal E-Series Firmware Hub
- [Wiki] Work with PlatformIO
Tech Support & Product Discussion
Thank you for choosing our products! We are here to provide you with different support to ensure that your experience with our products is as smooth as possible. We offer several communication channels to cater to different preferences and needs.