Usando Wio Terminal como un Dispositivo USB MIDI
Este repositorio presenta cómo usar el Wio Terminal como un dispositivo USB MIDI (Interfaz Digital de Instrumentos Musicales), donde puede ser usado para controlar instrumentos musicales!

Instalando Librerías
Este ejemplo también requiere librerías adicionales de Arduino MIDI:
-
Visita los repositorios de Arduino MIDI Library y descarga todo el repositorio a tu unidad local.
-
Ahora, la librería puede ser instalada en el Arduino IDE. Abre el Arduino IDE, y haz clic en
sketch->Include Library->Add .ZIP Library, y elige el archivoSeeed_Arduino_LCDque acabas de descargar.

Obteniendo Resultados
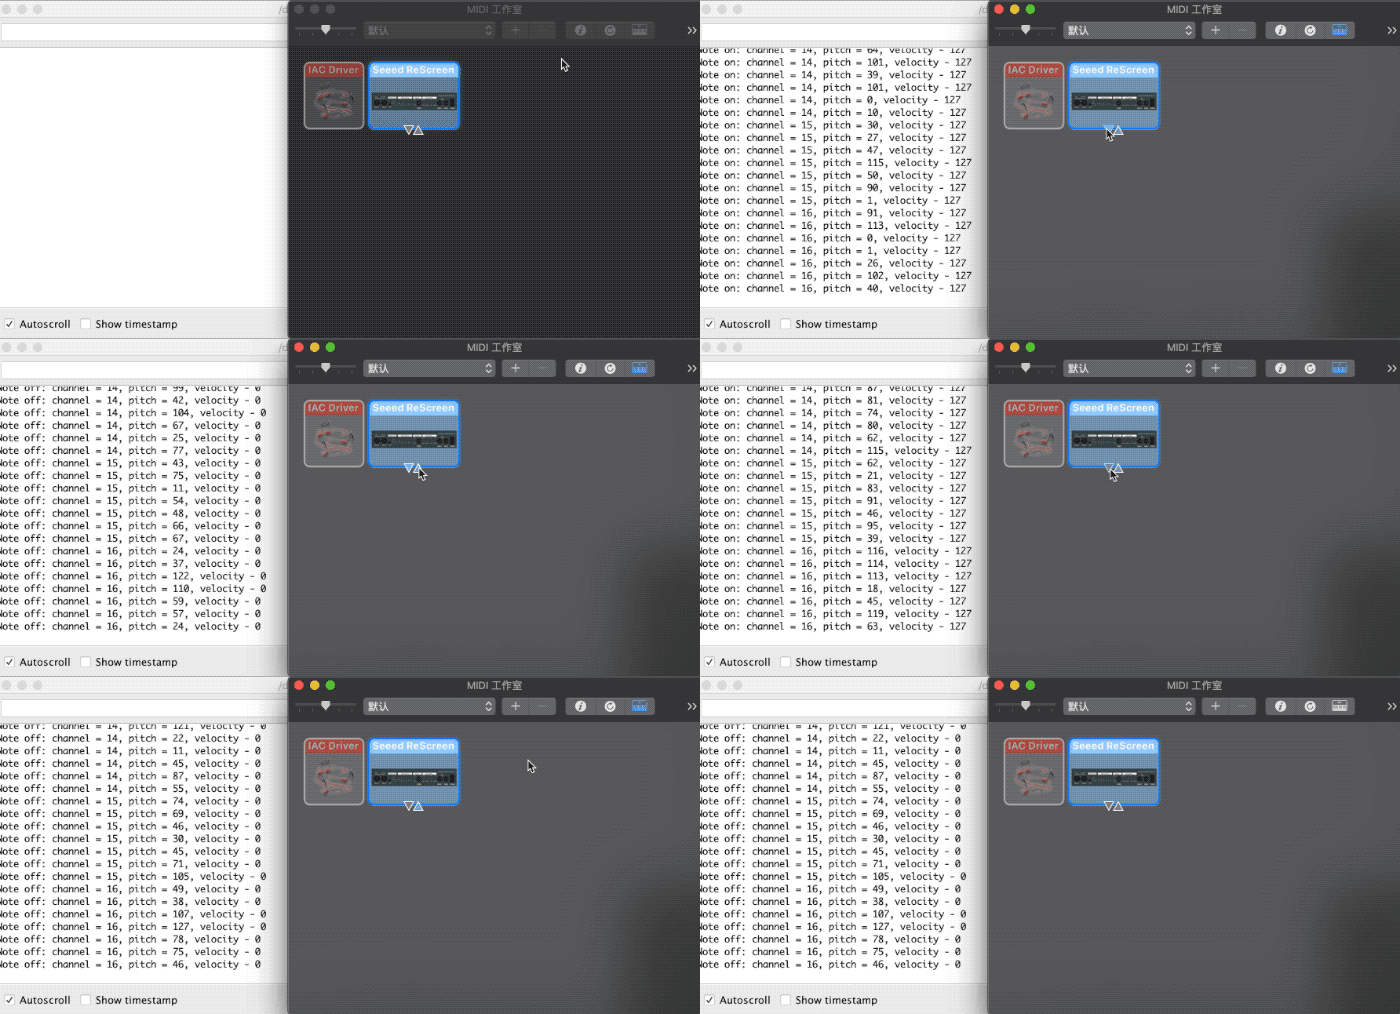
En este caso, Wio Terminal está conectado a mi Macbook y uso la aplicación Audio MIDI Setup que viene con macOS para probar. También puedes ver los datos seriales desde el monitor serial en Arduino IDE. Si tienes un dispositivo MIDI disponible, entonces úsalo en su lugar para un escenario más realista!
Código Completo
Para más funcionalidad, por favor consulta las librerías TinyUSB.
#include <Arduino.h>
#include <Adafruit_TinyUSB.h>
#include <MIDI.h>

// USB MIDI object
Adafruit_USBD_MIDI usb_midi;

// Create a new instance of the Arduino MIDI Library,
// and attach usb_midi as the transport.
MIDI_CREATE_INSTANCE(Adafruit_USBD_MIDI, usb_midi, MIDI);

// Variable that holds the current position in the sequence.
uint32_t position = 0;

// Store example melody as an array of note values
byte note_sequence[] = {
  74,78,81,86,90,93,98,102,57,61,66,69,73,78,81,85,88,92,97,100,97,92,88,85,81,78,
  74,69,66,62,57,62,66,69,74,78,81,86,90,93,97,102,97,93,90,85,81,78,73,68,64,61,
  56,61,64,68,74,78,81,86,90,93,98,102
};

void setup()
{
  pinMode(LED_BUILTIN, OUTPUT);

  // Initialize MIDI, and listen to all MIDI channels
  // This will also call usb_midi's begin()
  MIDI.begin(MIDI_CHANNEL_OMNI);

  // Attach the handleNoteOn function to the MIDI Library. It will
  // be called whenever the Bluefruit receives MIDI Note On messages.
  MIDI.setHandleNoteOn(handleNoteOn);

  // Do the same for MIDI Note Off messages.
  MIDI.setHandleNoteOff(handleNoteOff);

  Serial.begin(115200);

  // wait until device mounted
  while( !USBDevice.mounted() ) delay(1);
}

void loop()
{
  static uint32_t start_ms = 0;
  if ( millis() - start_ms > 266 )
  {
    start_ms += 266;

    // Setup variables for the current and previous
    // positions in the note sequence.
    int previous = position - 1;

    // If we currently are at position 0, set the
    // previous position to the last note in the sequence.
    if (previous < 0) {
      previous = sizeof(note_sequence) - 1;
    }

    // Send Note On for current position at full velocity (127) on channel 1.
    MIDI.sendNoteOn(note_sequence[position], 127, 1);

    // Send Note Off for previous note.
    MIDI.sendNoteOff(note_sequence[previous], 0, 1);

    // Increment position
    position++;

    // If we are at the end of the sequence, start over.
    if (position >= sizeof(note_sequence)) {
      position = 0;
    }
  }

  // read any new MIDI messages
  MIDI.read();
}

void handleNoteOn(byte channel, byte pitch, byte velocity)
{
  // Log when a note is pressed.
  Serial.printf("Note on: channel = %d, pitch = %d, velocity - %d", channel, pitch, velocity);
  Serial.println();
}

void handleNoteOff(byte channel, byte pitch, byte velocity)
{
  // Log when a note is released.
  Serial.printf("Note off: channel = %d, pitch = %d, velocity - %d", channel, pitch, velocity);
  Serial.println();
}