🤖 Fine-tune GR00T N1.6 for LeRobot SO-101 Arm and Deploy on AGX Orin
🚀 Introduction
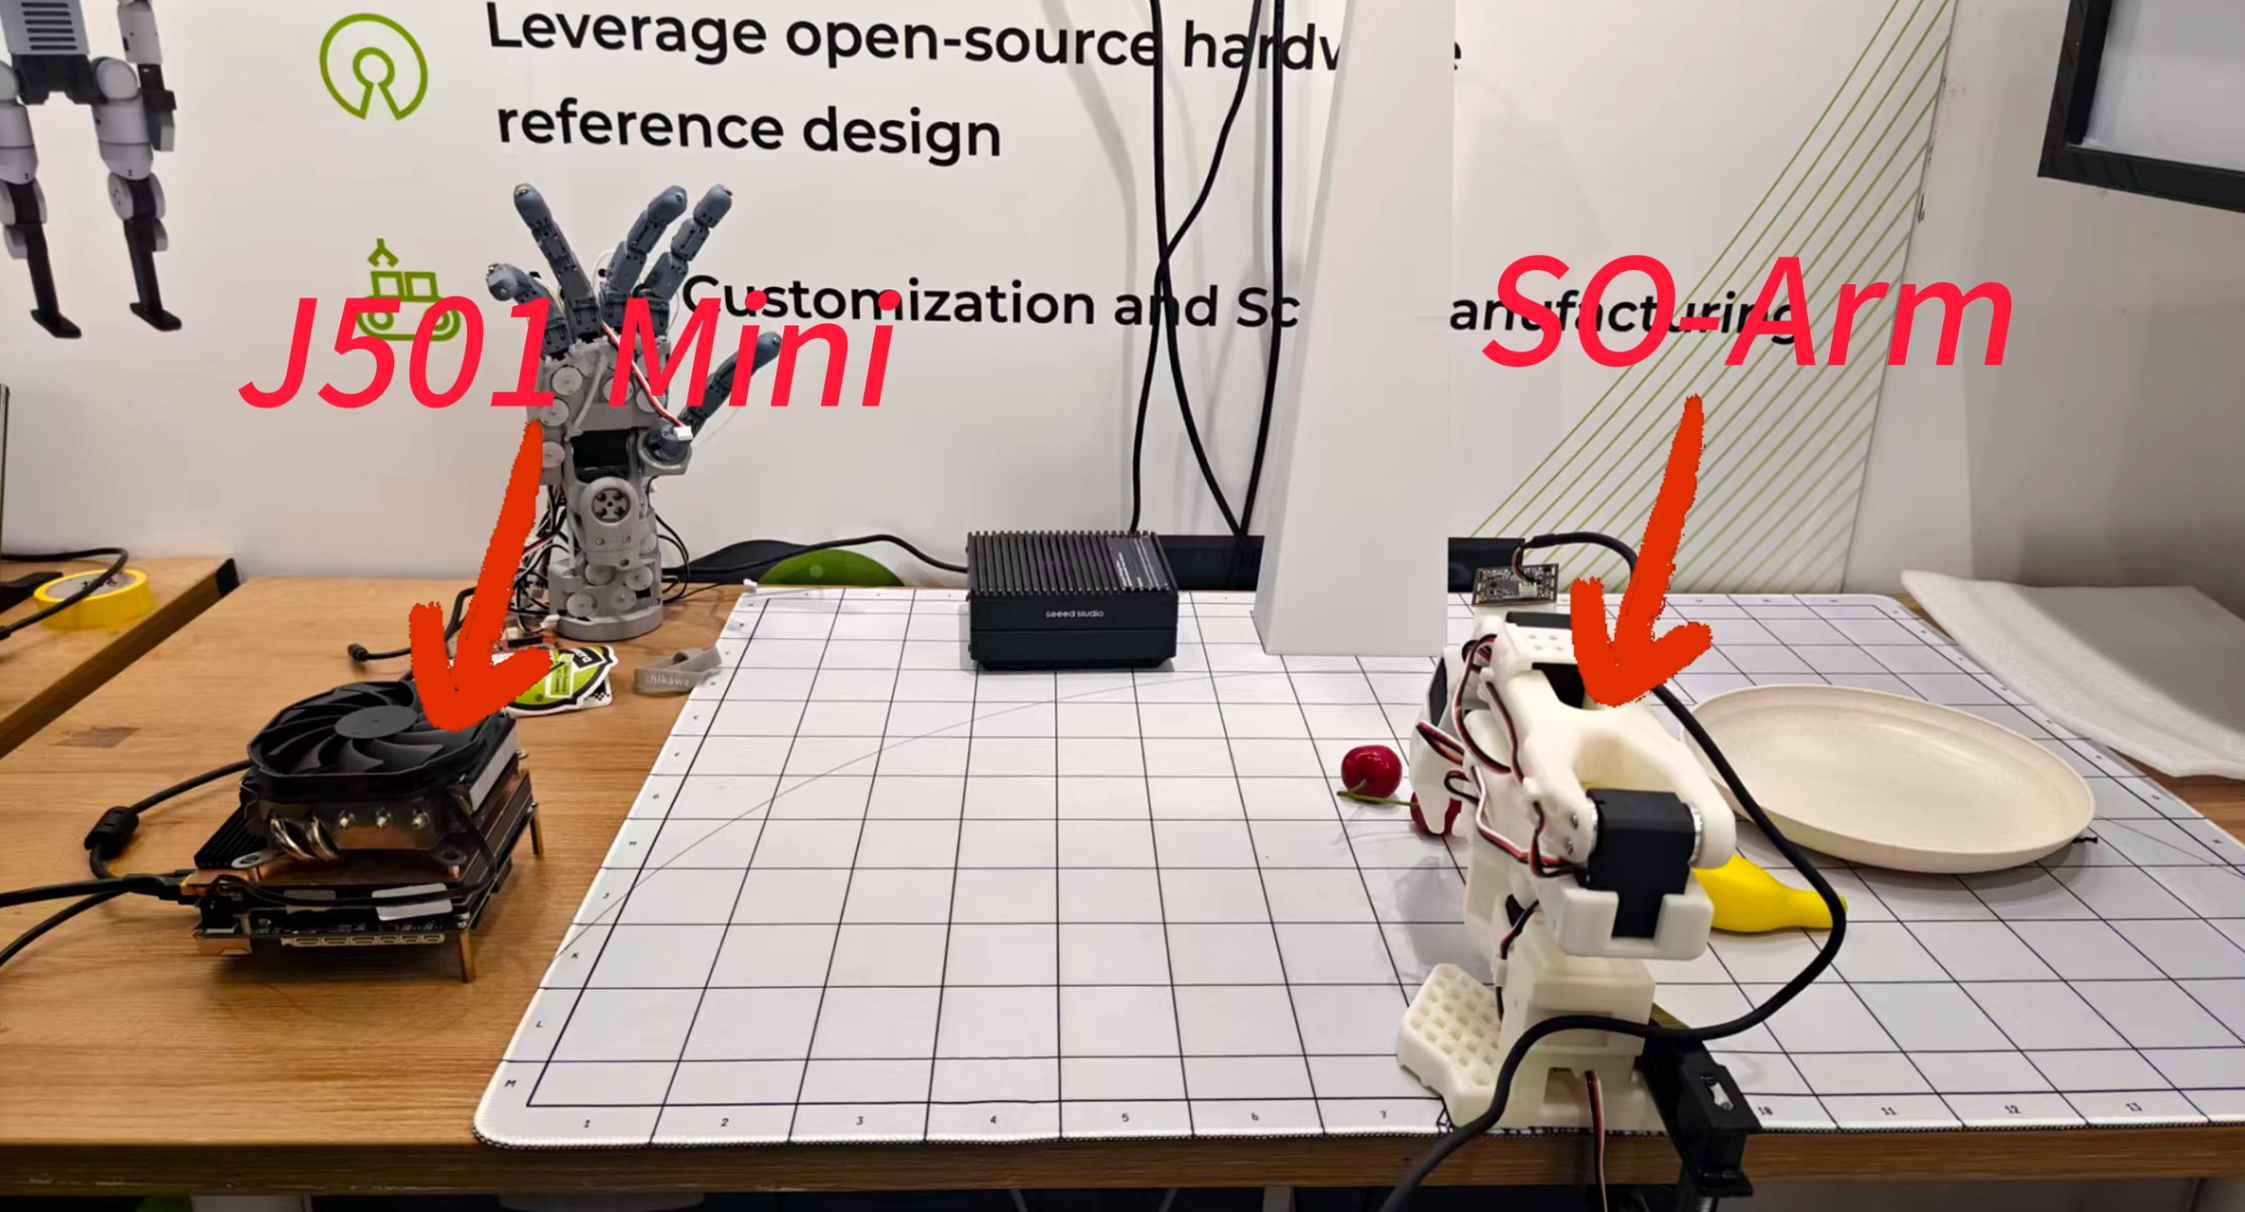
This wiki explains how to fine-tune NVIDIA Isaac GR00T N1.6 for the LeRobot SO-101 arm and deploy it on AGX Orin 64G. You can purchase the AGX Orin carrier board and SO-ARM robotic arm used in this wiki from the links below:

- 🔧 Hardware preparation for LeRobot SO-101 and AGX Orin 64G
- 💻 Software environment setup for GR00T N1.6 on AGX Orin 64G
- 🎯 Using the LeRobot training platform: data collection, dataset formatting, and fine-tuning for the SO-101 arm
- 🚀 Example workflows for deploying the trained GR00T N1.6 policy (LeRobot + SO-101) on L20 (server-grade GPU)
- 🛠️ Troubleshooting tips and common pitfalls
📚 Detailed, step-by-step instructions and reference documentation are provided to help you go from initial setup to full deployment.
This wiki is based on the LeRobot project for data collection, then converts it to the dataset format supported by GR00T N1.6. In addition to AGX Orin, you'll need to prepare a device with more than 48GB of VRAM for fine-tuning the pre-trained model (server rental is recommended). Finally, you'll deploy the fine-tuned model on AGX Orin 64G for inference, achieving the task of grasping fruit from a plate.
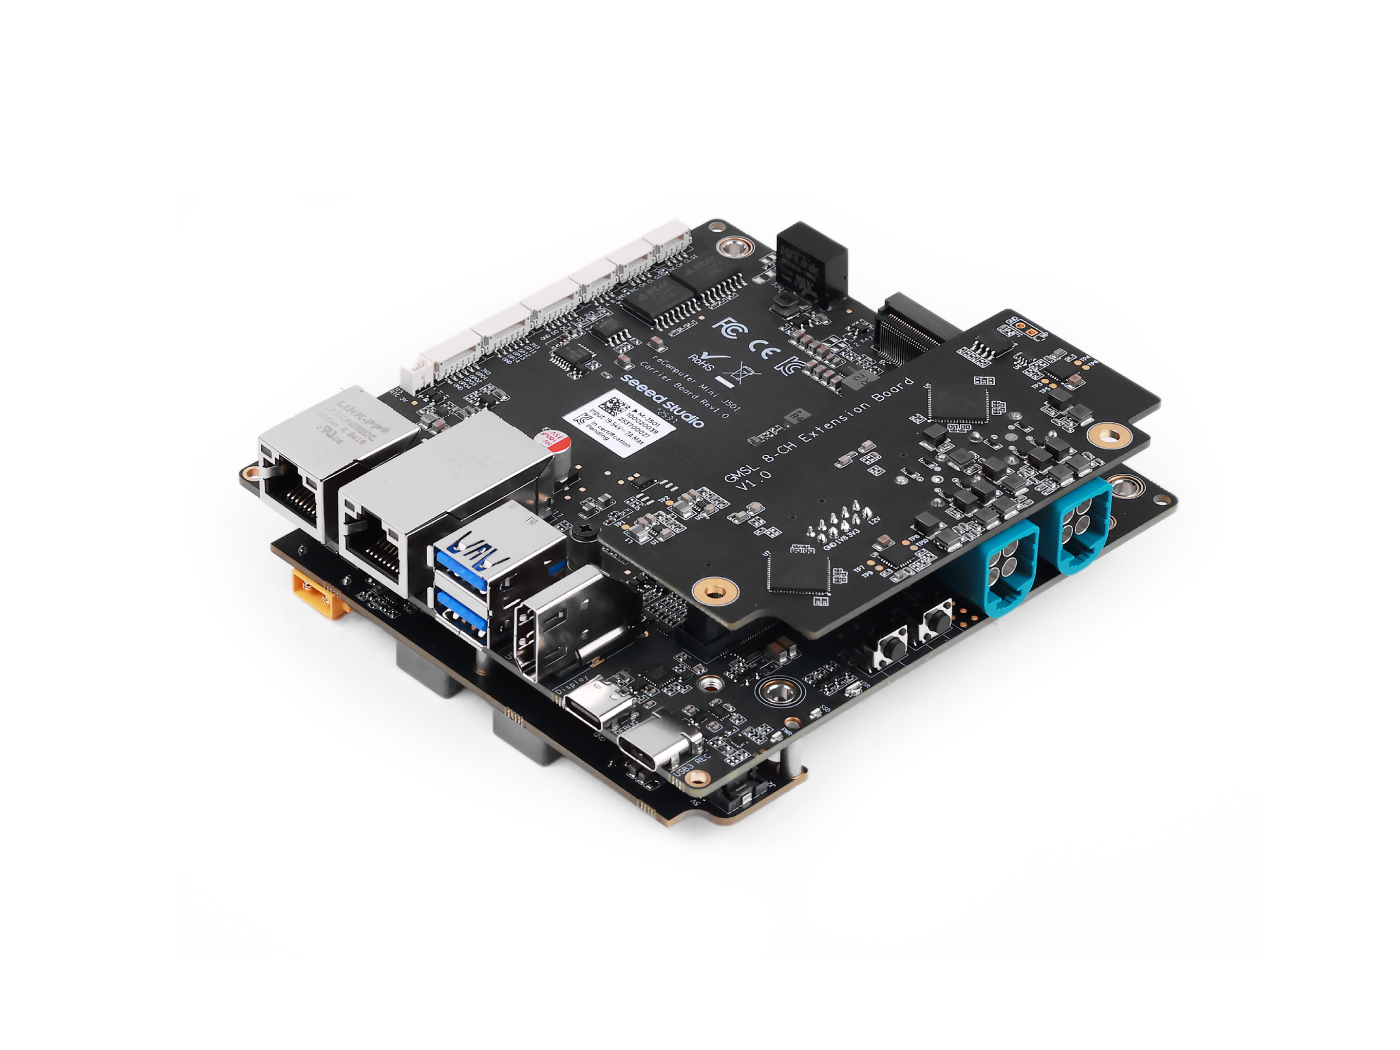
This wiki is based on JetPack 6.2 and uses the AGX Orin 64GB module.
🛠️ Setting up GR00T N1.6 Environment
Setting up the GR00T N1.6 environment on AGX Orin and on x86 architecture servers follows a similar process, but Jetson requires some dependencies to be installed manually.
🔧 Environment Setup on AGX Orin
Clone the GR00T N1.6 source code and complete the directory structure:
git clone https://github.com/NVIDIA/Isaac-GR00T.git
cd Isaac-GR00T
git checkout d483f00b1c13116bda020bead9d16dca497b2f6d
git submodule update --init --recursive
Stay in the Isaac-GR00T directory to create a virtual environment and install dependencies:
cd Isaac-GR00T

# Create virtual environment
uv venv .venv --python python3.10
source .venv/bin/activate

# Install LeRobot related dependencies
cd gr00t/eval/real_robot/SO100
uv pip install -e . --verbose
uv pip install --no-deps -e ../../../../
Download the pre-compiled wheel files to AGX Orin. These need to be installed manually. Click the links below to download:
📦 Required Wheel Files:
- PyTorch: Click for download
- TorchVision: Click for download
- Flash-Attention: Click for download
- TorchCodec: Click for download
- Triton: Click for download
For more wheel files for Jetson, you can download from:
🔗 https://pypi.jetson-ai-lab.io/jp6/cu126
After downloading the .whl files, activate the virtual environment and install them via pip:
source .venv/bin/activate

pip install xxxx.whl

# For example:
# pip install torch-2.8.0a0+gitba56102-cp310-cp310-linux_aarch64.whl
flash-attn and torchvision must be installed after pytorch
Return to the source code working directory and complete the final dependency installation:
cd Isaac-GR00T
source .venv/bin/activate
pip install -e .[base]

# We recommend using ffmpeg version 7.x
sudo apt update
sudo apt install ffmpeg
🖥️ Environment Setup on Fine-tuning Server
Clone the GR00T N1.6 source code and complete the directory structure:
git clone https://github.com/NVIDIA/Isaac-GR00T.git
cd Isaac-GR00T
git checkout d483f00b1c13116bda020bead9d16dca497b2f6d
git submodule update --init --recursive
Stay in the Isaac-GR00T directory to create a virtual environment and install dependencies:
cd Isaac-GR00T

# Create virtual environment
uv venv .venv --python python3.10
source .venv/bin/activate

# Install LeRobot related dependencies
cd gr00t/eval/real_robot/SO100
uv pip install -e . --verbose
uv pip install --no-deps -e ../../../../
Based on your server's CUDA version (the author uses CUDA 12.8), find the corresponding installation commands for GPU versions of torch 2.8 and torchvision 0.22.0 from the official PyTorch website:
🔗 Click here to find installation commands
Ensure the virtual environment is activated when installing dependencies:
source .venv/bin/activate

# For example
# pip install torch==2.7.0 torchvision==0.22.0 torchaudio==2.7.0 --index-url https://download.pytorch.org/whl/cu128
flash-attn and torchvision must be installed after pytorch
Return to the source code working directory and complete the final dependency installation:
cd Isaac-GR00T
source .venv/bin/activate
pip install --no-build-isolation flash-attn==2.8.2.post1
pip install -e .[base]
pip install torchcodec==0.4.0

# We recommend using ffmpeg version 7.x
sudo apt update
sudo apt install ffmpeg
📊 Data Collection Using the SO-ARM
For a detailed tutorial on data collection, please refer to the following link:
https://wiki.seeedstudio.com/lerobot_so100m_new/#record-the-dataset
This link contains a complete tutorial for the SO-ARM, covering configuration, assembly, calibration, data collection, training, and inference.
Data collection for the lerobot robotic arm can be performed either on a PC or directly on a Jetson device.
- Method 1: Collect data using Jetson
- Method 2: Collect data using an Ubuntu PC (recommended)
The data collection procedures are essentially the same for both methods.
LeRobot Environment Setup (Optional)
The development environment setup process for Lerobot can be found in the subsection of the following link:
🔗 https://wiki.seeedstudio.com/lerobot_so100m_new/#install-lerobot
Configure the Motors
The motors on each joint of the SO-ARM need to be configured before assembly. The configuration steps can be found in the subsection of the following link:
🔗 https://wiki.seeedstudio.com/lerobot_so100m_new/#configure-the-motors
Assembly
The installation process of the SO-ARM’s master and follower arms can be found in the subsection of the following link:
🔗 https://wiki.seeedstudio.com/lerobot_so100m_new/#assembly
SO-ARM Calibration
After the SO-ARM has been fully assembled, calibration is required. Please refer to the subsection of the following link for the calibration procedure:
🔗 https://wiki.seeedstudio.com/lerobot_so100m_new/#calibrate
When calibrating the robotic arms, please do NOT connect any USB cameras, as this may cause port conflicts or incorrect port assignments.
After running the calibration script, manually move each joint of the robotic arm to ensure that it reaches its full range of motion! Failure to do so may result in a mismatch between the poses of the leader and follower arms during teleoperation.
Camera Setup
It is generally recommended to install one camera on the wrist/gripper of the robotic arm, and another camera on the desktop surface, to ensure proper coverage of the arm’s posture. The specific installation approach depends on your application scenario; the example shown below is for reference only.
For details, please refer to the subsection of the following link:
🔗 https://wiki.seeedstudio.com/lerobot_so100m_new/#add-cameras
Data Collection
For GR00T N1.6, the wrist camera parameter name should be wrist, and the third-person view camera parameter name should be front.
For example:
--robot.cameras="{ wrist: {type: opencv, index_or_path: 2, width: 640, height: 480, fps: 30}, front: {type: opencv, index_or_path: 6, width: 640, height: 480, fps: 30}}"
If you don't use these parameter names during data collection, you'll need to modify the parameter files and keywords in the source code during subsequent training and deployment processes.
After completing both the camera installation and the robotic arm calibration, the dataset collection procedure can be found in the subsection of the following link:
https://wiki.seeedstudio.com/lerobot_so100m_new/#record-the-dataset
Visualizing Collected Data
To visualize the data collected on the SO-ARM, please refer to the subsection of the following link:
🔗 https://wiki.seeedstudio.com/lerobot_so100m_new/#visualize-the-dataset
If you choose to train the policy in the cloud, make sure that your dataset is uploaded to the cloud server in advance, or downloaded from the Hugging Face Hub. However, due to potential network issues when downloading directly from the Hugging Face Hub, it is strongly recommended to manually upload the dataset to your cloud server.
🚀 Using L20 for Training Policies
The author chose NVIDIA's L20 GPU for fine-tuning the pre-trained model. You can also choose to rent other server-grade GPUs, but please ensure that the fine-tuning process has 48GB of available VRAM.
Dataset Format Conversion
First, you need to convert the training dataset collected in the previous section to the format used by GR00T N1.6. The author refers to this link for the process.
If you already have a dataset in the LeRobot v2 format, you can skip the dataset format conversion process.
If you have a dataset in the LeRobot v3.0 format, please use this script to convert it to the LeRobot v2 format.
If you have a dataset in another format, please convert it to the LeRobot v2 format satisfying the following requirements.
📁 Structure Requirements The folder should follow a similar structure as below and contain these core folders and files:
.
├─meta
│ ├─episodes.jsonl
│ ├─modality.json # -> GR00T LeRobot specific
│ ├─info.json
│ └─tasks.jsonl
├─videos
│ └─chunk-000
│   └─observation.images.ego_view
│     └─episode_000001.mp4
│     └─episode_000000.mp4
└─data
  └─chunk-000
    ├─episode_000001.parquet
    └─episode_000000.parquet
The dataset format conversion script is located in Isaac-GR00T/scripts/lerobot_conversion. Use the following command to convert the dataset format:
python convert_v3_to_v2.py --repo-id seeed/grap_fruit
--repo-id is the path to the source dataset for conversion.
If you're using the SO-ARM and the collected dataset is missing modality.json, you can find it in the demo_data directory:
🔗 https://github.com/NVIDIA/Isaac-GR00T/blob/main/demo_data/cube_to_bowl_5/meta/modality.json
Download Pre-trained Model
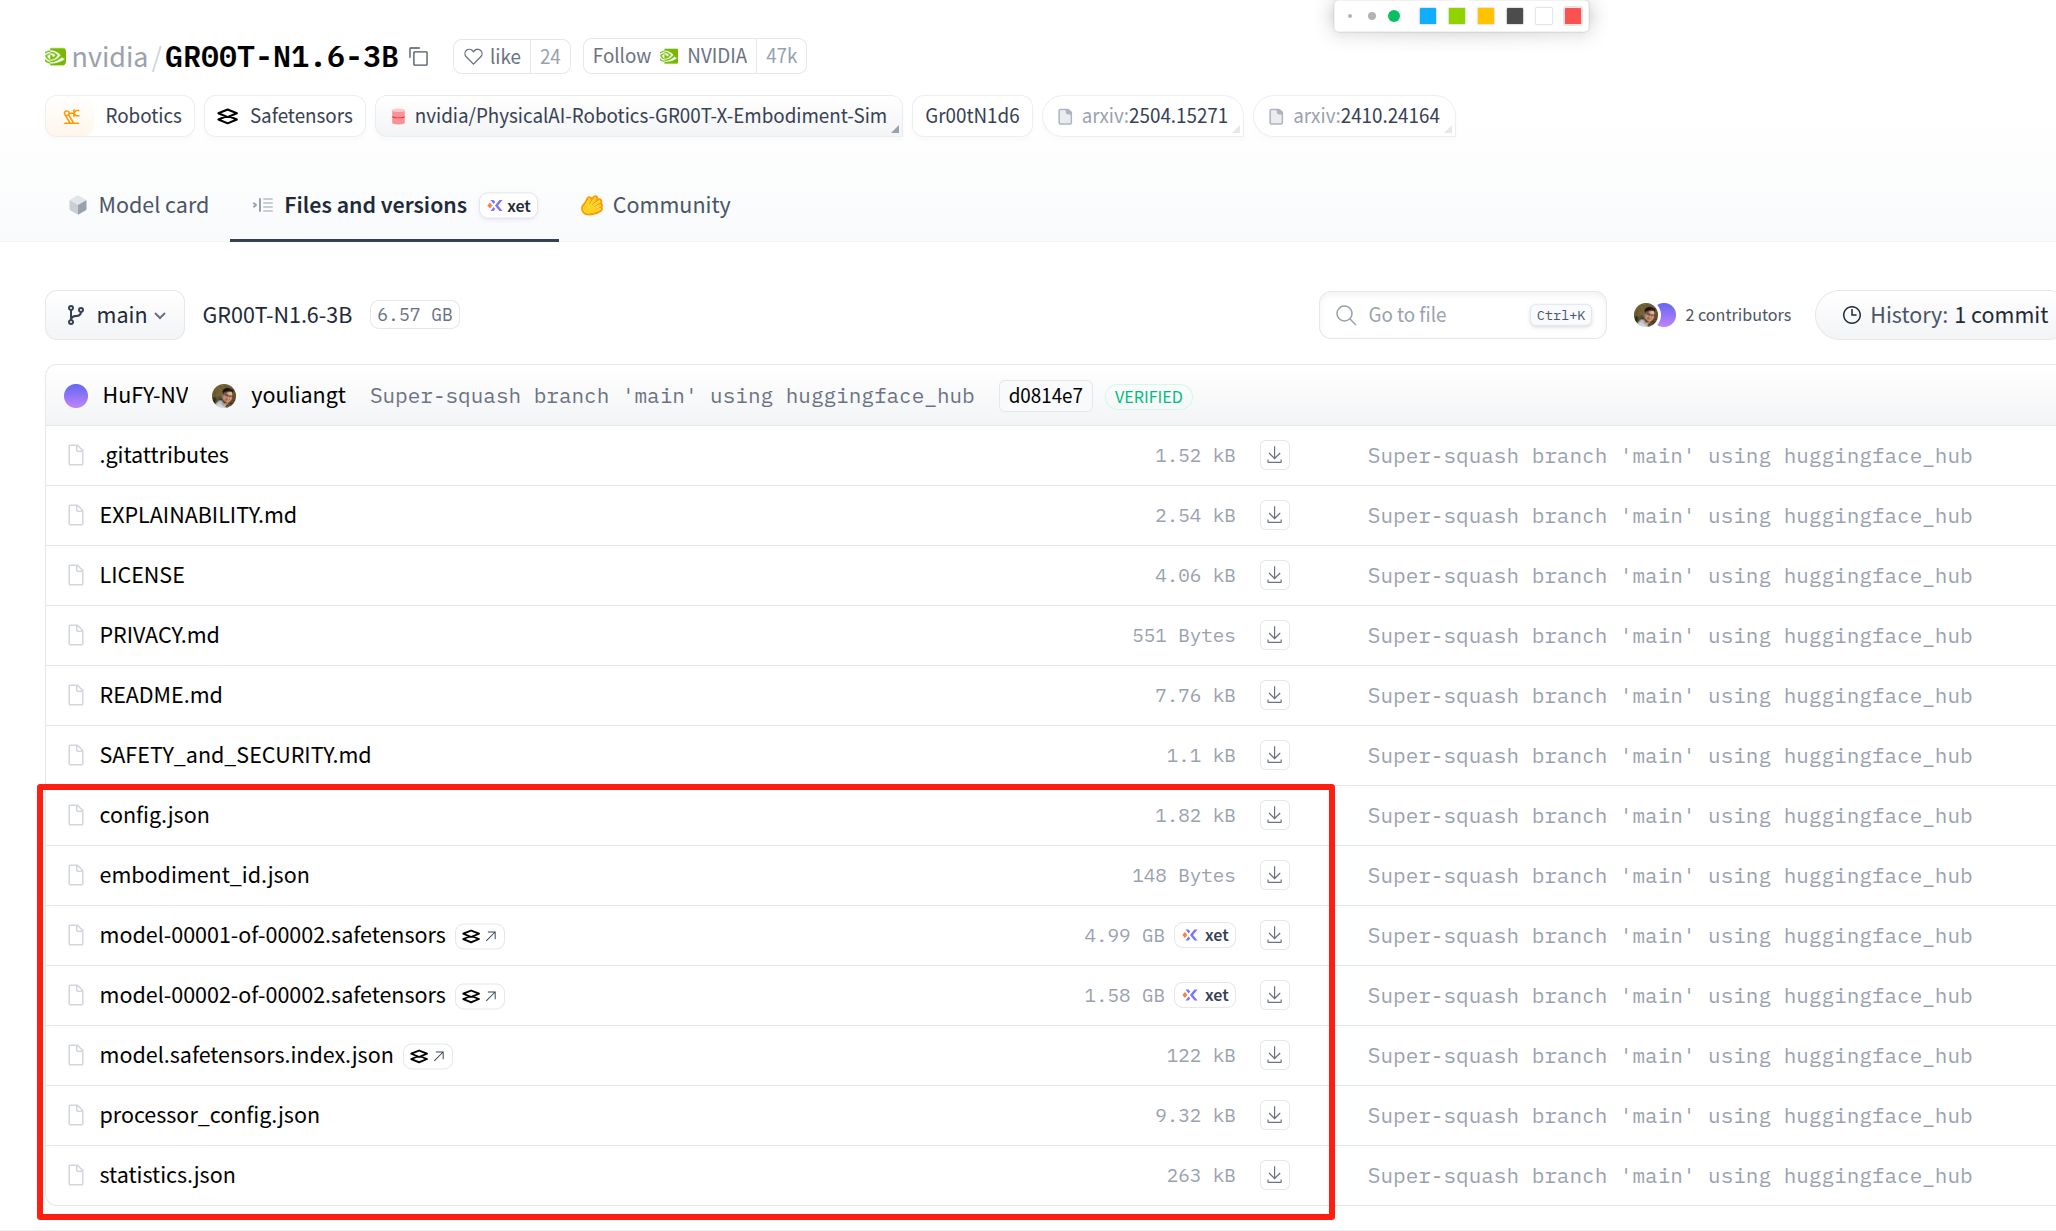
You can download the pre-trained model weights ( GR00T-N1.6-3B) from Hugging Face's official website. Download page: 🔗 https://huggingface.co/nvidia/GR00T-N1.6-3B
Select the content shown in the image below and click download. Place the downloaded files in the same folder.
Run Fine-tuning
We'll use gr00t/experiment/launch_finetune.py as the entry point. Ensure that the uv environment is enabled before launching. You can do this by running the command uv run bash <example_script_name>.
📋 View Available Arguments
# Display all available arguments
python gr00t/experiment/launch_finetune.py --help
🔧 Execute Fine-tuning
If you're using a single GPU for fine-tuning, you need to modify /Isaac-GR00T/gr00t/data/dataset/factory.py according to the red highlighted section in the image below:
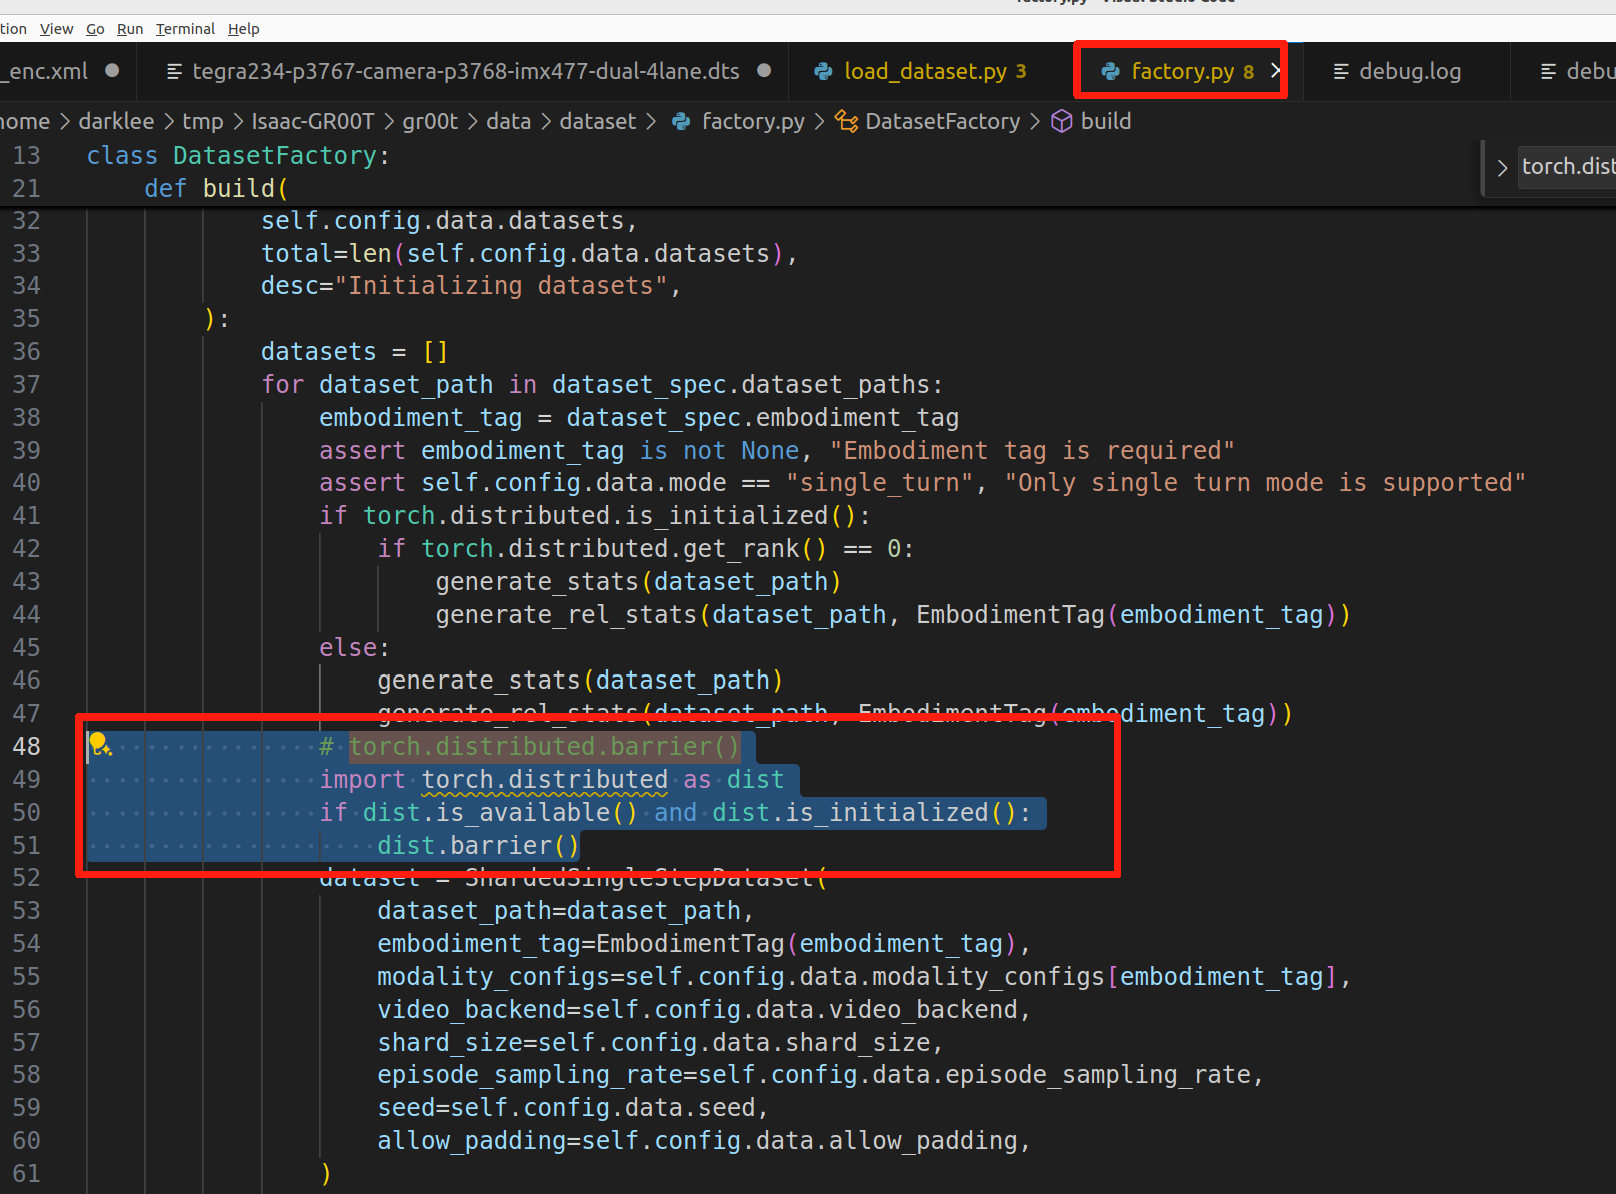
# Change torch.distributed.barrier() to:

import torch.distributed as dist
if dist.is_available() and dist.is_initialized():
    dist.barrier()
Use the following command for fine-tuning:
export NUM_GPUS=1
CUDA_VISIBLE_DEVICES=0 python \
    gr00t/experiment/launch_finetune.py \
    --base-model-path nvidia/GR00T-N1.6-3B \
    --dataset-path ./demo_data/cube_to_bowl_5 \
    --embodiment-tag NEW_EMBODIMENT \
    --modality-config-path examples/SO100/so100_config.py \
    --num-gpus $NUM_GPUS \
    --output-dir /tmp/so100 \
    --save-total-limit 5 \
    --save-steps 2000 \
    --max-steps 2000 \
    --use-wandb \
    --global-batch-size 32 \
    --color-jitter-params brightness 0.3 contrast 0.4 saturation 0.5 hue 0.08 \
    --dataloader-num-workers 4
📊 Key Parameters
| Parameter | Description |
|---|---|
--base-model-path | Path to the pre-trained base model checkpoint |
--dataset-path | Path to your training dataset |
--embodiment-tag | Tag to identify your robot embodiment |
--modality-config-path | Path to user-specified modality config (required only for NEW_EMBODIMENT tag) |
--output-dir | Directory where checkpoints will be saved |
--save-steps | Save checkpoint every N steps |
--max-steps | Total number of training steps |
--use-wandb | Enable Weights & Biases logging for experiment tracking |
🚀 Inference with Fine-tuned Model on AGX Orin 64G
Ensure you have configured the GR00T N1.6 environment on AGX Orin according to the previous steps.
🖥️ Terminal 1: Start Local Inference Server
Open the first terminal, activate the virtual environment, and start the local inference server with the following command:
source .venv/bin/activate

uv run python gr00t/eval/run_gr00t_server.py \
  --model-path /tmp/so100_finetune/checkpoint-10000 \
  --embodiment-tag NEW_EMBODIMENT
Where --model-path is the path to the fine-tuned model weights.
🤖 Terminal 2: Start Local Inference Client
Open the second terminal, activate the virtual environment, and start the local inference client with the following command:
source .venv/bin/activate

uv run python gr00t/eval/real_robot/SO100/eval_so100.py \
  --robot.type=so101_follower --robot.port=/dev/ttyACM0 \
  --robot.id=orange_follower \
  --robot.cameras="{ wrist: {type: opencv, index_or_path: 0, width: 640, height: 480, fps: 30}, front: {type: opencv, index_or_path: 2, width: 640, height: 480, fps: 30}}" \
  --policy_host=localhost --policy_port=5555 \
  --lang_instruction="grasp fruit into plate"
Where --robot.port parameter should be modified according to your actual serial port name, and index_or_path should also be modified according to the device index numbers of your two cameras.
🎥 Demo Results
After launching the inference request, you can see the action sequence output by GR00T N1.6 in the terminal. Each inference produces eight actions:
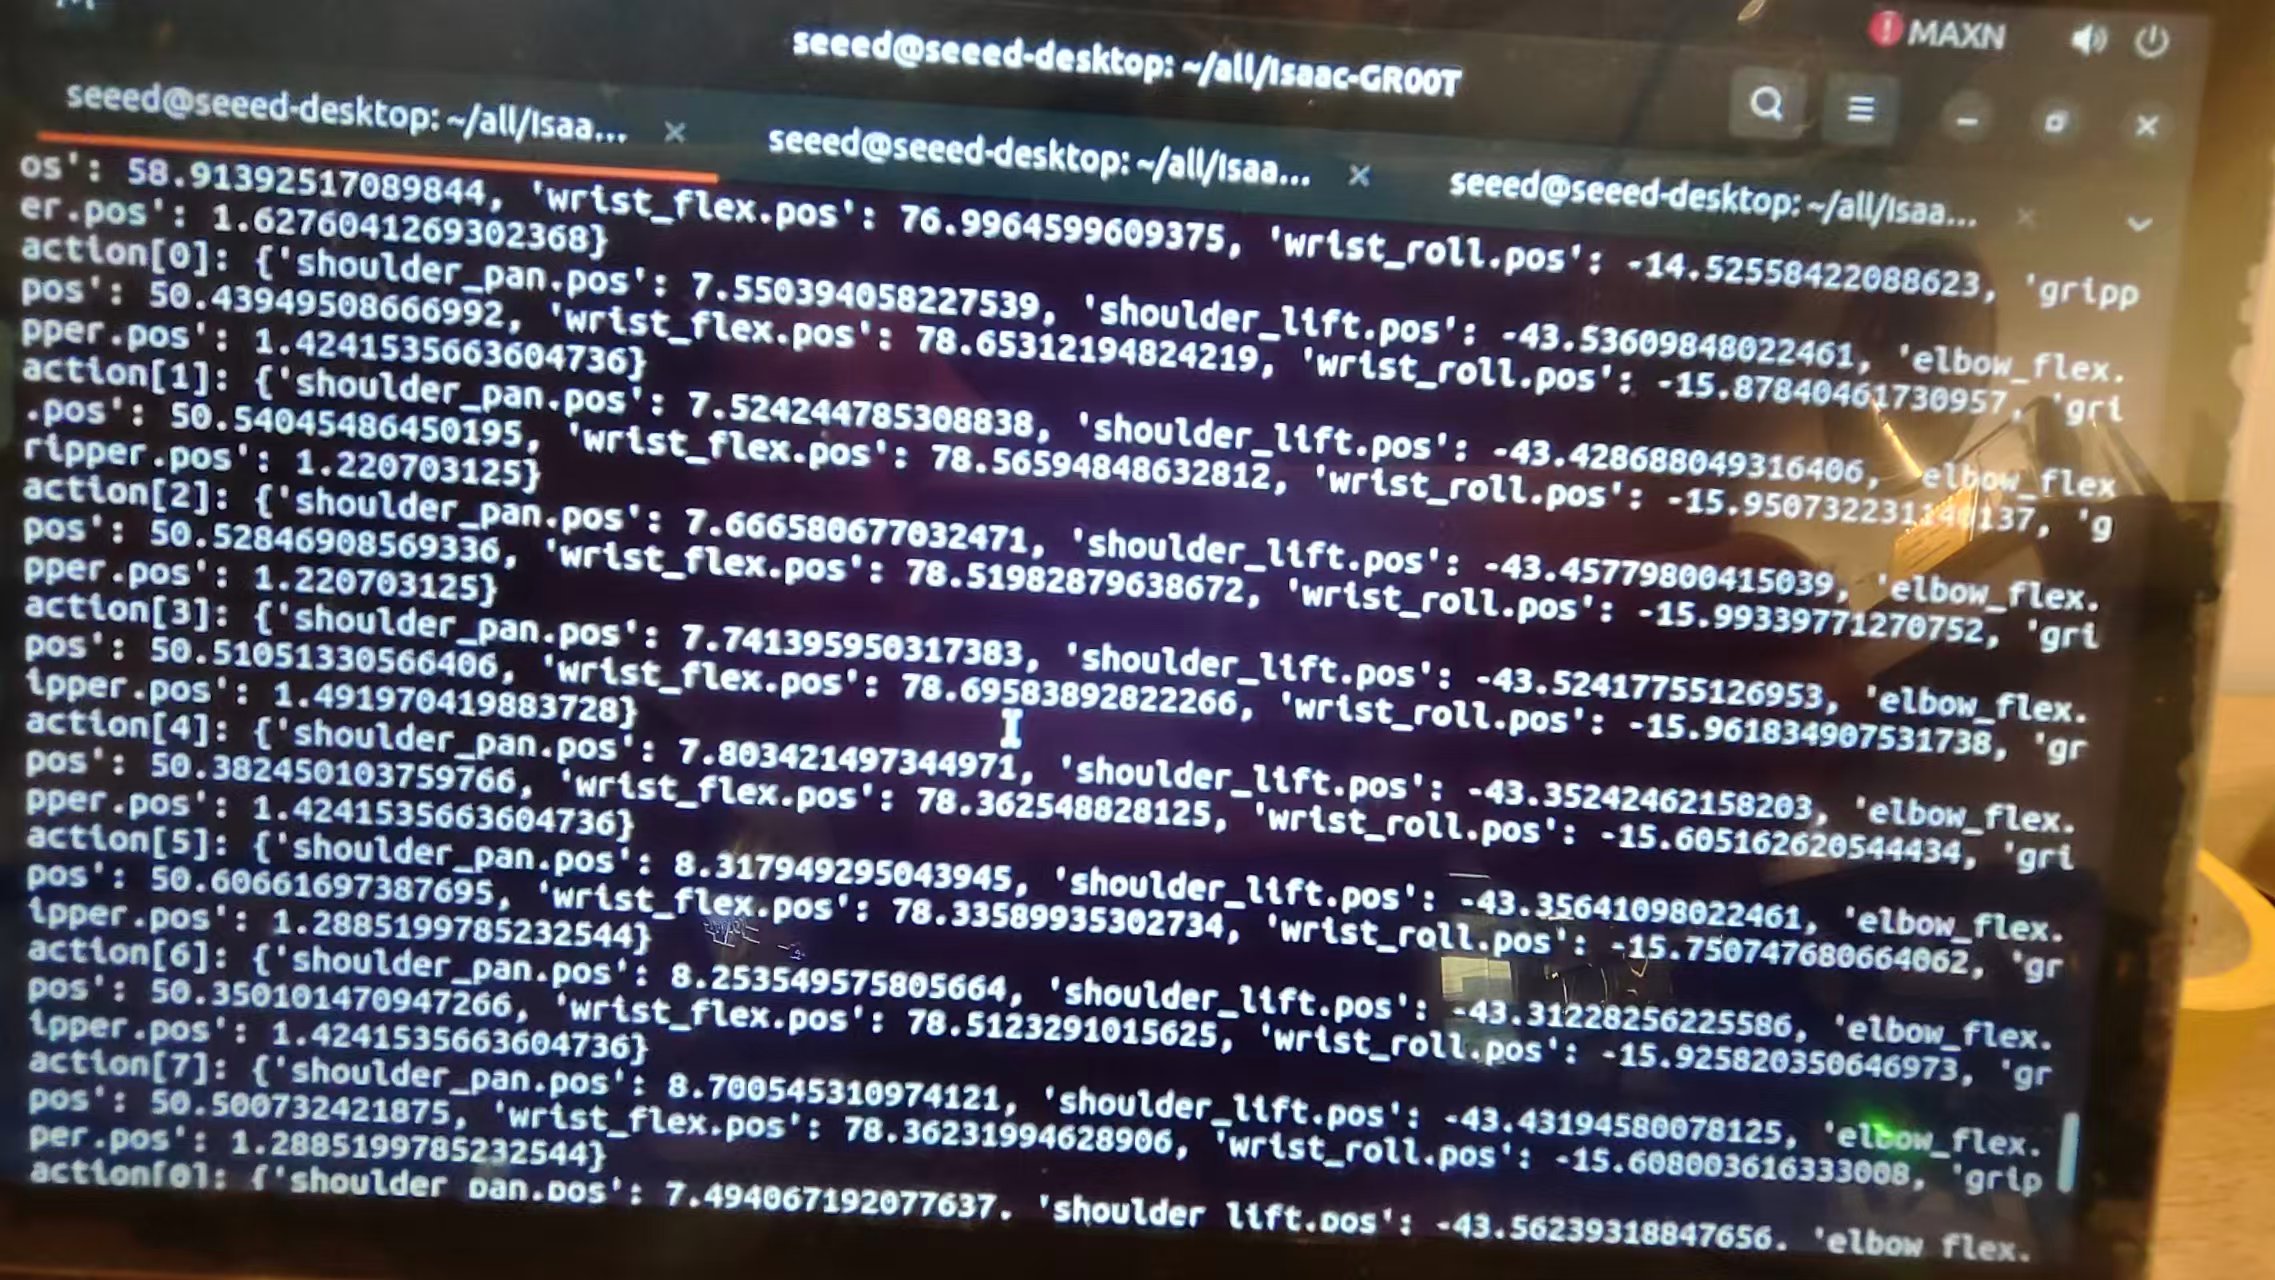
The author's inference results of GR00T N1.6 on AGX Orin 64G are shown in the video below. The first half shows the inference output in the terminal after starting the GR00T N1.6 program—you can see that eight actions are output per inference. The second half demonstrates the real-world result: the robot arm successfully grasping fruit and placing it onto a plate.
📚 References
- 🔗 https://developer.nvidia.com/embedded/jetpack
- 🔗 https://github.com/NVIDIA/Isaac-GR00T/tree/main
- 🔗 https://huggingface.co/nvidia/GR00T-N1.6-3B
🤝 Tech Support & Product Discussion
Thank you for choosing our products! We are here to provide you with different support to ensure that your experience with our products is as smooth as possible. We offer several communication channels to cater to different preferences and needs.