Flash BSP with Jetpack to Selected Jetson
⚡Flash Jetson Linux
Streamlined flashing process for all Seeed Studio Jetson devices. Select your product and follow the guided steps below.
🎯 Select Your Device

Check here for carrier board interface usage: interface usage
🚀 JetPack 6.2 with MAXN Super Mode
Enhanced performance configurations now available for Orin Nano and Orin NX modules. Learn more
📥 Download
Link
File
SHA256
🔐 Verify SHA256 (Optional)
To verify the SHA256 hash of the downloaded file, run in terminal:
sha256sum mfi_xxxx.tar.gz
# For example:
# sha256sum mfi_recomputer-super-orin-nx-16g-j401-6.2-36.4.3-2025-05-22.tar
If the resulting hash matches the SHA256 hash provided in the wiki, it confirms that the firmware you downloaded is complete and intact.
🛠️ Prepare Requirements
- Ubuntu Host Computer
- reComputer Super J4012 / J4011 / J3010 or J3011
- USB Type-C data transmission cable
We recommend that you use physical Ubuntu host devices instead of virtual machines.
Please refer to the table below to prepare the host machine.
| JetPack Version | Ubuntu Version (Host Computer) | ||
|---|---|---|---|
| 18.04 | 20.04 | 22.04 | |
| JetPack 6.x | ✅ | ✅ | |
🔄 Enter Recovery Mode
Click the "step-by-step" to see how to enter recovery mode.
Step-by-Step
- Step 1. Switch the switch to the RESET mode.

- Step 2. Power up the carrier board by connecting the power cable.
- Step 3. Connect the board to the Ubuntu host PC with a USB Type-C data transmission cable.
- Step 4. On the Linux host PC, open a Terminal window and enter the command lsusb. If the returned content has one of the following outputs according to the Jetson SoM you use, then the board is in force recovery mode.
If the device is not detected, try the following:
- Reconnect the USB cable.
- Use a different USB port (preferably USB 2.0).
- Ensure the device is in recovery mode (press and hold Recovery + Reset).
After the device enters recovery mode, open a Terminal and run on the Linux host PC:
lsusb
If the output includes one of the following IDs, the board is in force recovery mode:
- For Orin NX 16GB:
0955:7323NVidia Corp - For Orin NX 8GB:
0955:7423NVidia Corp - For Orin Nano 8GB:
0955:7523NVidia Corp - For Orin Nano 4GB:
0955:7623NVidia Corp
The below image is for Orin Nano 8GB:

📦 Install Dependencies
Install the required flash dependencies on your Host PC:
sudo apt-get update && \
sudo apt-get install -y abootimg \
                        binfmt-support \
                        binutils \
                        cpp \
                        device-tree-compiler \
                        dosfstools \
                        lbzip2 \
                        libxml2-utils \
                        nfs-kernel-server \
                        python3-yaml \
                        qemu-user-static \
                        sshpass \
                        udev \
                        uuid-runtime \
                        whois \
                        openssl \
                        cpio \
                        rsync \
                        zstd
Ubuntu 18.04 and below
sudo apt-get install -y liblz4-tool
Ubuntu 20.04 / 22.04 and above
sudo apt-get install -y lz4
🚀 Extract and Flash
Step 1: Extract the downloaded image file on the Ubuntu host PC:
cd <path-to-image>
sudo tar xpf  mfi_xxxx.tar.gz
# For example:
# sudo tar xpf mfi_recomputer-super-orin-nx-16g-j401-6.2-36.4.3-2025-05-22.tar
Step 2: Execute the following command to flash JetPack system to the NVMe SSD:
cd mfi_xxxx
# For example:
# cd mfi_recomputer-orin-super-j401
sudo ./tools/kernel_flash/l4t_initrd_flash.sh --flash-only --massflash 1 --network usb0 --showlogs
You will see the following output if the flashing process is successful:

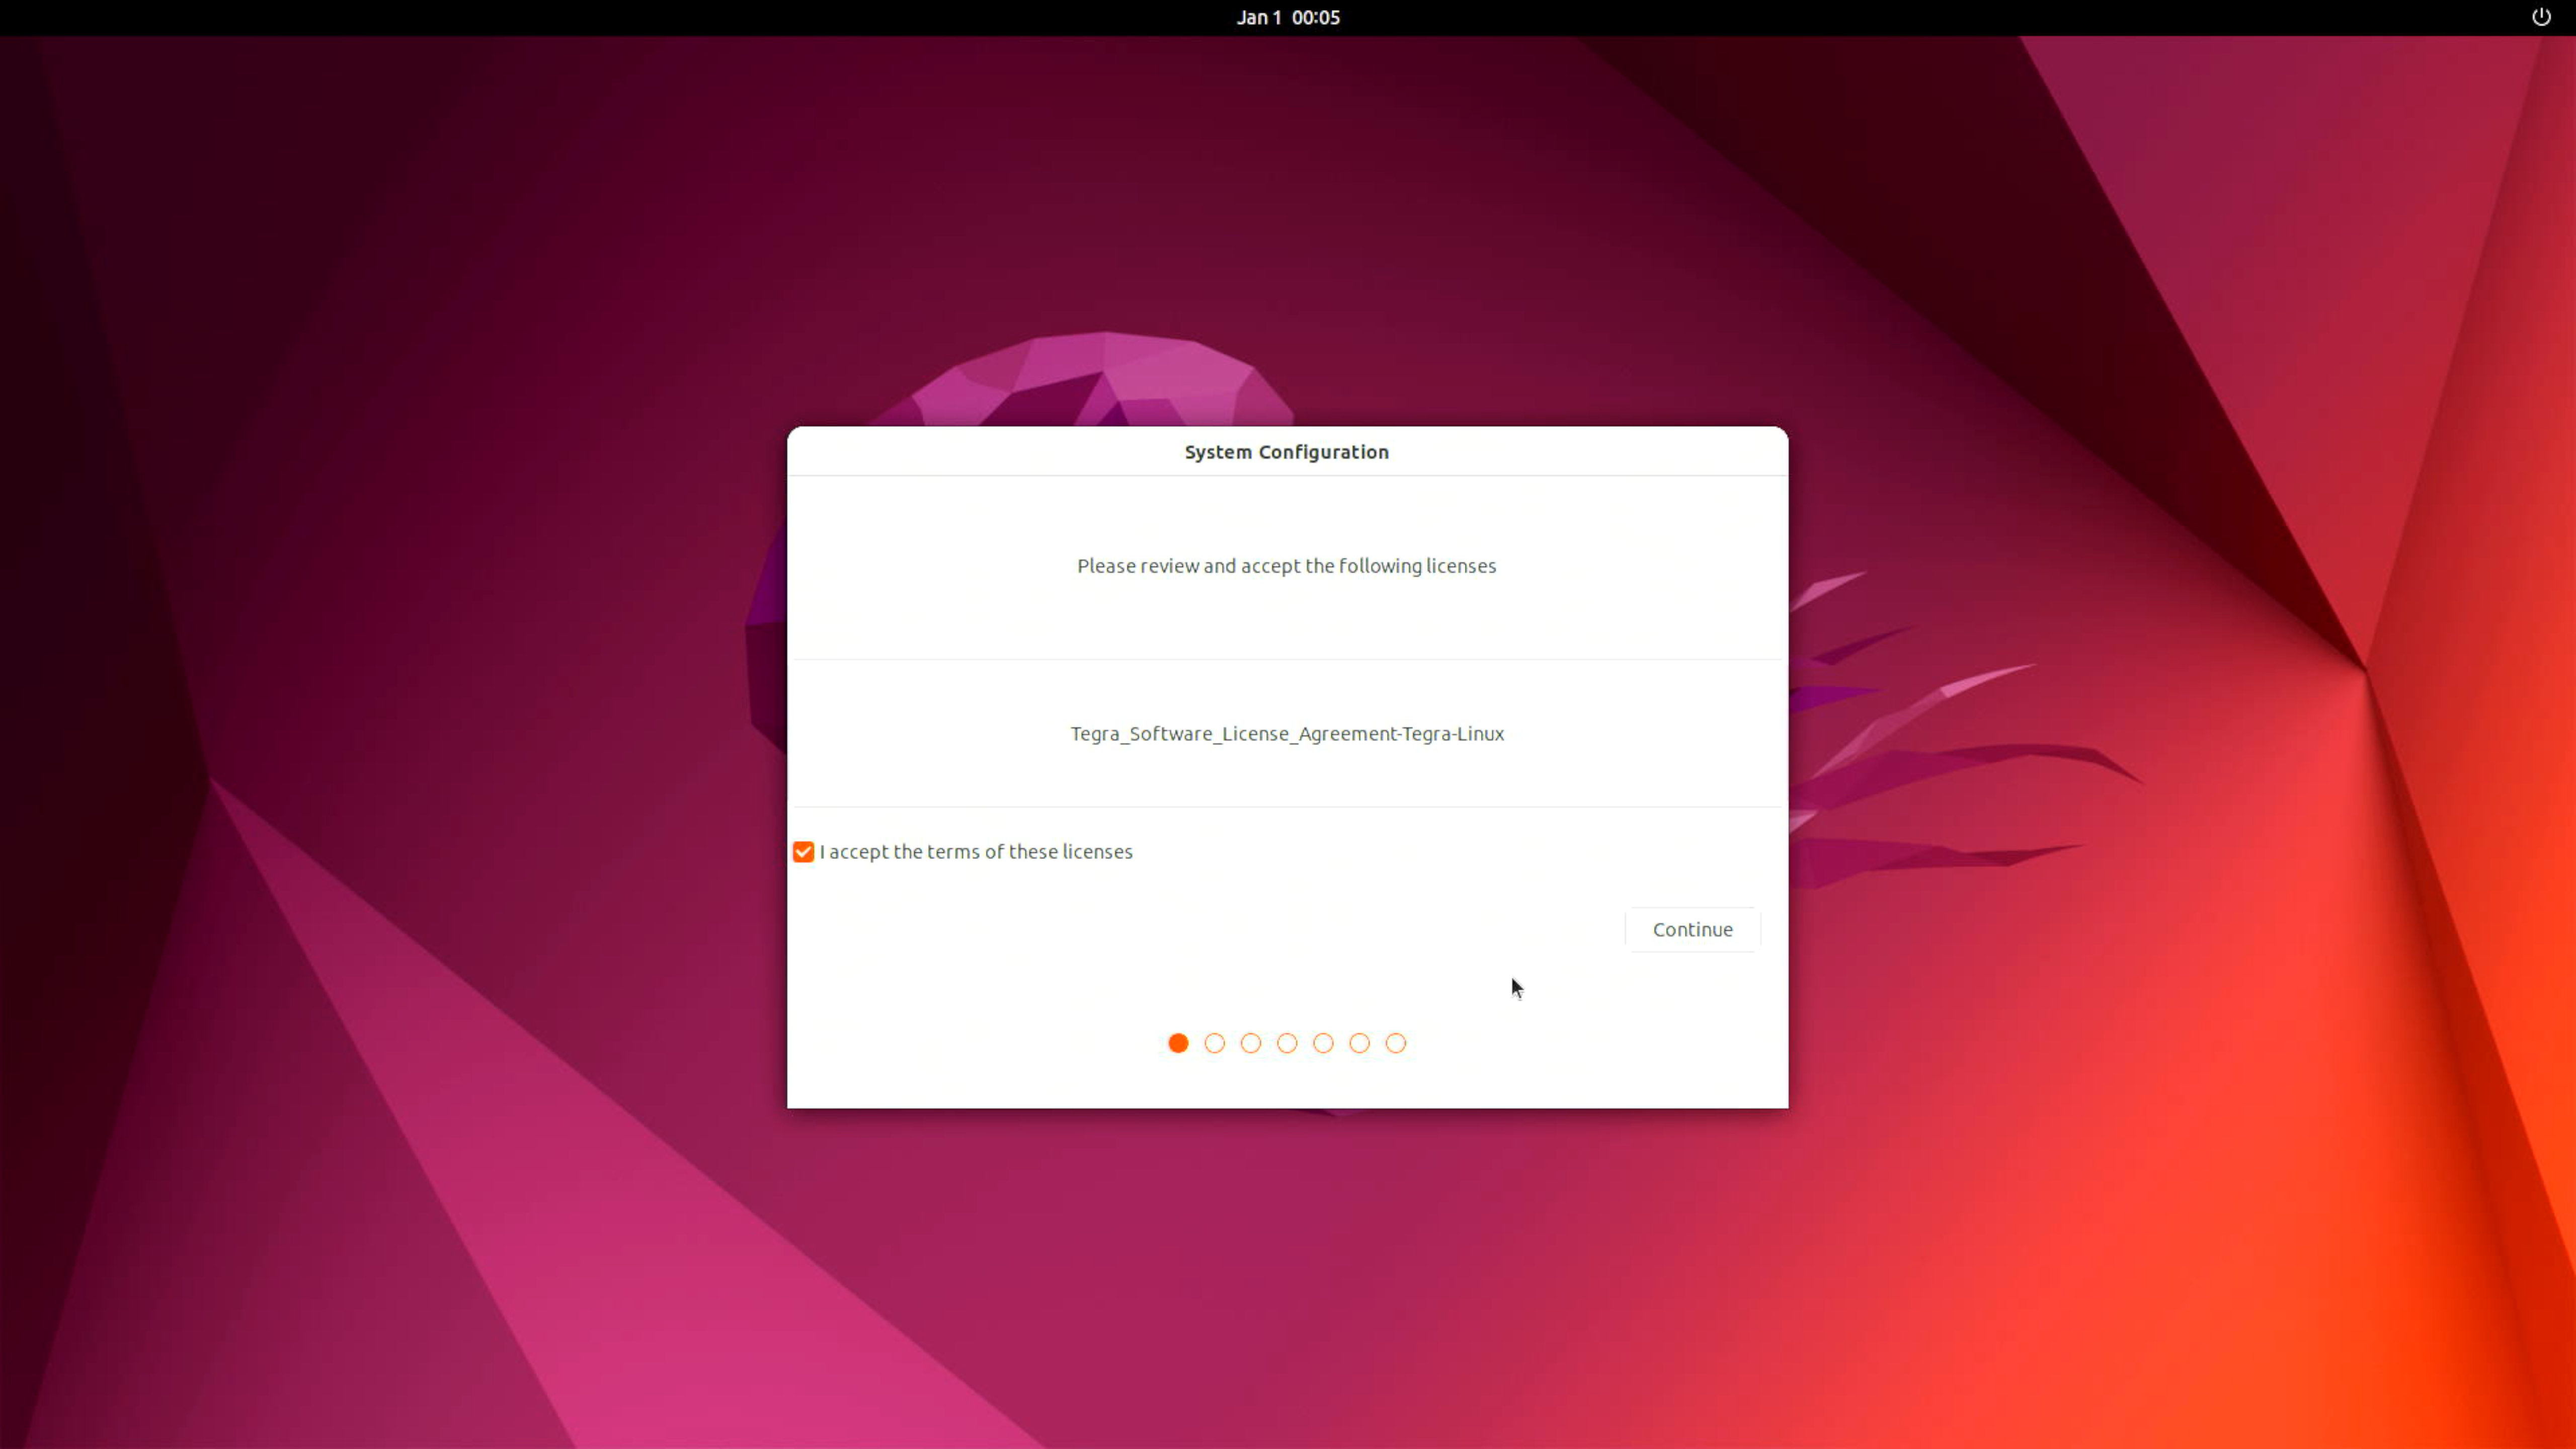
Step 3: Connect the Jetson to a display using the connector on the board (HDMI or Type-C, depending on your carrier board) and finish the initial configuration setup:

Step 4 (Optional): Install Nvidia Jetpack SDK
Please open the terminal on the Jetson device and execute the following commands:
sudo apt update
sudo apt install nvidia-jetpack
📚 Resources & Examples
🚀 Getting Started
Complete beginner's guide to Jetson development with practical examples and tutorials.
💡 Code Examples
Ready-to-use code examples for AI, computer vision, and robotics applications.
🔧 Source Code
Access Seeed's customized Linux for Tegra (L4T) source code and modifications.
🤝 Tech Support & Product Discussion
Thank you for choosing our products! We are here to provide you with different support to ensure that your experience with our products is as smooth as possible. We offer several communication channels to cater to different preferences and needs.