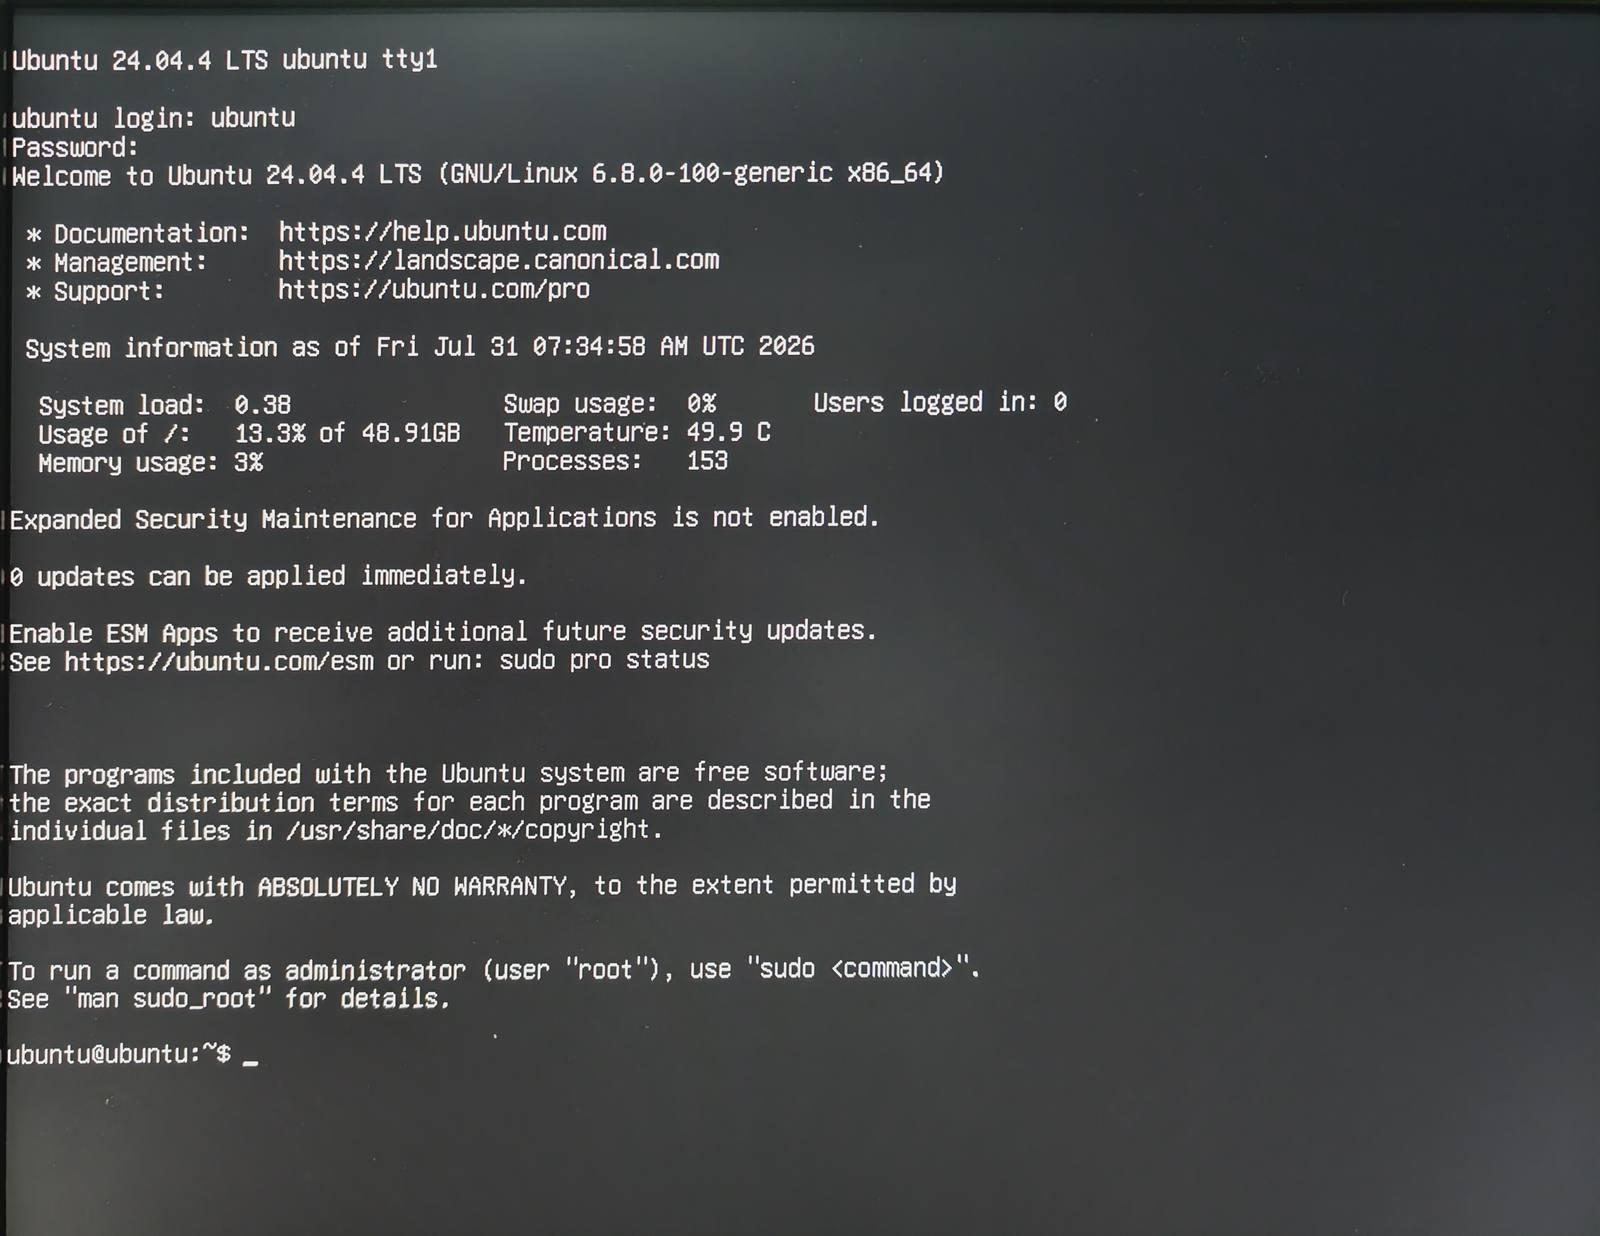
Install Ubuntu on SenseCAP M4 via USB
This guide explains how to install Ubuntu 24.04 on the SenseCAP M4 using a USB drive.
Installation Requirements
- A USB flash drive with at least 4 GB of storage
- A computer running Microsoft Windows XP or later
- Rufus, a free and open-source USB creation tool
- An Ubuntu ISO image file
1. Download the Ubuntu ISO Image
Click here to download.
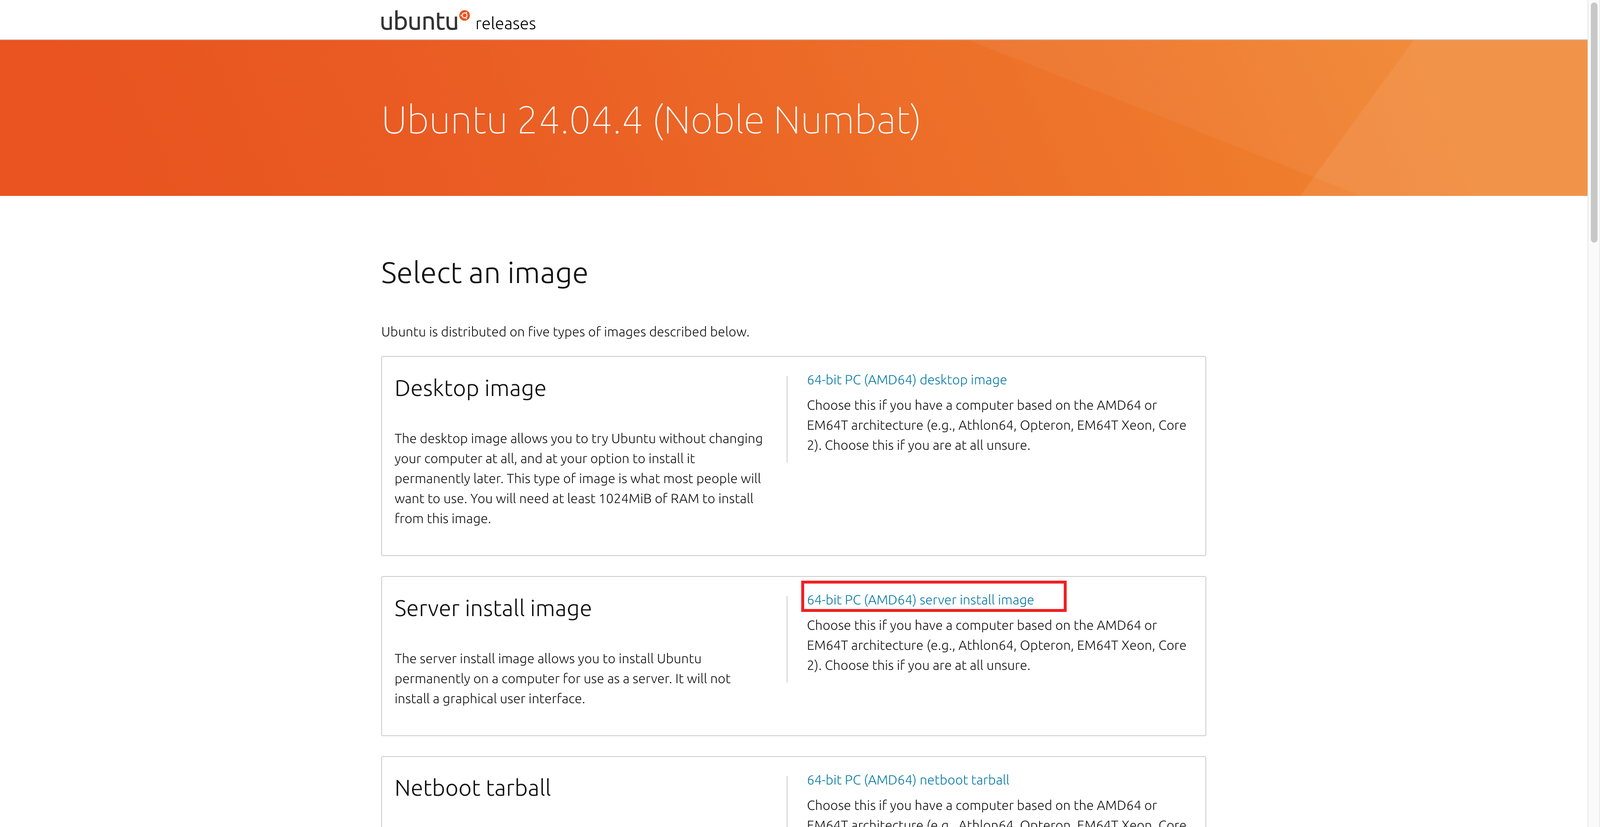
2. Download Rufus
Click here to download.
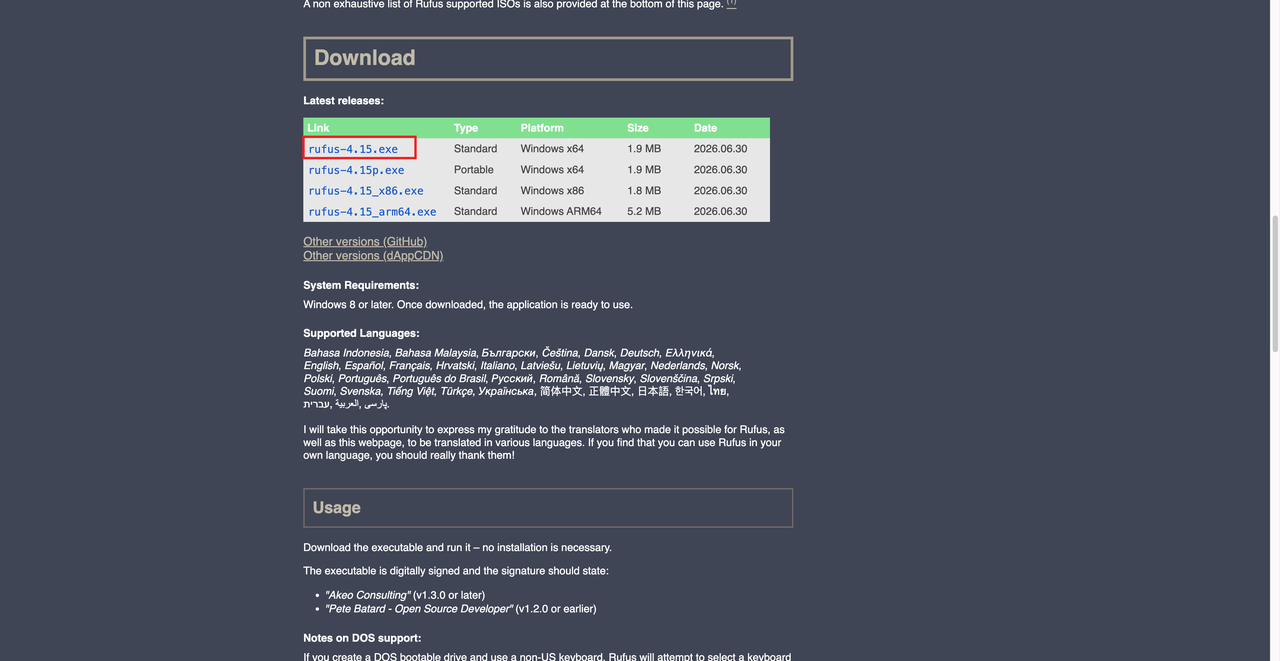
3. Create a Bootable USB Drive
Please refer to this link.
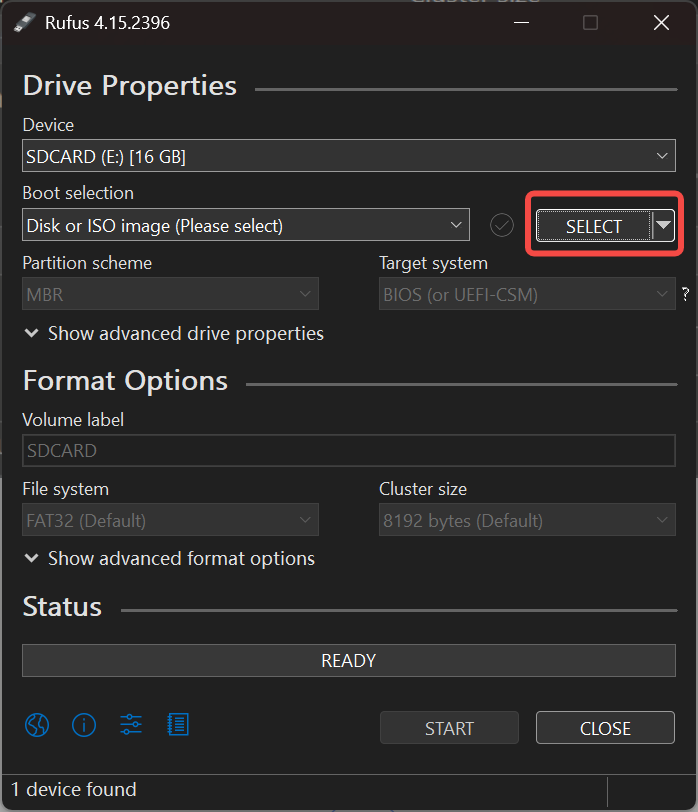
3.1 Open Rufus and select the USB drive
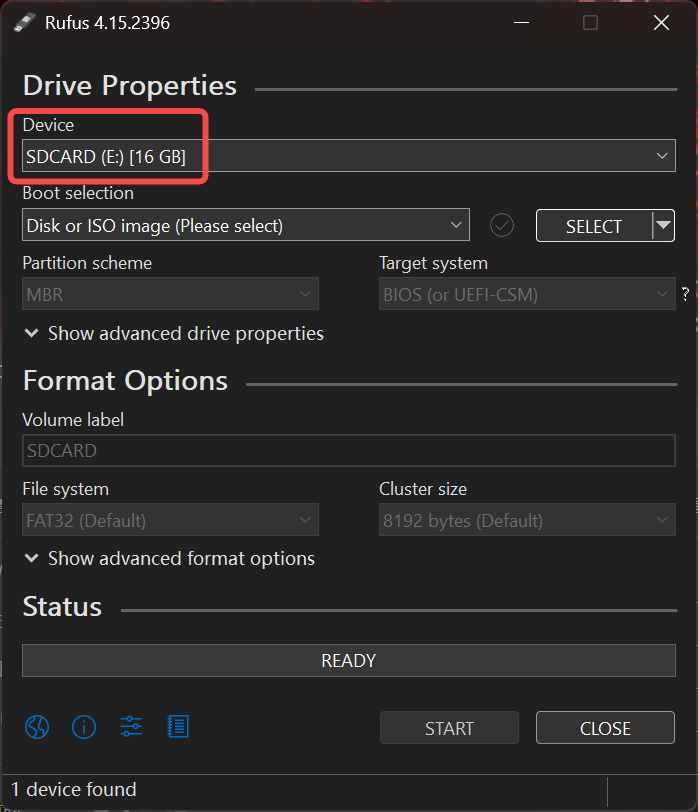
3.2 Select the ISO image
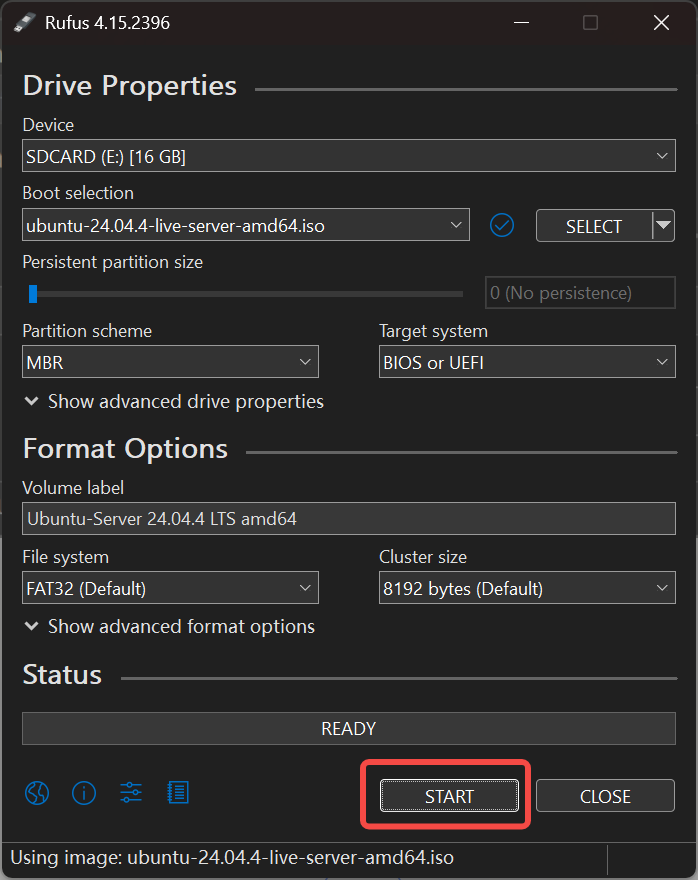
3.3 Start writing the ISO image
After selecting the ISO image, click START.
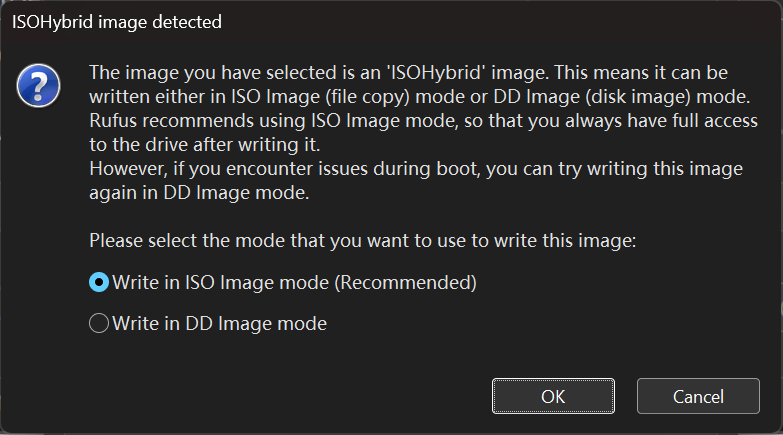
3.4 Select the ISO image writing mode
When the following pop-up window appears, select Write in ISO Image mode (Recommended).
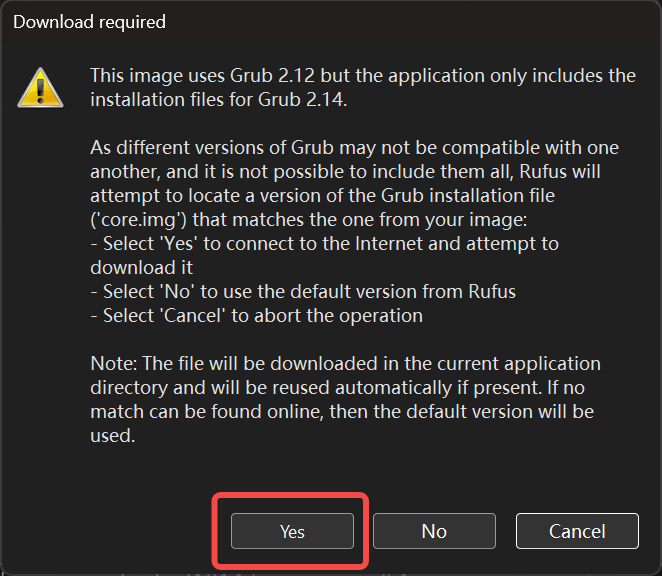
You may be prompted that Rufus needs to download additional files to complete writing the ISO image. If this dialog box appears, click Yes to continue.
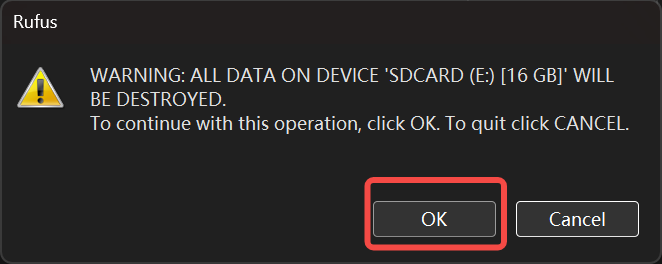
When prompted to erase the USB drive, click Yes to continue.
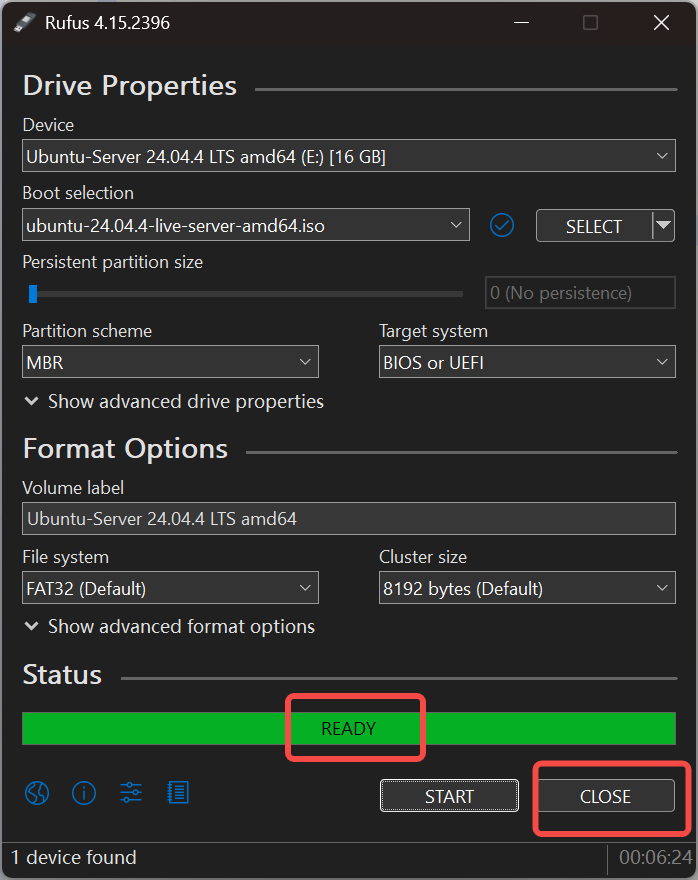
Once the status shows READY, you can close Rufus.
4. Install Ubuntu
Click here for reference.
Insert the USB drive into the SenseCAP M4, connect a keyboard and a display via the HDMI port, then power on the device and press the Delete key.
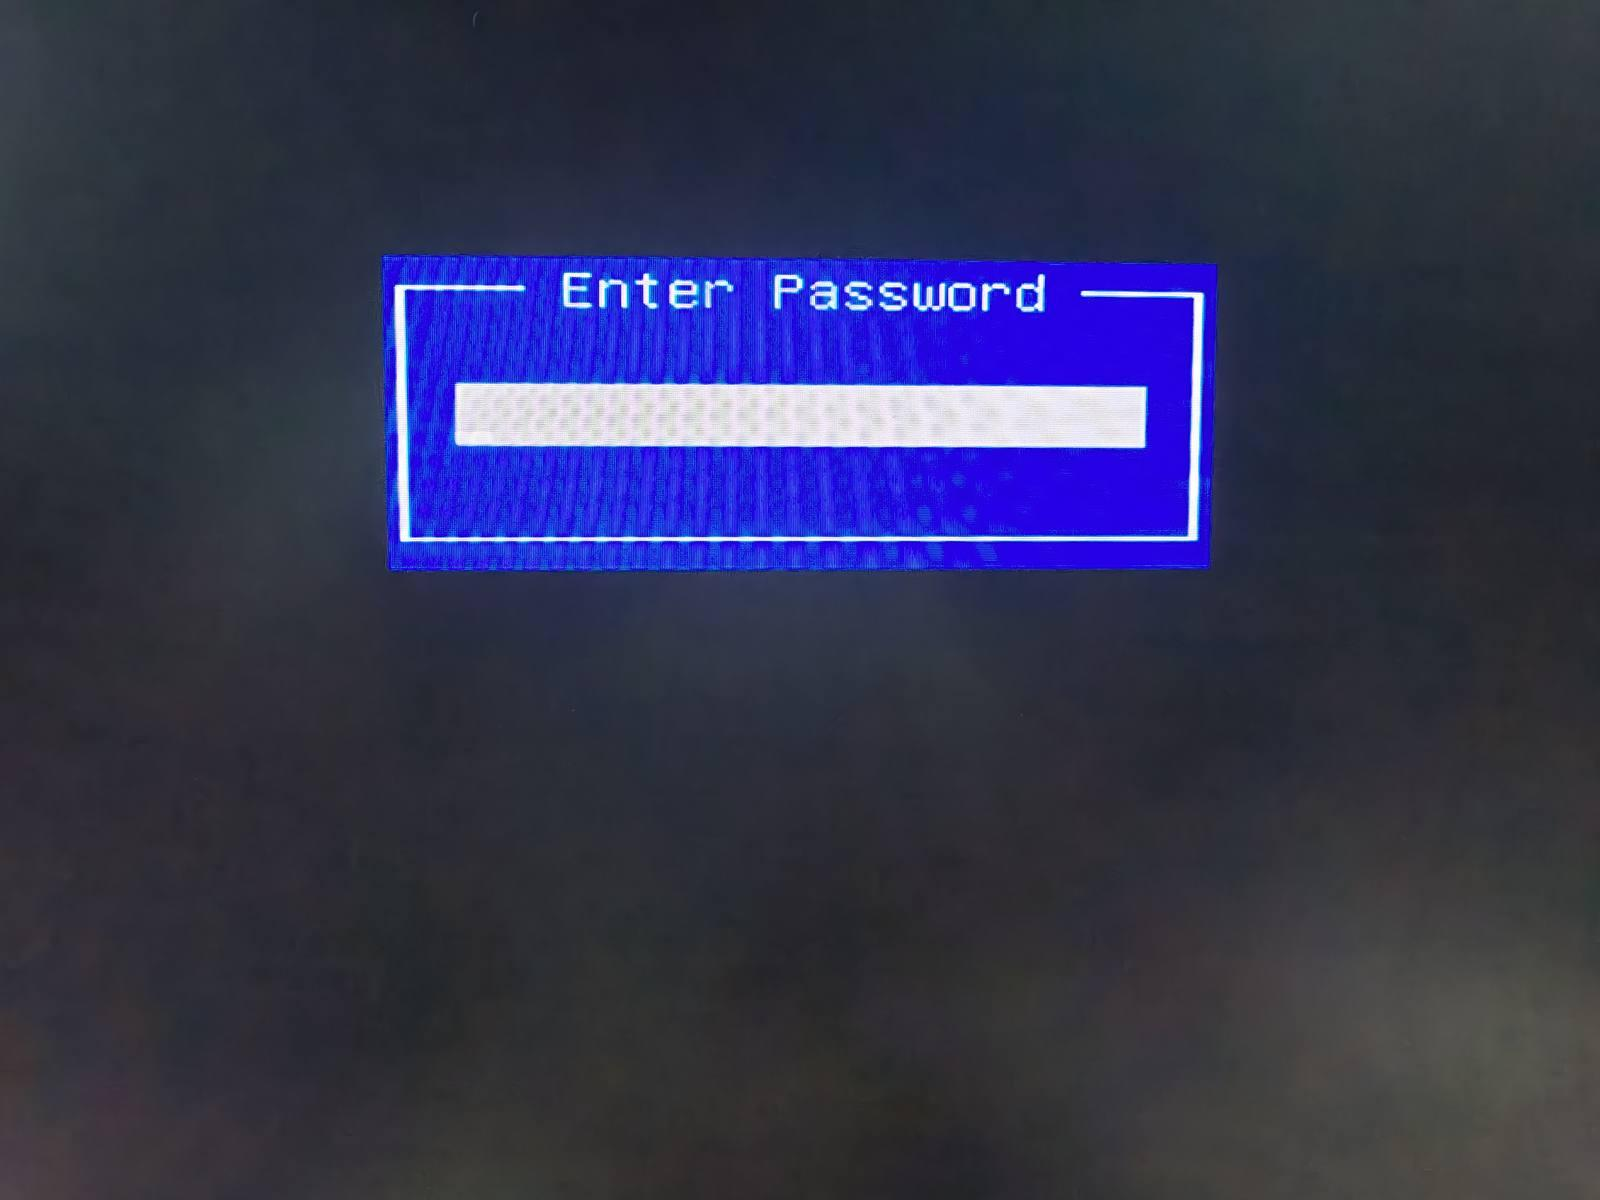
4.1 Enter the BIOS password
Enter the password: QbCuNBAz
4.2 Boot from the USB drive
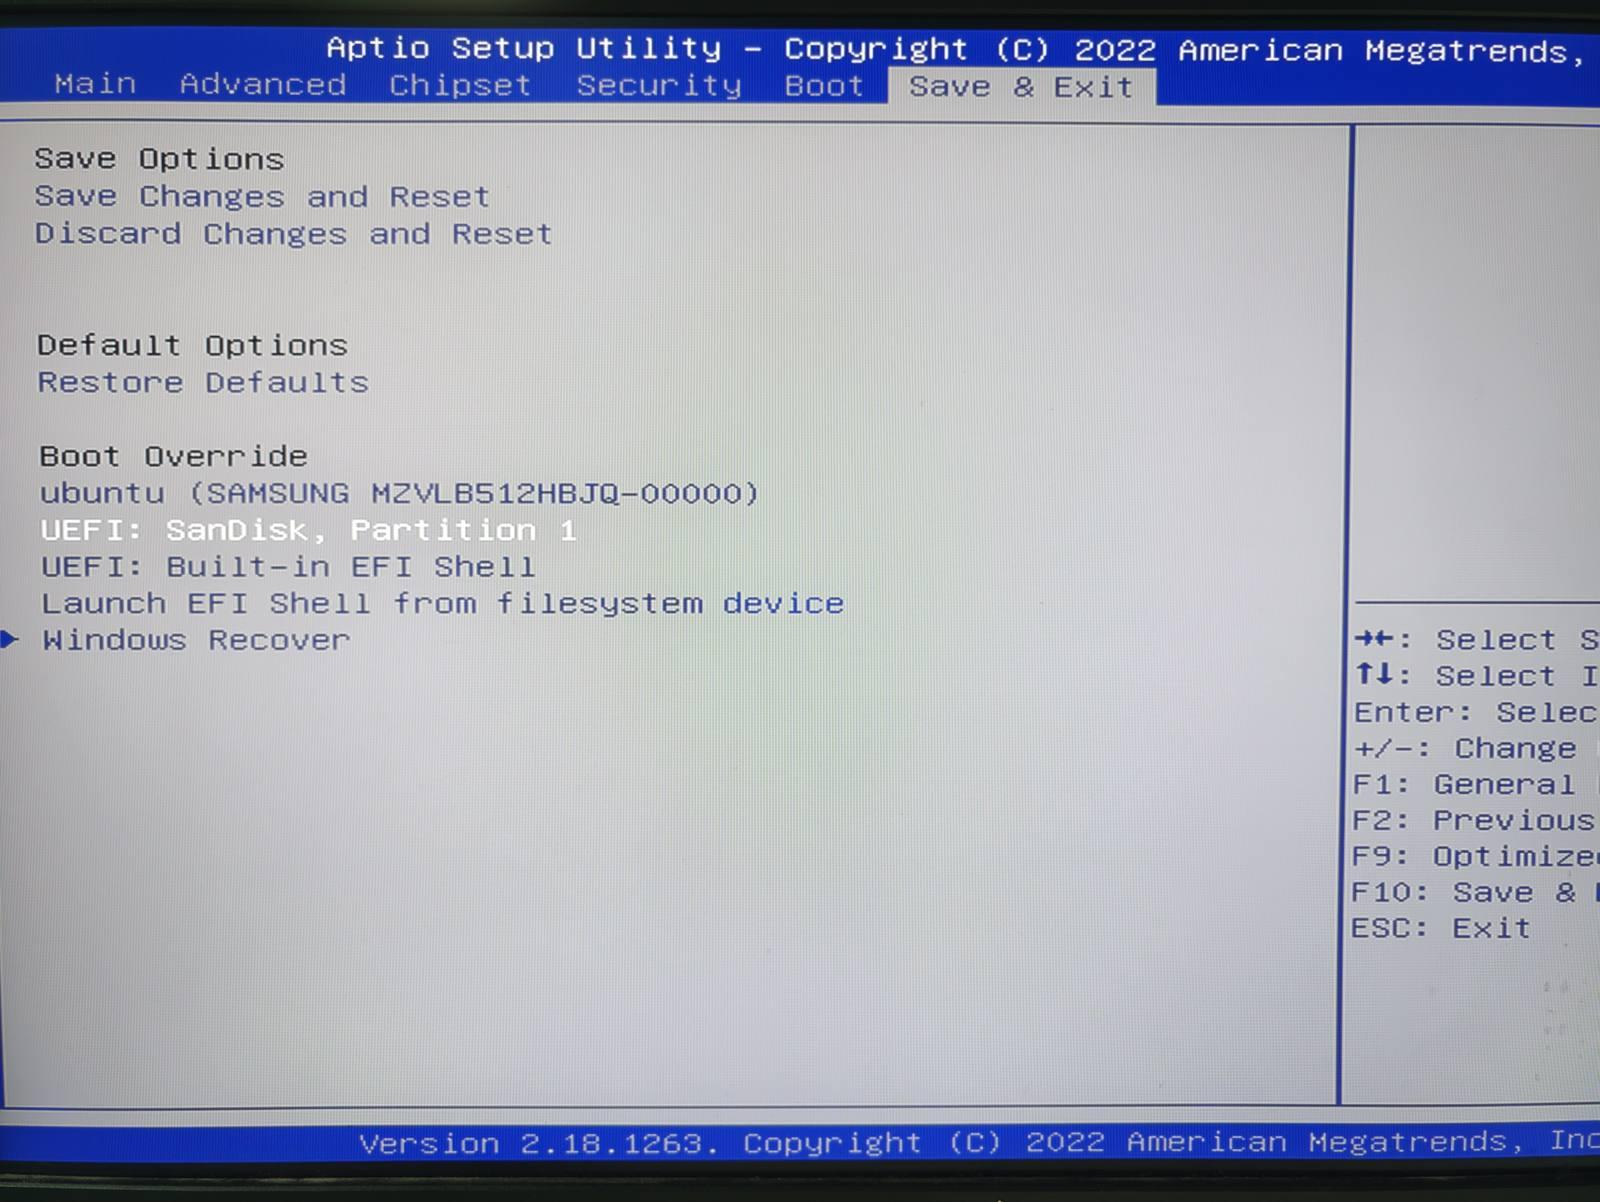
On the Save & Exit screen, select the USB drive under Boot Override, then press Enter to boot from it.
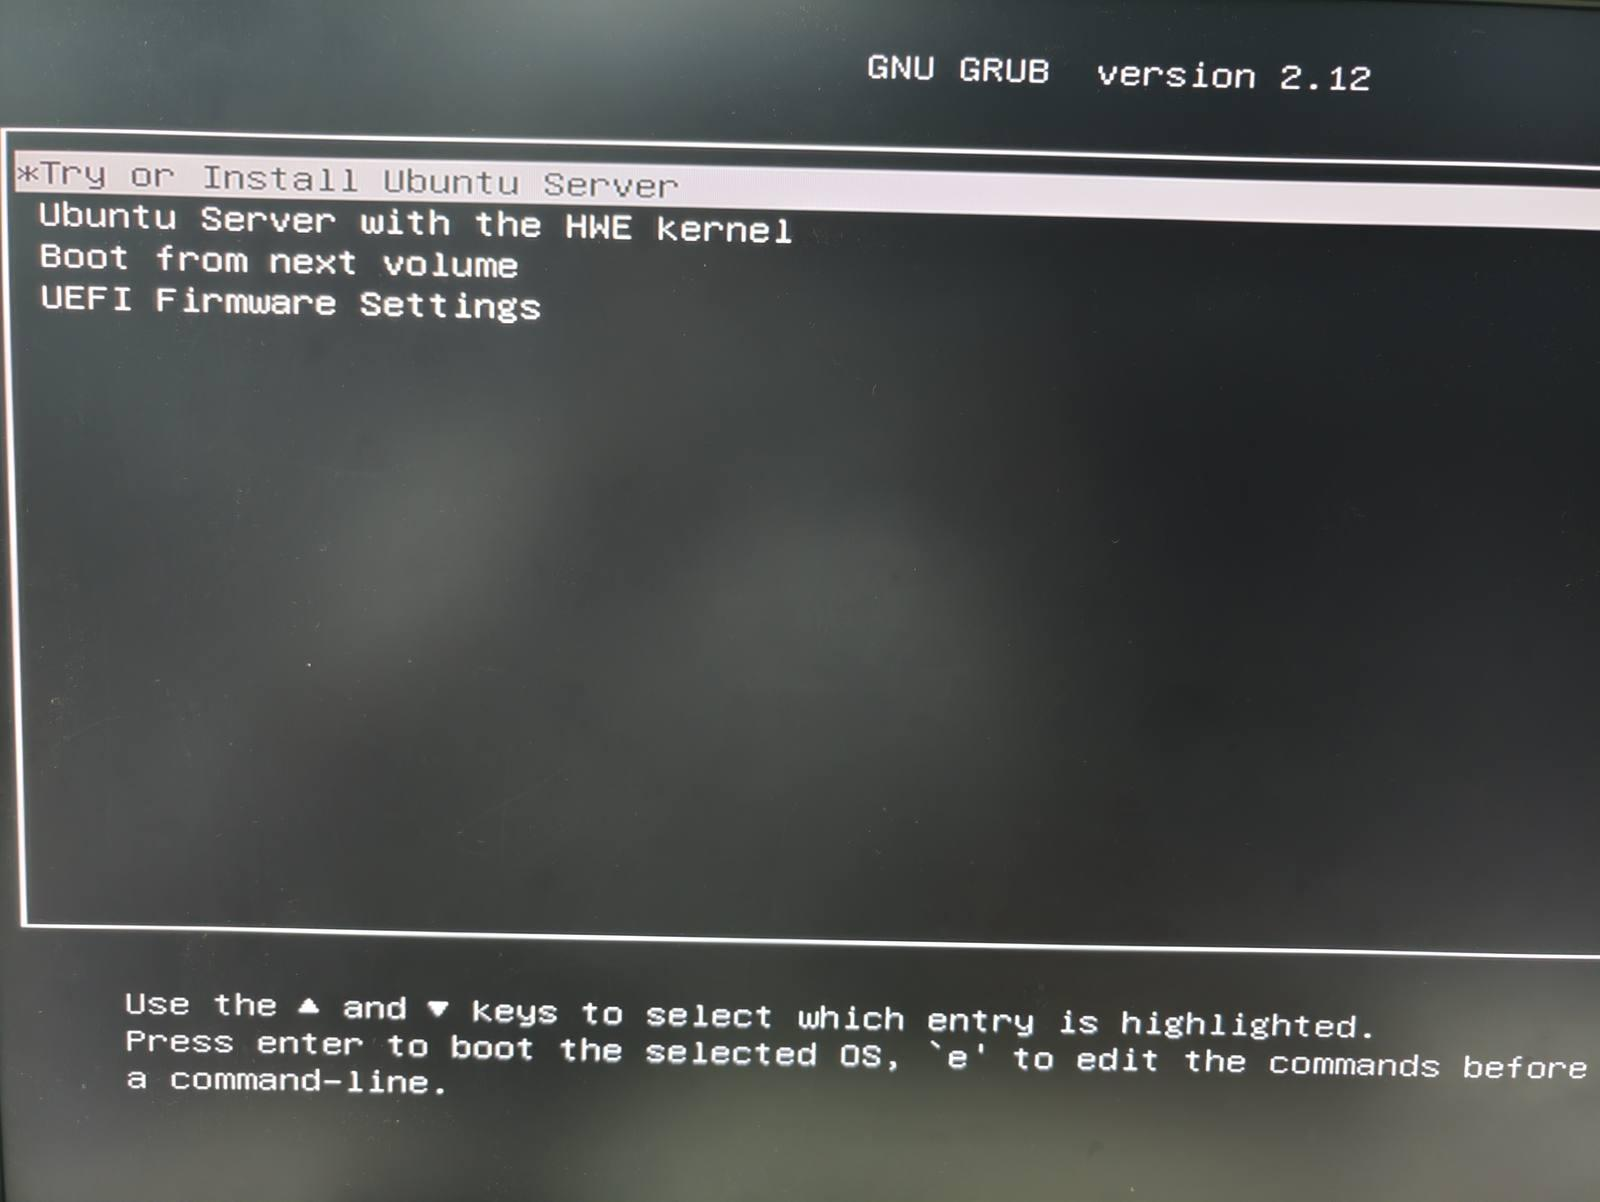
4.3 Start the Ubuntu installation
Select the first option to begin installing Ubuntu.
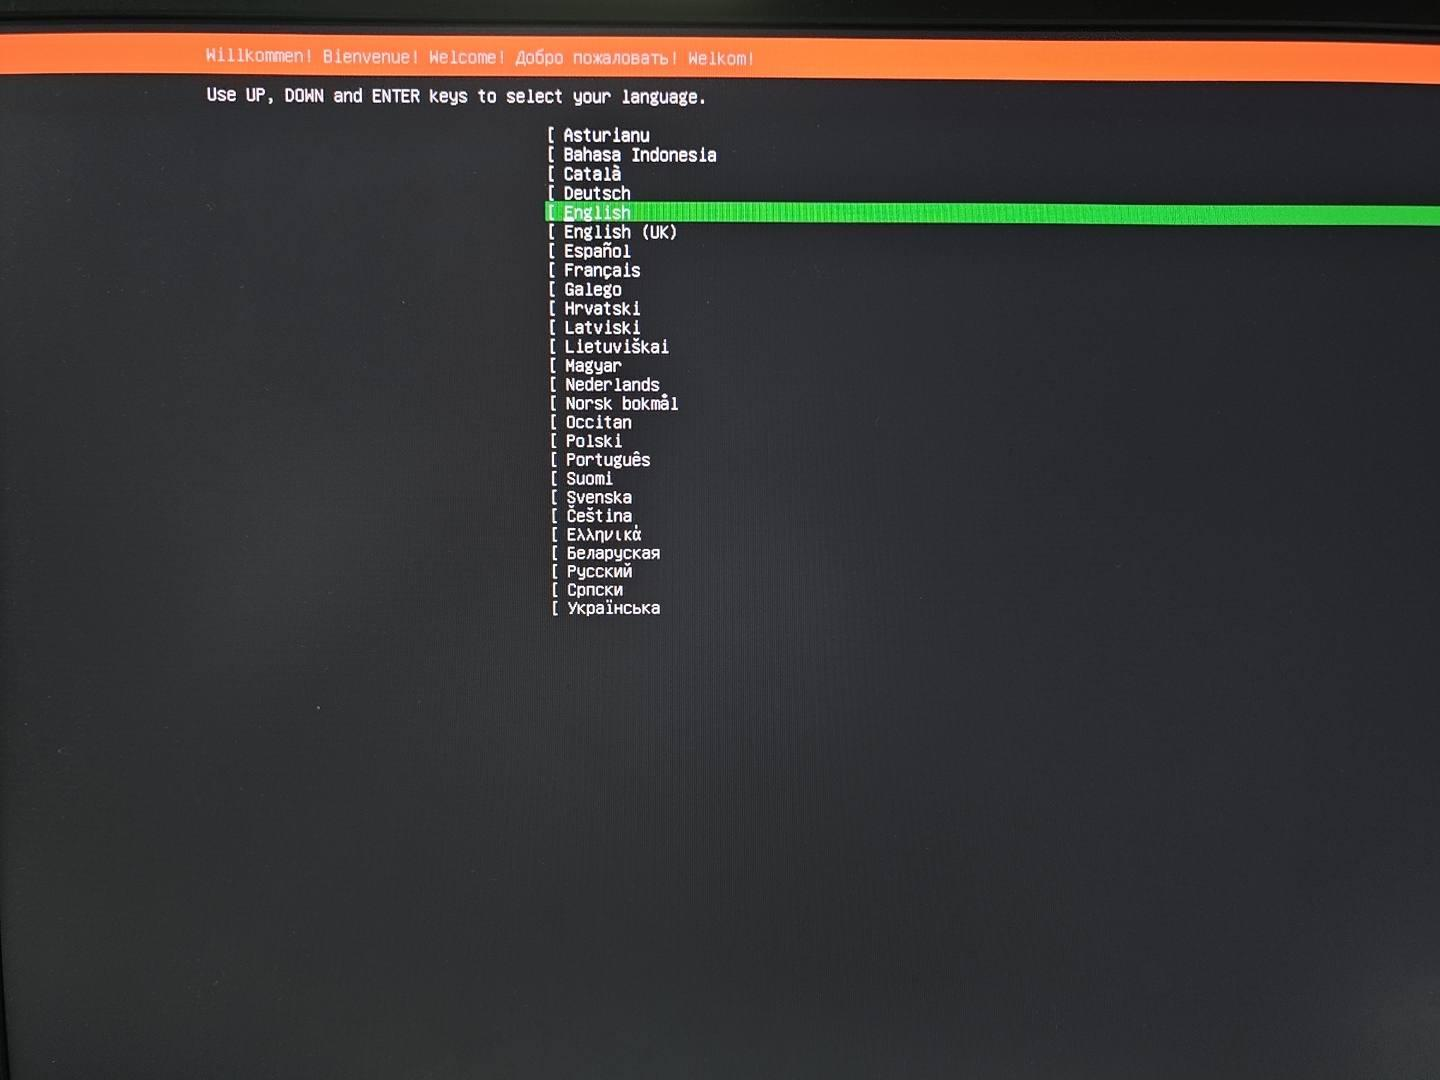
4.4 Select the language
After entering the installation interface, select your preferred language.
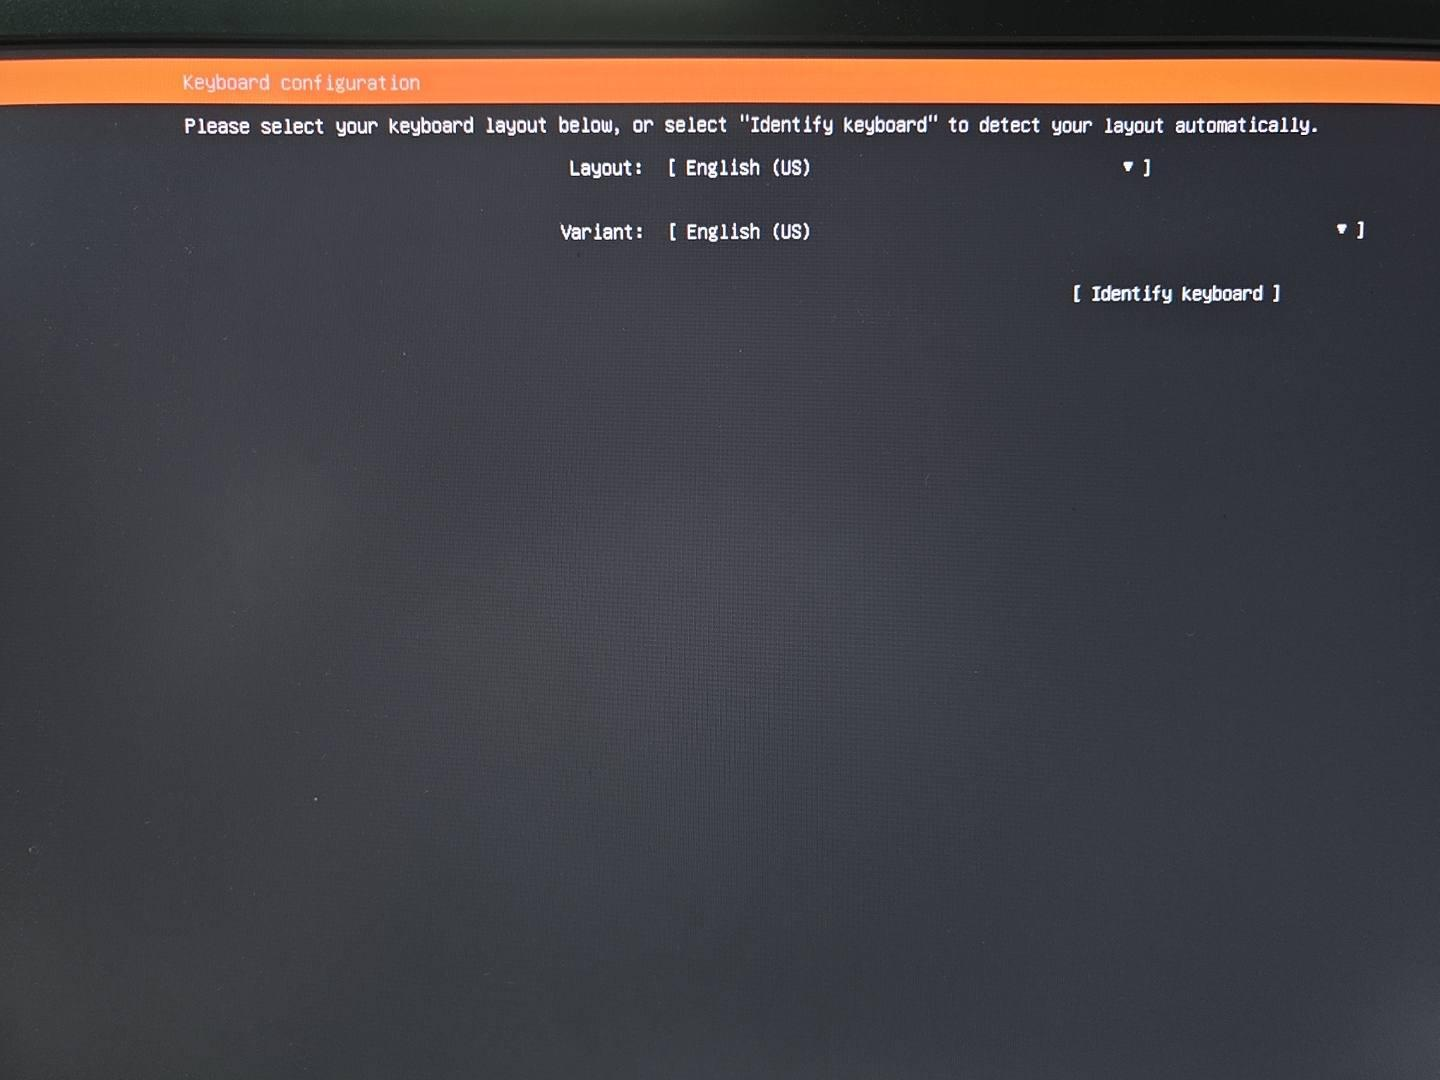
4.5 Select the keyboard layout
Select the keyboard layout. The default settings can be used.
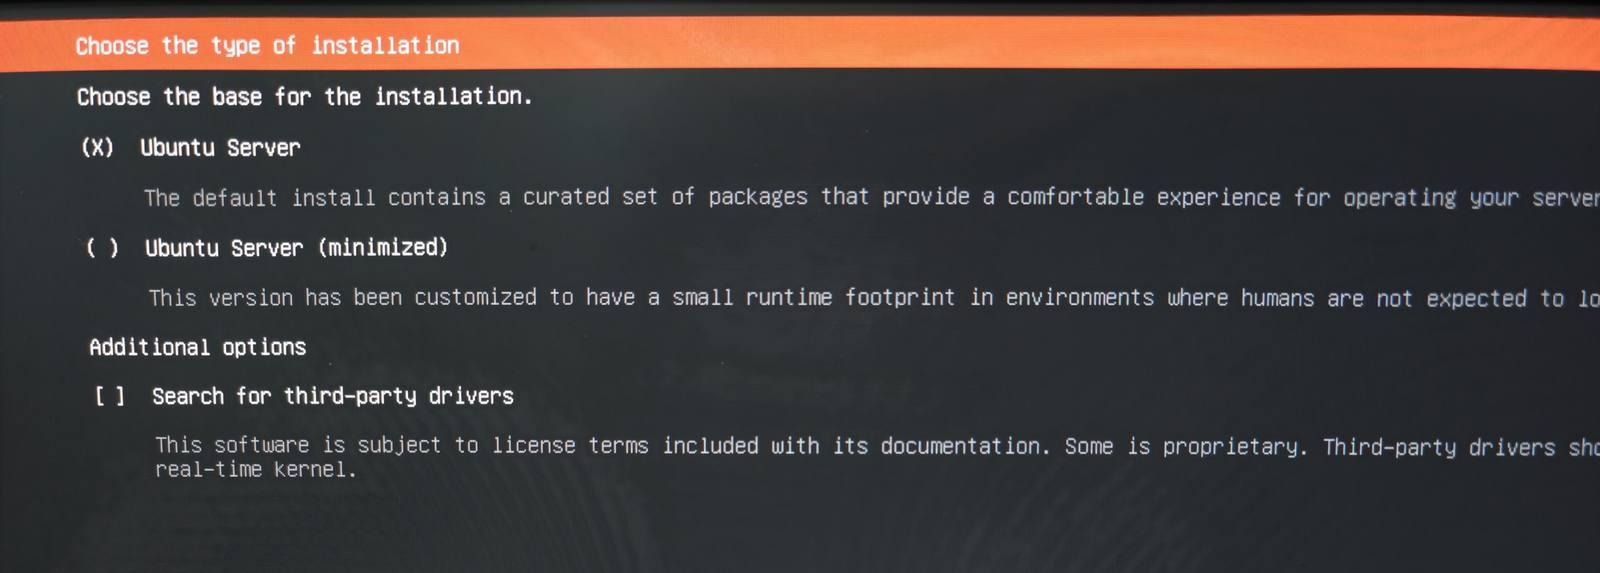
4.6 Select the installation option
Select the option to install Ubuntu.
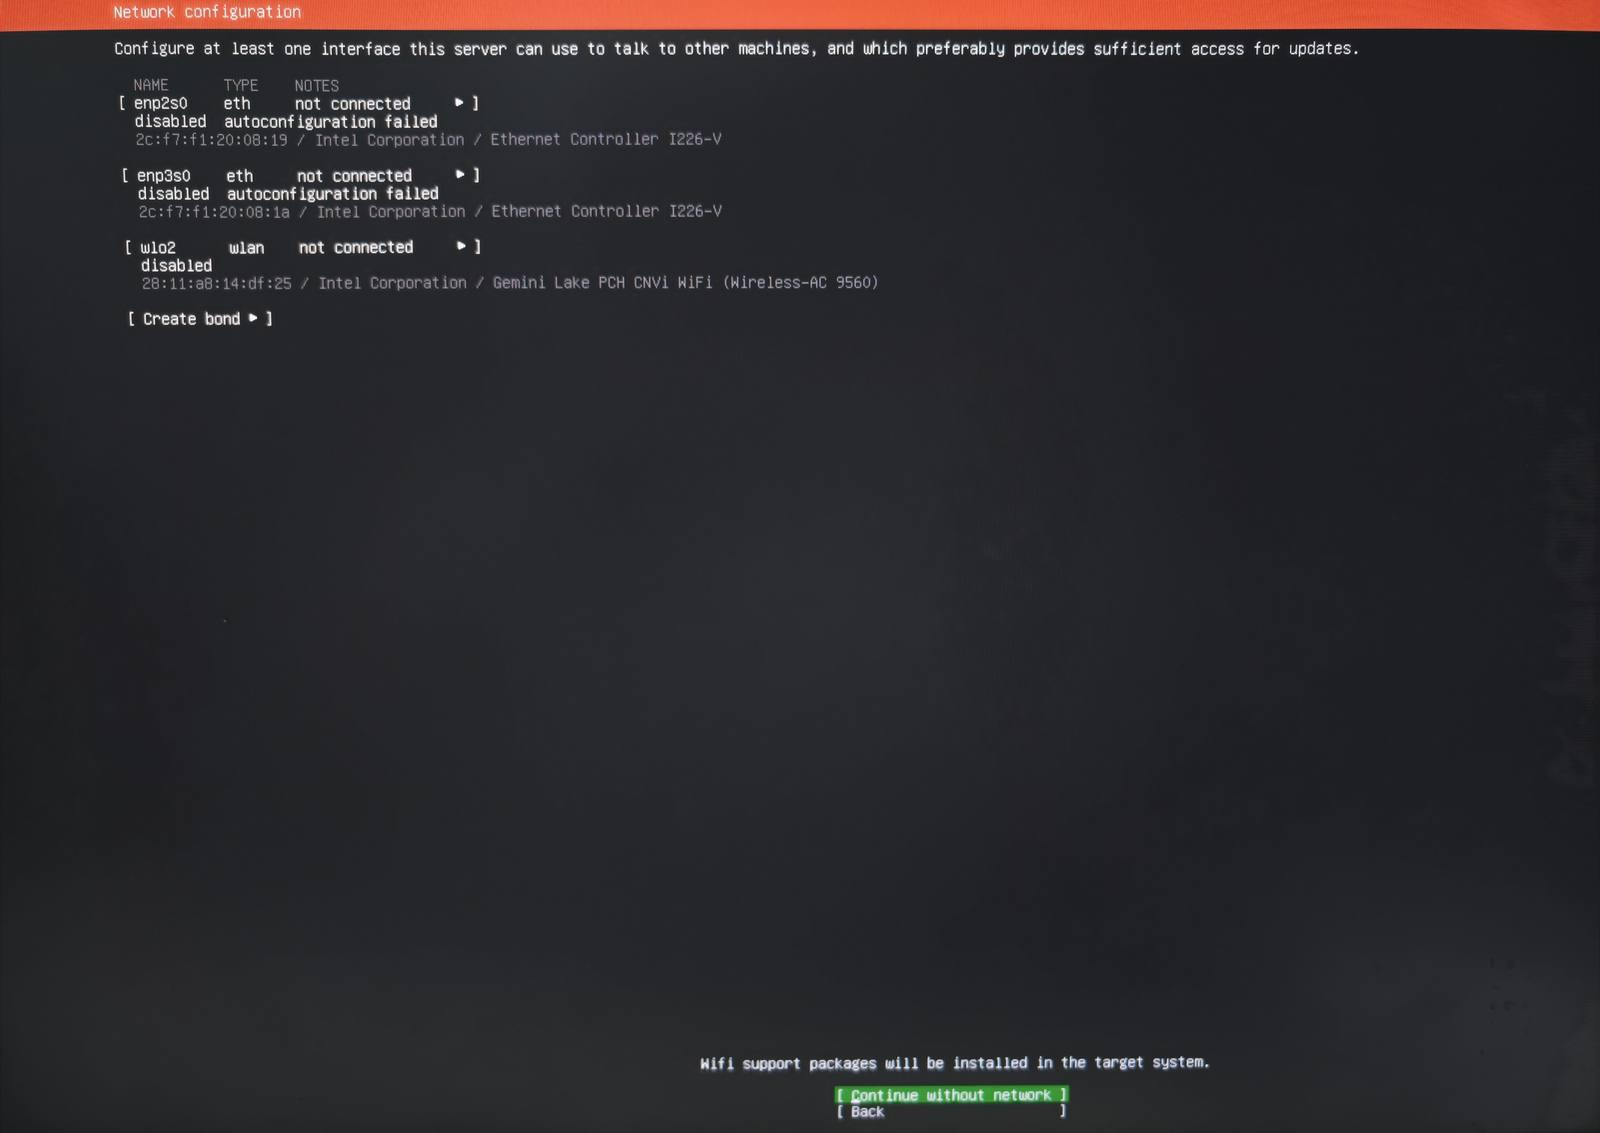
4.7 Configure the network
You may skip the network connection step for now.
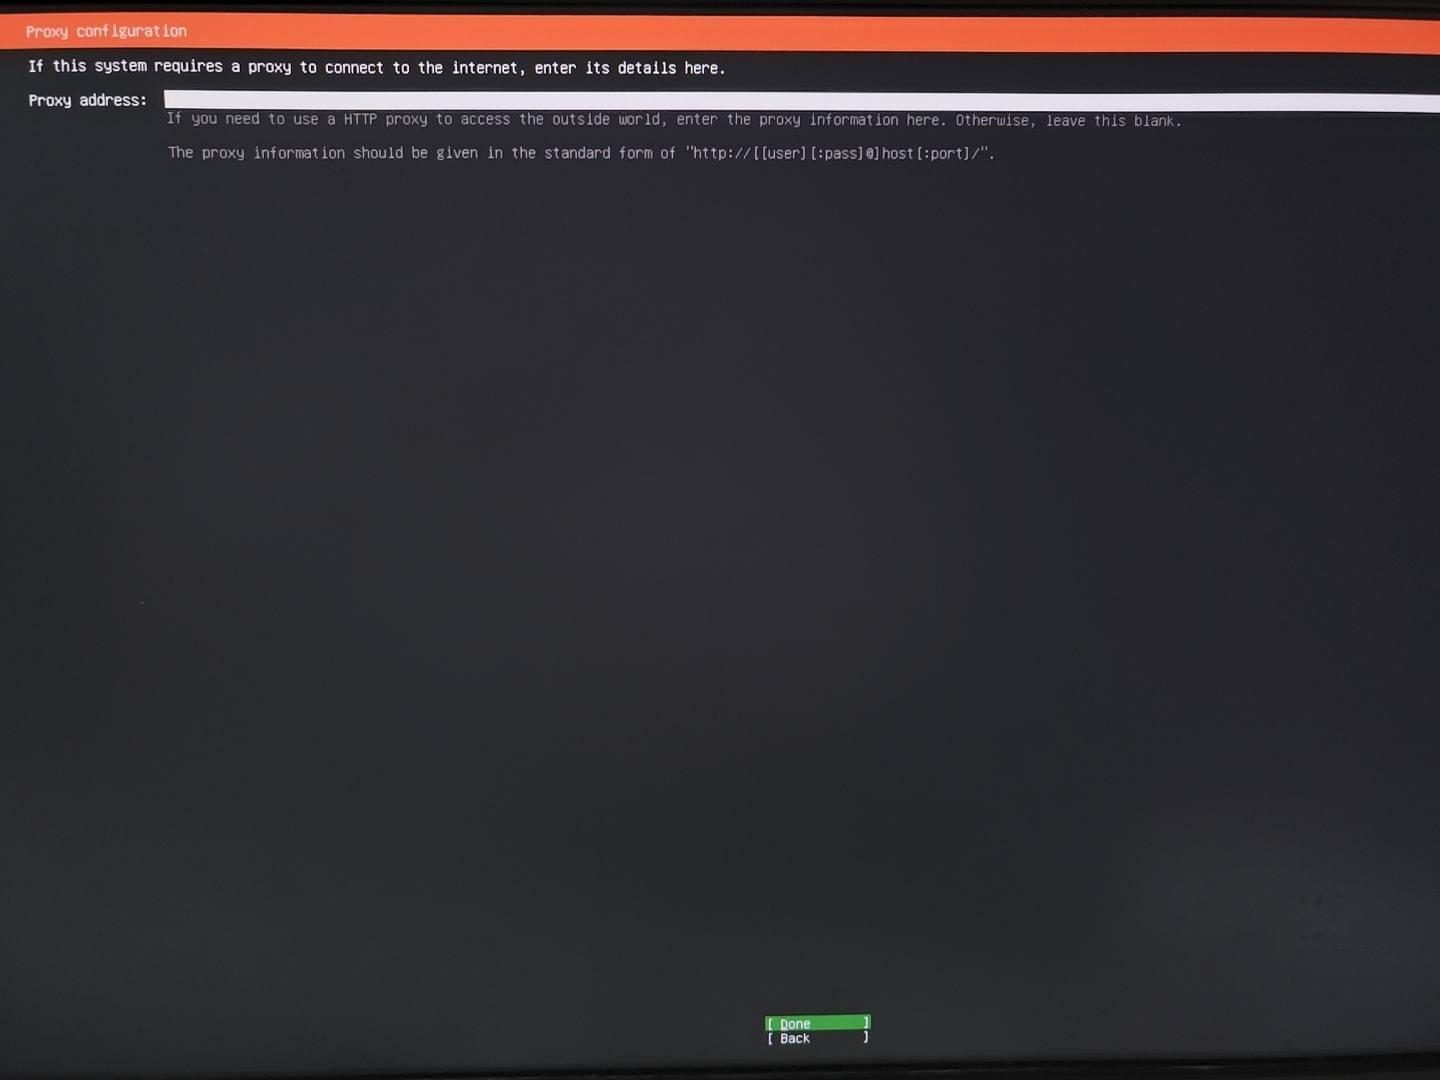
4.8 Configure the proxy
You may also skip the proxy configuration step.
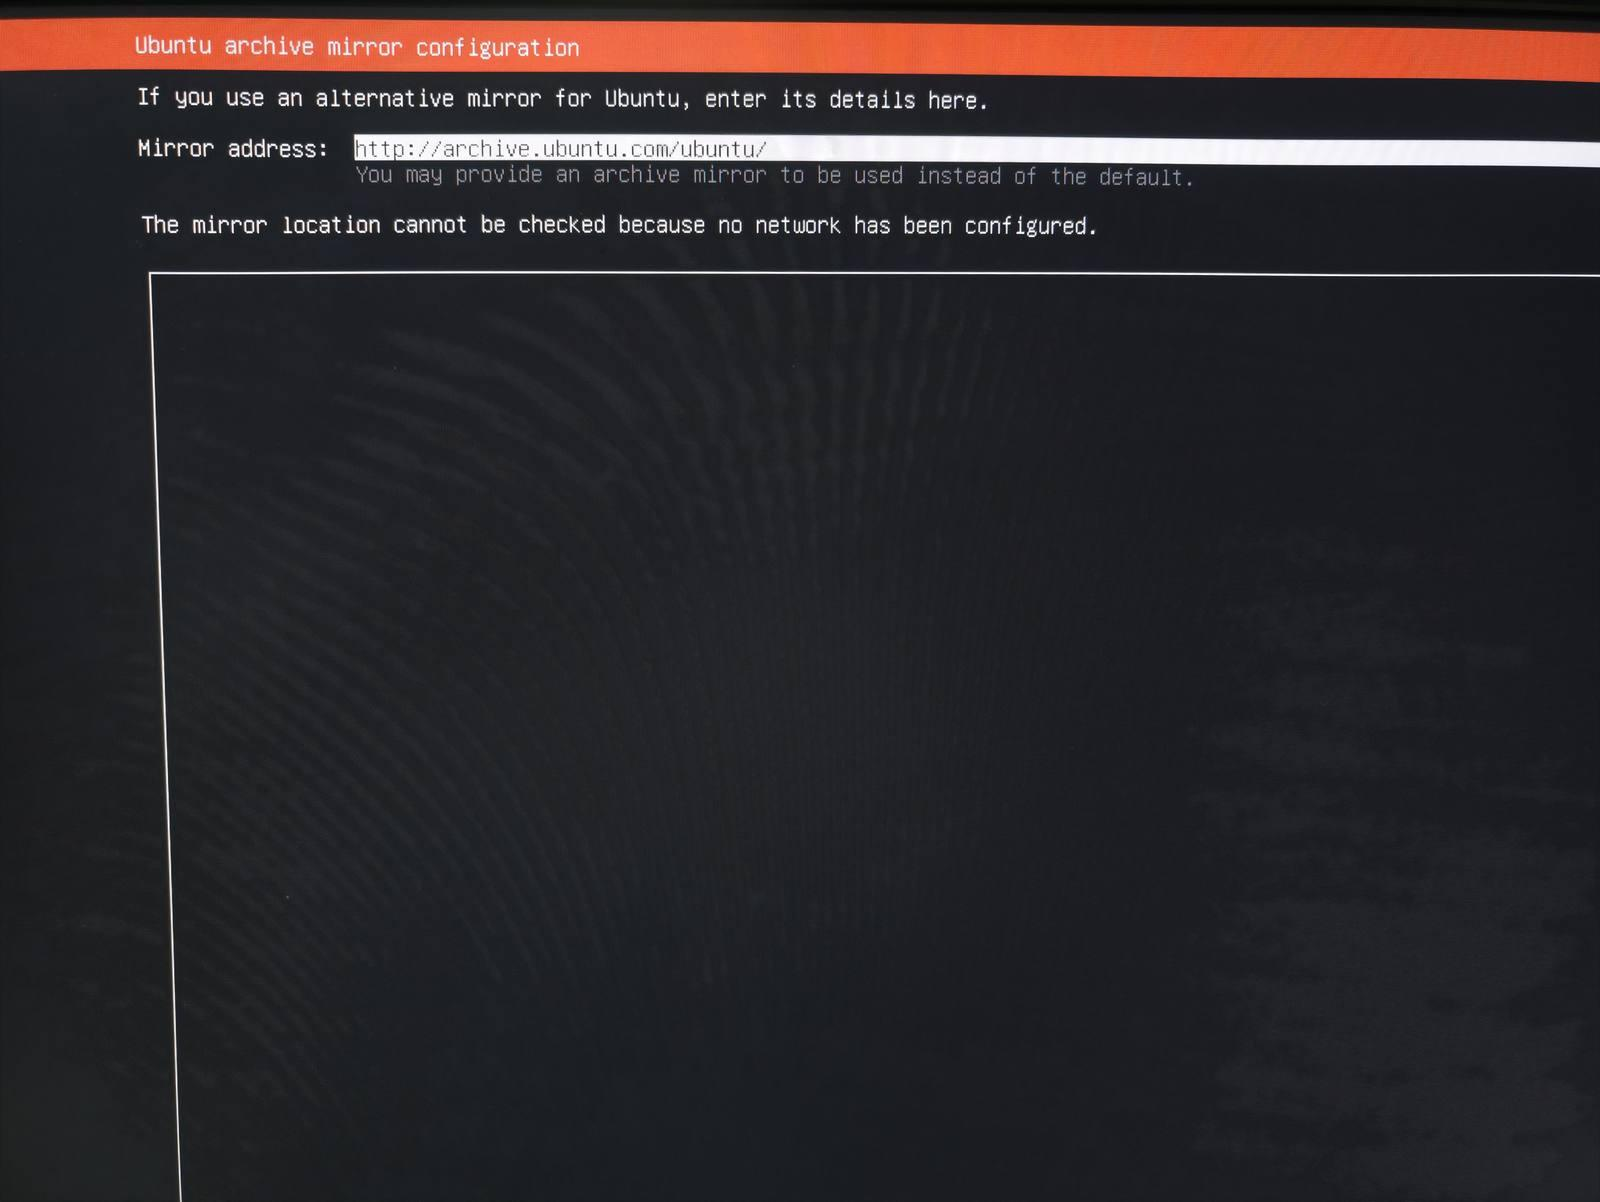
4.9 Configure the Ubuntu archive mirror
For the Ubuntu archive mirror configuration, keep the default settings and proceed to the next step.
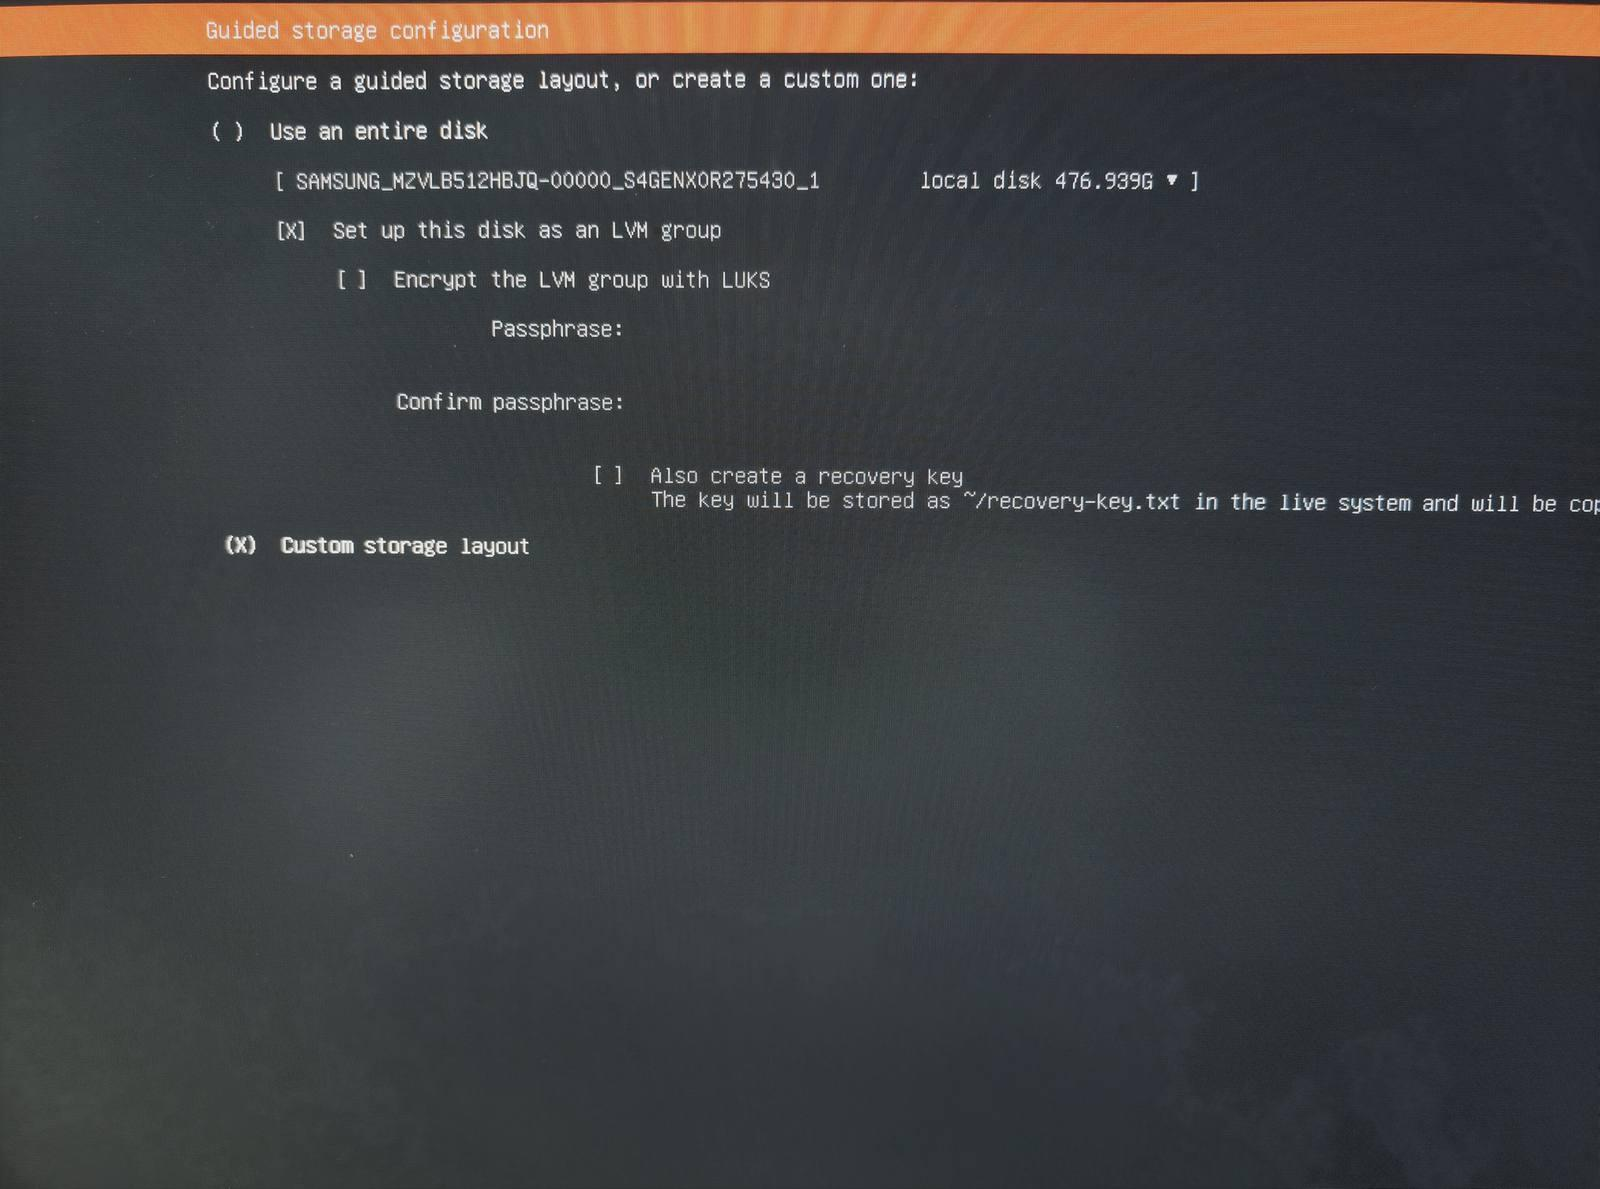
4.10 Configure the storage
Configure the storage and select Custom storage layout.
4.11 Format the disk
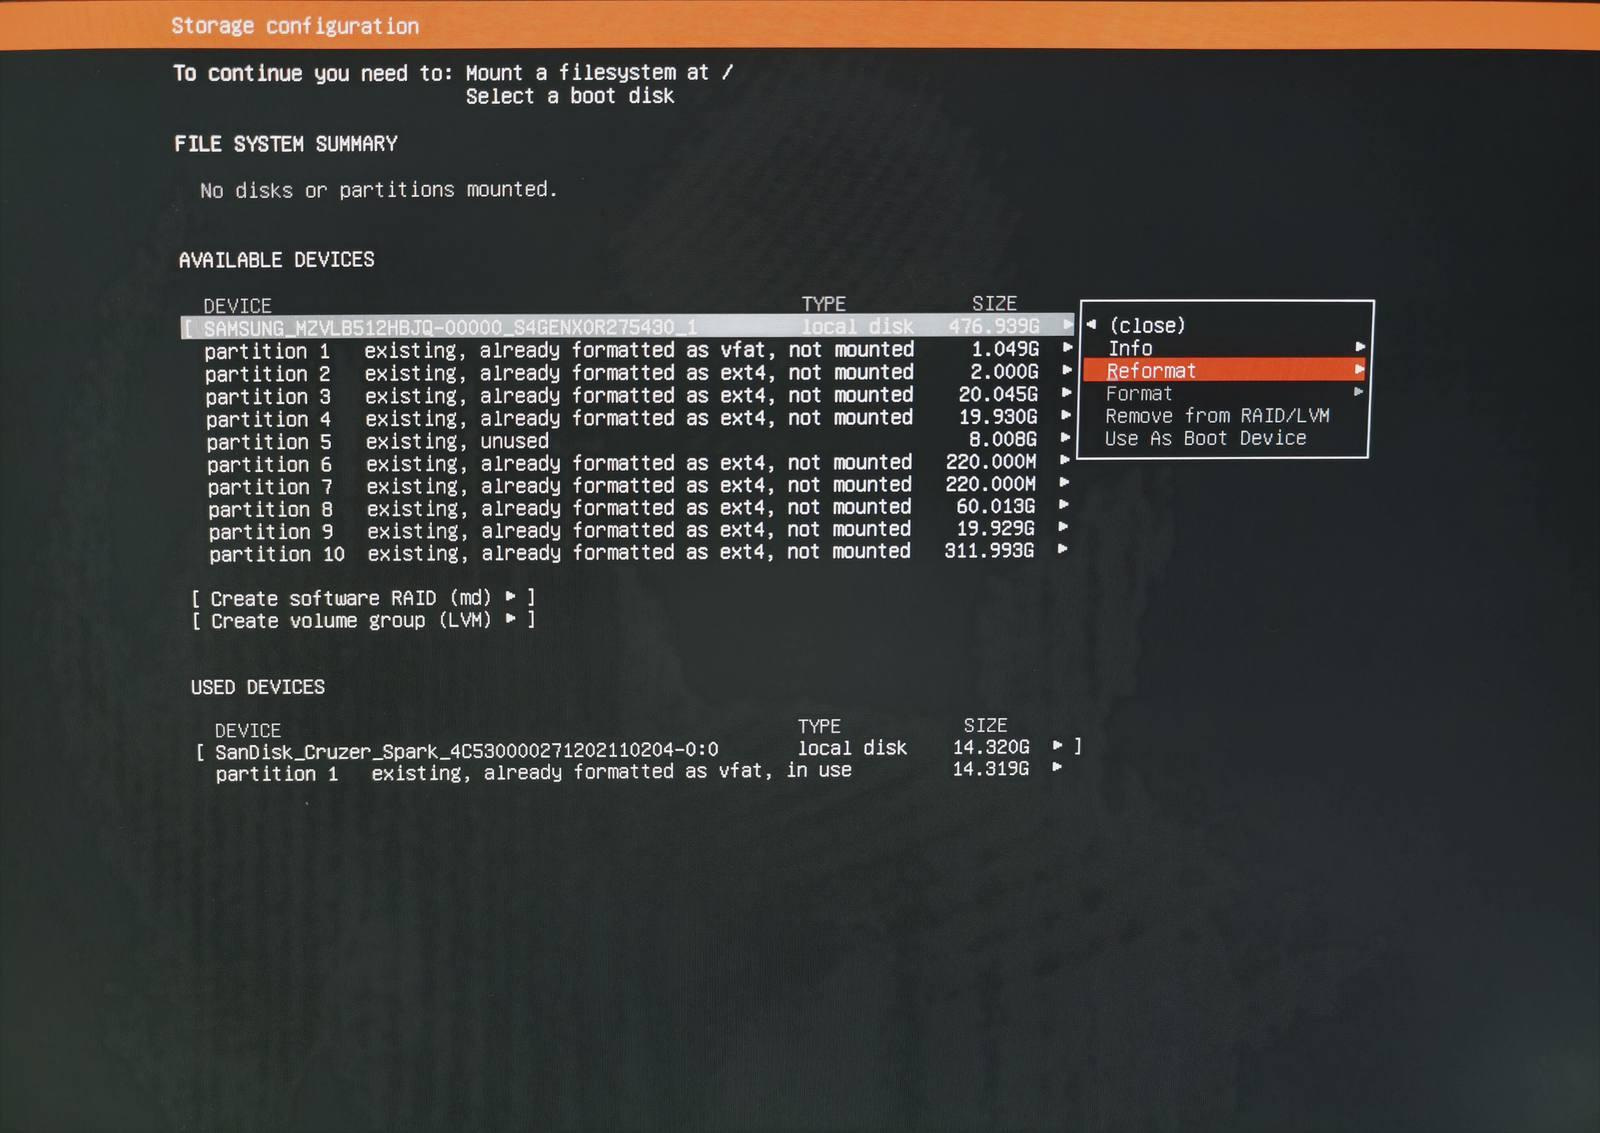
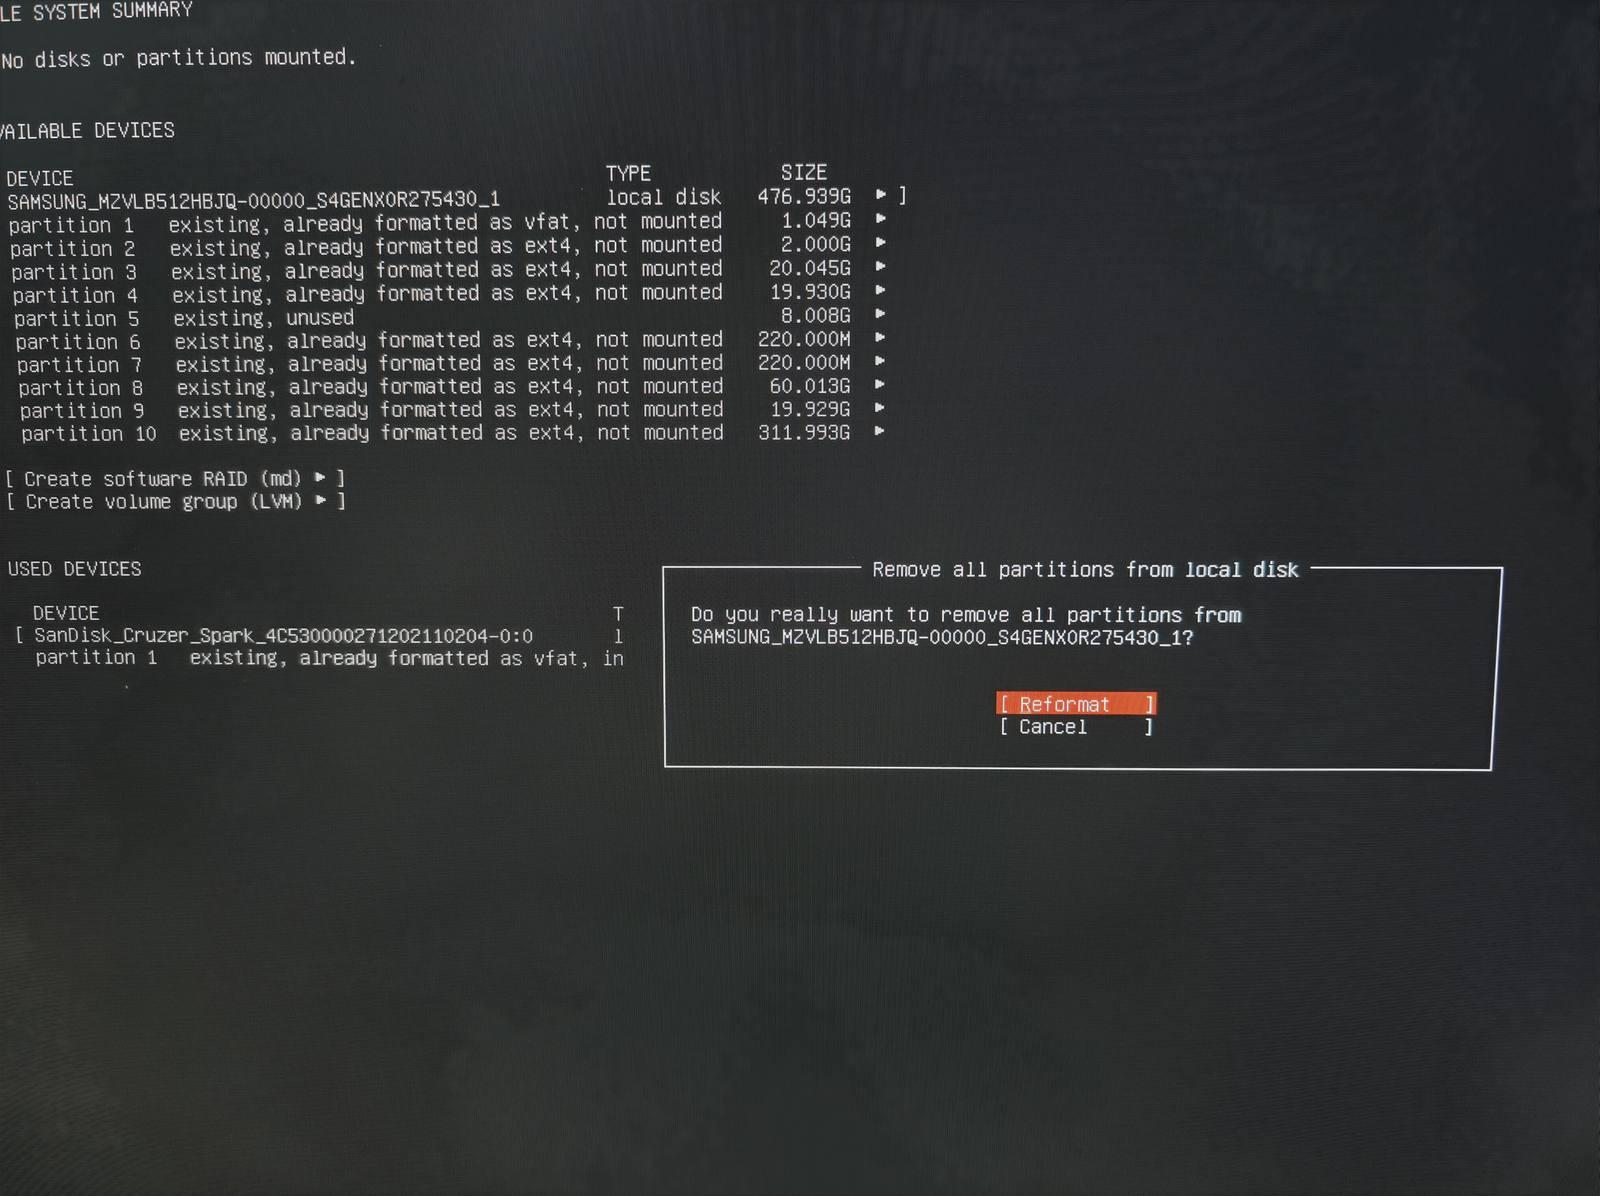
4.12 Create the partitions
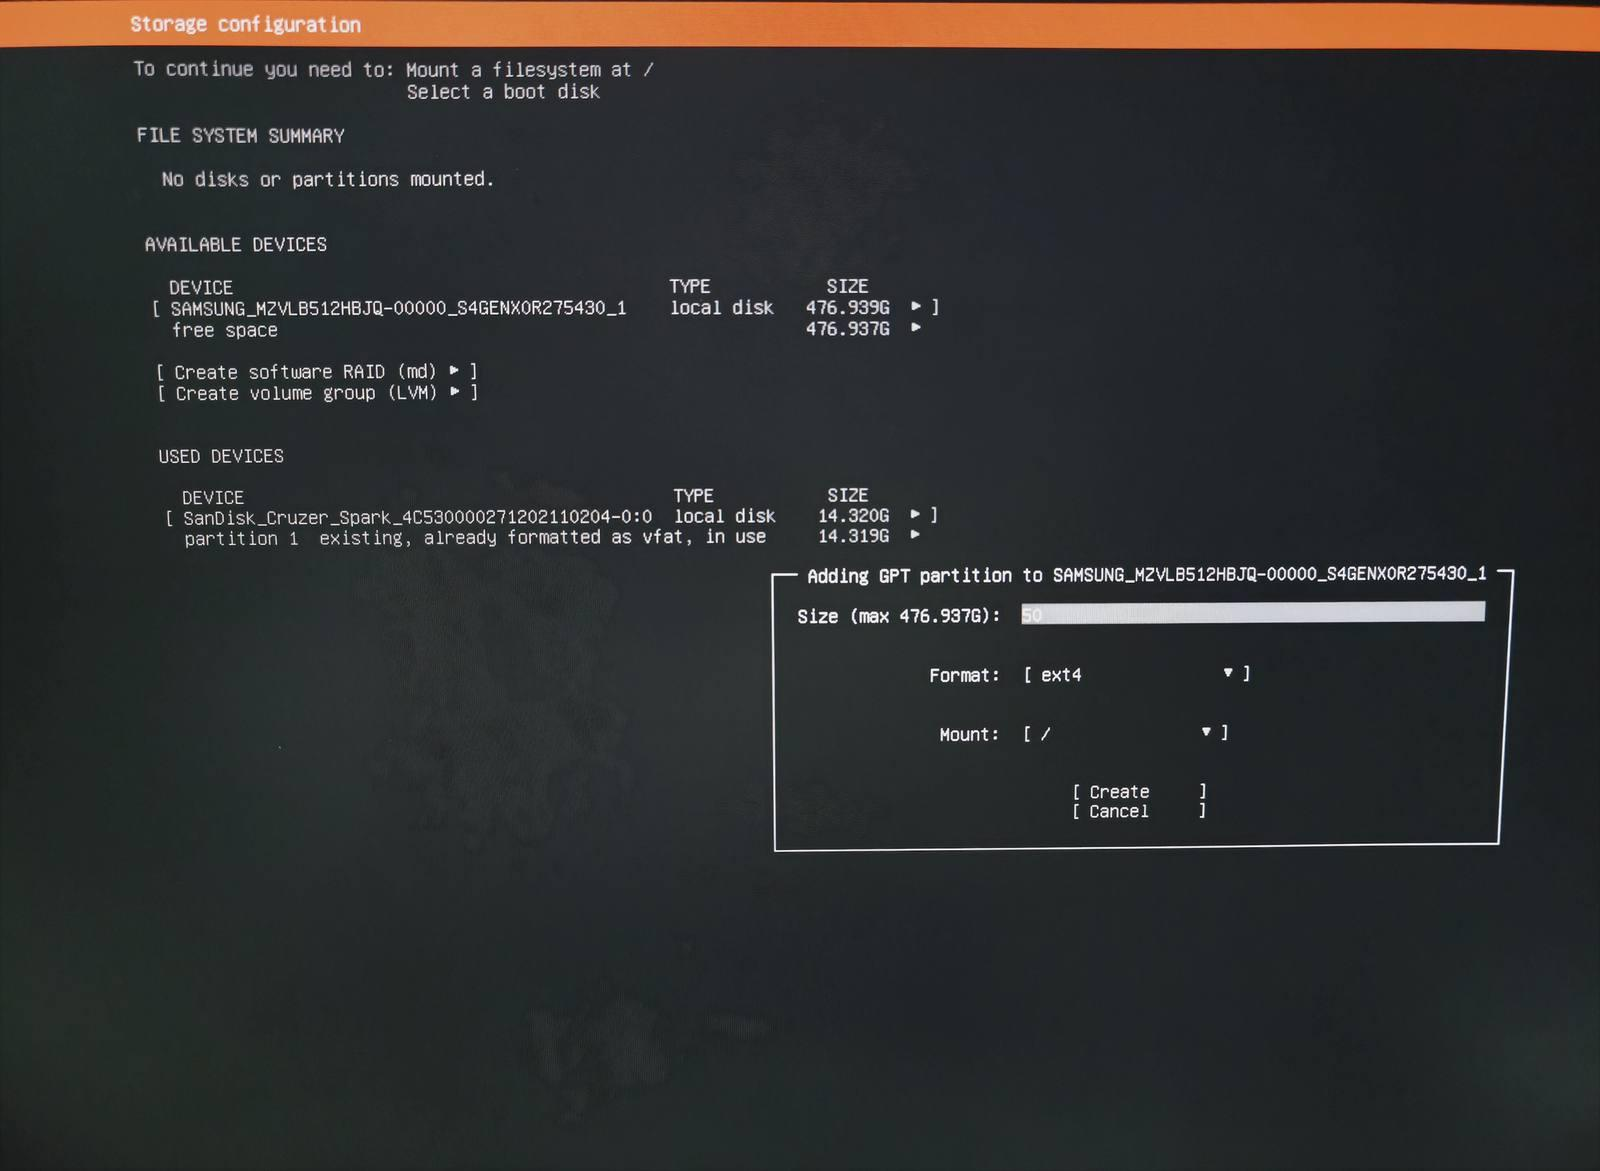
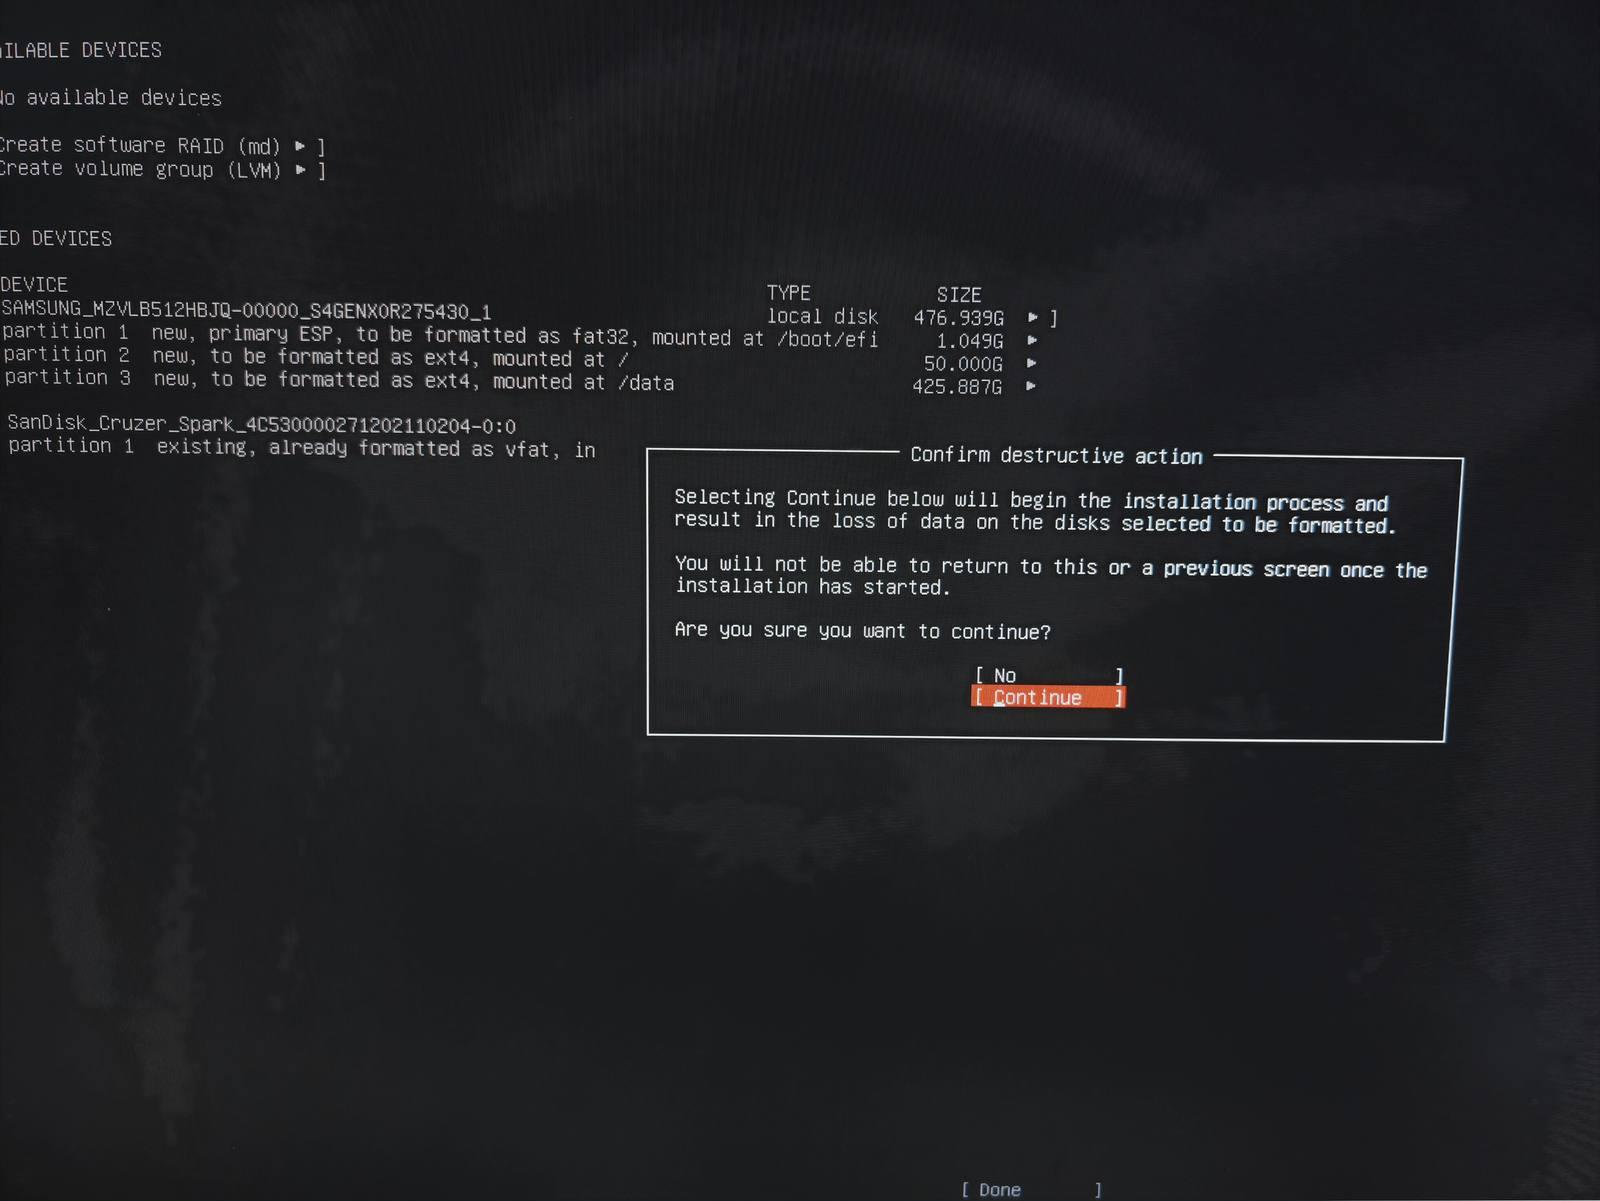
You may customize the partition layout as needed. In this example, separate root and data partitions are created.
Set the root partition size to 50 GB.
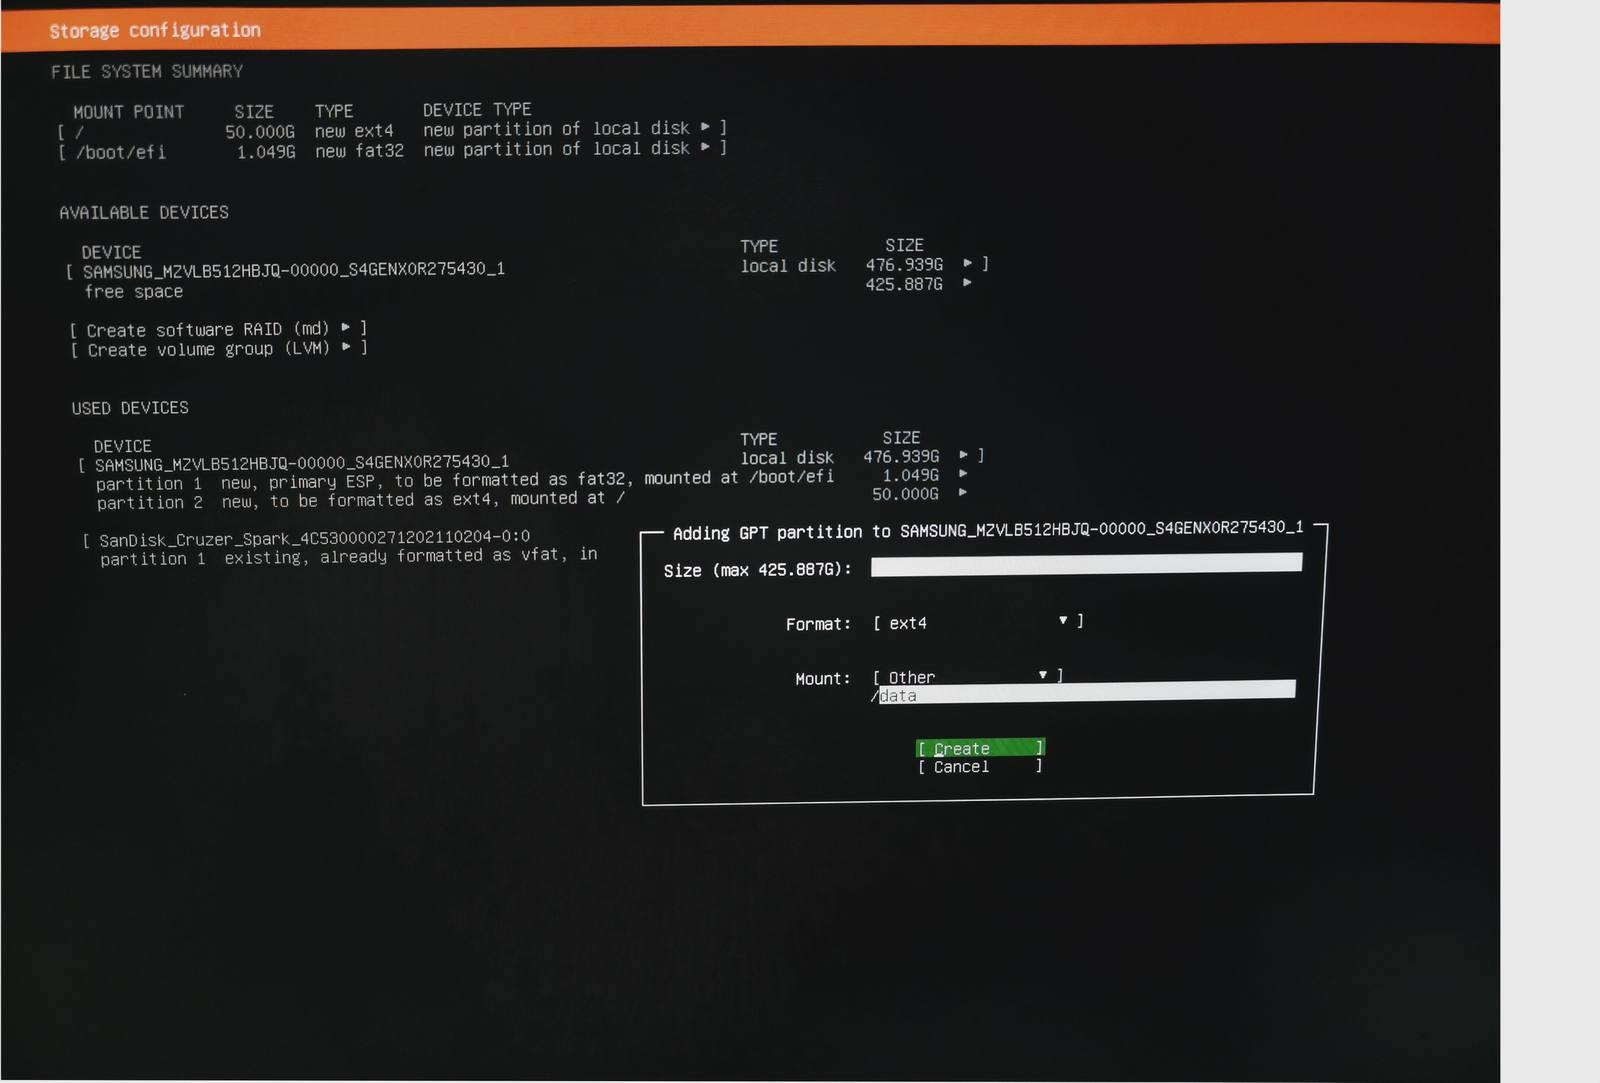
4.13 Allocate the remaining space
Allocate the remaining space to the data partition. Leaving this field blank assigns all remaining space to /data.
4.14 Confirm the partition layout
Once the partitions have been created, click Next.
4.15 Configure the user account
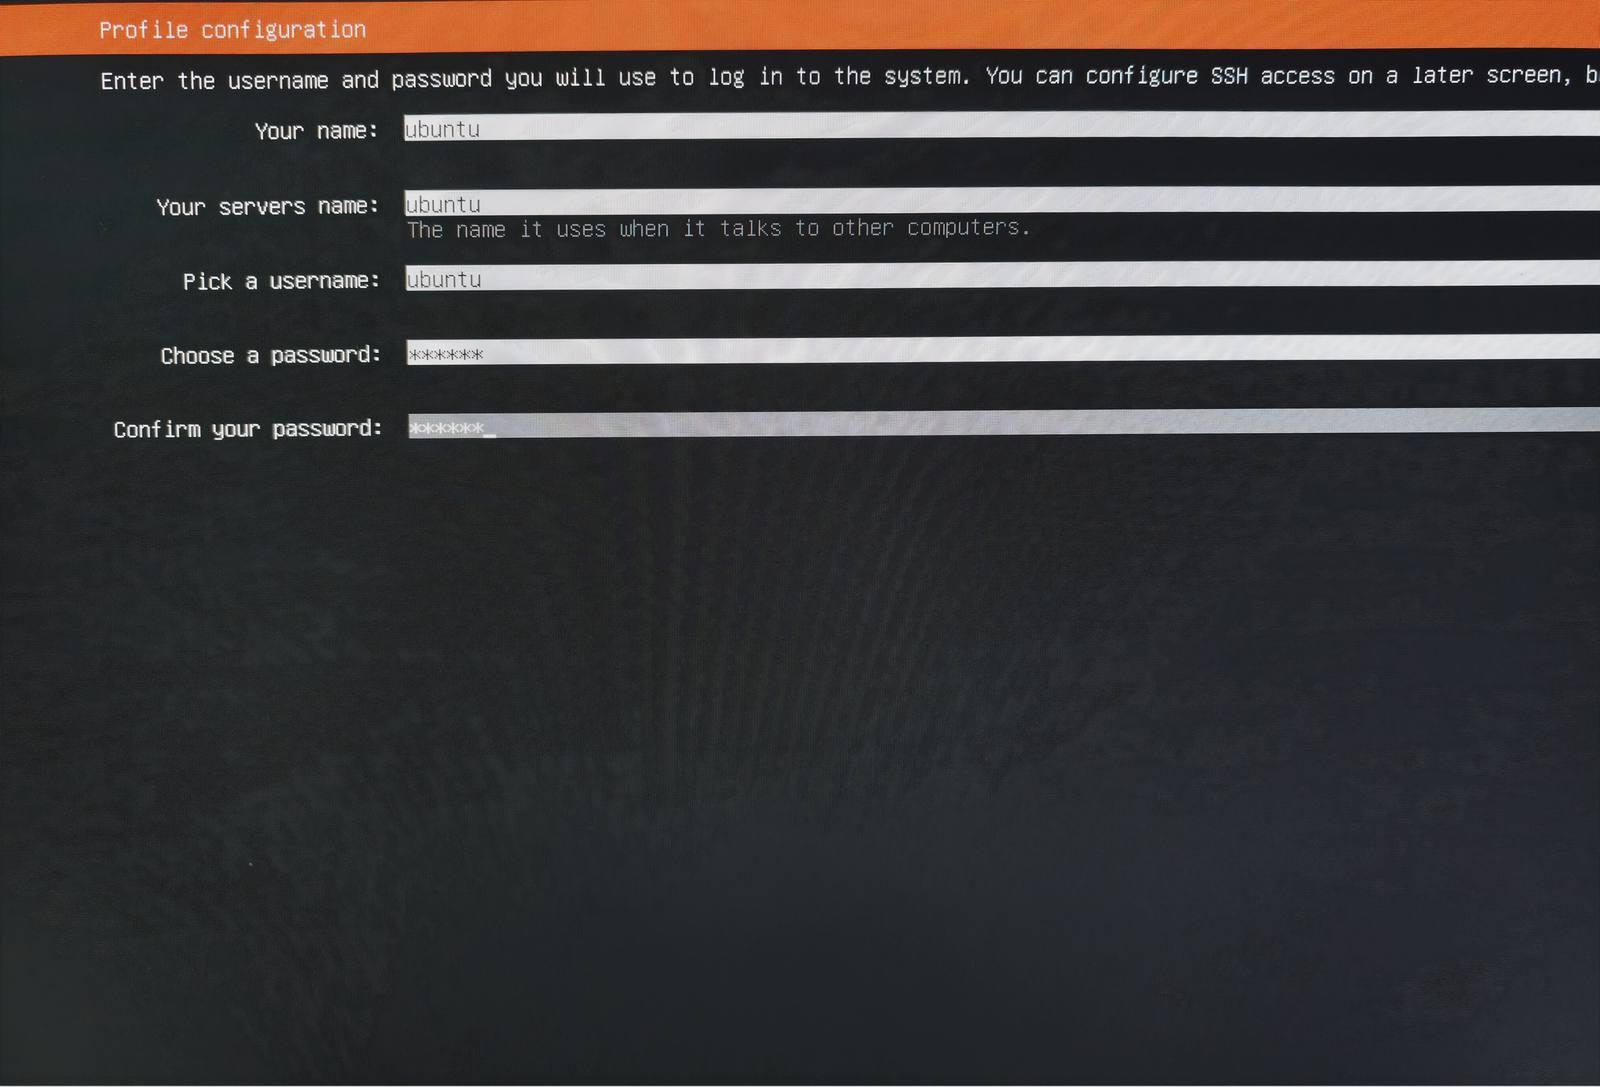
Enter the hostname, username, and password.
4.16 Skip Ubuntu Pro
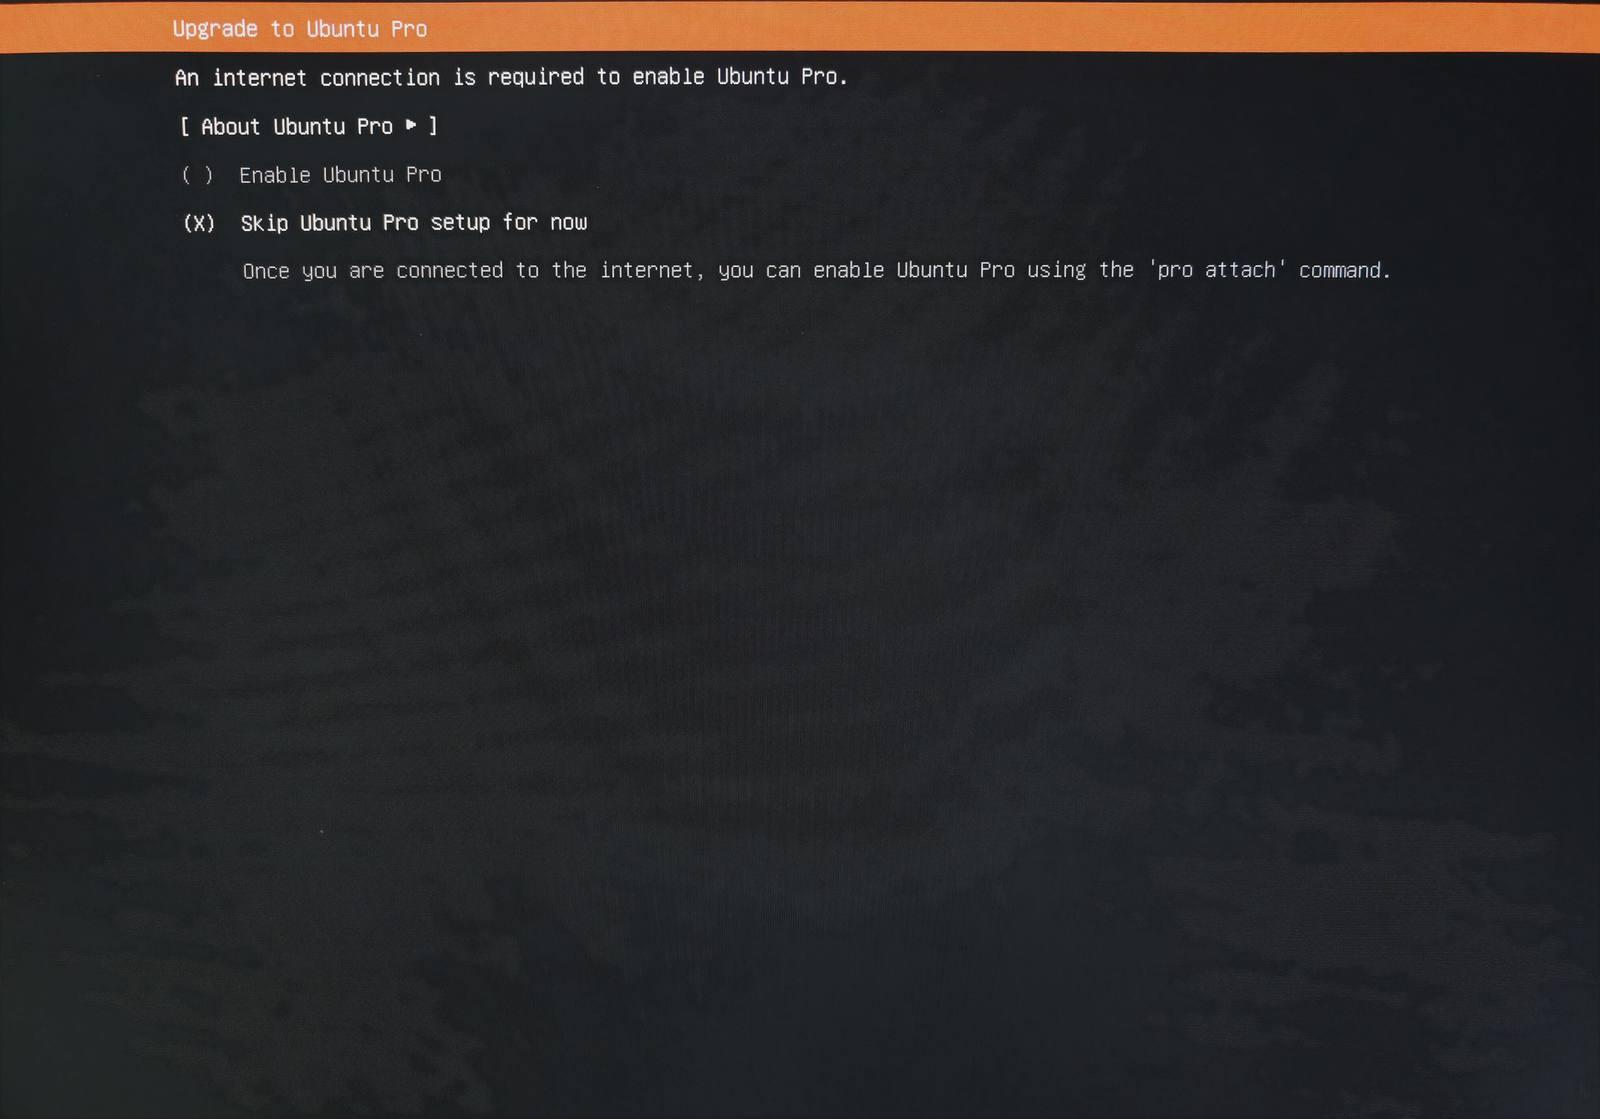
You may skip the Ubuntu Pro upgrade for now.
4.17 Install OpenSSH
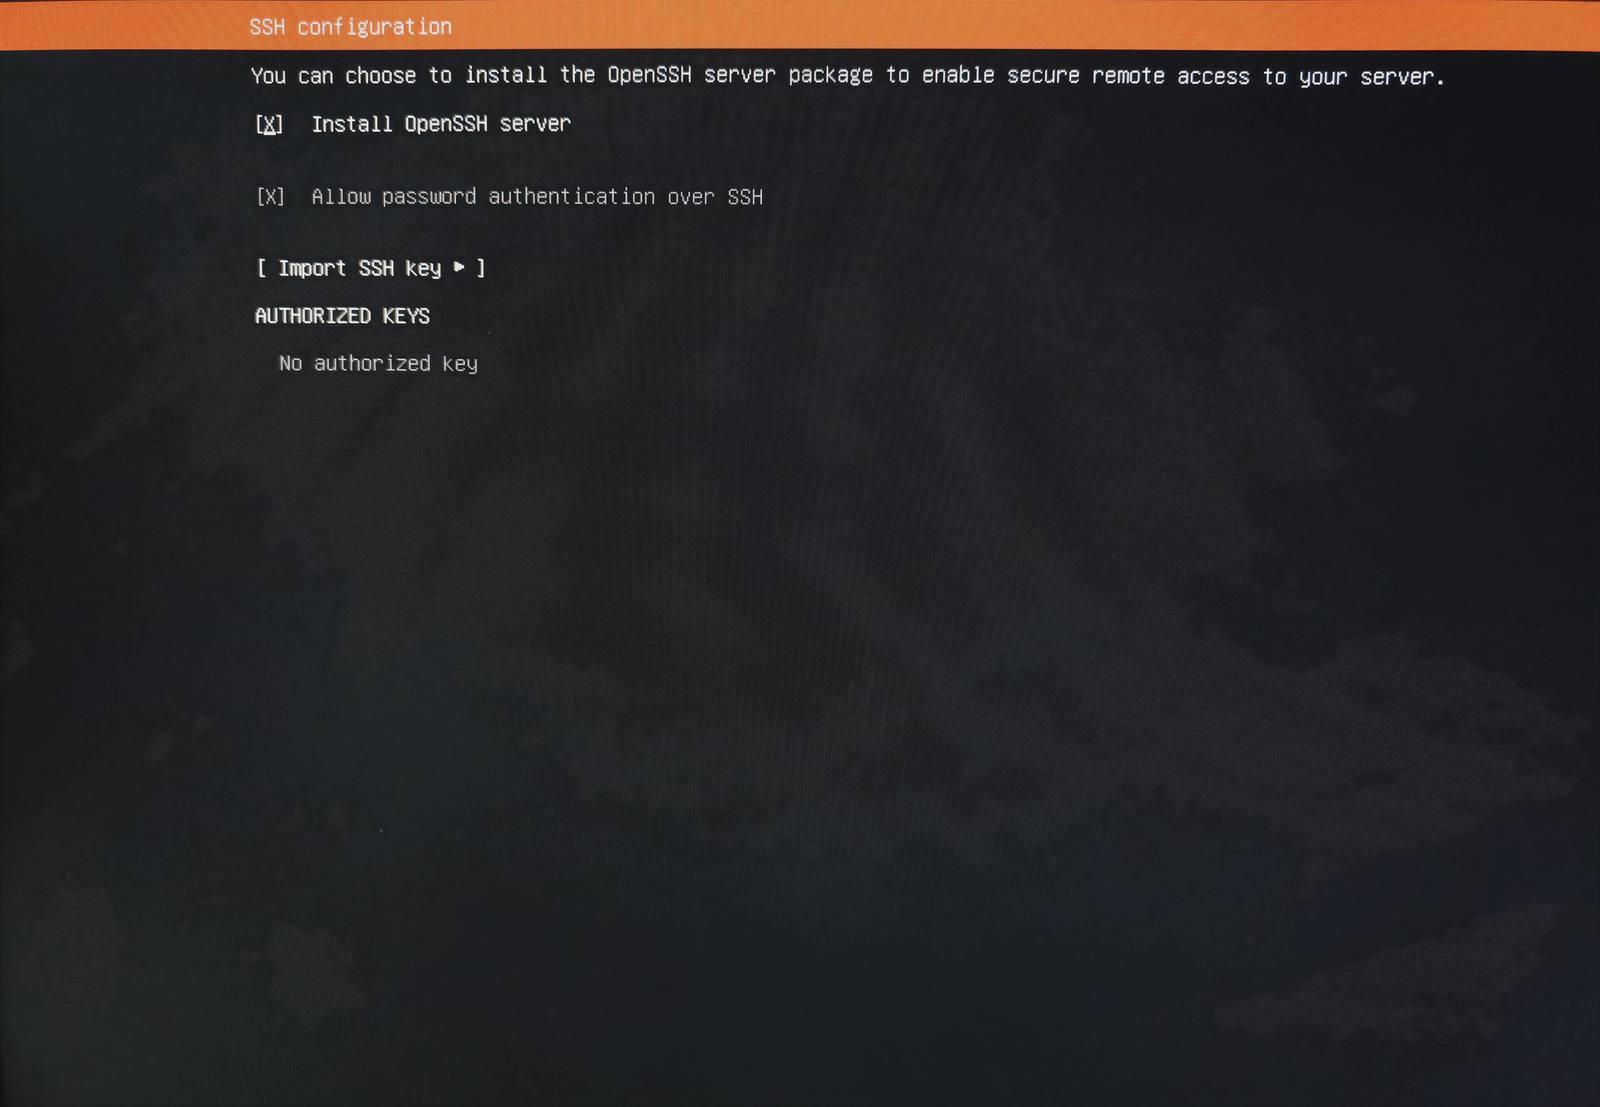
Install OpenSSH here to enable SSH connections.
4.18 Restart the system
Once the installation is complete, select Reboot Now. You may remove the USB drive while the system is restarting.
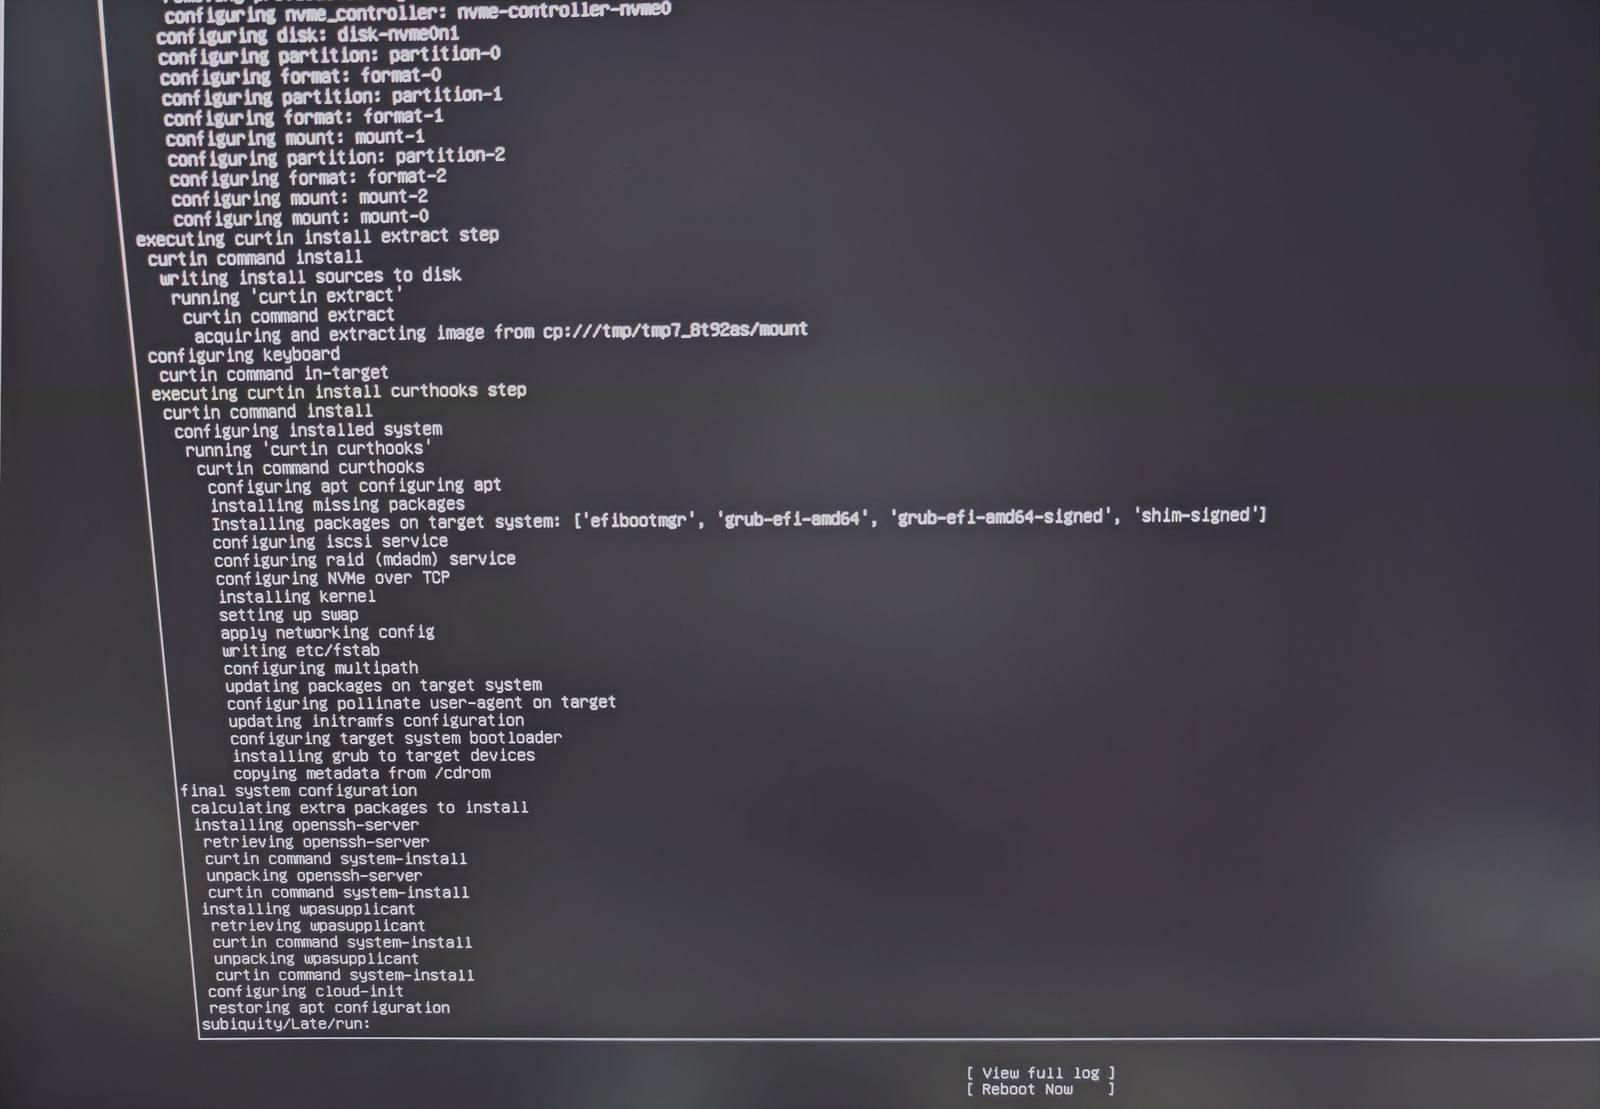
4.19 Complete the installation
Installation completed successfully.