Iot Button Connect To ESPHome
Getting Started

In this example, we will introduce how to connect the Iot Button to the home assistant and use the Iot Button to control the buzzer on and off.
Materials Required
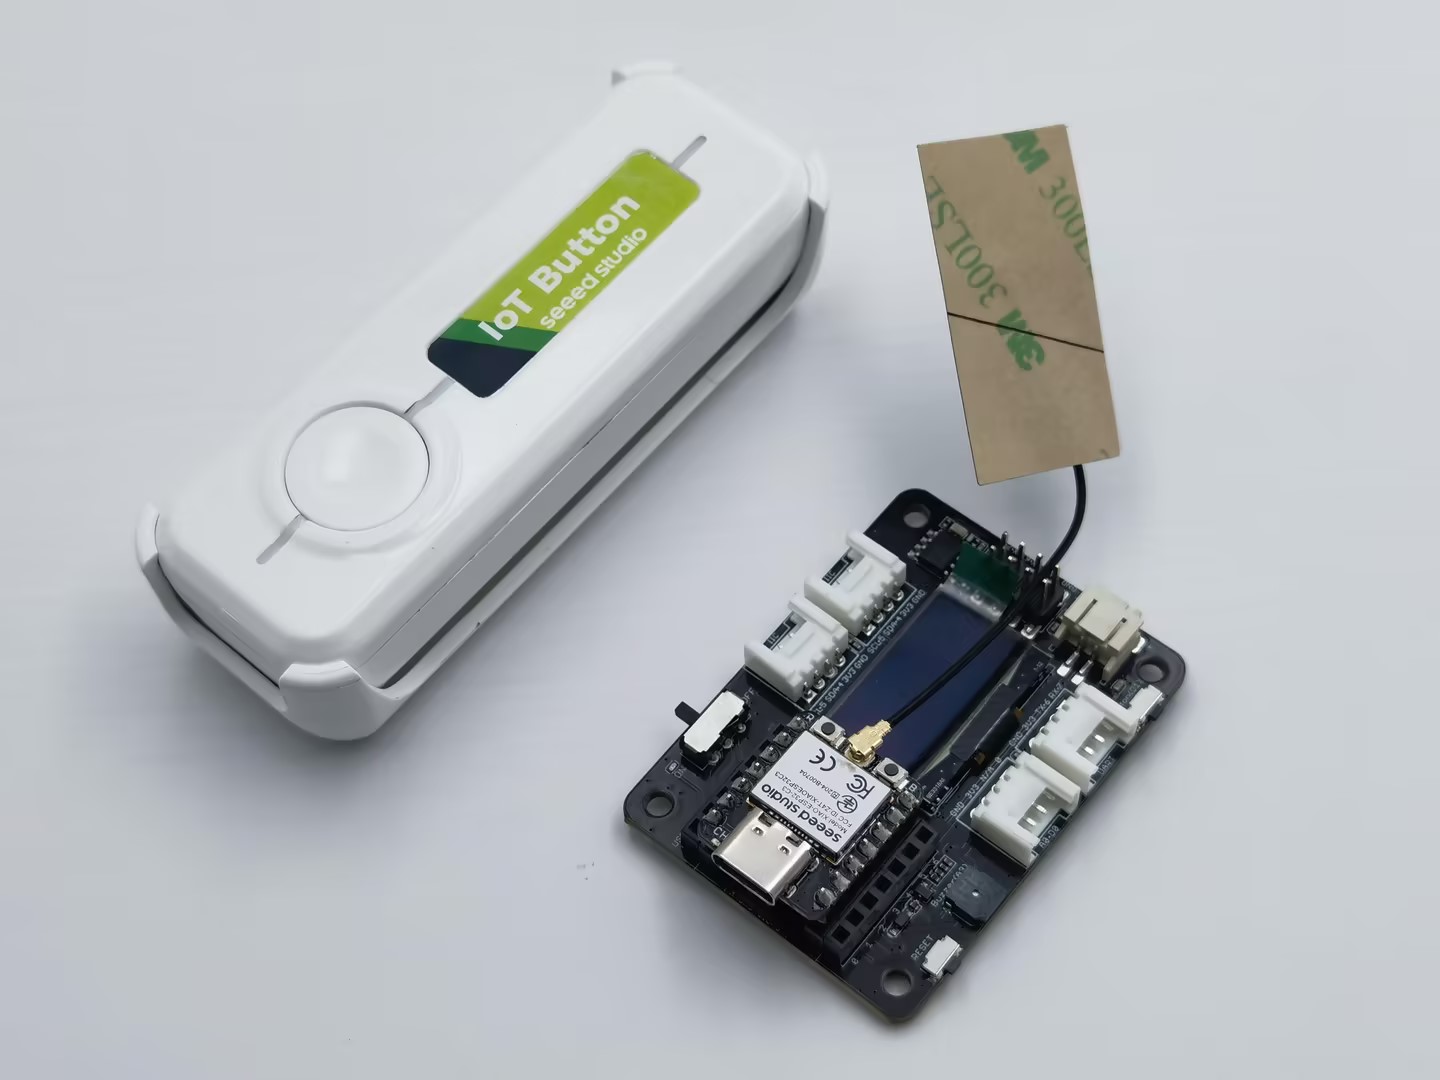
| Iot Button | XIAO ESP32C3 | Expansion Board Base for XIAO |
|---|---|---|
 |  |  |
A powerful functional expansion board for Seeed Studio XIAO, with its rich peripherals including buzzer. XIAO ESP32C3 was also selected as the master control, of course, you can also be based on the case of free play to create!
Install ESPHome on Home Assistant
Step 1. Click Settings --> Add-on --> ADD-ON STORE.


Step 2. Search ESPHome.

Step 3. Click INSTALL, then click START.

Step 4. Successful installation

Adding the Iot button to ESPHome
Step 5. Click +NEW DEVICE

Step 6. Click NEXT and give your device a name of your choice.

Step 7. Select your device type
Here we choose the first one for now, because ESPHome doesn't support ESP32C6 at the moment, so we can't find the ESP32C6 option in the list for the time being.

Step 8. Add device successfully, finally click SKIP.

Configuring the IOT BUTTON
Adding programs to the IOT BUTTON
Step 9. The corresponding device card will appear on the ESPHome page, then click the EDIT.

Step 10. After entering the editing interface you need to configure the ESP32, you can copy the code directly.

esp32:
  board: esp32-c6-devkitc-1
  variant: esp32c6
  flash_size: 4MB # upload.flash_size
  framework:
    type: esp-idf
    platform_version: 6.5.0 # Need at least 6.4 for ESP32-C6

    # Tasmota's release of 5.1.3 works, first-party release does not LOL
    version: 5.1.3
    source: https://github.com/tasmota/esp-idf/releases/download/v5.1.3.240325/esp-idf-v5.1.3.zip

    # Fix flash size by ensuring IDF flash size is also set (was defaulting to 2MB?!?)
    # See https://github.com/esphome/issues/issues/5404
    sdkconfig_options:
      CONFIG_ESPTOOLPY_FLASHSIZE_4MB: y
Step 11. Adding corresponding components and initialising and configuring device pins.
The WIFI ssid and password configuration should be the same as the server, to ensure that the connection is the same network!

binary_sensor:
  - platform: gpio
    pin:
      number: GPIO3
      mode: INPUT_PULLUP
      inverted: True
    name: "IoT Button"
Step 12. After completing the above steps click on INSTALL in the upper right corner and then select Plug into this computer.

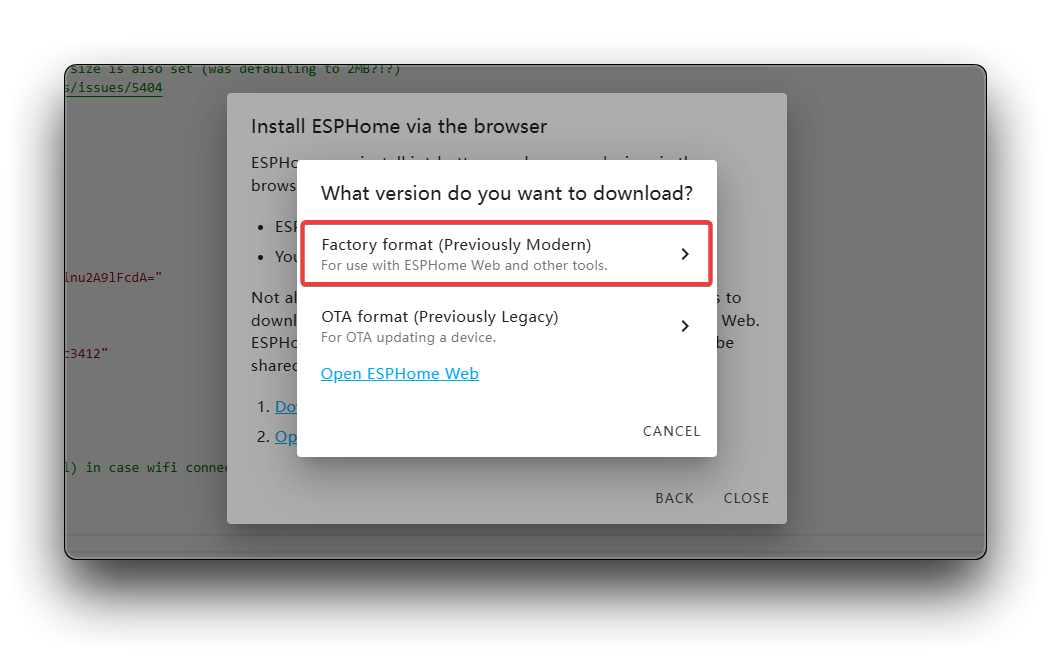
Step 13. Then please be patient, after the waiting time is over, click Download project, select Factory format to download the project file, and then click Open ESPHome Web.


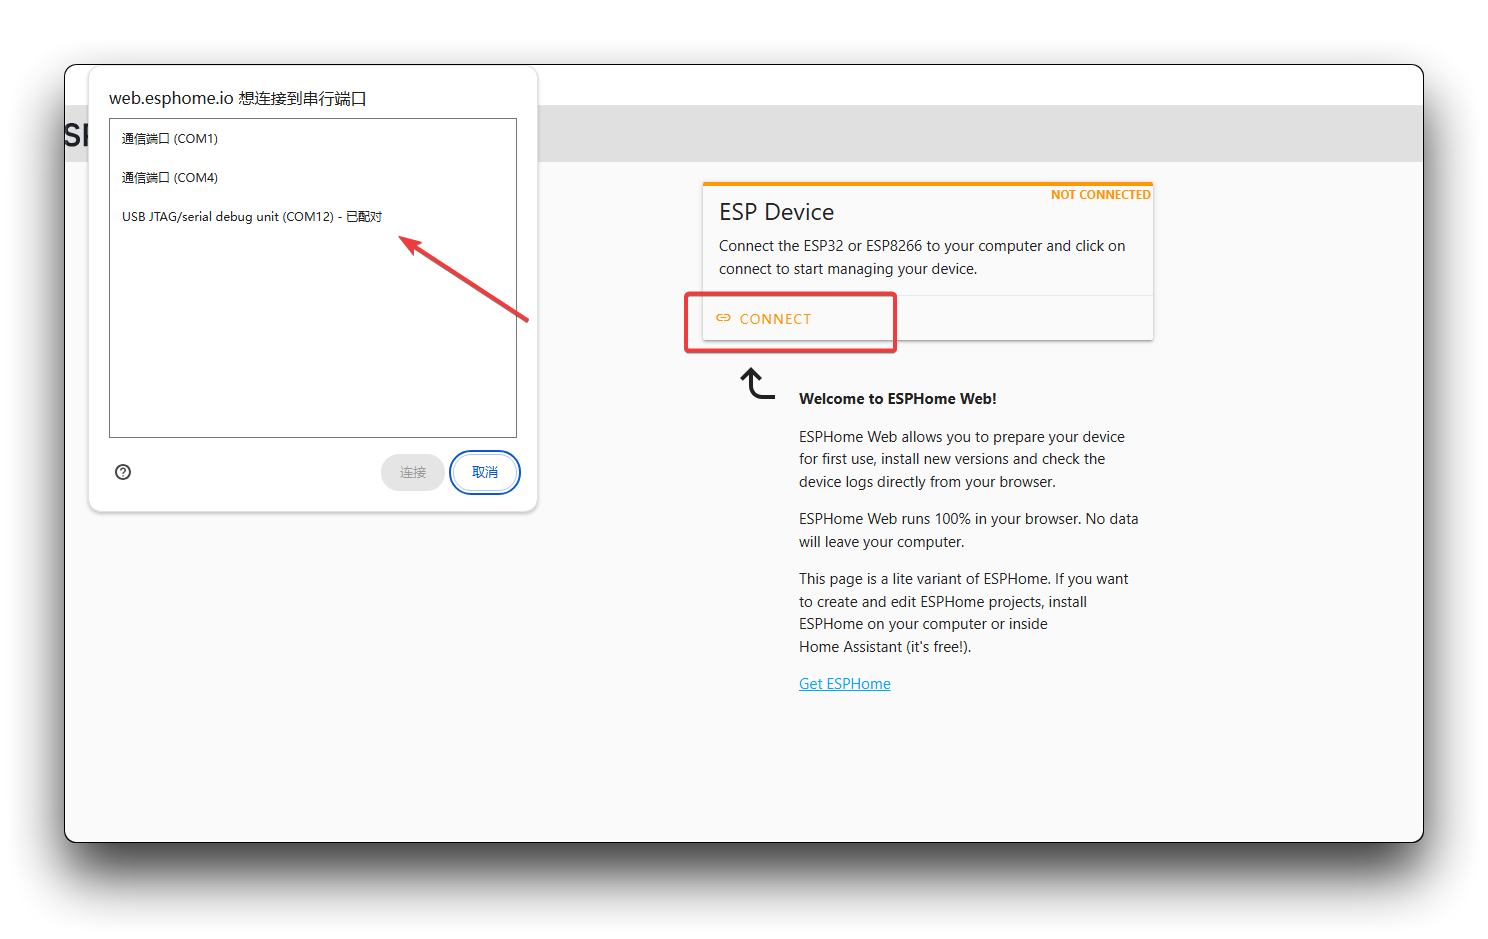
Step 14. At this point you need to connect the Iot Button to the computer via usb, and then click CONNECT to select the correct serial port!

Step 15. To get the factory file of your ESPHome project.

Step 16. If all goes well, you will be able to see the following image.

Adding Iot Button to the dashboard
Step 17. Click on Settings and then select Devices & services

Step 18. Select the corresponding device.

Step 19. Select the Iot Button to add, you can select the region for the device and click FINISH! The Iot Button appears in the dashboard on the homepage!


Iot Button control Buzzer
Adding programs to the BUZZER
Please make sure you have added buzzer in home assistant, you can refer to the above process to do so.
Firstly, you need to add buzzer to esphome based on the process above. Then you can start to write the programme, you can refer to the example we provided, but you need to pay attention to the difference of the actual pins.
esphome:
  name: buzzer
  friendly_name: buzzer

esp32:
  board: esp32-c3-devkitm-1
  framework:
    type: arduino

# Enable logging
logger:

# Enable Home Assistant API
api:
  encryption:
    key: "k13mbm4GBgaxe8yf5IHojn7am3imn0pFZrUwRe3IbRQ="

ota:
  - platform: esphome
    password: "ba8bb045e584ddeb1803debf2cce1311"

wifi:
  ssid: !secret wifi_ssid
  password: !secret wifi_password

  # Enable fallback hotspot (captive portal) in case wifi connection fails
  ap:
    ssid: "Buzzer Fallback Hotspot"
    password: "EL0JOgoaGbQq"

captive_portal:

output:
  - platform: ledc
    id: my_buzzer
    pin: GPIO5

switch:
  - platform: template
    name: "Buzzer"
    turn_on_action:
      - output.turn_on: my_buzzer
      - output.ledc.set_frequency:
          id: my_buzzer
          frequency: 1000Hz
      - output.set_level:
          id: my_buzzer
          level: 50%
    turn_off_action:
      - output.turn_off: my_buzzer
Automations
Step 20. Select Automations & scenes.

Step 21. Click CREATE AUTOMATION, create new automation.

Step 22. You can refer to the following configuration to create your own automation.


If you have successfully completed the above steps, when you press the button, the buzzer will successfully sound and last for two seconds.
Tech Support & Product Discussion
Thank you for choosing our products! We are here to provide you with different support to ensure that your experience with our products is as smooth as possible. We offer several communication channels to cater to different preferences and needs.