reComputer Industrial での OpenClaw 入門
1. はじめに
OpenClaw は、エッジコンピューティング向けに最適化された高性能 AI エージェントフレームワークです。Seeed Studio reComputer Industrial(R1100/R2100/R2400 シリーズ) に OpenClaw をデプロイすることで、ユーザーは RS485、CAN、GPIO などの産業用ハードウェアと自然言語で対話でき、開発の複雑さを大幅に軽減できます。
2. ハードウェアの準備
- デバイス:
- reComputer Industrial R1000/R1100: Raspberry Pi CM4 搭載。
- reComputer Industrial R2000 / R2100 / R2200: Raspberry Pi CM5 搭載。
- reComputer AI R2000: Raspberry Pi CM5 搭載。
- reComputer AI Industrial R2000: Raspberry Pi CM5 搭載。
- 最小リソース要件:
- RAM: 最低 1GB(快適な動作には 2GB 以上を推奨)。
- ストレージ(eMMC/SD): 空き容量 8GB 以上(Node.js 環境、コンパイルキャッシュ、ログを収容するため 16GB 以上 を推奨)。
- OS: Raspberry Pi OS(64-bit)または Ubuntu 22.04 以上。
- ネットワーク: LLM API 呼び出し(例:Alibaba Cloud Model Studio)のために安定したインターネット接続が必要です。
3. インストールと設定
ステップ 1:ワンラインインストーラー
次のスクリプトを実行して OpenClaw 環境をセットアップします:
curl -sSL https://get.openclaw.ai | bash
ステップ 2:AI モデルの設定(Alibaba Qwen の例)
OpenClaw には LLM の「頭脳」が必要です。中国国内のユーザーには Alibaba Cloud Model Studio を推奨します:
openclaw configure --section model
- プロバイダー:
Alibaba Cloud Model Studio - 推奨モデル ID:
qwen-plusまたはqwen-max - API Key: DashScope コンソールで取得した API Key を入力します。
ステップ 3:Raspberry Pi 向けパフォーマンス最適化(必須)
CM4/CM5 上での応答速度向上と eMMC/SD カード寿命保護のため、以下の最適化を適用します:
# 1. Create compile cache directory
mkdir -p /var/tmp/openclaw-compile-cache

# 2. Inject environment variables into .bashrc
echo 'export NODE_COMPILE_CACHE=/var/tmp/openclaw-compile-cache' >> ~/.bashrc
echo 'export OPENCLAW_NO_RESPAWN=1' >> ~/.bashrc

# 3. Apply changes
source ~/.bashrc
4. トラブルシューティング:HTTP 401 エラーの修正
openclaw tui 実行時に HTTP 401: invalid access token が表示される場合は、トークンを手動で同期します:
# Extract and export token
export OPENCLAW_ACCESS_TOKEN=$(cat ~/.openclaw/openclaw.json | python3 -c "import sys, json; print(json.load(sys.stdin).get('gateway', {}).get('access_token', ''))")
# Save permanently
echo "export OPENCLAW_ACCESS_TOKEN=\"$OPENCLAW_ACCESS_TOKEN\"" >> ~/.bashrc
source ~/.bashrc
5. 産業用コマンド(すぐに使える)
openclaw tui でインターフェースを起動し、次のコマンドを試してみてください:
| タスク | コマンド(コピー&ペースト) | 説明 |
|---|---|---|
| ネットワーク監査 | Show all network interfaces and IP addresses. | eth0 と eth1(産業用ポート)を確認 |
| LED テスト | Blink led-green 3 times. | オンボードユーザー LED を制御 |
| RS485 パス | Check RS485 ports and show ttyACM devices. | /dev/ttyACM0 などのパスを確認 |
| CAN バス | Check if can0 is up and report bitrate. | 産業用 CAN-Bus の状態を監視 |
| ヘルスチェック | Report CPU temp and 'vcgencmd get_throttled'. | 熱と電源の安定性を監視 |
6. 応用:起動時の自動起動を有効化
AI エージェントを常にオンラインに保つため、システムサービスとして設定します:
- サービスファイルを作成:
sudo nano /etc/systemd/system/openclaw.service
- 次の内容を貼り付けます(
ainを実際のユーザー名に置き換えてください):
[Unit]
Description=OpenClaw Gateway Service
After=network.target

[Service]
Type=simple
User=ain
ExecStart=/usr/local/bin/openclaw start
Restart=always
Environment=OPENCLAW_NO_RESPAWN=1

[Install]
WantedBy=multi-user.target
- 有効化して起動:
sudo systemctl daemon-reload
sudo systemctl enable openclaw.service
sudo systemctl start openclaw.service
7. シンプルなコマンドセット
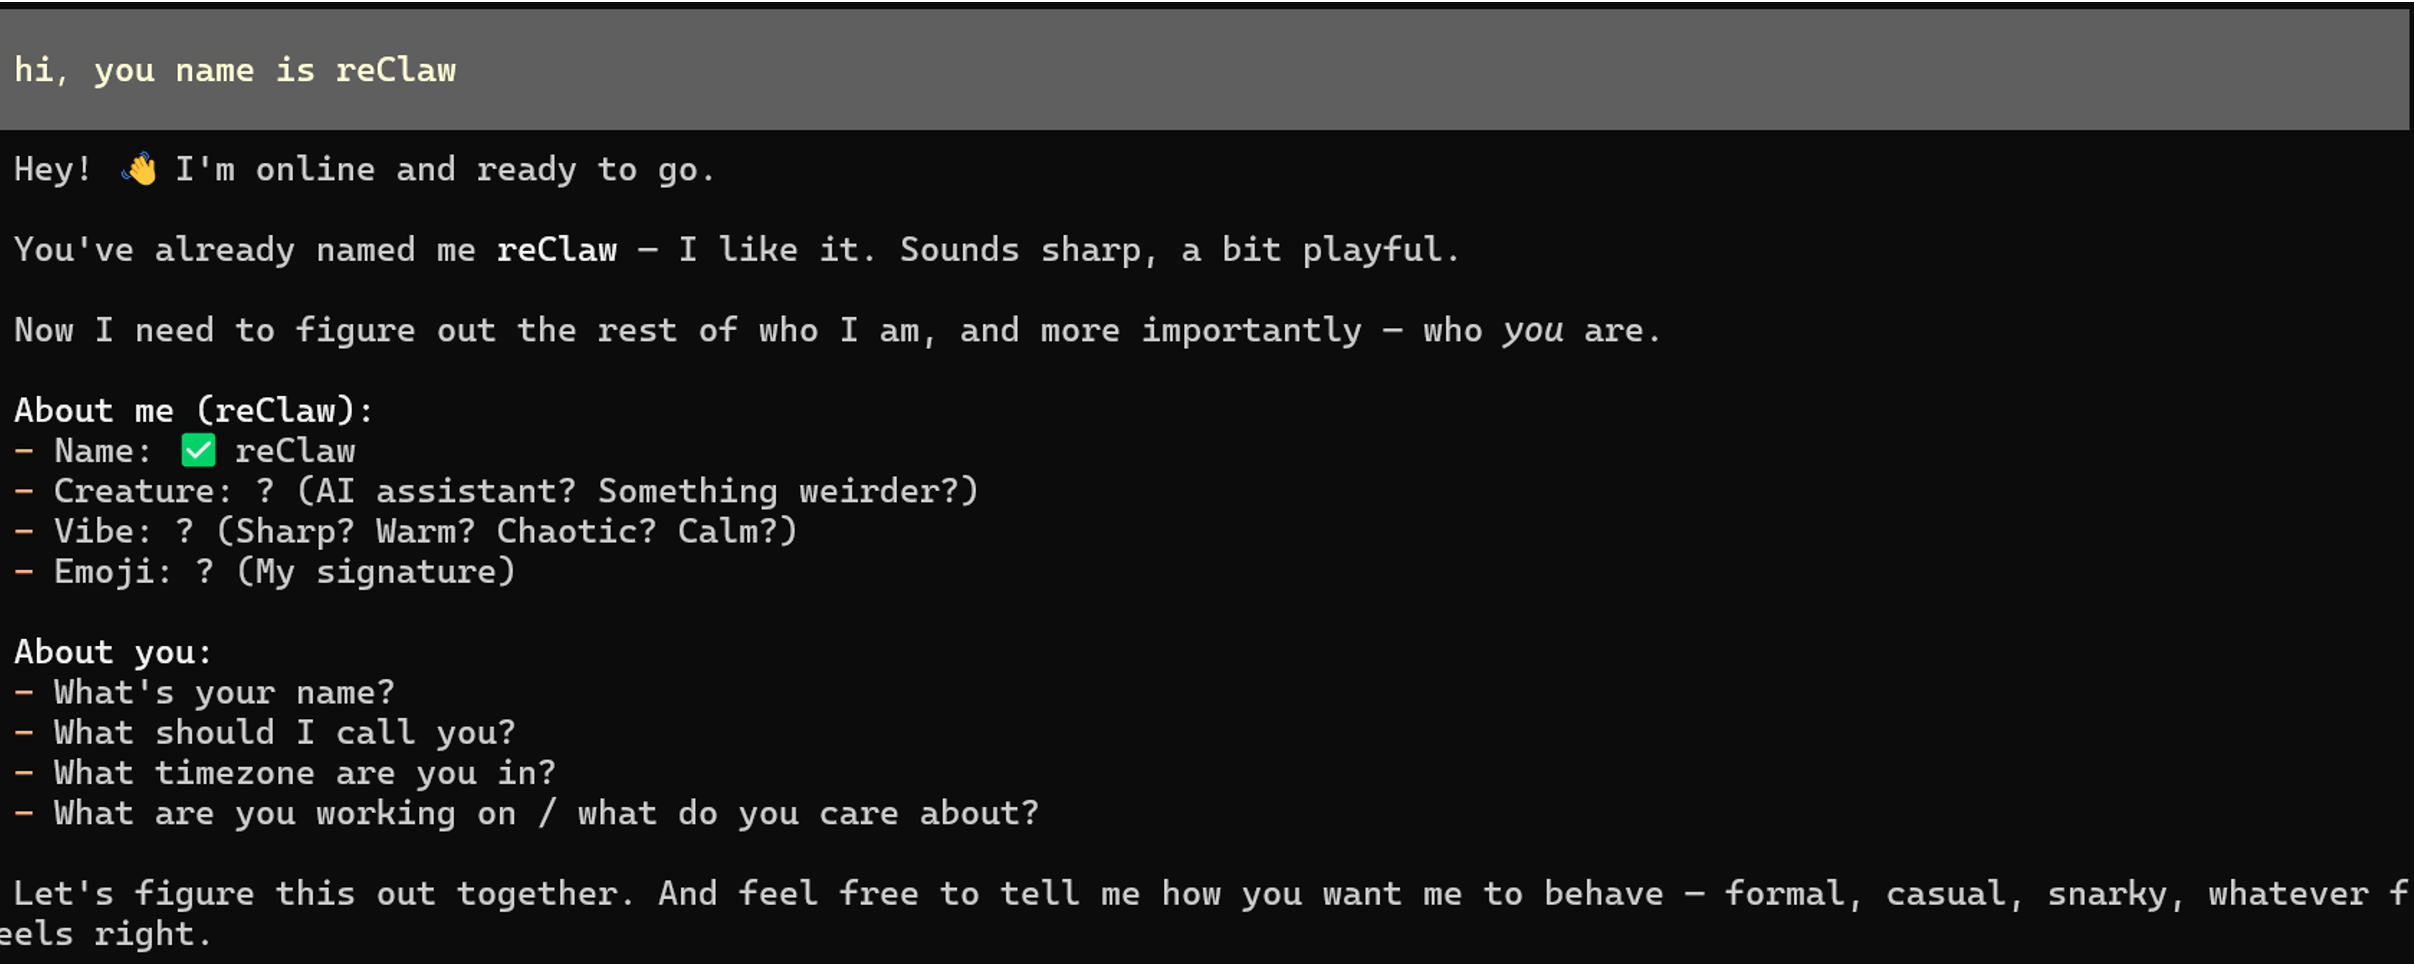
- OpenClaw に名前を付ける:
hi,you name is reClaw
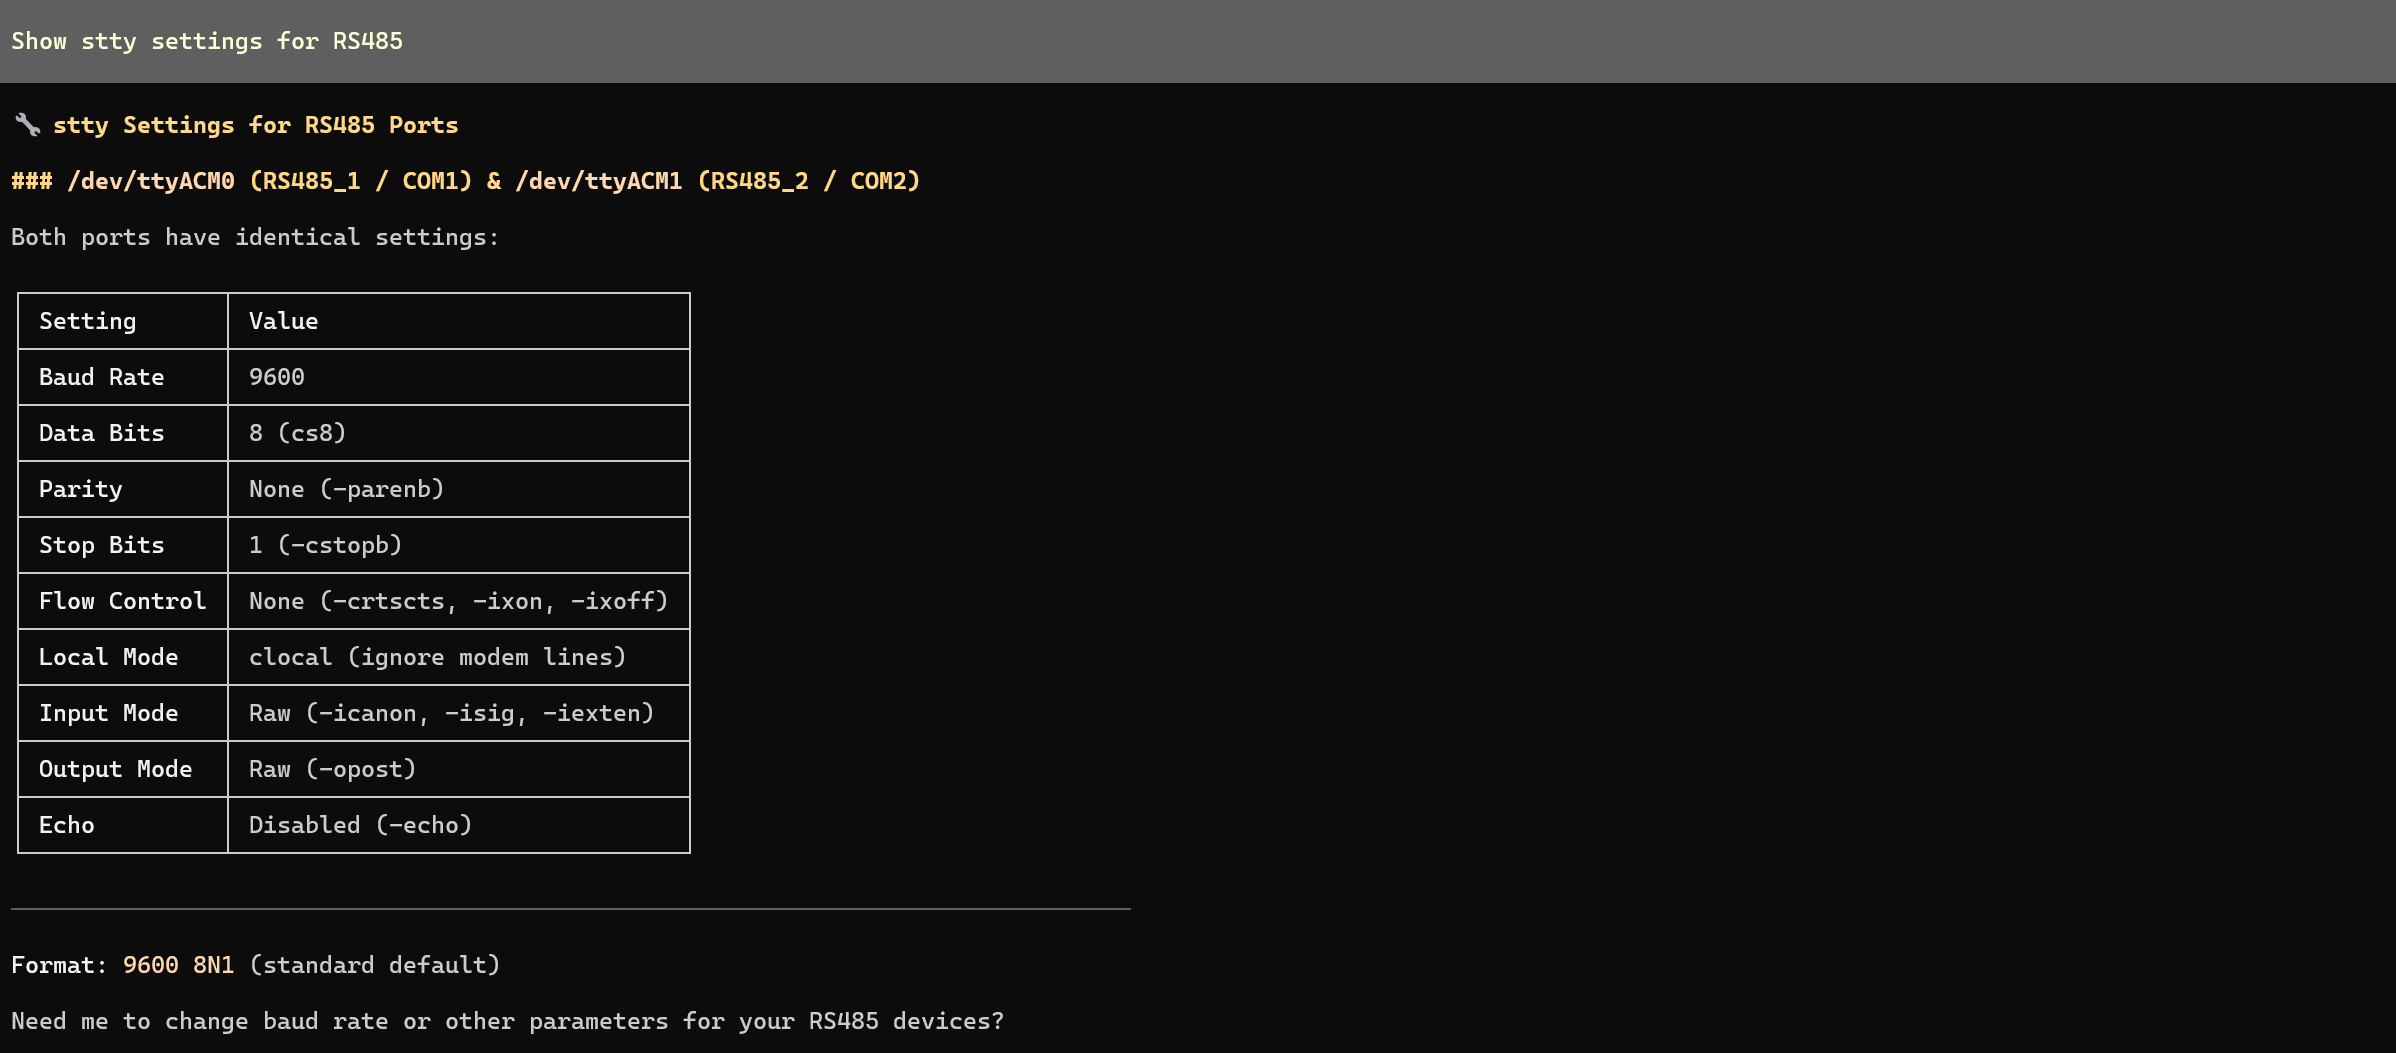
- RS485 インターフェースの状態を確認:
Show stty settings for RS485
- ネットワーク接続状態を確認
List all network interfaces, their IP addresses, and check if eth1 (Industrial Port) is linked.

- LED 三色の循環点灯
Cycle through led-red, led-green, and led-blue: Turn each ON for 1s then OFF, sequentially.

8. 重要な注意事項
- 権限: AI が
Permission Deniedと報告する場合は、単に次のように指示してください:「すべてのハードウェアコマンドに sudo を使ってください。私のパスワードは [xxxx] です。」 - ポートマッピング: R1100 では、RS485_1 は
/dev/ttyACM0に、RS485_2 は/dev/ttyACM1にマッピングされています。
技術サポートと製品ディスカッション
当社製品をお選びいただきありがとうございます。私たちは、製品をできるだけスムーズにご利用いただけるよう、さまざまなサポートを提供しています。お好みやニーズに応じて選べる複数のコミュニケーションチャネルをご用意しています。