reCameraがHTTP経由でXIAOに接続
この文書では、reCameraとXIAOの間でHTTP経由での通信を可能にし、XIAOにデータを送信して、reCameraを独自のプロジェクトに統合する方法を説明します。

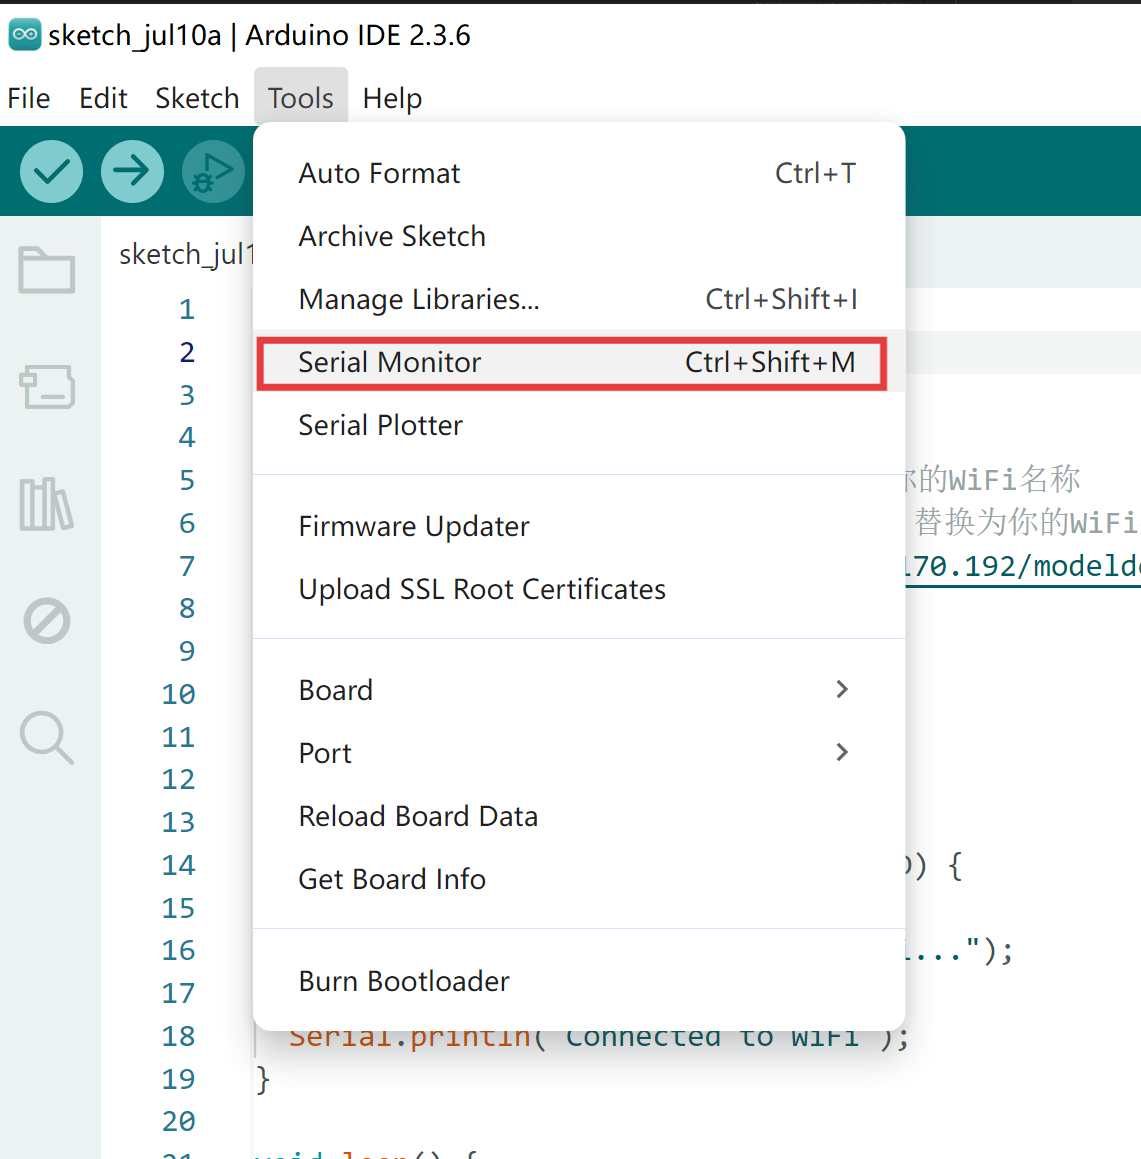
準備
reCamera
HTTP APIとネットワーク接続
まず、reCameraのC++スーパーバイザープロジェクトと実行環境を準備します。
-
ステップ1. Supervisor_add_detection_httpプロジェクトをダウンロードし、コンパイルして**.exe**ファイルをreCameraターミナルディレクトリにコピーします。(詳細な手順については、wiki:Real-time YOLO object detection using reCamera based on Cpp / Environment Preparation / Pre-compilationを参照してください。)これはスーパーバイザープロジェクトで、デモンストレーション目的で写真YOLO検出インターフェースのみを使用します。独自のプロジェクトがある場合は、このプロジェクト内で新しいHTTP APIとプロジェクトコードを追加できます。
-
ステップ2. USBケーブルを使用してreCameraをPCに接続し、MobaXtermを使用してreCameraターミナル(192.168.42.1)にアクセスし、**/etc/init.d/**に移動して3つの自動起動プログラム:S93sscma-supervisor、S03node-red、S91sscma-nodeを削除します。(詳細な手順については、wiki:Real-time YOLO object detection using reCamera based on Cpp / Environment Preparation / reCamera Preparationを参照してください。)
次に、reCameraとXIAOが通信するには、同じ2.4GHzローカルエリアネットワーク(LAN)上にある必要があります。reCameraには内蔵ワイヤレスネットワークカードがあり、WiFiに接続できます。通常、カメラのNode-RED webを通じてWiFiに接続できます。ただし、カスタムC++プロジェクトを実行する場合は、Node-REDを無効にしてreCameraを再起動する必要があります。(参考:Seeed Studio Wiki)。そのため、Linuxターミナル経由でWiFi接続を確立する必要があります。
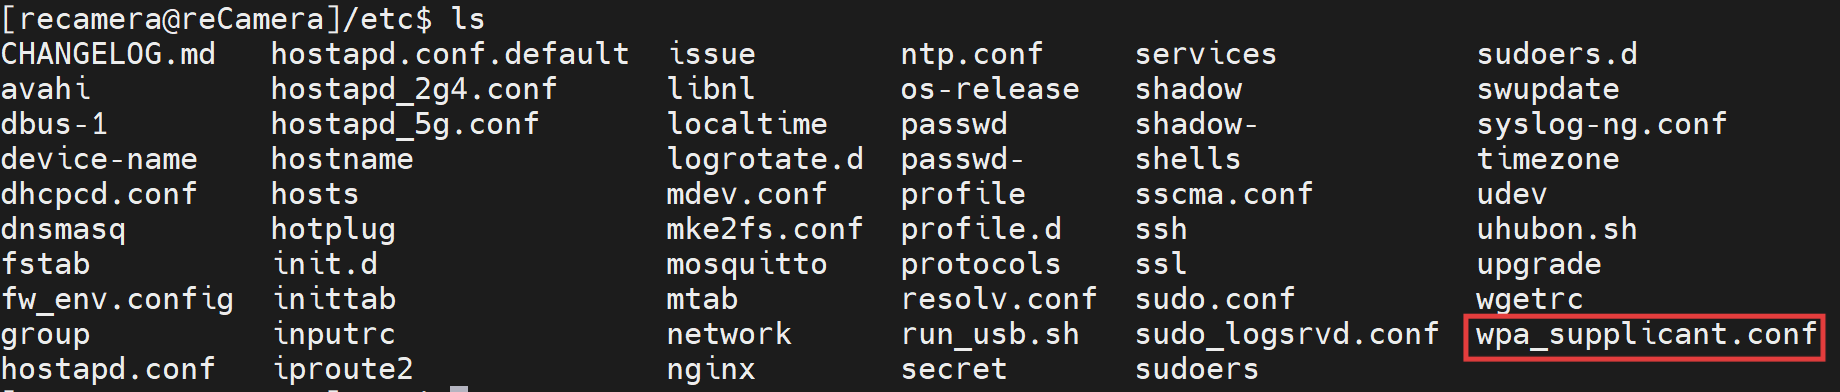
cd /etc/
ls
wpa_supplicant.conf を確認できます:
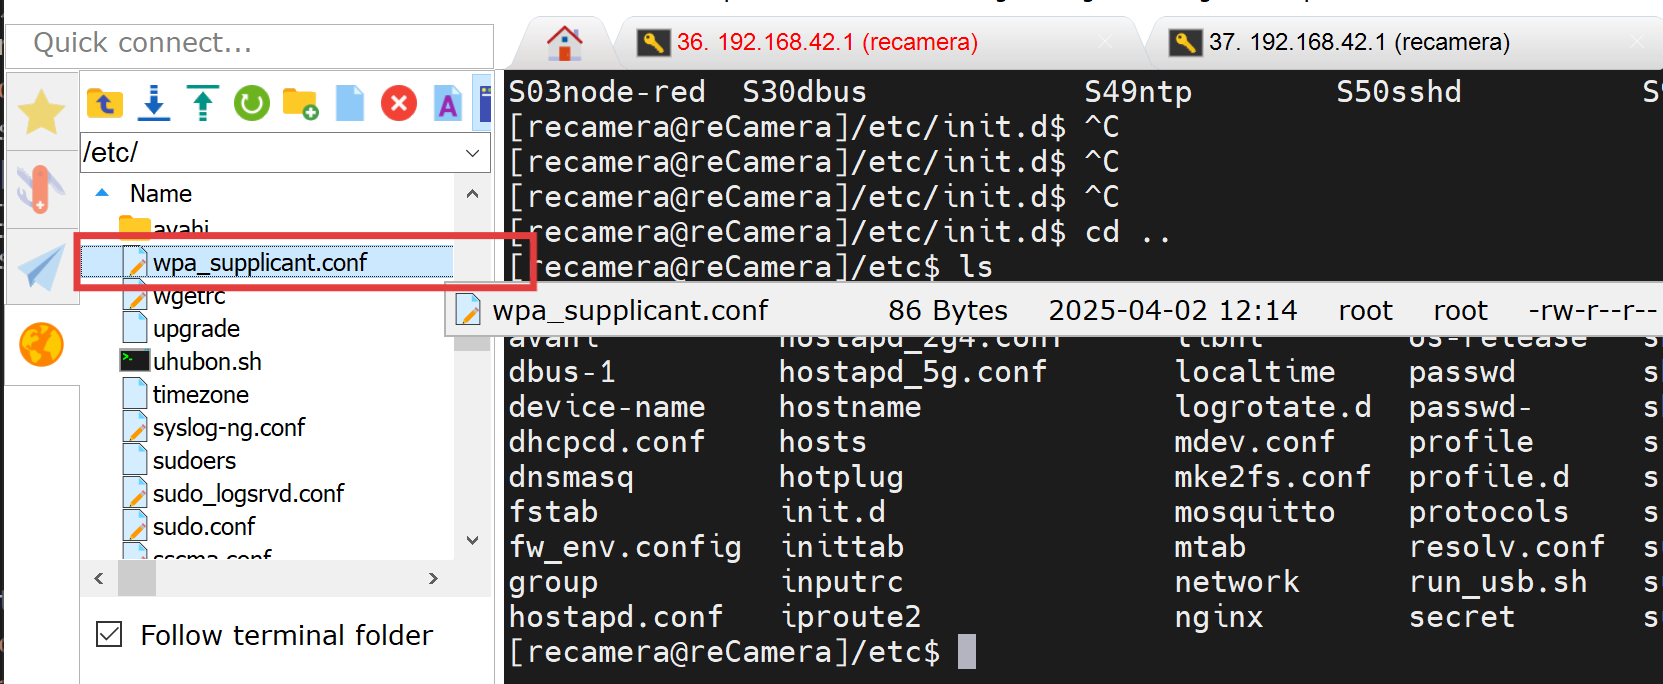
左側のファイルディレクトリでも確認できます:
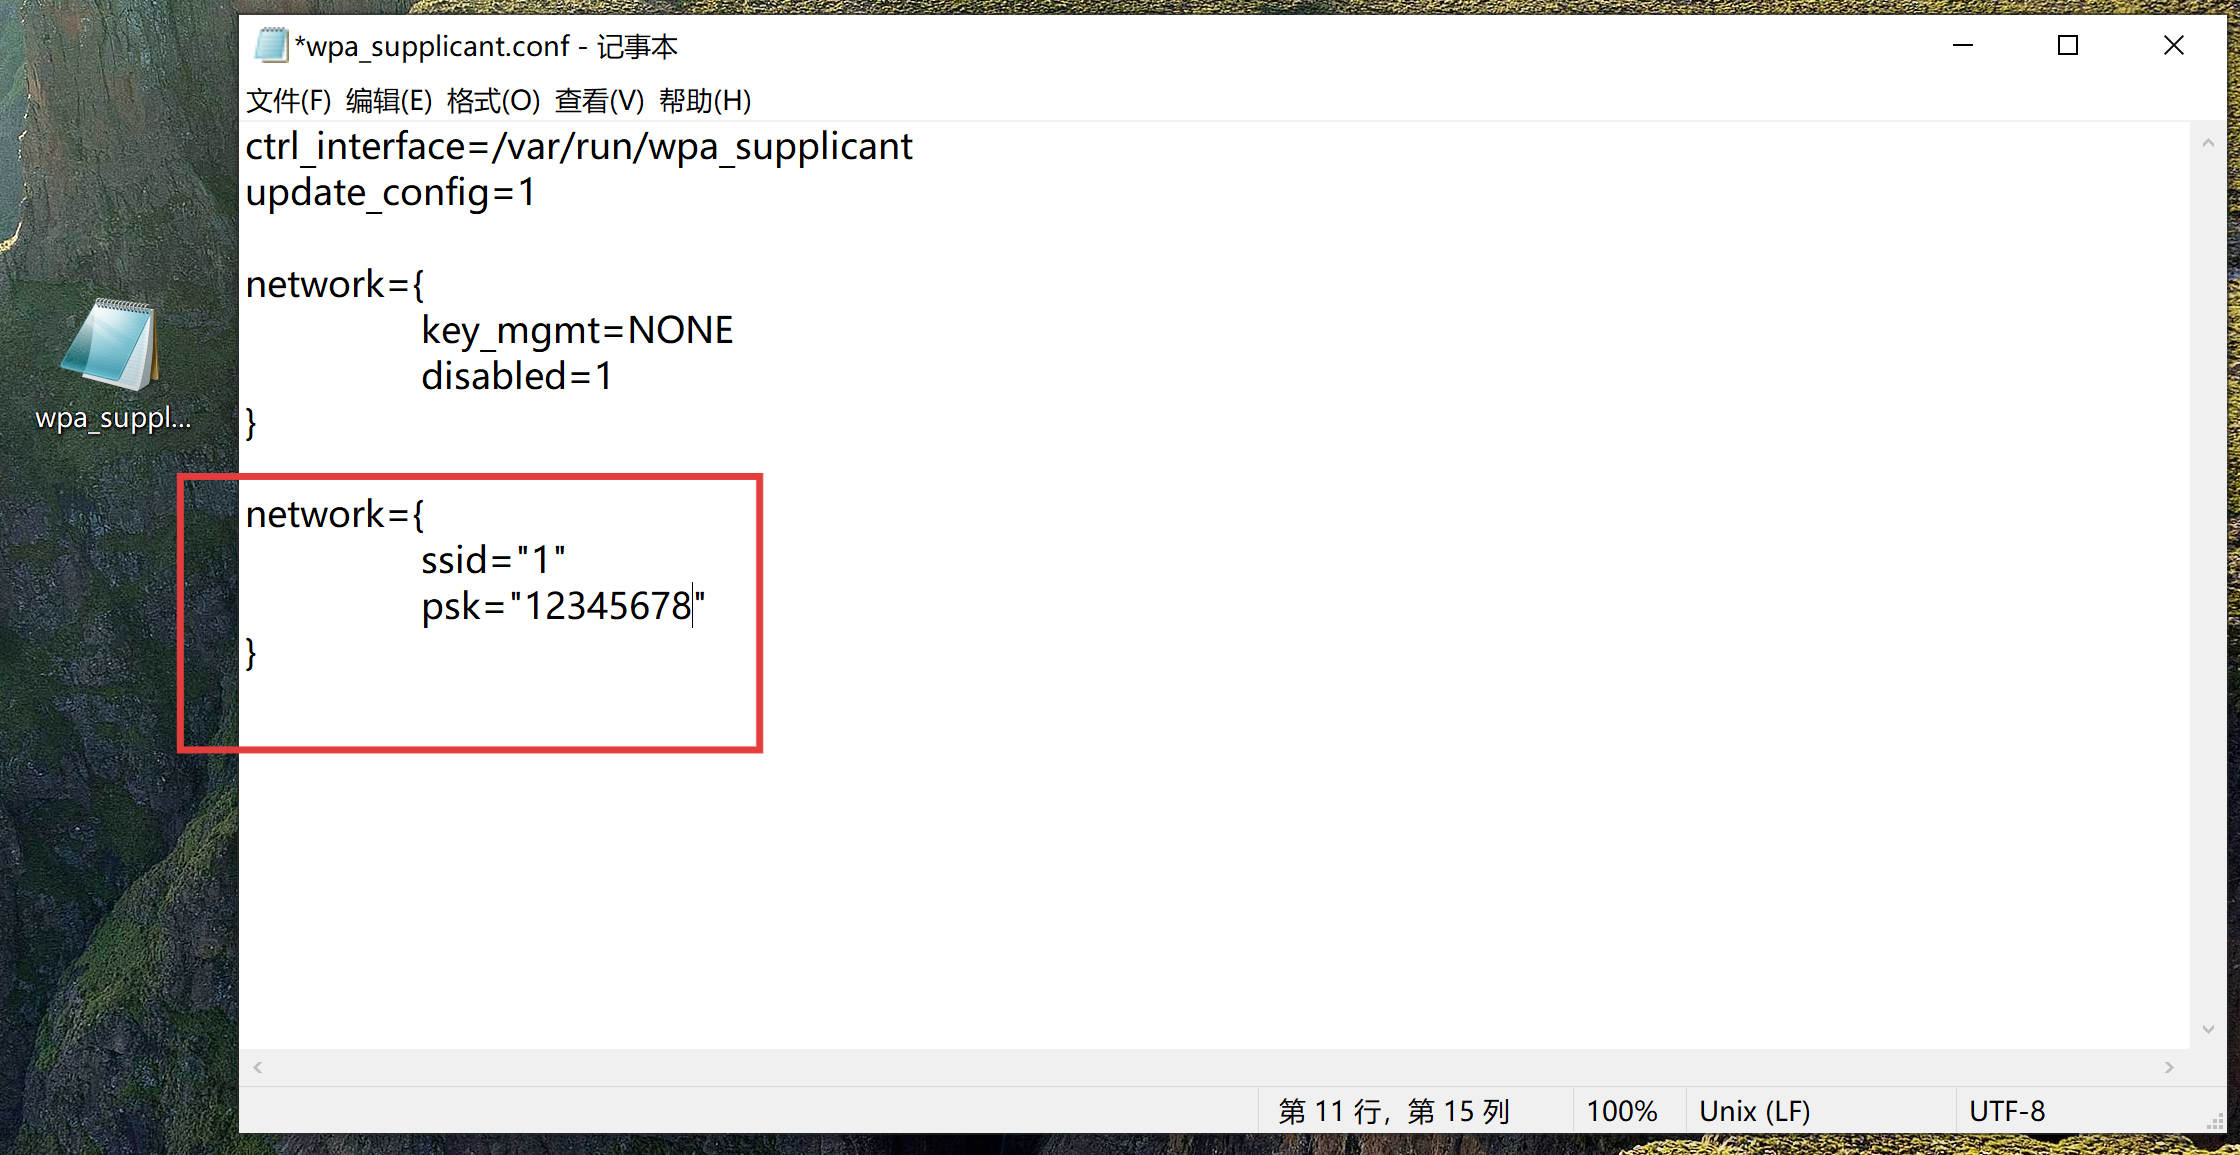
ファイルをデスクトップにドラッグし、メモ帳で開きます。画像に示すようにネットワークを追加し、あなたのSSIDとパスワードに変更してください。 注意:等号の両側に余分なスペースを含めないでください。
reCameraターミナルの /etc/ にある元のファイルを削除します。
sudo rm wpa_supplicant.conf
PCのwindows powershellを開き、ファイルをreCamera端末の**/home/recamera/**にコピーしてください:
scp "C:\Users\{your username}\Desktop\wpa_supplicant.conf" [email protected]:/home/recamera
ファイルを /home/recamera/ から /etc/ にコピーします:
sudo scp wpa_supplicant.conf /etc/
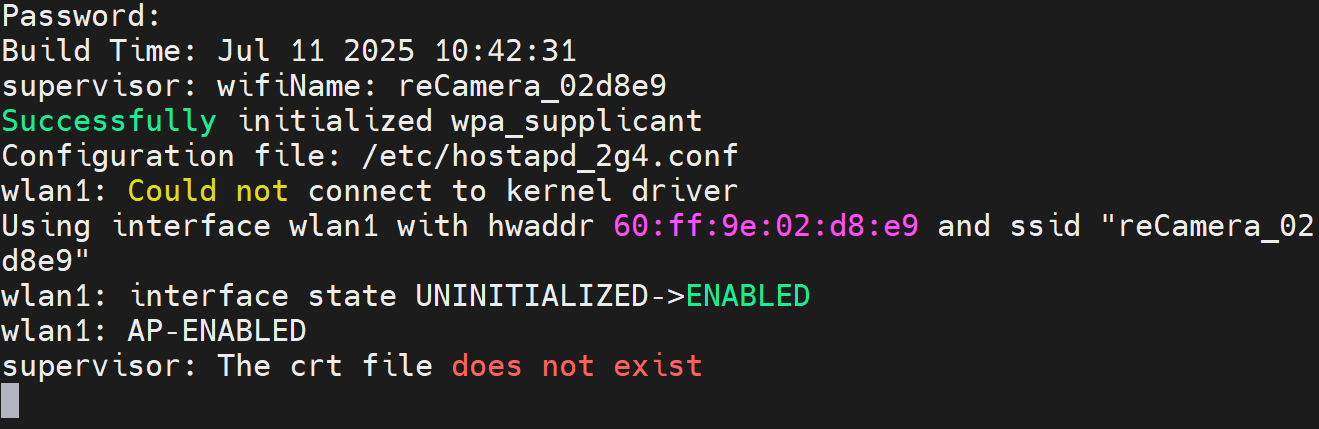
reCamera を再起動してください。その後、プログラムを実行してください。
sudo ./Supervisor_add_detection_http
reCamera が WiFi ネットワークに接続されていることを確認してください。
XIAO
ネットワーク接続と HTTP リクエストの送信
XIAO(ESP32-C3)にプログラムを書き込むために、Arduino をダウンロードする必要があります。
ステップ 1. お使いのオペレーティングシステムに応じて、Arduino IDE の最新バージョンをダウンロードしてインストールしてください。Arduino アプリケーションを起動します。
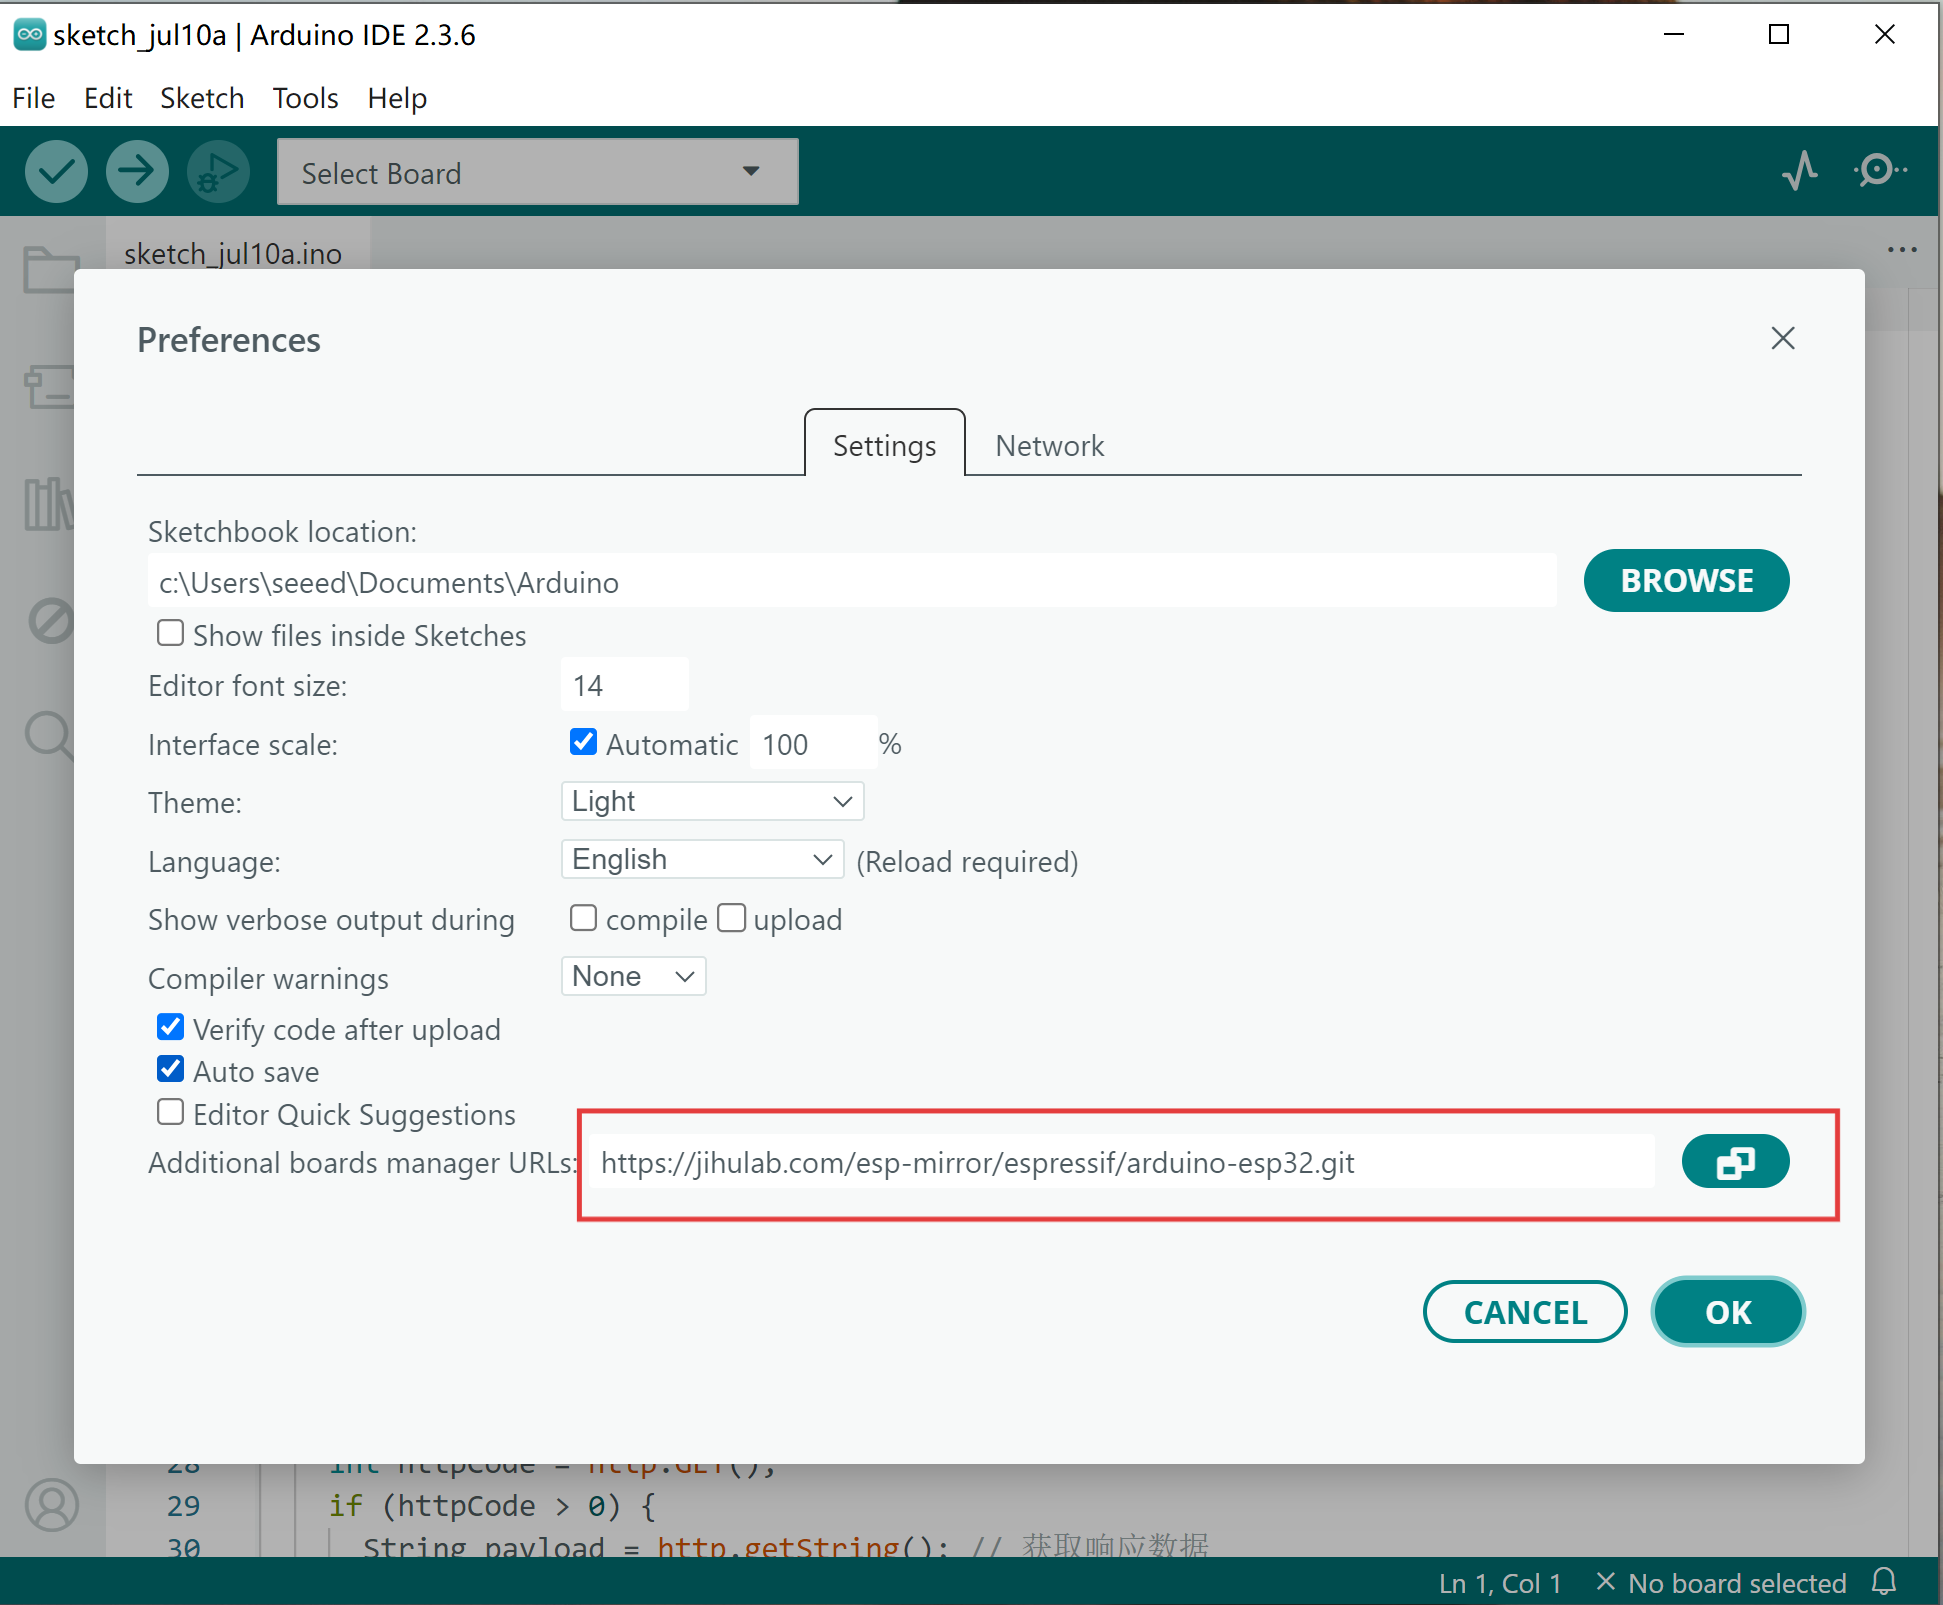
ステップ 2. Arduino IDE に ESP32 ボードパッケージを追加します File > Preferences に移動し、"Additional Boards Manager URLs" に以下の URL を入力してください: https://jihulab.com/esp-mirror/espressif/arduino-esp32.git
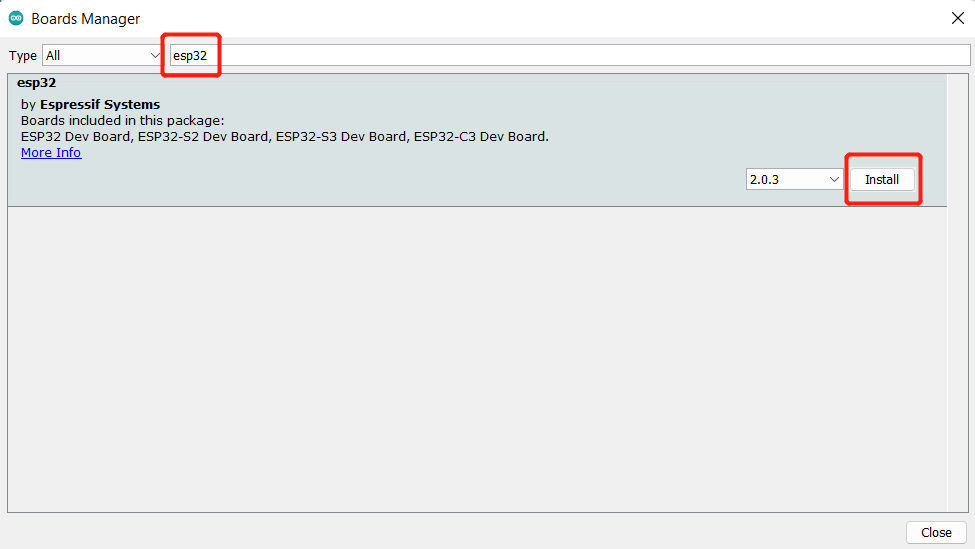
Tools > Board > Boards Manager... に移動し、検索ボックスにキーワード "esp32" を入力し、esp32 の最新バージョンを選択してインストールしてください。
ステップ 3. ボードとポートを選択します
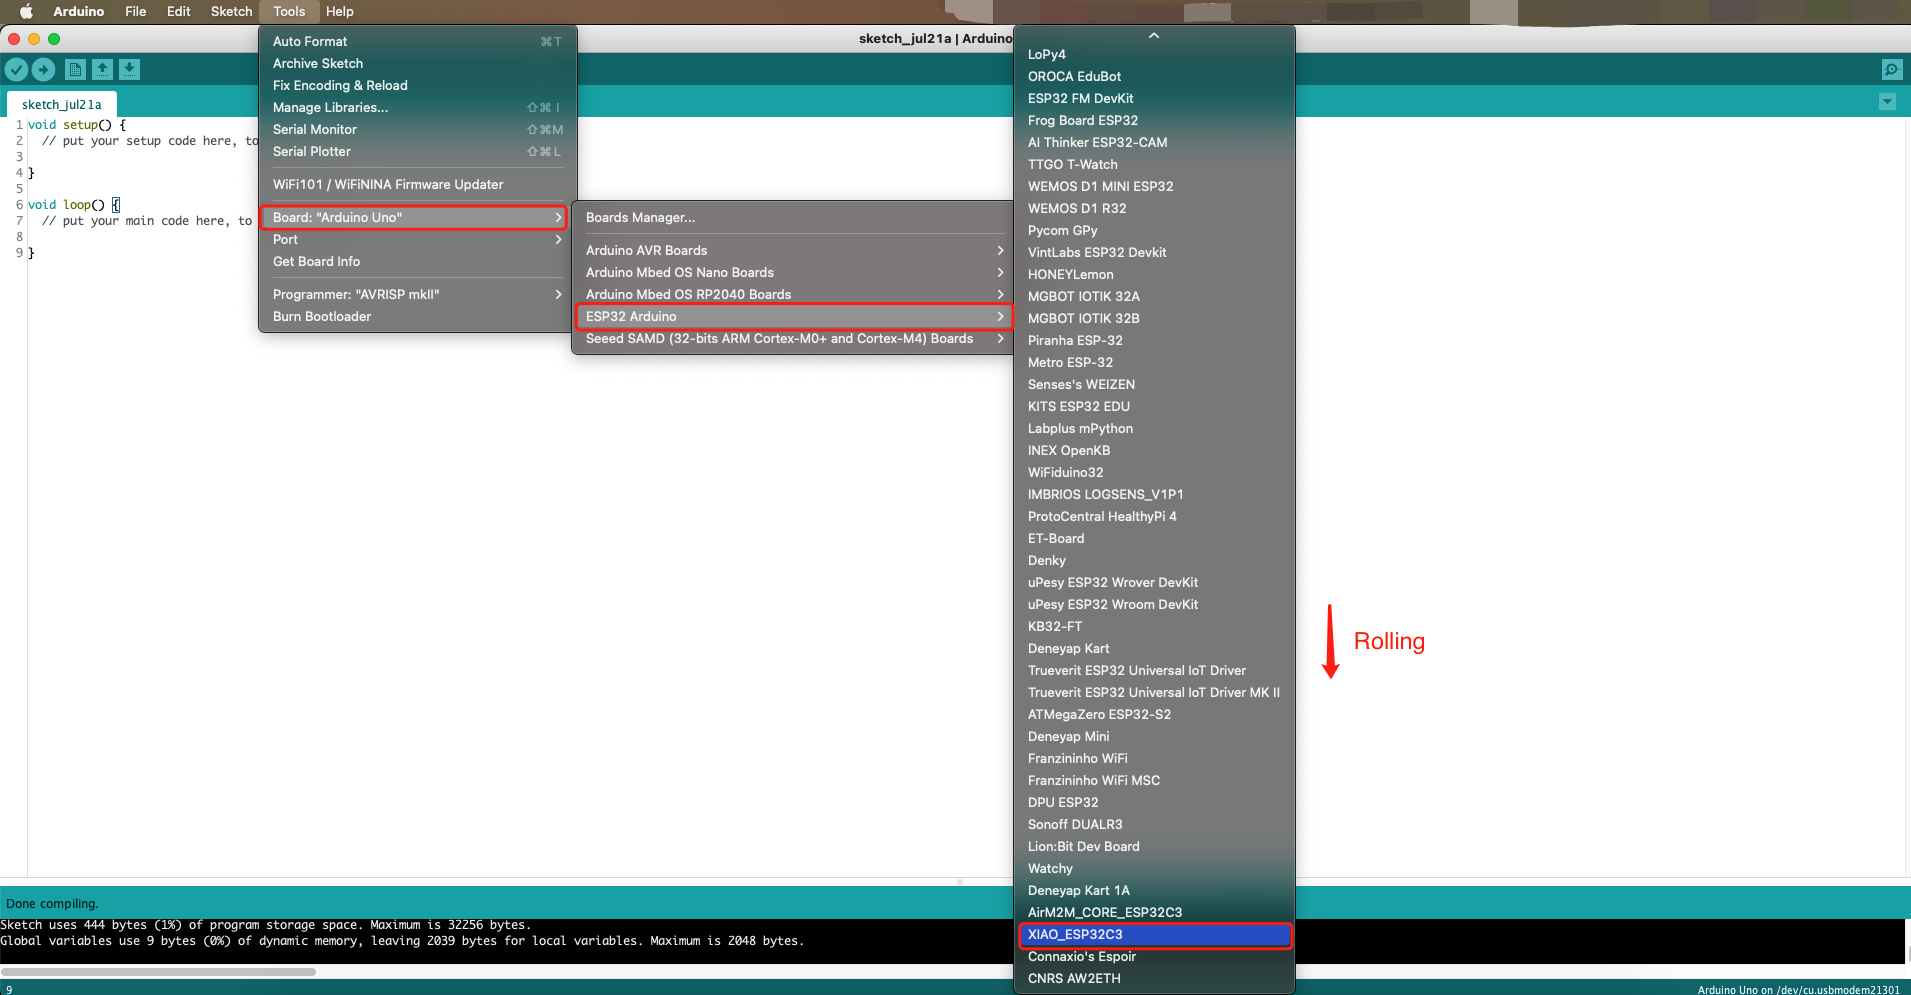
ボード Tools > Board > ESP32 Arduino に移動し、"XIAO_ESP32C3" を選択してください。ボードのリストは少し長いので、下までスクロールする必要があります。
ポート Tools > Port に移動し、接続された XIAO ESP32C3 のシリアルポート名を選択してください。これは COM3 以上である可能性が高いです(COM1 と COM2 は通常ハードウェアシリアルポート用に予約されています)。
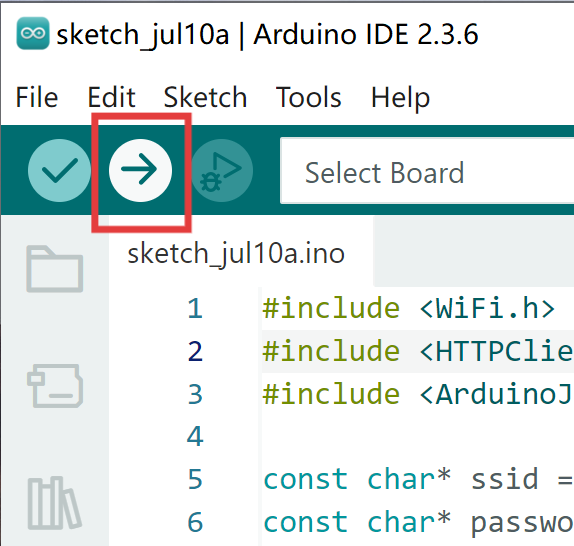
ステップ 4. 以下のプログラムを記述し、アップロードボタンをクリックしてコンパイルとアップロードを行ってください。reCamera と XIAO が通信するためには、同じ 2.4GHz ローカルエリアネットワーク(LAN)上にある必要があります。
#include <WiFi.h>
#include <HTTPClient.h>
#include <ArduinoJson.h>

#include <Adafruit_NeoPixel.h>
#ifdef __AVR__
 #include <avr/power.h> // Required for 16 MHz Adafruit Trinket
#endif

// Which pin on the Arduino is connected to the NeoPixels?
#define PIN        A0 // On Trinket or Gemma, suggest changing this to 1

// How many NeoPixels are attached to the Arduino?
#define NUMPIXELS 60 // Popular NeoPixel ring size
Adafruit_NeoPixel pixels(NUMPIXELS, PIN, NEO_GRB + NEO_KHZ800);

#define DELAYVAL 500

const char* ssid = {"your wifi name"};
const char* password = {"your wifi password"};
const char* apiUrl = "http://{"your wifi ip"}/modeldetector";

void setup() {
  Serial.begin(115200);
  WiFi.begin(ssid, password);

  while (WiFi.status() != WL_CONNECTED) {
    delay(1000);
    Serial.println("Connecting to WiFi...");
  }
  Serial.println("Connected to WiFi");

  #if defined(__AVR_ATtiny85__) && (F_CPU == 16000000)
  clock_prescale_set(clock_div_1);
  #endif
  // END of Trinket-specific code.

  pixels.begin();
}

void loop() {
  if (WiFi.status() == WL_CONNECTED) {
    HTTPClient http;
    http.begin(apiUrl);
    http.addHeader("Content-Type", "application/json");


    int httpCode = http.GET();
    if (httpCode > 0) {
      String payload = http.getString();
      Serial.println("HTTP Response:");
      // Serial.println(payload);

      DynamicJsonDocument doc(1024);
      DeserializationError error = deserializeJson(doc, payload);
      if (error) {
        Serial.print("JSON read failed: ");
        Serial.println(error.c_str());
      }
      else {
      Serial.print("Code:  ");
      Serial.println(doc["Code"].as<String>());
      Serial.print("Msg:  ");
      Serial.println(doc["Msg"].as<String>());
      Serial.print("Target:  ");
      Serial.println(doc["Target"].as<String>());
      Serial.print("Score:  ");
      Serial.println(doc["Score"].as<String>());
      Serial.print("Release_duration:  ");
      Serial.print(doc["Release_duration"].as<String>());
      Serial.println("ms");
      Serial.print("Capture_duration:  ");
      Serial.print(doc["Capture_duration"].as<String>());
      Serial.println("ms");
      Serial.print("Image_preprocessing_duration:  ");
      Serial.print(doc["Image_preprocessing_duration"].as<String>());
      Serial.println("ms");
      Serial.print("Detection_duration:  ");
      Serial.print(doc["Detection_duration"].as<String>());
      Serial.println("ms");
      Serial.print("Total Duration:  ");
      Serial.print(doc["Duration"].as<String>());
      Serial.println("ms");


      if (doc["Target"].as<String>().indexOf("person") != -1){
          pixels.clear();
          pixels.show();
          int smileyLEDs[] = {21,26,29,32,35,39};
          int numLEDs = sizeof(smileyLEDs) / sizeof(smileyLEDs[0]);

          for (int i = 0; i < numLEDs; i++) {
              pixels.setPixelColor(smileyLEDs[i], pixels.Color(2, 2, 0)); // yellow
          }
          pixels.show();

          printf("Target contains 'person'\n");
        } else {
            pixels.clear();
            pixels.show();
            printf("Target does not contain 'person'\n");
        }
    }


    } else {
      pixels.clear();
      pixels.show();
      Serial.print("HTTP get failed: ");
      Serial.println(httpCode);
    }
    http.end();
  } else {
    pixels.clear();
    pixels.show();
    Serial.println("WiFi disconnected");
  }

  delay(5000);
}
注意: WiFi名(SSID)、パスワード、およびreCamera wlan0 IPアドレスを自分のものに変更してください。
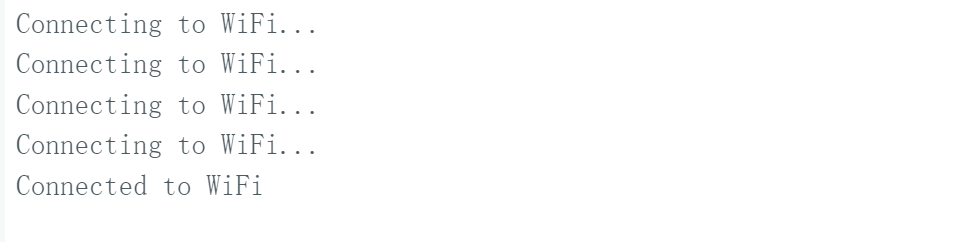
アップロードが完了するまで待つと、シリアルモニターでXIAOがWiFiに正常に接続されたことを確認できます。
実行
reCameraがSupervisorプロジェクトを実行しており、WiFiに正常に接続されていることを確認してください。
sudo ./Supervisor_add_detection_http
XIAOのシリアルモニターでHTTPサービスのJson結果を確認できます。
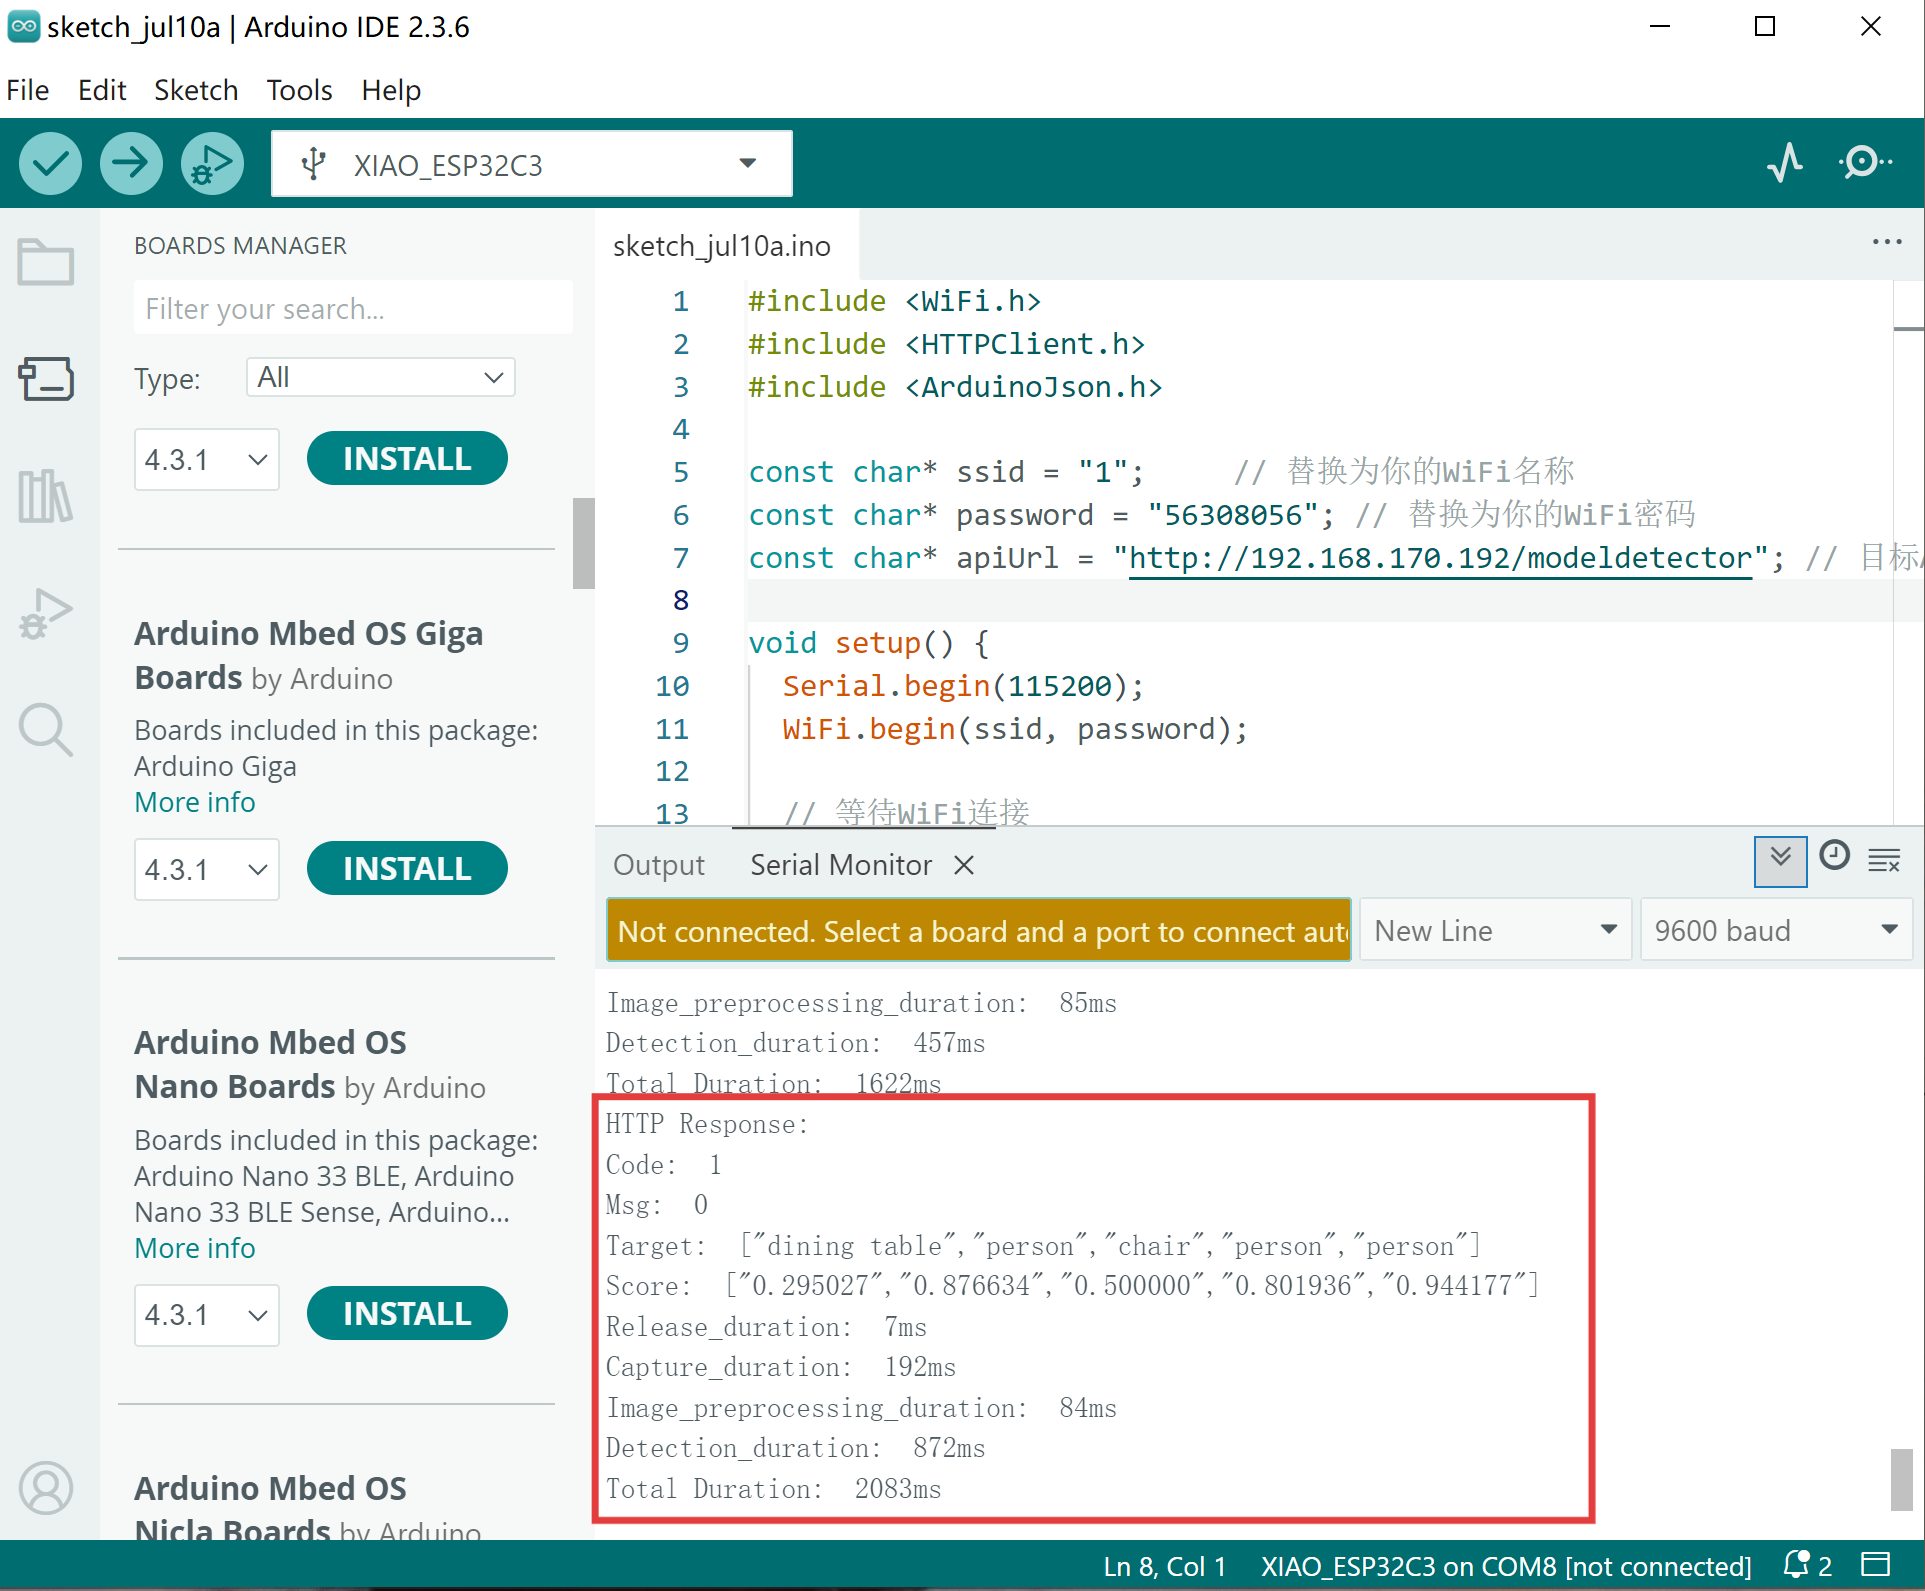
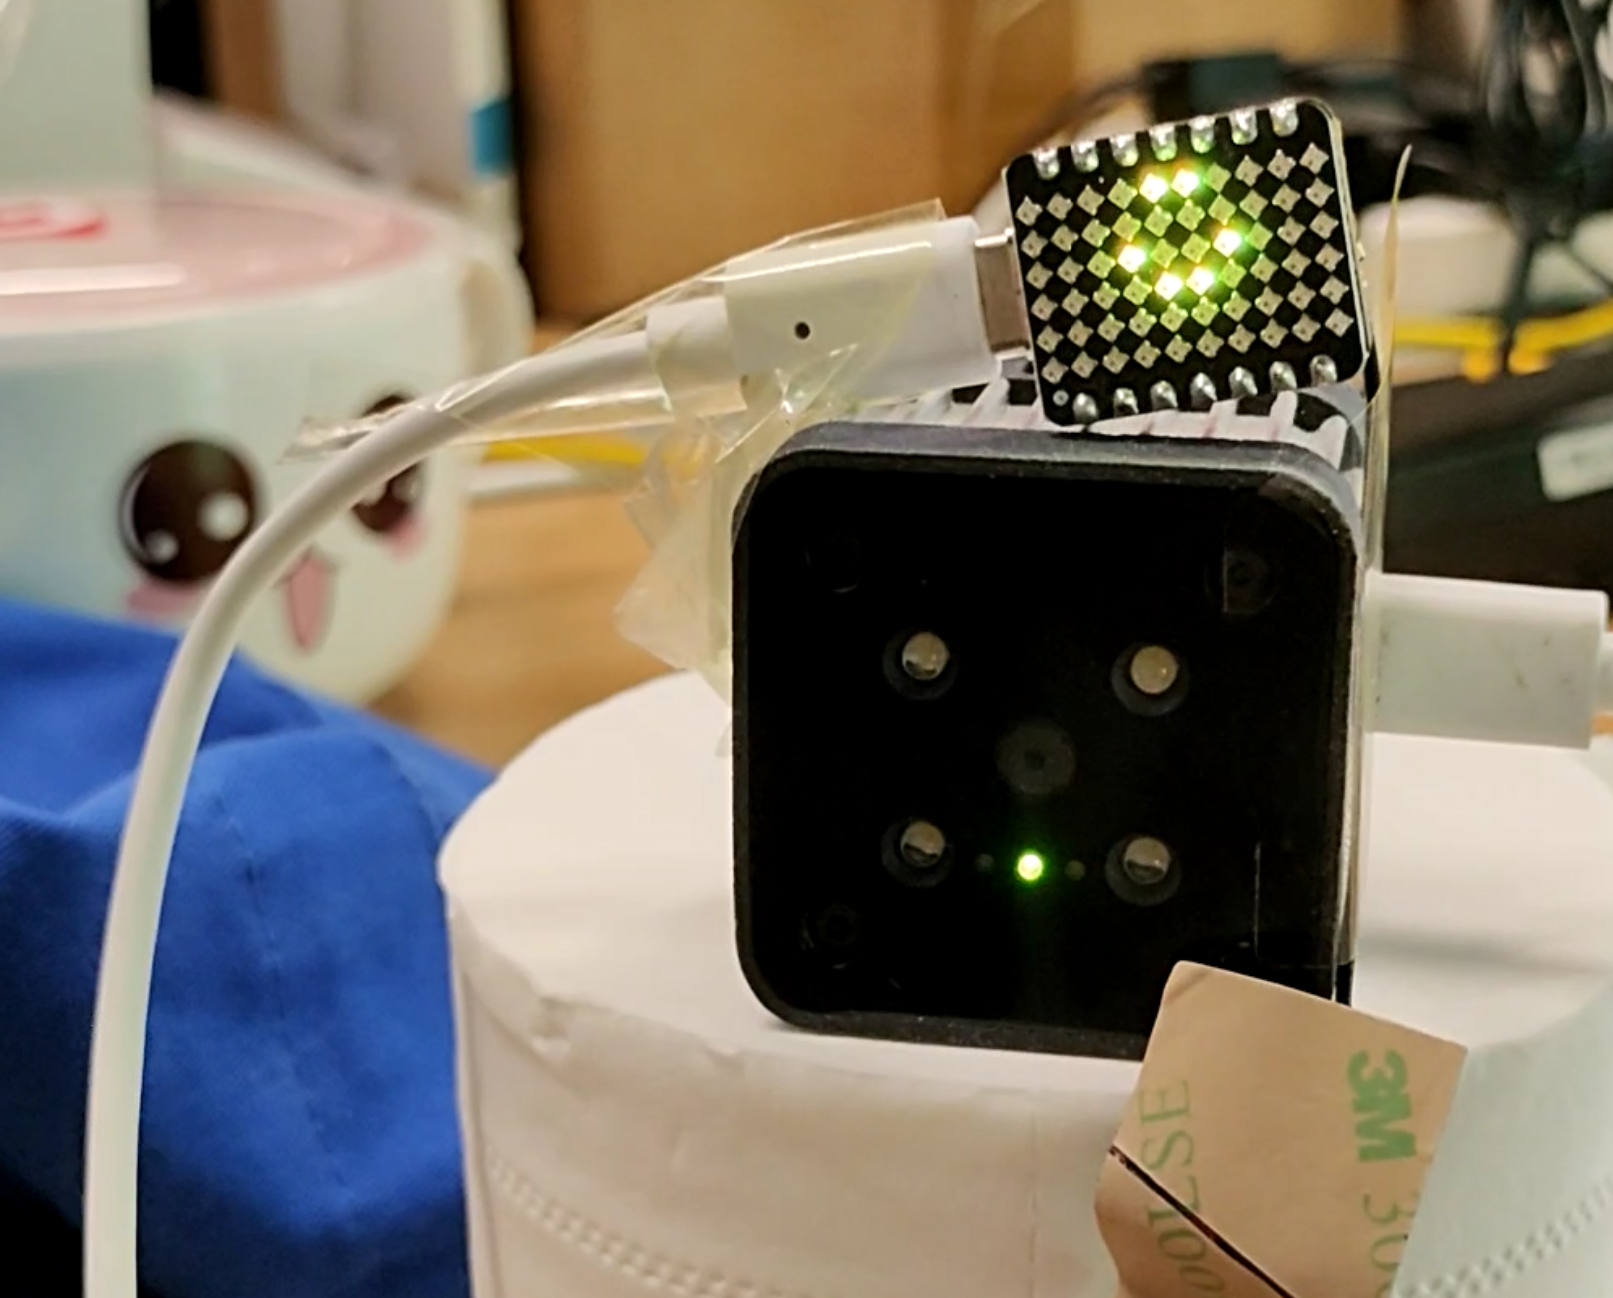
人がカメラに向かうと、XIAOが笑顔を表示し、自分でDIYできるスマイリーカメラを実現します。
詳細については、GitHubリポジトリをご参照ください。
技術サポート & 製品ディスカッション
弊社製品をお選びいただき、ありがとうございます!弊社製品での体験が可能な限りスムーズになるよう、さまざまなサポートを提供しています。異なる好みやニーズに対応するため、複数のコミュニケーションチャンネルを用意しています。