TensorFlow Lite を用いたキーワードスポッティング
はじめに
このプロジェクトでは、ReSpeaker 2-Mics Pi HAT v2 を使用して TensorFlow Lite を用いたキーワードスポッティングの方法を紹介します。キーワードスポッティングは、音声入力から事前定義された単語をリアルタイムで検出する技術であり、音声制御デバイスやインタラクティブシステムなどのアプリケーションに利用できます。TensorFlow Lite モデルのトレーニング、ReSpeaker HAT へのデプロイ、およびローカルでの音声認識の実行手順を説明します。
ハードウェアとソフトウェアの要件
- ハードウェア: Raspberry Pi と ReSpeaker 2-Mics Pi HAT v2
- ソフトウェア: TensorFlow Lite、Google Colab、Python、および関連ライブラリ
アプリケーション
キーワードスポッティングは以下の用途に適用できます:
- スマートホームデバイス
- 音声制御ロボット
- インタラクティブキオスク
TensorFlow Lite とは?
TensorFlow Lite は、モバイルおよび組み込みデバイス向けに設計された TensorFlow の軽量版です。低遅延と小さなバイナリサイズで機械学習推論を可能にし、Raspberry Pi のようなエッジデバイスでのモデル実行に最適です。
TensorFlow Lite モデルのトレーニングと取得
データセット
トレーニングには Speech Commands データセットのサブセットを使用します。このデータセットには、Google によって収集され、CC BY ライセンスで公開された、さまざまな単語を話す音声ファイル(WAV形式)が含まれています。このデータセットは こちら からダウンロードできます。データセットに関する詳細は、このガイドを参照してください。
なぜ Google Colab を使用するのか?
Google Colab は Jupyter ノートブックを実行するためのクラウドベースのプラットフォームです。無料で GPU リソースにアクセスできるため、ローカルの計算能力を必要とせずに機械学習モデルをトレーニングするのに最適です。
手順
以下の手順で Google Colab ノートブックを使用してデータトレーニングを行い、.tflite 形式の TensorFlow Lite モデルを生成します。
-
ステップ 1. この Python ノートブック を開きます。
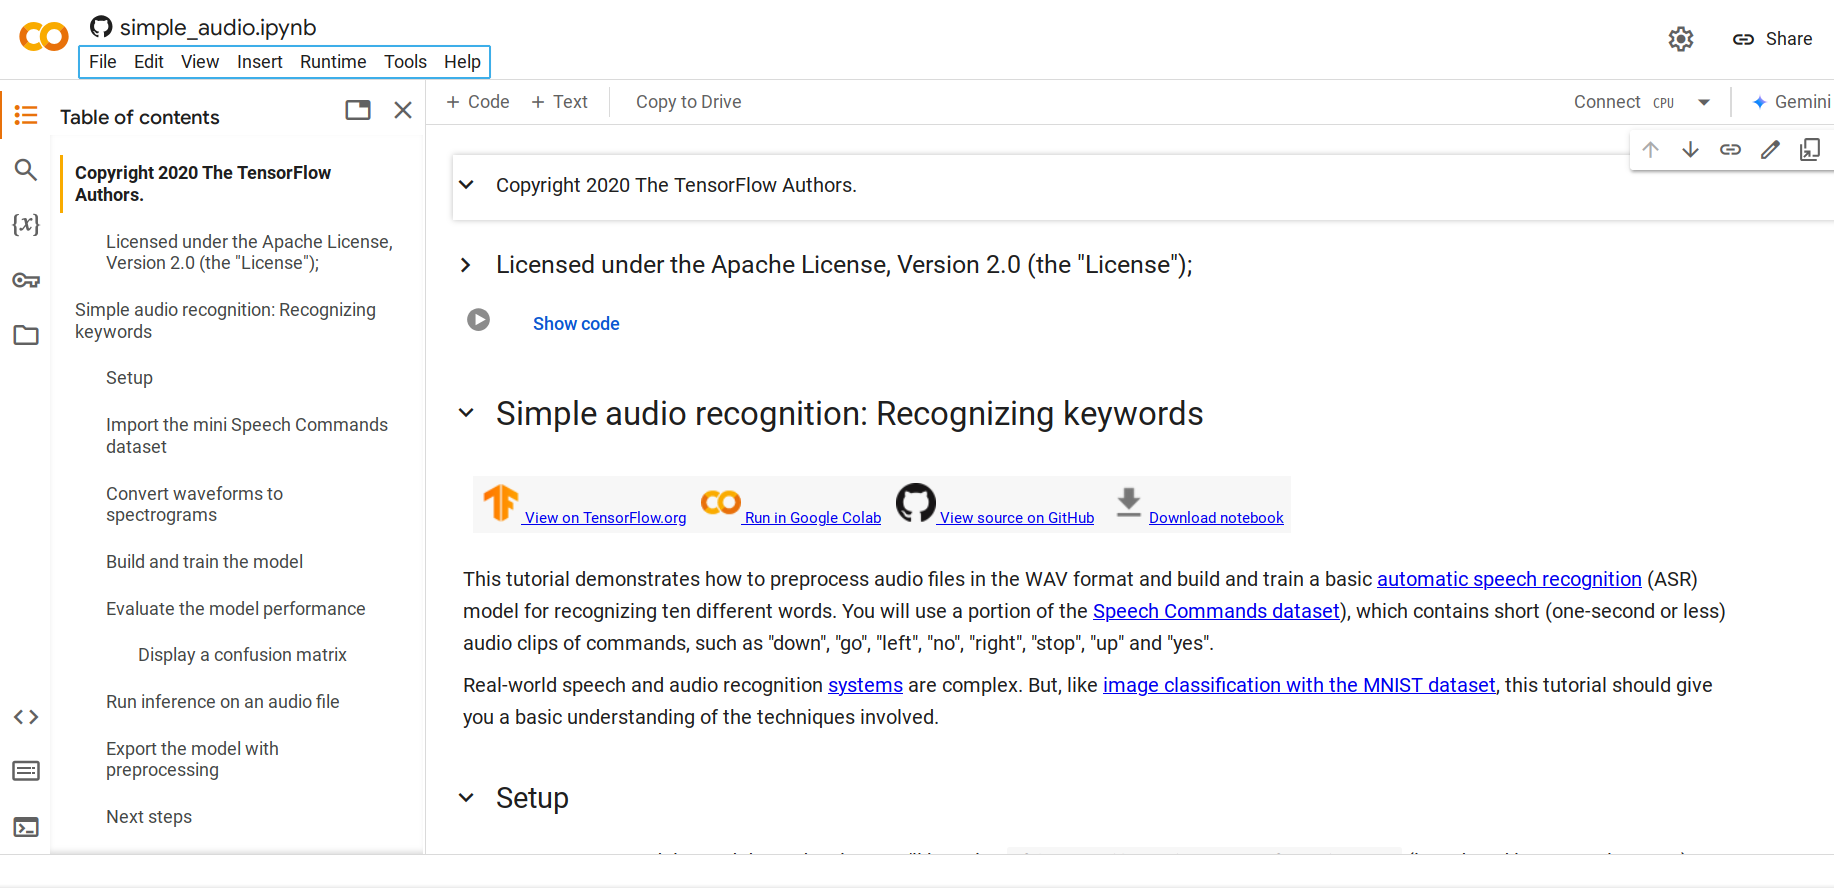
デフォルトでは、mini Speech Commands データセット が読み込まれます。このデータセットは Speech Commands データセットの小型版で、元のデータセットには WAV (Waveform) オーディオファイル形式で 35 種類の異なる単語を話す 105,000 以上の音声ファイルが含まれています。このデータは Google によって収集され、CC BY ライセンスで公開されています。
-
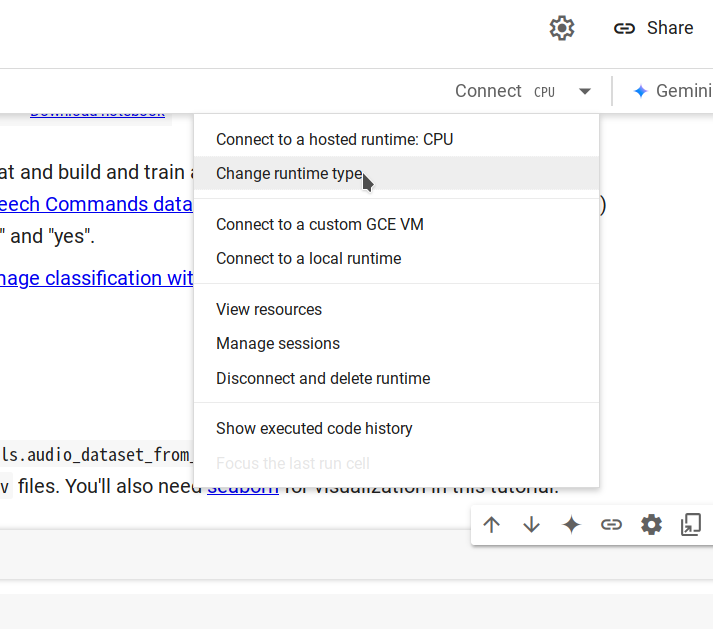
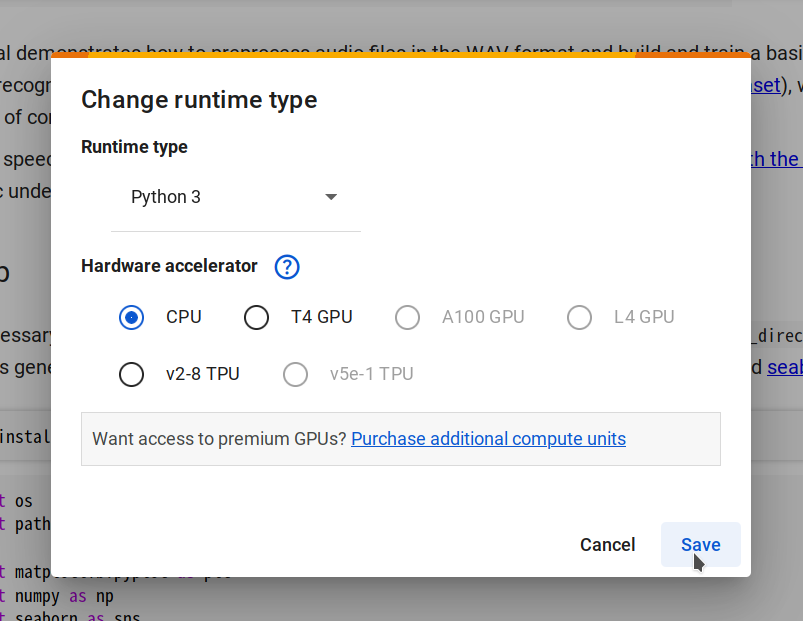
ステップ 2. ランタイムの変更 -> CPU -> 保存 を選択して新しいランタイムに接続し、接続 をクリックします。
-
ステップ 3.
Runtime > Run allに移動してすべてのコードセルを実行します。このプロセスは約 10 分かかります。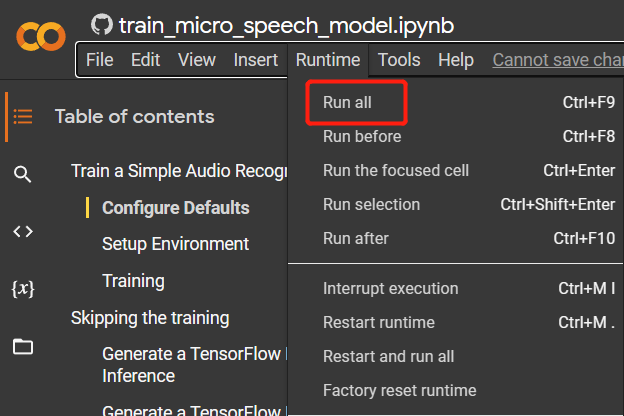
-
ステップ 4. すべてのコードセルが実行されたら、新しいセルを追加し、以下のコードを実行して
.tfliteモデルファイルを生成します。converter = tf.lite.TFLiteConverter.from_keras_model(model)
tflite_model = converter.convert()
with open('model.tflite', 'wb') as f:
f.write(tflite_model)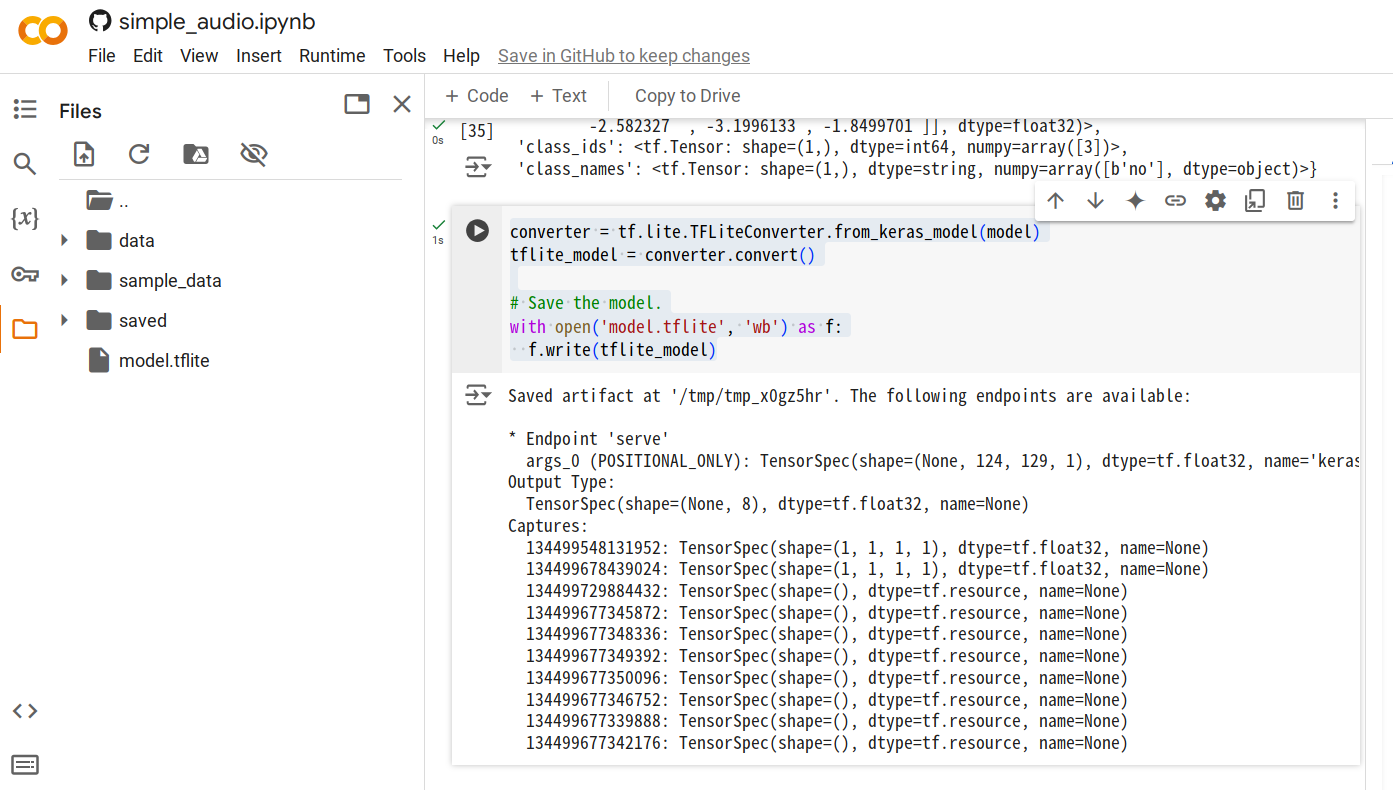
-
ステップ 5. 生成された
model.tfliteファイルを右クリックし、ダウンロード を選択してコンピュータに保存します。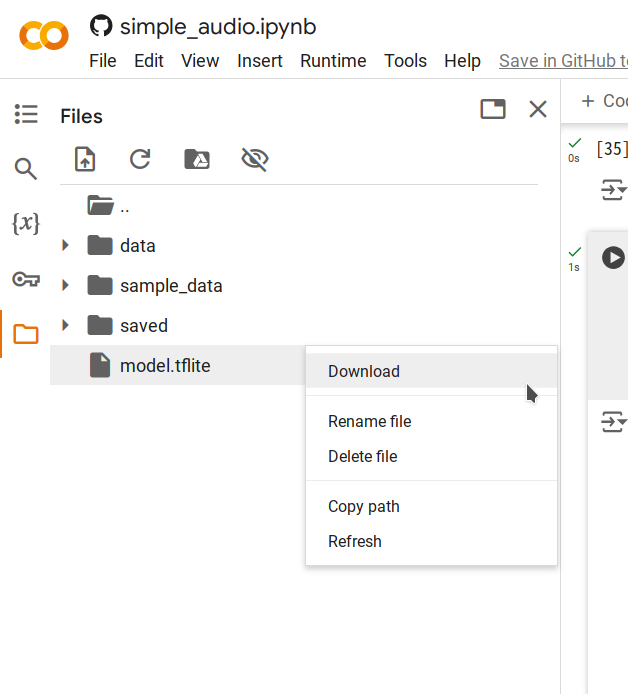
ローカル推論
推論スクリプトの実行
スクリプト inference.py は以下の手順を実行します:
- 訓練済みの TensorFlow Lite モデルを読み込みます。
- 入力音声を推論に適したスペクトログラムに変換します。
- 推論を実行し、検出されたキーワードと各ラベルの信頼度スコアを出力します。
実行手順
-
model.tfliteモデルファイルを Pi にアップロードします。この例では、~/speech_recognition/model.tfliteに配置します。 -
以下のスクリプトを
~/speech_recognition/inference.pyとして保存します:import numpy as np
from scipy import signal
from tflite_runtime.interpreter import Interpreter
import soundfile as sf
MODEL_PATH = 'model.tflite'
LABELS = ['no', 'yes', 'down', 'go', 'left', 'up', 'right', 'stop']
def get_spectrogram(waveform, expected_time_steps=124, expected_freq_bins=129):
_, _, Zxx = signal.stft(
waveform,
fs=16000,
nperseg=255,
noverlap=124,
nfft=256
)
spectrogram = np.abs(Zxx)
if spectrogram.shape[0] != expected_freq_bins:
spectrogram = np.pad(spectrogram, ((
0, expected_freq_bins - spectrogram.shape[0]), (0, 0)), mode='constant')
if spectrogram.shape[1] != expected_time_steps:
spectrogram = np.pad(spectrogram, ((
0, 0), (0, expected_time_steps - spectrogram.shape[1])), mode='constant')
if spectrogram.shape != (expected_freq_bins, expected_time_steps):
raise ValueError(
f"Invalid spectrogram shape. Got {spectrogram.shape}, expected ({expected_freq_bins}, {expected_time_steps})."
)
spectrogram = np.transpose(spectrogram)
return spectrogram
def preprocess_audio(file_path):
waveform, sample_rate = sf.read(file_path)
if sample_rate != 16000:
raise ValueError("Expected sample rate is 16 kHz")
if len(waveform.shape) > 1:
waveform = waveform[:, 0]
spectrogram = get_spectrogram(waveform)
spectrogram = spectrogram[..., np.newaxis]
spectrogram = spectrogram[np.newaxis, ...]
return spectrogram
def run_inference(file_path):
spectrogram = preprocess_audio(file_path)
interpreter = Interpreter(MODEL_PATH)
interpreter.allocate_tensors()
input_details = interpreter.get_input_details()
output_details = interpreter.get_output_details()
input_shape = input_details[0]['shape']
if spectrogram.shape != tuple(input_shape):
raise ValueError(
f"Expected input shape {input_shape}, got {spectrogram.shape}"
)
interpreter.set_tensor(
input_details[0]['index'], spectrogram.astype(np.float32))
interpreter.invoke()
output_data = interpreter.get_tensor(output_details[0]['index'])[0]
prediction = np.argmax(output_data)
confidence = np.exp(output_data) / \
np.sum(np.exp(output_data))
print(f"command: {LABELS[prediction].upper()}")
for label, conf in zip(LABELS, confidence):
print(f"{label}: {conf:.2%}")
if __name__ == "__main__":
audio_file_path = 'test_audio.wav'
run_inference(audio_file_path) -
以下のコマンドを使用して音声を録音します。使用可能なキーワードは
no,yes,down,go,left,up,right,stopです。$ arecord -D "plughw:2,0" -f S16_LE -r 16000 -d 1 -t wav ~/speech_recognition/test_audio.wav -
スクリプトを実行します:
$ python3 inference.py
INFO: Created TensorFlow Lite XNNPACK delegate for CPU.
command: YES
no: 8.74%
yes: 21.10%
down: 5.85%
go: 14.57%
left: 11.02%
up: 8.25%
right: 10.53%
stop: 19.94%
結果の解釈
スクリプトは検出されたコマンド(例:YES)とすべてのラベルの信頼度スコアを出力します。これにより、モデルの予測に関する洞察を得ることができ、性能を評価することができます。
技術サポートと製品ディスカッション
弊社製品をお選びいただきありがとうございます!製品をご利用いただく際に、できるだけスムーズな体験を提供するために、さまざまなサポートを提供しております。お客様の好みやニーズに合わせた複数のコミュニケーションチャネルをご用意しています。