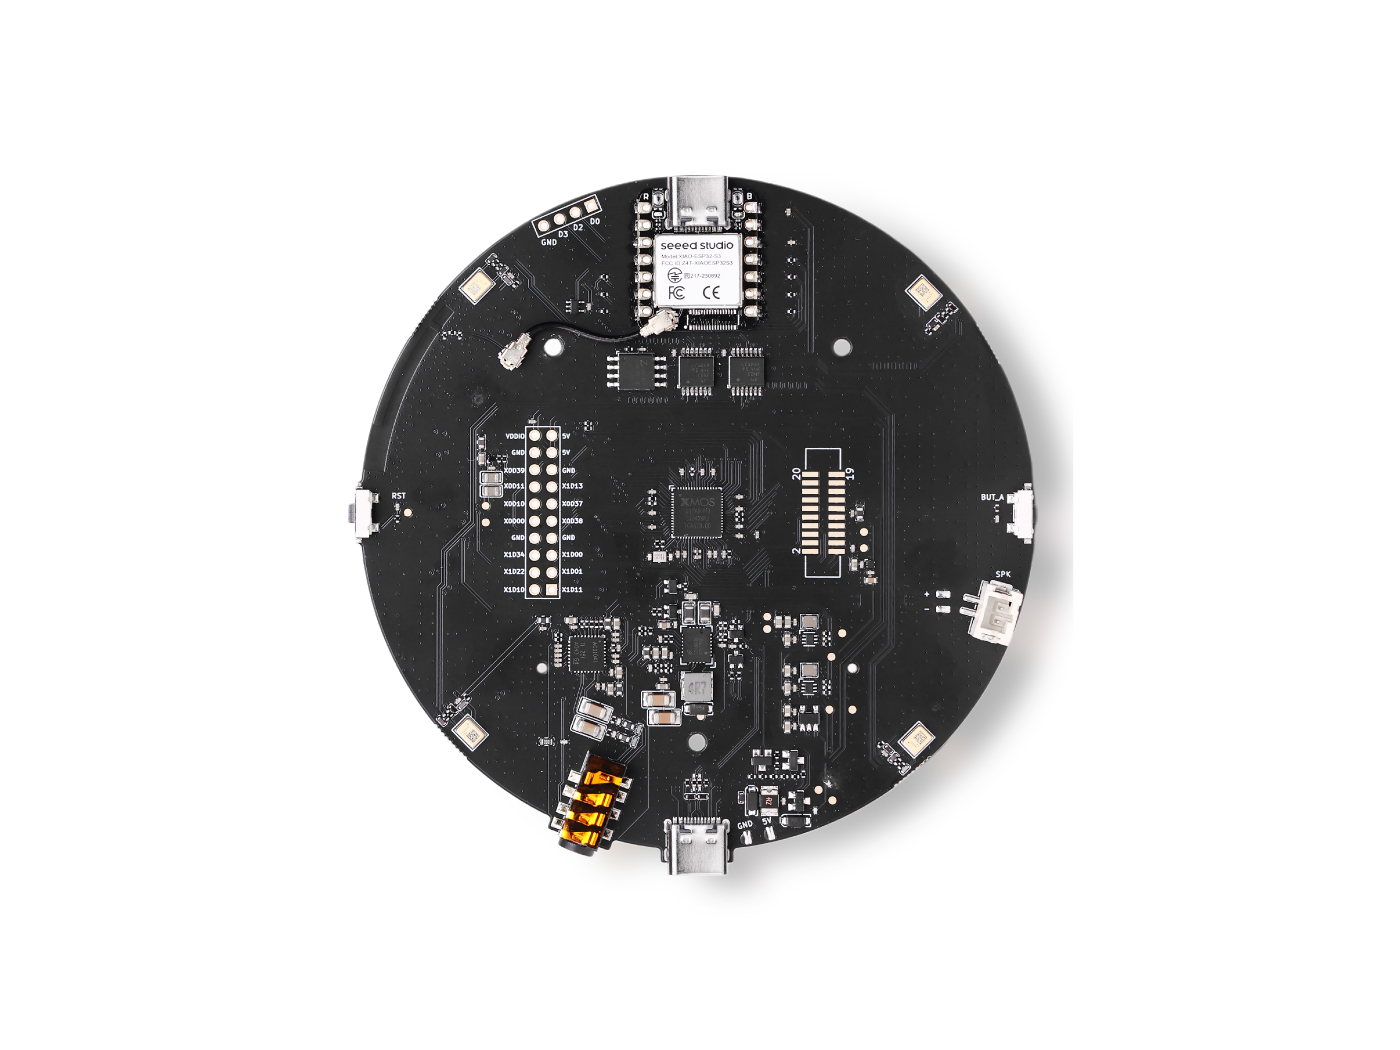
ReSpeaker XVF3800でのTensorFlow Lite
はじめに
このチュートリアルでは、Seeed XIAO ESP32とXVF3800 ReSpeakerを使用してTensorFlow Lite Micro(TFLM)でカスタム音声認識システムを作成する方法をガイドします。音声データの収集とラベル付け、訓練用の前処理、訓練・検証セットへの分割について学習します。次に、データセットに合わせたカスタムキーワードスポッティングモデルを訓練し、TFLite形式に変換し、最終的にリアルタイム音声コマンド認識のためにhexファイルとしてESP32にデプロイします。最終的に、話されたコマンドを正確に分類できる完全に機能するマイクロコントローラベースのシステムを構築できます。

依存関係
このチュートリアルに従うには、以下のArduinoライブラリをインストールする必要があります:
これらのライブラリをArduino IDEにインストールしてください。各GitHubリポジトリには、ライブラリを適切にインストールして設定する方法のガイドが含まれています。
データの収集
短い音声サンプル(各10秒)を録音し、1秒のクリップに分割します。XVF3800 ReSpeakerを使用するには、最初にUSBファームウェアをインストールする必要がある場合があります。
ファームウェアガイド: Seeed Studio XVF3800 ファームウェアフラッシュ
ステップ1:デバイスIDの確認
以下のPythonスクリプトを使用して、PCに接続されているすべてのオーディオデバイスをリストし、ReSpeakerの正しいデバイスインデックスを見つけます:
import sounddevice as sd

# List all available devices
devices = sd.query_devices()

# Print all devices
for i, device in enumerate(devices):
    print(f"Device {i}: {device['name']} (input channels: {device['max_input_channels']})")
注意:次のスクリプトで、ReSpeakerの印刷されたデバイス番号に応じて
DEVICE_INDEXを更新してください。
ステップ2:音声サンプルの収集
このPythonスクリプトは、人の名前とラベルに基づいて音声サンプルを収集します。各人のフォルダが作成され、対応するラベルの下にWAVファイルが保存されます。
import os
import sounddevice as sd
from scipy.io.wavfile import write

# === Settings ===
SAMPLERATE = 16000
CHANNELS = 1  # ReSpeaker 4-Mic Array
DURATION = 10  # seconds
DEVICE_INDEX = 2  # Set to your ReSpeaker device index


def record_audio(filename, samplerate=SAMPLERATE, channels=CHANNELS, duration=DURATION, device=DEVICE_INDEX):
    print(f"Recording '{filename}' for {duration} seconds...")
    recording = sd.rec(int(duration * samplerate),
                       samplerate=samplerate,
                       channels=channels,
                       dtype='int16',
                       device=device)
    sd.wait()
    write(filename, samplerate, recording)
    print(f"Saved: {filename}")


def get_next_filename(directory, label):
    existing = [f for f in os.listdir(directory) if f.startswith(label) and f.endswith('.wav')]
    index = len(existing) + 1
    return os.path.join(directory, f"{label}.{index}.wav")


def collect_samples():
    while True:
        sample_name = input("Enter sample name (e.g., PersonA): ").strip()
        if not sample_name:
            print("Sample name cannot be empty.")
            continue

        sample_dir = os.path.join(os.getcwd(), sample_name)
        os.makedirs(sample_dir, exist_ok=True)
        print(f"Directory created: {sample_dir}")

        while True:
            label = input("Enter sound/voice to record (e.g., yes, no): ").strip()
            if not label:
                print("Label cannot be empty.")
                continue

            while True:
                filename = get_next_filename(sample_dir, label)
                record_audio(filename)

                cont = input("Record another sample for this label? (yes/no): ").strip().lower()
                if cont != 'yes':
                    break

            next_label = input("Do you want to record a different label? (yes/no): ").strip().lower()
            if next_label != 'yes':
                break

        next_sample = input("Do you want to create a new sample? (yes/no): ").strip().lower()
        if next_sample != 'yes':
            print("Audio collection completed.")
            break


if __name__ == "__main__":
    collect_samples()
動作原理:
- 各人のフォルダを作成します。
- ラベル(例:「yes」、「no」)の入力を求め、対応する音声ファイルを保存します。
- 10秒の音声クリップを録音し、後で訓練用に1秒のセグメントに分割できます。
データの前処理
10秒の音声サンプルを収集した後、次のステップは訓練用に1秒のクリップに分割することです。録音を簡単に視覚化して分割するためにEdge Impulseを使用しました。
音声ファイル形式
すべての音声ファイルは以下の要件を満たす必要があります:
- 形式: WAV (.wav)
- サンプルレート: 16 kHz
- チャンネル: モノラル(1チャンネル)
- ビット深度: 16ビットPCM
- 継続時間: 1秒(1000 ms)
注意:Edge Impulseは、長い録音をこれらの1秒セグメントに自動的に分割するのに役立ちます。
ターゲットラベル
-
各フォルダ名はクラスラベルとして扱われます。
-
例:
hi_speaker→ モデルは「hi speaker」を認識seeed→ モデルは「seeed」を認識
-
必要に応じてより多くのクラスを追加できますが、フォルダ名は訓練時に使用される**
WANTED_WORDSリストと一致する必要があります**。
未知 / その他
other/フォルダにはターゲットリストにないランダムな単語を含める必要があります。これにより、モデルが未知の単語を正しく分類するのに役立ちます。
無音 / ノイズ
-
_background_noise_/フォルダには以下のような環境音を含める必要があります:- オフィスノイズ
- 街の騒音
- キーボードタイピング
- 無音録音(マイクオンだが話していない)
適切な前処理により、モデルがターゲットコマンド、未知の単語、背景ノイズを区別することを学習できます。
dataset_dir/
│
├── hi_speaker/           # All audio samples for the "hi_speaker" keyword
│   ├── audio_0.wav
│   ├── audio_1.wav
│   └── ...
│
├── seeed/                # All audio samples for the "seeed" keyword
│   ├── audio_2.wav
│   ├── audio_3.wav
│   └── ...
│
├── other/                # Random speech or non-target words
│   ├── audio_4.wav
│   ├── audio_5.wav
│   └── ...
│
└── _background_noise_/   # Background noise samples
    ├── noise_0.wav
    ├── noise_1.wav
    └── ...
データの訓練
カスタム音声認識モデルを訓練するには、Ubuntu x86搭載のPCを使用することをお勧めします。また、以下でインストールできるxxdツールも必要です:
sudo apt-get install xxd
ステップ1:Anacondaのインストール
- Anaconda Navigatorをダウンロードしてインストール
- このプロジェクト用にAnacondaで新しい環境を作成します。
ステップ2:環境のセットアップ
環境に必要なパッケージをインストールします:
- 深層学習フレームワーク: TensorFlow 1.5
- プログラミング言語: Python 3.7
このセットアップにより、マイクロコントローラデプロイメント用のTensorFlow Lite Microとの互換性が確保されます。
ステップ3:訓練ノートブックの実行
- Jupyterノートブックをダウンロード: train_micro_speech_model.ipynb
- Jupyterでノートブックを開き、指示に従います。
- 完了すると、ノートブックはESP32へのデプロイメント準備が整った
model.ccという名前の16進モデルファイルを生成します。
model.ccファイルは、XVF3800 ReSpeakerを搭載したXIAO ESP32でリアルタイムキーワードスポッティングを実行するためにArduinoプロジェクトに含めることができます。
XVF3800搭載XIAO ESP32での推論
model.ccファイルの準備ができたら、リアルタイム音声コマンド認識のためにXIAO ESP32にデプロイできます。XVF3800は32ビット音声サンプルを出力するため、TensorFlow Lite Micro用に16ビットに変換する必要があります。また、モデル要件に合わせてI2Sピン、サンプルレート、チャンネルを設定します。
Arduinoコード例
#include "AudioTools.h"
#include "AudioTools/AudioLibs/TfLiteAudioStream.h"
#include "model.h"  // Replace with your generated model.cc

I2SStream i2s;
TfLiteAudioStream tfl;
StreamCopy copier(tfl, i2s);

const char* kCategoryLabels[] = {
    "silence",
    "unknown",
    "hi_respeaker", //change the key word that you trained
    "seeed" // change the key word that you trained
};

void respondToCommand(const char* found_command, uint8_t score, bool is_new_command) {
  if (is_new_command) {
    Serial.printf("Detected: %s (score: %d)\n", found_command, score);
  }
}

// Temp buffer for 32-bit I2S samples
int32_t i2s_buffer[512];
int16_t conv_buffer[512];

void setup() {
  Serial.begin(115200);
  AudioLogger::instance().begin(Serial, AudioLogger::Warning);

  // XVF3800 I2S input configuration
  auto cfg = i2s.defaultConfig(RX_MODE);
  cfg.sample_rate = 16000;
  cfg.channels = 1;            // Mono
  cfg.bits_per_sample = 32;    // XVF3800 streams 32-bit samples
  cfg.pin_bck = 8;
  cfg.pin_ws = 7;
  cfg.pin_data = 44;
  cfg.pin_data_rx = 43;
  cfg.is_master = true;
  i2s.begin(cfg);

  // TensorFlow Lite configuration
  auto tcfg = tfl.defaultConfig();
  tcfg.setCategories(kCategoryLabels);
  tcfg.sample_rate = 16000;
  tcfg.channels = 1;
  tcfg.kTensorArenaSize = 15 * 1024;
  tcfg.respondToCommand = respondToCommand;
  tcfg.model = g_model;  // Replace with your model.cc
  tfl.begin(tcfg);
}

void loop() {
  // Read 32-bit audio from XVF3800
  size_t n = i2s.readBytes((uint8_t*)i2s_buffer, sizeof(i2s_buffer));

  if (n > 0) {
    size_t samples = n / sizeof(int32_t);

    // Convert 32-bit -> 16-bit
    for (size_t i = 0; i < samples; i++) {
      conv_buffer[i] = (int16_t)(i2s_buffer[i] >> 16);
    }

    // Feed converted data into TensorFlow
    tfl.write((uint8_t*)conv_buffer, samples * sizeof(int16_t));
  }
}
重要な注意事項
- 生成された
model.ccファイルの名前で**g_modelを置き換える**ことを確認してください。


- XVF3800はデフォルトで32ビットステレオを出力します。モデルに合わせて16ビットモノラルに変換します。
- TensorFlow Lite Microは音声データを継続的に読み取り、認識されたコマンドが検出されるたびに
respondToCommand()をトリガーします。
この設定により、XIAO ESP32はXVF3800マイクロフォンアレイを使用してカスタム音声コマンドをリアルタイムで認識できるようになります。
技術サポート & 製品ディスカッション
弊社製品をお選びいただき、ありがとうございます!お客様の製品体験が可能な限りスムーズになるよう、さまざまなサポートを提供いたします。異なる好みやニーズに対応するため、複数のコミュニケーションチャンネルを用意しています。