Local OpenClaw(Clawdbot) on reComputer Jetson with Ollama
Overview
OpenClaw is an agent framework that can work with either cloud LLMs or local models, depending on your deployment needs. Cloud models are convenient to start with: they require no local setup, offer a wide range of model choices, and are easy to scale. The tradeoffs are ongoing token costs, dependence on external services, and stricter constraints around data residency and connectivity. Local models avoid recurring API fees, keep data on-device, and continue to operate in offline or restricted networks. The tradeoffs are additional setup effort and the need to match model size to the device’s compute and storage limits. For edge robotics and long-running assistants, these advantages make local deployment a practical default. This wiki shows how to run OpenClaw on reComputer Jetson with Ollama to build a self‑contained AI control hub.
What You Will Build
- A local Ollama runtime on Jetson
- OpenClaw Gateway and WebUI running on Jetson
- OpenClaw configured to use an Ollama model as the default LLM
Supported Hardware
- reComputer Jetson series (e.g., reComputer Robotics J501X)
- NVMe SSD is recommended for faster model loading
This wiki uses reComputer Robotics J5011 for the demo, but other Jetson models are also supported. Ensure the Jetson device has at least 16GB of memory.
Prerequisites
- reComputer Robotics J5011 with pre-installed Jetpack6.2
- A Discord Bot Token

Please note that Discord Bot Token are not mandatory; you can also use other social software such as WhatsApp.
Hardware Connection
Before getting started, please connect the Jetson device to the network and power supply, and make sure the network connection remains stable.
Step 1: Install Ollama
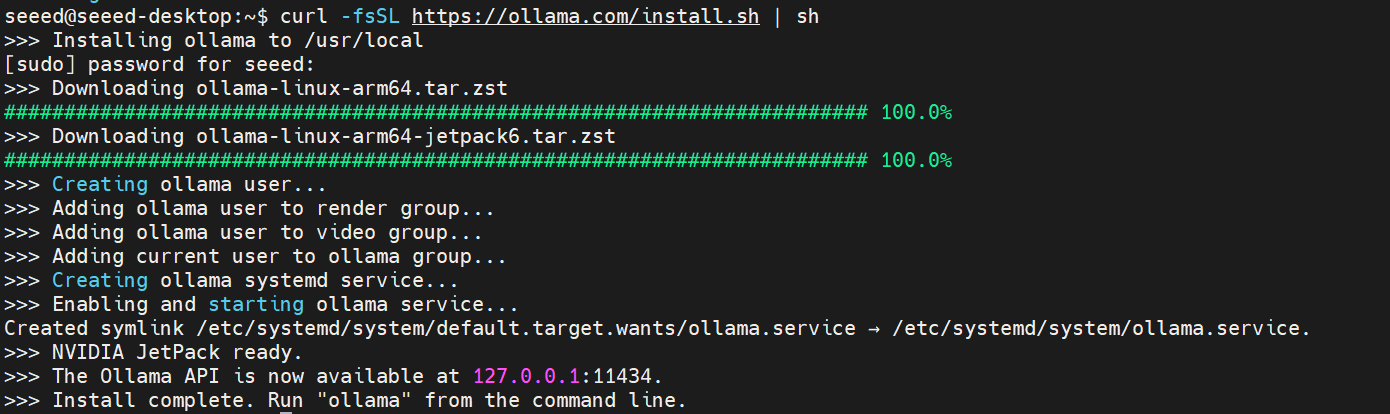
Open a terminal window on Jetson device, run the follow command to install Ollama on Jetson:
curl -fsSL https://ollama.com/install.sh | sh
Verify the local API is reachable:
curl http://localhost:11434/api/tags
If the output shows no errors, it means that Ollama has been installed correctly.
Step 2: Pull a Local Model
Pull at least one model from Ollama. Example:
ollama pull qwen3-vl:2b
List installed models:
ollama list

Step 3: Install OpenClaw (Clawdbot)
OpenClaw requires Node.js 22 or newer. Install it globally with npm:
curl -fsSL https://openclaw.ai/install.sh | bash
Step 4: Configure OpenClaw
After the OpenClaw download is complete, it will automatically enter the configuration page. Please follow the instructions shown in the terminal window to configure OpenClaw.
The setup wizard page may not include an option to configure a local model. Don’t worry — we can directly modify the configuration file later. In the setup wizard, you can choose to skip the model configuration or temporarily set up a cloud-based model.
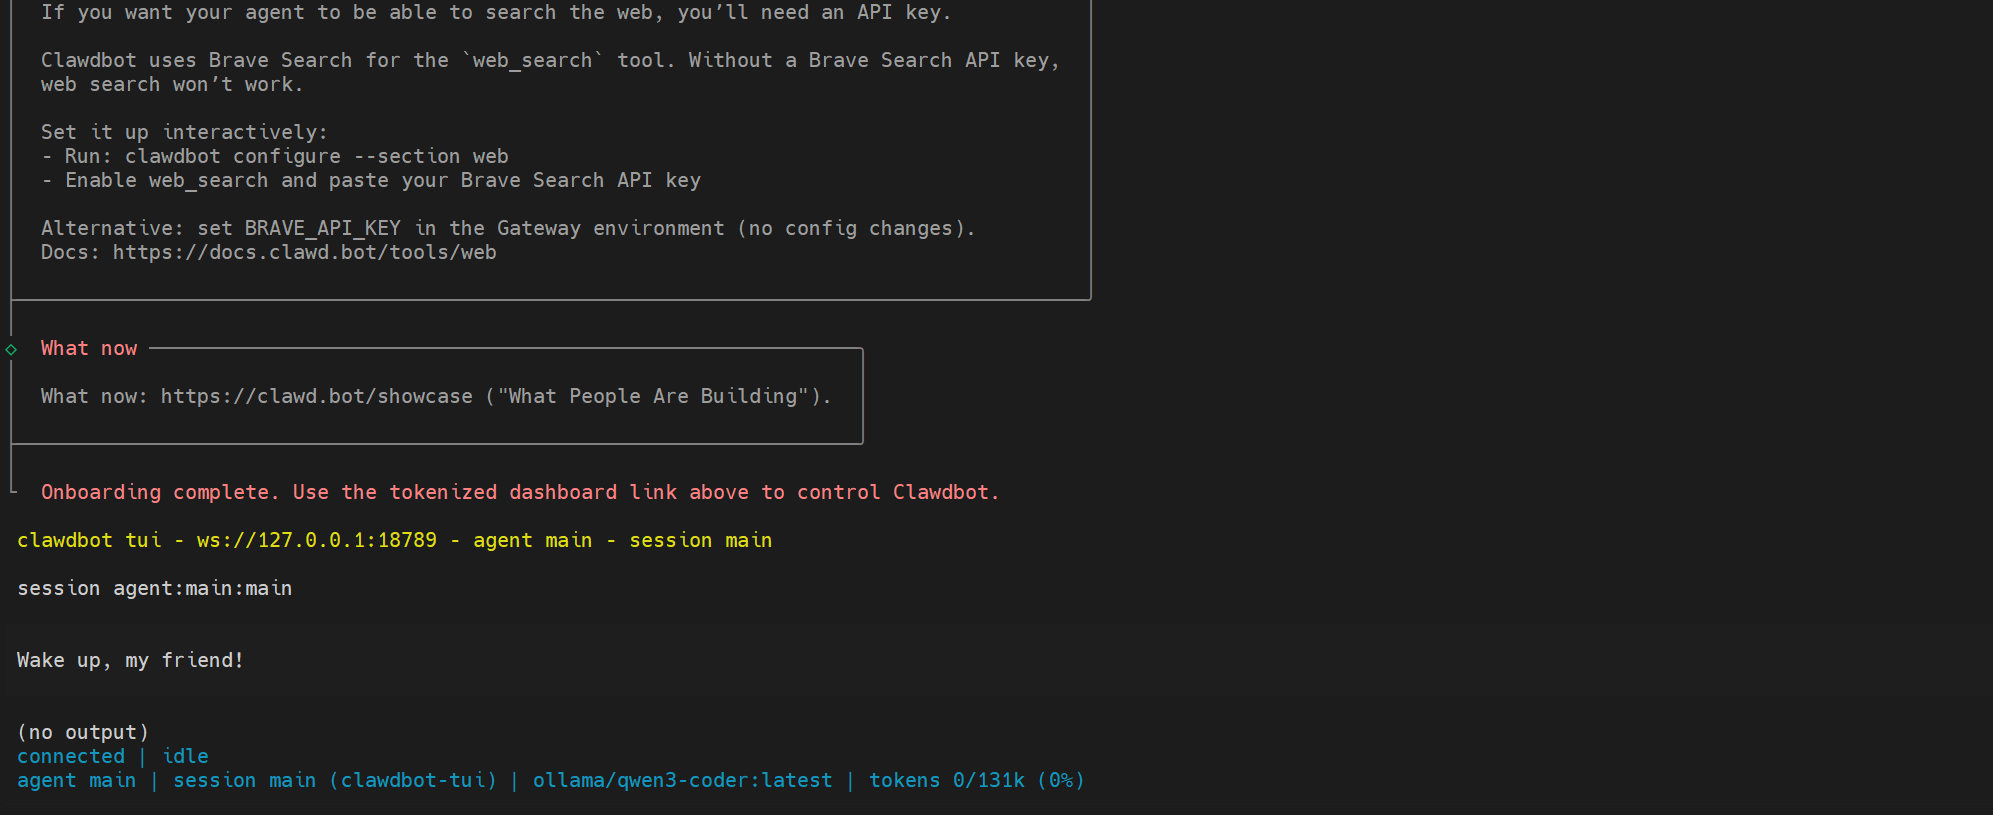
If you see the page above, it means that OpenClaw has been successfully installed and configured. Next, we will proceed to set up the local model.
Open the ~/.openclaw/openclaw.json file and add or modify the following configuration.
{
  "agents": {
    "defaults": {
      "models": {"ollama":{}},
      "model": {"primary": "ollama/qwen3-vl:2b"}
    }
  },
  "models": {
    "providers": {
      "ollama":{
        "baseUrl": "http://127.0.0.1:11434/v1",
        "apiKey": "ollama-local",
        "api": "openai-completions",
        "models": [
          {
            "id": "qwen3-vl:2b",
            "name": "Qwen3 VL 2B",
            "reasoning": false,
            "input": ["text"],
            "cost": {
              "input": 0,
              "output": 0,
              "cacheRead": 0,
              "cacheWrite": 0
            },
            "contextWindow": 128000,
            "maxTokens": 8192
          }
        ]
      }
    }
  },
}
The complete configuration file is as follows:
~/.openclaw/openclaw.json
{
  "messages": {
    "ackReactionScope": "group-mentions"
  },
  "agents": {
    "defaults": {
      "maxConcurrent": 4,
      "subagents": {
        "maxConcurrent": 8
      },
      "compaction": {
        "mode": "safeguard"
      },
      "workspace": "/home/seeed/.openclaw",
      "models": {
        "qwen-portal/coder-model": {
          "alias": "qwen"
        },
        "qwen-portal/vision-model": {},
        "ollama":{}
      },
      "model": {
        "primary": "ollama/qwen3-vl:2b"
      }
    }
  },
  "gateway": {
    "mode": "local",
    "auth": {
      "mode": "token",
      "token": "xxxxxxxxxxxxxxxxxxxxxxxxxxxxxxxxxxxxxxxxxxx"
    },
    "port": 18789,
    "bind": "loopback",
    "tailscale": {
      "mode": "off",
      "resetOnExit": false
    }
  },
  "plugins": {
    "entries": {
      "qwen-portal-auth": {
        "enabled": true
      },
      "discord": {
        "enabled": true
      }
    }
  },
  "models": {
    "providers": {
      "qwen-portal": {
        "baseUrl": "https://portal.qwen.ai/v1",
        "apiKey": "qwen-oauth",
        "api": "openai-completions",
        "models": [
          {
            "id": "coder-model",
            "name": "Qwen Coder",
            "reasoning": false,
            "input": [
              "text"
            ],
            "cost": {
              "input": 0,
              "output": 0,
              "cacheRead": 0,
              "cacheWrite": 0
            },
            "contextWindow": 128000,
            "maxTokens": 8192
          },
          {
            "id": "vision-model",
            "name": "Qwen Vision",
            "reasoning": false,
            "input": [
              "text",
              "image"
            ],
            "cost": {
              "input": 0,
              "output": 0,
              "cacheRead": 0,
              "cacheWrite": 0
            },
            "contextWindow": 128000,
            "maxTokens": 8192
          }
        ]
      },
      "ollama":{
        "baseUrl": "http://127.0.0.1:11434/v1",
        "apiKey": "ollama-local",
        "api": "openai-completions",
        "models": [
          {
            "id": "qwen3-vl:2b",
            "name": "Qwen3 VL 2B",
            "reasoning": false,
            "input": ["text"],
            "cost": {
              "input": 0,
              "output": 0,
              "cacheRead": 0,
              "cacheWrite": 0
            },
            "contextWindow": 128000,
            "maxTokens": 8192
          }
        ]
      }
    }
  },
  "auth": {
    "profiles": {
      "qwen-portal:default": {
        "provider": "qwen-portal",
        "mode": "oauth"
      }
    }
  },
  "channels": {
    "discord": {
      "enabled": true,
      "token": "xxxxxxxxxxxxxxxxxxxxxxxxxxxxxxxxxxxxxxxxxxxxxxxxxxxxxxx",
      "groupPolicy": "open"
    }
  },
  "skills": {
    "install": {
      "nodeManager": "npm"
    }
  },
  "wizard": {
    "lastRunAt": "2026-02-02T06:19:11.256Z",
    "lastRunVersion": "2026.1.30",
    "lastRunCommand": "onboard",
    "lastRunMode": "local"
  },
  "meta": {
    "lastTouchedVersion": "2026.1.30",
    "lastTouchedAt": "2026-02-02T06:19:11.282Z"
  }
}
Step 5: reStart OpenClaw Services
Run the restart command:
openclaw gateway restart
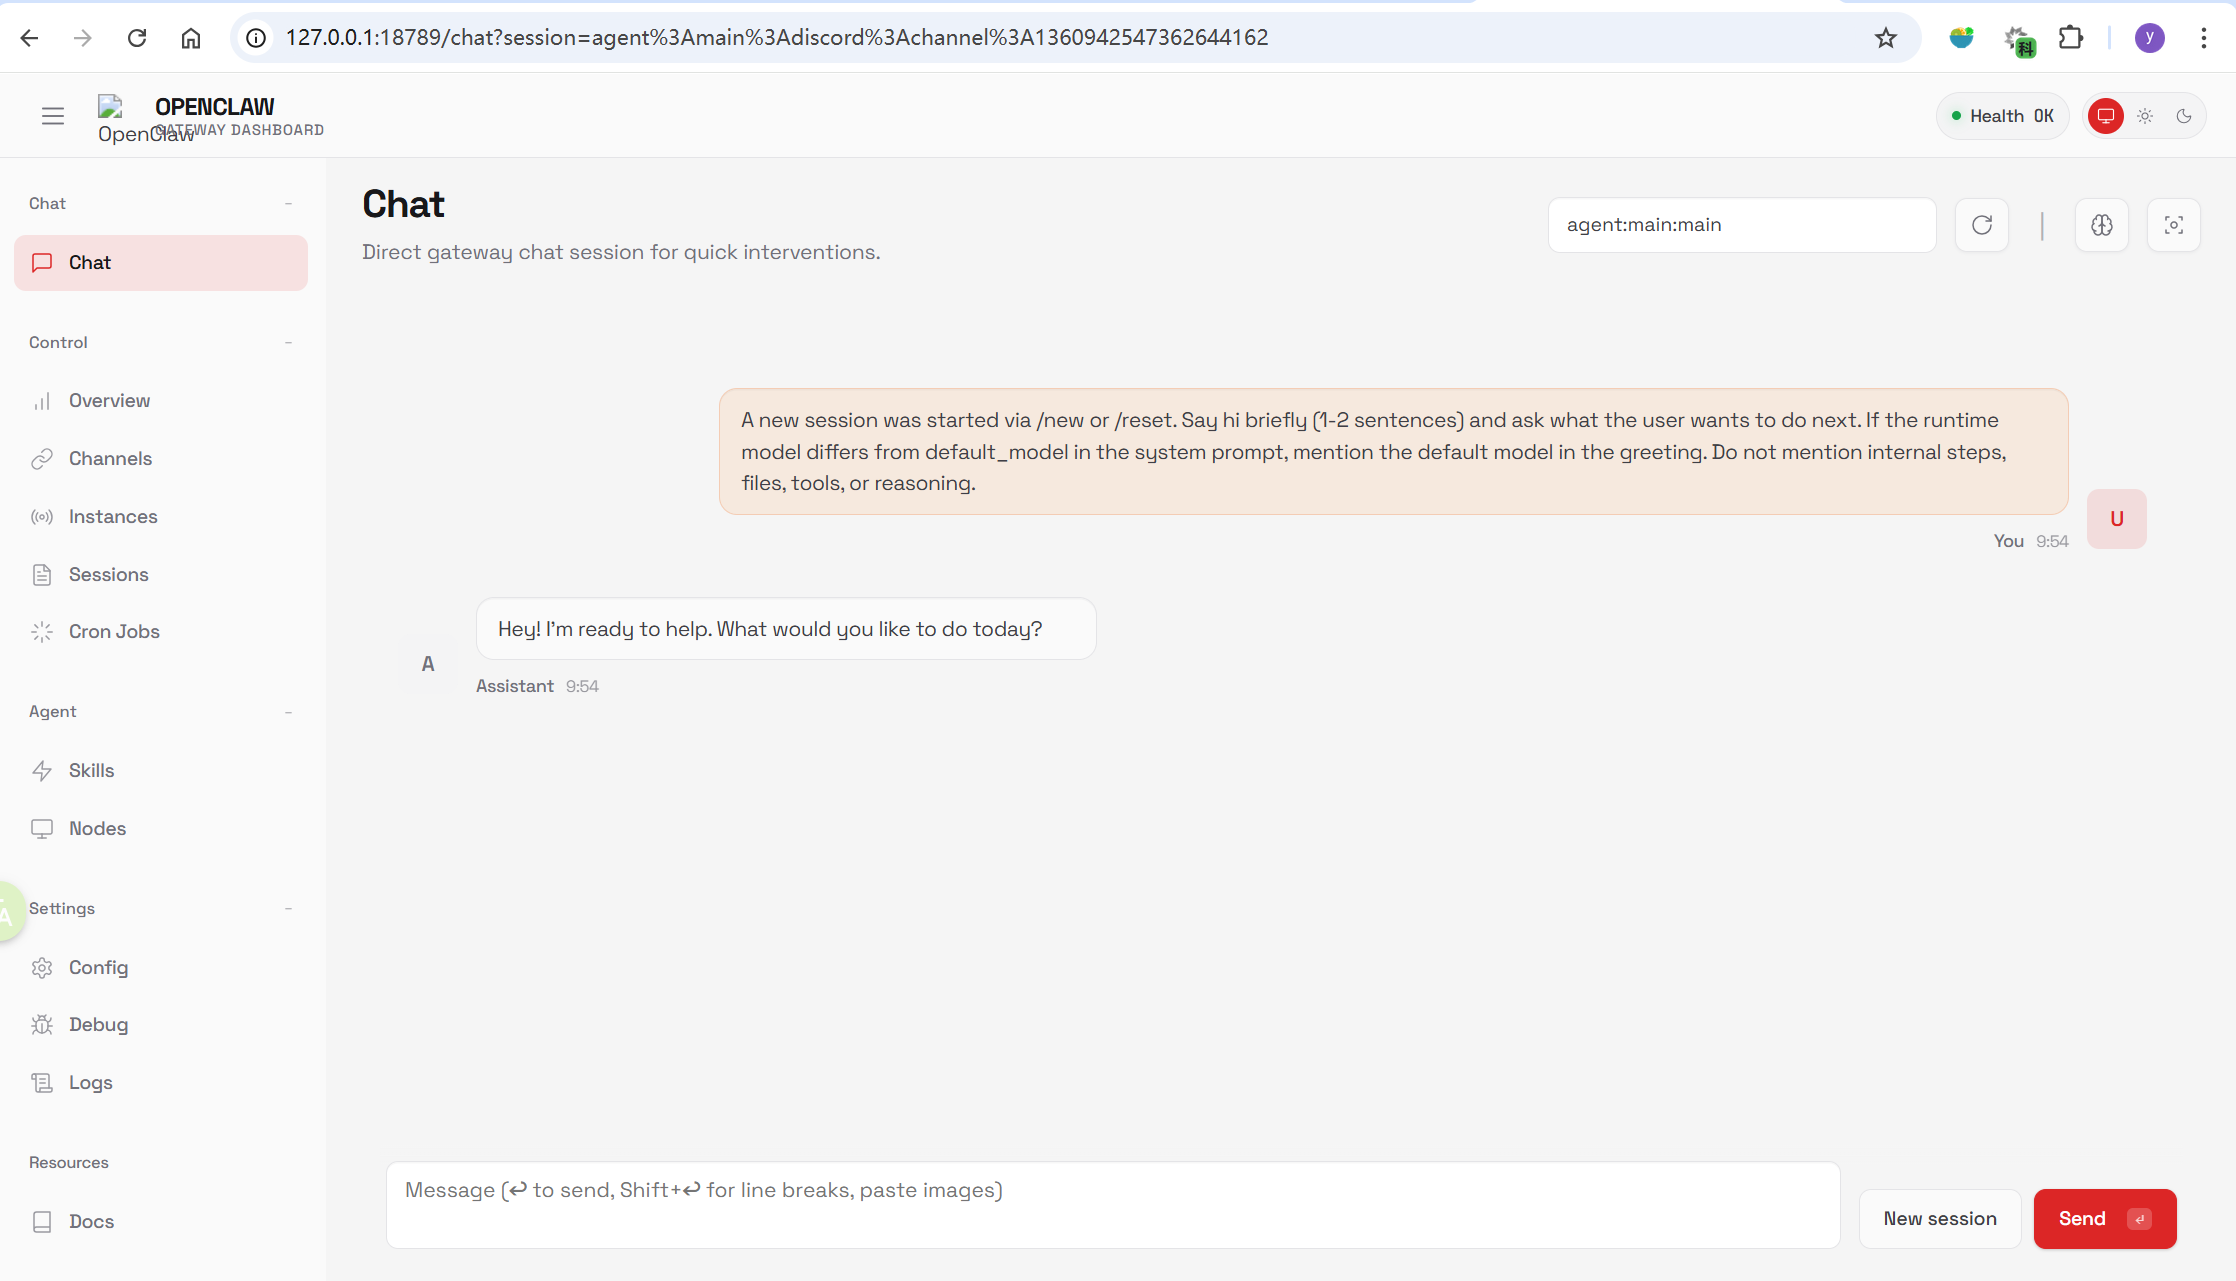
Step 6: Open WebUI and Verify
Open the WebUI in jetson browser:
http://127.0.0.1:18789/
If the page does not load, check that the Gateway is running.
If you keep seeing an “unable to access” error when opening the WebUI, it may be because the access token is enabled. You can find the WebUI token in the configuration file and append it to the WebUI URL when accessing it.
http://127.0.0.1:18789/?token=...
Effect Demonstration
The good news is that we have successfully run OpenClaw using low-power local computing (Jetson). The bad news is that the performance of the local model has not met expectations.
This may be due to my configuration parameters or prompt settings not being properly tuned. I believe that by adjusting OpenClaw’s working parameters, we can further optimize the performance of the local model.
If you are also interested in this project, try deploying it now!
References
- https://docs.openclaw.ai/
- https://docs.openclaw.ai/providers/ollama
- https://ollama.com/
- https://wiki.seeedstudio.com/ai_robotics_recomputer_j501_robotics_getting_started/
Resources
Tech Support & Product Discussion
Thank you for choosing our products! We are here to provide you with different support to ensure that your experience with our products is as smooth as possible. We offer several communication channels to cater to different preferences and needs.