MeshCore Source Code Development Tutorial
Prerequisites
Necessary Tool
Before you begin, prepare the following tools:
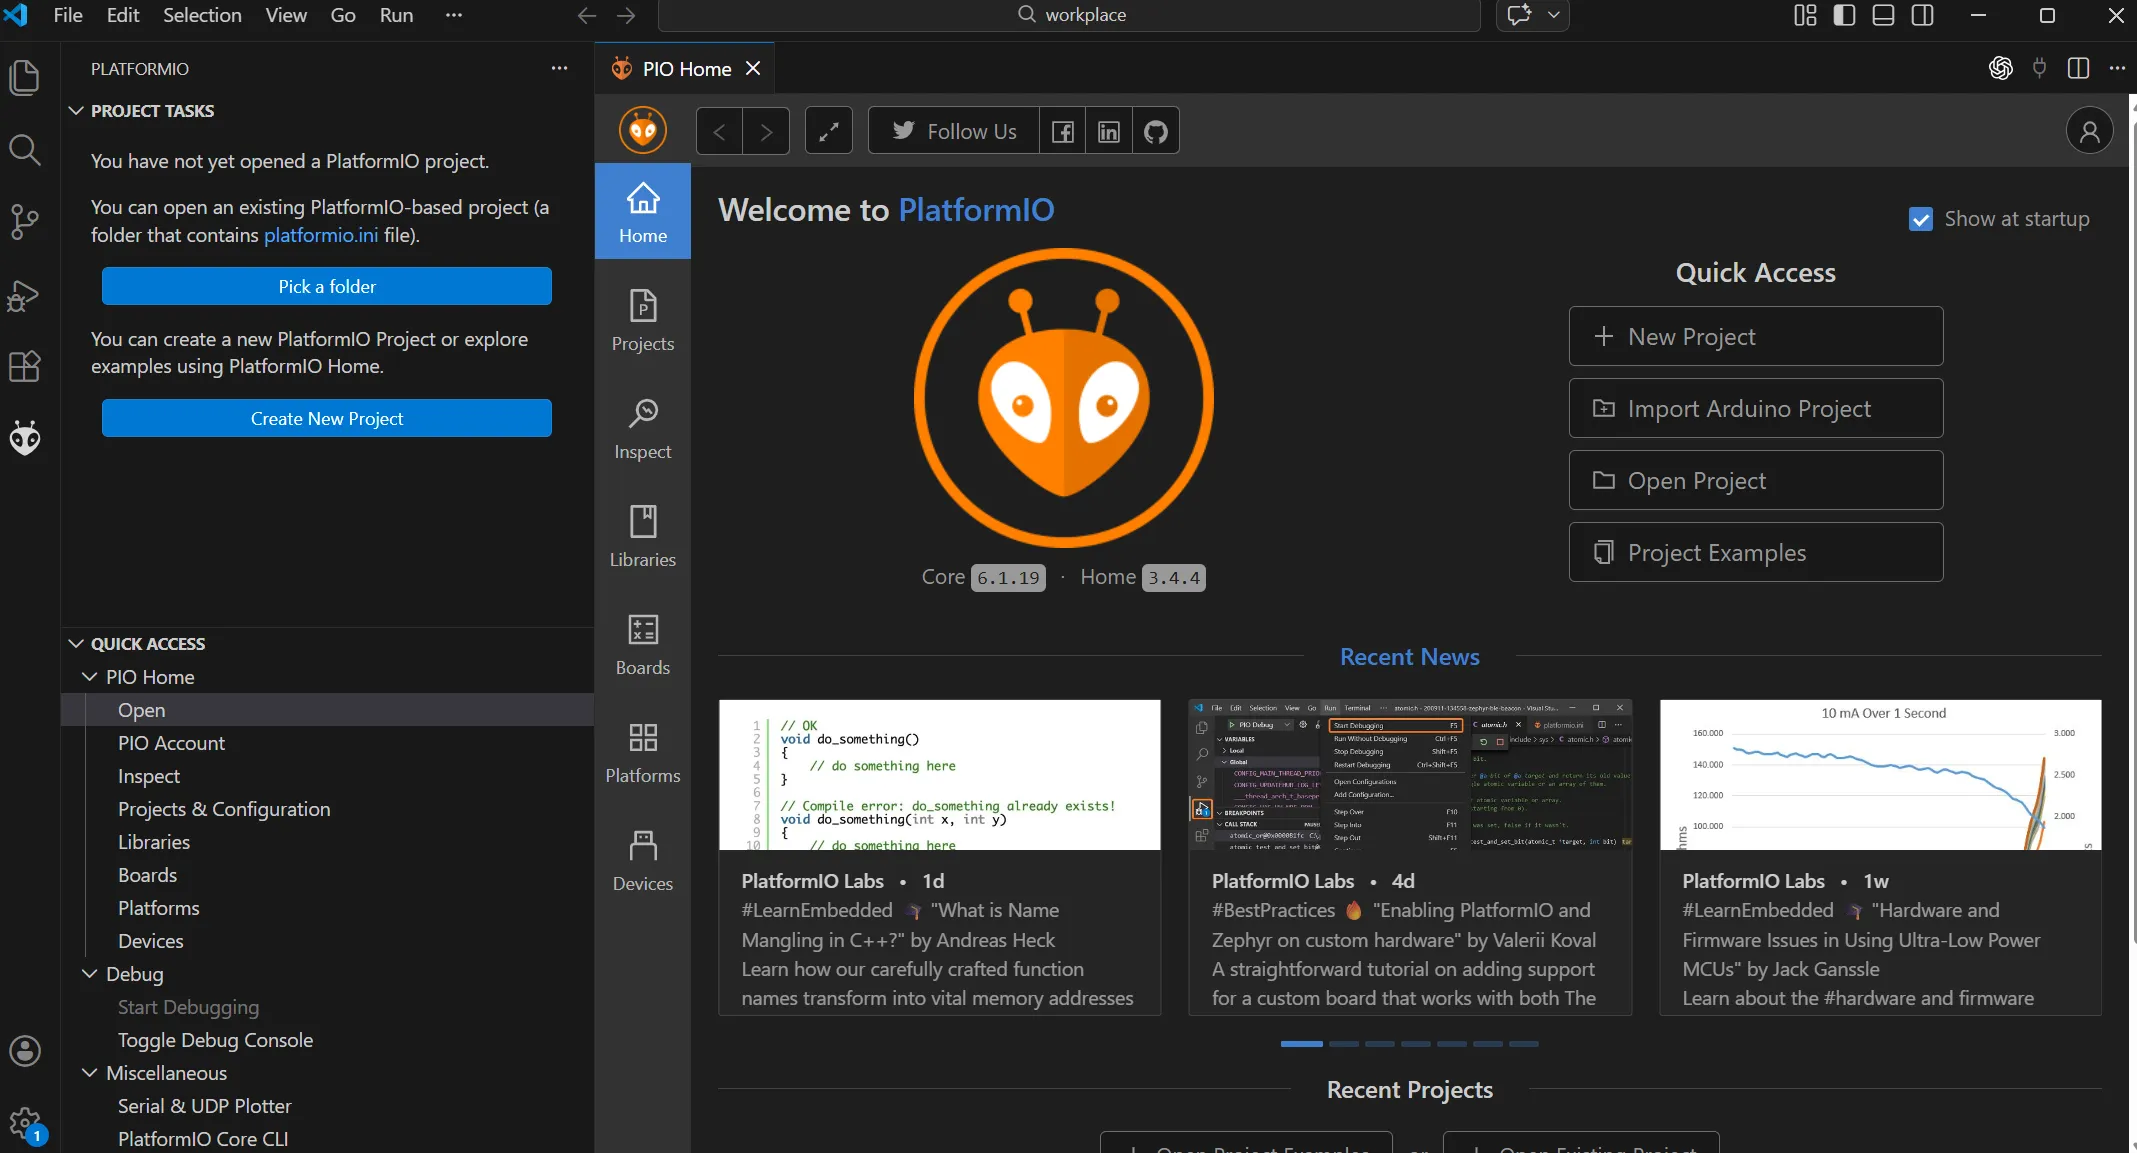
Install PlatformIO
Search for PlatformIO in the VS Code Extensions marketplace and install it.
After installation, an ant-shaped icon usually appears in the left toolbar.
Project Preparation
Open a folder you want your project in. Open the folder in terminal. Click here to git clone the project.
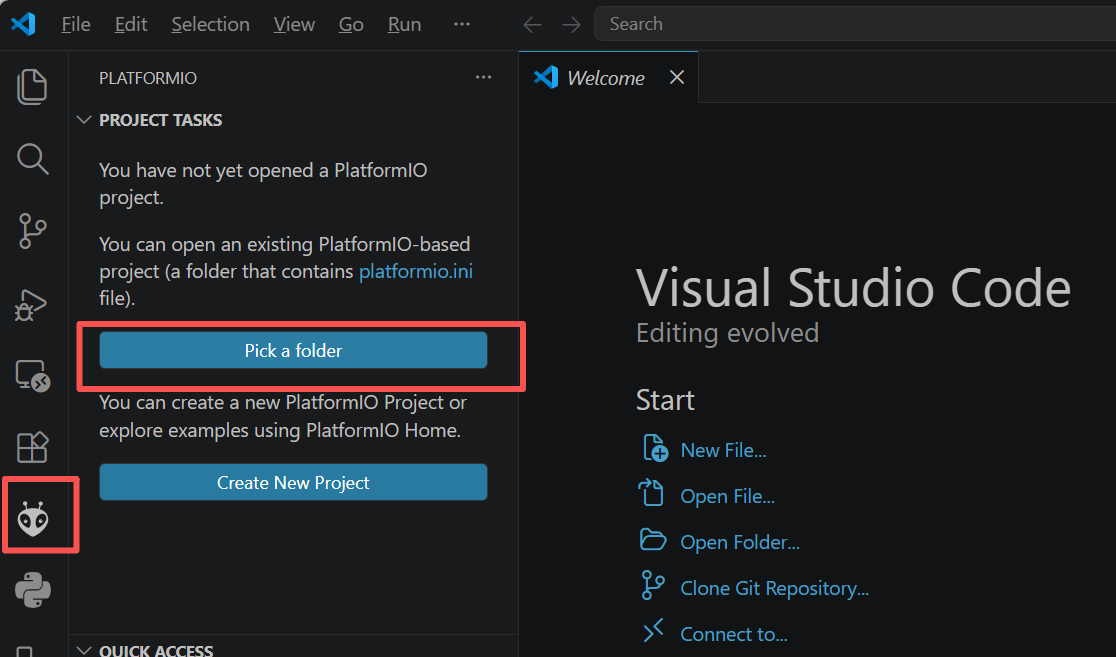
Open VSCode, then click platform IO icon, choose select a folder. Choose the folder you cloned the project with.
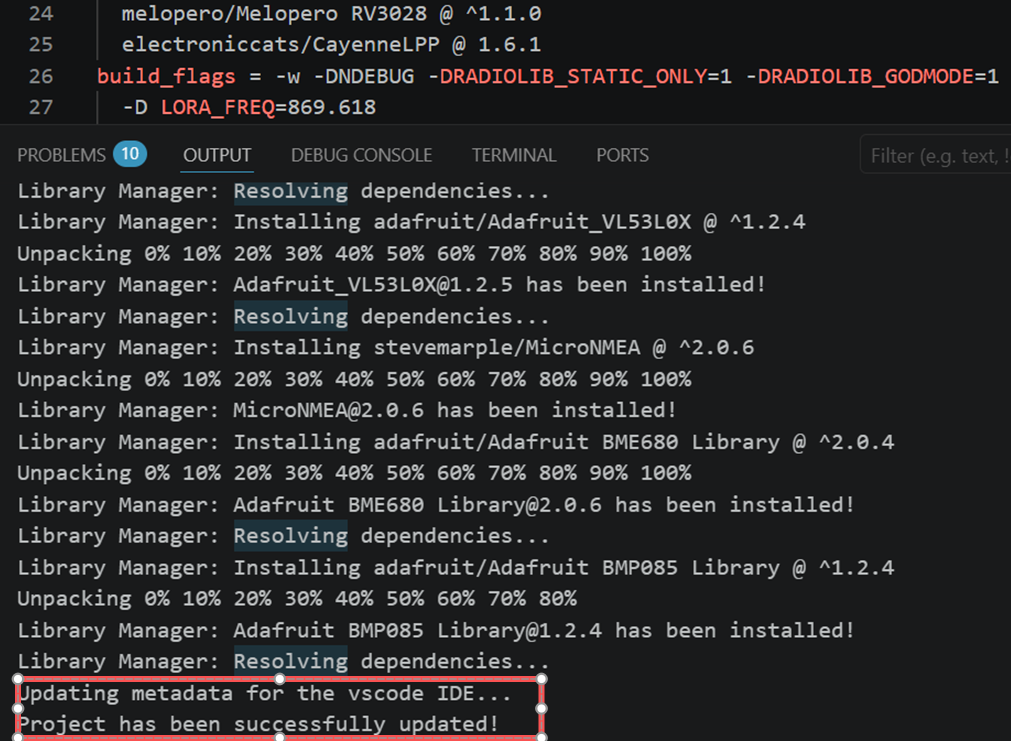
PlatformIO will automatically install the necessary dependencies. After the installation succeed, you can see Project has been successfully updated
Firmware Development
Development Torial
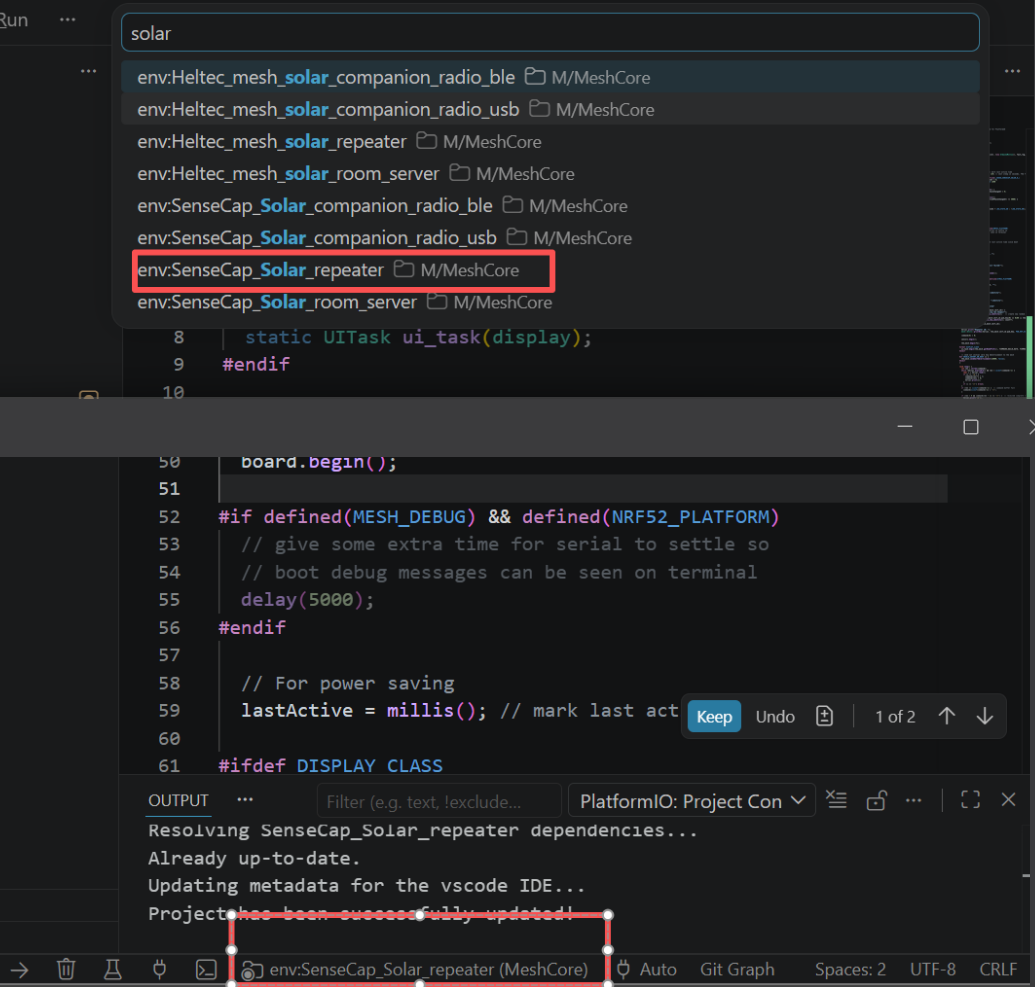
Find the environment for your target board. Take Solar node repeater as example:
Tnen PtformmlIO will prepare the required dependencies for the board.
Change your code. It is recommended to change the variant.h file for your board.
After copleting the coding, run the following command to copiling the code and change to uf2 file.
pio run -e SenseCap_Solar_repeater
pio run -e SenseCap_Solar_repeater -t create_uf2
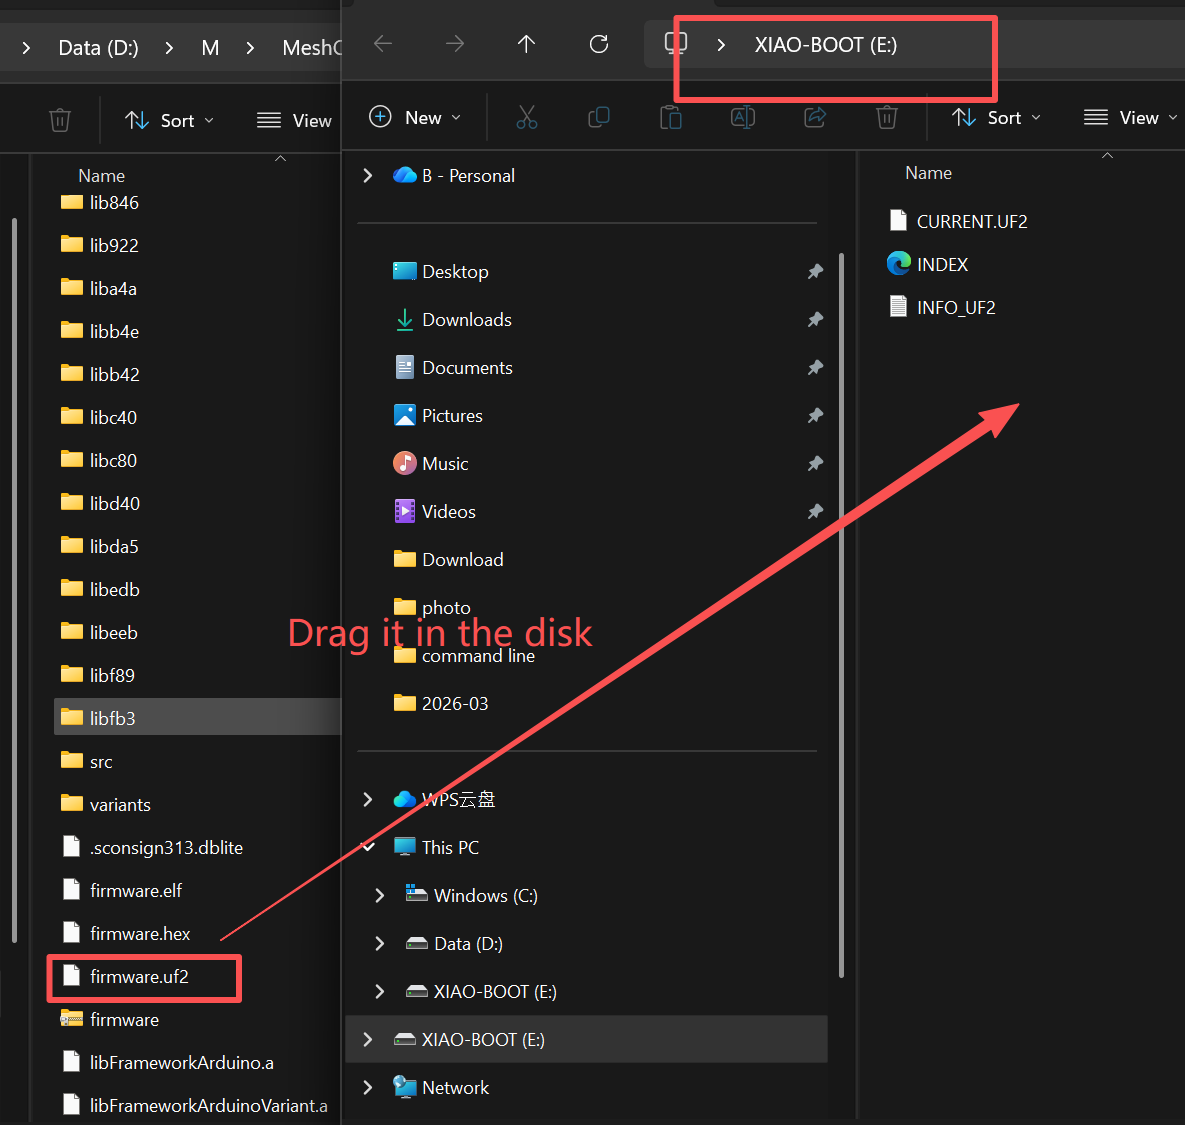
Then double click the RST button to enter DFU mode. Drag the uf2 file into the pop-out disk.
Example
User Light Control
This example shows how to write a blinking loop for the user light. Copy the following code to /examples/simple_repeater/main.cpp
#endif
#ifdef LED_WHITE
static void updateUserLightBlink() {
  static unsigned long lastLedPhaseChangeAt = 0;
  static bool lightIsOn = true;

  const unsigned long now = millis();
  if ((unsigned long)(now - lastLedPhaseChangeAt) >= 5000) {
    lightIsOn = !lightIsOn;
    lastLedPhaseChangeAt = now;
  }

  digitalWrite(LED_WHITE, lightIsOn ? LED_STATE_ON : !LED_STATE_ON);
}
and write the loop:
#ifdef LED_WHITE
  updateUserLightBlink();
#endif
Copiling it and flash the uf2 file to your solar node.