Getting Start with reComputer AI R2000 Series

reComputer AI R2000 series is a powerful Edge AI Computer based on the Raspberry Pi 5. With quad-core Arm Cortex-A76 processor 8GB RAM, M.2 SSD support, and an Hailo-8 AI acceleration module providing up to 26 TOPS, Enabling real-time, low latency & high-efficiency AI inferencing. it's the perfect chioce for a wide range of AI applications, including AI-powered video analytics, machine vision, and intelligent edge computing.
Features
-
Powerful Cooling Capabilities: The compact design and optimized thermal architecture make it highly suitable for deployment in resource-constrained environments, providing excellent cooling performance.
-
Powerful Performance: Powered by Raspberry Pi 5 with quad-core Cortex-A76 CPU, up to 8GB RAM.
-
26 Tera-Operations Per Second: Powered by Hailo AI Accelerator Offering Integrated Computing Power of Up to 26 Tops. Extensive Interfaces: 2x HDMI 4Kp60,1x Ethernet Port, 2x USB 3.0, 2x USB 2.0.
-
Wireless Connectivity: Dual-band Wi-Fi and Bluetooth 5.0/BLE. Flexible Storage Options: The PCIe2.0 dual M.2 Slot supports both AI accelerator and SSD storage.
Specifications
| Parameters | Description |
|---|---|
| Hardware Spec | |
| CPU | Raspberry Pi 5, 2.4GHz quad-core 64-bit Arm Cortex-A76 |
| GPU | Raspberry Pi 5, VideoCore VII |
| AI Processor | Hailo-8 M.2 Acceleration Module, 26 Tera-Operations Per Second |
| RAM | 8GB SDRAM |
| Operating System | Raspberry Pi OS, Ubuntu |
| System Spec | |
| Power Supply | 5V/5A DC power via USB-C, Power Delivery supported |
| Video Decoder | 4Kp60 HEVC decoder |
| Wi-Fi | Dual-band 802.11ac Wi-Fi® |
| Bluetooth | Bluetooth 5.0/ BLE |
| Power Button | On/Off included |
| Interface | |
| Storage | 1 x microSD card slot, with support for high-speed SDR104 mode |
| M.2 Slot | 2 x M.2 Slot, supports M.2 NVMe SSD/Hailo M.2 Acceleration Module |
| USB Ports | 2 × USB 3.0 ports |
| 2 × USB 2.0 ports | |
| Ethernet | 1 x 10/100/1000 Mbps |
| Camera/Display | 2 × 4-lane MIPI camera/display transceivers |
| Display Output | 2 x micro HDMI ports (4Kp60) |
| Ambient Conditions | |
| Ingress Protection | IP40 |
| Operating Temperature | 0-45°C |
| Others | |
| Warranty | 1 Year |
| Production Lifetime | Until at least January 2036 |
| Certification | CE, FCC, Telec, RoHS, REACH |
Hailo introduction
Hardware introduction
Hailo offers cutting-edge AI processors uniquely tailored for high-performance deep learning applications on edge devices. The company's solutions focus on enabling the next era of generative AI on the edge, alongside perception and video enhancement, powered by advanced AI accelerators and vision processors. And The reComputer_R2000, equipped with the Hailo-8 NPU accelerator providing 26 TOPs of AI performance, is capable of achieving over 200 FPS with YOLOv8s.
Software introduction
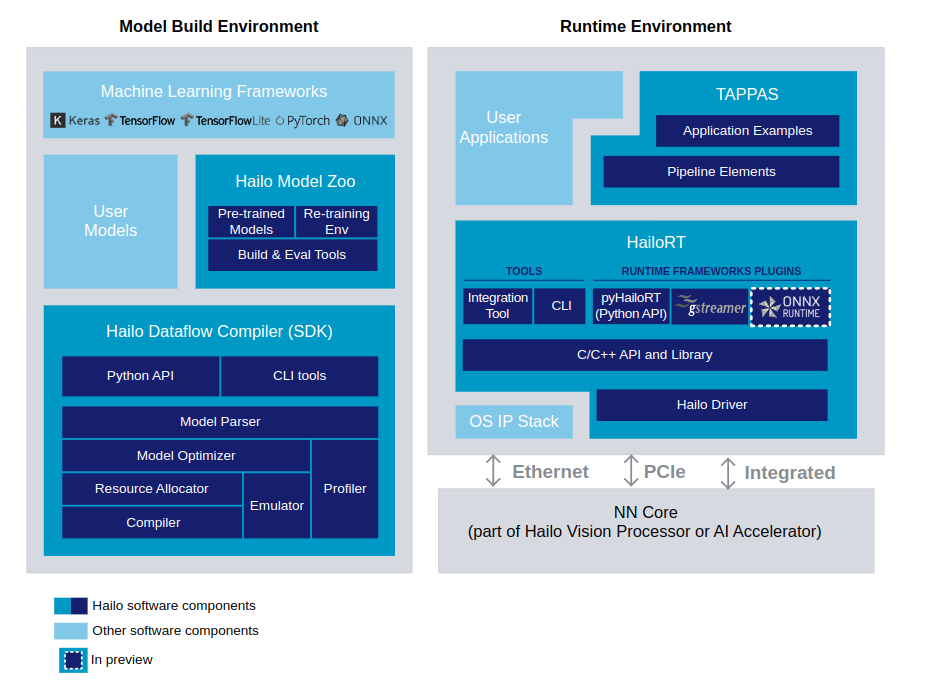
The Hailo AI Software Suite provides powerful tools to run AI models efficiently on hardware accelerators. It is designed to integrate seamlessly with existing deep learning frameworks, offering smooth workflows for developers.The process involves generating a HEF (Hailo Executable Binary File) from an ONNX file in the Model Build Environment. Once created, the HEF file is transferred to the inference machine (Runtime Environment), where it is used to execute inference with the HailoRT API. The provided script facilitates the conversion of an ONNX file into a HEF file within the Model Build Environment.
Note: If you want to learn more about examples of using Hailo NPU, please click this link.
Hardware Overview


Flash OS
You need an SD card and a card reader. Insert the SD card into the card reader, and then plug the card reader's USB interface into the USB port of your host machine.
For Windows host computer
-
Step 1. Download Raspberry Pi Imager software from here
-
Step 2. Open Raspberry Pi Imager software

- Step 3. Press CTRL + SHIFT + X on the keyboard to open Advanced options window

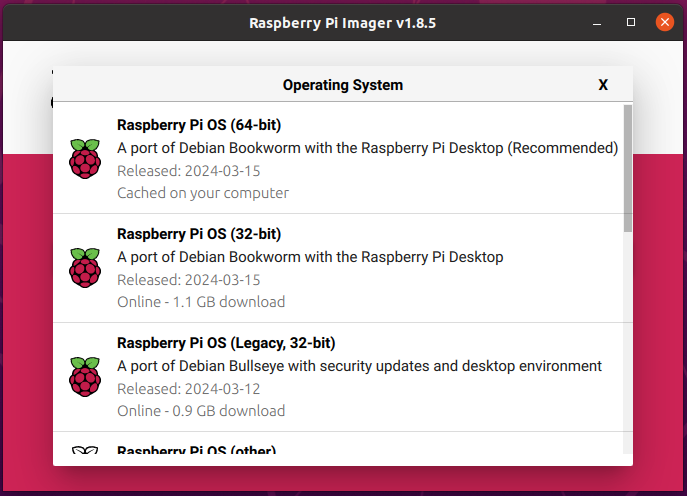
- Step 4. Click CHOOSE OS and select your preferred OS

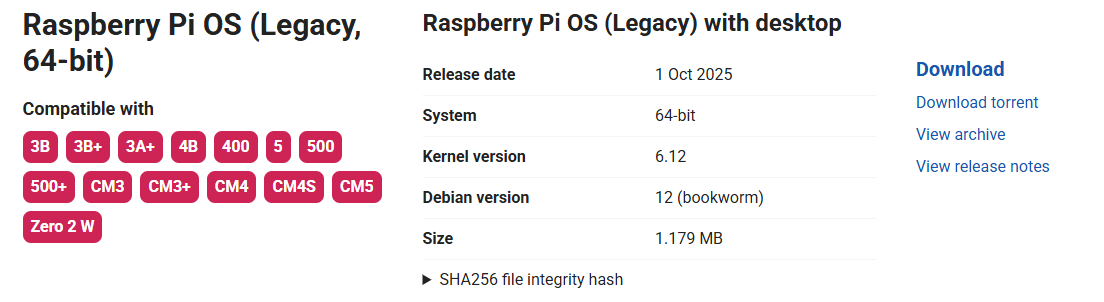
NOTE1: We recommend flashing the (64-bit Raspberry Pi OS Debian 12 Bookworm)[https://downloads.raspberrypi.com/raspios_oldstable_full_arm64/images/raspios_oldstable_full_arm64-2025-10-02/2025-10-01-raspios-bookworm-arm64-full.img.xz] image for now. The newly released Raspberry Pi OS based on Debian 13 “Trixie” hasn’t updated the hailo-all package yet, so Bookworm will give you full Hailo support out of the box. Download link.
Then write it to your SD card using the imager with the Use custom option.

If you still want to try the latest image, you’ll need to install the Hailo software manually instead of using the one-command hailo-all route; please follow this link.
NOTE2: You can select other OS such as 64-bit Ubuntu by navigating into Other general purpose OS
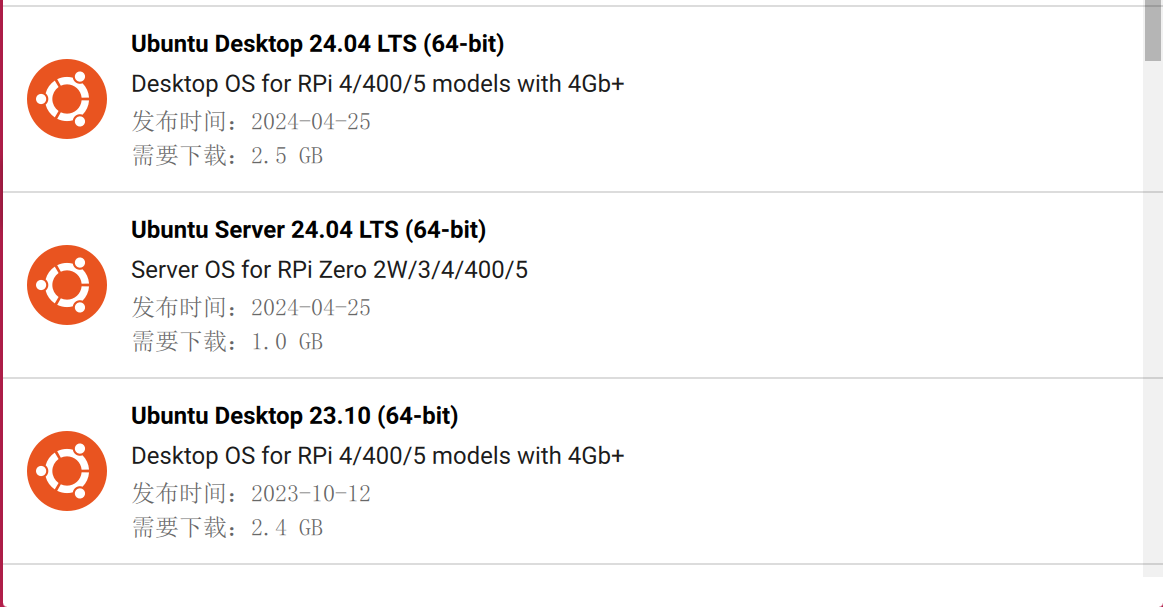
Or you can use this link to download the image file:
-
Step 5. Click CHOOSE STORAGE
-
Step 6. Finally, click WRITE

Please wait a few minutes until the flashing process is complete.
For MAC host computer
You need to install homebrew before proceed the following steps.
Please open a terminal and type brew -V to check if you have setup the correct homebrew environment, you should see the version of the homebrew environment you have installed.
-
Step 1. Download and Install Raspberry Pi Imager Application by visiting this link
-
Step 2. Open the Raspberry Pi Imager Application
- Step 3. Press CTRL + SHIFT + X on the keyboard to open Advanced options window
Here you can set a hostname, enable SSH, set a password, configure wifi, set local settings and more
- Step 4. Click CHOOSE OS and select your preferred OS
NOTE: You can select other OS such as 64-bit Ubuntu by navigating into Other general purpose OS
Or you can use this link to download the image file:
-
Step 5. Click CHOOSE STORAGE
-
Step 6. Finally, click WRITE
For Linux host computer
- Step 1. Download snap
sudo apt install snap
- Step 2. Download rpi-imager
snap install rpi-imager
- Step 3. Open Raspberry Pi Imager software
rpi-imager
The result is shown as below:

- Step 4. Press CTRL + SHIFT + X on the keyboard to open Advanced options window
Here you can set a hostname, enable SSH, set a password, configure wifi, set local settings and more
- Step 5. Click CHOOSE OS and select your preferred OS
NOTE: You can select other OS such as 64-bit Ubuntu by navigating into Other general purpose OS
Or you can use this link to download the image file:
-
Step 6. Click CHOOSE STORAGE and select the connected eMMC drive
-
Step 7. Finally, click NEXT and YES

Please wait a few minutes until the flashing process is complete. The result is shown as below:

Boot from NVME
Update EEPROM
This method works if you have an SD card and have booted the device successfully. Please make sure your system is the latest Raspberry Pi system (Bookworm or later) and and your RPi 5 firmware is updated to 2023-12-06 (Dec 6th) or newer, otherwise it may not recognize the NVME-related configurations.
Step 1:Ensure that your Raspberry Pi system is up-to-date (Bookworm or later), enter the following command to update the RPi 5 firmware:
  sudo apt update && sudo apt upgrade -y
  sudo rpi-eeprom-update  # If it is not post-December 2023 type the following into a terminal to start the configuration tool
  sudo raspi-config
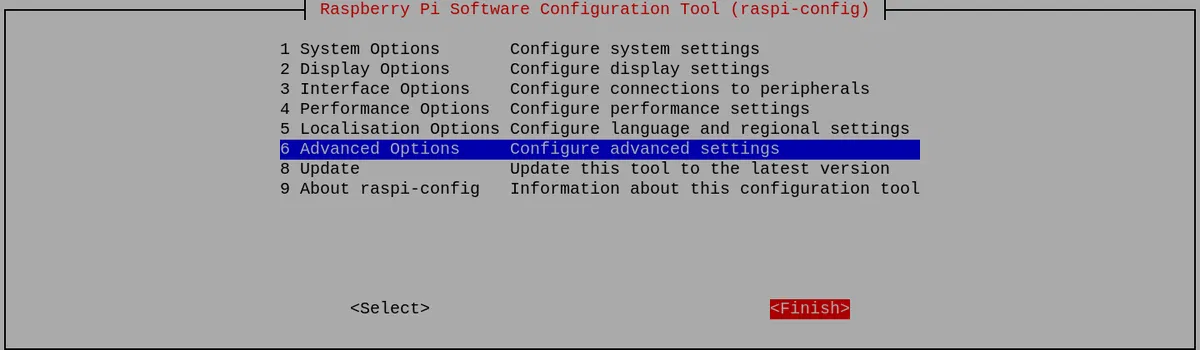
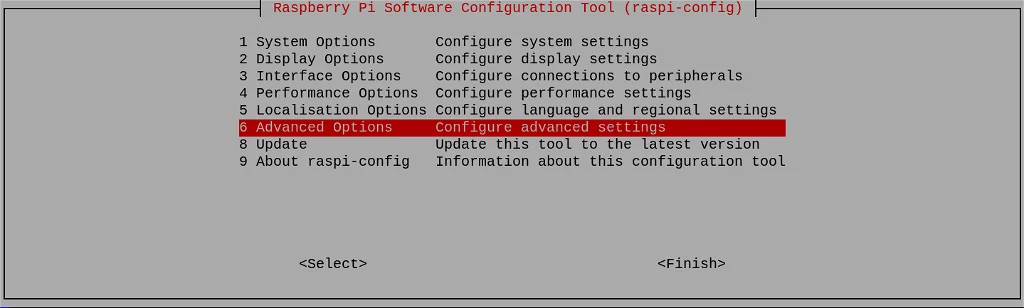
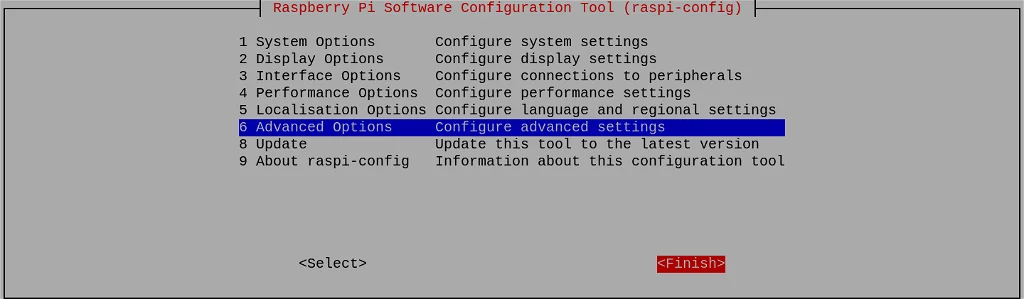
Scroll down to Advanced Options and press Enter:

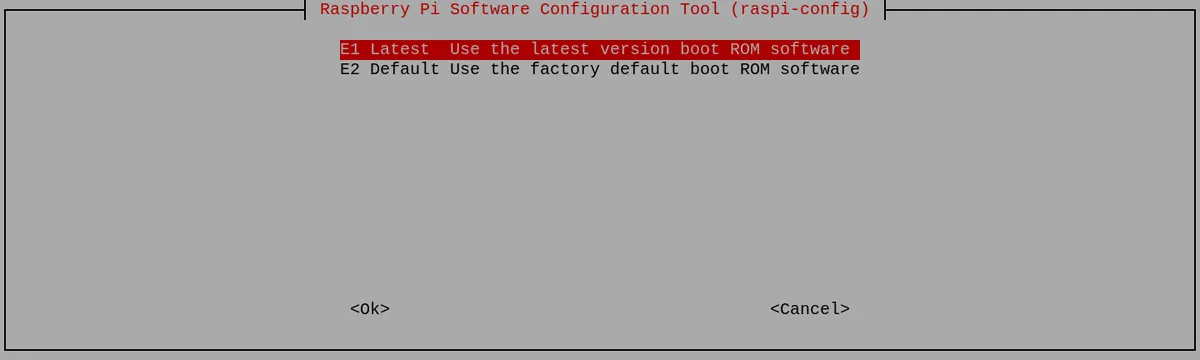
Scroll down to Bootloader Version and press Enter:

And finally choose Latest, and press Enter:
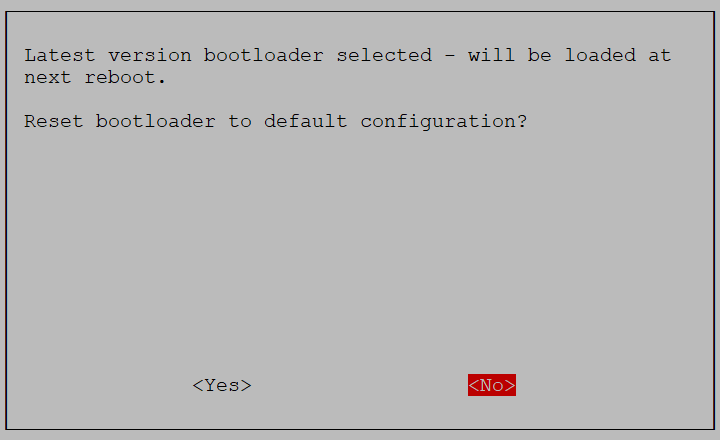
Select No here - you want the latest bootloader.
And exit from the tool by selecting Finish:
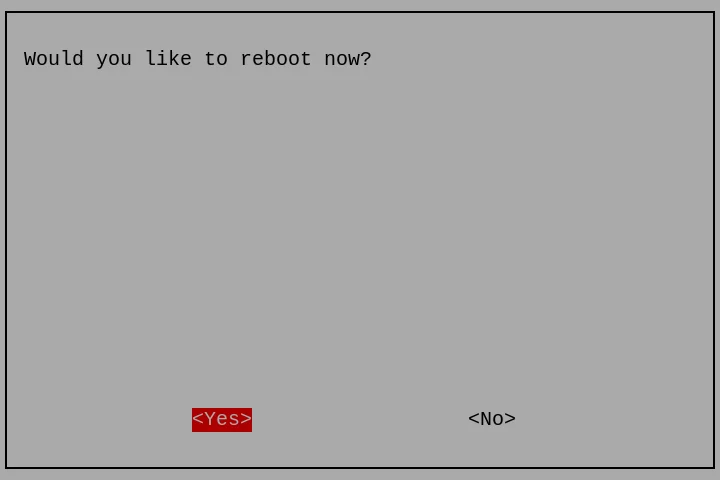
If asked to reboot, select Yes.

Step 2:Cick Applications =>Accessories =>SD Card Copier on the main screen, run the SD Card Copier program, and copy the OS to the NVME ssd as shown in the figure below.
Setting the Raspberry Pi to boot from the NVMe SSD
If you have easy access to your SD card slot you could turn off your Pi, pop out the SD card and (if everything's working as expected) it should automagically boot from your NVMe drive the next time you start it up. If you want to leave the SD card where it is and still boot from NVMe though, you'll need to change the boot order.
Step 1:Enter the following command:
sudo raspi-config
Scroll down to Advanced Options and press Enter:
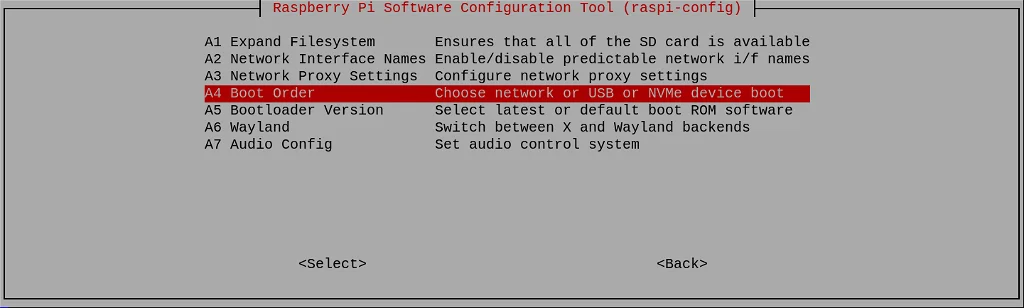
Step 2:Scroll down to Boot Order and press Enter:
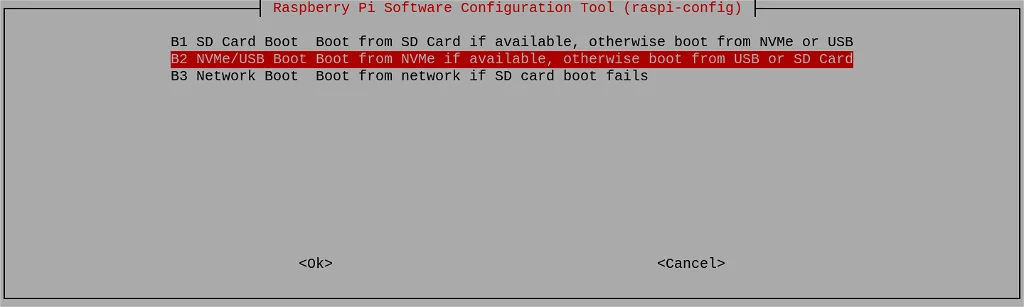
Step 3:Choose NVMe/USB Boot and press Enter:
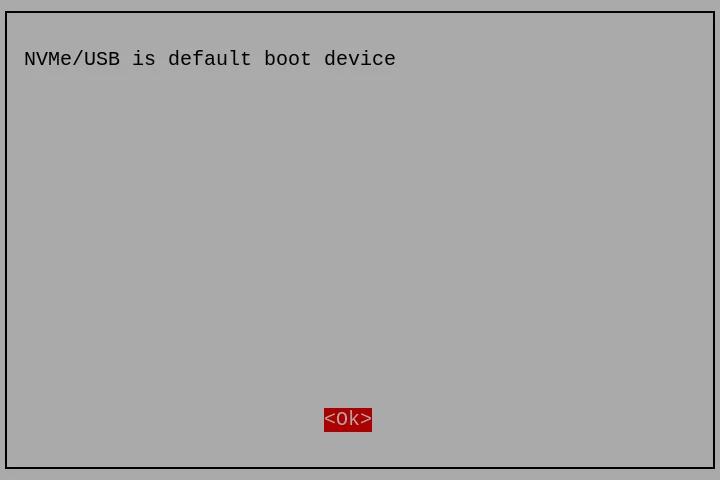
Configuration will be confirmed. Press Enter:
Step 4:Return to the first screen by selecting Back or pressing the Esc key. Then navigate to Finish using the right cursor key.
You will be asked whether you want to reboot now. Click Yes:
Flash ubuntu to NVME
First: Update EEPROM with SD card
Please refer this link.
To set the NVMe boot order as the highest priority, use the following command:
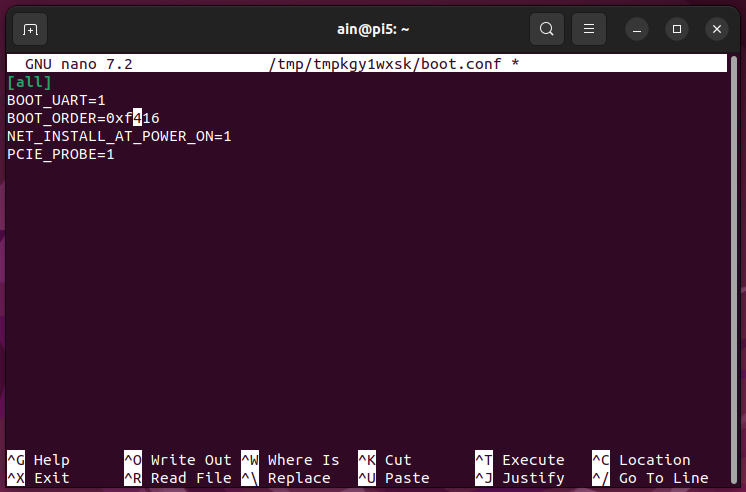
sudo rpi-eeprom-config --edit
And then change rpi-eeprom-config like below:
BOOT_UART=1
BOOT_ORDER=0xf461
NET_INSTALL_AT_POWER_ON=1
PCIE_PROBE=1
Use Ctrl+X and input y to store the result. And the result is as follows:
Second: Burn Ubuntu onto the NVMe
Open Raspberry Pi Imager:
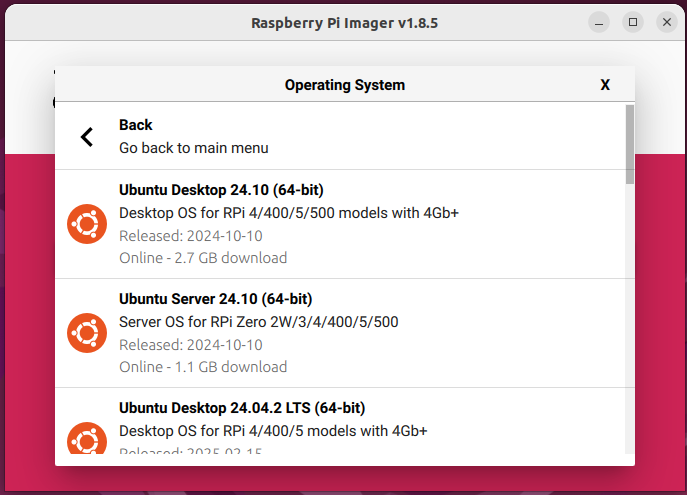
Choose Ubuntu os:
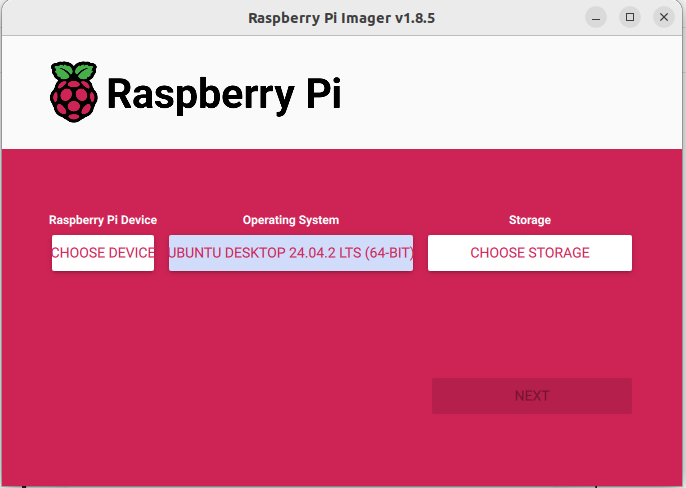
Finally, click Next and wait for the flashing process to complete.
Third: Replace the OS file
Install pcie-fix.dtbo with this link
Copy pcie-fix.dtbo to /overlays file like below:

Modify the config.txt, add dtoverlay=pcie-fix at the end of the file like below:
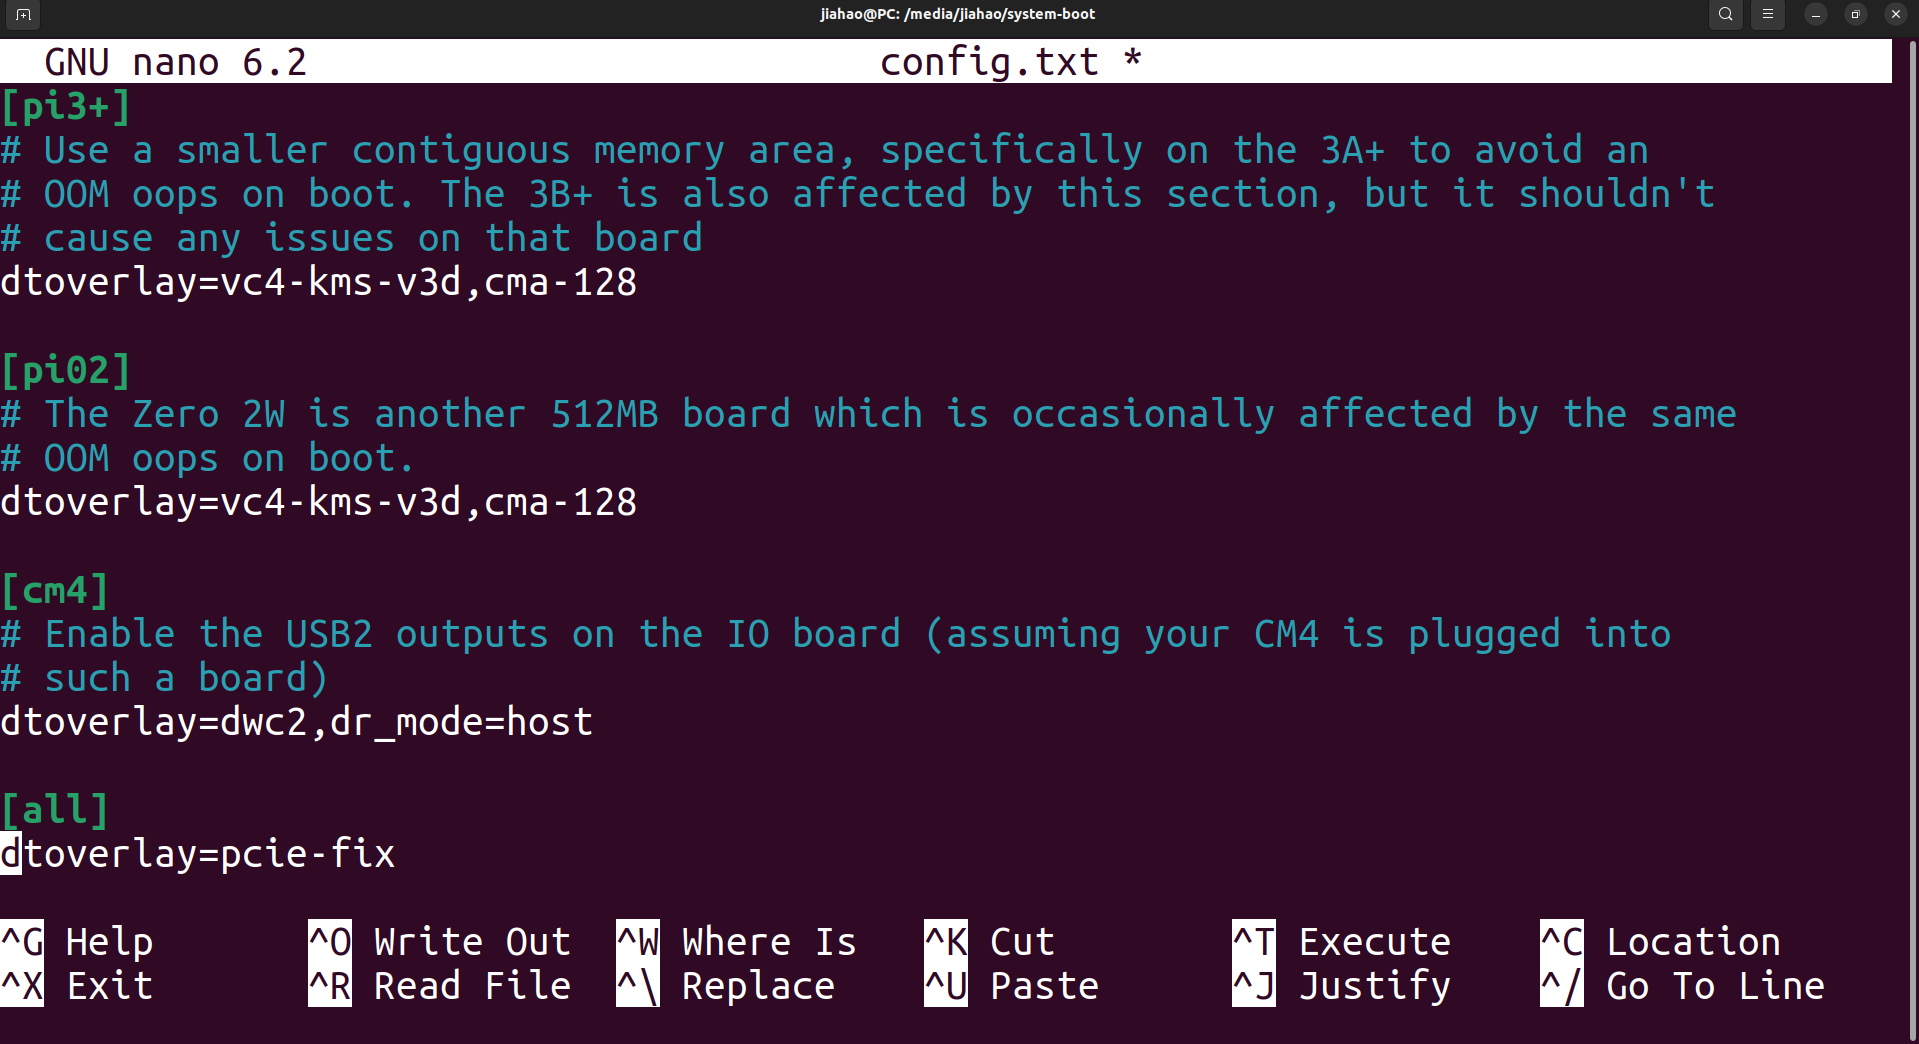
And then Use Ctrl+X and input y to store this file.
Power consumption and temperature
⚠️ Note: The standby state was tested under the following conditions: the graphical interface was disabled, Bluetooth was turned off, and Wi-Fi was disabled. The command is shown as below:
sudo ifconfig wlan0 down
sudo systemctl stop bluetooth
sudo systemctl stop lightdm
| Condition | Power consumption | Temperature |
|---|---|---|
| Standby | 5.9w | cpu:46°C |
| Normal Operation | 6.3w | cpu:53°C |
| Max Load | 16.2w | cpu:75°C hailo8:81°C |
Application
Frigate
Frigate is an open-source NVR (Network Video Recorder) designed for real-time object detection using AI. It integrates with existing cameras and uses machine learning models, like TensorFlow and Coral, to perform object detection on video feeds. Frigate is optimized for low-latency and high-performance video processing, offering features like motion detection, live video streams, and automated alerts.
Note: If you want to learn more about this project, please refer to this link.
YOLO
The YOLO (You Only Look Once) series of models are a family of real-time object detection models designed for speed and accuracy. Unlike traditional object detection methods that perform region proposal and classification separately, YOLO performs both tasks in a single forward pass of the neural network, making it much faster. YOLO models divide the image into a grid and predict bounding boxes and class probabilities for each grid cell. Over the years, YOLO has evolved through various versions, with improvements in accuracy, speed, and the ability to detect smaller objects. YOLOv4, YOLOv5, and the recent YOLOv7 and YOLOv8 models are widely used for applications like surveillance, autonomous vehicles, and robotics.
Note: If you want to learn more about this project, please refer to this link.
Clip
CLIP (Contrastive Language-Image Pretraining) is a machine learning model developed by OpenAI that can understand images and text together. It is trained to associate images with corresponding textual descriptions, allowing it to perform tasks that involve both modalities. CLIP is capable of zero-shot learning, meaning it can recognize objects and concepts in images without needing to be specifically trained on those categories. It has shown strong performance in a variety of tasks, such as image classification, object detection, and even generating textual descriptions of images.
Note: If you want to learn more about this project, please refer to this link.
Tech Support & Product Discussion
Thank you for choosing our products! We are here to provide you with different support to ensure that your experience with our products is as smooth as possible. We offer several communication channels to cater to different preferences and needs.