Deploy ONVIF on reCamera
Introduction
ONVIF is a widely used interoperability standard for security devices. After you deploy this solution, ONVIF-compatible clients on the local network—such as Home Assistant, Frigate, an NVR, or a VMS—can automatically discover reCamera and retrieve its device information, video-stream address, and login credentials.
The video itself is still delivered over RTSP: the client uses ONVIF to find reCamera, then uses the returned RTSP address to play or record the stream. The entire process runs on your local network and does not require an additional cloud service.
This guide walks you through the following:
- Deploy the ONVIF service on reCamera.
- Confirm that the RTSP video stream plays correctly.
- Add reCamera to Home Assistant, an NVR, or a VMS through ONVIF.
What You Need
Before you begin, prepare the following devices and make sure they are connected to the same local network.
| Device | Purpose |
|---|---|
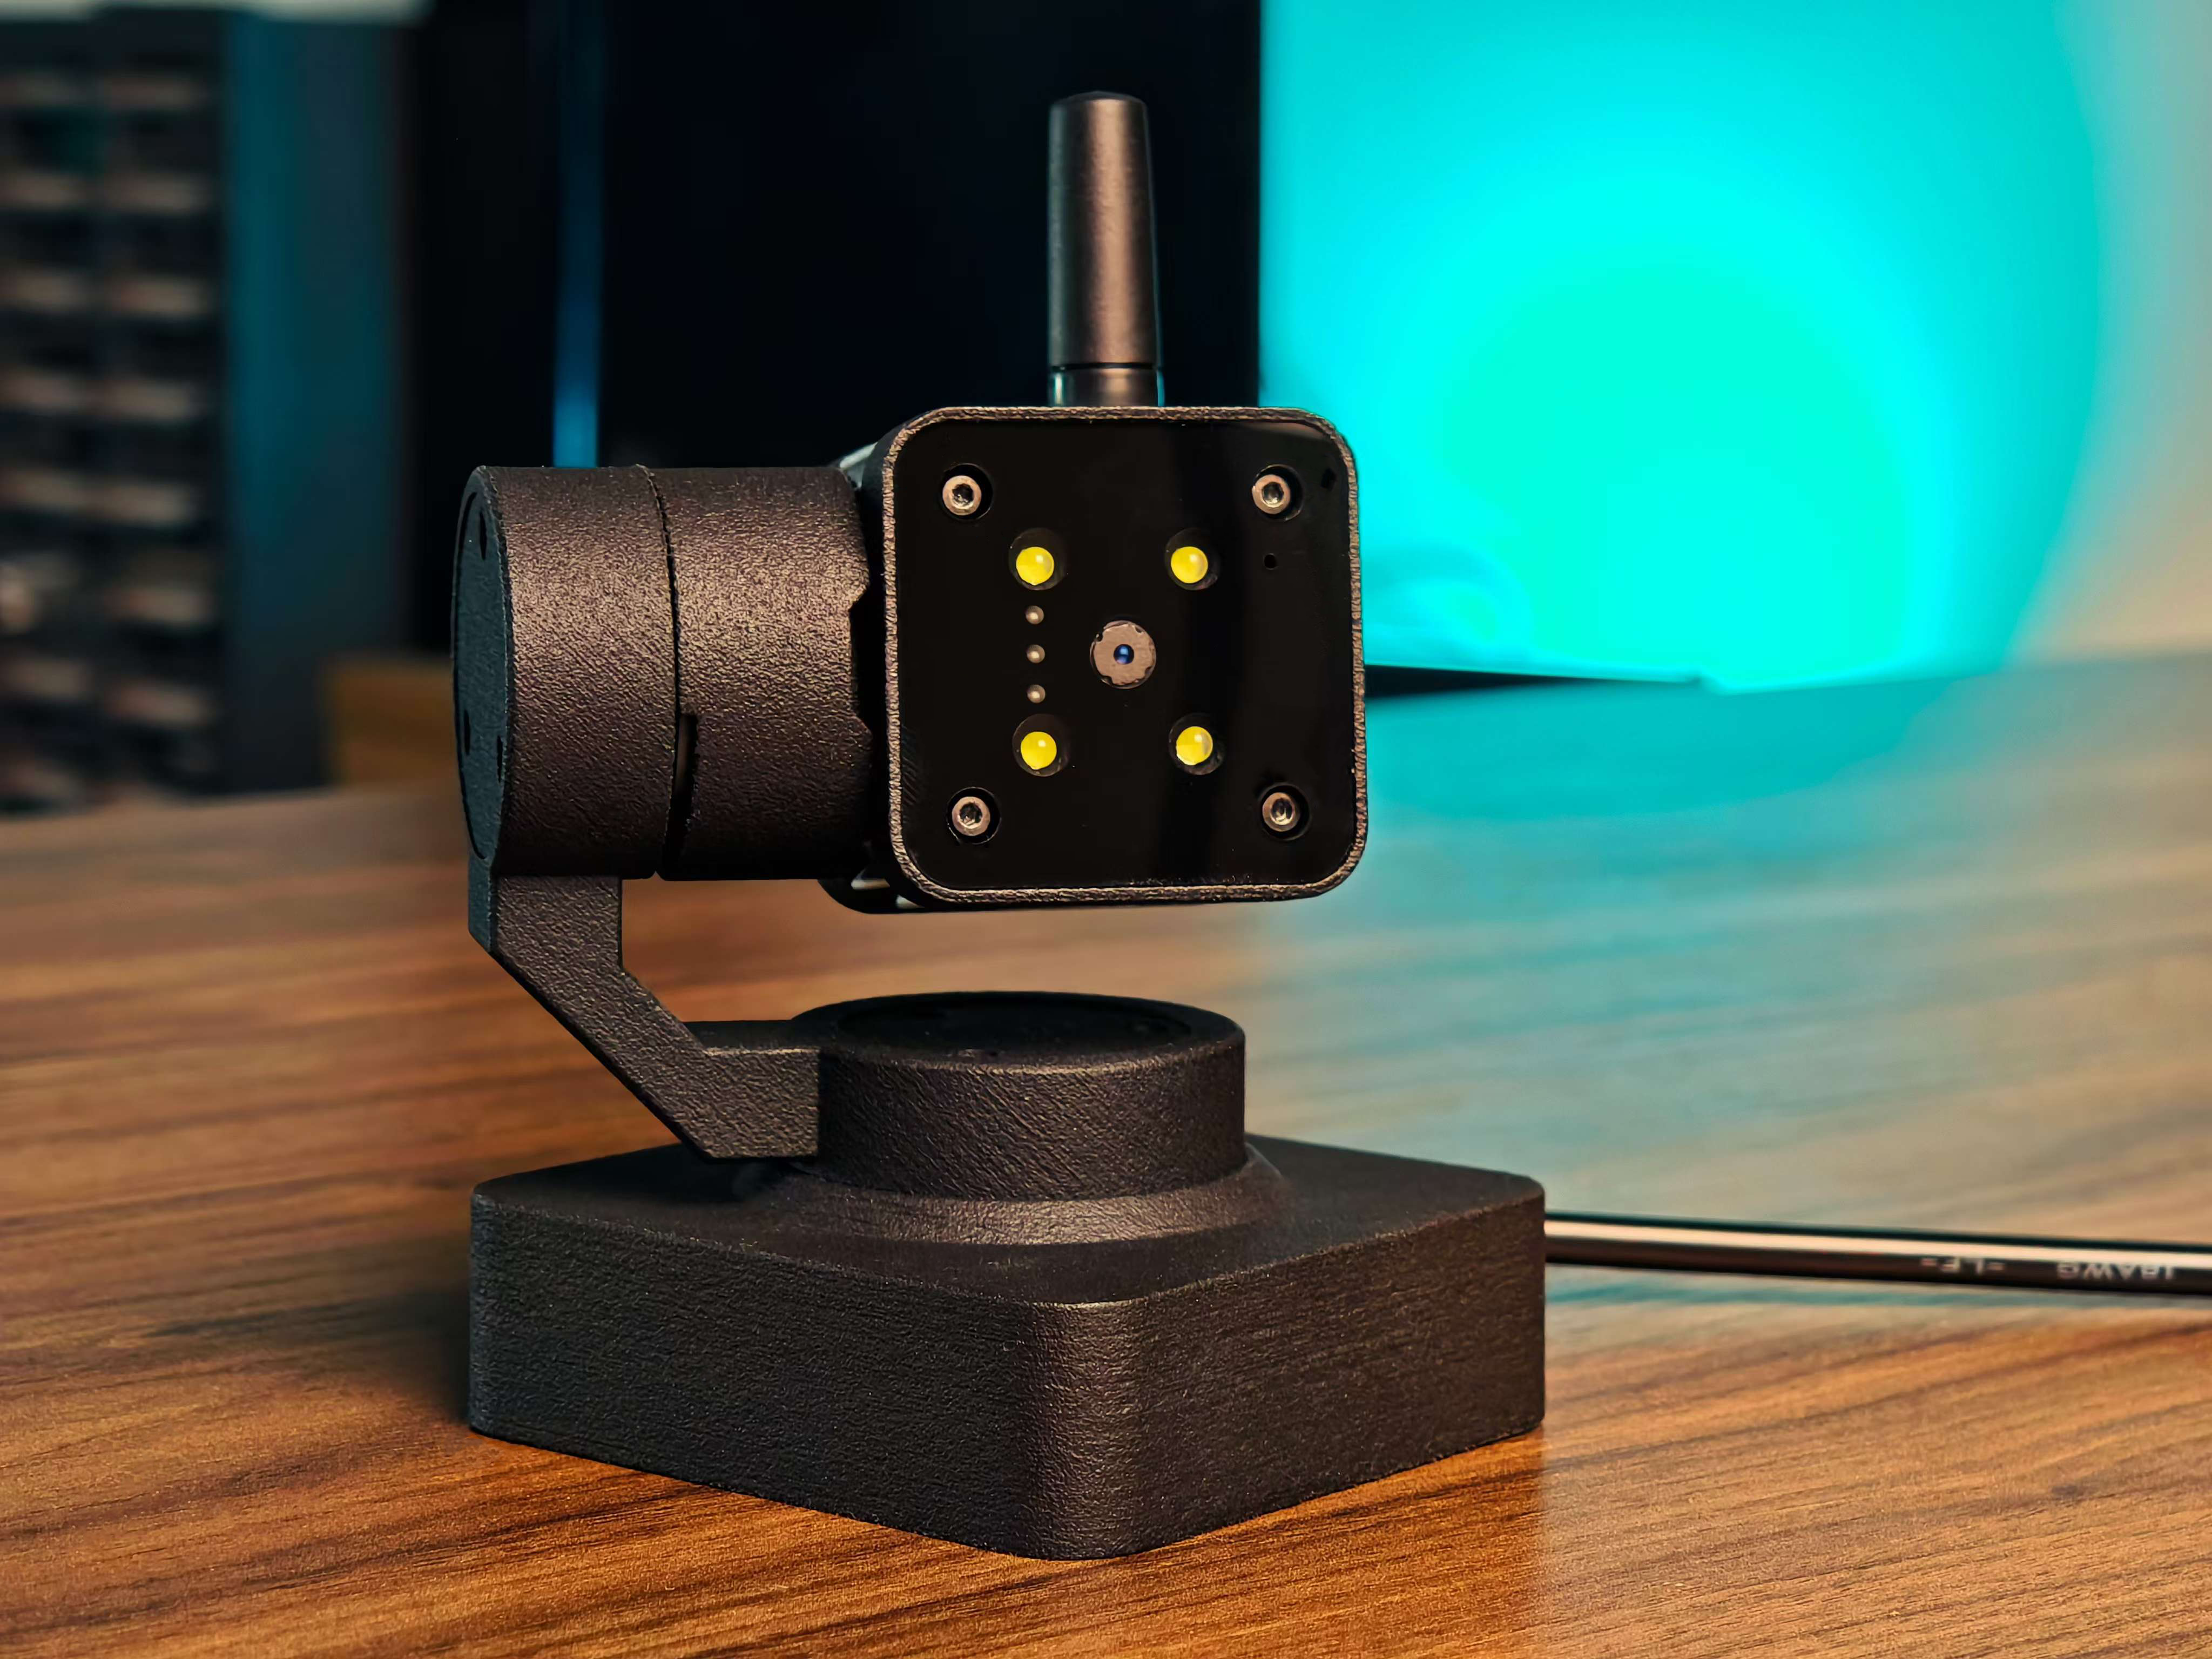
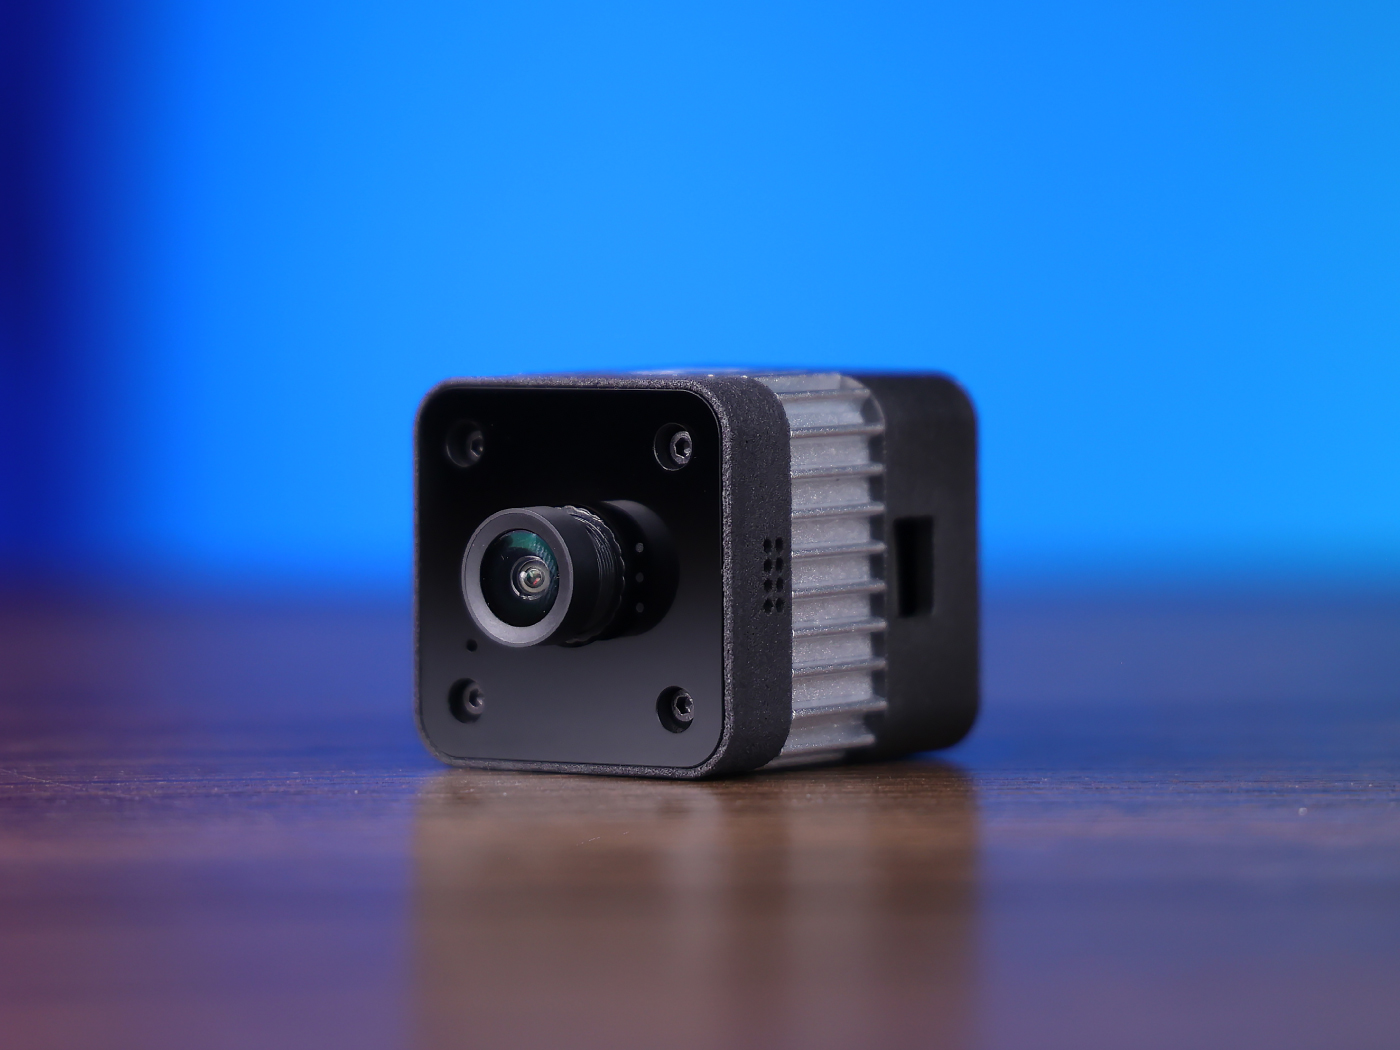
| One reCamera | Runs the ONVIF and RTSP services. reCamera 2002 series, Gimbal, and HQ PoE models are supported. |
| A Linux computer | Installs and runs SenseCraft Solution to deploy the solution. The example below uses Ubuntu 24.04 x86_64. |
| Home Assistant, an NVR, or a VMS (optional) | Discovers reCamera and views or records its video. |
Network note: The HQ PoE model does not support Wi-Fi. Connect it to a PoE-capable switch for both power and network access. Whichever model you use, ensure that reCamera and the client that discovers it are on the same local network. Discovery across subnets usually requires additional network configuration.
| reCamera 2002 Series | reCamera Gimbal | reCamera HQ POE |
|---|---|---|
 |  |  |
Install SenseCraft Solution
Open the SenseCraft Solution download page, click Deploy, and choose the installer that matches your computer's operating system and processor architecture.
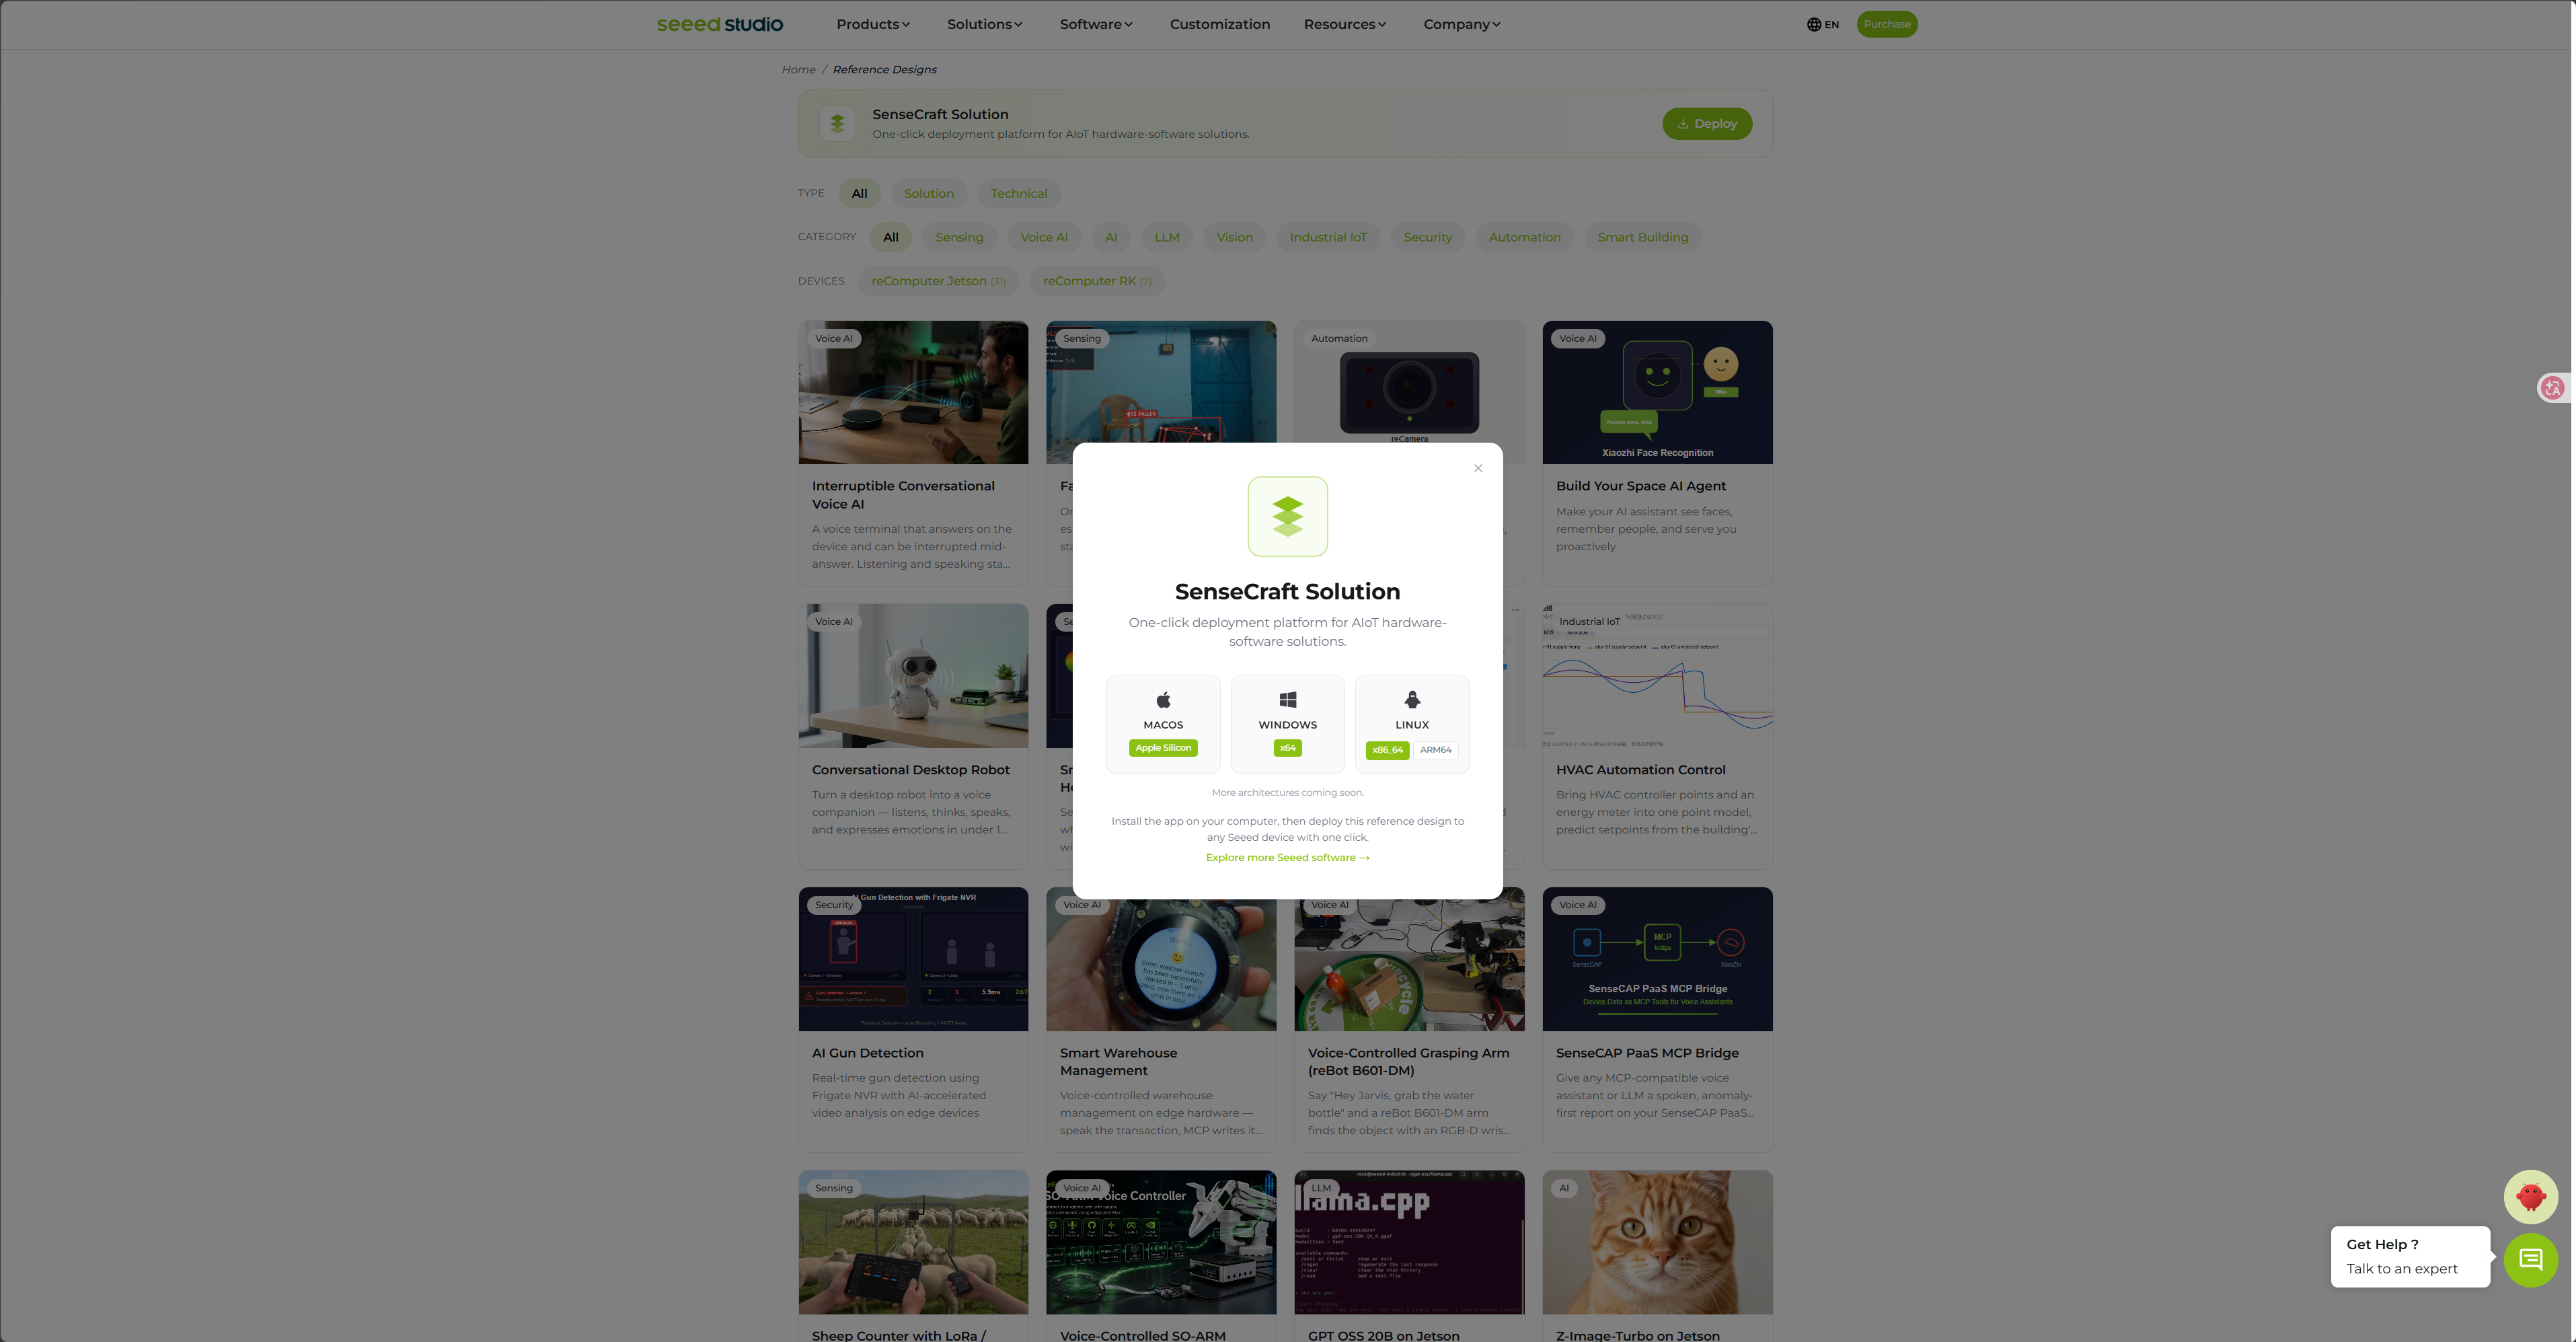
The following example uses Ubuntu 24.04 x86_64. Open a terminal, then download and install the application:
wget https://appcenter.seeed.xyz/SenseCraft.Solution/SenseCraft.Solution_amd64.deb

sudo dpkg -i ./SenseCraft.Solution_amd64.deb
After installation, run the following command to start SenseCraft Solution:
sensecraft-solution
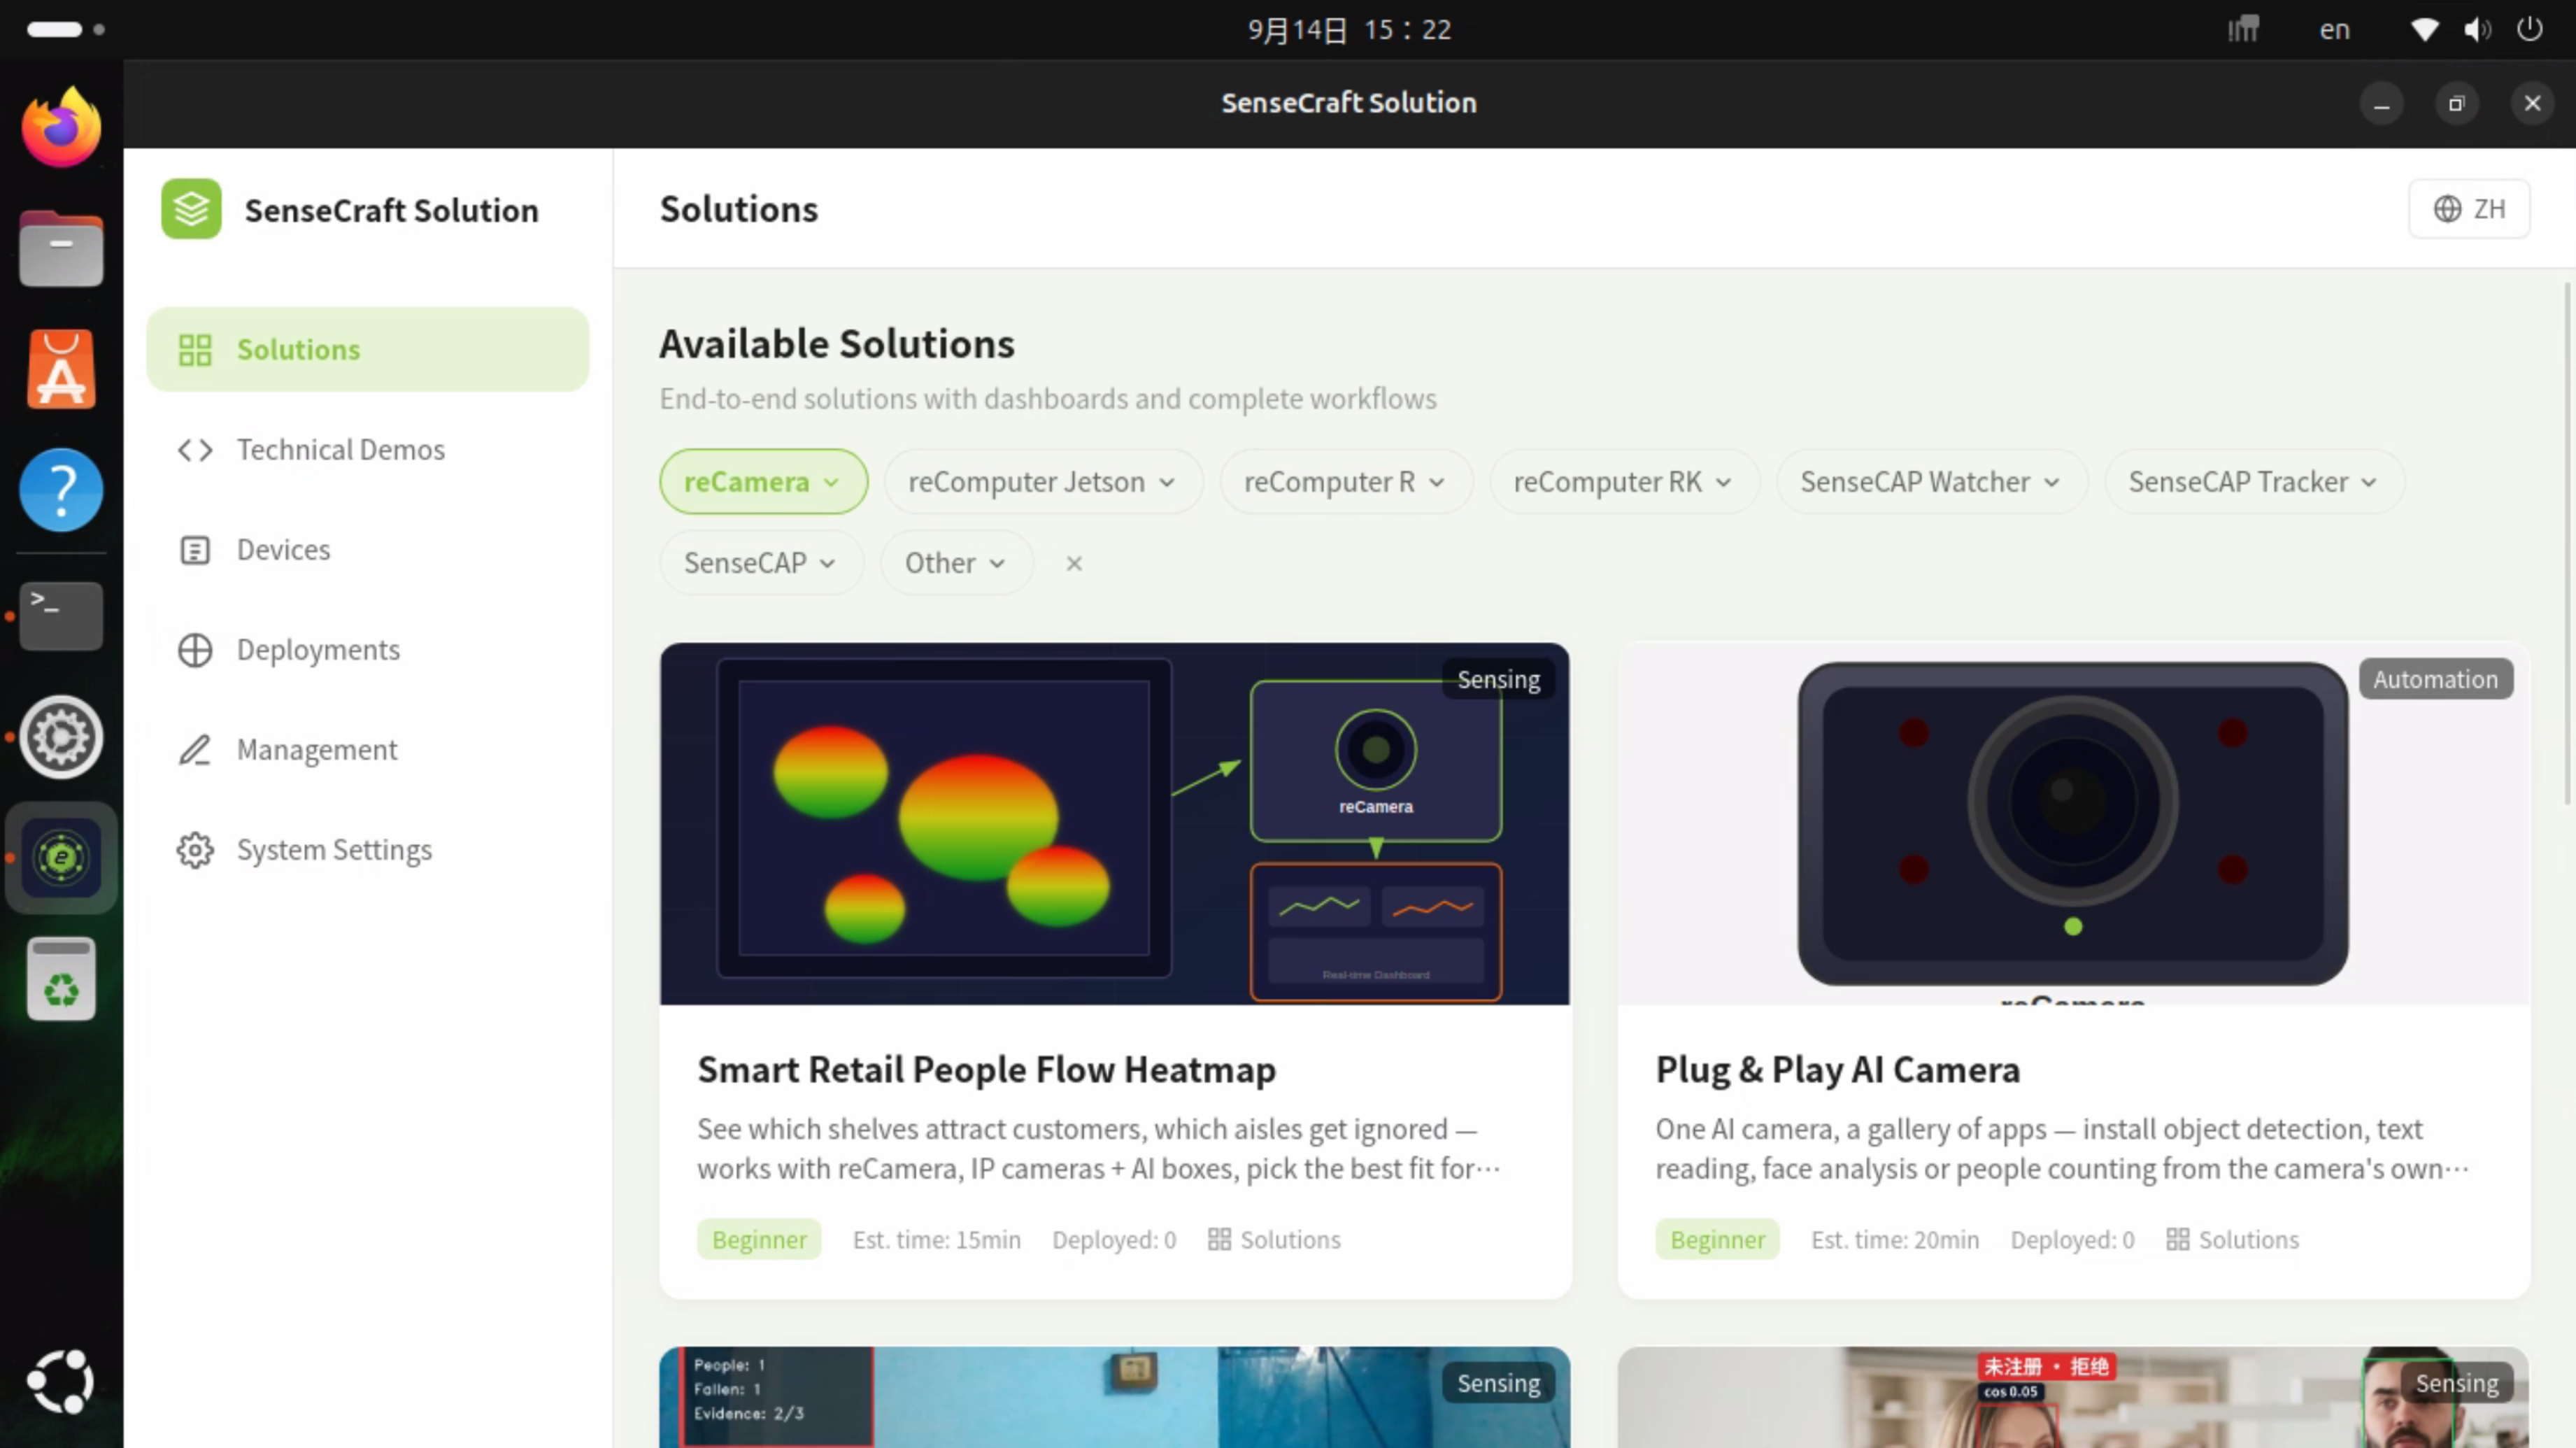
The SenseCraft Solution home screen appears when the application starts:
Deploy the ONVIF Service on reCamera
Update SenseCraft Solution
To ensure that the latest ONVIF solution is available, update your local solution list first. Select System Settings from the sidebar, find the update option, and complete the update before continuing.
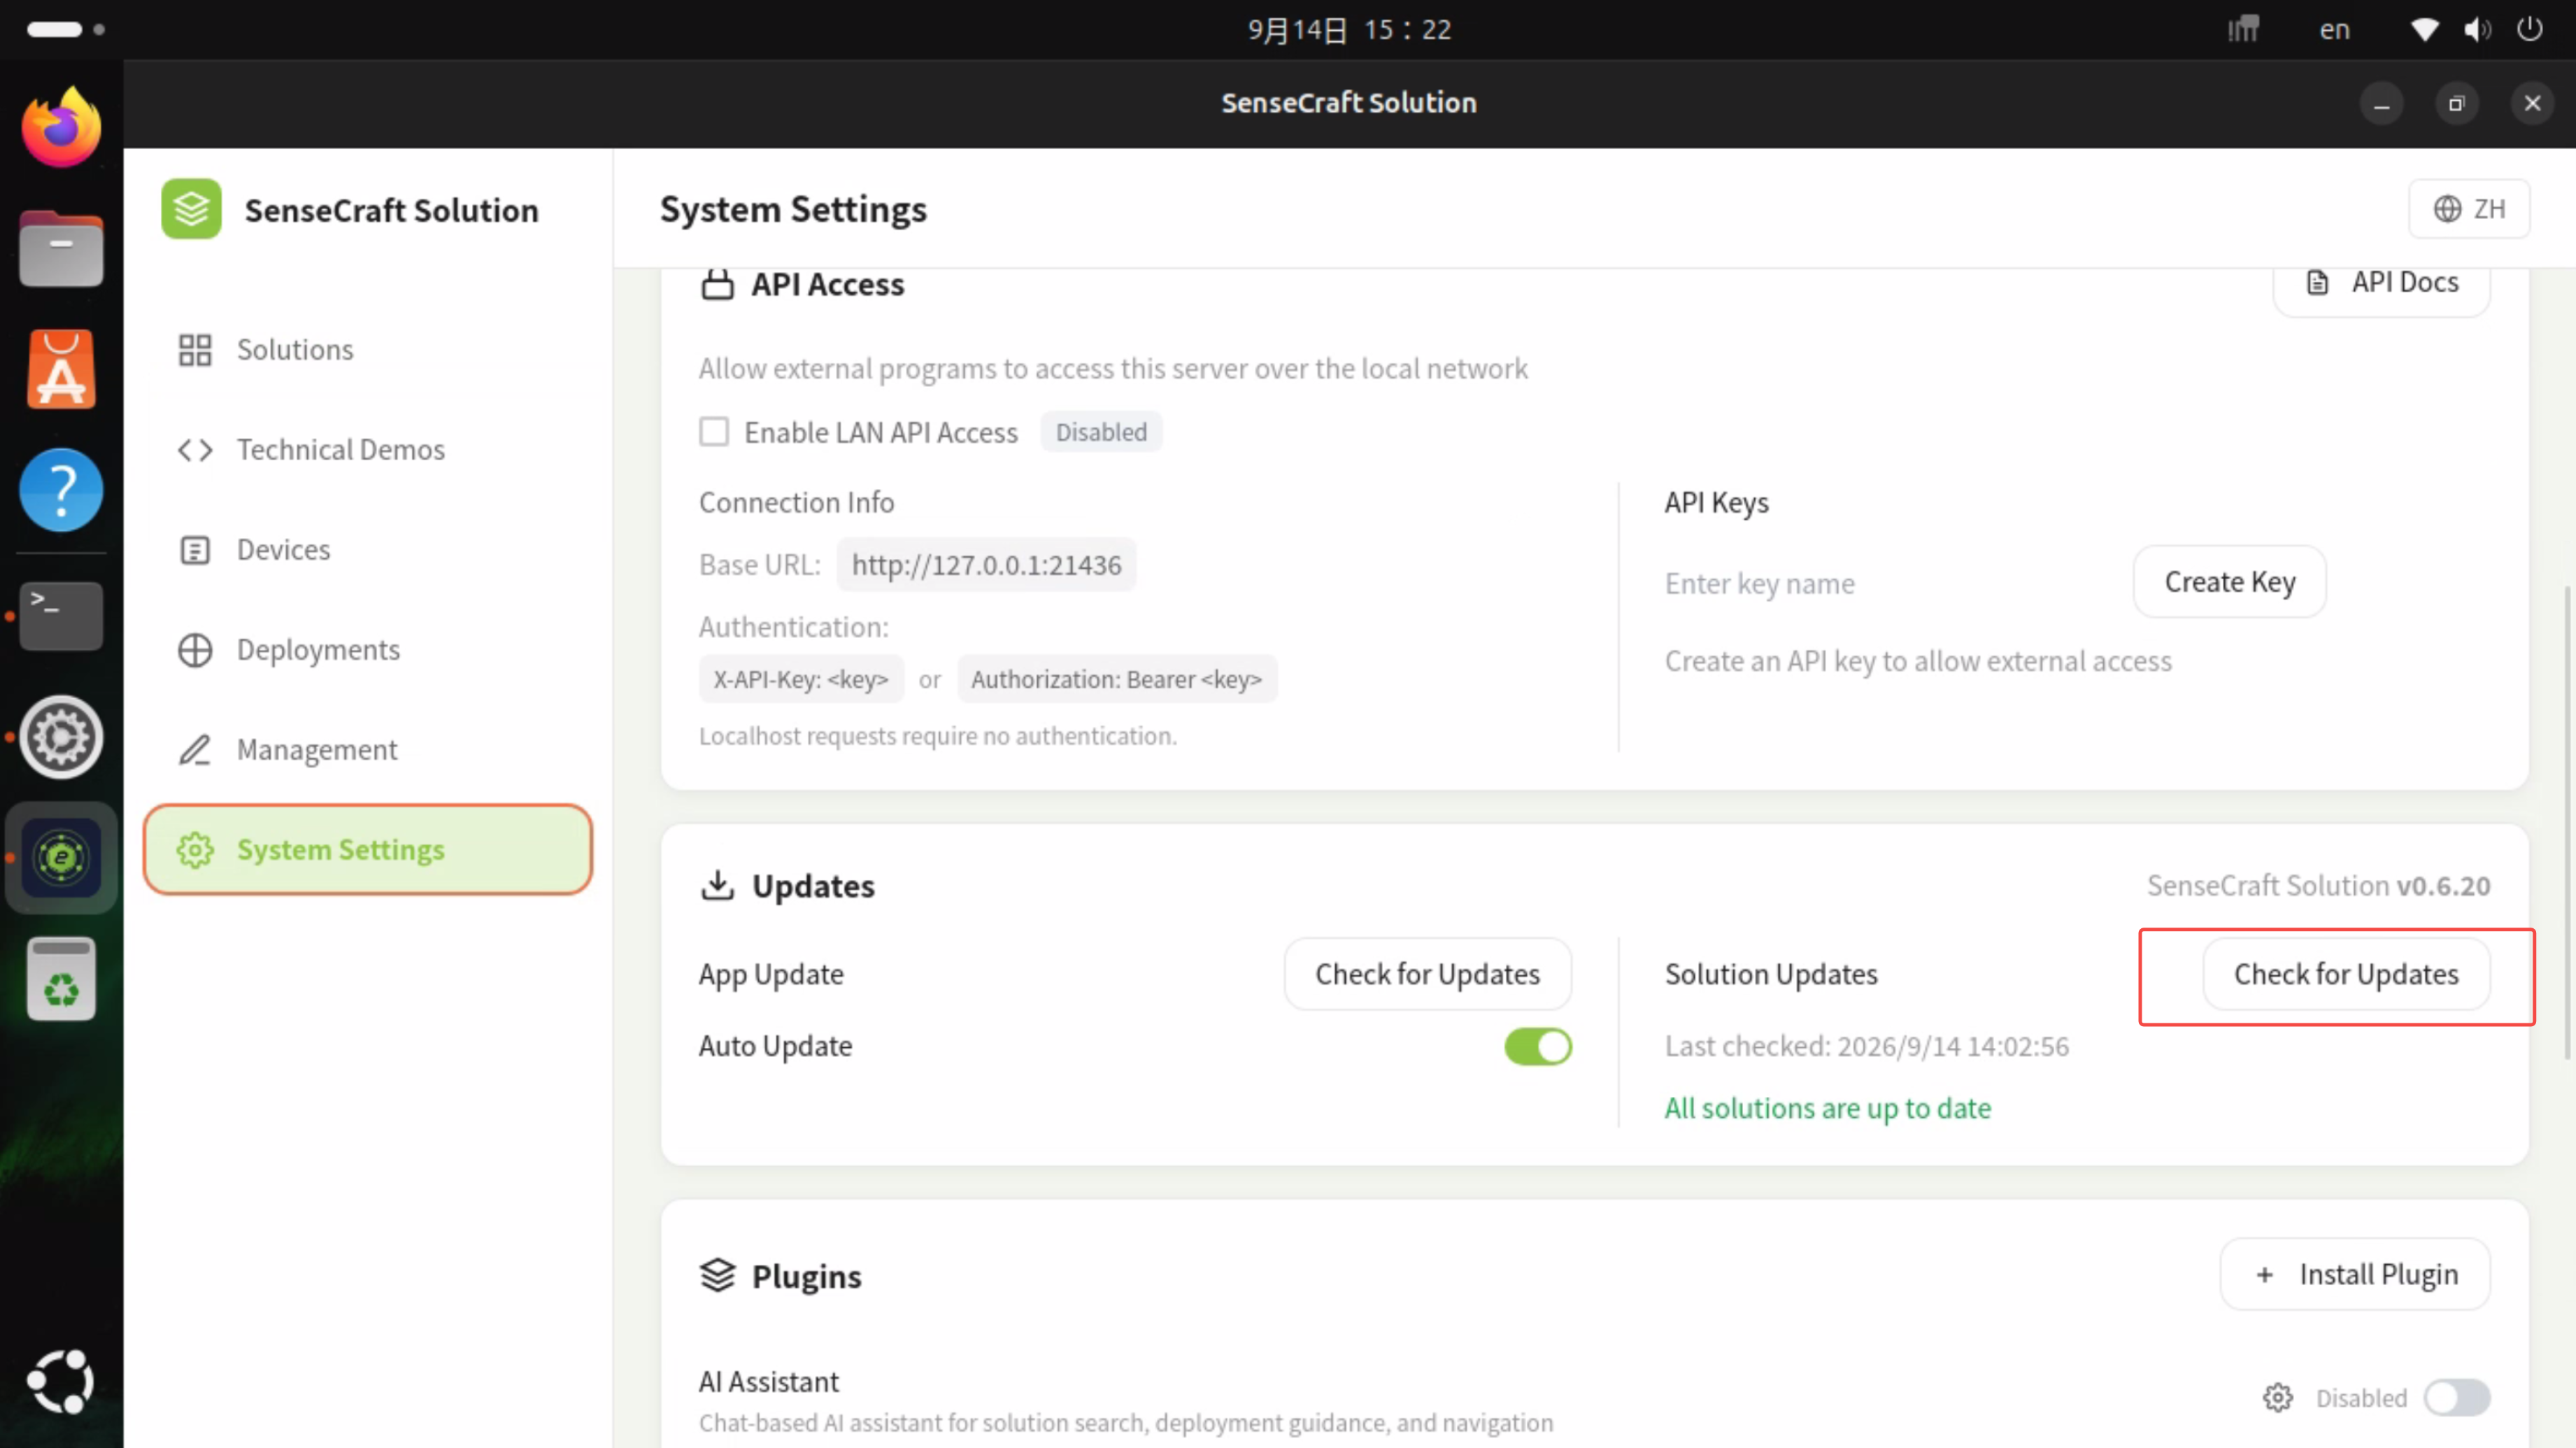
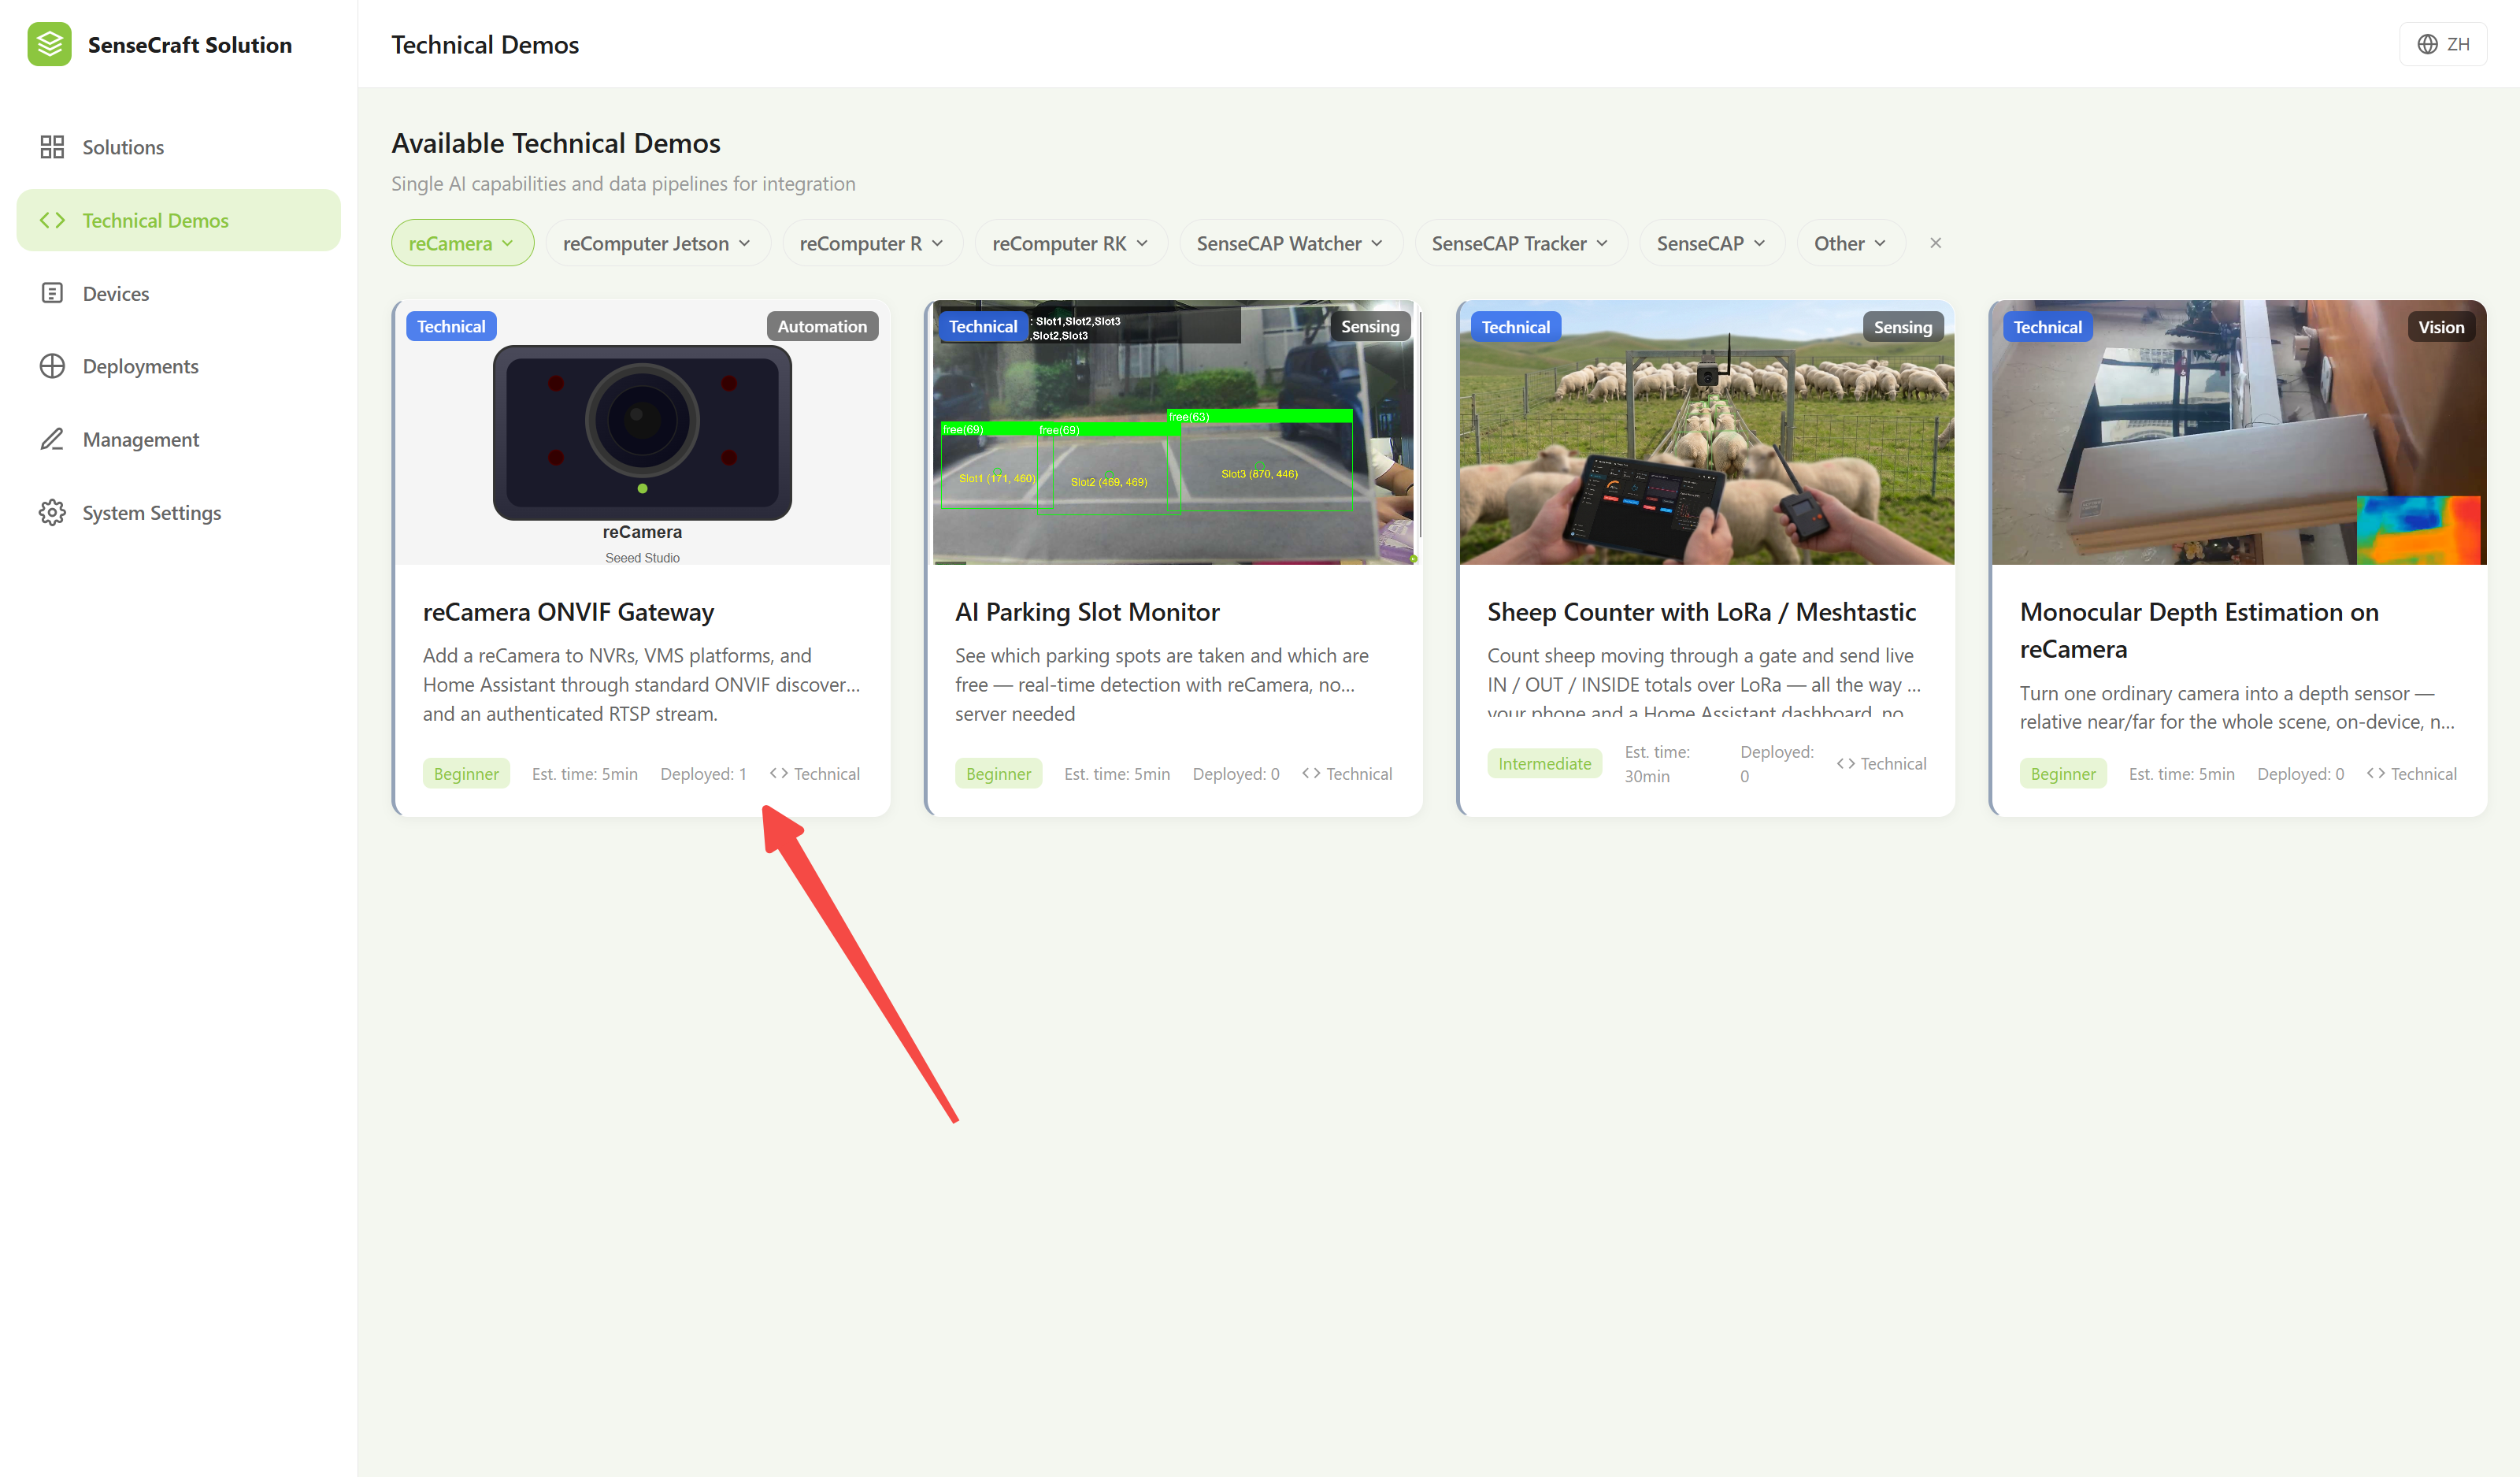
Deploy the ONVIF Solution
- Select Technical Demos from the sidebar.
- Select reCamera in the device filter.
- Find and open the reCamera ONVIF Gateway solution.
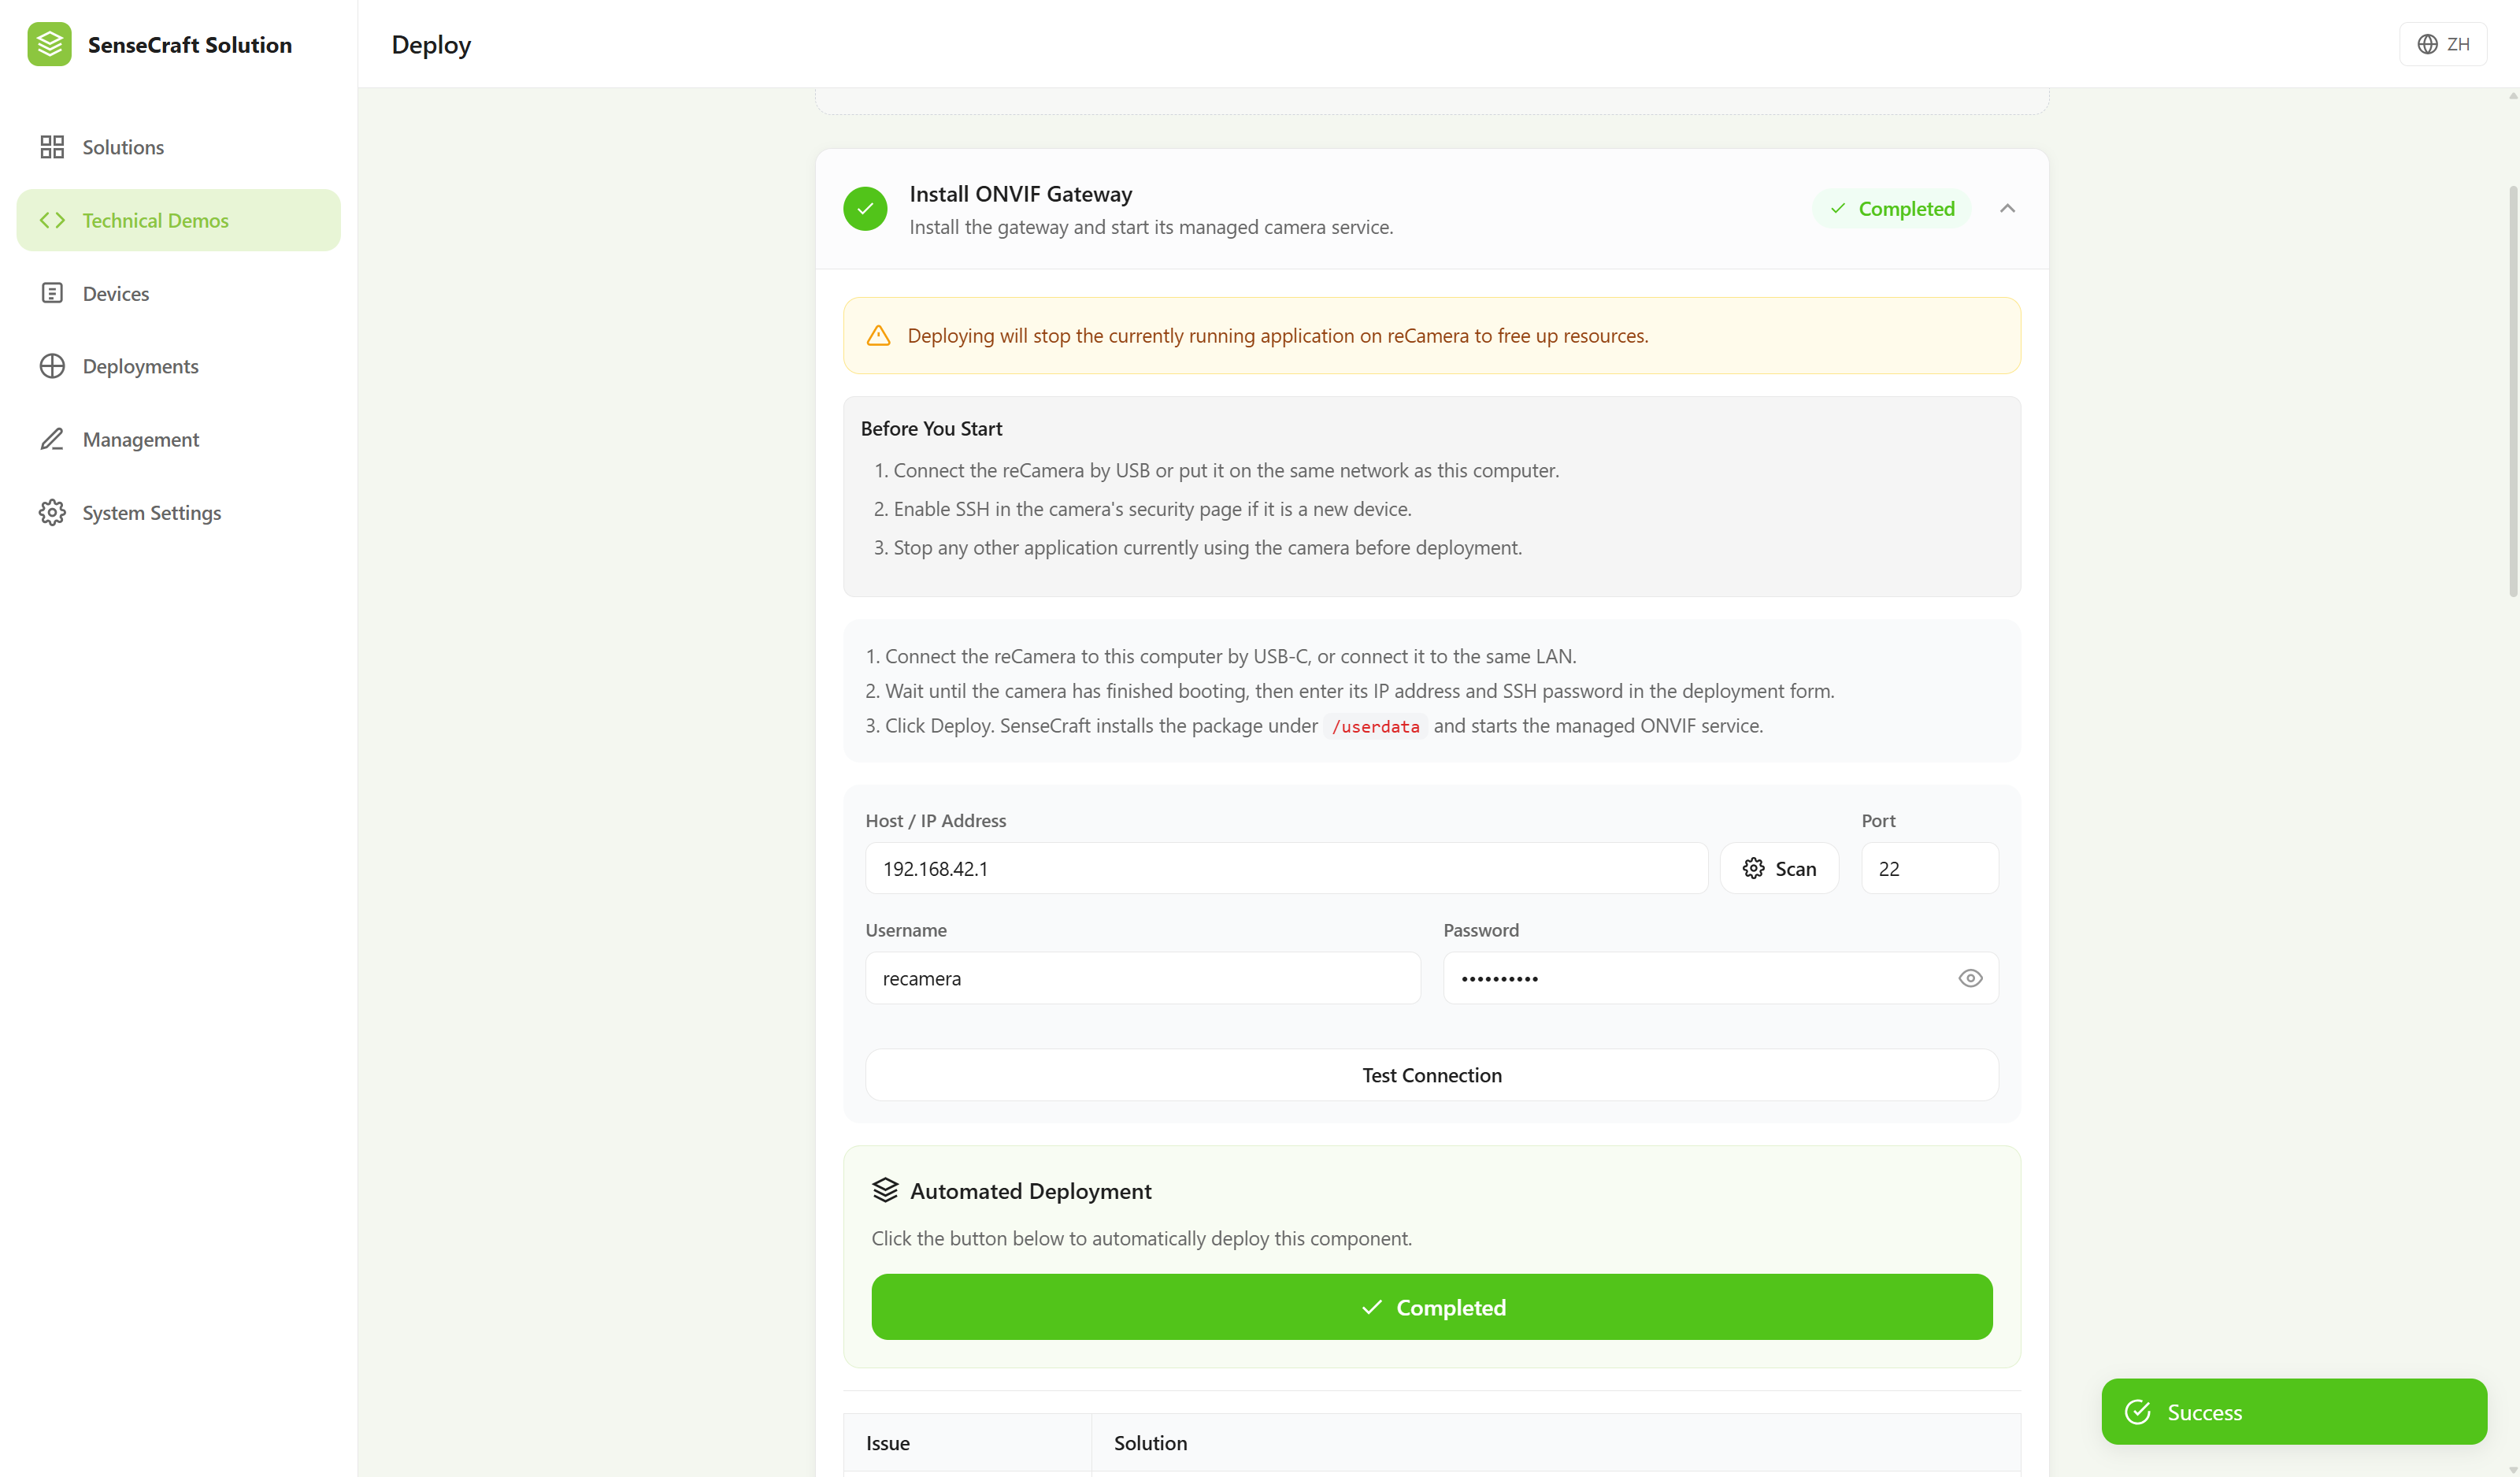
Open the solution, select the target reCamera, and complete the connection setup as prompted.
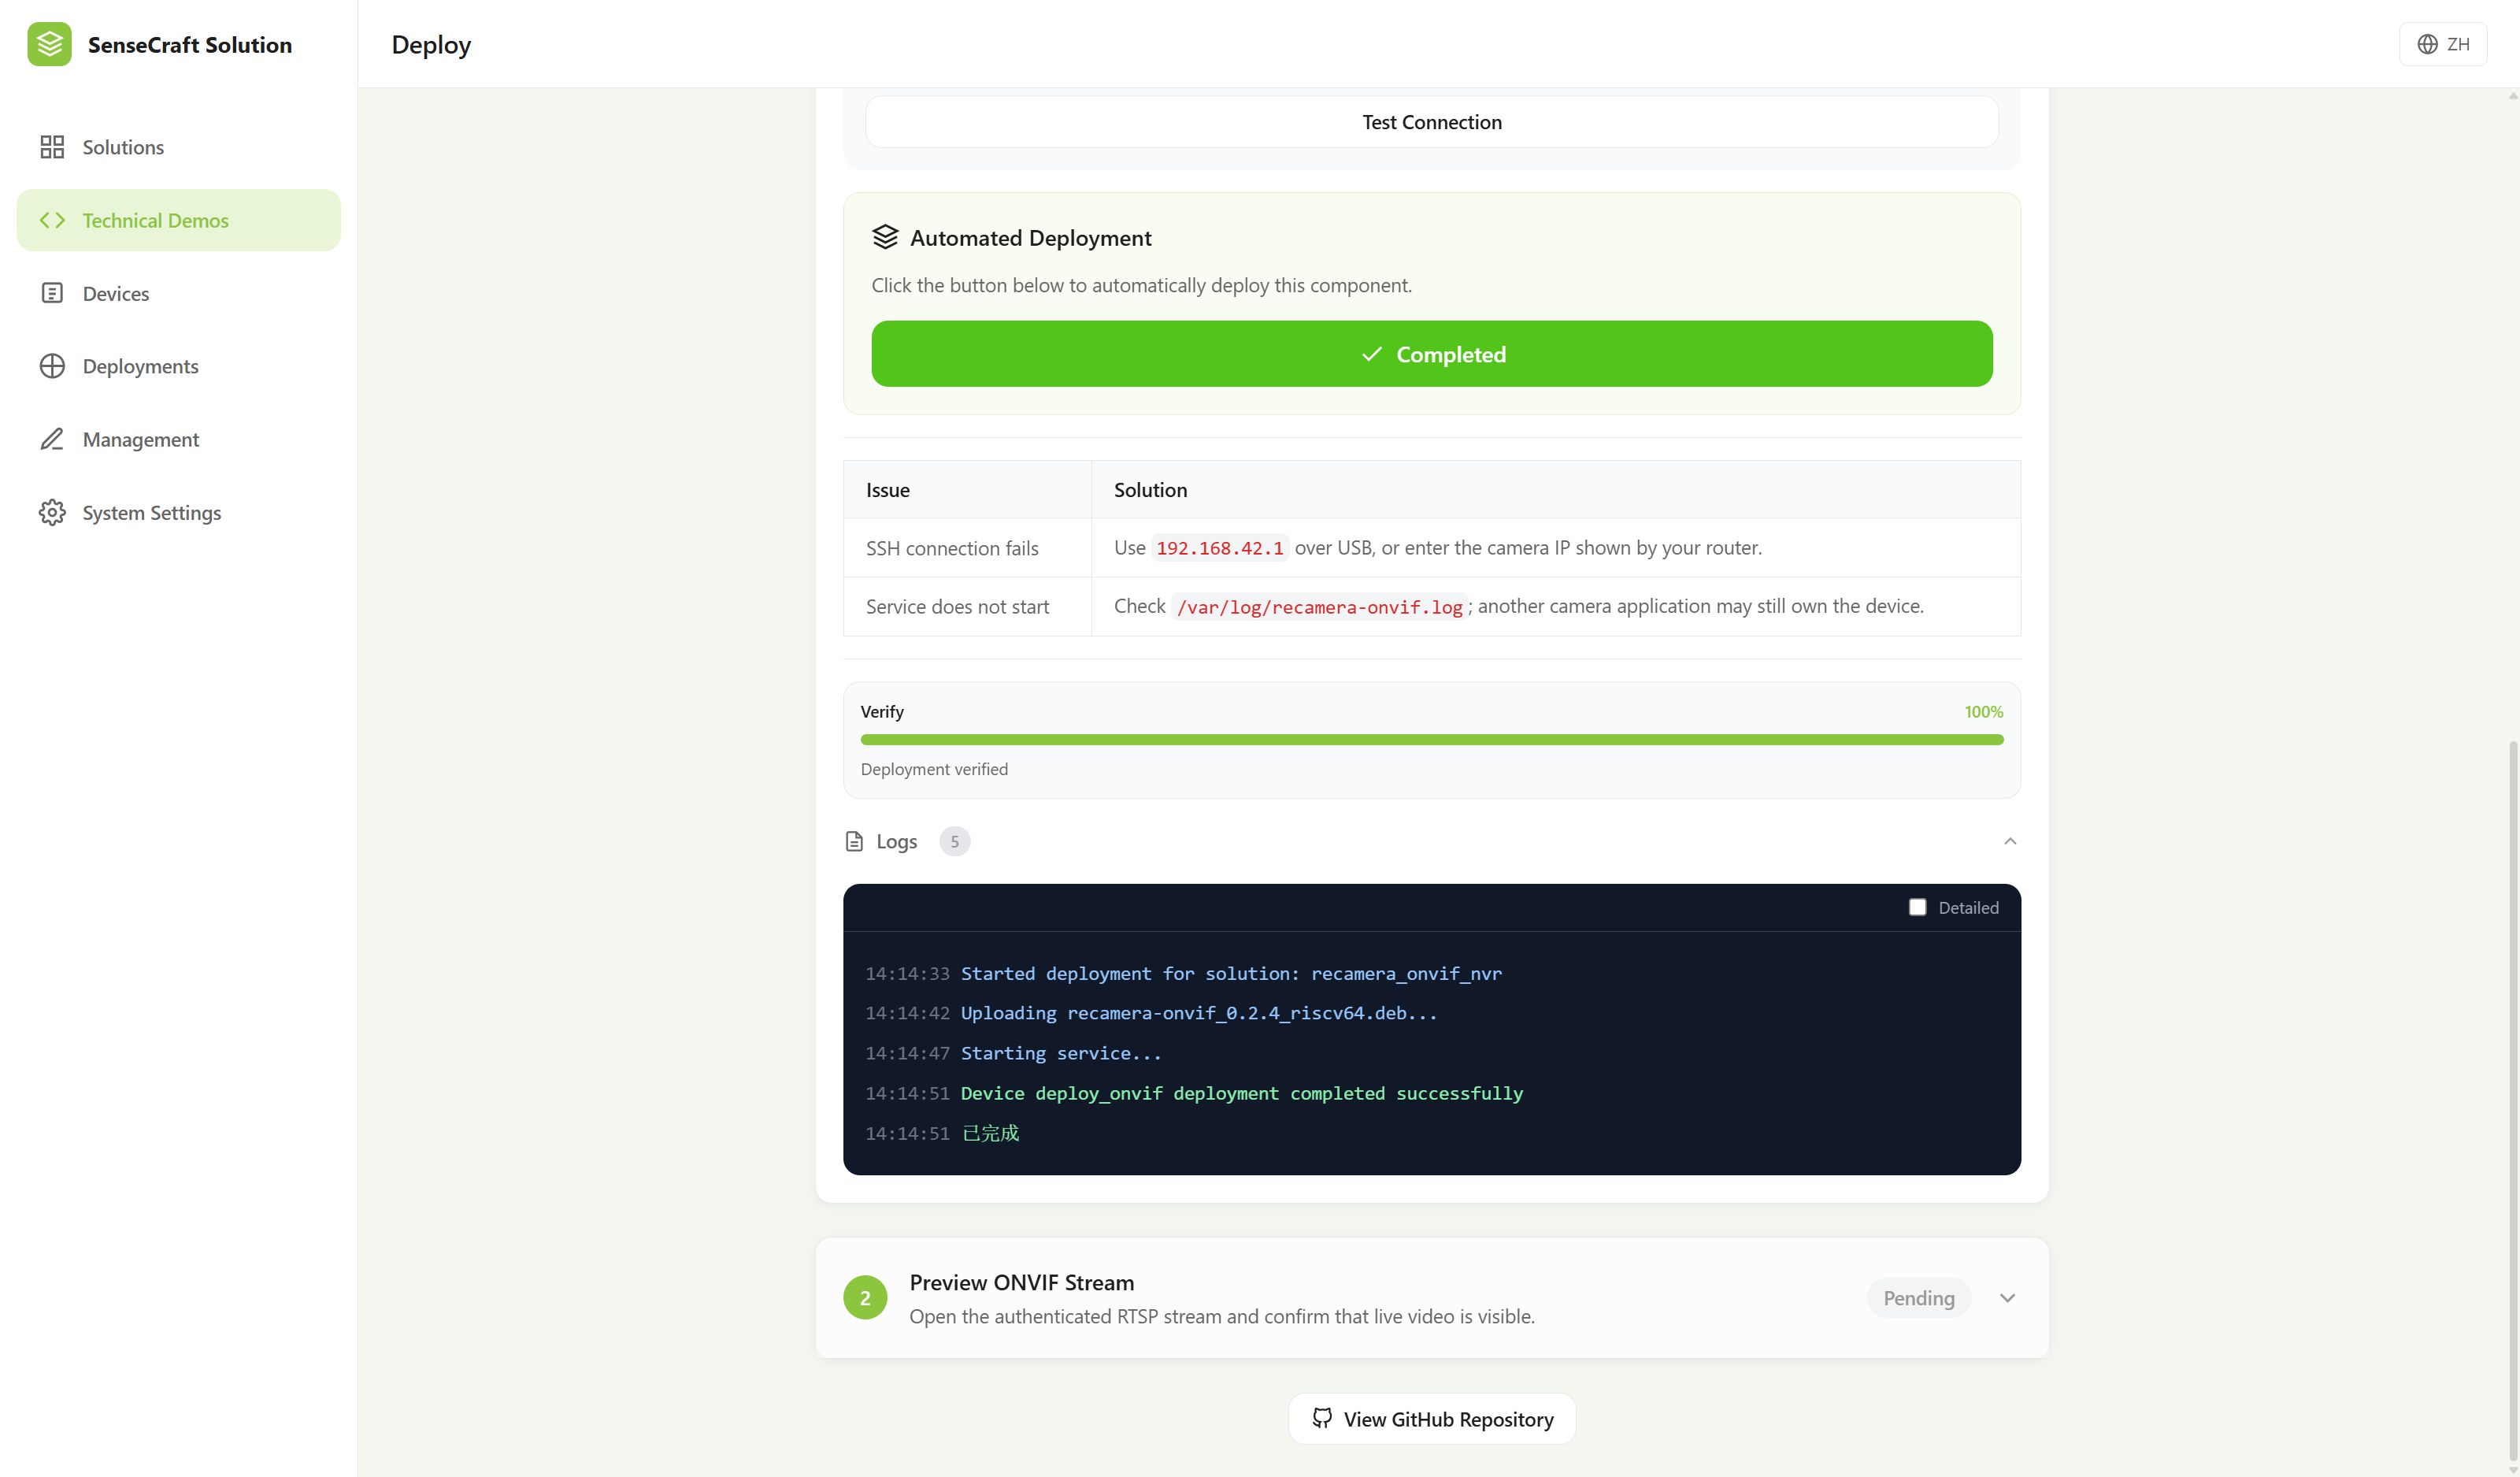
Confirm that the device details are correct, then click Deploy. Wait for the deployment task to report success. reCamera now has the ONVIF service enabled and provides an authenticated RTSP video stream.
Verify the Video Stream
After a successful deployment, play the RTSP video stream before adding the device to Home Assistant, Frigate, an NVR, or a VMS. This helps rule out network or video-stream issues first.
You can test the stream with VLC or with ffplay on Ubuntu. If ffplay is not installed, install FFmpeg first:
sudo apt install -y ffmpeg

ffplay rtsp://admin:recamera.1@<reCamera_IP>:8554/onvif
Replace <reCamera_IP> with reCamera's actual IP address on your local network. For example, if its IP address is 192.168.42.1, run:
ffplay rtsp://admin:[email protected]:8554/onvif
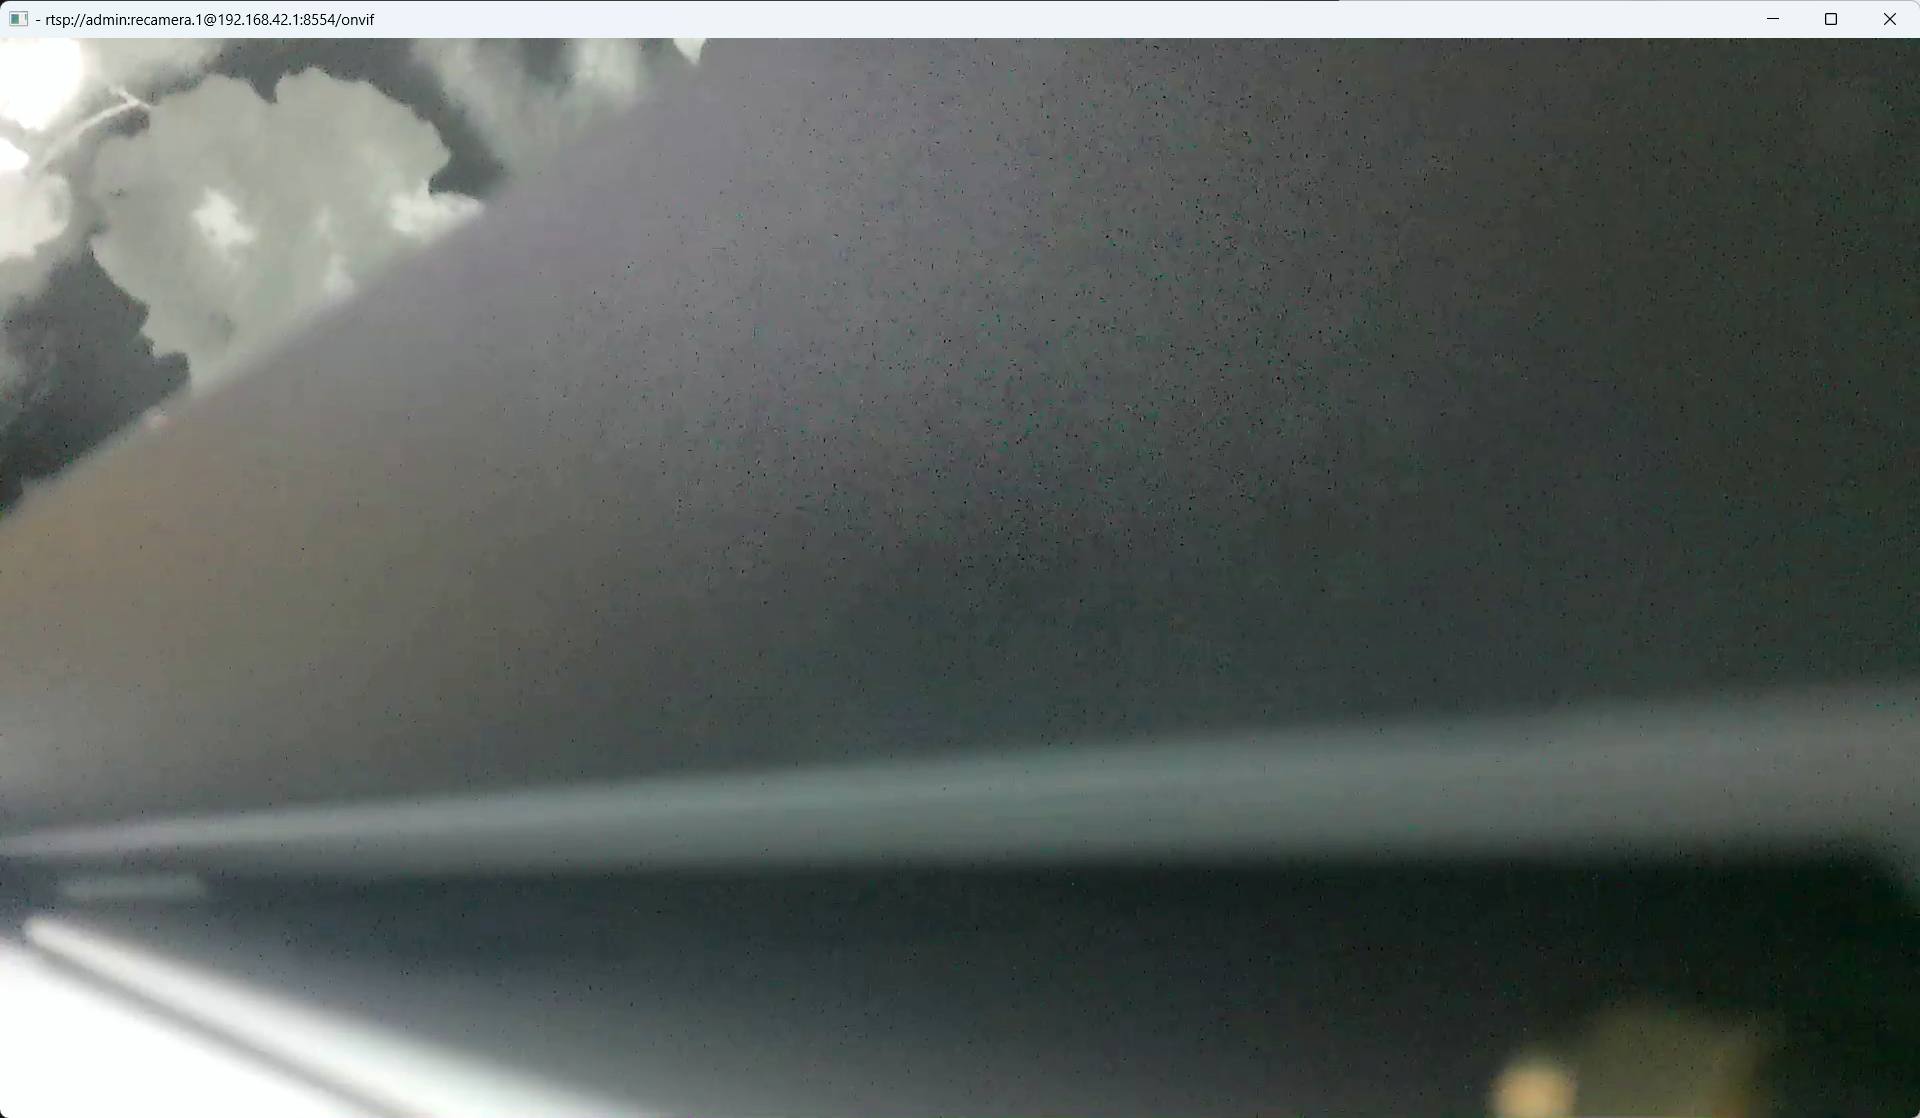
If you can see the live video, both the ONVIF service and RTSP stream are working correctly. You can then add an ONVIF camera in your client. Usually, select Auto Discover or Add ONVIF Device, then enter reCamera's IP address, username, and password.
Default Credentials and Security
Authentication is enabled by default. The default credentials are:
| Item | Default value |
|---|---|
| Username | admin |
| Password | recamera.1 |
| RTSP path | /onvif |
Important: The default password is intended only for initial verification. If other people can access reCamera's network, change the password before production use to prevent unauthorized access to the video stream.
To change the username or password, clone the reCamera SDK from GitHub and locate the relevant configuration in examples/camera_onvif_rtsp:
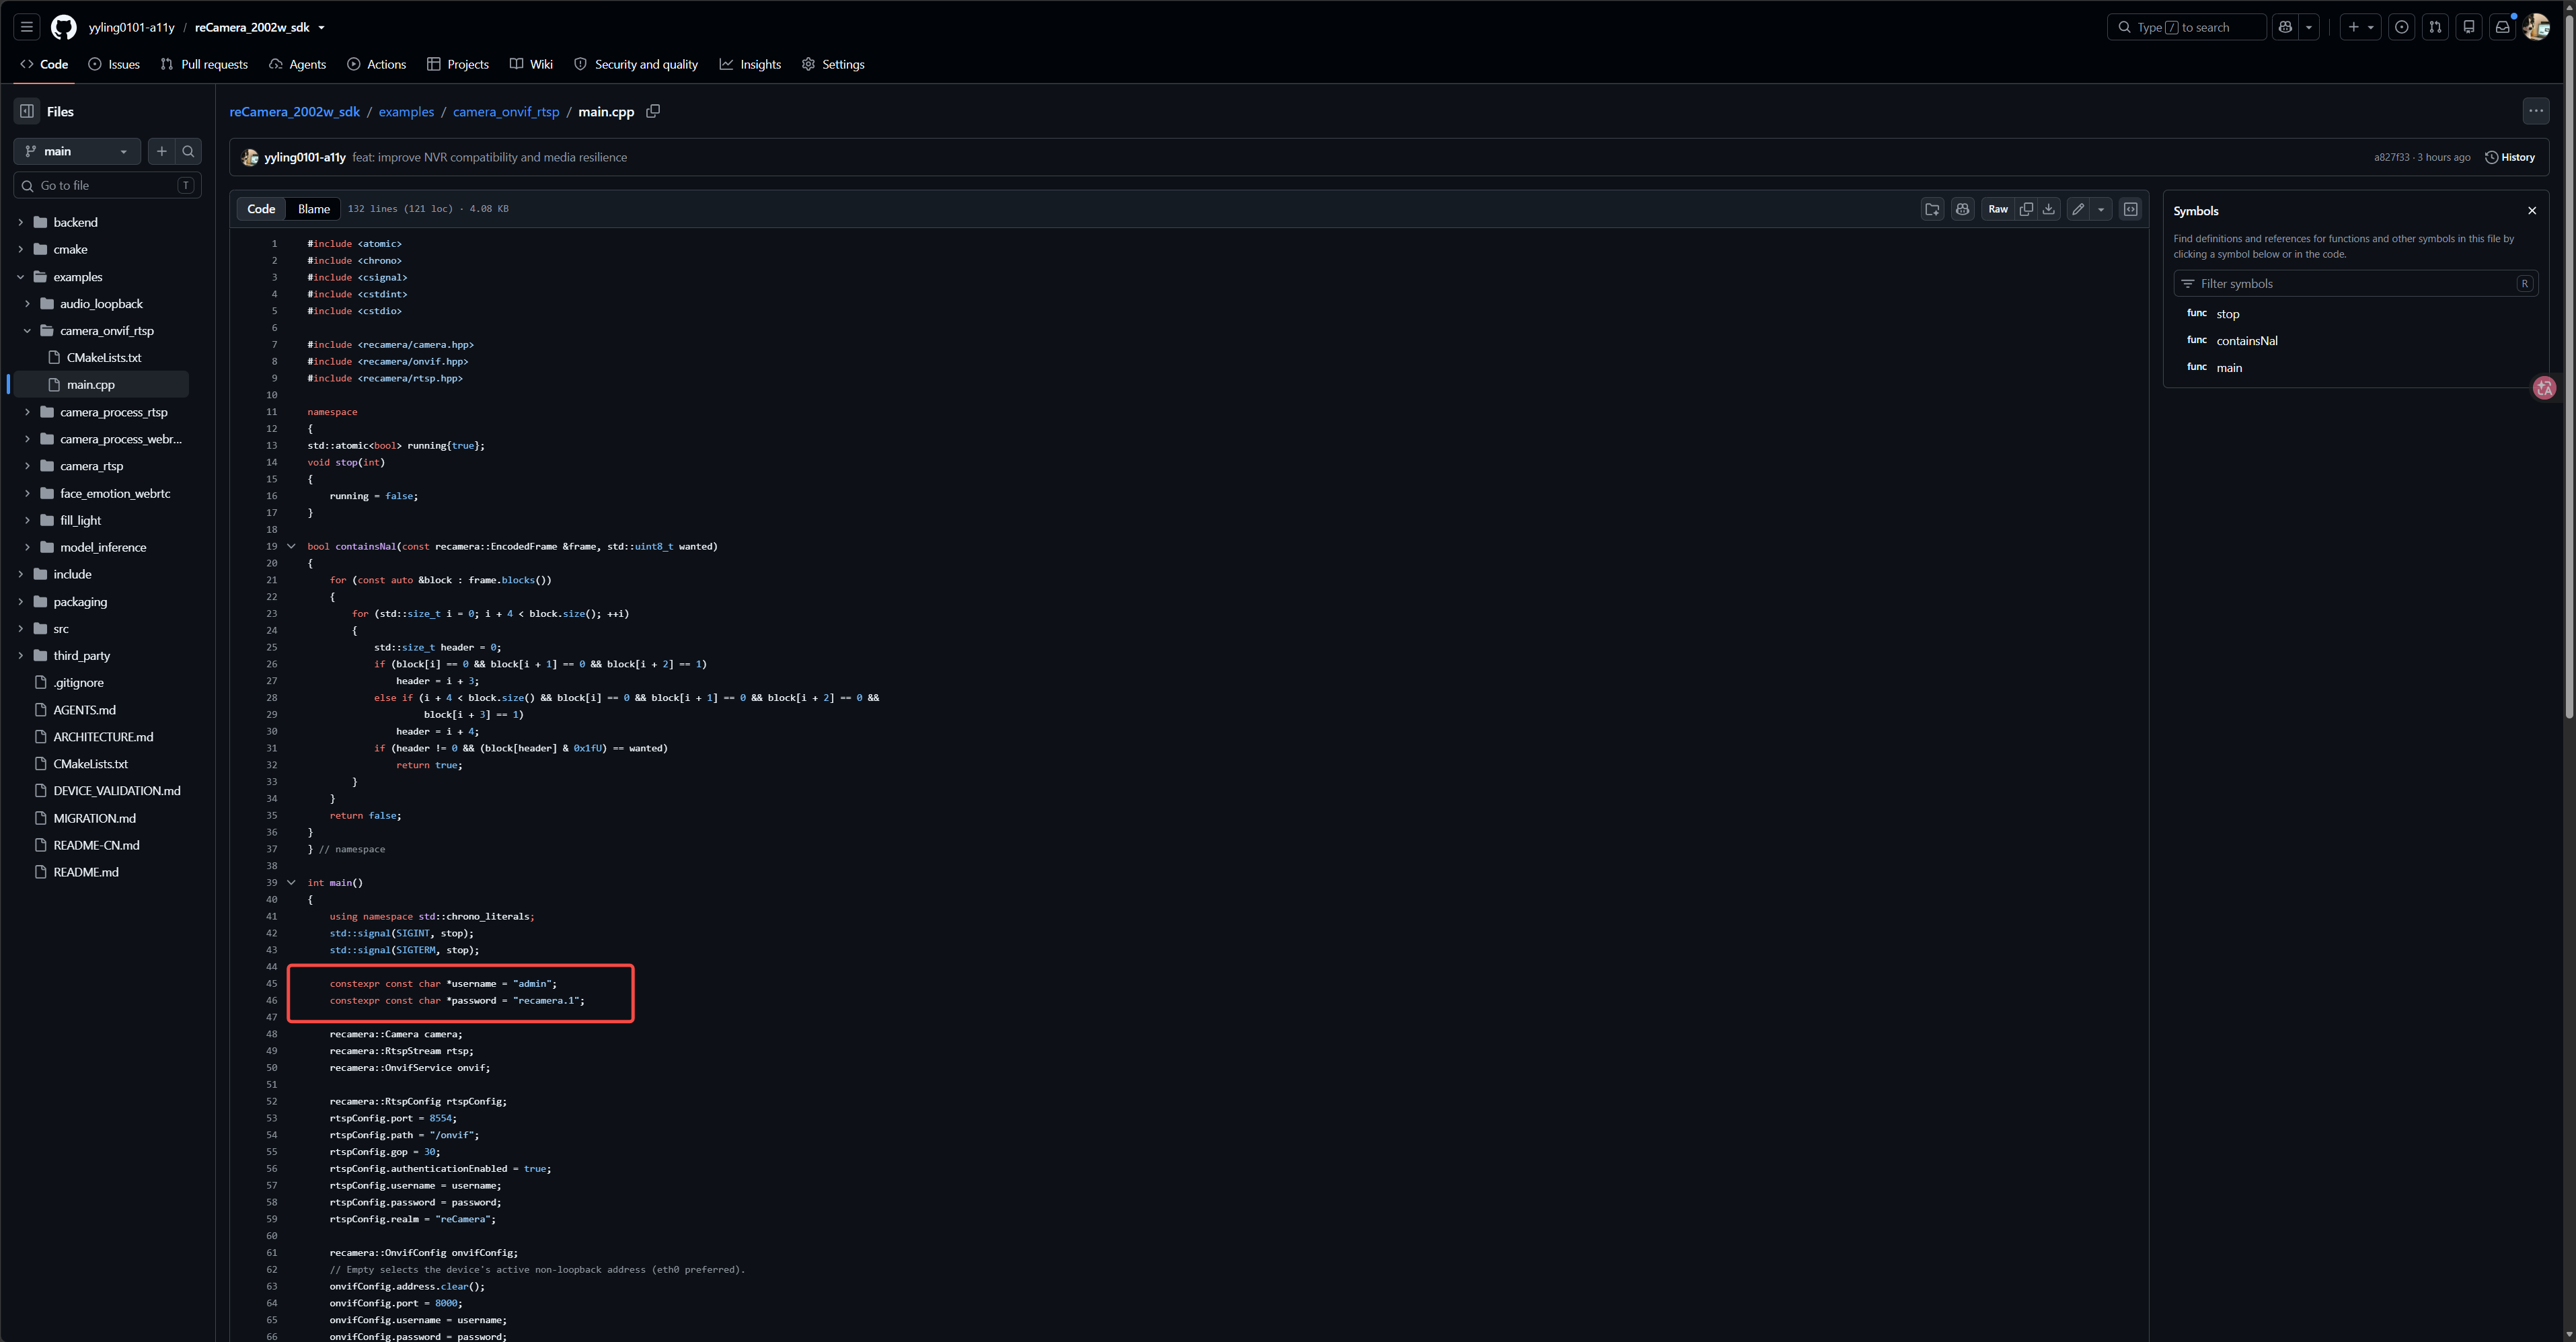
Update the configuration and rebuild the project. For detailed build instructions, see the repository README. Transfer the compiled executable to reCamera, make it executable, and run it to use the new credentials.
Troubleshooting
| Issue | Solution |
|---|---|
| The client cannot find reCamera | Ensure that reCamera and Home Assistant, Frigate, the NVR, or the VMS are on the same local network. Also confirm that deployment completed successfully. |
| The RTSP stream will not play | Check that the command uses reCamera's actual IP address. Confirm the username, password, and path: admin, recamera.1, and /onvif. |
| The HQ PoE model cannot connect to the network | Confirm that the switch supports PoE and that the Ethernet cable provides both power and network connectivity. |
| The ONVIF solution is still unavailable after an update | Restart SenseCraft Solution, confirm that the solution list update completed, then select Technical Demos > reCamera. |
Technical Support and Product Discussion
Thank you for choosing our product. We offer several support channels to help make your experience as smooth as possible.