reComputer R1000 with Node-Red and BACnet IP
Introduction
BACnet IP (Building Automation and Control Network over IP) is a communication protocol designed for managing and automating building systems. It enables devices from different manufacturers to interoperate seamlessly over standard IP networks, enhancing system integration and flexibility. The primary advantages of BACnet IP in Building Management Systems (BMS) include improved scalability, easier installation and maintenance, and the ability to leverage existing network infrastructure. BACnet IP also supports real-time data exchange, facilitating better monitoring and control of building systems. This results in increased energy efficiency, reduced operational costs, and enhanced occupant comfort and safety.
This tutorial shows the process of using node-red to read BACnet device data on reComputer R1000 and perform real-time visual display.We used a BACnet device simulator on the W10 PC to simulate the real BACnet device. The reComputer R1000 and the W10 PC were connected to the same router to ensure that they were on the same network segment, and then the data was read and displayed.
Getting Start
Before you start this project, you may need to prepare your hardware and software in advance as described here.
Hardware Preparation
| reComputer R1000 |
|---|
 |
Software Preparation
reComputer R1000 comes to your hand pre-installed with Raspberry Pi OS. If you are booting this device for the first time, please read our Getting Started Wiki. For information about node-red, you can refer to the following posts. It is recommended that you review this guide before proceeding to the wiki. In this tutorial, we are going to connect the Host PC running the YABE room temperature simulator with Node-RED running on reComputer R1000.
Node download
This tutorial uses the "node-bacnet-contrib-extended" node, "node-red-contrib-loop" node, and "node-red-dashboard" node. Please download them before starting. For how to download nodes, you can refer to Tutorial.
YABE
Please go to this link and download YABE (Yet Another BACnet Explorer). YABE is a versatile tool that allows you to simulate and explore BACnet devices, making it ideal for testing and development purposes. Once downloaded and installed on your Host PC, YABE will be used to simulate room temperature data, which we will then read and process using Node-RED on the reComputer R1000.
Start Room Temperature Controller Simulator
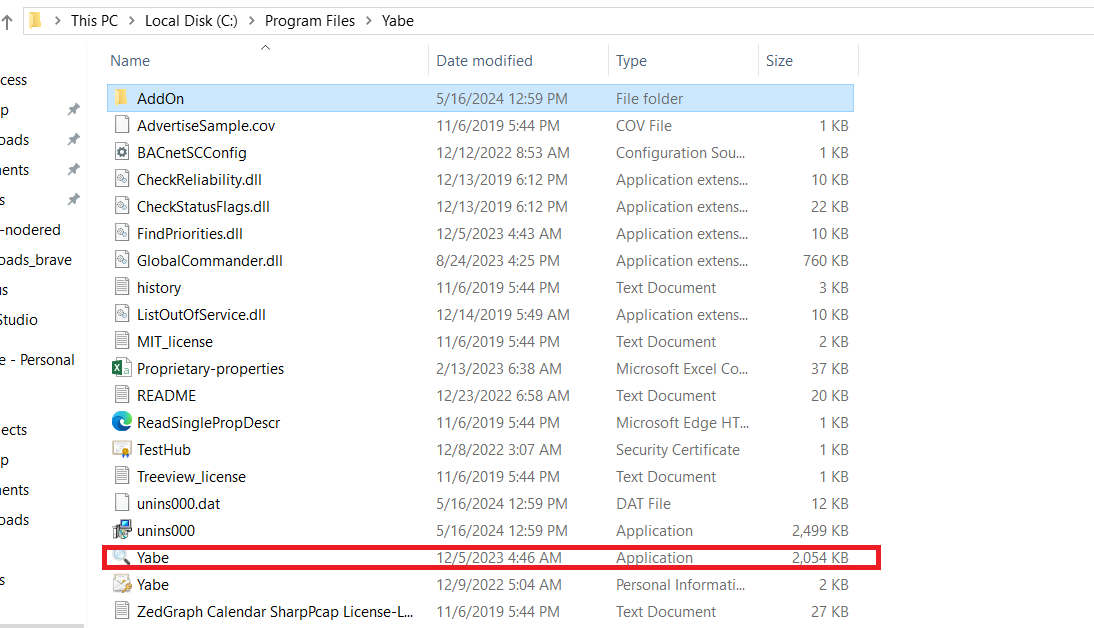
Once you have installed YABE, navigate to the add-on folder and double-click bacnet.Room.Simulator to start it.

Once done, you need to start YABE.
Then, click on the + mark to add a device and enter the IP address of your PC's Ethernet port. Click on "Start."

You might need to configure the Ethernet port IP address to ensure it is in the same network domain as both the reComputer and your PC.
After that, you should be able to see the device with the same device ID as the room temperature simulator.

The process of Node-red reading BACnet devices
After opening RoomSimulator, you have a BACnet device. The following steps can read the data of the device through Node-red and display it.
Step 1: Search for Devices
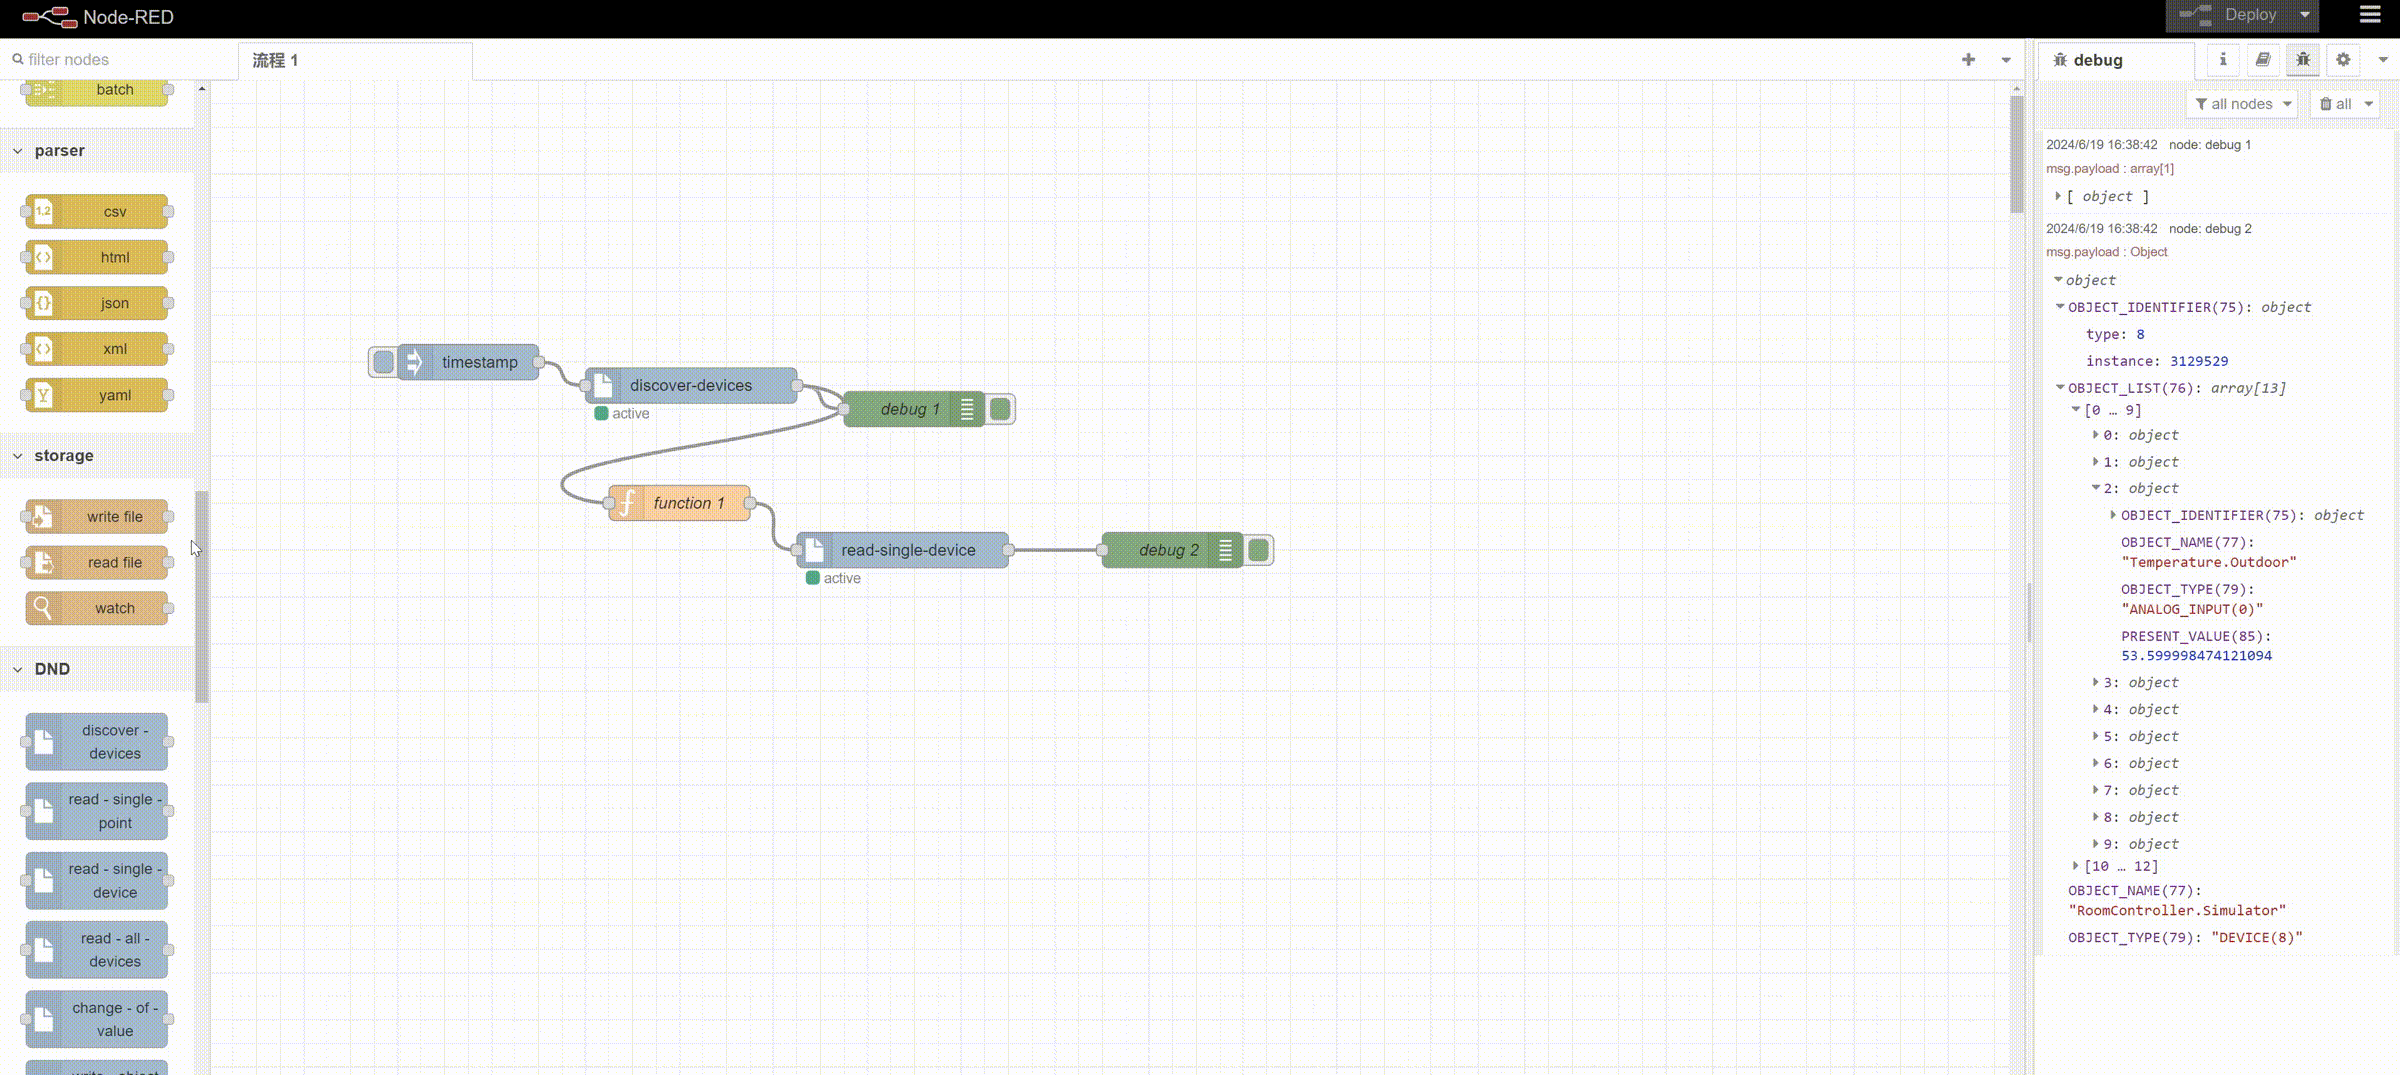
First, you need to get the location of the BACnet device. You can use the "discover-devices" node to achieve this. It can search for all BACnet devices connected to you and display the IP address and device number.
Step 2:Read data
After getting the device address, you can communicate with the corresponding device. This example uses "read-single-device" to read all the data in a device. The node needs the address and device number of the device. These two pieces of information can be obtained from the first step. We can use the "function" node to obtain these two information and input it to the "read-single-device" node to read the device data. You can copy the path of the deviceID and Address attributes in the debug window on the right, and then assign them to the variables in "function", so that you can accurately get the address and device number of the device.

Step 3:Filter data
There are a lot of data items read in the second step. We need to process them to get the data items we want. Here we extract three temperature data, namely "Tempture indoor", "Tempture outdoor", "Tempture Water" is the same as the second step. We copy the path of the corresponding data item in the debug window, and then extract it in the "function" node. After that, we can use these three items of data.
- Below is the code to filter the data
var Temperature_Indoor = Number(msg.payload["OBJECT_LIST(76)"][1]["PRESENT_VALUE(85)"]);
var Temperature_Waterm = Number(msg.payload["OBJECT_LIST(76)"][2]["PRESENT_VALUE(85)"]);
var Temperature_Outdoor = Number(msg.payload["OBJECT_LIST(76)"][3]["PRESENT_VALUE(85)"]);
var msg0 = { payload: Temperature_Indoor };
var msg1 = { payload: Temperature_Waterm };
var msg2 = { payload: Temperature_Outdoor };
return [msg0, msg1, msg2];
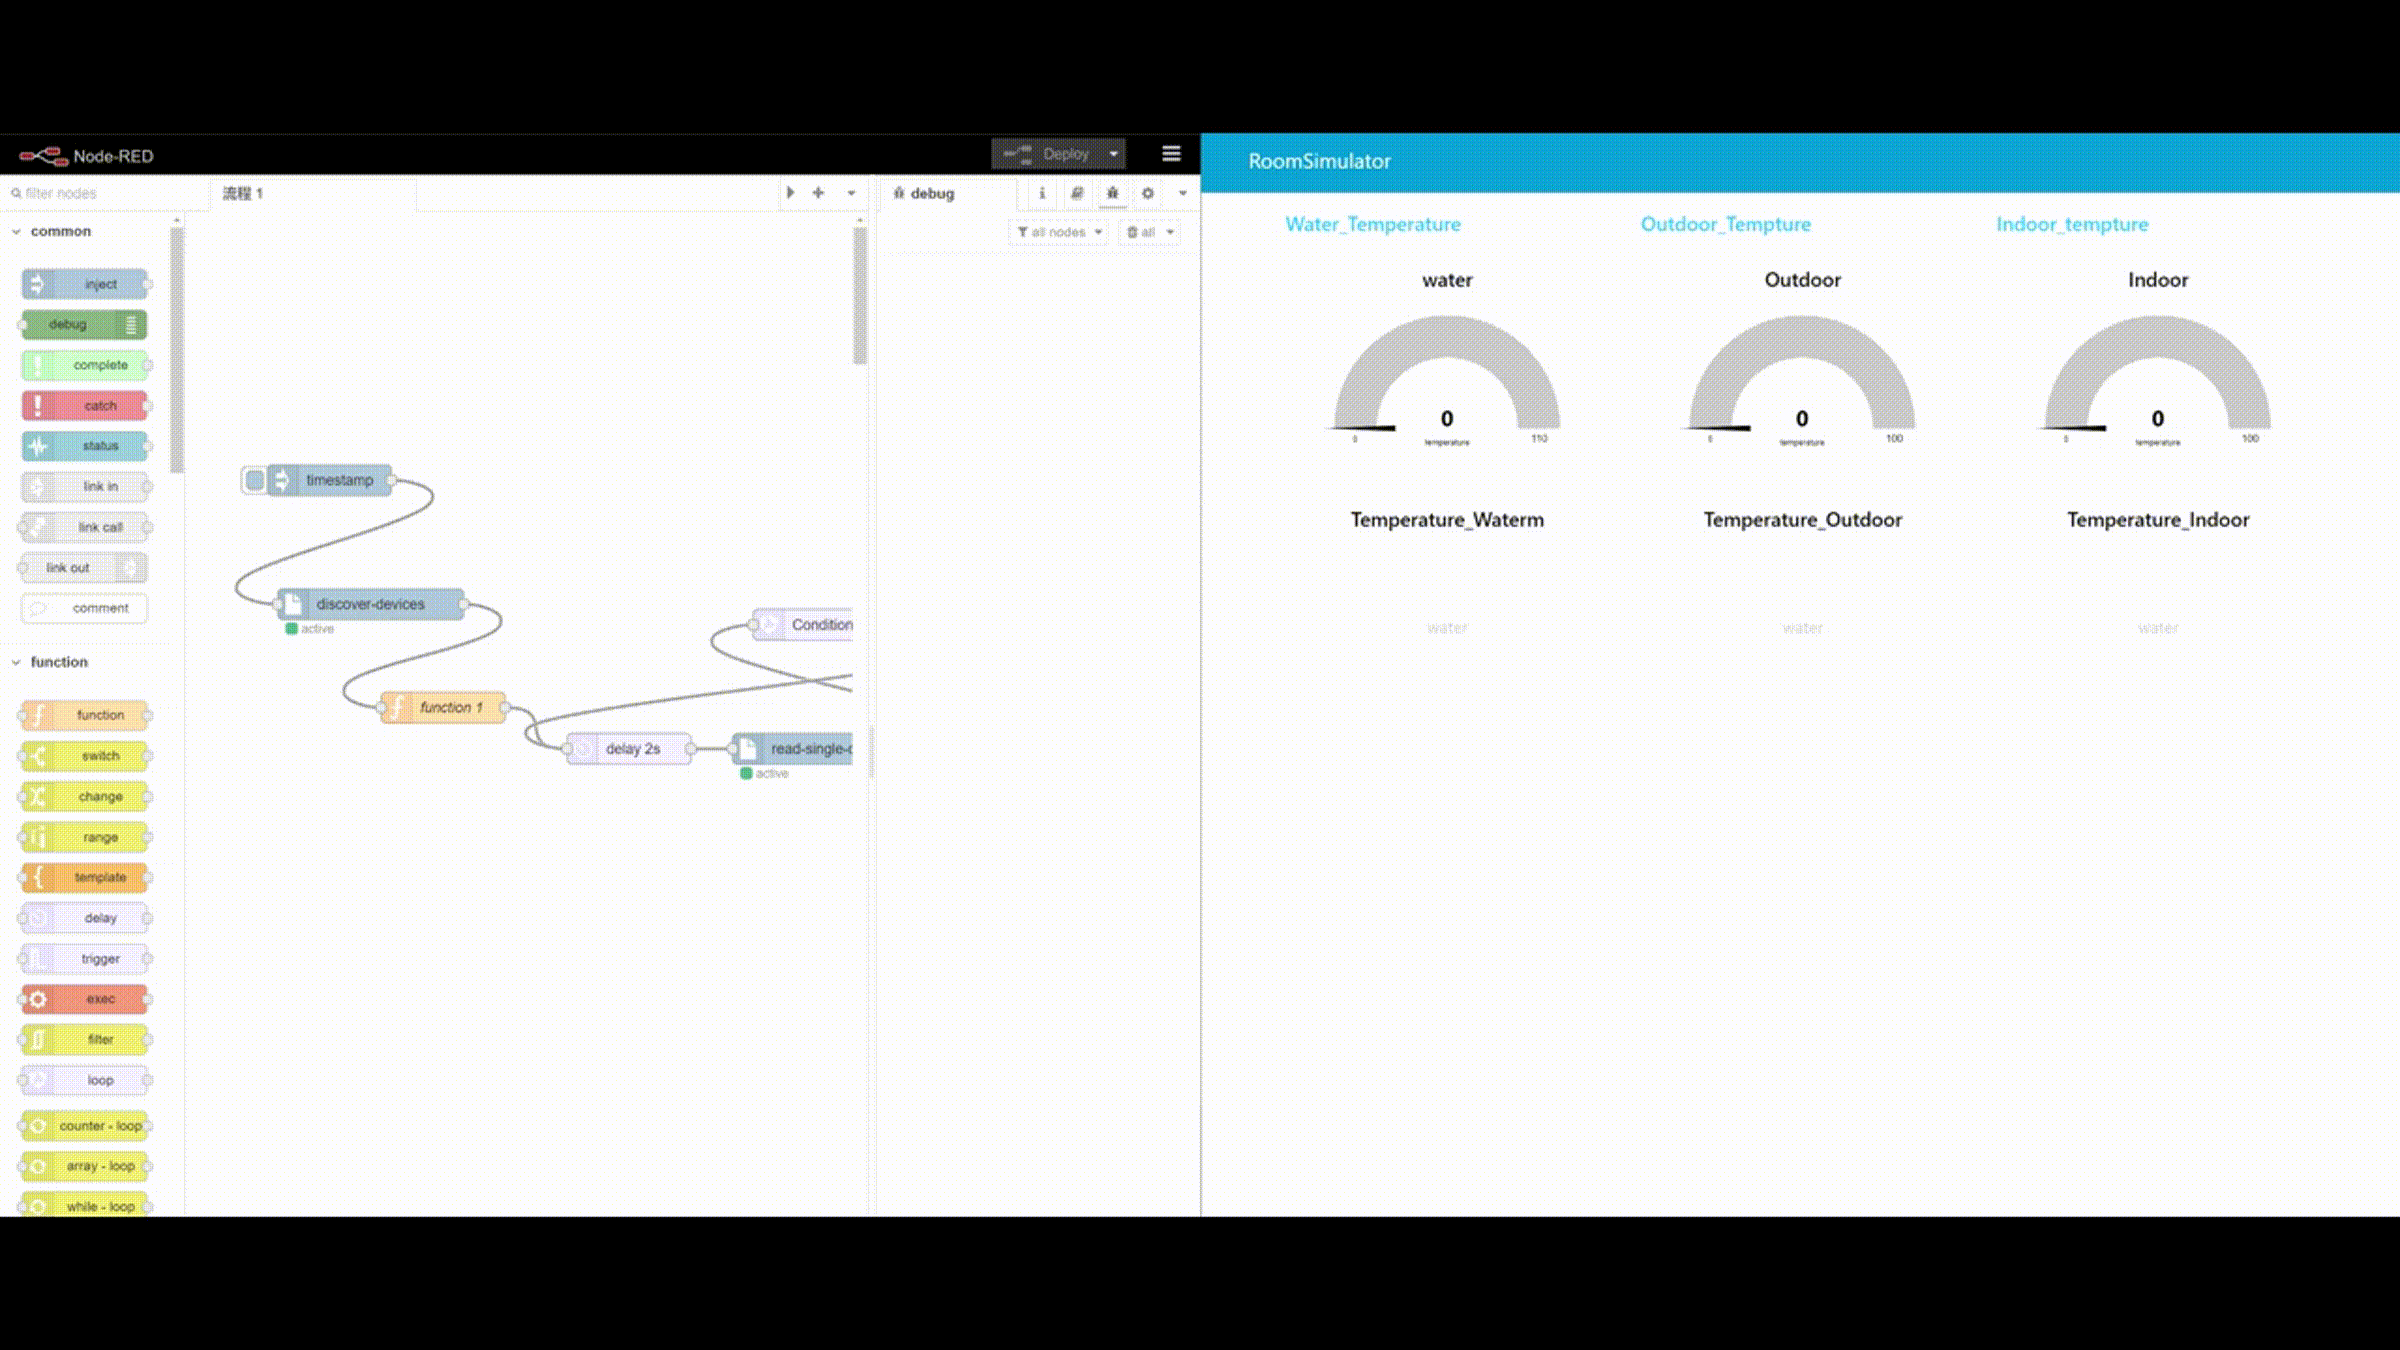
Step 4:Loop reading
We need to continuously obtain data from BACnet devices, which requires the use of the "loop" node. As shown in the figure, we introduce the "loop" node to join the loop based on the third step. The "loop" node has three loop modes. We Using the "condition" mode, "1 == 1" is entered in the loop condition to achieve an infinite loop. At the same time, a "delay" node is added to introduce a 2s delay in the loop, so that the data can be read every 2s.

Step 5:Data Display
Through the above 4 steps, we can continuously obtain data from BACnet devices. In order to make data changes more intuitive, we can introduce UI functions and draw a UI interactive interface to display data changes. This can use "node-red-dashboard" Node implementation. In this example, "chart" and "gauge" are used to draw three sets of line charts and dashboards. The output of the step 4 is used as the input of "chart" and "gauge" to achieve real-time visual monitoring of BACnet data.
This section mainly introduces how to use the "node-bacnet-contrib-extended" and "node-red-dashboard" nodes to achieve visual reading of BACnet device data. More instructions for the use of the "node-bacnet-contrib-extended" node You can refer to this tutorial.
Tech Support & Product Discussion
Thank you for choosing our products! We are here to provide you with different support to ensure that your experience with our products is as smooth as possible. We offer several communication channels to cater to different preferences and needs.