reBot Arm T701 HT Quick Start
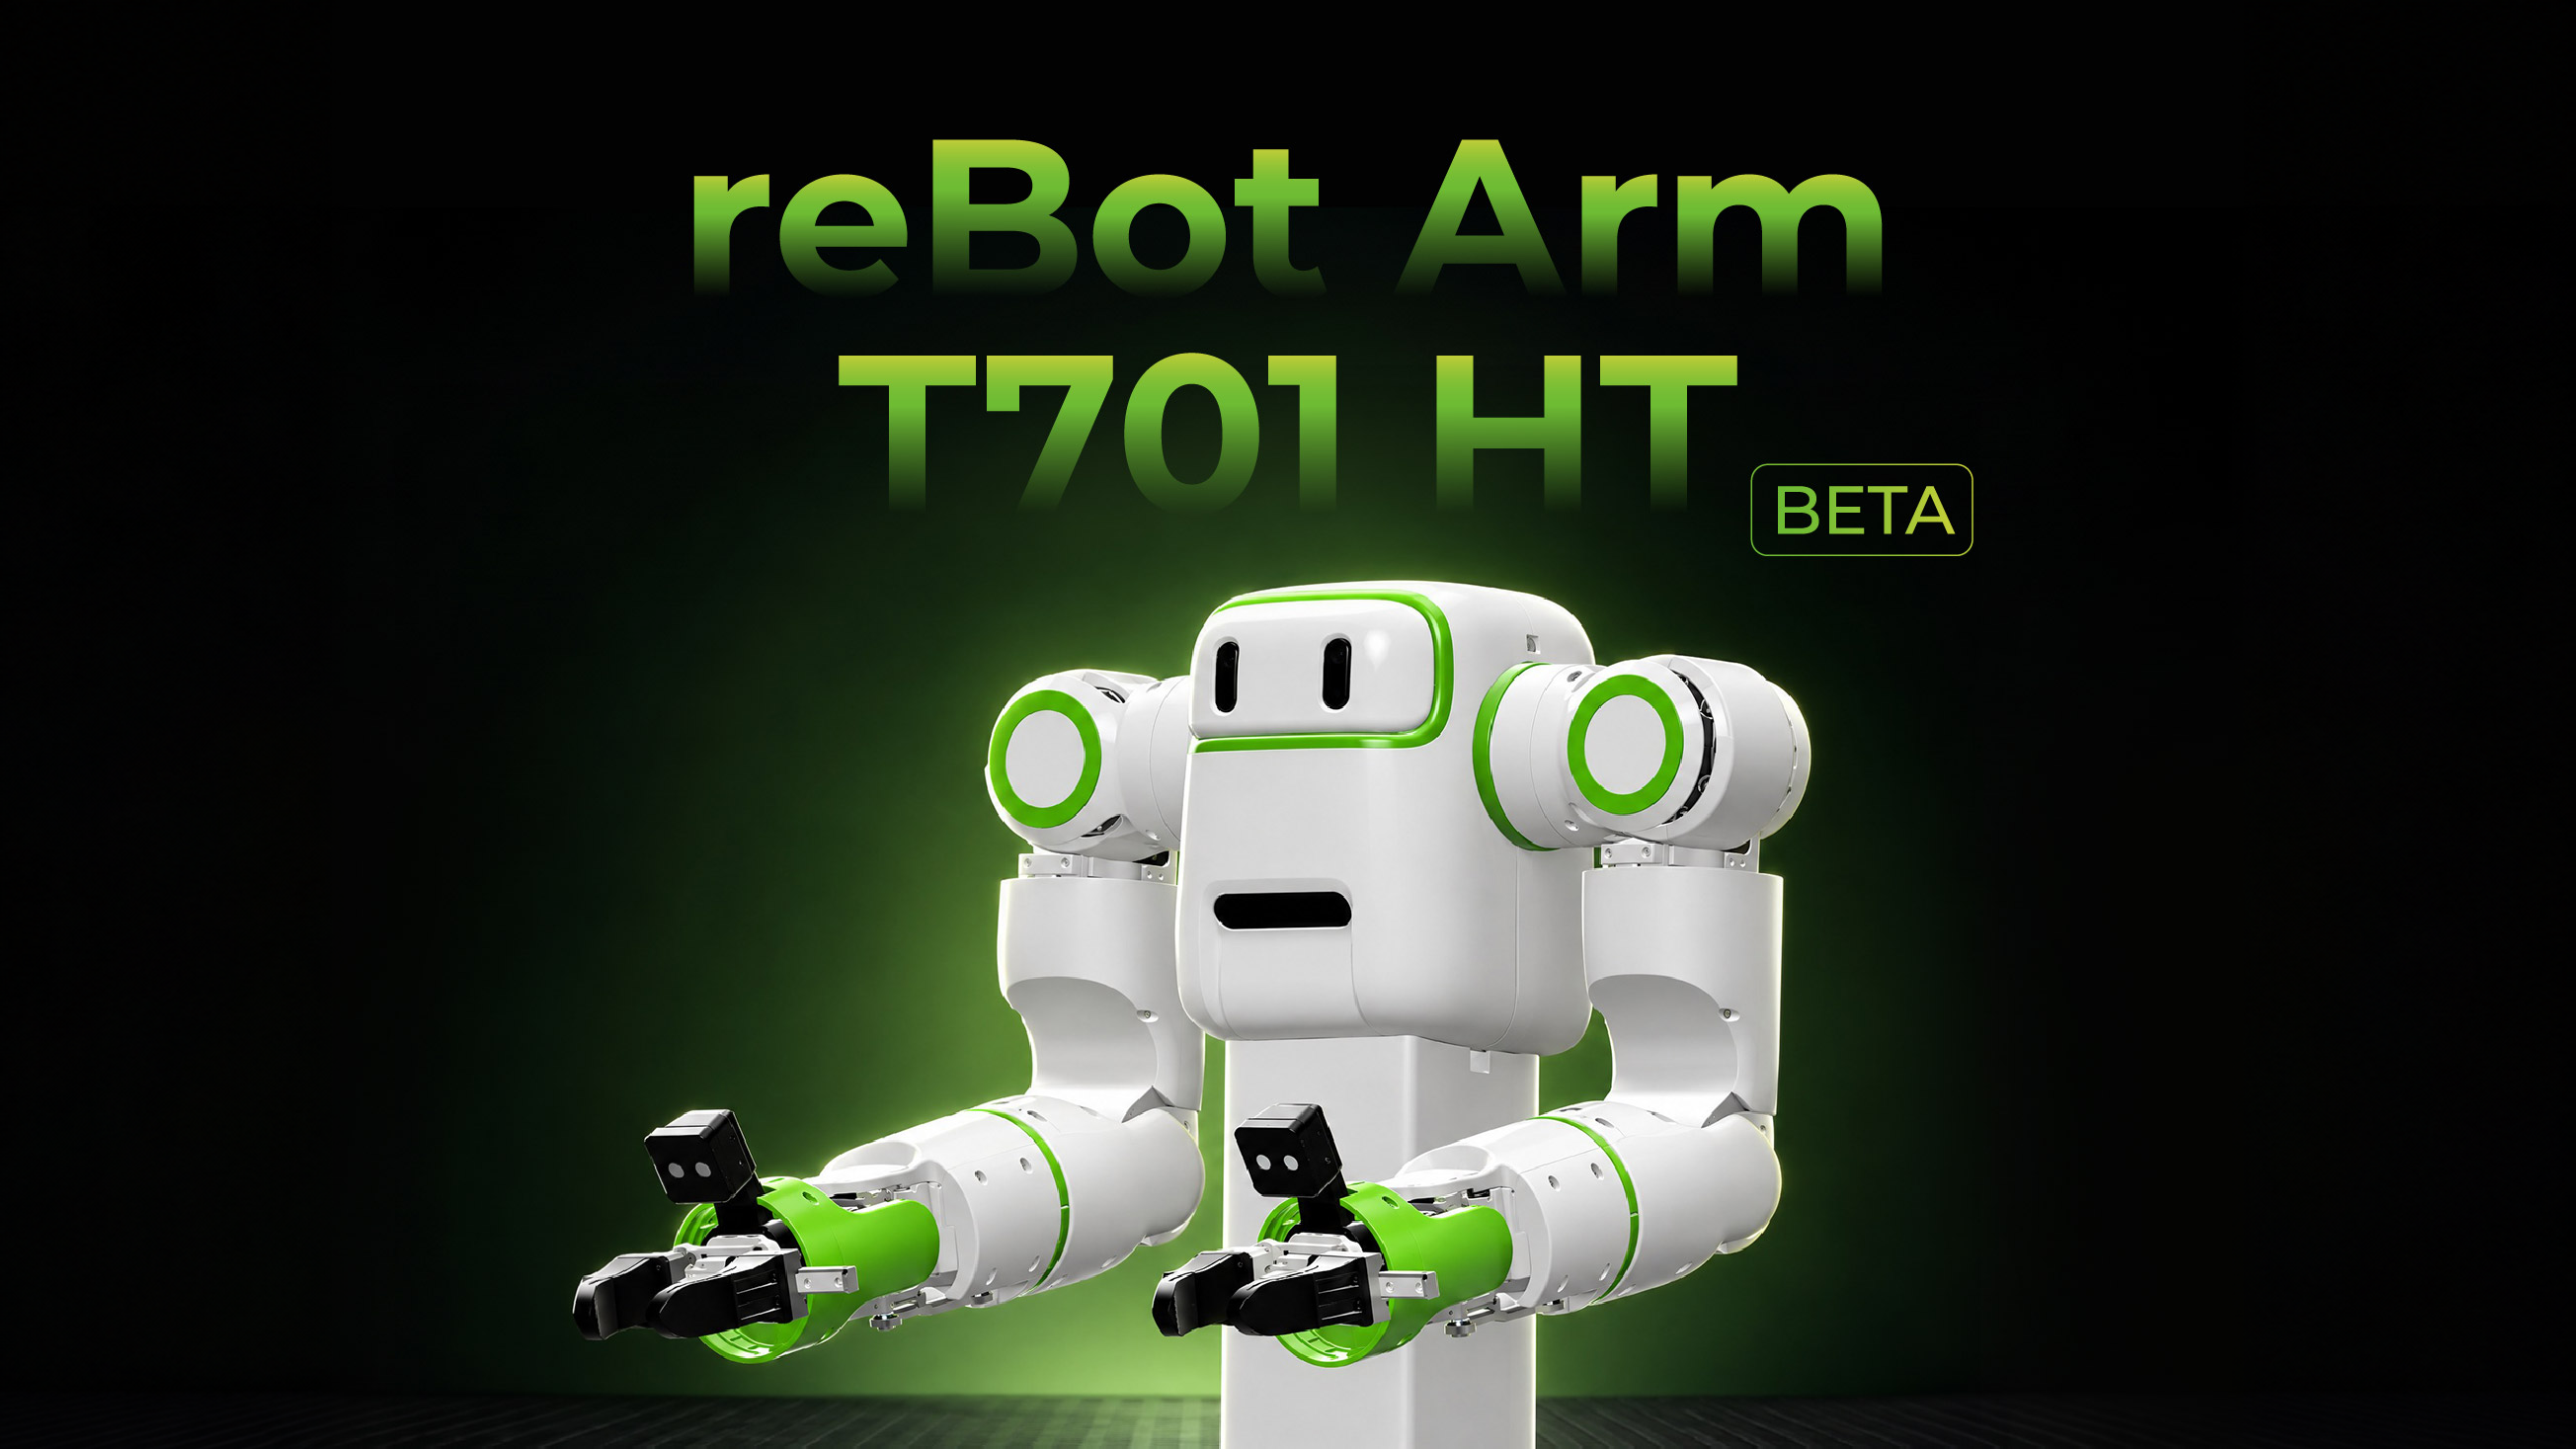
Project Introduction
The reBot Arm T701 is an open-source bimanual robotic platform from Seeed Studio for Physical AI, robot learning, and real-world data collection. It builds on the open-source design of the reBot Arm B601 and gives developers a single platform for collecting data and studying coordinated two-arm tasks.
- Bimanual configuration. Two 7-DOF arms mount to a single torso. CAN bus motors drive the joints, and each arm has its own gripper.
- Vision and edge computing. The platform has mounting points for RealSense D405 wrist cameras, a D435 head camera, and an NVIDIA Jetson Orin compute module. The Basic version does not include cameras.
- Open-source resources. CAD files, the bill of materials (BOM), assembly guides, and software are released in stages according to the project roadmap.
Safety Disclaimer and Risk Notice
Unbox and Assemble the Robot
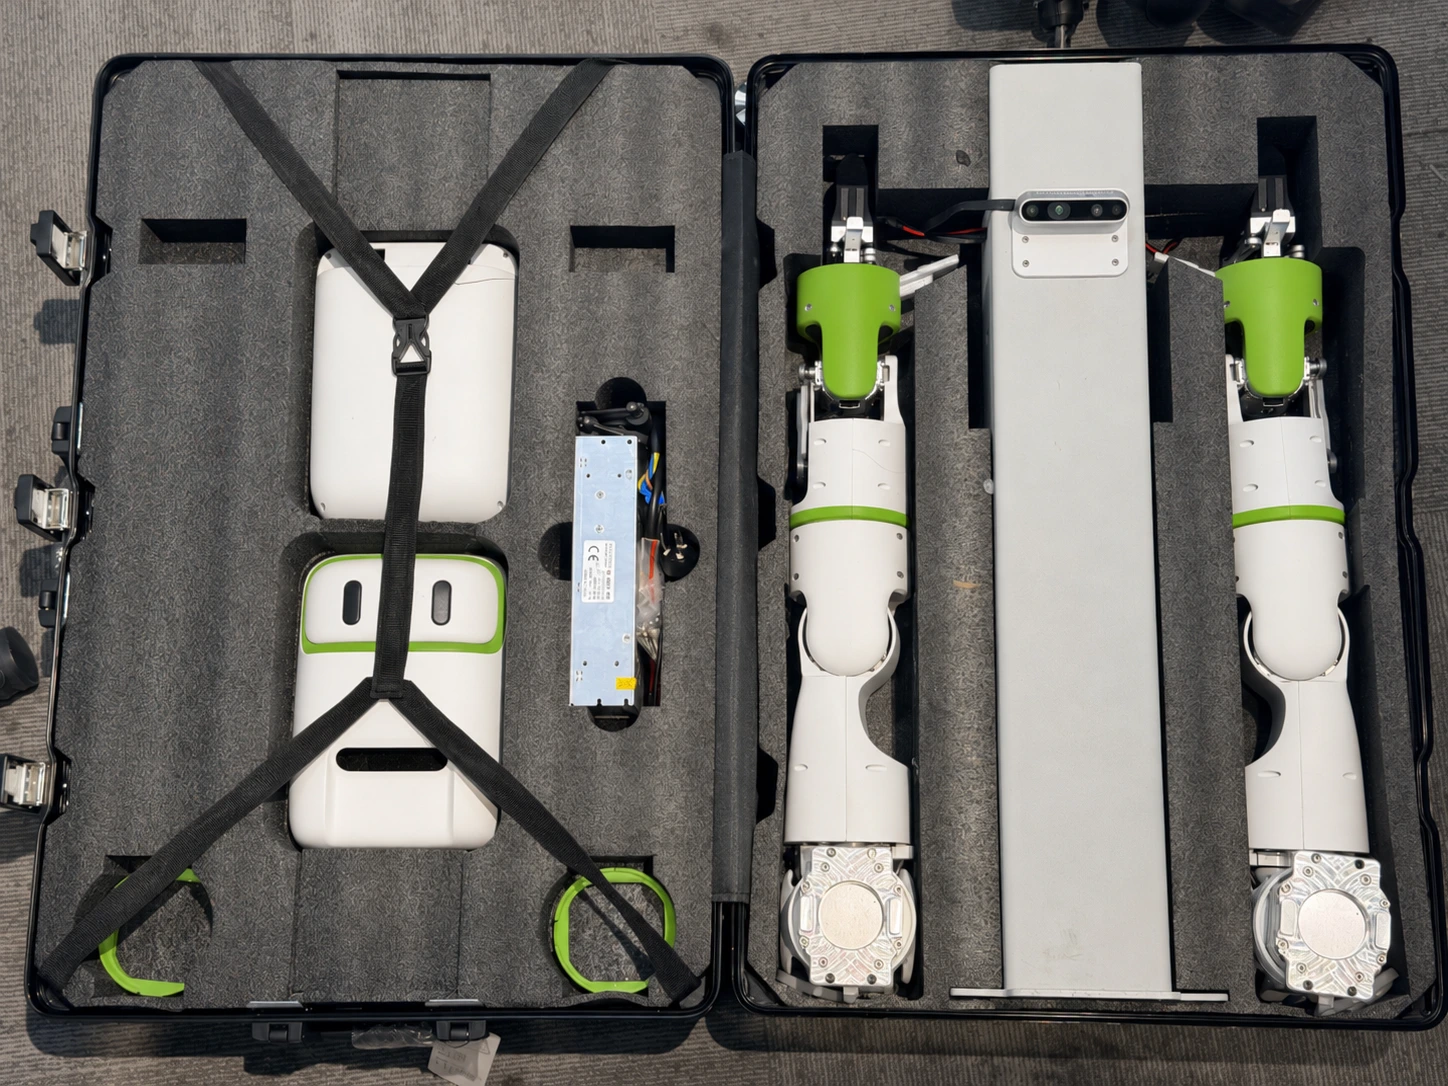
Check the Package Contents
Open the carrying case and check the robot parts and fasteners against the packing list.
Refer to the packing list for the contents of your shipment.
Mount Both Arms to the Torso Column
- Take out the torso column and the right arm. Align the four mounting holes circled in red in both photos.
- Secure the right arm to the column using four of the supplied M6 screws.
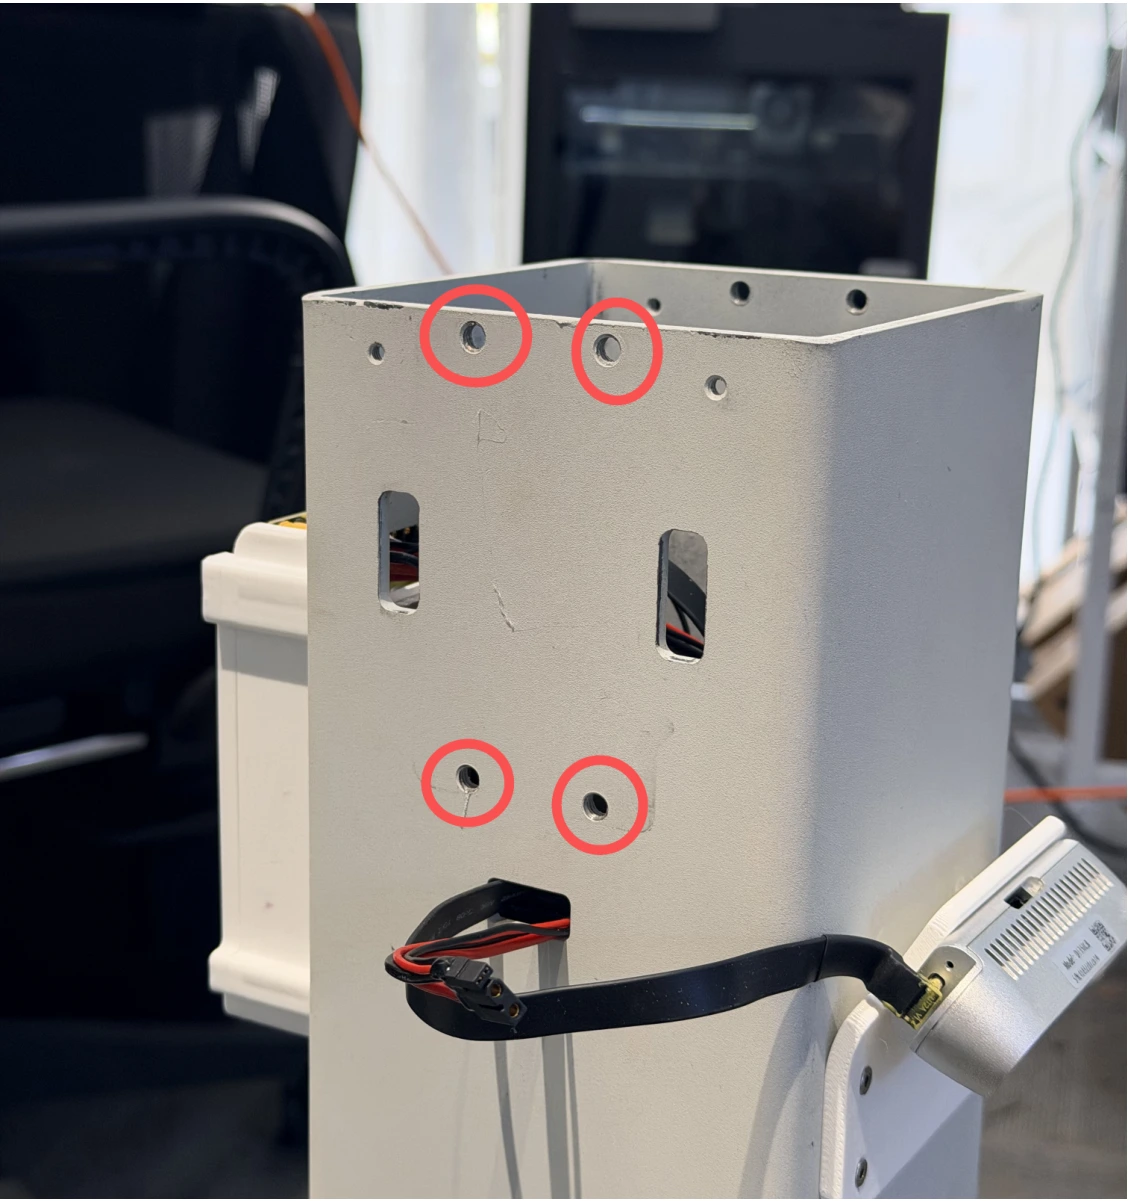
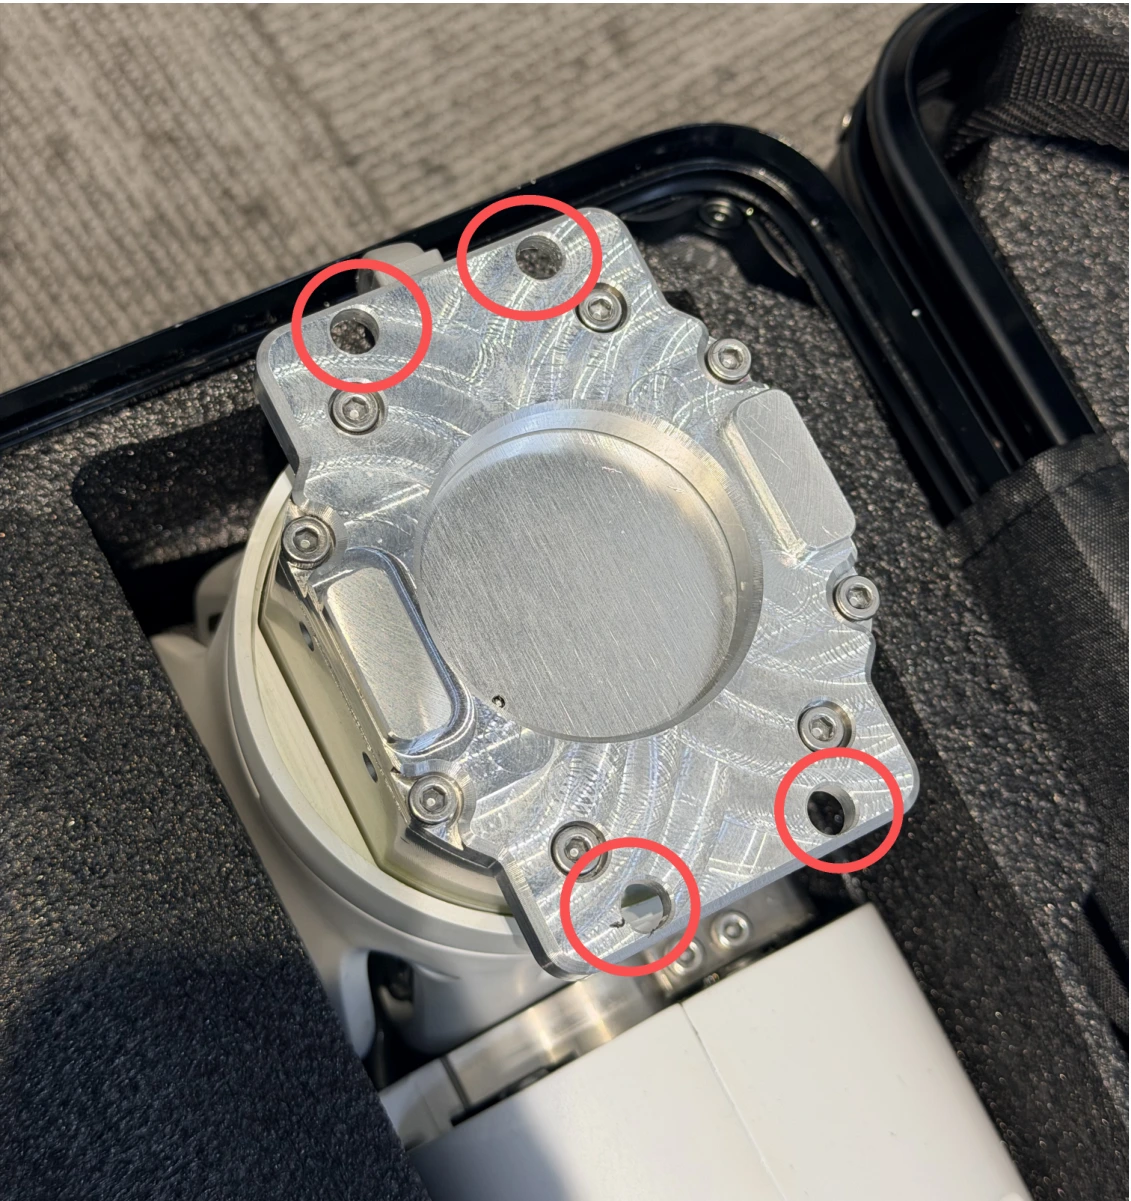
Once the right arm is secured, check how it sits against the column from above and from the side.
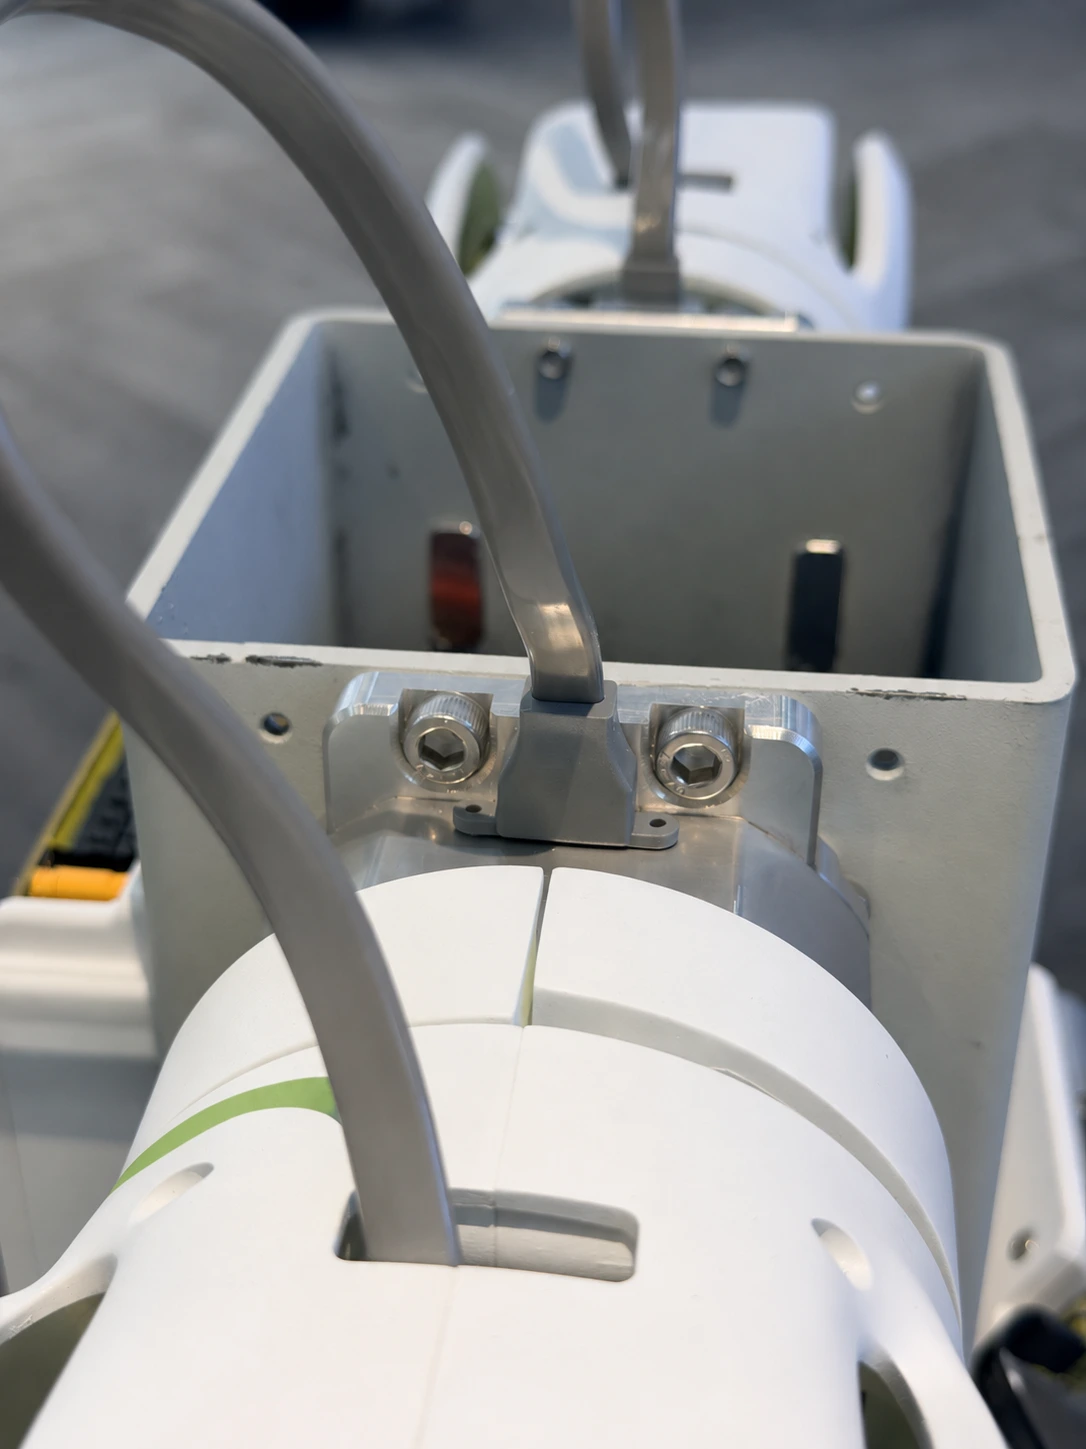
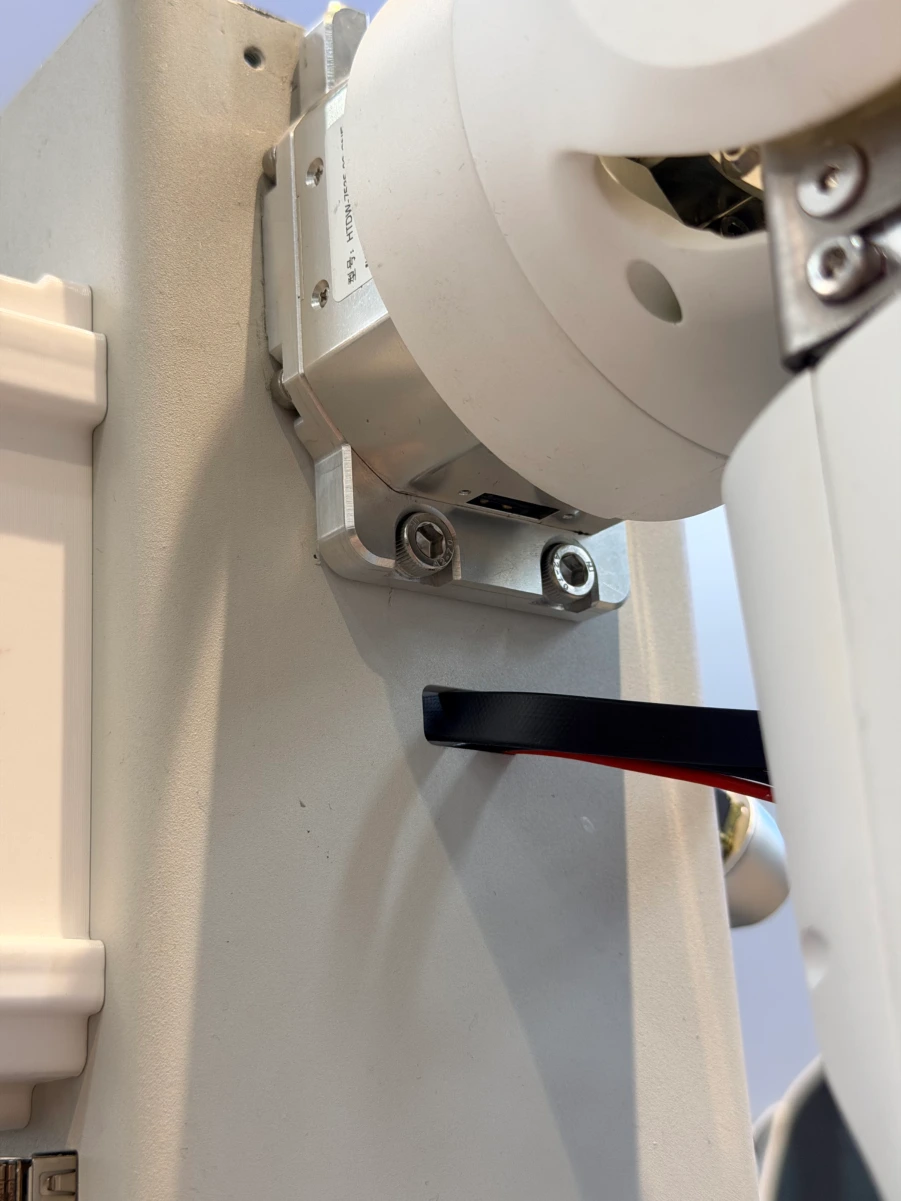
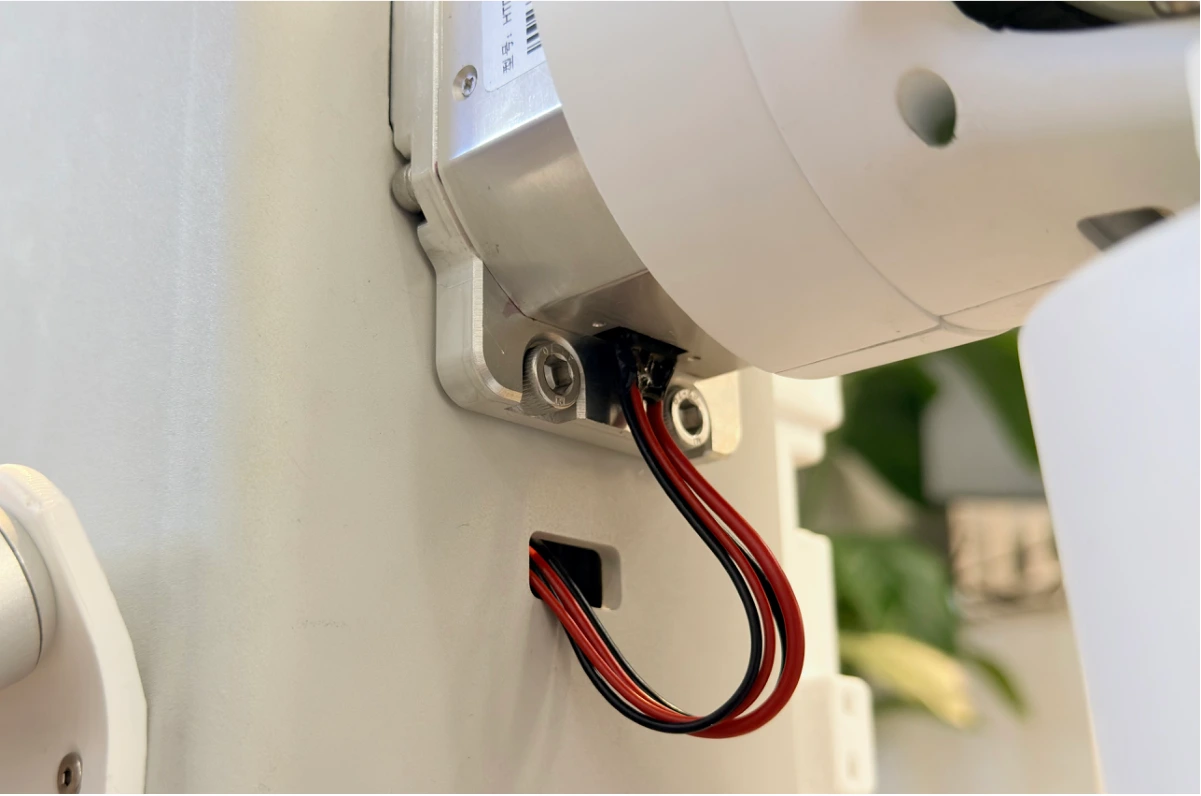
With power disconnected, plug the XT30 2+2 cable harness extending from the side of the torso column into the right arm connector shown below. Mount and connect the left arm the same way on the other side of the column.
Install the Shoulder Covers
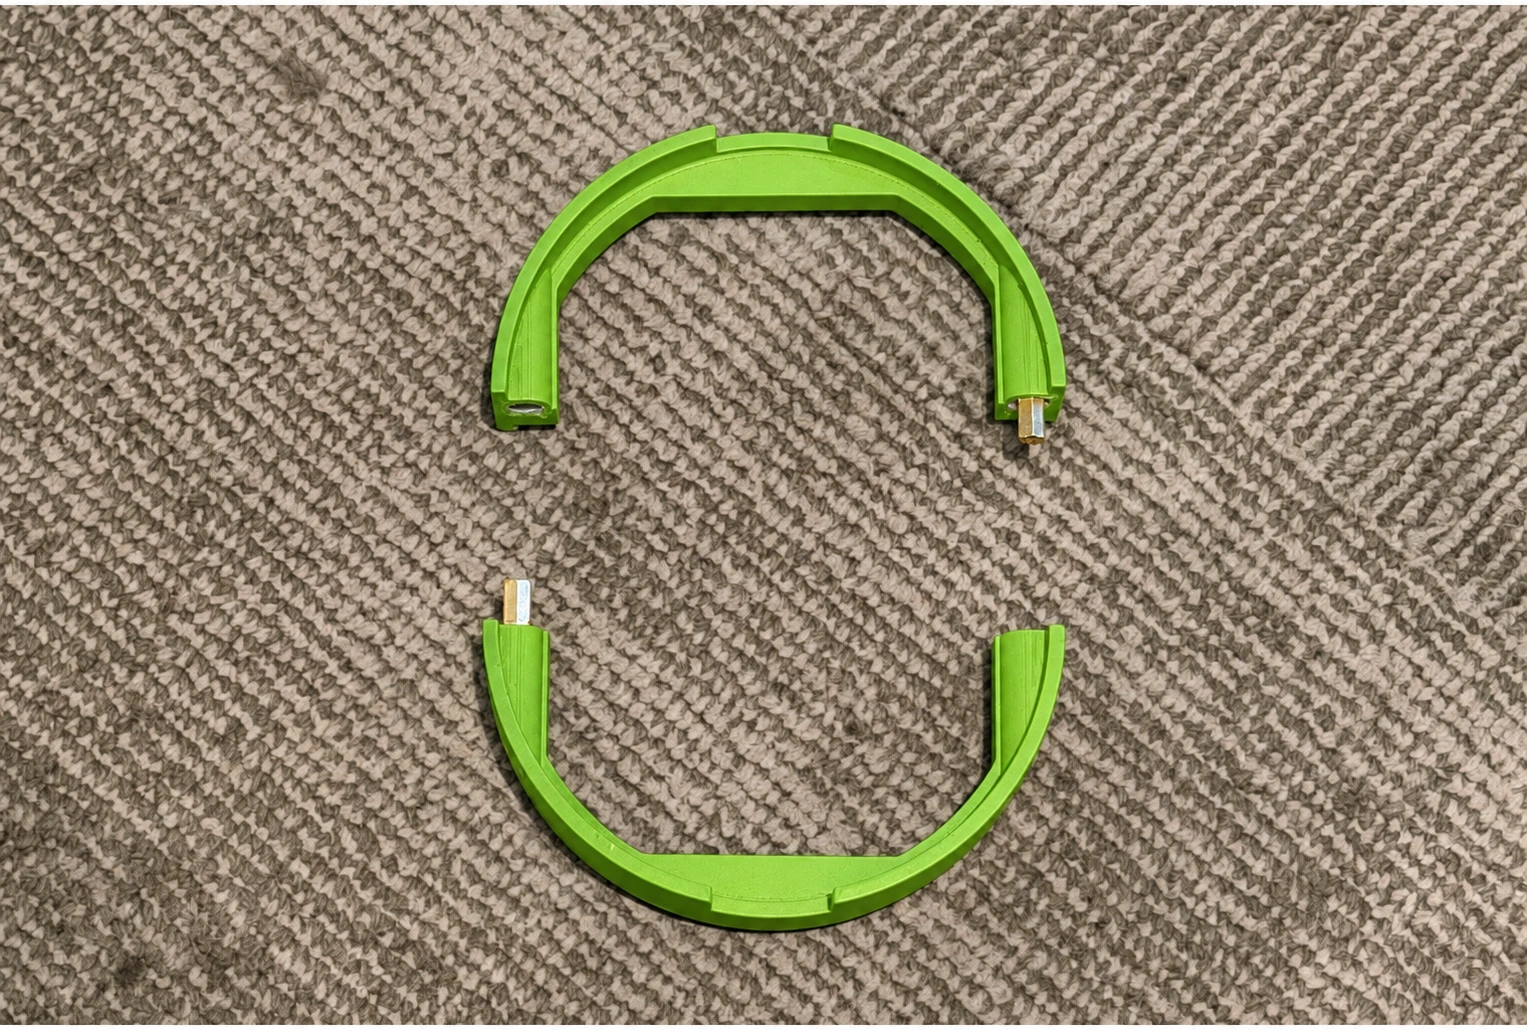
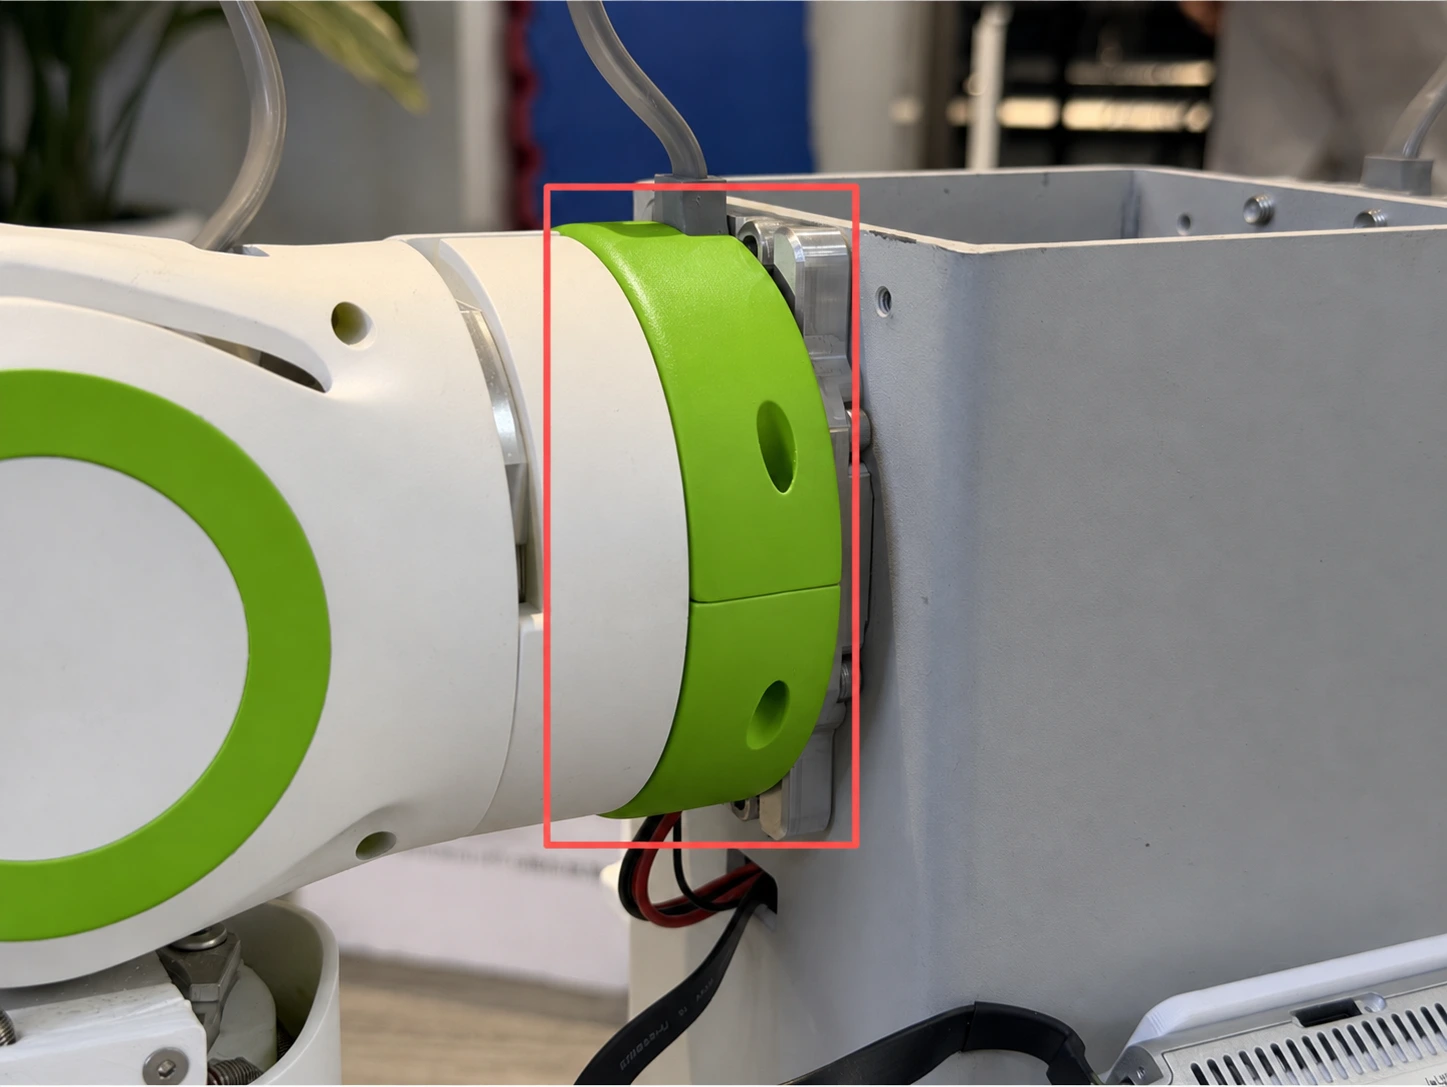
- Fit the upper and lower halves of each green cover together around the shoulder.
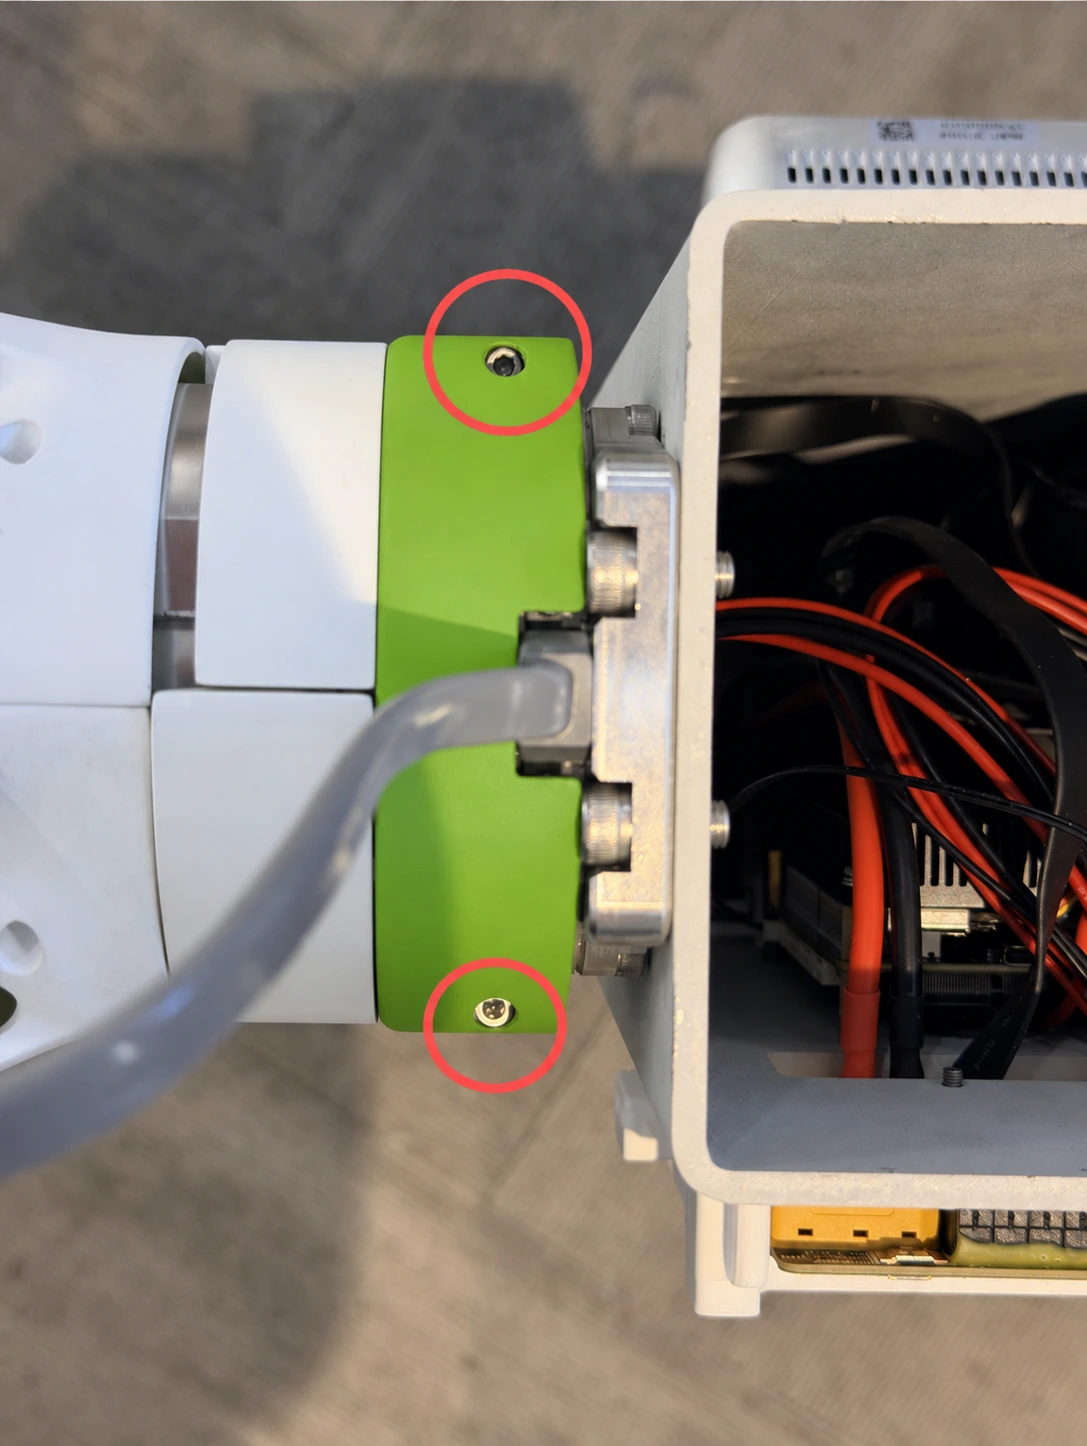
- Insert the supplied medium-short M3 screws at the positions circled in red. Use four screws per side, eight in total.
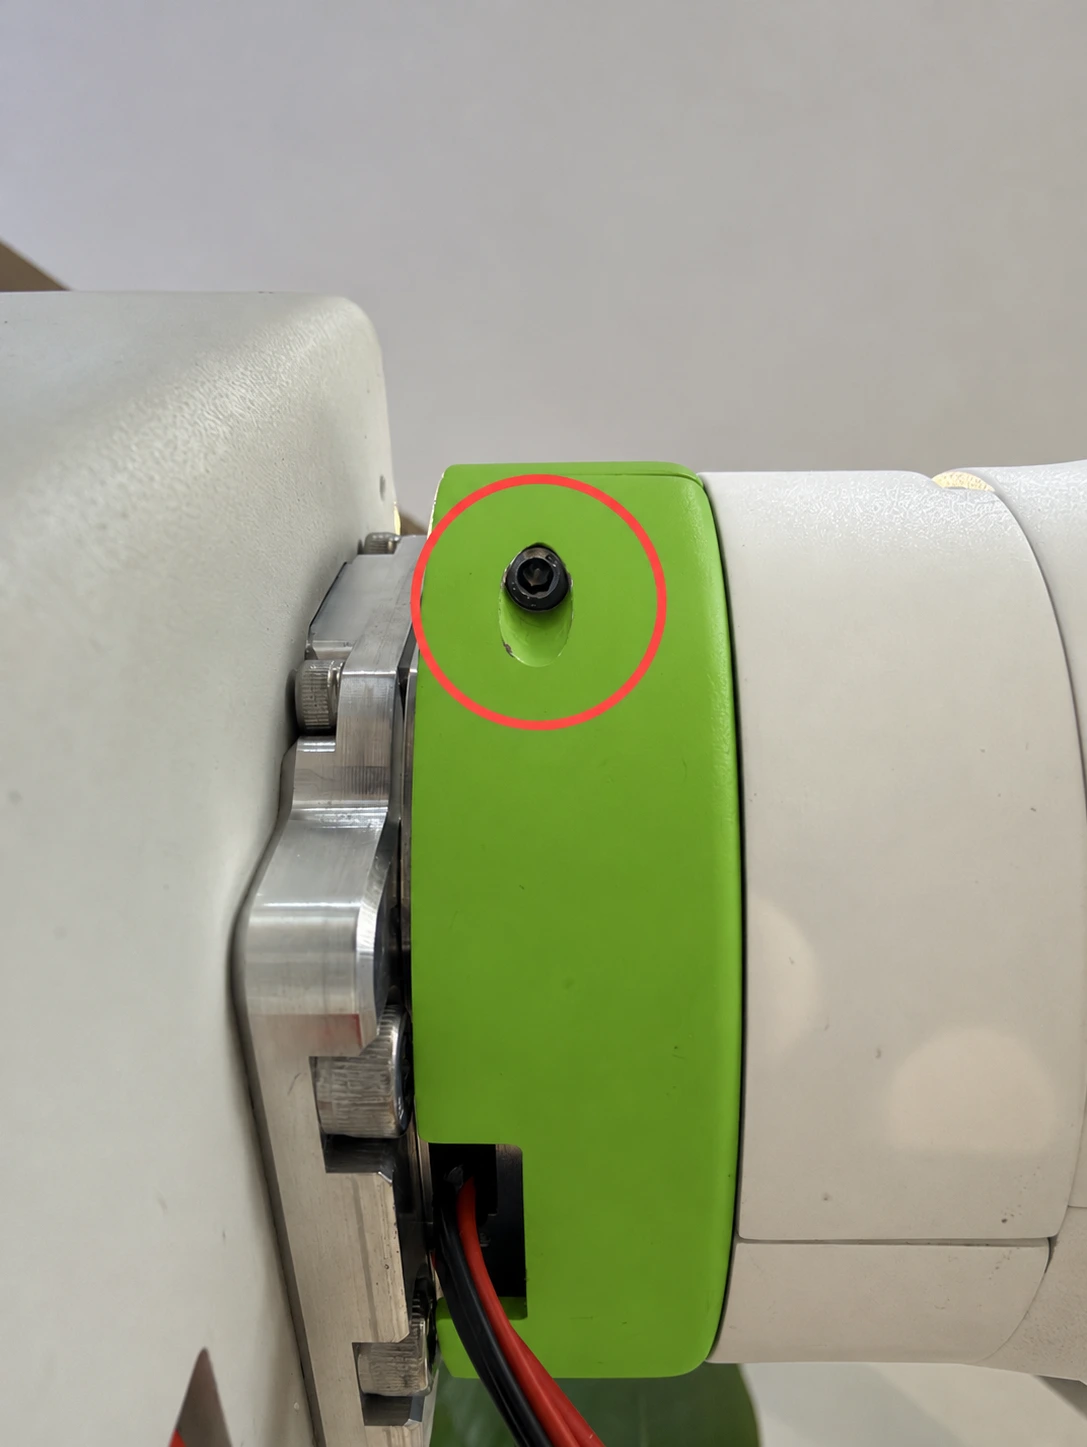
Install the Torso Cover
-
Once both shoulder covers are secured, fit the torso cover and route the side cables through the corresponding cutouts. If your robot has the RealSense D435i camera shown below, align it with the opening in the front cover. The Basic version does not include cameras.
Camera opening in the front cover (the Basic version does not include cameras) 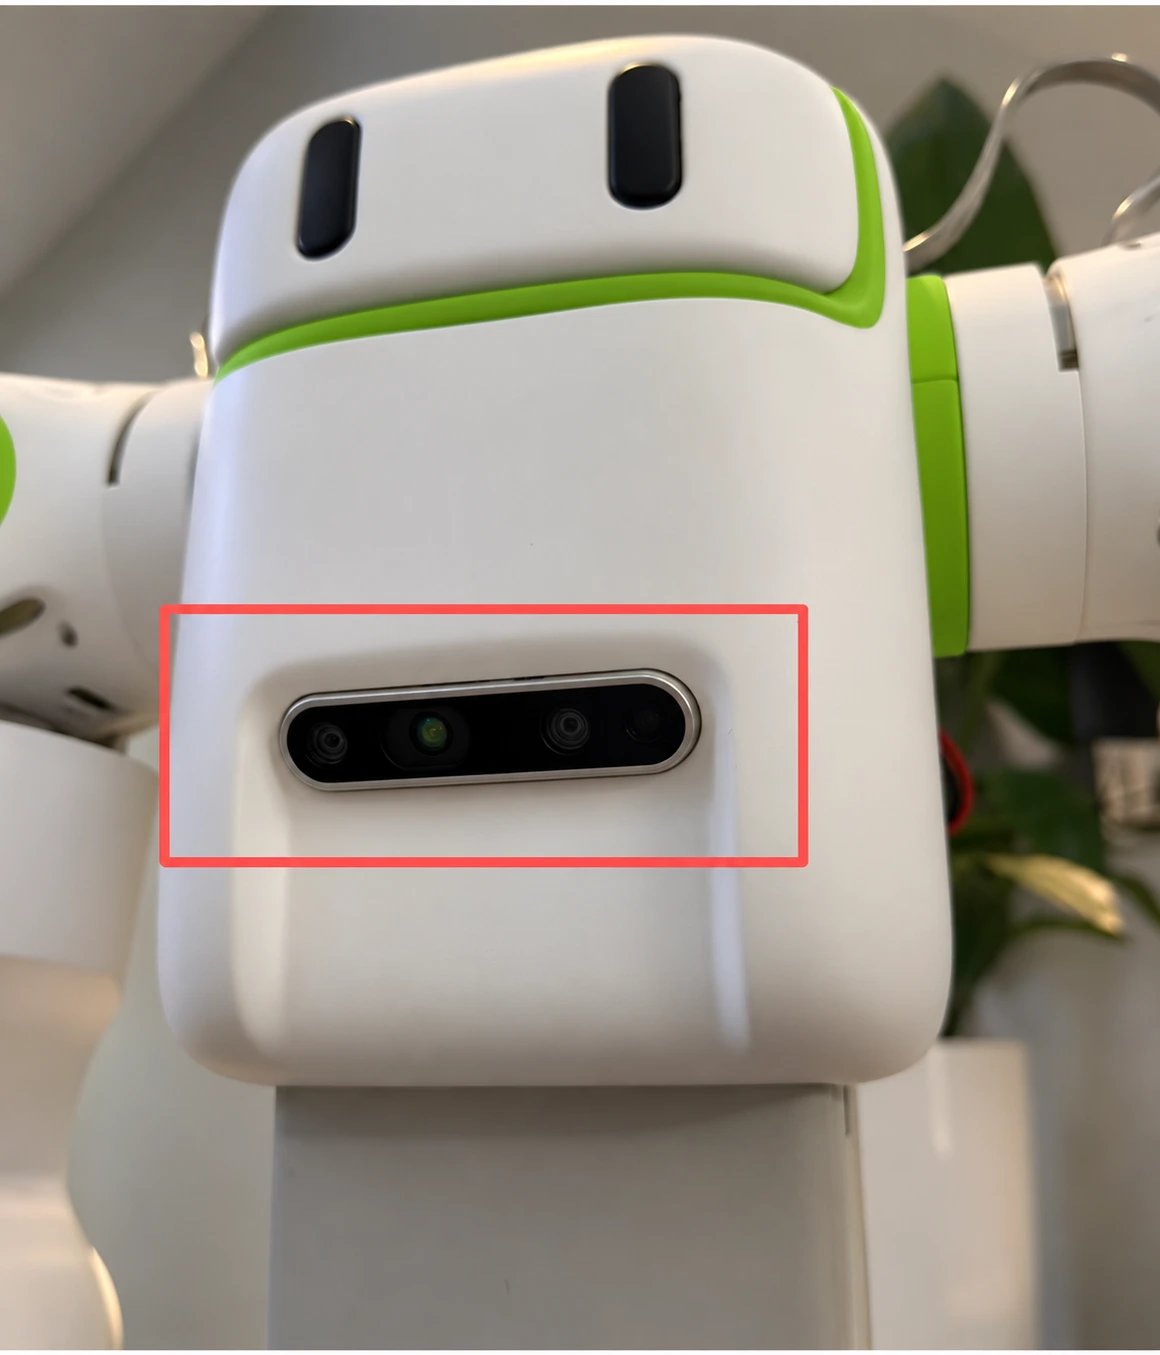
Side cable cutout 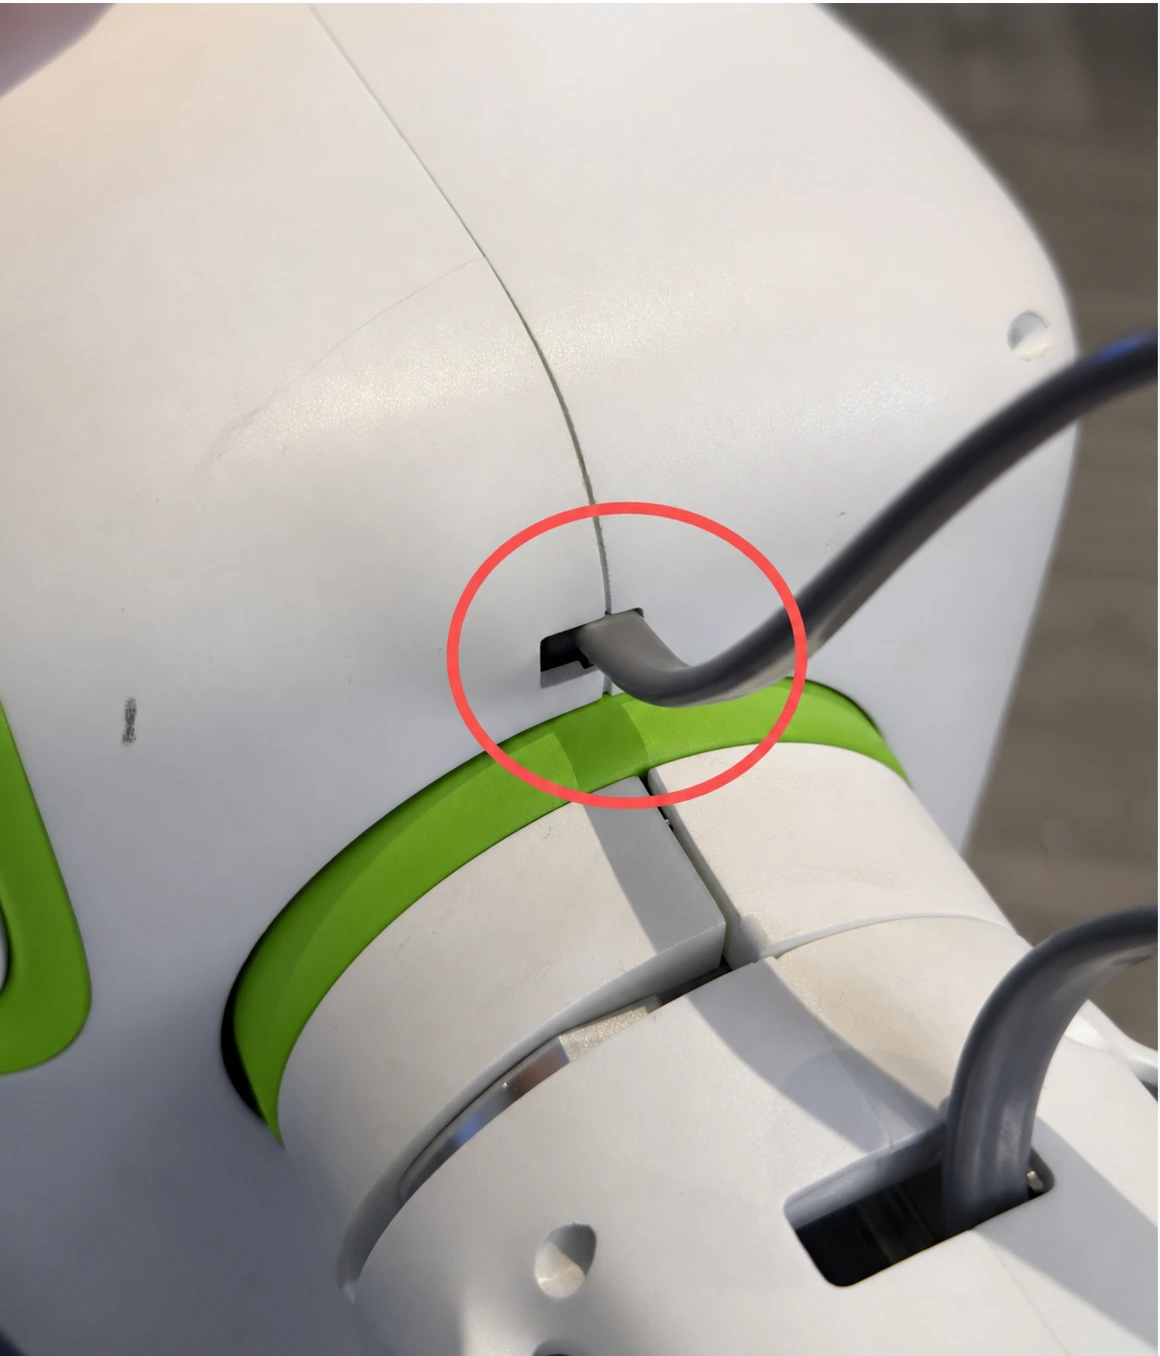
-
Secure the torso cover by inserting the four longest supplied M3 screws into the holes circled in red on the back.
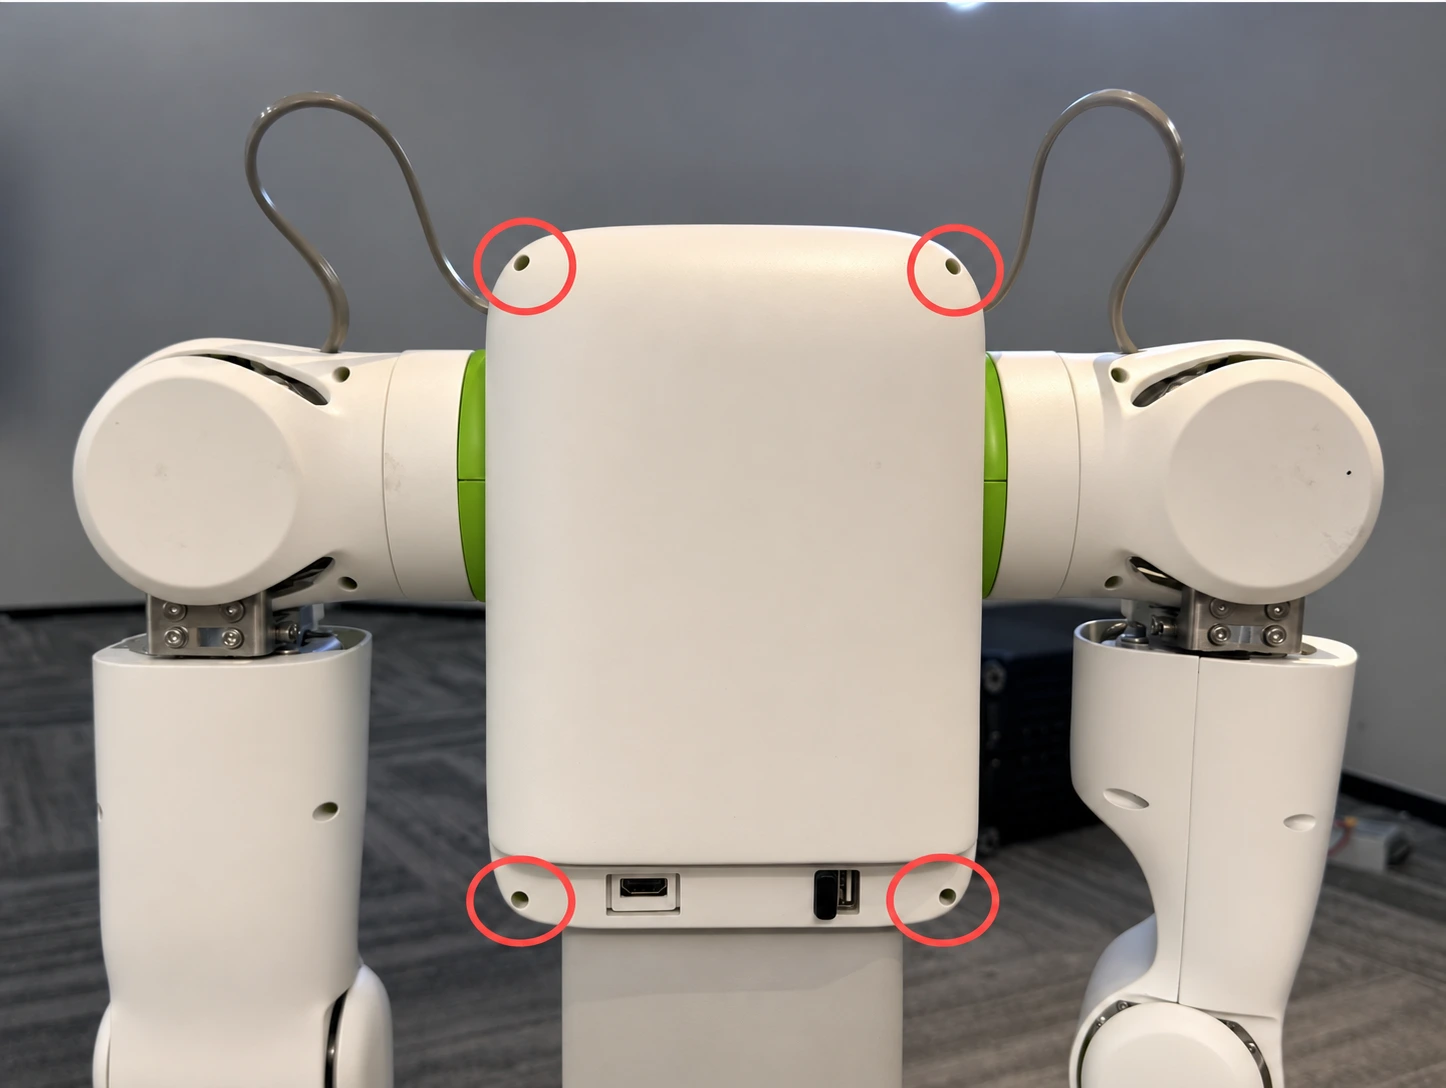
Connect the Robot
Disconnect power before wiring. Before turning the robot on, make sure it is securely mounted and keep the full range of motion of both arms clear.
- Connect the power supply as shown below.
- Press the round power button to turn on the robot.
- Connect the computer to the mainboard's USB-C port with a USB data cable.
Calibrate and Run the Robot with the T701-HT SDK
Install the SDK
The SDK includes the following prebuilt hightorque_robot wheels in motor_whl/.
| Platform | Motor library version | CPython versions |
|---|---|---|
| Linux x86_64 | 1.2.0 | 3.9, 3.10, 3.11, 3.12 |
| Linux aarch64 (ARM64) | 1.0.0 | 3.9, 3.10, 3.11, 3.12 |
The installation example below uses Ubuntu 22.04 (x86_64) and Python 3.10. For another combination in the table, choose the .whl file that matches your architecture and Python version, then run the environment check below.
Clone the T701-HT SDK repository and enter the SDK root directory.
git clone https://github.com/Seeed-Projects/reBot-Arm-T701-SDK.git
cd reBot-Arm-T701-SDK
Run the SDK commands below from this directory unless instructed otherwise.
If you do not have Conda, install Miniforge.
wget "https://github.com/conda-forge/miniforge/releases/latest/download/Miniforge3-$(uname)-$(uname -m).sh"
bash Miniforge3-$(uname)-$(uname -m).sh
Follow the prompts to initialize Conda. Open a new terminal and return to the SDK root directory. Create the environment, then install the SDK and its dependencies.
conda create -n t701-ht python=3.10 pip
conda activate t701-ht
python -I -m pip install ./motor_whl/hightorque_robot-1.2.0-cp310-cp310-linux_x86_64.whl
python -I -m pip install -r requirements.txt
Run the following command to check that Python can import the dependencies and load the URDF model. You can run this check with the robot disconnected.
python -I -c "import hightorque_robot, numpy, osqp, pinocchio, scipy, yaml; pinocchio.buildModelFromUrdf('T701-HT_URDF/urdf/T701-HT.urdf'); print('T701-HT environment check passed')"
Check the Serial Connection
The left arm connects to CAN1 and the right arm to CAN2. Set board_serial in the SDK's T701-HT_robot_param/serial_binding.yaml to the USB serial number of your communication board. The SDK uses the board's USB identity to find the current serial devices at startup.
Run the following commands to check the mapping for both arms without opening the serial ports. To check one arm, pass only its YAML file.
ls -l /dev/serial/by-id/
python scripts/t701_ht_can_serial_adapter.py T701-HT_robot_param/T701-HT_left.yaml T701-HT_robot_param/T701-HT_right.yaml
Read Joint and Gripper State
Run the script and enter 1 for the left arm, 2 for the right arm, or 3 for both. Confirm that all seven joints and the gripper of each selected arm report feedback. Press Ctrl+C to exit.
python scripts/t701_ht_read_state.py
Set Zero Positions
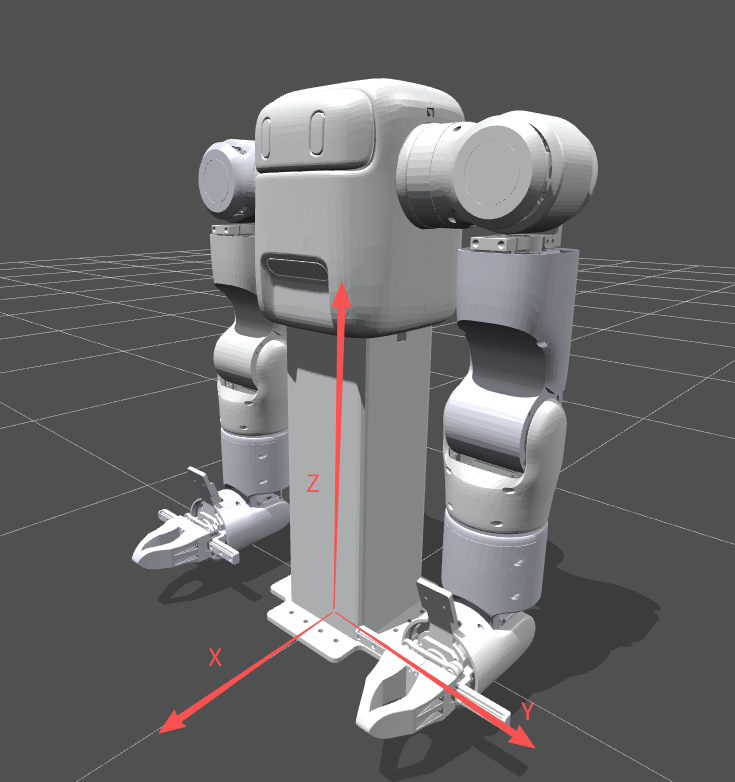
Start the script and select the arm. Move the joints and gripper to their intended zero positions, then select 3 in the operation menu to replace the selected arm's stored zero positions with the current pose. Select 4 to move to the saved zero position or 0 to exit.
python scripts/t701_ht_set_zero.py
Run the Demos
Verify the joint zero positions, remove any payload, and clear the arms' range of motion. Start with one arm on the first run. Support the arm when starting and stopping the gravity compensation demo.
Enter the scripts directory. After starting a demo, enter 1 for the left arm, 2 for the right arm, or 3 for both.
cd scripts
Gravity Compensation
The demo applies 0.8 × G(q) as MIT torque feedforward to make the arm easier to move by hand. The joint Kp and Kd gains and the gripper torque are zero.
python t701_ht_gravity_compensation.py
Joint Impedance
Make sure the area around the robot and within the arms' range of motion is clear of people and fragile objects before starting either demo. The selected arm moves toward a fixed pose as soon as the demo starts.
The left-arm target is approximately [-0.2, -0.2, 0.2, -0.4, 0.5, 0.2, 1.4708] rad. The right-arm target reverses the sign of each joint angle.
Joint impedance with gravity feedforward
python t701_ht_joint_impedance_with_gravity.py
Joint impedance with gravity feedforward and friction compensation
python t701_ht_joint_impedance_with_gravity_friction.py
All three demos apply the configured joint torque limits. Press Ctrl+C to stop gravity compensation or to return the arms to zero before stopping a joint impedance demo. During the return, press Ctrl+C again to stop the arms.
For single-motor five-parameter control, state feedback, and return-to-zero shutdown, see MIT Control SDK.
See T701 HT with Pinocchio for forward and inverse kinematics checks, Cartesian trajectories, and keyboard control examples.
Troubleshooting
- No serial port found. Confirm that the robot is powered on and the USB data cable is connected to the mainboard's USB-C port, then run
ls -l /dev/serial/by-id/again. - Matching USB interface missing. Check that
board_serialmatches the connected board and that the left arm uses CAN1 and the right arm uses CAN2. - Permission denied. On Ubuntu, check that your user has read and write access to the serial device through the
dialoutgroup.