reBot Arm T701 HT with Pinocchio
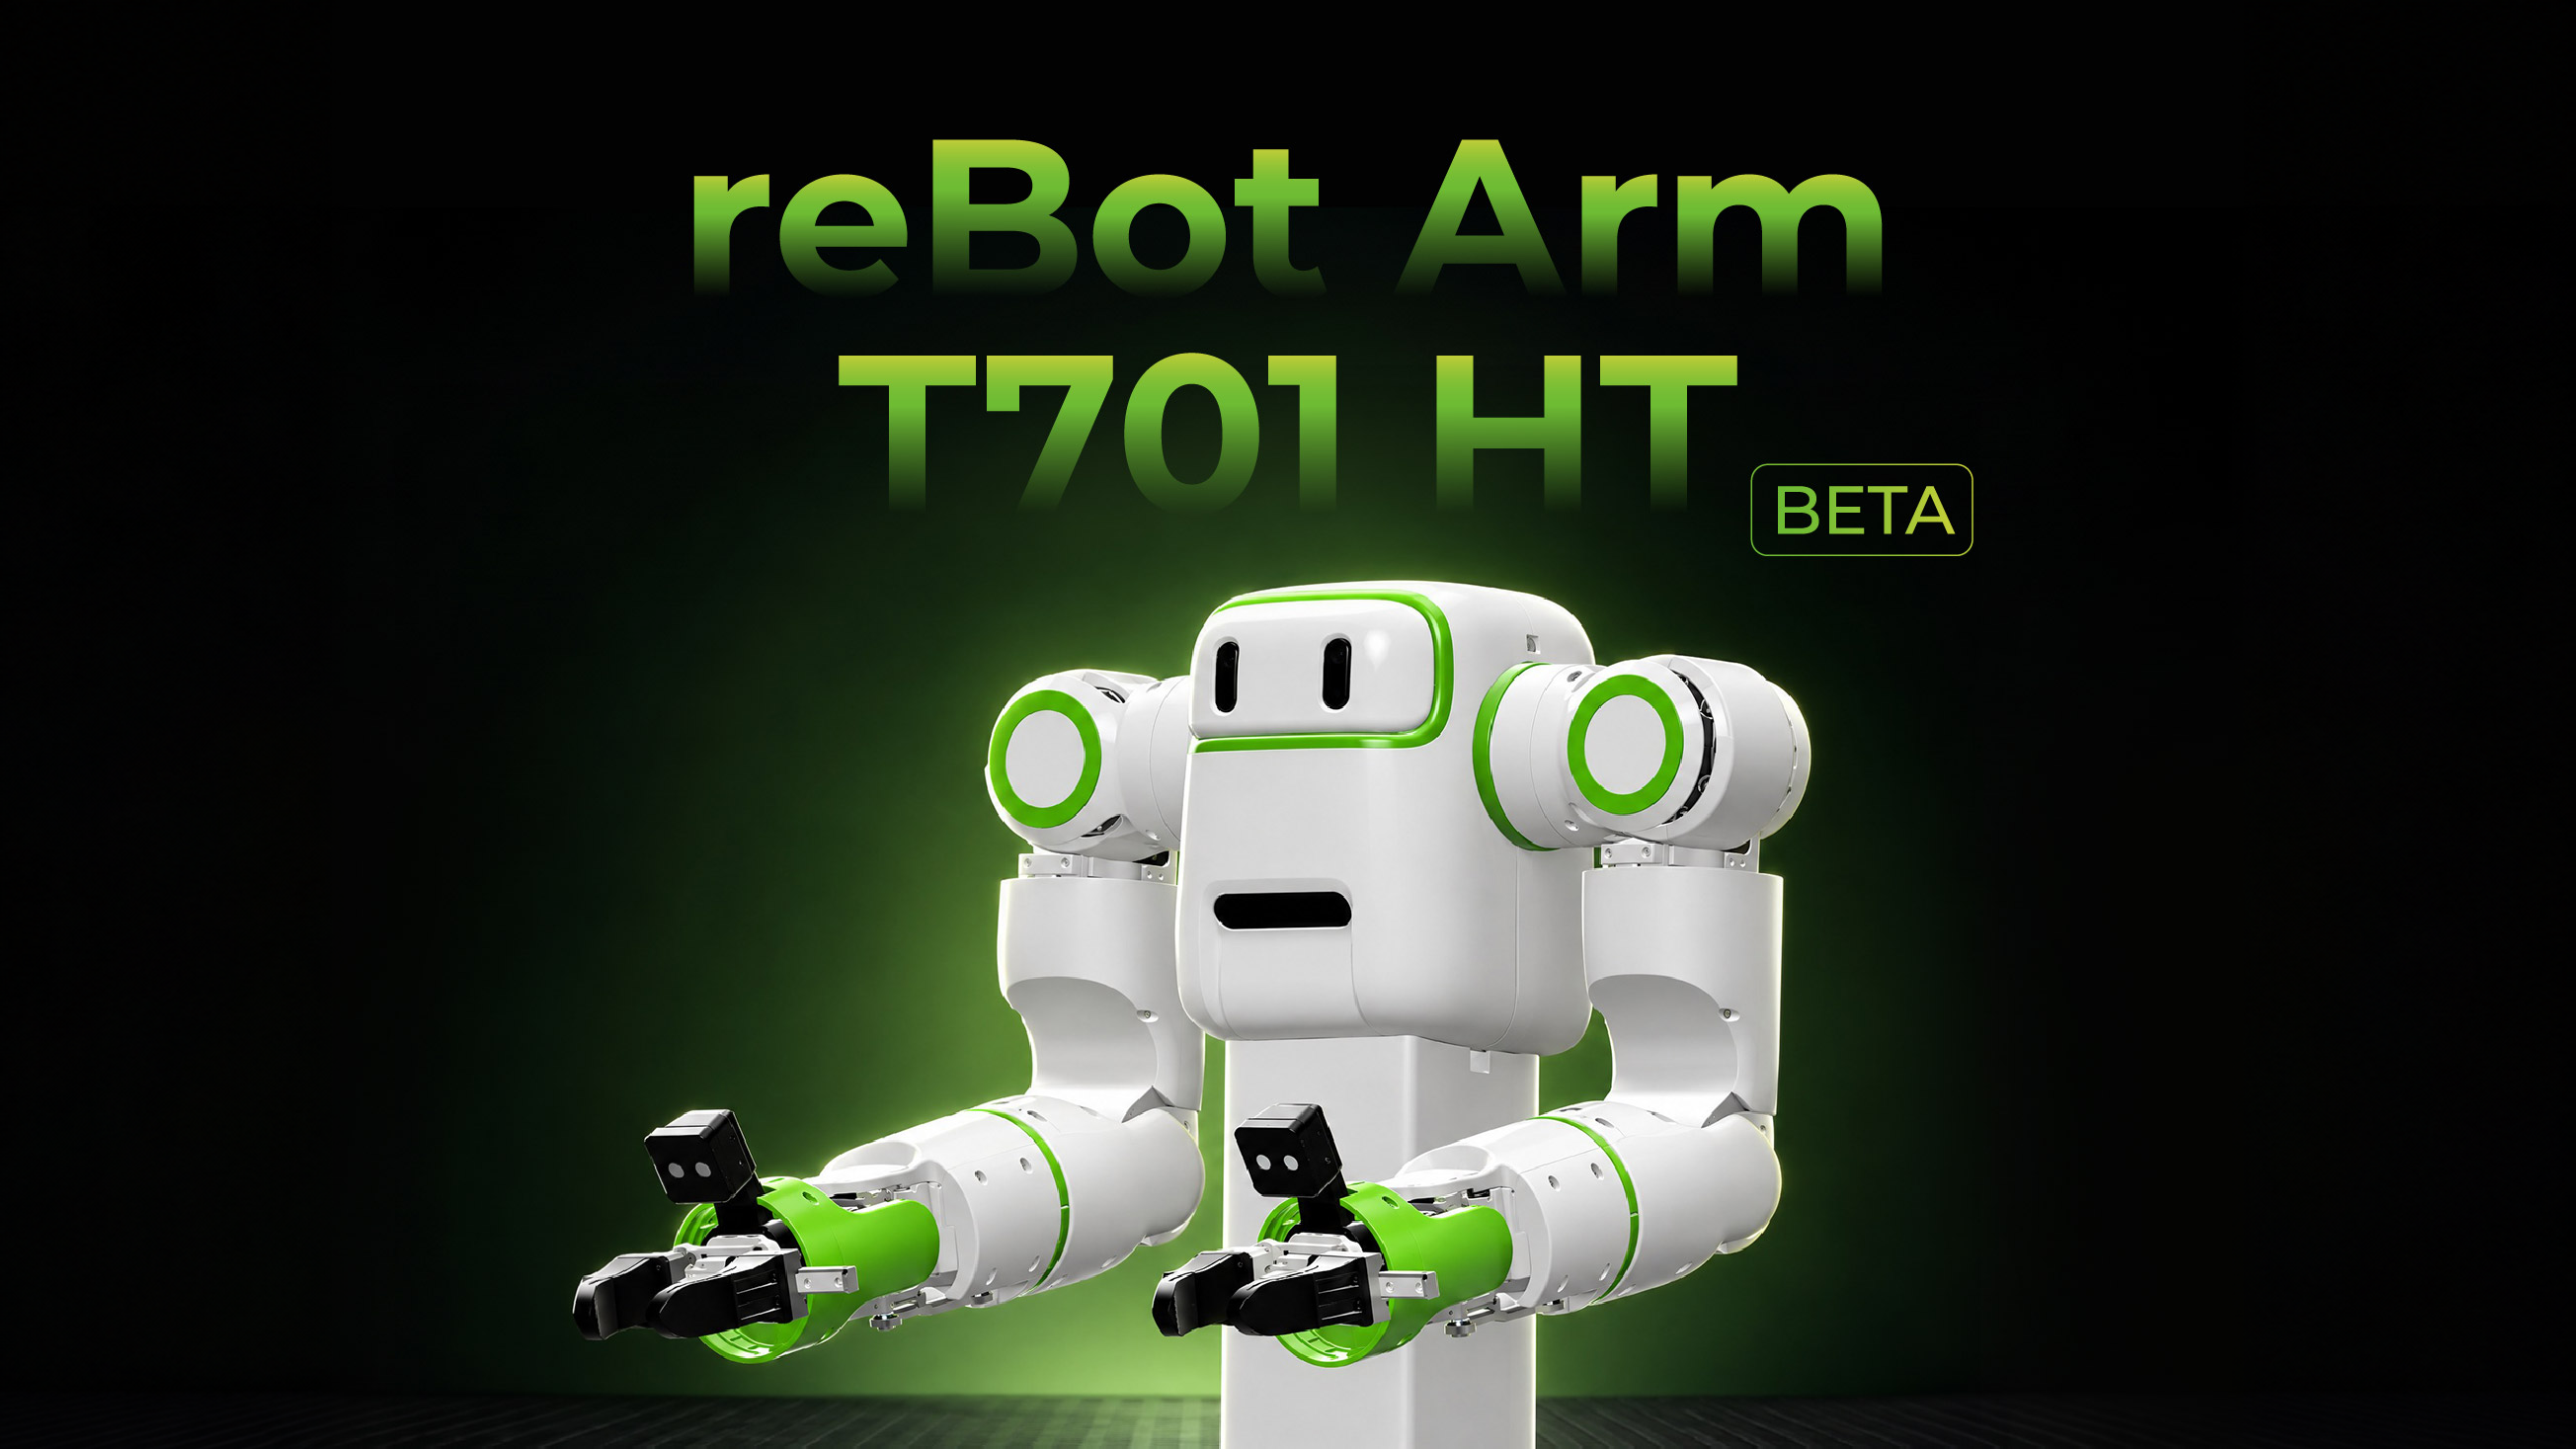
The T701-HT SDK uses Pinocchio to load the URDF model and compute end-effector poses and joint torques due to gravity. Use the forward kinematics (FK) and inverse kinematics (IK) examples to check joint feedback from the robot before running the gravity compensation, Cartesian trajectory, and keyboard control examples. Install the SDK and its dependencies using the T701 HT Quick Start installation instructions. Then follow the remaining Quick Start steps to check the serial port mapping, read joint and gripper feedback, and verify the zero positions. Whenever you open a new terminal or SSH session, go to the SDK root directory, activate the When prompted after launching an example, enter Forward kinematics computes the end-effector pose from the current joint angles. The inverse kinematics check solves for the joint angles that produce that pose and compares them with the current readings. Both examples use joint feedback only for their calculations and send a motor stop command when you exit with When you press Both MoveL examples start by moving to the initial VR pose. Each trajectory runs for 5 seconds, excluding initial positioning and the return to zero. All four examples in this section return to zero and stop at the end. Run these examples in an interactive local terminal or SSH session. After you select the arms, they automatically move to the initial VR pose before accepting keyboard input. Once the arms reach the initial VR pose, the end-effector velocity example with collision prediction checks for collisions and joint limit violations over the next 0.20 seconds. Collision checks use the STL meshes in Prepare the Robot
Ctrl+C starts the return. Press Ctrl+C again during the return to interrupt the motion and send a stop command.t701-ht Conda environment you created in the Quick Start, and enter the scripts directory.conda activate t701-ht
cd scripts1 for the left arm, 2 for the right arm, or 3 for both arms.Verify Forward and Inverse Kinematics
Ctrl+C.Example Command Expected output Live forward kinematics (FK) python t701_ht_forward_kinematics_test.pyPrints the end-effector position in meters and roll, pitch, and yaw (RPY) in degrees about once per second. FK to IK check at the current pose python t701_ht_inverse_kinematics_test.pyPrints the current joint angles and end-effector position. If IK succeeds, it also prints the maximum joint angle error in radians. Gravity Compensation and Joint Impedance
G(q) is the gravity torque the model computes from the joint angles q. Gravity compensation makes it easier to move the arms by hand. The joint impedance examples actively move the arms to a preset posture and hold it.Example Command Expected behavior Gravity compensation python t701_ht_gravity_compensation.pyApplies 0.8 × G(q) subject to the torque limits and prints the compensation torque.Gravity compensation with FK output python t701_ht_gravity_compensation_with_fk.pyApplies G(q) subject to the torque limits and prints the joint angles, compensation torque, and end-effector pose.Joint impedance with gravity feedforward python t701_ht_joint_impedance_with_gravity.pyMoves to and holds a preset joint posture, adds gravity compensation, and prints the total torque. Joint impedance with gravity and friction feedforward python t701_ht_joint_impedance_with_gravity_friction.pyMoves to and holds a preset joint posture, adds gravity and friction compensation, and prints the total torque. Ctrl+C, both gravity compensation examples stop the motors directly. Both joint impedance examples return to zero before stopping.Cartesian Control
Example Command Motion sequence Move to a target using IK python t701_ht_inv_posvel_control.pyFirst returns the joints to zero. If the IK solution for the target pose passes the error check, the arm moves to the target using moveJ.Quadratic programming (QP) inverse kinematics python t701_ht_qp_ik.pyMoves to the initial VR pose, then raises the arm and traces a circle overhead. MoveL translation python t701_ht_moveL_pos_control.pyHolds the target end-effector orientation while following straight-line, diagonal, and square paths in sequence. MoveL rotation python t701_ht_moveL_rotate_control.pyHolds the target end-effector position while rotating about the end effector's local axes and performing a conical motion. Keyboard Control
Example Command Expected behavior End-effector pose python t701_ht_keyboard_cartesian_pos_control.pyEach key press changes the target end-effector pose by one step. If IK fails, the example retains the previous joint target. End-effector velocity python t701_ht_keyboard_cartesian_vel_control.pyHold a key to translate or rotate the end effector continuously. Release it to ramp the commanded velocity down to zero. End-effector velocity with collision prediction python t701_ht_keyboard_cartesian_vel_collision_control.pyUse the keys to control end-effector velocity. If the example predicts a collision or joint limit violation, it commands zero velocity and displays a message. Cartesian impedance python t701_ht_keyboard_cartesian_impedance_control.pyUse the keys to adjust the target end-effector pose. The arm tracks it compliantly using joint torque control with gravity compensation. Null-space posture lock python t701_ht_keyboard_cartesian_pd_nullspace_lock_control.pyTracks the target end-effector pose while keeping the joint posture as close as possible to the reference posture.
W / S, A / D, and Q / E to move along the X, Y, and Z axes, respectively.1 / 2, 3 / 4, and 5 / 6 to rotate about the X, Y, and Z axes, respectively.R to set the current joint posture as the reference.Esc or Ctrl+C to return to zero and stop.T701-HT_URDF/meshes/ and include collisions between the arms in dual-arm mode. Leave clearance during startup and the return to zero, and allow extra space for the grippers and the actual stopping distance.