reBot Arm T701 HT VR Teleoperation
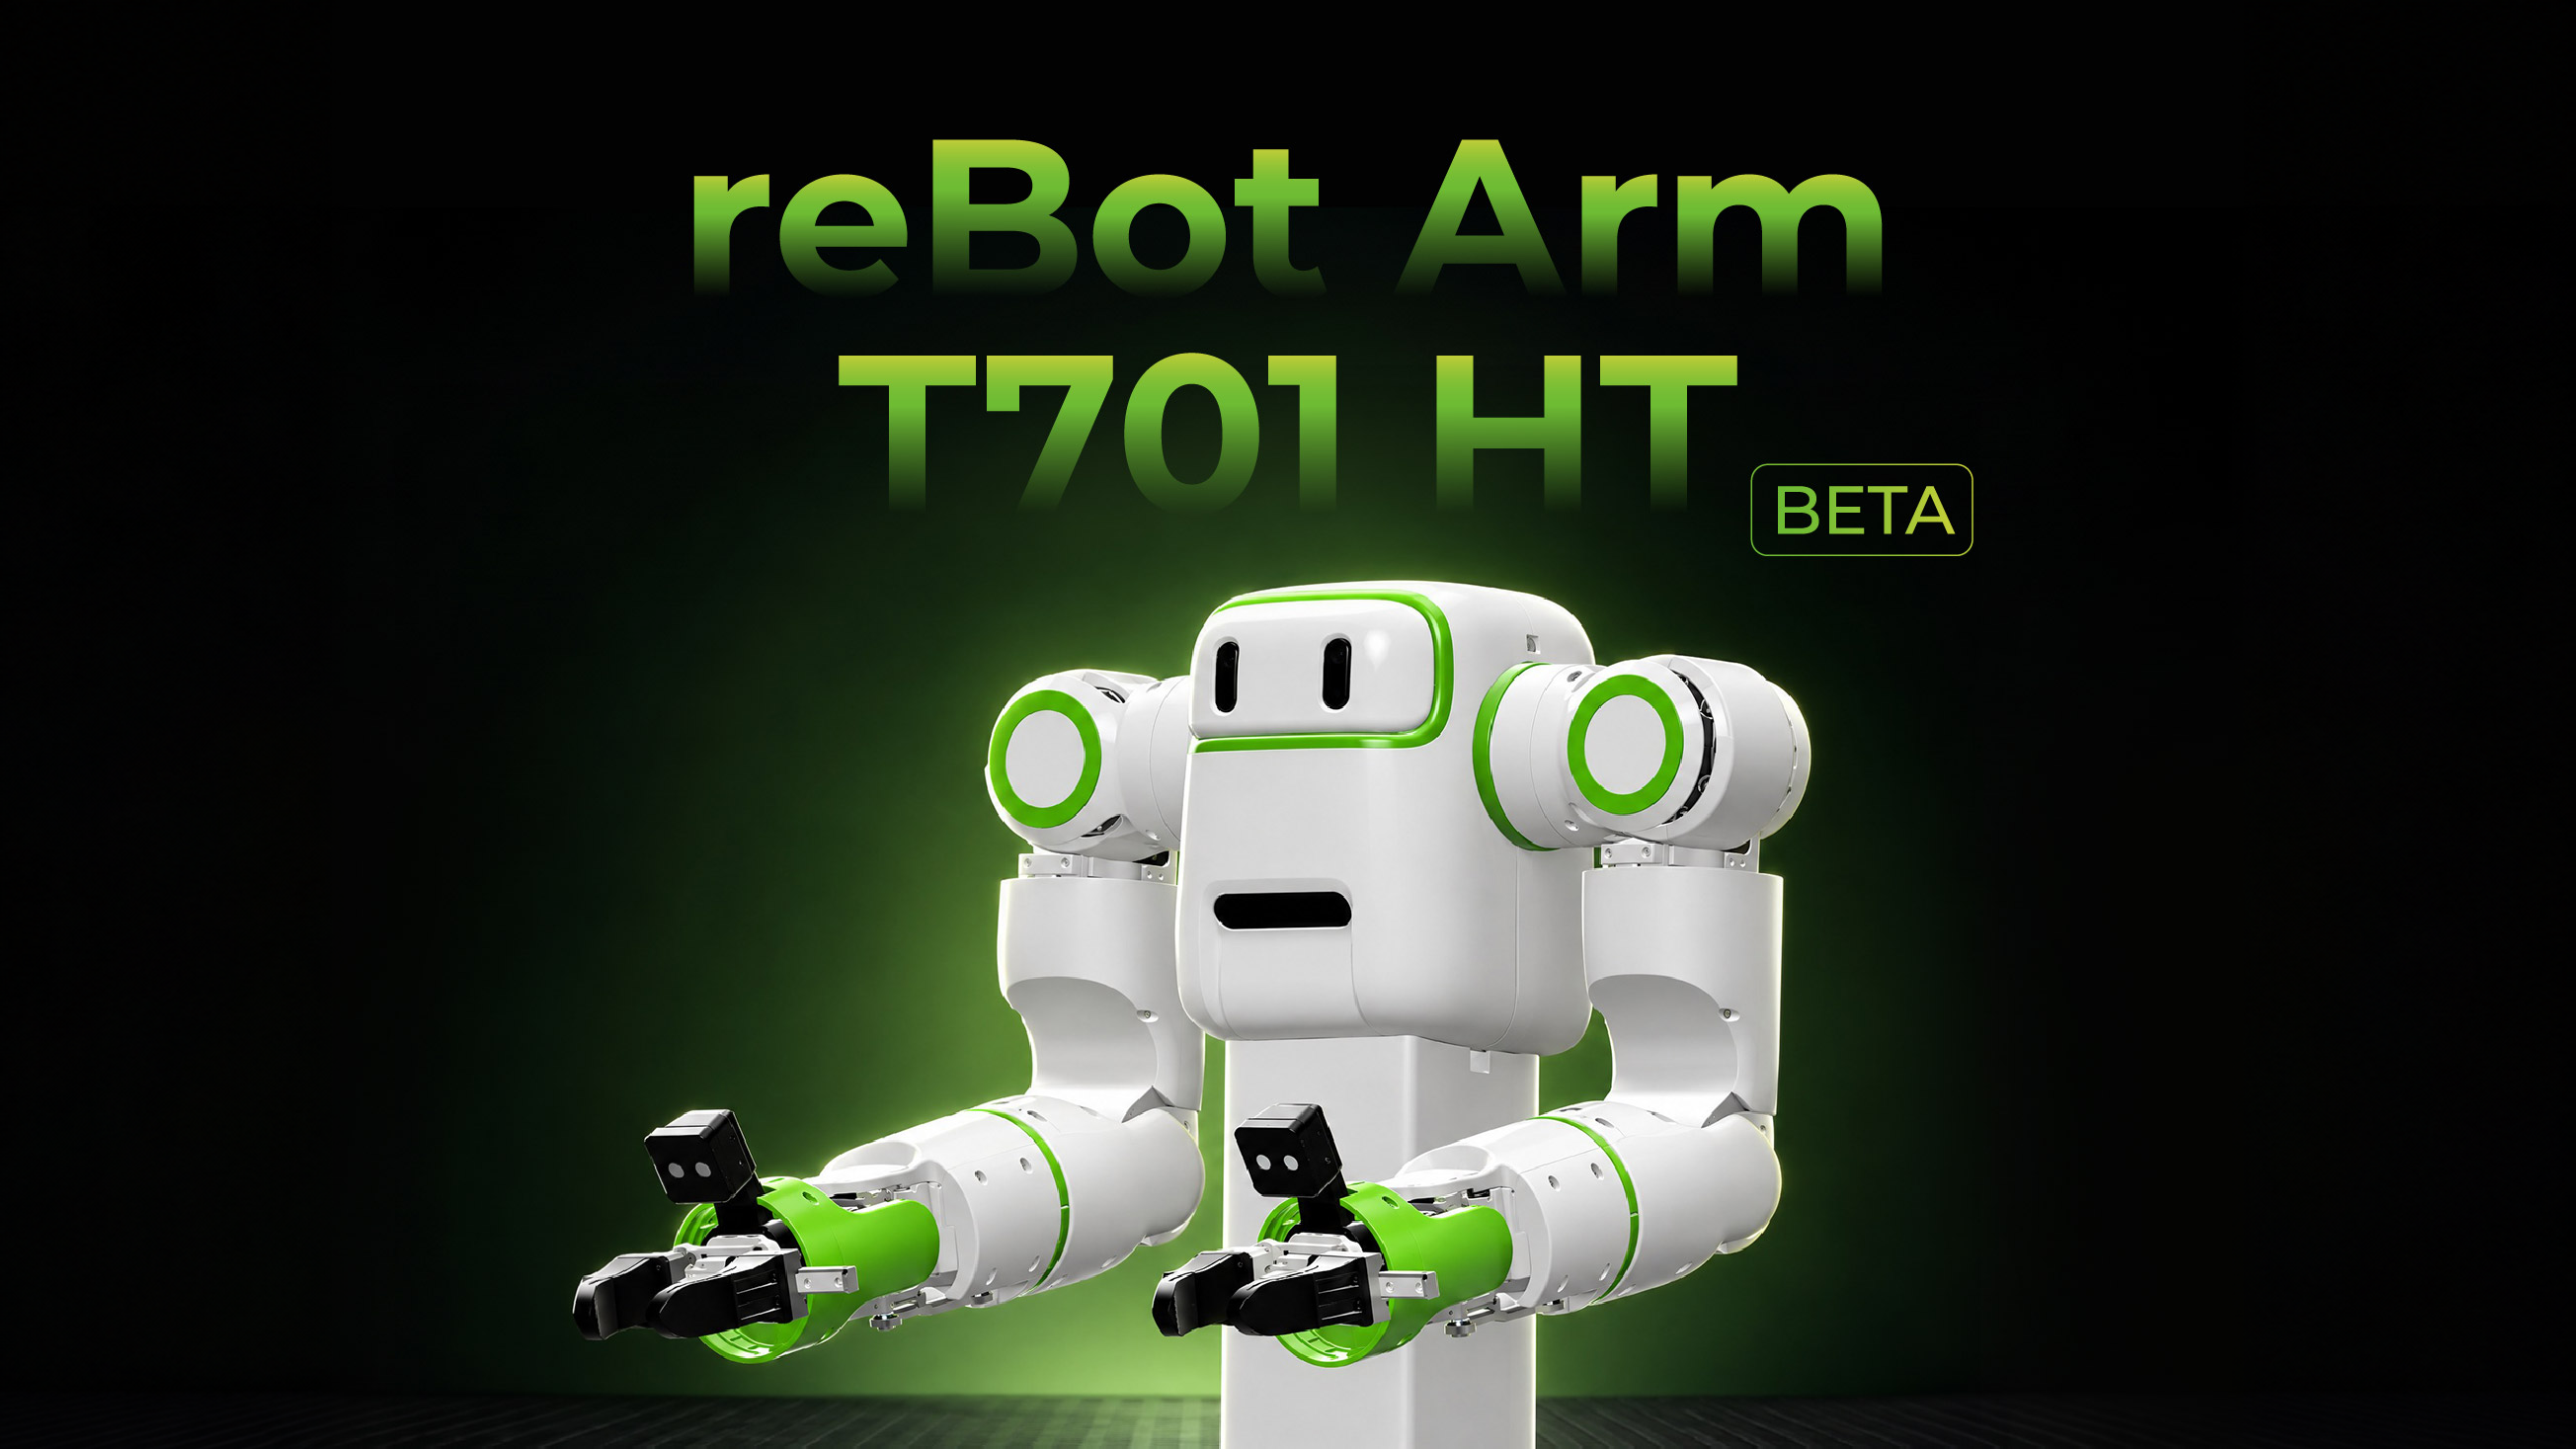
Use the left and right VR controllers to control the corresponding T701 HT arms, including end-effector pose tracking and gripper control. The headset browser reads controller data through WebXR and sends it to the computer over WebSocket. The stream server then forwards it to the dual-arm controller over UDP.
This demo has been tested on Quest. Pico users can connect through the same WebXR → WebSocket → UDP pipeline using a WebXR-capable headset browser. The instructions below use Quest as the example and cover both USB and WiFi connections.
Environment and Connections
Get the SDK and install its dependencies using the T701 HT Quick Start installation instructions. Complete serial mapping, check joint and gripper feedback, and set the zero positions. The left arm uses CAN1 and the right arm CAN2.
Prepare a VR headset and both controllers. USB mode also needs a USB data cable; WiFi mode needs the headset and computer on the same LAN.
Run the commands below from the SDK root. In each new terminal, return to that directory and activate the t701-ht environment.
conda activate t701-ht
Start Streaming
In the first terminal, start the stream UI:
python Quest_controller_stream/quest_stream_tui.py
Use Up/Down to select a field, Left/Right to adjust it, E to edit addresses or ports, and Enter to activate a button. The initial defaults are WiFi / 8080, and the UI saves your settings. When switching modes, select Stop Server first, then set the mode and ports shown in the relevant tab.
- USB (Wired)
- WiFi (Wireless)
Connection and Settings
Enable developer mode on the headset, connect it to the computer running the SDK with a USB data cable, and authorize USB debugging in the headset. Check the connection in another terminal:
adb devices
The device must show status device. If it shows unauthorized, confirm authorization in the headset. On Ubuntu, install a missing adb with sudo apt install adb.
Set the stream UI as follows:
| Setting | Value |
|---|---|
| Mode | USB |
| Force HTTPS | False |
| HTTP Host / Port | 0.0.0.0 / 8080 |
| WS Host / Port | 0.0.0.0 / 8765 |
| UDP IP / Port | 127.0.0.1 / 5005 |
| Verify Port | 5005 |
Start and Open the Page
Select Start Server. The program uses adb reverse to forward the headset's ports 8080 and 8765 to the computer. Open this URL in the headset browser:
http://localhost:8080/index.html?ws=ws://localhost:8765
Set the page's WebSocket input to ws://localhost:8765. USB mode uses HTTP / WS and does not need an HTTPS certificate. Here, localhost reaches the computer through USB forwarding.
Command-Line Launch (Optional)
Without the stream UI, run this command from the SDK root. Do not run it alongside a server launched by the UI:
python Quest_controller_stream/start_stream_server.py --http-host 0.0.0.0 --http-port 8080 --ws-host 0.0.0.0 --ws-port 8765 --udp-ip 127.0.0.1 --udp-port 5005 --adb auto
Connection and Settings
Connect the headset and computer running the SDK to the same LAN. This mode does not require a USB cable, ADB, or USB debugging authorization.
On the computer, find its LAN IP and check OpenSSL:
hostname -I
openssl version
Use the computer's actual IP on that LAN, not a Docker or VPN adapter address. On Ubuntu, install a missing OpenSSL with sudo apt install openssl.
Set the stream UI as follows:
| Setting | Value |
|---|---|
| Mode | WiFi |
| Force HTTPS | True |
| HTTP Host / Port | 0.0.0.0 / 8080 |
| WS Host / Port | 0.0.0.0 / 8765 |
| UDP IP / Port | 127.0.0.1 / 5005 |
| Verify Port | 5005 |
| Cert File | .certs/quest-controller.crt |
| Key File | .certs/quest-controller.key |
Start and Open the Page
Select Start Server. WiFi mode uses HTTPS / WSS. If the certificate and private key are missing, the program generates a self-signed certificate with OpenSSL.
Open the WiFi URL displayed in the UI on the headset browser, checking that it uses the computer's actual LAN IP. For example, if the computer's IP is 192.168.1.100:
https://192.168.1.100:8080/index.html?ws=wss://192.168.1.100:8765
Replace the example IP with the computer's actual IP. On first access, handle the self-signed certificate prompt in the browser and reload the page. Set the WebSocket input to wss://ACTUAL_COMPUTER_IP:8765, not localhost or ws://.
The 0.0.0.0 HTTP Host and WS Host values are listening addresses, not addresses to open on the headset. When the stream server and dual-arm controller run on the same computer, the UDP destination remains 127.0.0.1:5005.
Command-Line Launch (Optional)
Without the stream UI, run this command from the SDK root. Do not run it alongside a server launched by the UI. --adb never disables ADB forwarding and automatically enables HTTPS / WSS.
python Quest_controller_stream/start_stream_server.py --http-host 0.0.0.0 --http-port 8080 --ws-host 0.0.0.0 --ws-port 8765 --udp-ip 127.0.0.1 --udp-port 5005 --adb never
After connecting with the selected mode, select Start XR Stream on the headset page. Check the following status values:
| Page status | Expected value |
|---|---|
| WebSocket | Connected |
| XR | Running |
| Both controllers | Tracking |
The page restores saved WebSocket settings. After switching modes, check that the input's protocol, IP, and port match the selected tab, then save the settings.
Check Controller Data
Select Start Verify in the computer's stream UI. Move both controllers and check that the packet count increases and pose and button data change with your input.
Then select Stop Verify. Keep the server, the selected USB or WiFi connection, and headset XR stream running. Verify and the dual-arm controller use the same UDP 5005 port and cannot receive simultaneously.
| Terminal key | Function |
|---|---|
1 / 2 / 3 / 4 | Open Controls, Left Hand, Right Hand, and Logs. |
Tab | Switch pages. |
Q | Stop the stream server and quit the UI. |
Start Dual-Arm Control
Stop Verify, udp_receiver_test.py, and any other UDP 5005 receiver. After receiving controller data, the program moves the left arm and then the right arm to their VR initial poses. Secure the robot, remove payloads, and clear the motion range and return path. Stay with the robot and keep clear of joint and gripper pinch points.
In a second terminal, from the SDK root:
conda activate t701-ht
cd scripts
python t701_ht_vr_dual_cartesian_qp_control.py
This entry controls both arms directly, without an arm selection menu. The left and right arms use T701-HT_robot_param/T701-HT_left.yaml and T701-HT_right.yaml, respectively.
Wait for the initial moves to finish and the program to display its control-start message, then use the following controls:
| Input | Robot behavior |
|---|---|
| Hold Squeeze on the left or right controller | The corresponding arm follows the controller pose. |
| Release Squeeze | Hold the current position. |
| Use Trigger while holding Squeeze | Open or close the corresponding gripper. |
| Press the primary button, labeled A in the program | Smoothly reset that arm to its initial joint angles for this run. |
Press Ctrl+C in the control terminal | Return the arms to zero in MIT mode and stop the motors. Wait for shutdown to finish. |
After the controller exits, press Q in the stream UI to stop the server and quit.
Troubleshooting
| Symptom | Check and action |
|---|---|
| USB page does not open | Confirm USB debugging authorization, device status device in adb devices, and a running stream server. Use http://localhost:8080. |
| WiFi page does not open | Confirm that the headset and computer are on the same LAN. Use https://ACTUAL_COMPUTER_IP:8080, handle the certificate prompt, and check that the computer allows connections on ports 8080 and 8765. |
| WebSocket alternates between Connecting and Reconnecting | USB uses ws://localhost:8765 with Force HTTPS disabled; WiFi uses wss://ACTUAL_COMPUTER_IP:8765. Check whether the page restored settings from the other mode. |
| Cannot bind UDP 5005 | Stop Verify, udp_receiver_test.py, or another receiver using the port. |
| No controller packets within 10 seconds of startup | Select Start XR Stream on the headset, check that WebSocket is connected, and set the UDP destination to 127.0.0.1:5005. The program exits before initializing the arms. |
| Connection mode changes after resetting settings | Reset Defaults or deleting the saved configuration restores WiFi / 8080. Set the mode and ports in the selected tab again; switching modes does not reset ports automatically. |
Desktop UI (Optional)
The desktop UI is Quest_controller_stream/quest_stream_ui.py. It requires the optional PyQt5 dependency and uses a separate .quest_stream_ui.json configuration. The same USB and WiFi protocol and address requirements apply; configure them separately in the desktop UI.