Local Deployment of Picoclaw on reCamera
1. Introduction
We believe many people want to implement their own ideas on reCamera but are unable to do so due to a lack of programming skills. Although we provide node-red, which is very beginner-friendly, its functions are relatively simple and cannot meet complex requirements. To address these needs, we offer a case of locally deploying Picoclaw on reCamera. With Picoclaw, you can let it write code and debug devices for you—no need to do it yourself. Of course, it can not only help you write code but also directly control the onboard hardware modules. There are more ways to play waiting for you to explore!!
2. Hardware Preparation
- One reCamera Gimbal
- One computer
| reCamera Gimbal |
|---|
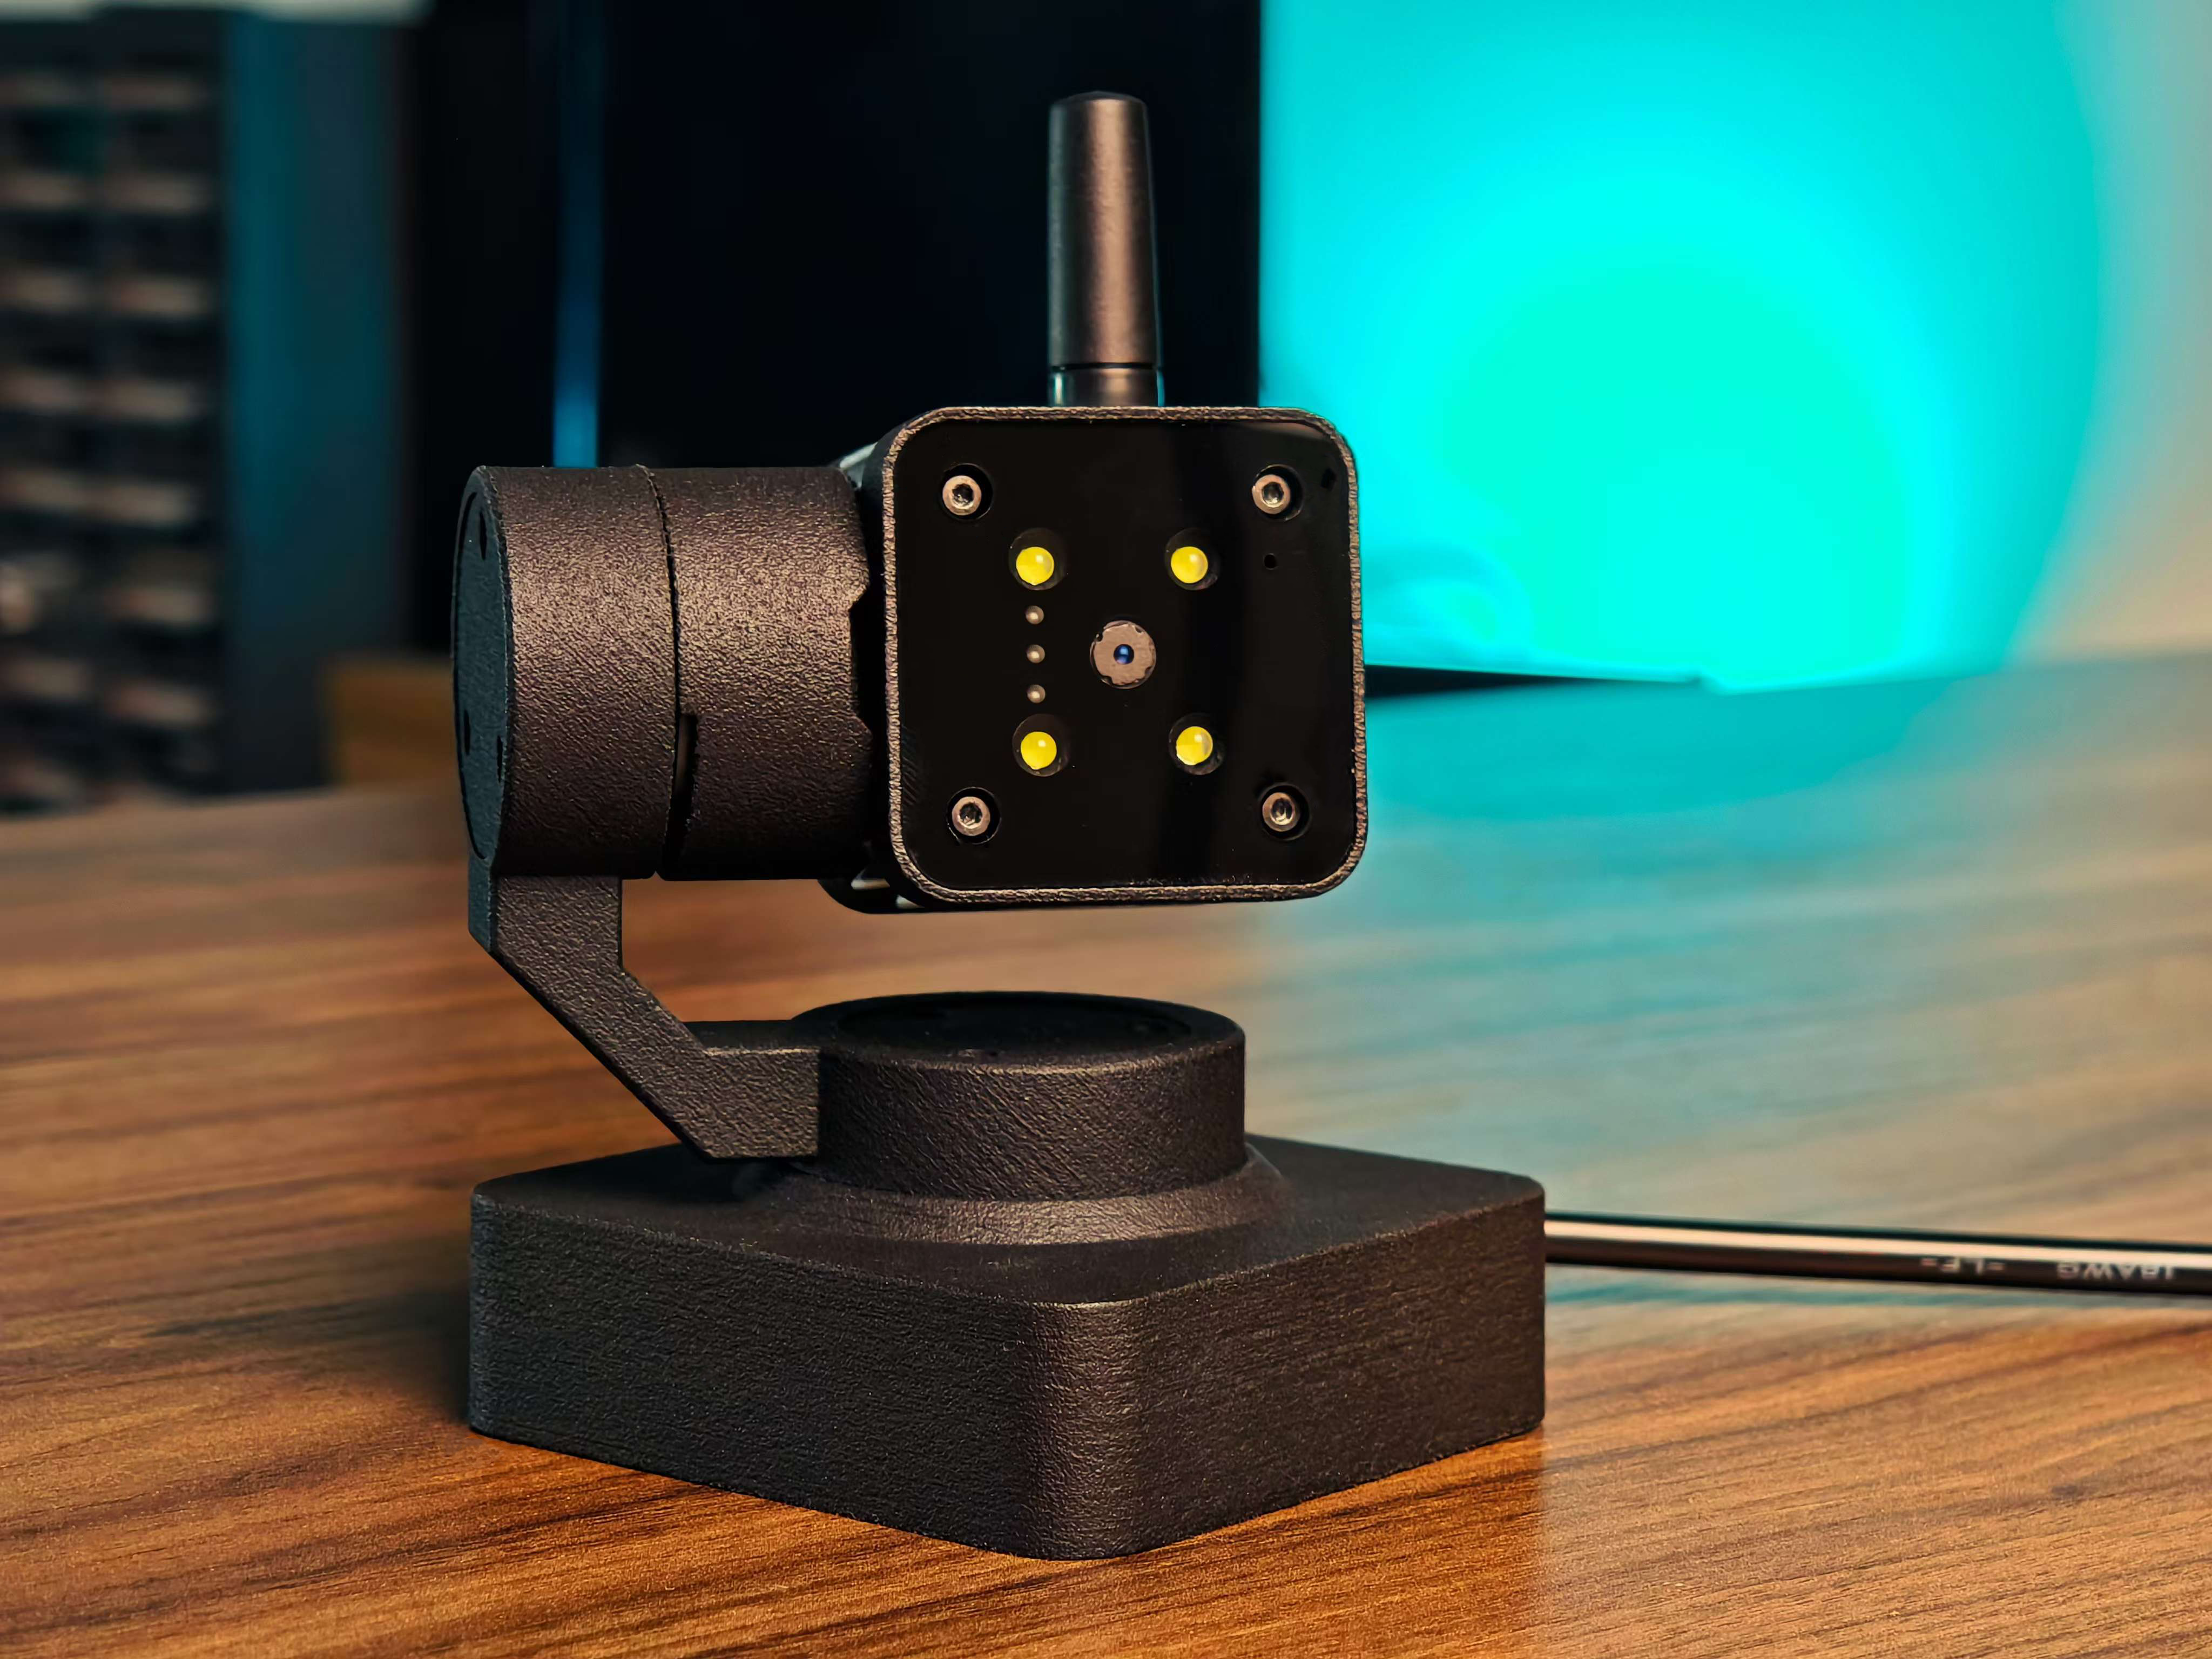 |
3. Demonstration of Effects
3.1 Make Gimbal Look Around the Surroundings

3.2 Control Onboard Hardware via Natural Language - Control LED Light
3.3 Let the Agent Write and Run Scripts Automatically
4. Deployment Tutorial
Since openclaw requires a large amount of memory (>=2GB) to run, we choose to deploy a lightweight version of Claw, namely picoclaw, which only needs 10MB of memory to run and is therefore very suitable for this project.
4.1 Download the Source Code of picoclaw
Click the link to download the source code compressed package of picoclaw (supports reCamera with riscv64 architecture): picoclaw source code compressed package
4.2 SSH Connect to reCamera
After connecting to reCamera, enter the following commands to access the userdata directory and create a folder to store the picoclaw source code.
ssh recamera@[IP address of reCamera]
cd /userdata
mkdir picoclaw
4.3 Upload the Source Code Compressed Package to reCamera
Upload the picoclaw source code compressed package to the /userdata/picoclaw/ folder of reCamera.
scp picoclaw_Linux_riscv64.tar.gz recamera@[IP address of reCamera]:/userdata/picoclaw
4.4 Unzip the Source Code Compressed Package
Enter the following command on reCamera to unzip the picoclaw source code compressed package.
tar -axvf picoclaw_Linux_riscv64.tar.gz
4.5 Start the Web UI of picoclaw
Enter the following command on reCamera to start the web UI of picoclaw.
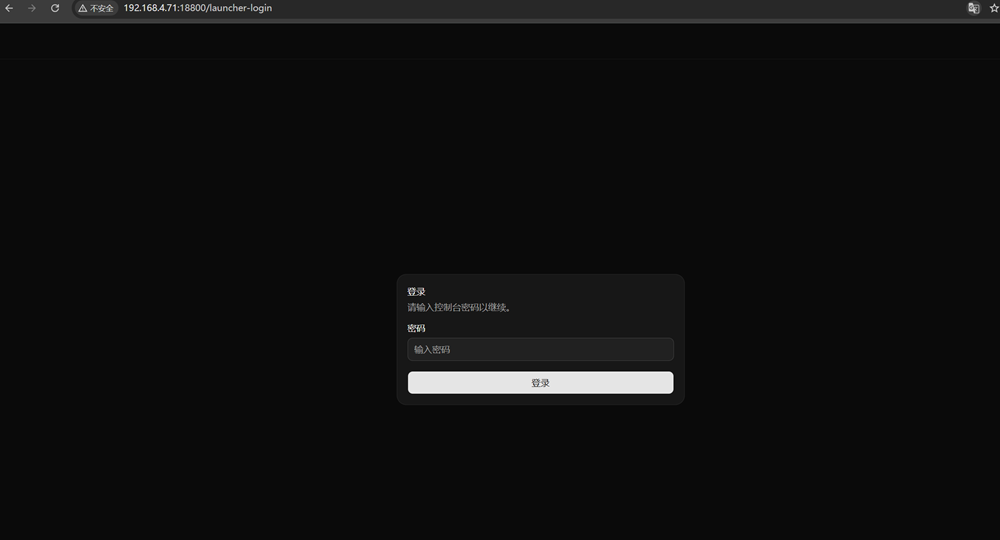
./picoclaw-launcher -no-browser -public
After the service starts, open a browser and visit http://[IP address of reCamera]:18800, as shown in the figure below.
5. Configure the picoclaw Large Model
After setting the password on the web UI, configure the picoclaw large model by following the steps below.
5.1 Find the Model option in the left sidebar and click to enter.
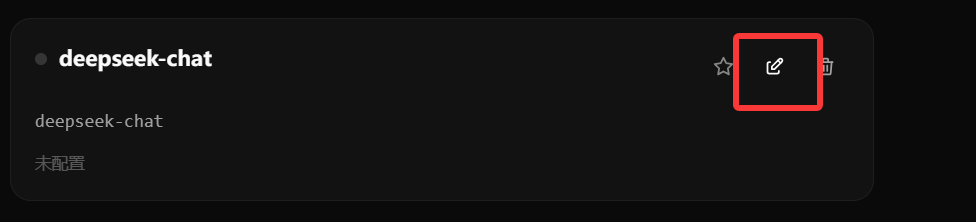
5.2 Scroll down to find the deepseek-chat model and click the Edit button, as shown in the figure below.
5.3 Enter your API Key in the API-KEY input box and click the Save button to save the configuration.
5.4 After successful configuration, click the Start Service button in the upper right corner to start the model.

5.5 Click the Chat option on the left to start a conversation with the model.
6. Connect to QQ Robot
After setting the password on the web UI, connect to the QQ robot by following the steps below.
6.1 First, go to the QQ Open Platform and log in to your QQ account.
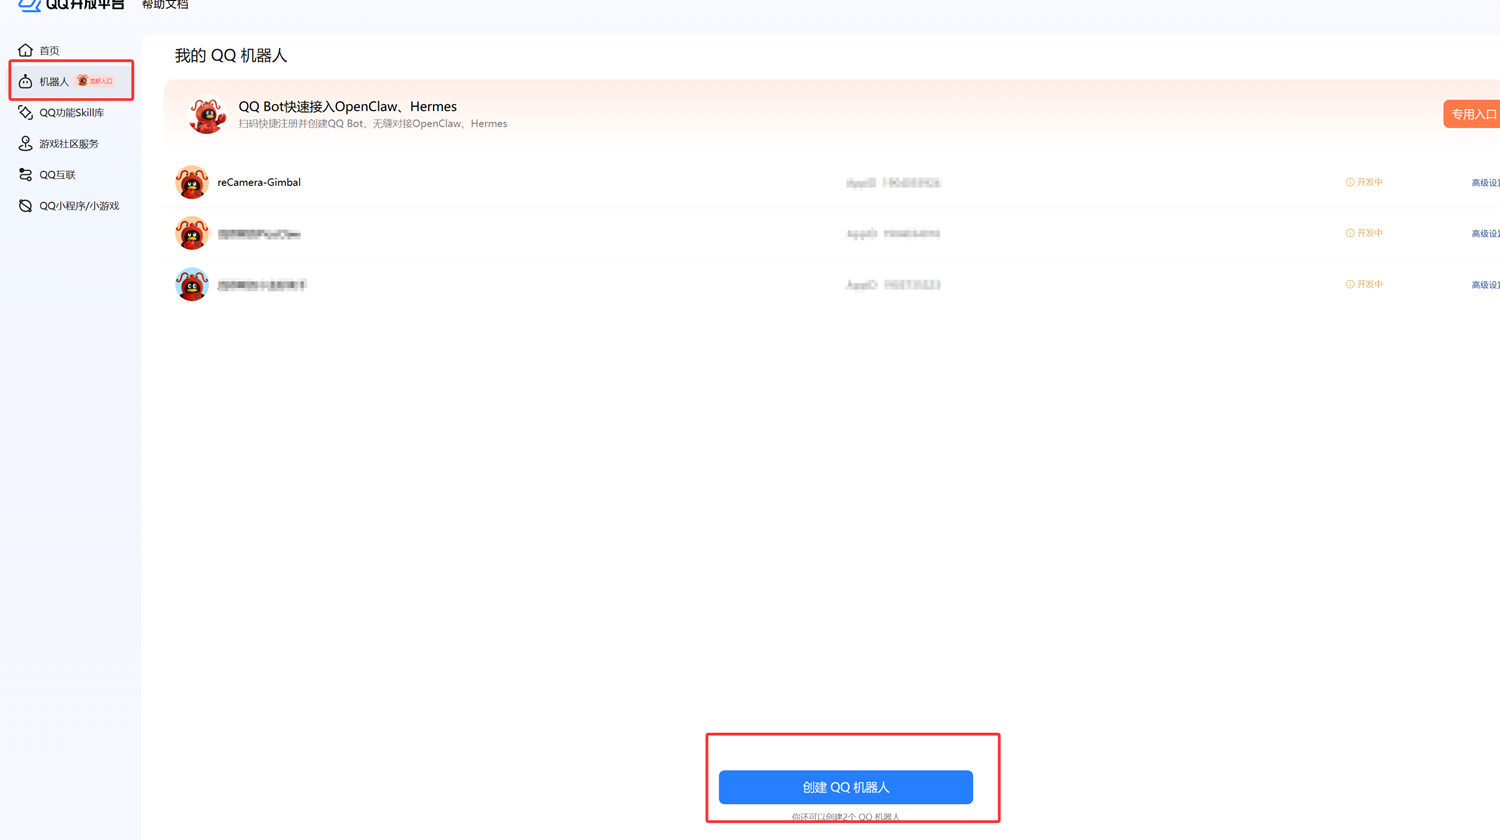
6.2 Click the Robot option on the left and click the Create Robot button, as shown in the figure below.
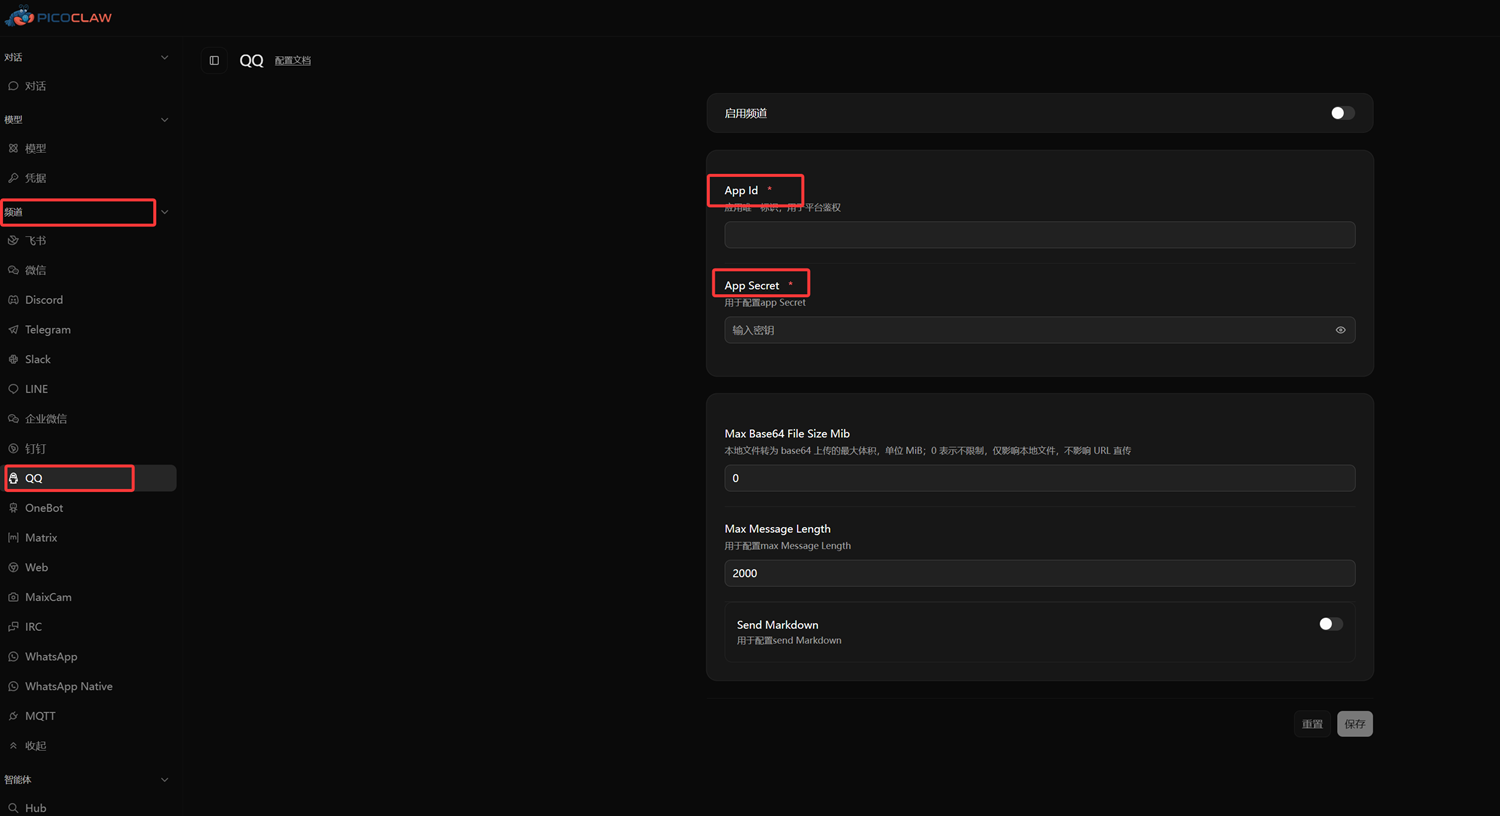
6.3 After creating the robot, configure it according to the tutorial and obtain the corresponding Robot ID and Secret Key. Then return to the web UI, find the Channel option on the left, scroll down to find QQ, click to connect, fill in the ID and Secret Key, and click Save.
7. Create Your Own Skill
In the /home/recamera directory, you can find the .picoclaw folder. After entering the folder, you can find workspace and then a skill folder inside it—this is where you create your own skills.
7.1 Skill Creation Format
skill-name/
├── SKILL.md            # Required - Main skill file
├── scripts/            # Optional - Executable scripts
├── references/         # Optional - Reference documents (loaded on demand)
└── assets/             # Optional - Resource files for output (templates, images, etc.)
8. Import reCamera Skills
We have created several simple skills specifically adapted for reCamera--->Skill Link
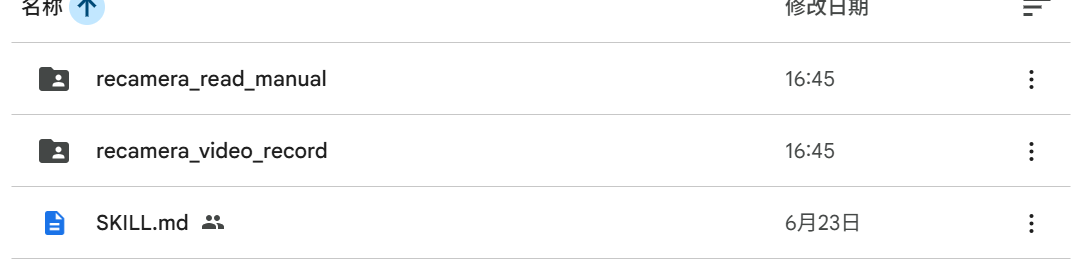
You will see the three files shown in the figure below:
-
recamera_read_manual Reads reCamera hardware resources, similar to a knowledge base for reCamera—simply place this in the skill folder.
-
recamera_video_record A skill for shooting videos and taking pictures (implemented based on node-red)—simply place this in the skill folder.
-
SKILL.md Main file describing the overall hardware resources of reCamera Gimbal—place this in /skill/hardware to overwrite the original file.
Technical Support and Product Discussion
Thank you for choosing our products! We provide multiple support methods to ensure your experience using our products is as smooth as possible. We offer various communication channels to meet different preferences and needs.