Configure Detection: Classes, Thresholds and Frequency
reCamera Pro has a built-in AI inference management page in the Web UI. You can manage models, upload models, convert models, configure inference parameters, and monitor inference results in real time — all without the command line.
After logging in, click AI Inference in the left-side menu.
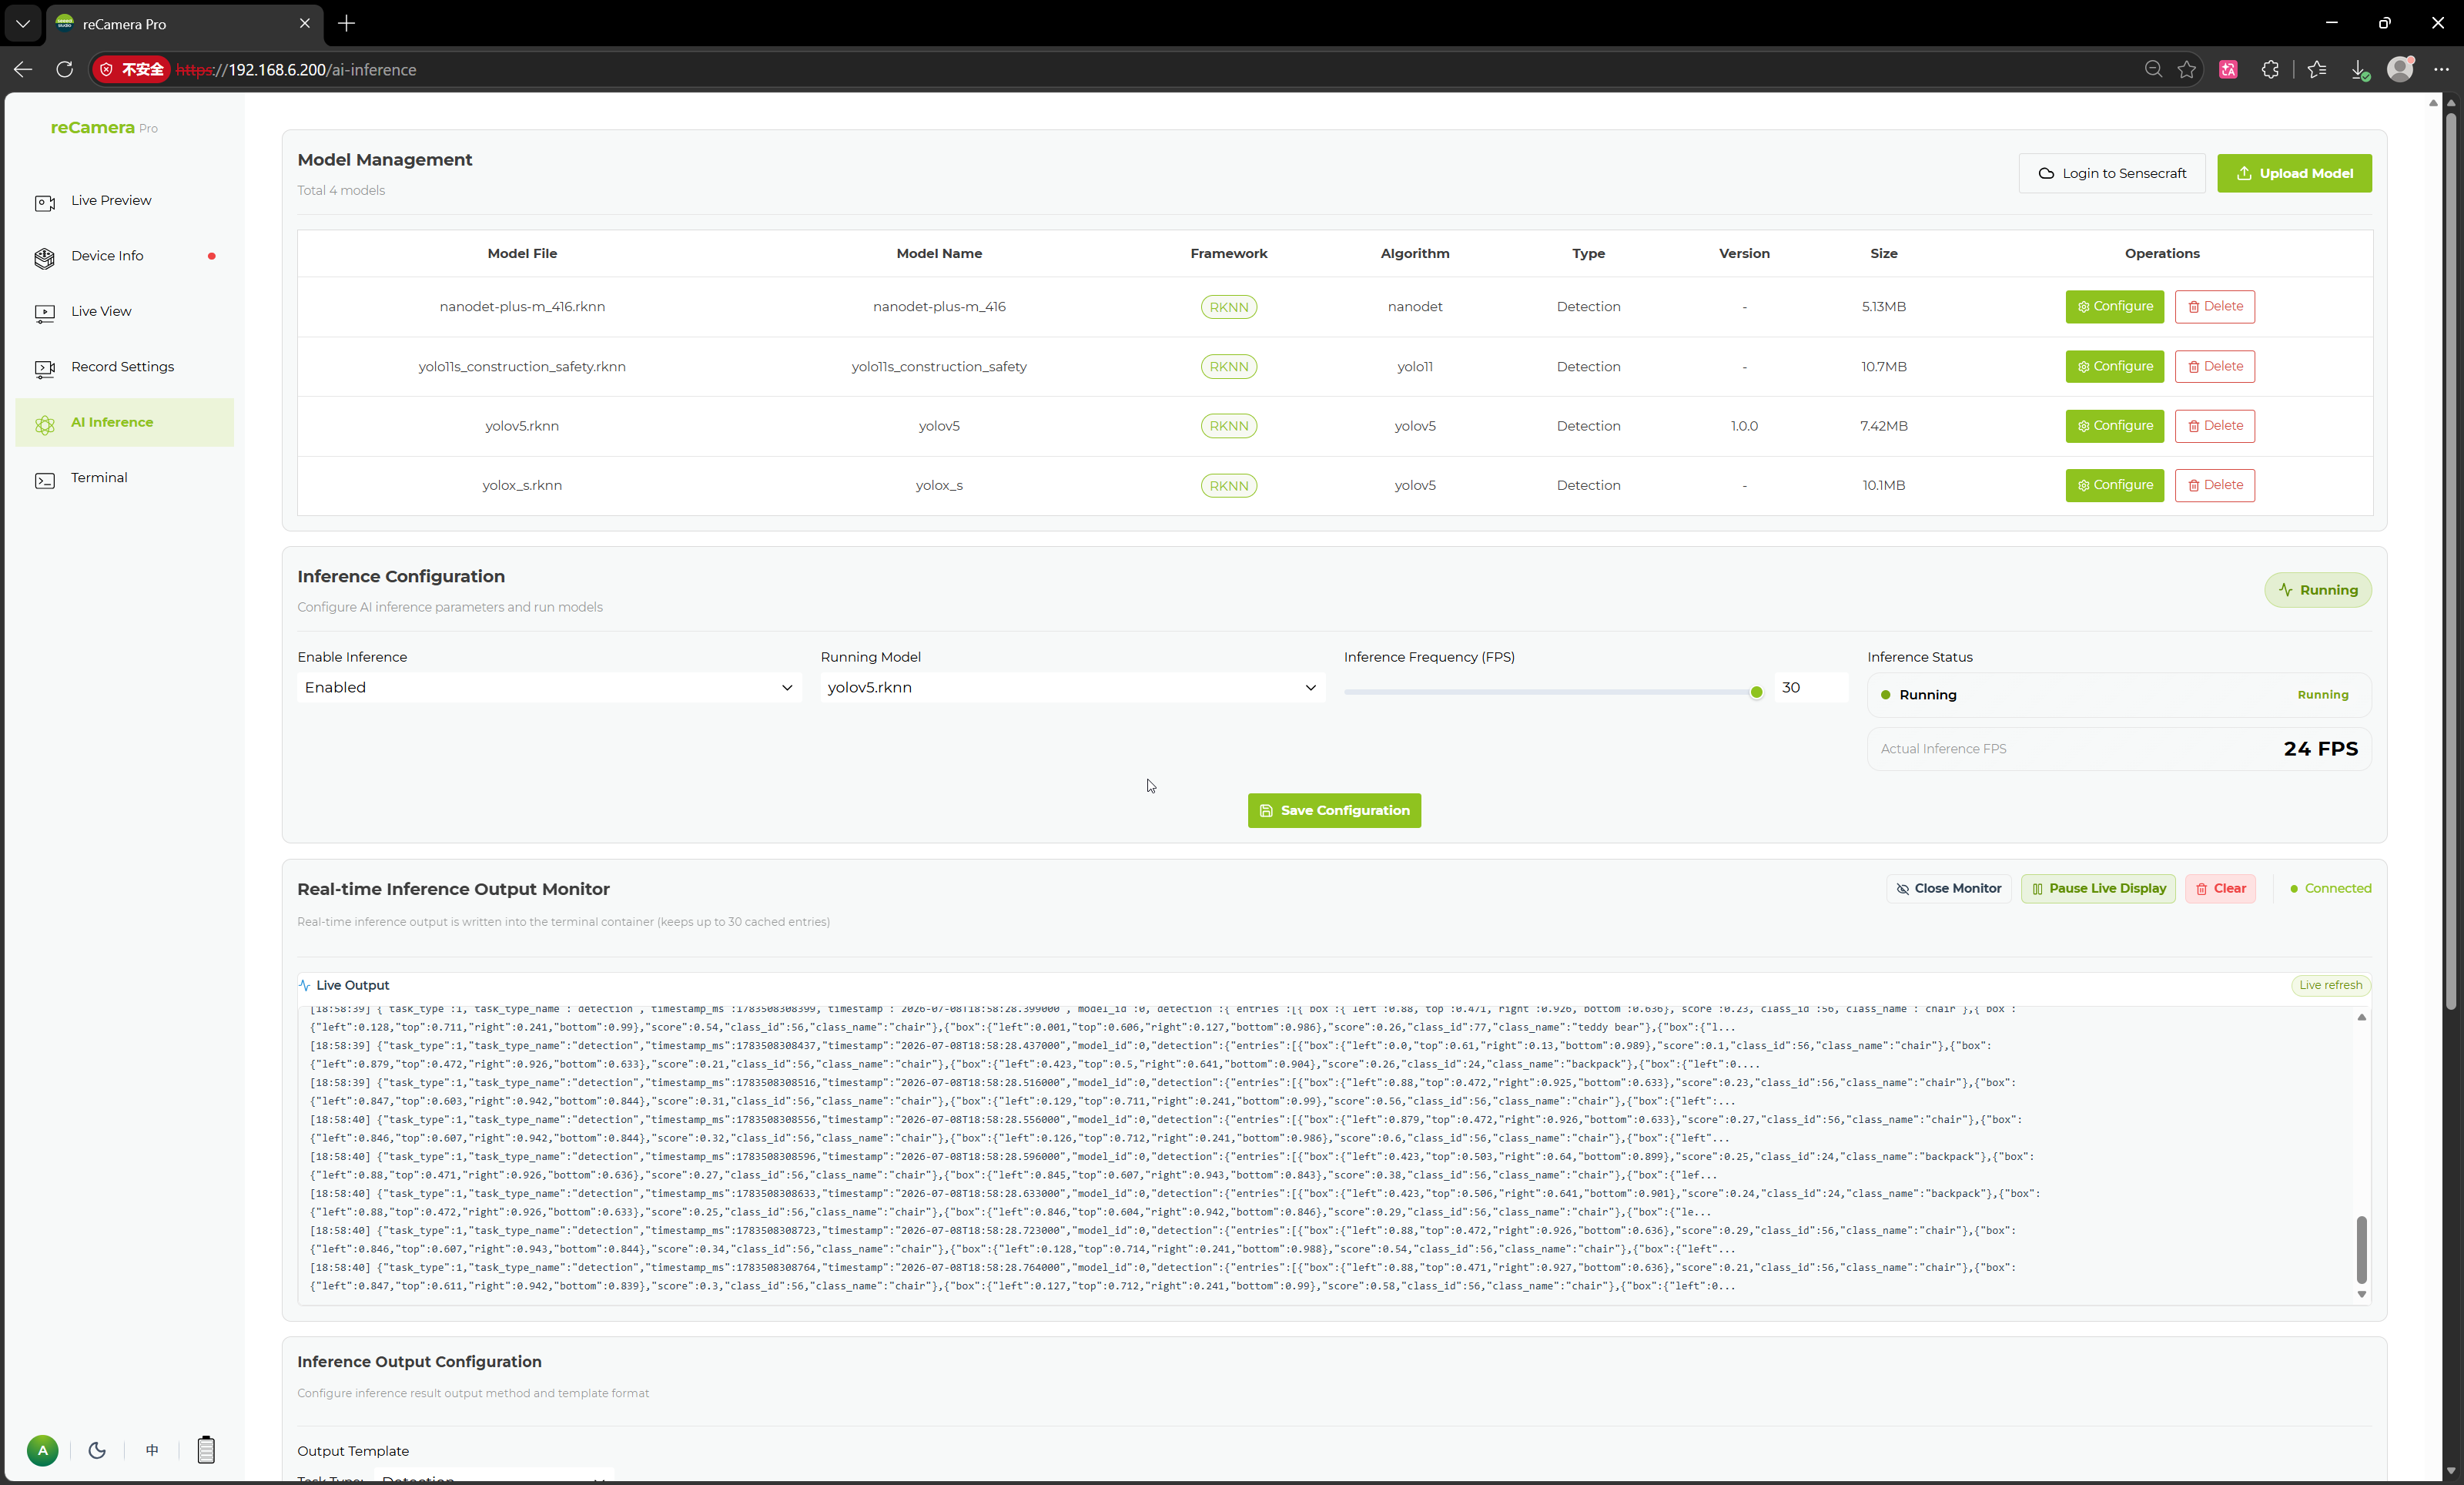
Feature overview
The AI Inference page has these modules:
- Model Management — view, configure, delete, or upload model files
- SenseCraft Model Conversion — convert ONNX models to RKNN
- Inference Configuration — select the running model, enable/disable inference, set inference frequency
- Real-time Inference Monitoring — view model output as it runs
- Inference Output Configuration — send results to external systems via HTTP, MQTT, or UART
Model management
The Model Management area lists models that are built in or uploaded to the device. Common fields:
| Field | Description |
|---|---|
| Model File | Filename on the device |
| Model Name | Display name |
| Framework | Runtime framework, e.g. RKNN |
| Algorithm | Algorithm type, e.g. YOLO, nanodet |
| Type | Task type, e.g. Detection |
| Version | Model version |
| Size | File size |
| Operations | Configure or delete |
reCamera Pro supports built-in detection models and user-uploaded custom models. For object detection you can choose models for person detection, hard hat detection, construction safety, vehicle detection, etc.
Upload a model
Click Upload Model to upload local model files. The upload window supports drag-and-drop or manual selection.
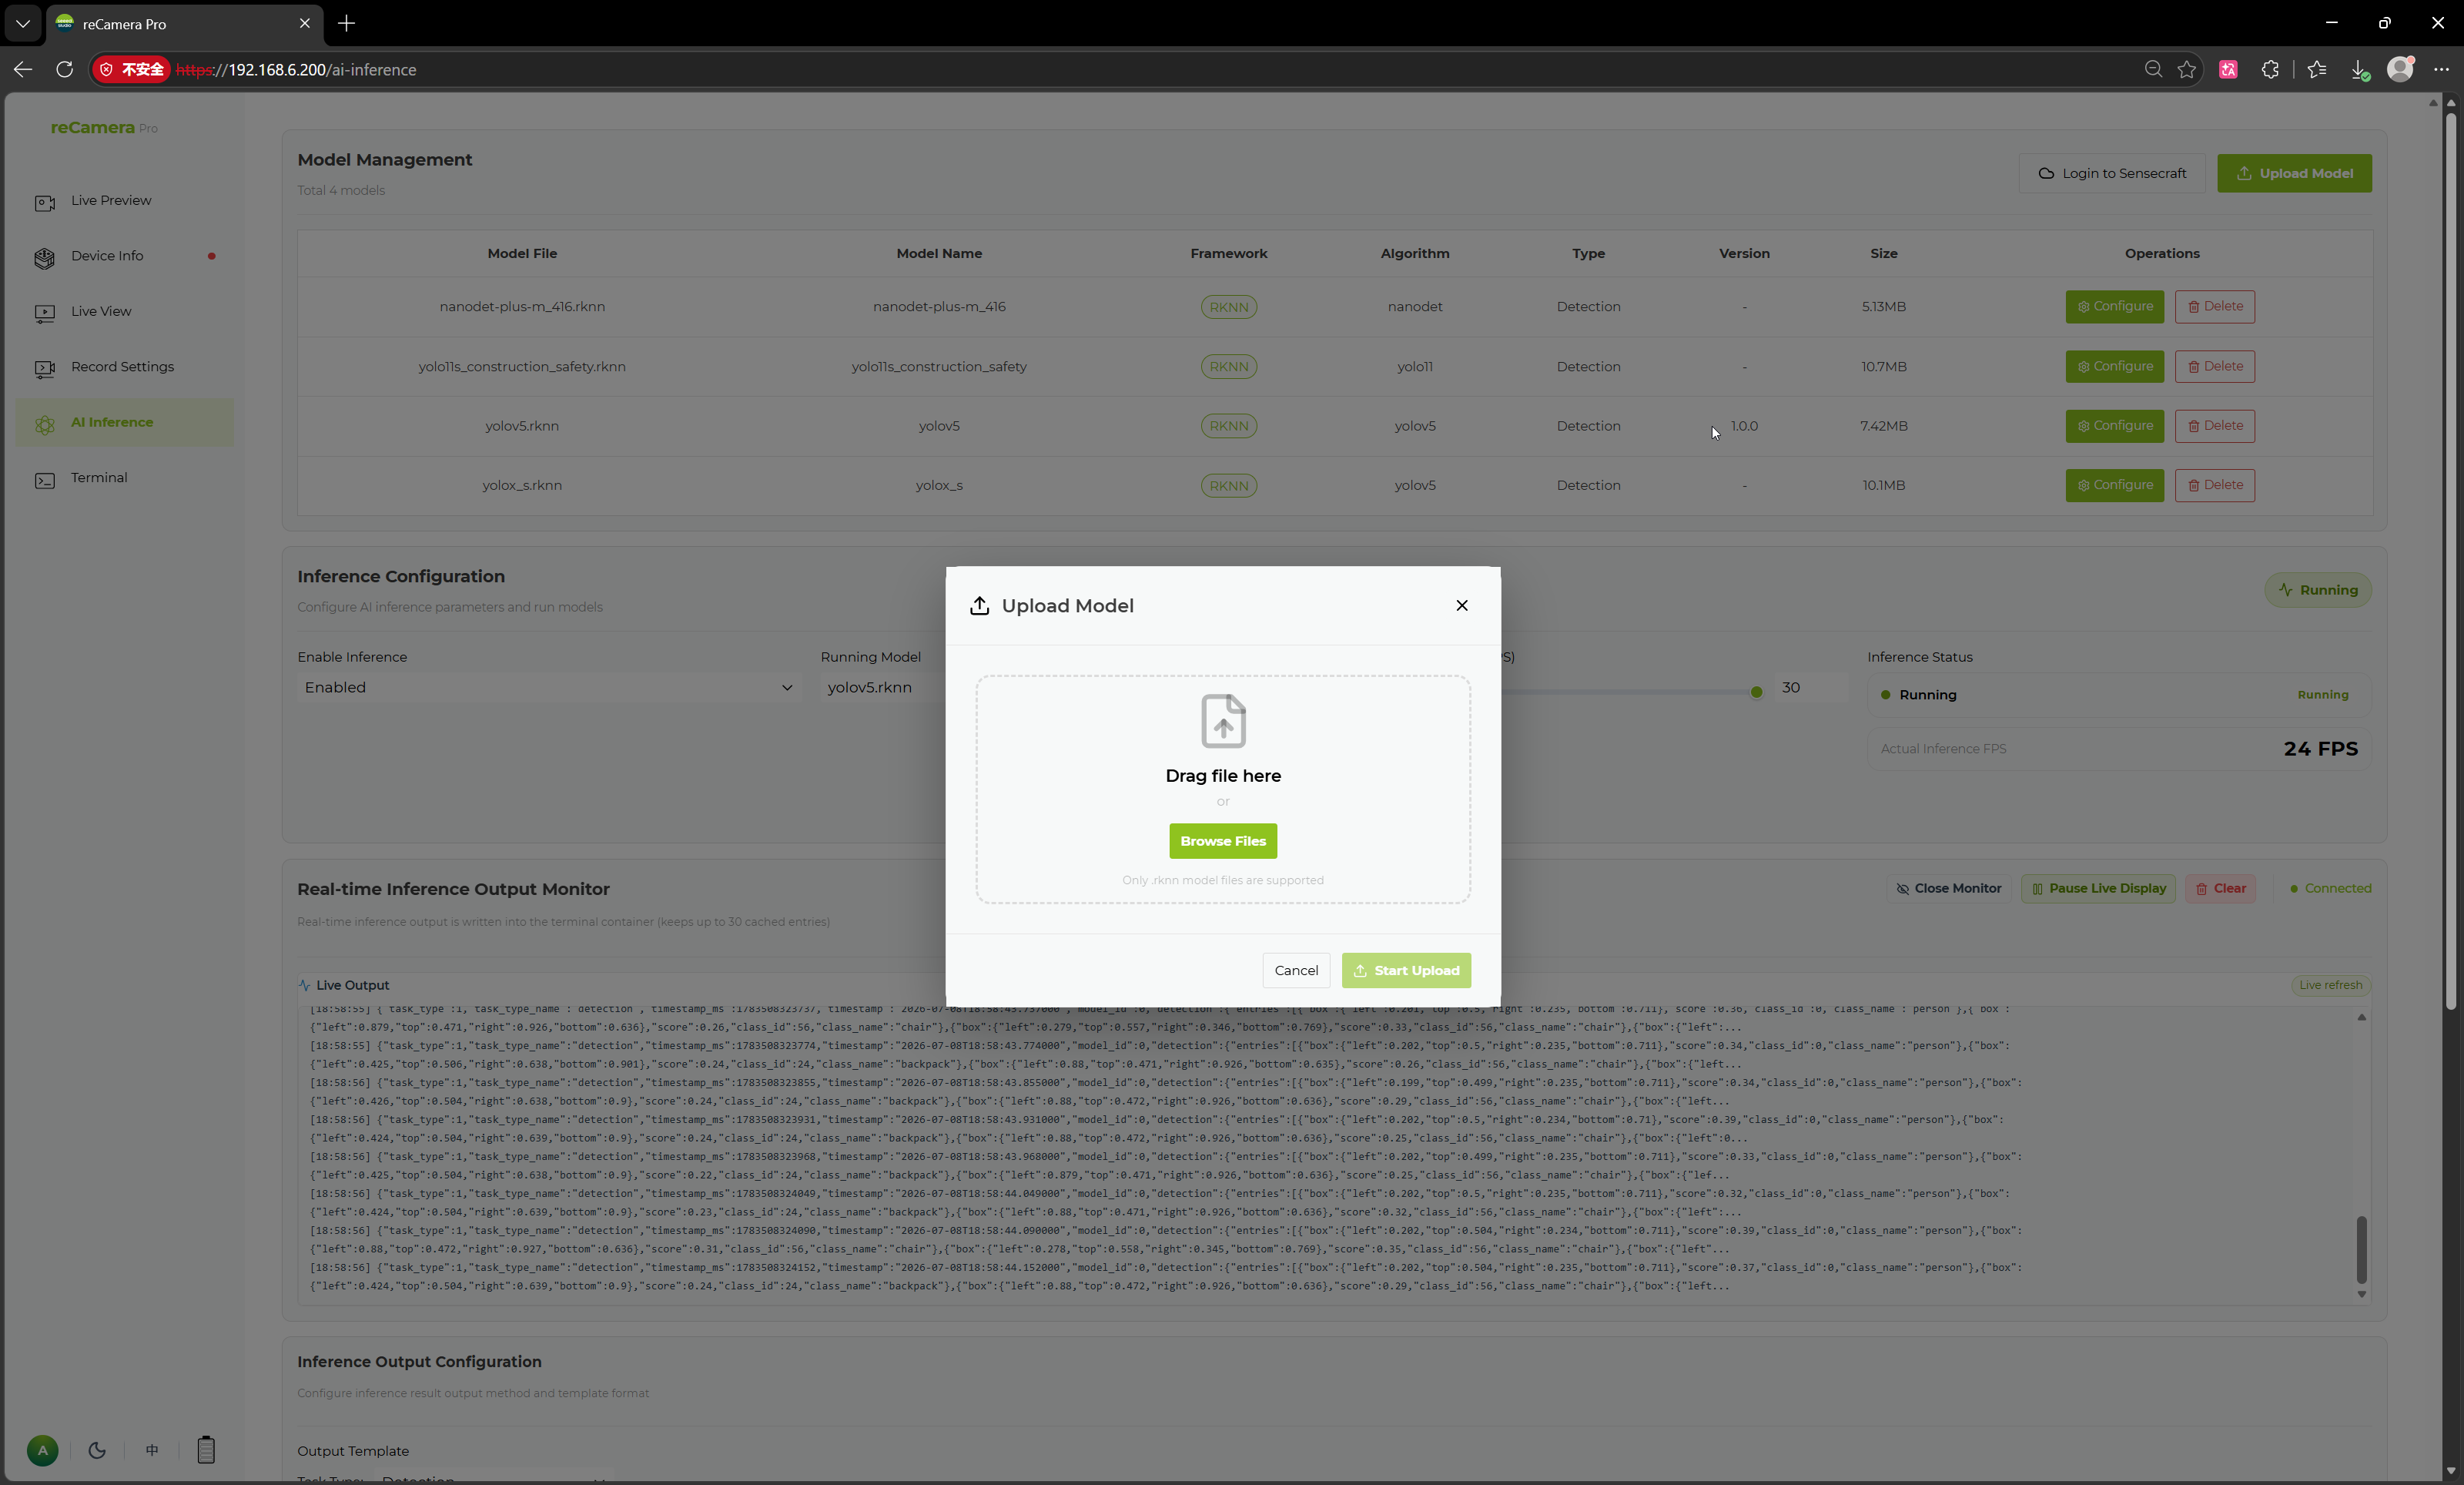
The page currently supports uploading RKNN model files. After uploading, the model appears in Model Management, where you can configure its name, categories, and post-processing parameters.
Configure a model
Each model has a Configure page for basic information, detection categories, and post-processing parameters.

| Configuration Item | Description |
|---|---|
| Model Name | Display name |
| Framework | Runtime framework, e.g. RKNN |
| Version | Model version |
| Type | Task type, e.g. Object Detection |
| Algorithm | Algorithm, e.g. YOLOv5 |
| Author | Author information |
| Description | Model description |
| Detection Categories | Names of the model's output categories |
| Post-processing Configuration | IOU, Confidence, max_obj |
Detection categories can be added manually or imported in bulk from a TXT file. After configuring categories, inference results are displayed and output using your category names.
Post-processing parameters control how detection results are filtered:
| Parameter | Description |
|---|---|
| IOU | Intersection over Union threshold for bounding box non-maximum suppression |
| Confidence | Object detection confidence threshold |
| max_obj | Maximum number of objects output per frame |
Lower confidence = more detections (more false positives). Higher IOU = fewer duplicate boxes. Tune these for your scene.
Click Save to apply.
Inference configuration
The Inference Configuration area controls whether AI inference is running and which model is active.

| Parameter | Description |
|---|---|
| Inference Enable | Enable or disable AI inference |
| Running Model | Select which model to run |
| Inference Frequency (FPS) | How many frames per second to run inference on |
| Inference Status | Whether the inference task is currently running |
| Real-time Inference FPS | Actual inference frame rate |
Select a model, set the inference frequency with the slider, then click Save Configuration. The right side shows the current status (e.g. Running) and actual FPS.
Real-time inference monitoring
The page provides a real-time log of inference output for debugging bounding box coordinates, class IDs, confidence scores, and timestamps.
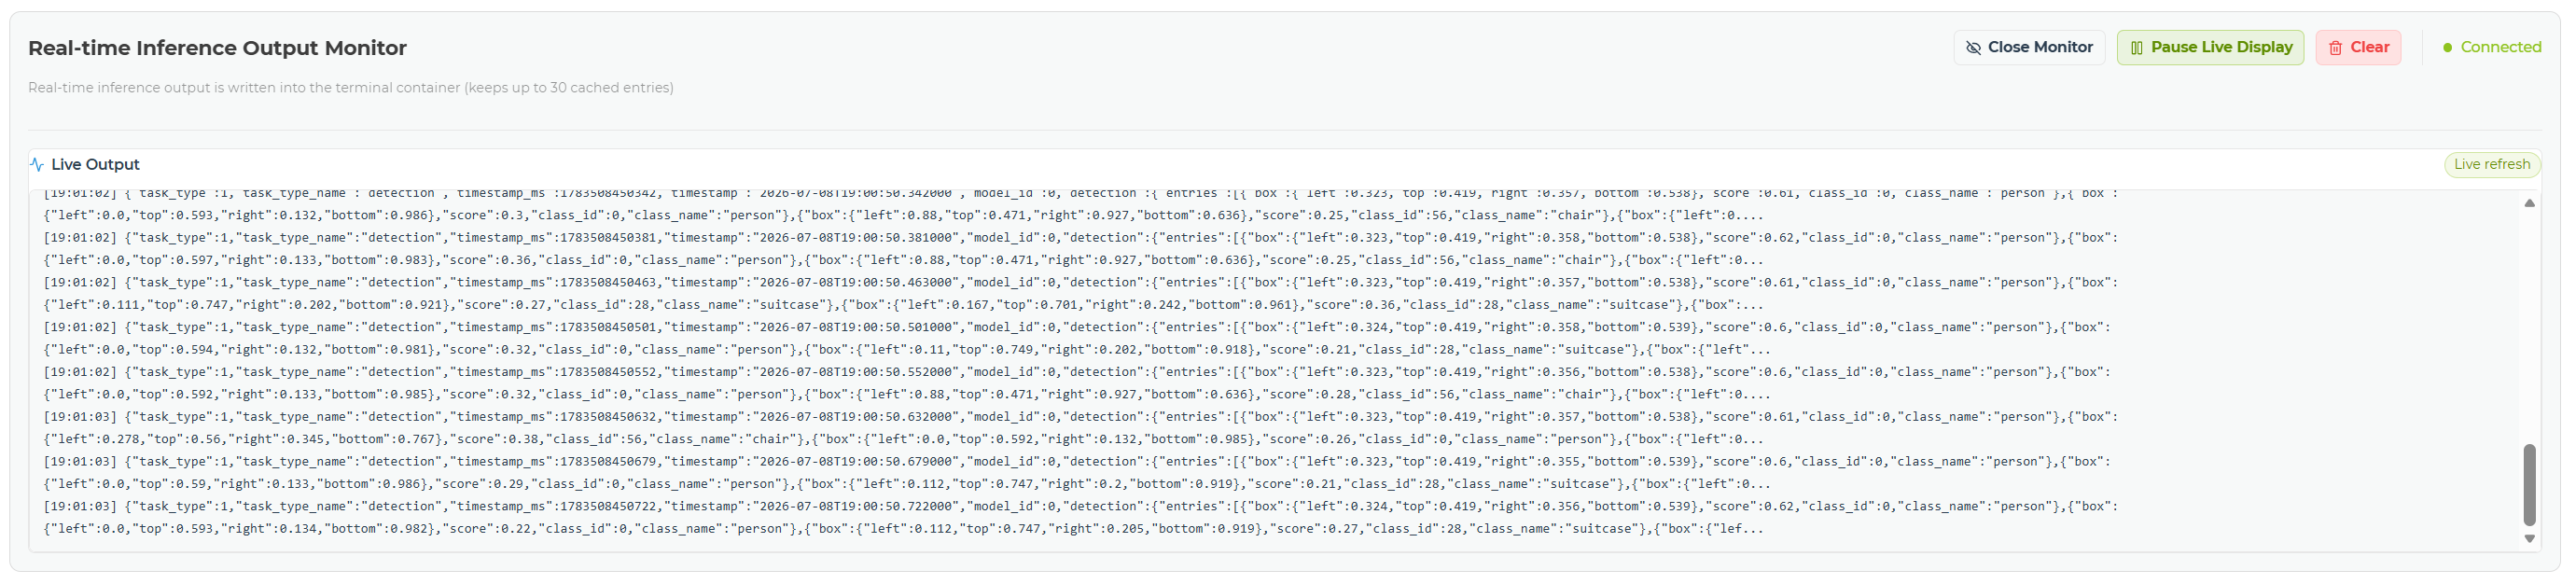
| Field | Description |
|---|---|
| timestamp | Inference result timestamp |
| task_type | Current task type |
| class_id | Detected class ID |
| class_name | Detected class name |
| score | Detection confidence |
| bbox | Bounding box coordinates |
| detection_count | Number of objects detected in the current frame |
The monitoring area supports disabling, pausing, and clearing the log.
Connect detection to recording and output
Once detection is configured, you can use inference results to:
- Trigger recordings — see Configure Event Recording (AI Inference Trigger)
- Send results via MQTT — see Send Detection Results over MQTT
- Send results via HTTP or UART — see Send Detection Results over HTTP/UART
Related pages
Tech Support & Product Discussion
Thank you for choosing our products! We are here to provide you with different support to ensure that your experience with our products is as smooth as possible. We offer several communication channels to cater to different preferences and needs.